
Articles
How To Tie An Electrical Cord
Modified: May 6, 2024
Learn the proper technique with step-by-step instructions in our comprehensive guide on how to tie an electrical cord. Find all the information you need in our articles collection.
(Many of the links in this article redirect to a specific reviewed product. Your purchase of these products through affiliate links helps to generate commission for Storables.com, at no extra cost. Learn more)
Introduction
Welcome to this guide on how to tie an electrical cord! Whether you’re dealing with a power cord for your computer, a cord for your kitchen appliances, or any other electrical cord, knowing how to properly tie it can help prevent tangles and make storage much easier. In this article, I will walk you through a step-by-step process on how to tie an electrical cord effectively.
An electrical cord is a vital component in our lives, providing power to the devices and appliances we rely on daily. However, when these cords become tangled and messy, it can not only be frustrating but also pose a safety risk. By learning the proper technique to tie an electrical cord, you can ensure its longevity and keep your space neat and organized.
Before we dive into the step-by-step instructions, it’s important to note that there are different methods to tie an electrical cord, and the technique you choose may depend on the length and flexibility of the cord. For the purpose of this article, we will focus on a simple and effective method.
So, let’s get started on mastering the art of tying an electrical cord!
Key Takeaways:
- Master the art of tying electrical cords to prevent tangles, ensure safety, and maintain a clutter-free space. Follow the step-by-step process for effective cord organization and hassle-free storage.
- Gather necessary tools, straighten the cord, create a loop, secure the knot, and properly store the tied electrical cord to prolong its lifespan and easily access it when needed. Take control of cord chaos with confidence!
Read also: 12 Amazing Electrical Cord Ties for 2025
Step 1: Gather necessary tools and materials
Before you begin tying an electrical cord, it’s important to gather the necessary tools and materials. Having everything on hand will make the process much smoother and quicker. Here’s what you’ll need:
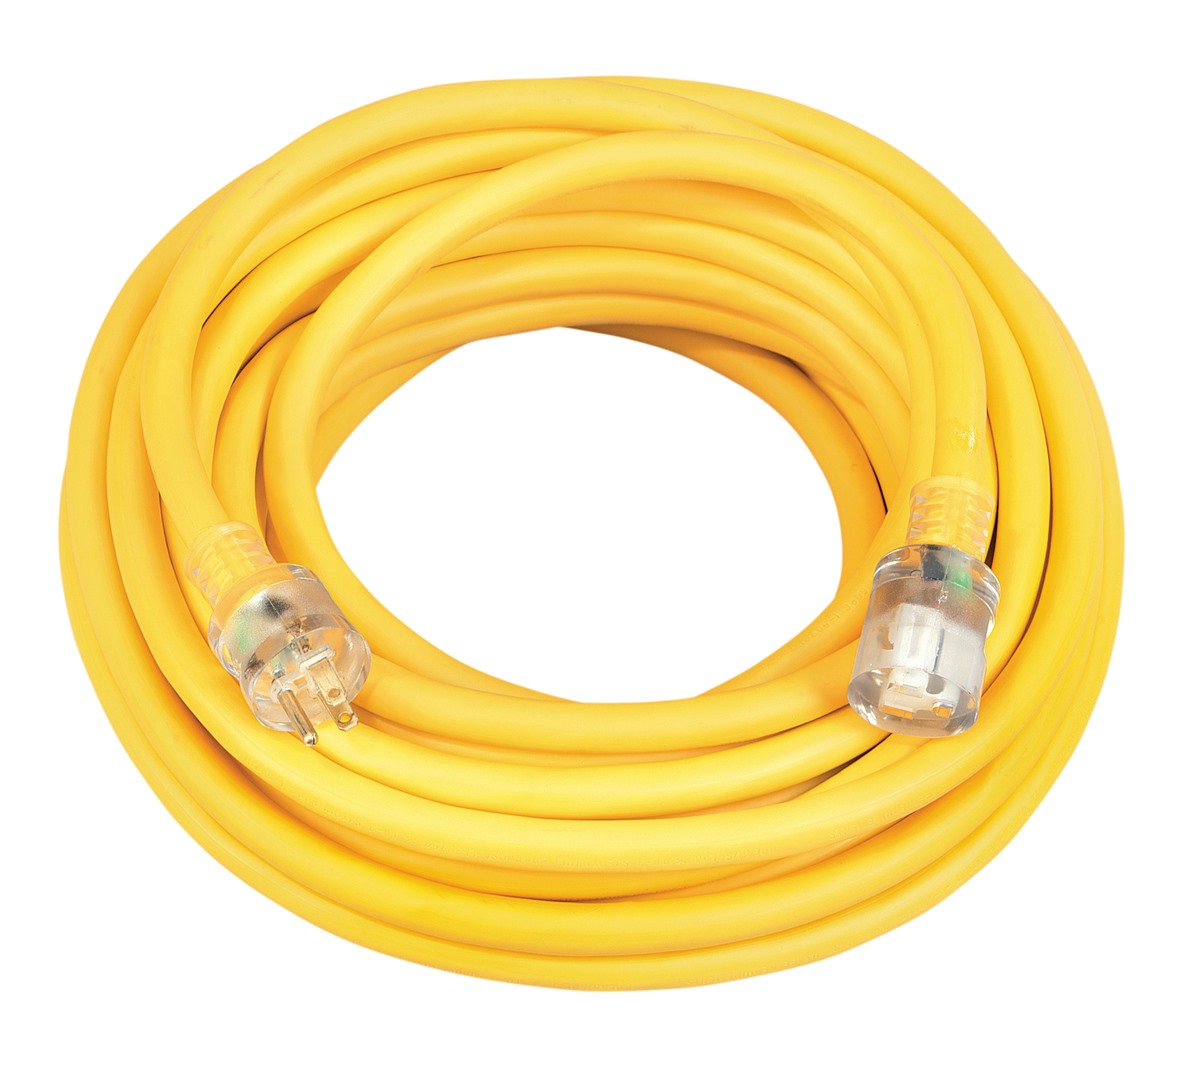
- Electrical cord: The cord you wish to tie.
- Velcro ties or cable organizers: These are useful for securing the tied cord.
Having these tools and materials ready will ensure that you have everything you need to properly tie and organize your electrical cord.
Once you have gathered the necessary tools and materials, you can proceed to the next step of straightening the electrical cord.
Step 2: Straighten the electrical cord
Before you begin tying the electrical cord, it’s important to straighten it out to remove any knots or kinks. This will make the tying process much easier and also help prevent tangling in the future. Here’s how you can straighten the electrical cord:
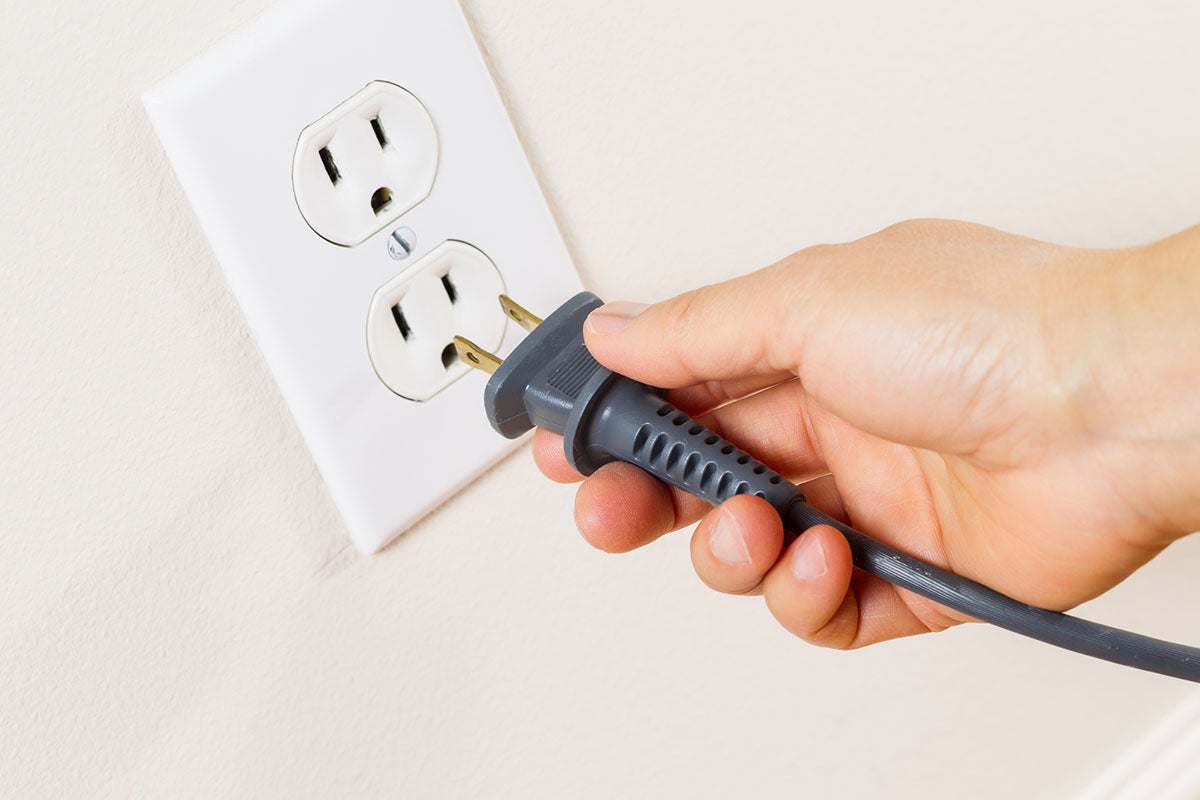
- Unplug the cord: Ensure that the electrical cord is unplugged from any power source to avoid any accidents.
- Spread out the cord: Lay the cord flat on a clean and open surface. This could be a table, countertop, or even the floor.
- Remove any twists or knots: Carefully examine the cord and untangle any twists or knots that may be present. Gently run your hand along the cord to smoothen out any kinks or bends.
- Straighten the cord: Grasp one end of the cord firmly and slowly pull it in the opposite direction, sliding your hand along the length of the cord. Use smooth, controlled movements to straighten out the entire length of the cord. Take your time and ensure that the cord is completely straightened.
By following these steps, you can effectively straighten the electrical cord, making it easier to work with during the tying process. Once the cord is straightened, you can proceed to the next step of creating a loop at the end of the cord.
Step 3: Create a loop at the end of the cord
Creating a loop at the end of the electrical cord is an essential step in tying it properly. This loop will serve as the anchor point for securing the rest of the cord. Follow these steps to create a loop:
- Hold the end of the cord: Take the end of the electrical cord in your hand, leaving a small amount of excess length beyond your grip. This excess length will be used to form the loop.
- Twist the cord: Twist the end of the cord in a clockwise direction to form a loop. Keep twisting until the loop is of a suitable size to accommodate the rest of the cord. The size of the loop will depend on your personal preference and the length of the cord.
- Hold the loop in place: With one hand, hold the end of the cord where the loop is formed to keep it in place. This will prevent the loop from unraveling during the next step.
Creating a loop at the end of the electrical cord is a crucial step as it provides a secure starting point for the tying process. Once the loop is formed and held in place, you can move on to the next step of passing the other end of the cord through the loop.
Step 4: Pass the other end through the loop
With the loop created at the end of the electrical cord, it’s time to pass the other end of the cord through the loop to begin the tying process. Follow these steps to pass the cord through the loop:
- Hold the other end of the cord: Take the opposite end of the electrical cord and hold it firmly.
- Thread the cord through the loop: Insert the other end of the cord through the loop created in the previous step. Make sure to thread it from above the loop, passing the cord underneath and then bringing it through the loop.
- Pull the cord through the loop: Gently pull the other end of the cord until it is fully threaded through the loop. Ensure that the loop is snugly secured around the cord.
By threading the other end of the cord through the loop, you are effectively creating a knot that will keep the electrical cord securely tied. This step is crucial to maintain the integrity of the knot and prevent it from coming undone.
With the cord successfully threaded through the loop, you can move on to the next step of tightening the knot.
When tying an electrical cord, use a simple overhand knot to secure the cord and prevent it from becoming tangled or damaged. Make sure the knot is not too tight to avoid putting strain on the cord.
Read more: How To Cut An Electrical Cord
Step 5: Pull tight to secure the knot
Now that the other end of the electrical cord has been threaded through the loop, it’s time to tighten the knot to secure it in place. Follow these steps to pull tight and secure the knot:
- Hold both ends of the cord: Take hold of both ends of the cord—the end that has been threaded through the loop and the end where the loop was created.
- Gently pull both ends away from each other: Apply firm but gentle pressure to both ends of the cord and begin to pull them away from each other. This will tighten the knot formed by the loop and the threaded end of the cord.
- Continue pulling until the knot is tight: Continue pulling on both ends of the cord until the knot is securely tightened. Ensure that the knot is snug and does not easily slip or loosen.
By pulling tight, you are effectively securing the knot, preventing it from coming undone and keeping the electrical cord neatly tied. This step is crucial in ensuring the longevity of the knot and maintaining the organization of the cord.
After successfully tightening the knot, you can proceed to the next step if you have an exceptionally long cord or move on to the final step of properly storing the tied electrical cord.
Step 6: Repeat the process if needed
In some cases, you may have an exceptionally long electrical cord that requires additional loops and knots for proper organization and storage. If this is the case, you can repeat the previous steps to create additional loops and secure the cord. Here’s how you can repeat the process:
- Identify the midpoint of the cord: If you need to create additional loops, locate the midpoint of the electrical cord.
- Create another loop: Following the same steps as before, twist the cord at the midpoint to form another loop.
- Thread the remaining end through the loop: Take the remaining end of the cord and thread it through the newly created loop, just as you did in the previous steps.
- Tighten the knot: Once the cord is threaded through the loop, pull tight to secure the knot, ensuring it is snug and secure.
Repeat these steps as needed, creating additional loops and securing the cord to your desired length or organization. The process can be repeated as many times as necessary to properly manage a long electrical cord.
Once you have completed the process of creating loops and tying knots, you can move on to the final step of properly storing the tied electrical cord.
Step 7: Properly store the tied electrical cord
Now that you have successfully tied and secured your electrical cord, it’s important to store it properly to maintain its organization and prevent tangling. Here are a few tips on how to properly store the tied electrical cord:
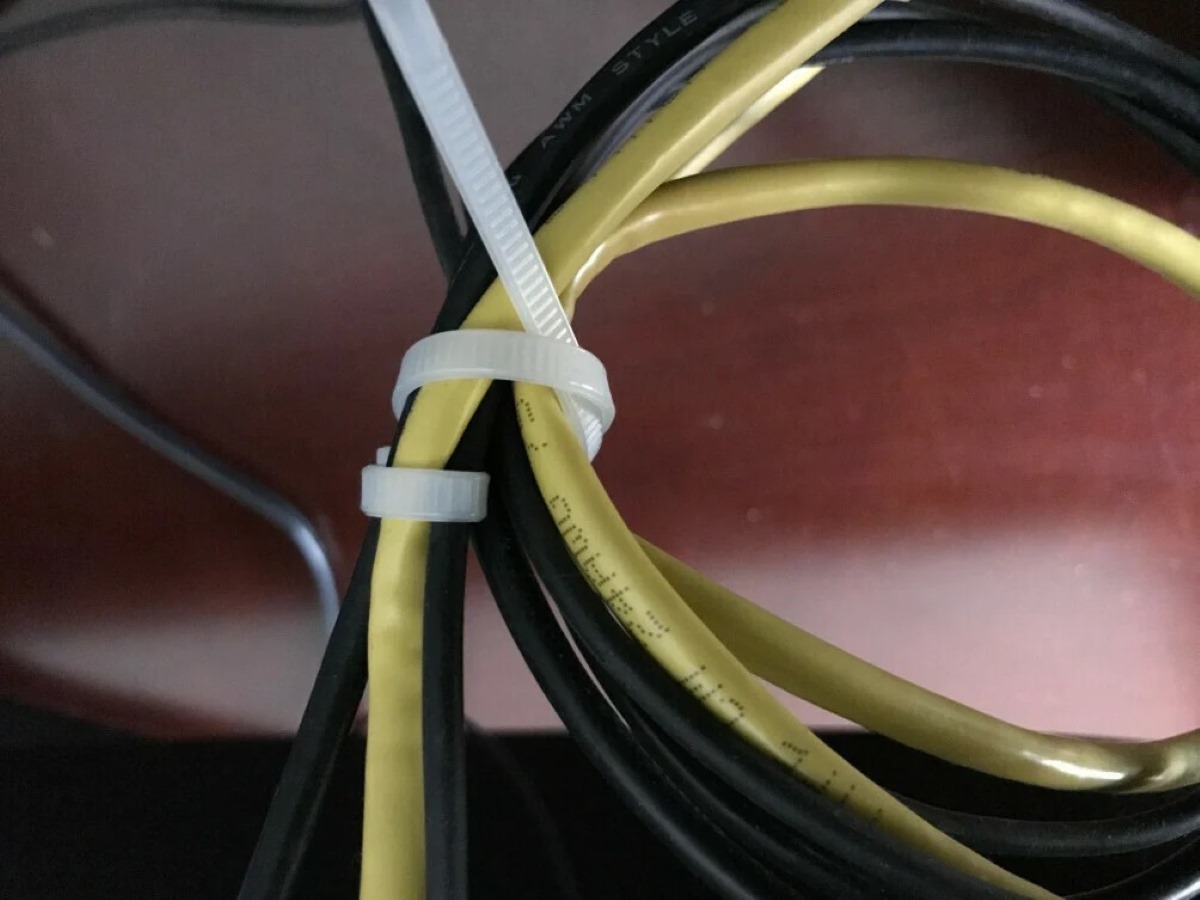
- Use Velcro ties or cable organizers: Secure the tied electrical cord using Velcro ties or cable organizers. These handy accessories help keep the cord neatly bundled and prevent it from unraveling.
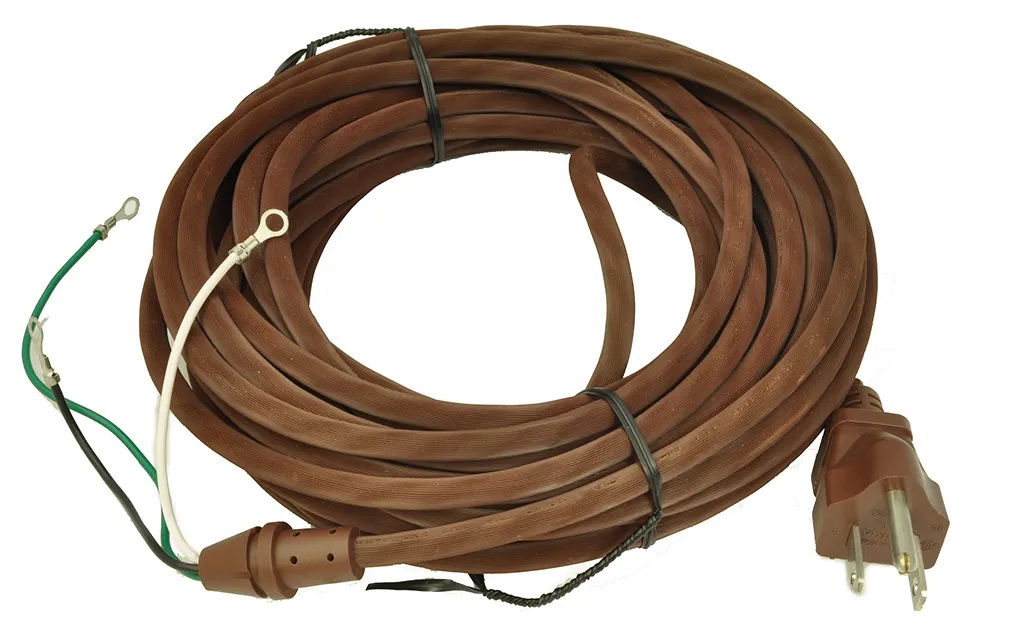
- Avoid sharp bends or kinks: When storing the cord, try to avoid sharp bends or kinks that can weaken the cord or affect its performance. Instead, create loose loops or figure-eight shapes to maintain its flexibility.
- Choose a suitable storage location: Store the tied electrical cord in a clean and dry area away from potential hazards, such as excessive heat, moisture, or sharp objects. This will help prolong the life of the cord and prevent any accidental damage.
- Label the cord: If you have multiple cords, it can be helpful to label them for easy identification. Use a label maker or adhesive labels to mark the purpose or device associated with each cord.
- Regularly inspect and maintain: Periodically check the stored electrical cord for any signs of damage or wear. If you notice any frayed wires or compromised insulation, it’s important to replace the cord to ensure safety.
By following these storage tips, you can maintain the neatness and functionality of your tied electrical cord. Not only will this make it easier to access whenever you need it, but it will also help prolong its lifespan.
With the completion of the proper storage step, you have successfully learned how to tie and manage electrical cords. Now you can enjoy a clutter-free space and easily access your cords whenever you need them!
Conclusion
Mastering the art of tying an electrical cord is a valuable skill that can save you time, frustration, and ensure the longevity of your cords. By following the step-by-step process outlined in this guide, you can effectively tie your electrical cords and keep them organized, preventing tangles and making storage a breeze.
Remember to gather the necessary tools and materials before you begin, straighten the cord to remove any knots or kinks, create a loop at the end of the cord, pass the other end through the loop, pull tight to secure the knot, and repeat the process if needed for longer cords. Finally, properly store the tied electrical cord using Velcro ties or cable organizers, avoiding sharp bends or kinks, and choosing a suitable storage location.
By implementing these techniques, you can maintain a clutter-free space, prolong the life of your cords, and easily access them whenever necessary. Properly tied and stored electrical cords not only improve your organization but also minimize the risk of accidents and ensure the safety of your electrical connections.
So, the next time you find yourself with a tangled mess of electrical cords, follow these steps and take control of the situation. With a little practice, you’ll become an expert at tying electrical cords and enjoy a well-organized and hassle-free environment.
Now go forth with confidence, and conquer the challenge of tying electrical cords like a pro!
Now that you've mastered tying your electrical cord, why not step up your game with some savvy strategies for keeping all those wires in check? Our next guide on cord management offers up-to-date, innovative options that will not only declutter your space but also add a touch of neatness to your surroundings. Perfect for home offices, entertainment areas, or anywhere cords run wild, our tips will help you maintain order and safety. Don't let tangled messes pull you down—check out our suggestions and transform your space today!
Frequently Asked Questions about How To Tie An Electrical Cord
Was this page helpful?
At Storables.com, we guarantee accurate and reliable information. Our content, validated by Expert Board Contributors, is crafted following stringent Editorial Policies. We're committed to providing you with well-researched, expert-backed insights for all your informational needs.


0 thoughts on “How To Tie An Electrical Cord”