
Articles
How To Extend An Electrical Cord
Modified: May 6, 2024
Learn how to extend an electrical cord safely and efficiently with our informative articles. Find step-by-step guides and tips to tackle this common DIY task.
(Many of the links in this article redirect to a specific reviewed product. Your purchase of these products through affiliate links helps to generate commission for Storables.com, at no extra cost. Learn more)
Introduction
Having an electrical cord that is too short can be highly inconvenient, especially when you need to power an appliance or device that is not located near an electrical outlet. However, extending an electrical cord can be a simple solution to this problem. By following a few steps and using some basic materials, you can easily extend the length of your electrical cord and enjoy the convenience of reaching those hard-to-reach places.
In this article, we will provide you with a step-by-step guide on how to extend an electrical cord. We will walk you through the process, from assessing the cord length needed to securing the connections, ensuring a safe and effective extension.
Before we begin, it is important to note that working with electricity can be dangerous. It is crucial to prioritize safety and take the necessary precautions when handling electrical cords and wires. If you are not comfortable or confident in your abilities, it is always recommended to seek the assistance of a qualified electrician.
Now, let’s dive into the steps to extend an electrical cord and make your life a little more convenient.
Key Takeaways:
- Extend electrical cords safely and effectively by assessing the required length, gathering materials, cutting and stripping the cord, connecting and insulating the wires, testing the extension, and securing the connections.
- Prioritize safety when extending electrical cords, and seek professional assistance if unsure. Enjoy the convenience of accessing power in hard-to-reach areas with a properly extended electrical cord.
Step 1: Assess the Cord Length Needed
The first step in extending an electrical cord is to determine the length you need. Assess the distance between the electrical outlet and the location where you require the extension. Measure the distance accurately to ensure that you purchase the right length of extension cord and avoid unnecessary wastage or inconvenience.
Consider any obstacles or barriers that may be present along the path where you will be running the extended cord. Take note of any sharp corners, doorways, or areas with heavy foot traffic. This will help you determine if you need to account for any additional cord length to accommodate these obstacles.
It is important to choose an extension cord that is suitable for the intended purpose and meets the electrical requirements of the devices you will be using. Ensure that the extension cord is rated for the appropriate voltage and amperage to safely power your appliances or equipment.
Once you have identified the required length and chosen the appropriate extension cord, you are ready to move on to the next step – gathering the necessary materials.
Step 2: Gather the Materials
Before you can begin extending an electrical cord, it is important to gather all the necessary materials. Having everything prepared beforehand will make the process smoother and more efficient.
Here are the materials you will need:
- An extension cord: Choose an extension cord that matches the required length determined in the previous step. Ensure that it is in good condition, without any frayed or damaged wires.
- Wire cutters: These will be used to cut the extension cord and strip the wire ends.
- Wire strippers: Essential for removing the insulation from the wire ends to create the connections.
- Electrical tape: This will be used to insulate and secure the connections.
- Heat shrink tubing (optional): Heat shrink tubing can provide additional protection and insulation for the connections.
- Pliers: These will be helpful for twisting and securing the wires together.
- Marker or labeling tape: It is useful to label the extended cord to differentiate it from others and to indicate which end is the male (plug) or female (socket) end.
Make sure all the tools and materials are easily accessible and in good working condition. Additionally, it is advisable to wear protective gloves and safety glasses to protect yourself during the process.
With all the necessary materials gathered, you are now ready to move on to the next step – cutting the extension cord.
Step 3: Cut the Extension Cord
Now that you have gathered the materials, it’s time to cut the extension cord to your desired length. This step requires precision and caution to ensure a clean cut without damaging the wires inside.
Follow these steps to cut the extension cord:
- Unplug the extension cord: Before you start cutting, make sure that the extension cord is completely unplugged from the electrical outlet to avoid any potential electric shocks.
- Measure and mark the desired length: Using a measuring tape or ruler, measure and mark the length you determined in the first step. This will serve as a guide for the cutting process.
- Secure the extension cord: Lay the extension cord on a flat surface and use clamps or weighted objects to hold it firmly in place. This will prevent it from moving or shifting during the cutting process.
- Cut the cord: Using a pair of wire cutters, carefully cut the extension cord at the marked point. Make sure to apply even pressure to ensure a clean and straight cut. Avoid cutting too quickly or forcefully, as this can cause the wires to become frayed or damaged.
Once you have made the cut, you should have two separate pieces – the section you will be extending and the remaining section that can still be used as a shorter cord if needed. Set aside the remaining cord for future use or discard it responsibly.
With the extension cord cut to the desired length, you are ready to move on to the next step – stripping the wire ends.
Step 4: Strip the Wire Ends
After cutting the extension cord to the desired length, the next step is to strip the wire ends. Stripping the wire ends allows you to expose the inner wires and create the necessary connections for extending the cord.
Follow these steps to strip the wire ends:
- Gather the wire strippers: Ensure that you have the appropriate size of wire strippers for your cord. Different wire sizes may require different gauges of wire strippers.
- Identify the insulation: Examine the cut ends of the extension cord to identify the outer insulation. This is usually a rubber or plastic coating that protects the wires inside.
- Position the wire strippers: Place the wire strippers around the outer insulation, ensuring that the blades of the strippers are positioned correctly for the wire gauge.
- Apply pressure and rotate: Once the strippers are properly positioned, squeeze the handles firmly to apply pressure. While maintaining pressure, rotate the strippers around the cord in a circular motion. This will help to create a clean and even cut in the outer insulation.
- Remove the insulation: After rotating the strippers, gently pull the insulation away from the cut end of the cord. This should expose the inner wires. Be careful not to pull too forcefully, as this may damage the wires.
- Repeat for the other end: Repeat the stripping process for the other end of the extension cord, ensuring that both ends are stripped evenly.
Once the wire ends are stripped, you are ready to move on to the next step – connecting the wires.
When extending an electrical cord, make sure to use a cord with the same or higher amp rating as the original cord. Use proper connectors and insulation to ensure safety.
Read more: How To Extend An Electrical Box
Step 5: Connect the Wires
With the wire ends stripped, it’s time to connect the wires of the extension cord. This step involves joining the corresponding wires from both ends of the cut extension cord to create a continuous electrical flow.
Follow these steps to connect the wires:
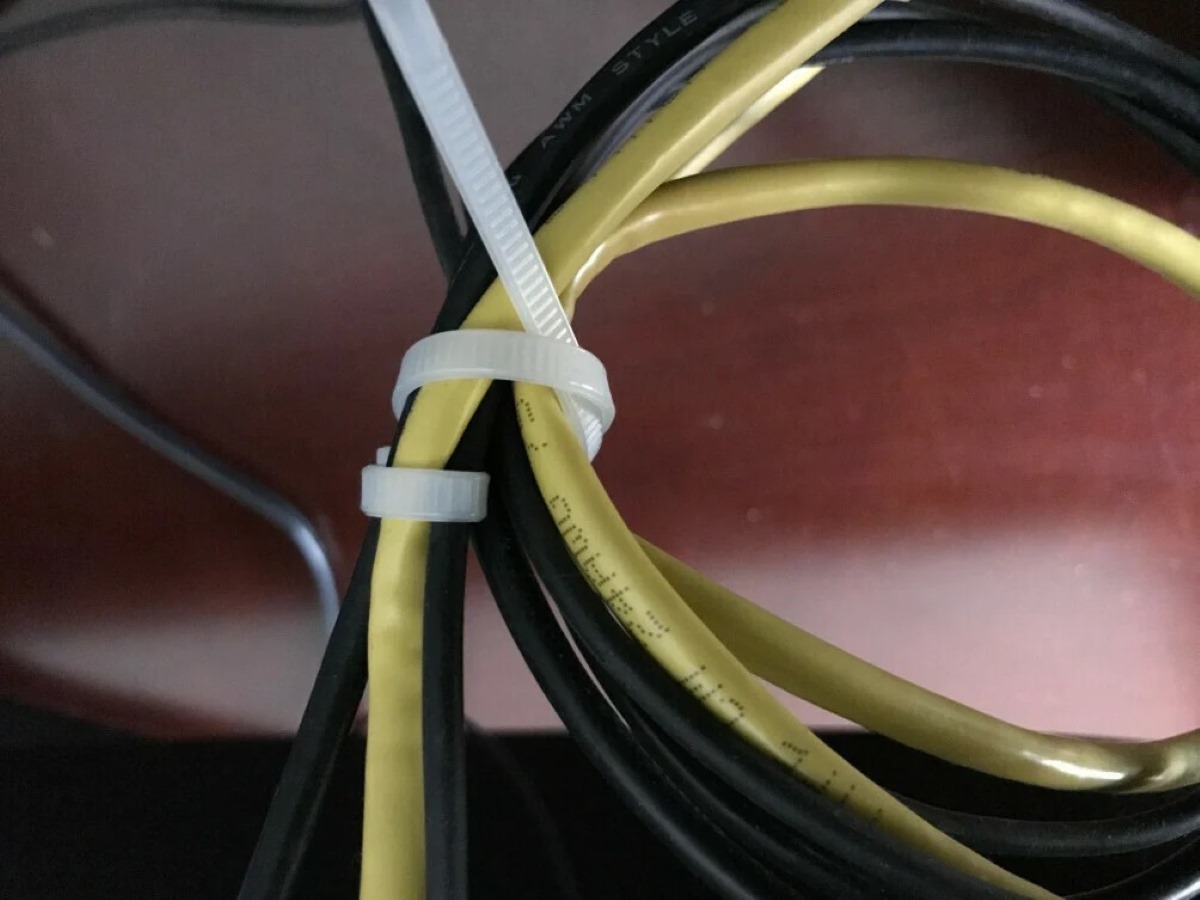
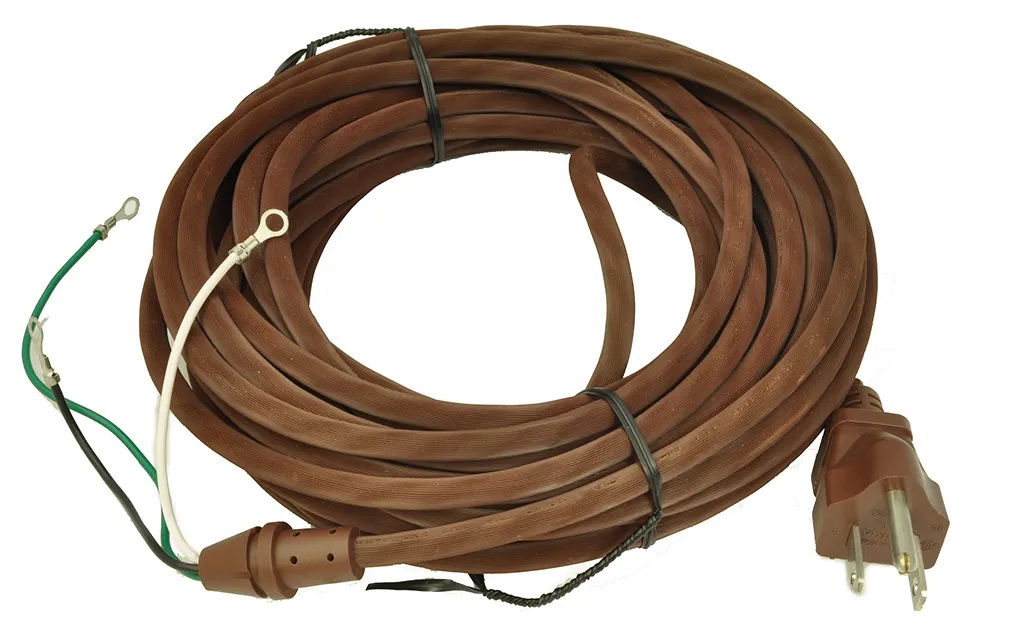
- Identify the wires: Take a close look at the exposed wires at both ends of the extension cord. You will typically find two wires: a black (or hot) wire and a white (or neutral) wire. In some cases, you may also see a green or bare wire, which is the ground wire.
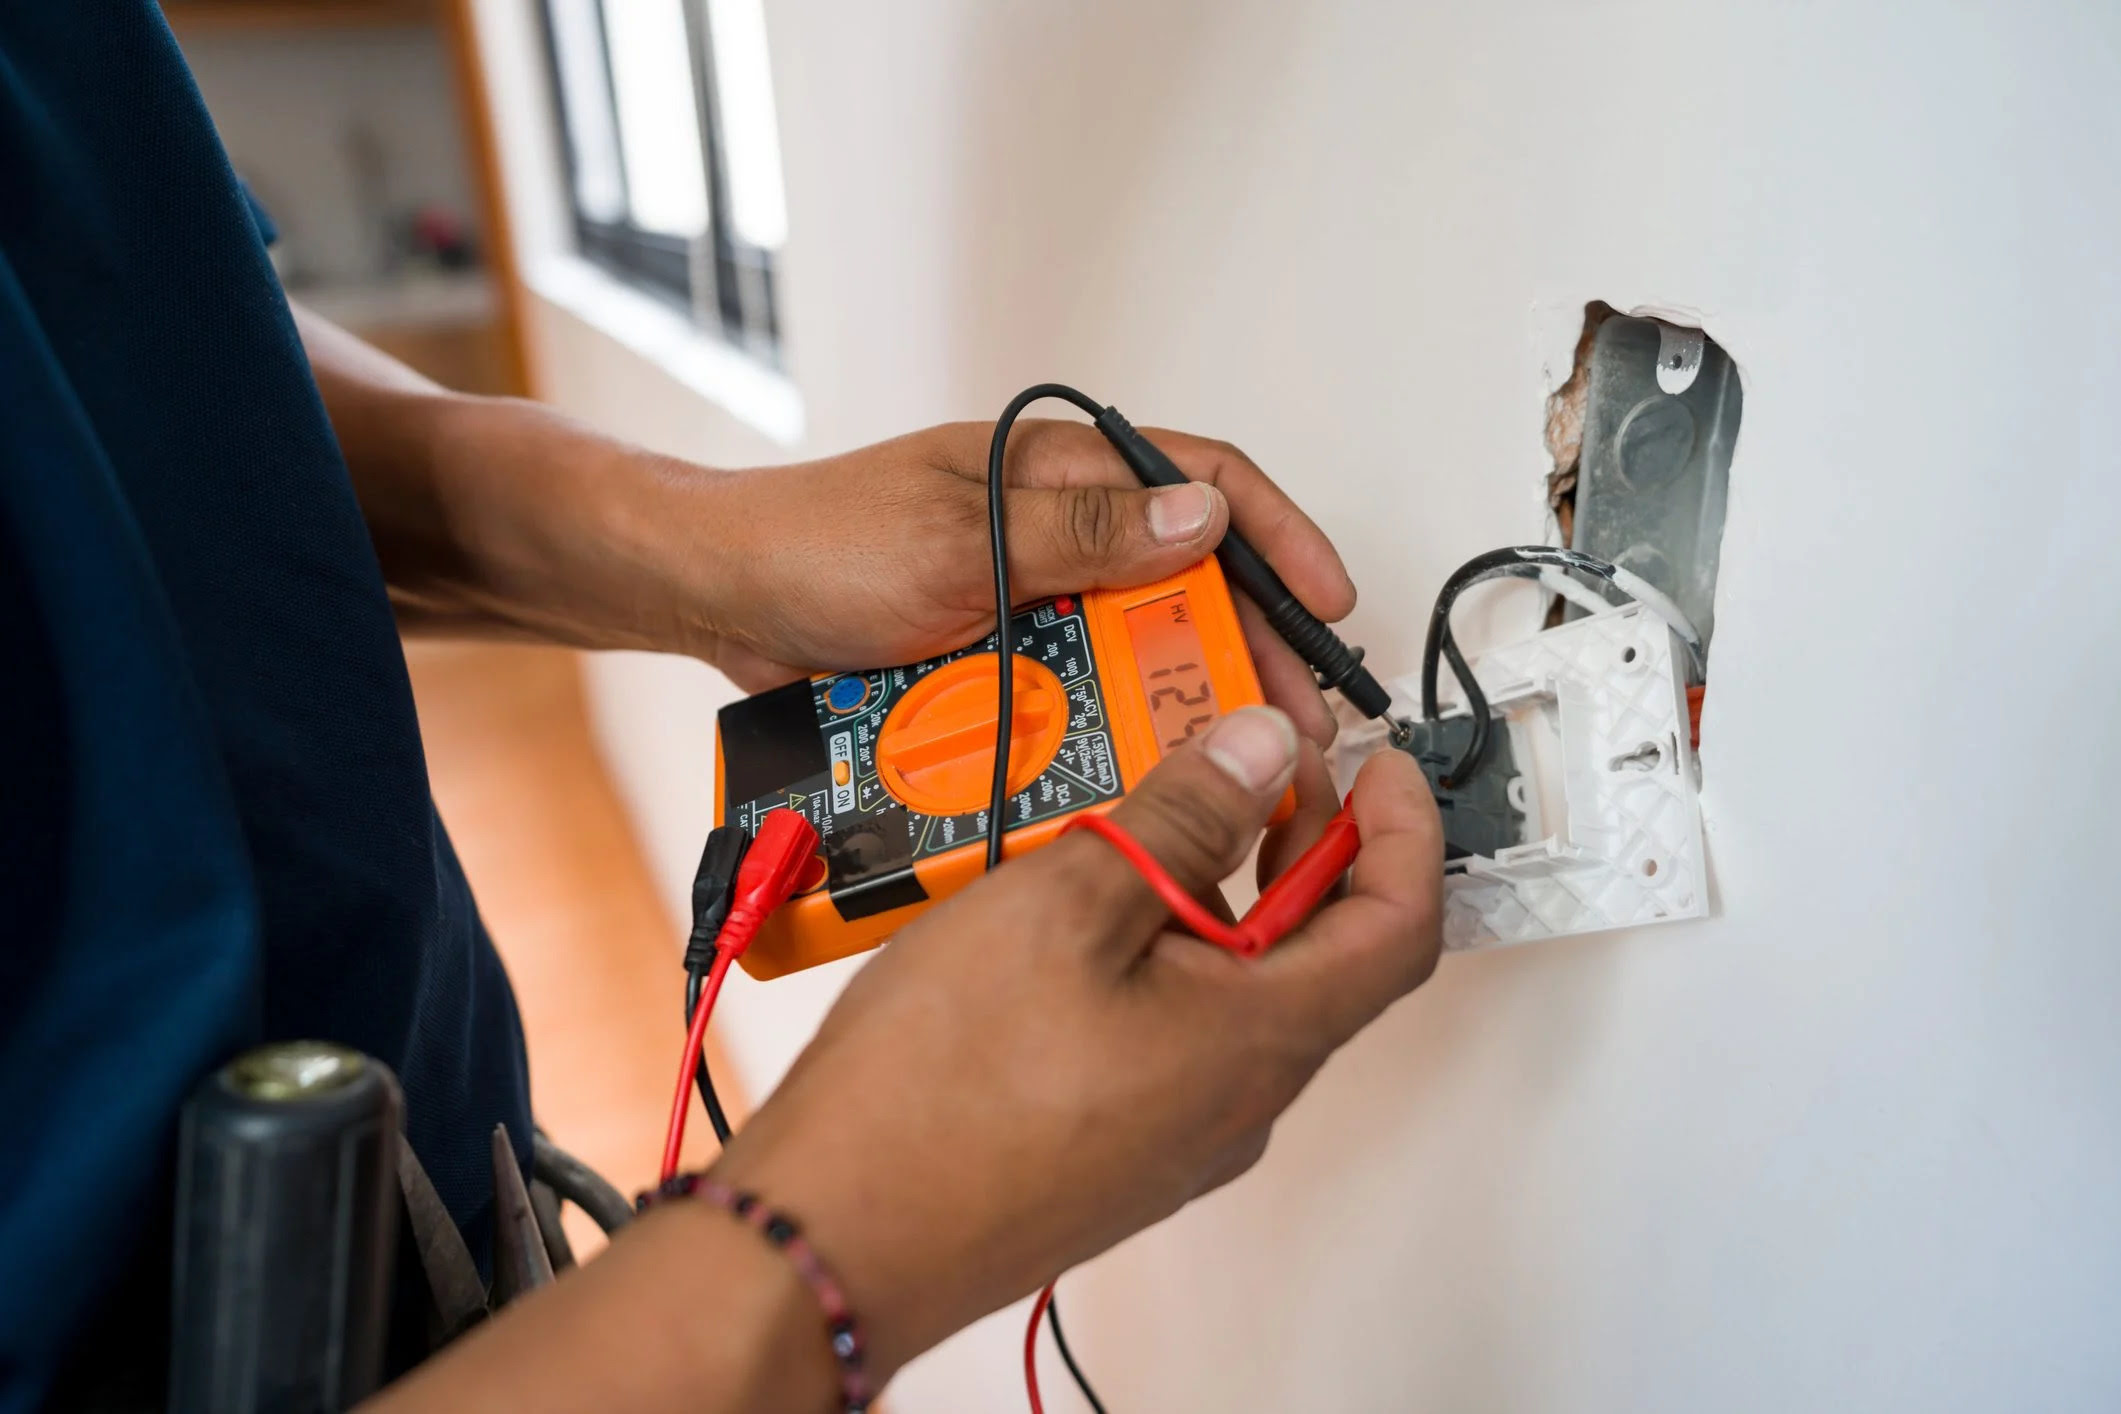
- Match the wires: Use a visual inspection or a multimeter to identify and match the corresponding wires. The black wire from one end should be connected to the black wire from the other end, and the white wire should be connected to the white wire. If there is a green or bare wire, it should be connected to another green or bare wire or a designated grounding point.
- Twist the wires together: Once you have identified and matched the wires, twist the corresponding wires together. Use a pair of pliers, if necessary, to help achieve a secure connection. Ensure that the twisted wires are tightly joined to minimize the risk of loose or exposed connections.
- Check for continuity: After twisting the wires, it is essential to check for continuity. Use a multimeter or continuity tester to ensure that there is a continuous flow of electricity through the connected wires. This will help verify the integrity of the connection and ensure that it will function properly.
Take your time to carefully connect the wires, ensuring a secure and reliable connection. This step is crucial for the safe and effective operation of the extended cord.
Once the wires are connected and have been checked for continuity, it’s time to move on to the next step – insulating the connections.
Step 6: Insulate the Connections
Insulating the connections is a critical step in extending an electrical cord. Proper insulation ensures the safety and reliability of the extended cord, preventing any potential electrical hazards or short circuits.
Follow these steps to insulate the connections:
- Prepare the electrical tape: Cut a length of electrical tape that is sufficient to wrap around the twisted wire connections. The tape should be about twice the length of the connection area.
- Wrap the connections: Starting from the base of the twisted wires, begin wrapping the electrical tape tightly around the twisted section. Continue wrapping in a spiral motion, overlapping the tape slightly with each turn. Make sure to cover the entire exposed area of the connections.
- Secure the ends: Once you have wrapped the connections, ensure that the ends of the electrical tape are firmly pressed down to prevent it from unraveling. This will provide additional protection and maintain the integrity of the insulation.
Alternatively, you can use heat shrink tubing to insulate the connections. Heat shrink tubing is a plastic tube that shrinks when heated, creating a tight and secure seal around the connections. To use heat shrink tubing, slide it over the twisted wire connections before joining them, and then use a heat source (such as a heat gun or a lighter) to shrink the tubing around the connections.
Both electrical tape and heat shrink tubing provide effective insulation for the connections. Choose the method that is most suitable for your needs and the materials you have available.
With the connections properly insulated, you are ready to move on to the next step – testing the extended cord.
Step 7: Test the Extended Cord
After completing the previous steps, it’s crucial to test the extended cord to ensure that it is functioning properly and safely before putting it into regular use.
Follow these steps to test the extended cord:
- Plug in a device: Connect a device or appliance to the female (socket) end of the extended cord. Make sure the device is in good working condition and preferably has a known power consumption.
- Plug into a power source: Insert the male (plug) end of the extended cord into a nearby electrical outlet.
- Turn on the device: Switch on the device or appliance to test if it is receiving power through the extended cord. Ensure that the device operates as expected, without any issues or disruptions.
- Check for stability: While the device is in operation, make sure to monitor the connection and cords for any signs of overheating, fraying, or instability. If you notice any abnormalities, immediately unplug the cords and reassess the connections.
It is important to pay attention to any unusual noises, sparks, or irregular behavior from the device or cords during the testing process. If you encounter any issues, disconnect the extended cord and inspect the connections before proceeding.
If the extended cord passes the testing phase and functions properly with the connected device, you can proceed to the final step – securing the connections.
Step 8: Secure the Connections
After testing the extended cord and ensuring its functionality, the final step is to secure the connections. This will help maintain a reliable and durable extension, preventing any accidental disconnections or damage to the wires.
Follow these steps to secure the connections:
- Use electrical tape: Start by wrapping electrical tape around the entire area where the wires are joined, including the insulation and the exposed sections of the connections. Wrap it tightly and make several overlapping layers for added strength and stability.
- Apply heat shrink tubing (optional): If you are using heat shrink tubing, position it over the wrapped connections and use a heat source, such as a heat gun or a lighter, to shrink the tubing securely around the insulation and connections. Ensure that the tubing fully covers and encapsulates the wrapped connections for maximum protection.
- Apply additional layers (optional): If desired, you can add extra layers of electrical tape over the heat shrink tubing to provide additional insulation and reinforcement. This step is optional but can offer extra security and durability.
It is important to note that the connections should be made in a way that they remain well-insulated and protected from exposure to moisture, dust, or other environmental factors. Regularly inspect the secured connections for any signs of wear or damage, and if any issues arise, promptly address them to maintain a safe electrical connection.
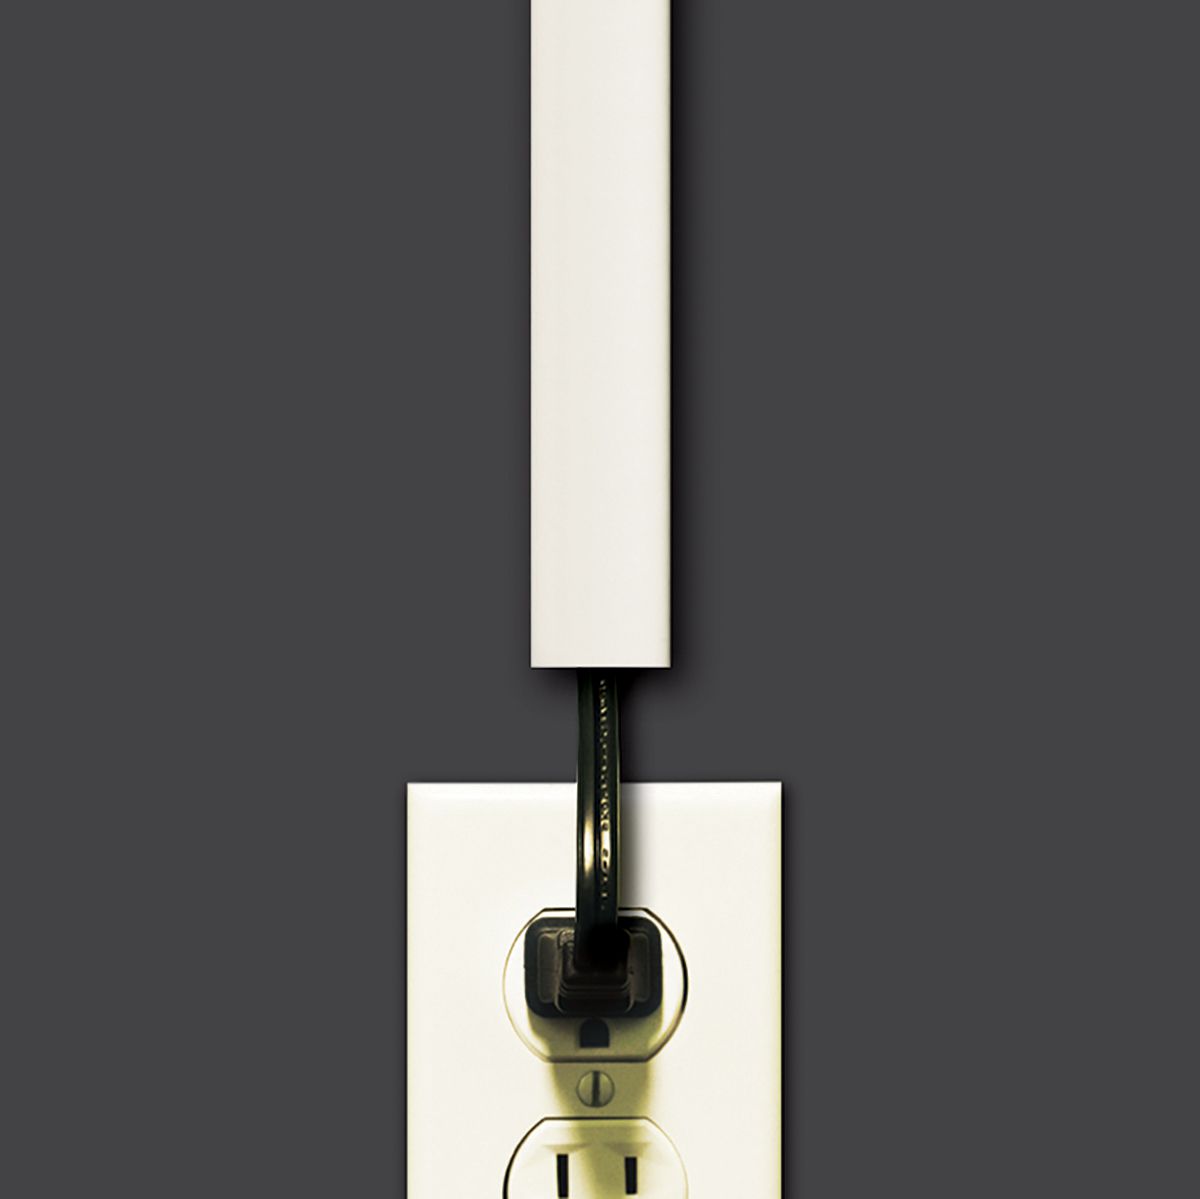
With the connections secured, you have successfully extended the electrical cord. Remember to label the cord for easy identification and indicate which end is the male (plug) or female (socket) end. This will help prevent any confusion when using the extended cord in the future.
Congratulations! You have now completed all the necessary steps to extend an electrical cord. With proper care and maintenance, your extended cord should serve you well in providing convenient access to power in those hard-to-reach places.
Remember, if at any point you are unsure or uncomfortable with any step of the process, it is always recommended to seek the assistance of a qualified electrician to ensure your safety and the proper functioning of your electrical connections.
Stay safe and enjoy the convenience of your extended electrical cord!
Read more: How To Extend Electrical Wire In Attic
Conclusion
Extending an electrical cord can be a practical solution when you need to access power in areas that are far from an electrical outlet. By following the step-by-step guide provided in this article, you can safely and effectively extend the length of your electrical cord.
We started by assessing the required cord length and gathering the necessary materials. Then, we cut the extension cord to the desired length and stripped the wire ends. After that, we connected the wires, insulated the connections, and tested the extended cord to ensure its proper functionality.
To complete the process, we secured the connections, using electrical tape or heat shrink tubing for added protection. By taking these steps, you can rest assured that your extended cord is safely connected and ready for use.
Remember, when working with electricity, it is crucial to prioritize safety. If you are unsure or uncomfortable with any step of the process, it is always best to consult a qualified electrician for assistance.
With your extended electrical cord ready to provide power where you need it most, you can enjoy the convenience and versatility it brings. Whether it’s for powering appliances, devices, or tools, your extended cord will ensure access to electricity in those hard-to-reach locations.
Maintain regular inspections of the cord and connections to ensure they remain secure and in good condition. By properly maintaining and caring for your extended cord, you can maximize its lifespan and avoid any potential hazards.
We hope this guide has been helpful and that you feel confident in extending your electrical cord. Now, go ahead and enjoy the freedom of power wherever you need it!
Now that you've mastered extending electrical cords, why not tackle a new challenge? If you're looking to light up your garage with power tools or need a convenient charging station for your vehicle, learning how to run overhead electrical wire is your next step. This guide offers practical advice and detailed steps to ensure safe and effective installation, making any electrical upgrade easier than you might think.
Frequently Asked Questions about How To Extend An Electrical Cord
Was this page helpful?
At Storables.com, we guarantee accurate and reliable information. Our content, validated by Expert Board Contributors, is crafted following stringent Editorial Policies. We're committed to providing you with well-researched, expert-backed insights for all your informational needs.


0 thoughts on “How To Extend An Electrical Cord”