Articles
How To Make Bathroom Vanity
Modified: August 26, 2024
Discover helpful articles on how to make a beautiful and functional bathroom vanity. Get step-by-step instructions, tips, and inspiration to create your own vanity masterpiece.
(Many of the links in this article redirect to a specific reviewed product. Your purchase of these products through affiliate links helps to generate commission for Storables.com, at no extra cost. Learn more)
Introduction
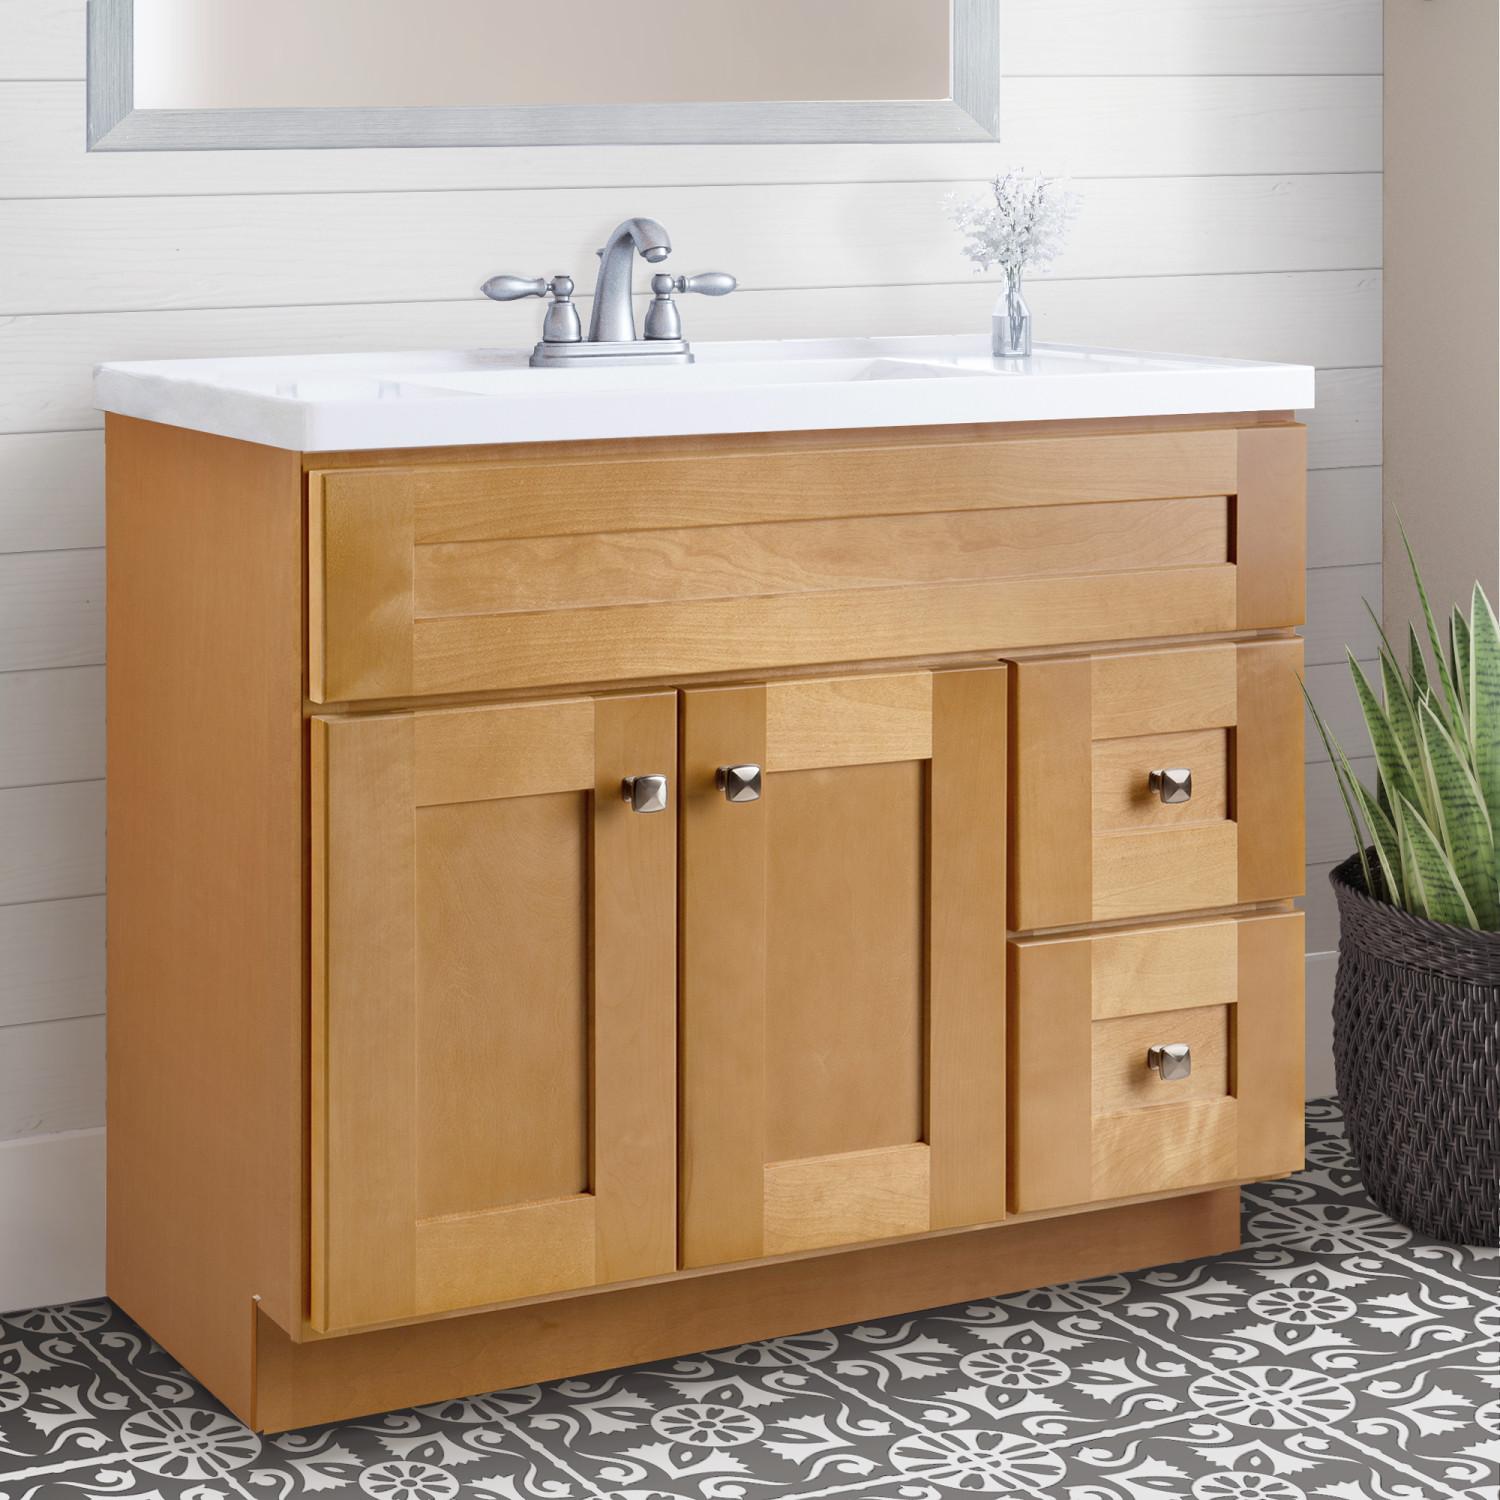
When it comes to renovating or upgrading your bathroom, one of the key elements that can truly transform the space is a stylish and functional bathroom vanity. A well-designed vanity not only adds storage and organization to your bathroom but also becomes a statement piece that enhances the overall aesthetics. While there are countless ready-made options available in the market, there’s something special about building your own bathroom vanity.
In this article, we will guide you through the process of creating your own bathroom vanity from scratch. Whether you’re a seasoned DIY enthusiast or a beginner looking for a new project, this step-by-step guide will help you build a beautiful and customized vanity that fits your space and requirements.
Before you embark on this DIY journey, it’s important to gather all the necessary tools and materials. Let’s take a look at what you’ll need:
Key Takeaways:
- Building your own bathroom vanity allows for customization, cost savings, and a sense of accomplishment. From planning and measurements to finishing touches, the DIY project offers the freedom to create a unique and functional centerpiece for your bathroom.
- By embarking on the DIY journey of building a bathroom vanity, you not only transform your space but also gain valuable skills and knowledge in DIY projects. The process encourages creativity, personal flair, and the satisfaction of creating a piece of furniture admired for years to come.
Read more: How To Make A Vanity Around A Pedestal Sink
Tools and Materials
Before you start building your bathroom vanity, make sure you have the following tools and materials on hand:
Tools:
- Measuring tape
- Level
- Drill
- Screwdriver
- Saw (circular or table saw)
- Sander
- Clamps
- Pencil
- Safety goggles
- Gloves
Materials:
- Plywood or hardwood for the vanity base
- Countertop material (such as marble, granite, or quartz)
- Sink
- Faucet
- Wood screws
- Wood glue
- Drawer slides
- Cabinet knobs or handles
- Sandpaper
- Stain or paint
- Sealant
Once you have gathered all the necessary tools and materials, you’re ready to move on to the next step: planning and measurements.
Planning and Measurements
Before you start building your bathroom vanity, it’s important to carefully plan and take accurate measurements. This will ensure that the vanity fits perfectly in your bathroom and meets your specific needs. Here’s what you need to do:
1. Assess your space: Take a good look at your bathroom and determine where you want to place the vanity. Consider the available space, plumbing connections, and any existing fixtures that may impact the placement.
2. Measure the dimensions: Use a measuring tape to measure the width, height, and depth of the area where the vanity will be installed. Make sure to account for any trim or baseboards that might affect the measurements.
3. Consider your storage needs: Think about the amount of storage you require in your vanity. Consider the number of drawers, shelves, or cabinets you want to incorporate and measure accordingly.
4. Determine the sink size: If you already have a sink, measure its dimensions. Otherwise, decide on the sink size and style you want and take note of its measurements. This will help you ensure that the vanity top has the appropriate cutout.
5. Sketch the design: Put your measurements on paper and sketch out the design of your vanity. Consider the overall style and aesthetics you want to achieve, as well as any specific features or details you wish to include.
6. Plan for plumbing: Take into account the location of the plumbing connections, including the drain and water supply lines. Ensure that there is enough space in the vanity to accommodate these connections.
By thoroughly planning and taking accurate measurements, you can avoid costly mistakes and ensure that your bathroom vanity fits perfectly in your space. With the planning phase complete, it’s time to move on to building the vanity base.
Building the Vanity Base
Now that you have completed the planning and measurements phase, it’s time to start building the base for your bathroom vanity. Follow these steps to create a sturdy and functional vanity base:
1. Cut the wood: Using a saw, cut the plywood or hardwood boards to the appropriate dimensions according to your measurements. This will form the sides, top, and bottom panels of the vanity base.
2. Assemble the frame: Begin by creating the frame of the vanity base by attaching the side panels to the top and bottom panels. Use wood screws and wood glue to securely join the pieces. Ensure that the corners are square and the frame is level.
3. Add support: To reinforce the structure, install additional support beams or brackets inside the vanity base. These will help distribute the weight evenly and provide added stability.
4. Create the drawer and door openings: If you plan to include drawers and doors in your vanity, measure and mark the desired locations. Use a saw to carefully cut out the openings, ensuring that they are precise and fit your drawer slides and hinges.
5. Sand and finish: Once the base is assembled, use sandpaper to smooth out any rough edges or surfaces. This will provide a clean and polished look. Apply a coat of stain or paint of your choice to protect the wood and enhance the appearance.
6. Install drawer slides and hardware: If you are incorporating drawers in your vanity, install the drawer slides according to the manufacturer’s instructions. Test the drawers to ensure they open and close smoothly. Additionally, attach the cabinet knobs or handles to the doors.
By following these steps, you’ll have a solid and functional base for your bathroom vanity. Now, it’s time to move on to the next step: attaching the vanity top.
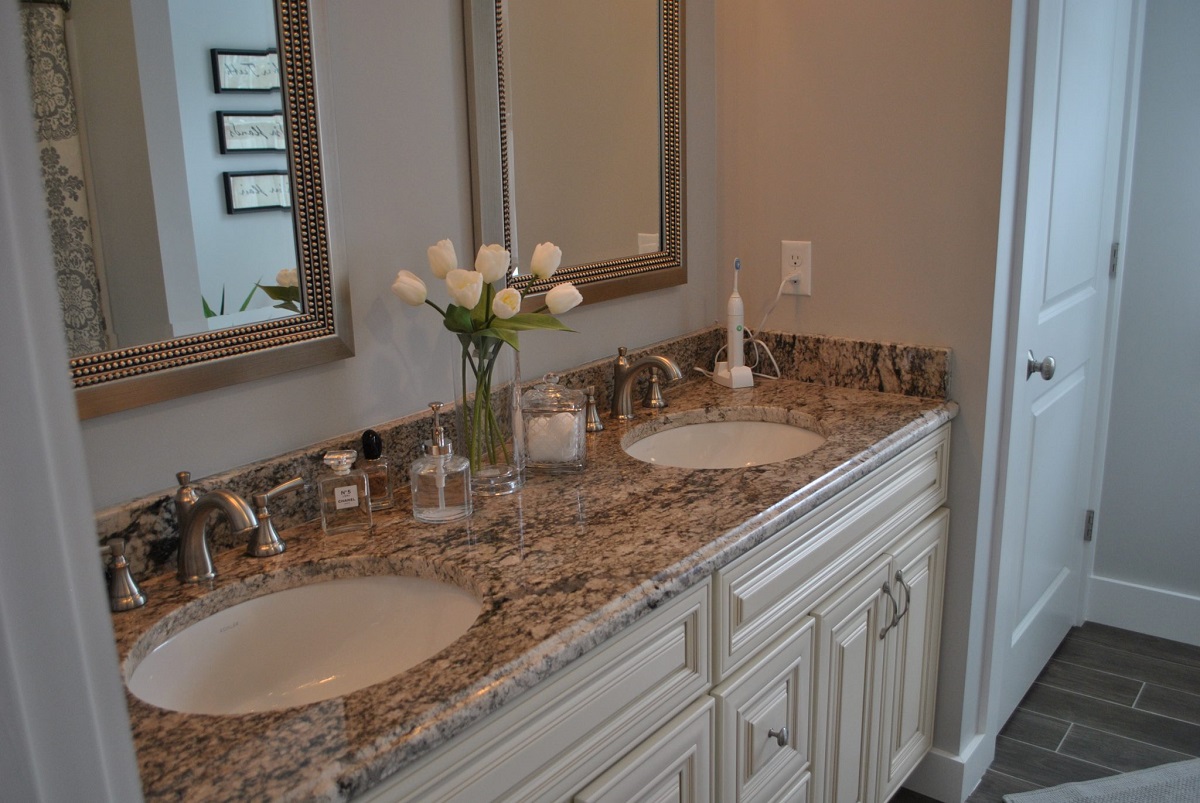
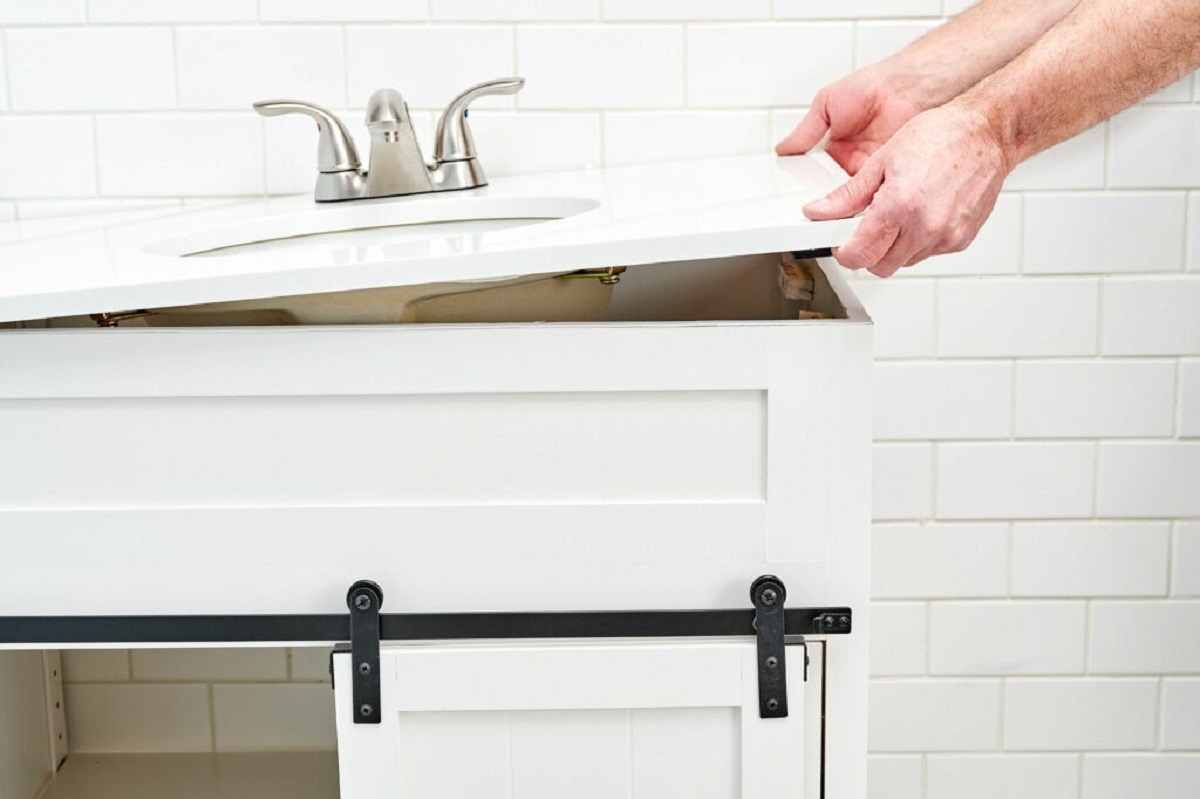
Attaching the Vanity Top
Once you have built the base for your bathroom vanity, it’s time to move on to attaching the vanity top. Here’s how you can do it:
1. Choose your countertop material: Select the countertop material you want to use, such as marble, granite, or quartz. Ensure that it is properly sized and cut to fit the dimensions of your base.
2. Prep the base: Clean the top surface of the vanity base to remove any dust or debris. Make sure it is smooth and level.
3. Apply adhesive: Apply a thin layer of construction adhesive, such as silicone or adhesive caulk, to the top of the base. Ensure that the adhesive is evenly distributed.
4. Place the countertop: Carefully lift the countertop and place it onto the base, aligning it with the edges. Apply light pressure to ensure good adhesion between the countertop and the base.
5. Secure the countertop: Use mounting brackets or clips to secure the countertop to the base. Follow the manufacturer’s instructions for proper placement and tightening of the brackets or clips.
6. Seal the edges: Apply a bead of silicone or other appropriate sealant along the edges of the countertop where it meets the base. Smooth out the sealant using a caulk smoothing tool or your finger. This will provide a watertight seal and prevent any water damage.
By following these steps, you can securely attach the vanity top to your base. Now, let’s move on to installing the sink and faucet.
When making a bathroom vanity, be sure to measure the space carefully and choose a durable, water-resistant material for the countertop and cabinet. Consider the plumbing and storage needs when designing the layout.
Read more: How To Make Bathroom Vanity Taller
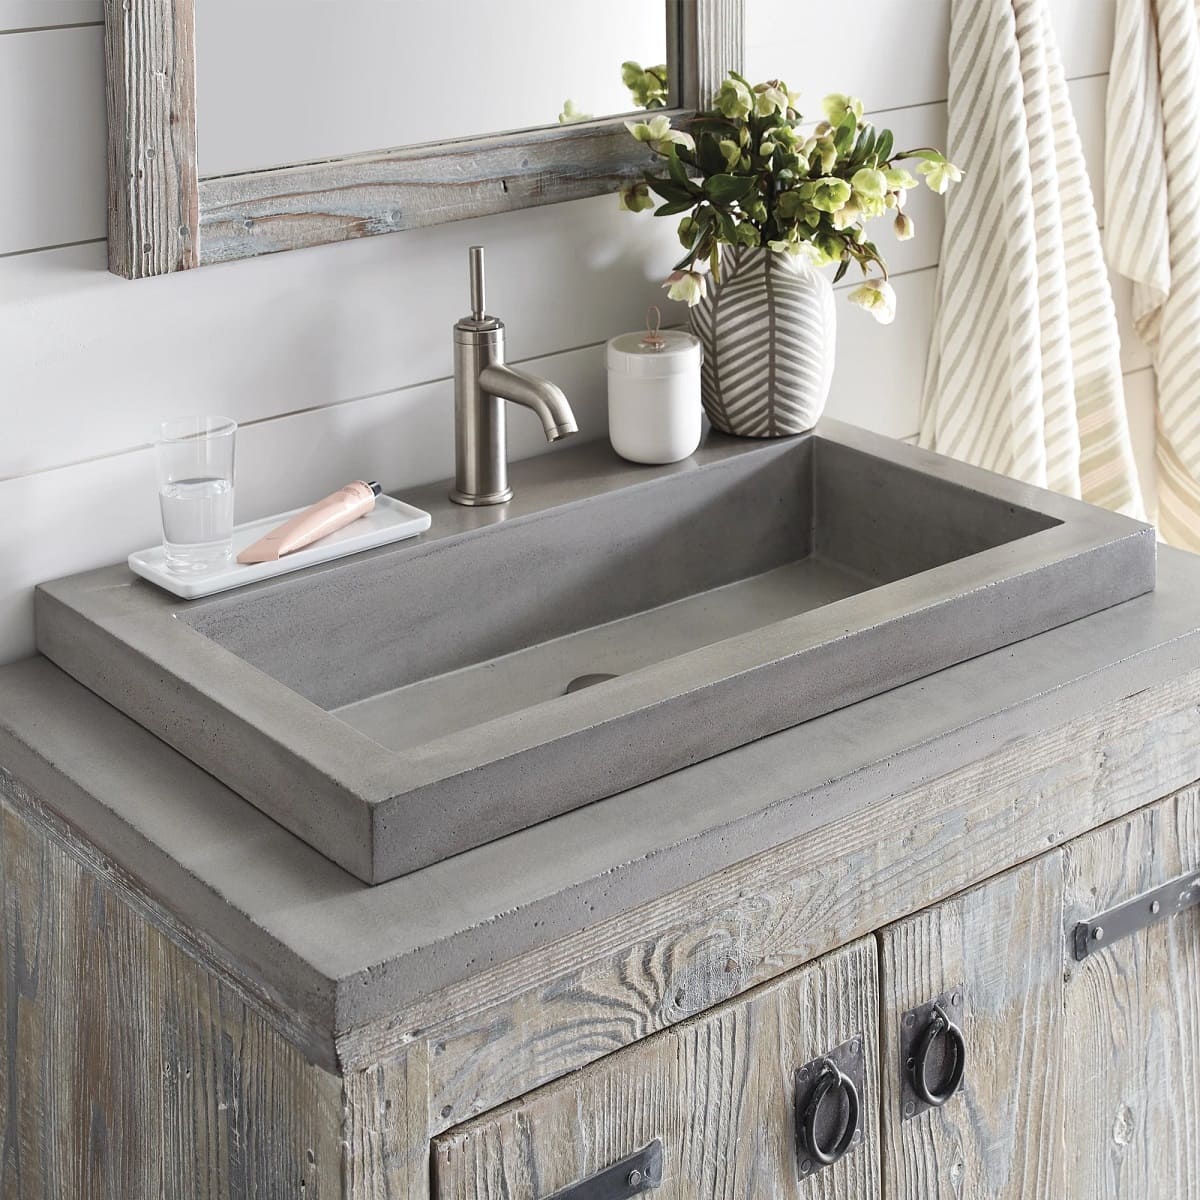
Installing the Sink and Faucet
Once you have successfully attached the vanity top, it’s time to move on to installing the sink and faucet. Follow these steps to complete this crucial step:
1. Prepare the sink: Start by assembling the sink according to the manufacturer’s instructions. This may involve attaching any mounting brackets or clips that secure the sink to the countertop.
2. Measure and mark: Measure and mark the desired location for the sink on the countertop. Ensure that it is centered and aligned with the vanity base.
3. Cut the hole: Using a hole saw or jigsaw, carefully cut out the marked area on the vanity top to create a hole for the sink. Take your time and make precise cuts.
4. Install the sink: Place the sink into the hole you created, ensuring that it sits flush with the countertop. Secure the sink using the provided clips or brackets. Check that it is level and properly aligned.
5. Attach the faucet: Install the faucet according to the manufacturer’s instructions. This typically involves connecting the water supply lines and securing the faucet to the sink or countertop. Make sure all connections are tight and secure.
6. Test for leaks: Turn on the water supply and test the sink and faucet for any leaks. Check the connections and make adjustments if needed. Allow the water to run for a few minutes to ensure a proper flow.
With the sink and faucet successfully installed, your bathroom vanity is starting to take shape. The next step is to add storage and shelves to enhance its functionality.
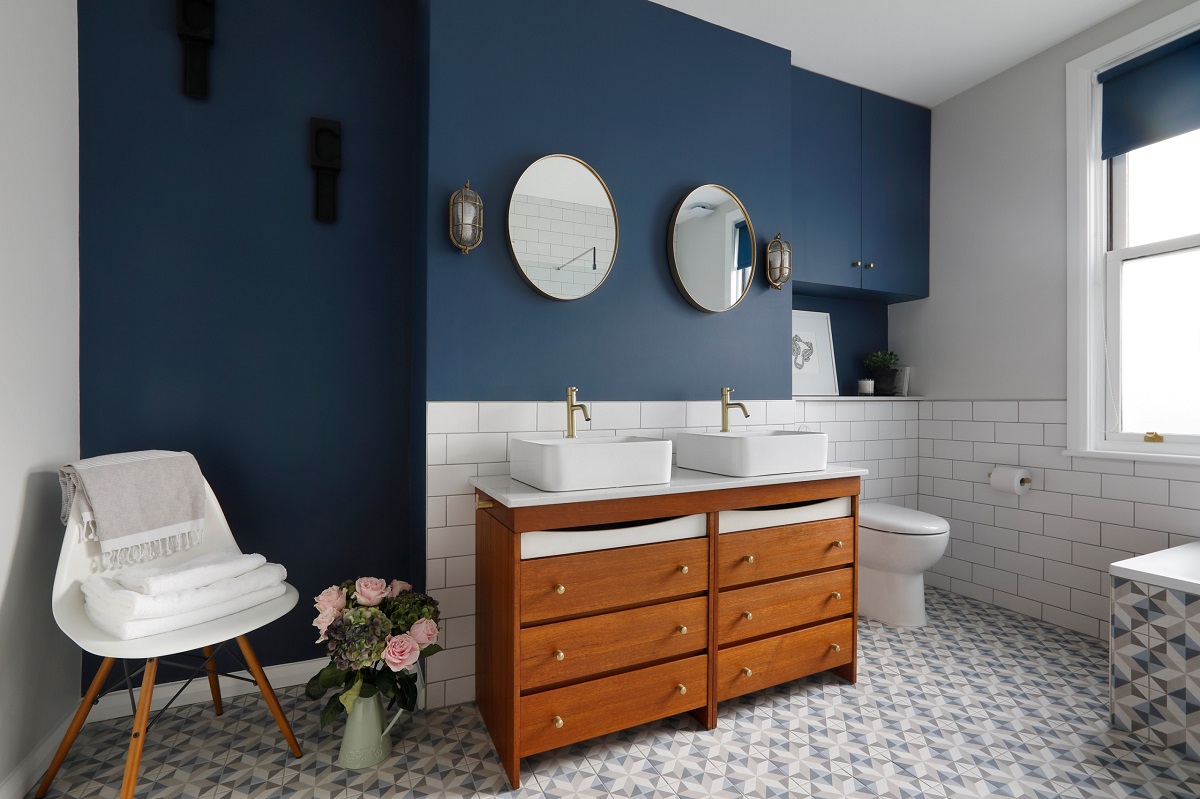
Adding Storage and Shelves
Now that the main components of your bathroom vanity are in place, it’s time to focus on adding storage and shelves to maximize its functionality. Here’s how you can do it:
1. Determine the storage needs: Assess your storage requirements and decide on the type and number of storage options you want to incorporate into your vanity. This could include drawers, cabinets, or open shelves.
2. Build the storage components: Using the measurements and design from your initial planning phase, begin building the drawers, cabinets, or shelves. Cut the necessary pieces from plywood or hardwood and assemble them with screws and glue.
3. Install drawer slides and hinges: If you’re including drawers or cabinet doors, install the appropriate drawer slides and hinges according to the manufacturer’s instructions. Ensure that they are properly aligned and operate smoothly.
4. Attach the storage components: Securely attach the drawers, cabinets, or shelves to the vanity base. Check for proper alignment and adjust if necessary. Make sure they are level and securely fastened.
5. Add finishing touches: Sand the storage components to smooth any rough surfaces. Apply a coat of stain or paint to match the overall look of your vanity. Add cabinet knobs or handles for a polished and functional touch.
6. Test functionality: Open and close the drawers and doors to ensure they operate properly. Test the stability and weight-bearing capacity of any shelves you have installed. Make any necessary adjustments or reinforcements if needed.
By adding storage and shelves to your vanity, you create a functional and organized space in your bathroom. It allows you to keep essentials within easy reach and maintain a clutter-free environment. With the storage components in place, it’s time to move on to the final step: adding the finishing touches.
Finishing Touches
With the construction of your bathroom vanity complete, it’s time to add the finishing touches that will elevate its appearance and functionality. Here are some final steps you can take to ensure your vanity is a stunning addition to your bathroom:
1. Sand and finish: Use a fine-grit sandpaper to smooth any rough areas on your vanity. Pay special attention to the edges and corners. Once you’re satisfied with the smoothness, apply a coat of paint or stain to protect the wood and enhance its visual appeal.
2. Apply sealant: If your vanity is made of wood, apply a coat of sealant to protect it from moisture and damage. This is particularly important in a bathroom environment where humidity levels can be high. The sealant will help maintain the longevity of your vanity.
3. Enhance with backsplash: Consider adding a stylish backsplash behind your vanity to protect the wall from water damage and enhance the overall visual appeal. Use materials such as tiles, mosaic, or a waterproof panel that complements the design of your vanity and bathroom.
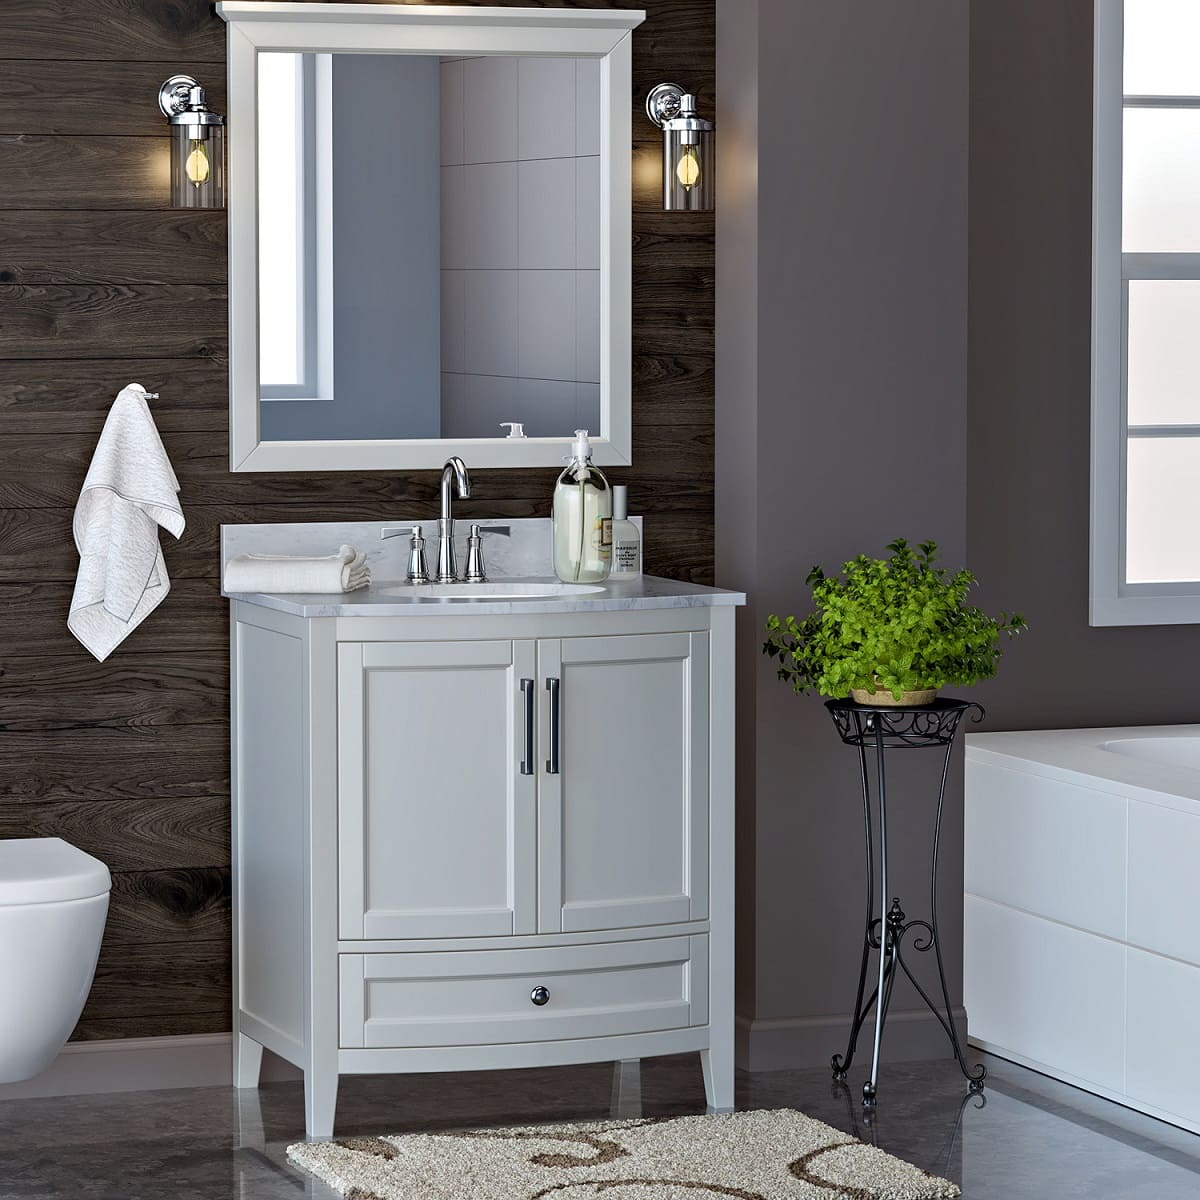
4. Install mirror and lighting: Complete the look of your vanity setup by installing a mirror above it. Choose a mirror that fits the style and size of your vanity, creating a cohesive and balanced look. Additionally, ensure proper lighting by installing light fixtures or sconces that provide adequate illumination for grooming and daily tasks.
5. Organize and accessorize: Finally, organize the storage compartments of your vanity by arranging essentials such as toiletries, towels, and other bathroom items. Consider adding decorative accents and accessories that complement the overall theme and style of your bathroom, making it feel cohesive and inviting.
By paying attention to these finishing touches, you can create a bathroom vanity that not only serves its functional purpose but also adds a touch of style and elegance to your space. Take your time to ensure every detail is perfect, and enjoy the satisfaction of knowing that you built a custom vanity that perfectly fits your needs.
With the finishing touches complete, step back and admire your handiwork. You have successfully created a beautiful and functional bathroom vanity that adds value to your space. Congratulations!
Conclusion
Building your own bathroom vanity is a rewarding and satisfying DIY project that allows you to customize your space and create a unique centerpiece for your bathroom. By following the step-by-step guide provided in this article, you can successfully build a vanity that suits your style, meets your storage needs, and adds a personal touch to your bathroom.
From planning and measurements to constructing the base, attaching the vanity top, installing the sink and faucet, adding storage and shelves, and putting on the finishing touches, each step contributes to the overall success of your project. Remember to pay attention to details, take accurate measurements, and use quality materials and tools to ensure a top-notch result.
Not only does building your own bathroom vanity give you a sense of accomplishment, but it also allows you to save money compared to purchasing a ready-made vanity. Additionally, you have the freedom to customize every aspect, from the size and shape to the color and design, making it a perfect fit for your bathroom space.
As you embark on your DIY journey, don’t be afraid to get creative and add your personal flair to the project. Consider different materials, finishes, and hardware options to match your style and the overall aesthetic of your bathroom. Don’t forget to prioritize functionality and organization by incorporating storage options that suit your needs.
By building your own bathroom vanity, you’re not only transforming your bathroom but also gaining valuable skills and knowledge in DIY projects. So roll up your sleeves, gather your tools, and get ready to create a piece of furniture that will be admired for years to come.
Remember to take your time, enjoy the process, and don’t hesitate to seek help or guidance if needed. With patience and determination, you’ll have a stunning bathroom vanity that adds both style and functionality to your space. Happy building!
Frequently Asked Questions about How To Make Bathroom Vanity
Was this page helpful?
At Storables.com, we guarantee accurate and reliable information. Our content, validated by Expert Board Contributors, is crafted following stringent Editorial Policies. We're committed to providing you with well-researched, expert-backed insights for all your informational needs.


0 thoughts on “How To Make Bathroom Vanity”