Articles
How To Frame A Wall The Simple Way
Modified: December 7, 2023
Learn the simple way to frame a wall with our informative articles. Follow our step-by-step guide for expert tips and techniques!
(Many of the links in this article redirect to a specific reviewed product. Your purchase of these products through affiliate links helps to generate commission for Storables.com, at no extra cost. Learn more)
Introduction
Welcome to the world of home improvement! Whether you’re a seasoned DIY enthusiast or a first-time homeowner looking to make some updates, knowing how to frame a wall is a fundamental skill that can open up a world of possibilities. From creating additional rooms to dividing up space, framing a wall is a crucial step in any renovation or construction project.
In this comprehensive guide, we will walk you through the simple yet effective way to frame a wall. We will cover everything from gathering the necessary tools and materials to finishing touches like adding electrical outlets and insulation. By following the steps outlined in this article, you’ll be well on your way to creating sturdy, functional walls that can transform your living space.
Before we dive into the process, it’s important to note that framing a wall requires basic carpentry skills and the use of power tools. If you’re not comfortable with these tasks, it’s always a good idea to consult a professional or seek assistance from a knowledgeable friend or family member.
Now, let’s roll up our sleeves and get ready to frame a wall!
Key Takeaways:
- Framing a wall requires precision and attention to detail, from measuring and marking to securing the wall to the existing structure. Safety, accuracy, and proper techniques are essential for a successful DIY project.
- Optional enhancements like adding electrical outlets, insulation, and finishing with drywall or paneling can greatly improve the functionality and energy efficiency of the framed wall. These steps provide long-term benefits for your home.
Read more: How To Build A Simple Bed Frame
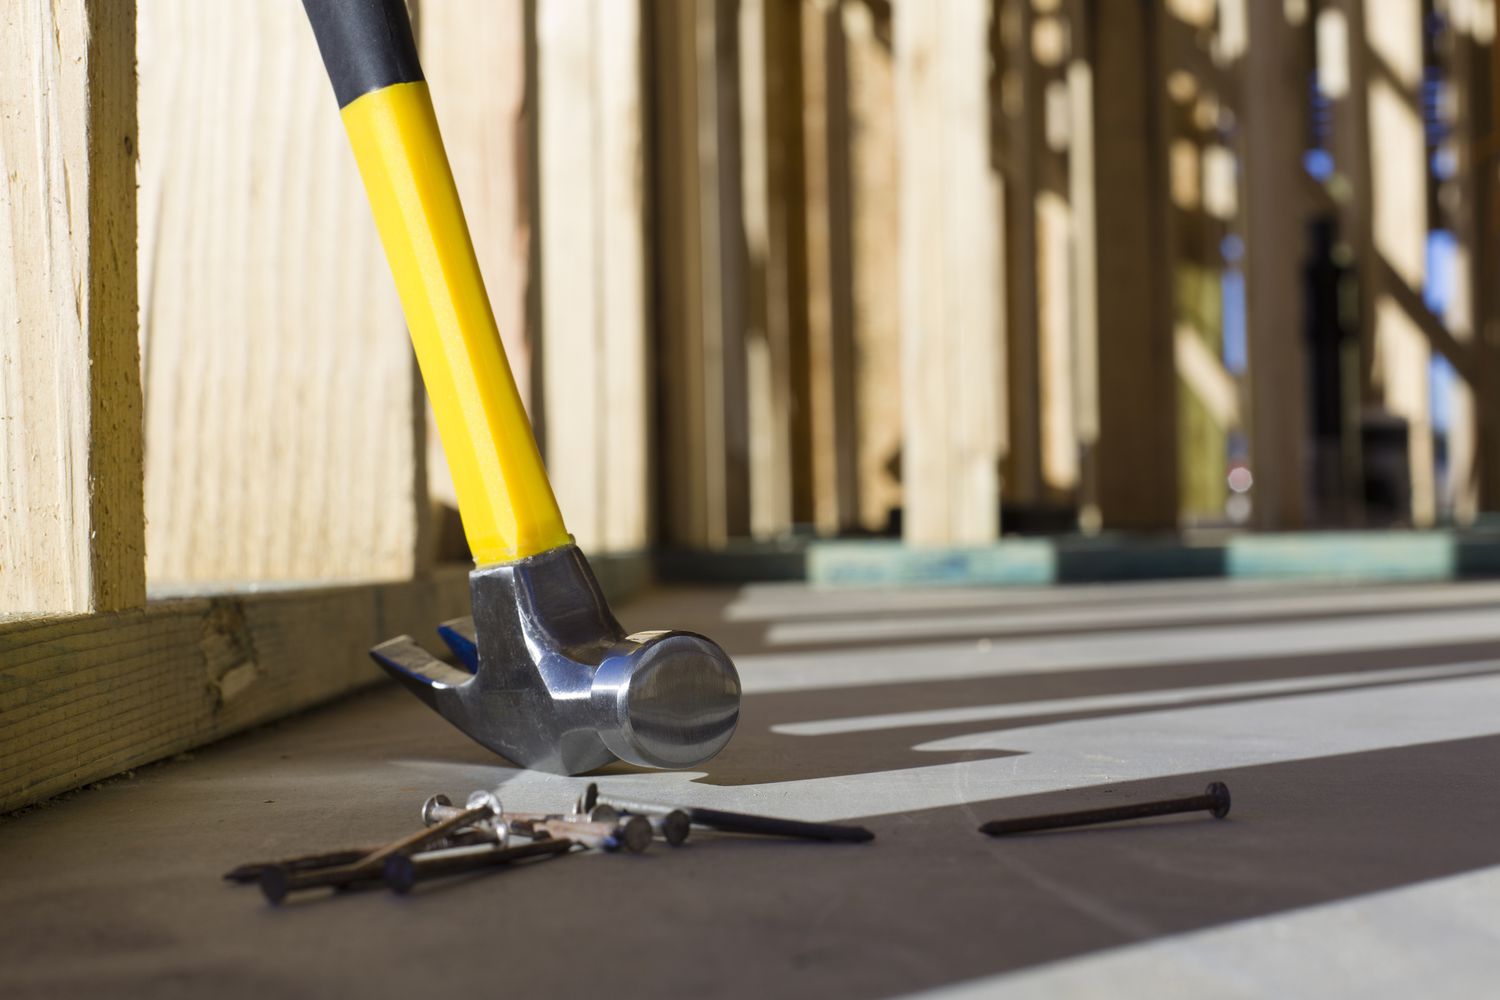
Step 1: Gather the necessary tools and materials
The first step in framing a wall is to gather all the essential tools and materials. Having everything you need on hand before you begin will make the process smoother and more efficient. Here’s a list of what you’ll need:
- Measuring tape
- Pencil
- Level
- Stud finder
- Circular saw or miter saw
- Power drill
- Nail gun or hammer
- Safety goggles
- Ear protection
- Dust mask
- 2×4 lumber for the studs, top and bottom plates
- Construction adhesive
- Nails or screws
- Anchor bolts (if attaching the wall to concrete)
- Drywall or paneling (for finishing the wall)
Once you have gathered all the necessary tools and materials, you’ll be ready to move on to the next step.
Step 2: Measure and mark the placement of the wall
Before you start constructing the wall, it’s crucial to determine the precise placement and dimensions of the wall. Careful measurements and marking will ensure that the wall is properly aligned and fits seamlessly into your space. Here’s how to measure and mark the placement of the wall:
- Measure the desired length of the wall using a measuring tape. Mark the starting and ending points of the wall on the floor and ceiling with a pencil.
- Using a level and a straightedge, draw a straight line between the starting and ending points on both the floor and ceiling. This will serve as a guide for the bottom and top plates of the wall.
- Next, locate and mark the placement of any doors, windows, or openings in the wall. Measure and mark their dimensions and position on the floor and ceiling. This will help you accurately frame the openings later on.
- Using a stud finder, locate the existing studs or wall studs near the intended placement of the new wall. Mark their positions on the floor and ceiling as these markings will act as reference points for attaching the new wall.
Take your time with this step and double-check all the measurements and markings. Accurate measurements will ensure that the wall fits perfectly and aligns with the existing structure in your space.
Once you have measured and marked the placement of the wall, you’re ready to move on to the next step: installing the bottom plate.
Step 3: Install the bottom plate
With the measurements and markings in place, it’s time to start building the wall. The first component to install is the bottom plate, which provides a sturdy base for the entire structure. Follow these steps to install the bottom plate:
- Using a circular saw or miter saw, cut a 2×4 lumber according to the length measurement of the wall. This will be your bottom plate.
- Position the bottom plate along the marked line on the floor, ensuring that it is flush with the ends and corners of the wall. Use a level to make sure it is perfectly straight.
- Secure the bottom plate to the floor by driving nails or screws through the plate and into the subfloor. Make sure to space the nails or screws about 16 inches apart along the length of the plate.
- If you are attaching the wall to a concrete floor, use anchor bolts to secure the bottom plate. Drill holes into the concrete following the manufacturer’s instructions, then insert the anchor bolts and tighten them down.
Be sure to wear safety goggles and ear protection when using power tools. Additionally, if you’re attaching the bottom plate to a concrete floor, wear a dust mask to protect yourself from concrete dust.
Once the bottom plate is securely in place, you can proceed to the next step: cutting and installing the studs.
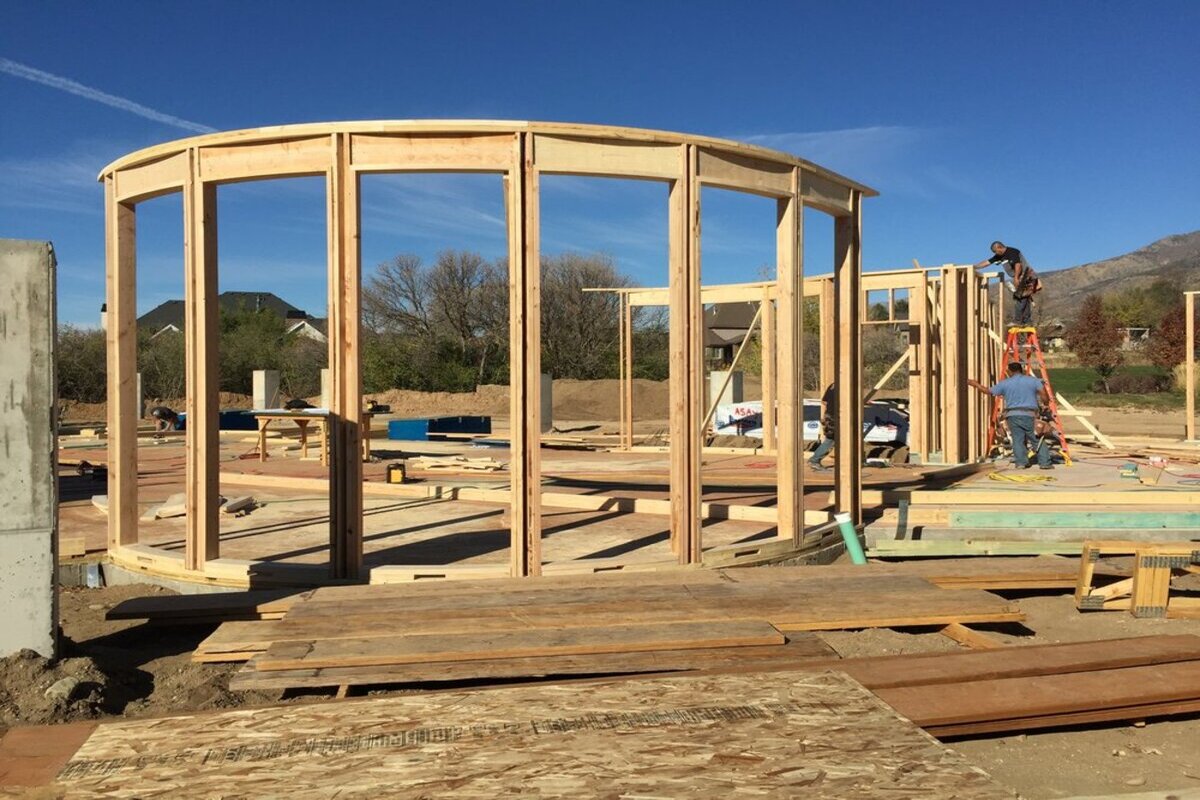
Step 4: Cut and install the studs
Now that you have the bottom plate in place, it’s time to cut and install the studs that will provide the vertical support for the wall. Follow these steps to cut and install the studs:
- Measure the height between the bottom plate and the top plate, taking into account any door or window openings. Subtract 3 inches from this measurement to account for the top and bottom plates.
- Using a circular saw or miter saw, cut 2×4 lumber to the calculated height measurement. These will be your vertical studs.
- Starting at one end of the wall, position a stud on its edge against the bottom plate. Ensure that it is flush with the end of the wall and plumb (level vertically). To check for plumb, use a level.
- Nail or screw the stud to the bottom plate, driving the fasteners through the stud and into the plate. Repeat this process at the other end of the wall.
- Measure and mark the spacing for the remaining studs, typically 16 inches on center. This means measuring 16 inches from the center of one stud to the center of the next.
- Continue to install the studs along the bottom plate, nailing or screwing them into place. Use a level to ensure that each stud is plumb.
- If there are any door or window openings, install additional studs on either side of the opening to provide support.
Take your time to ensure that each stud is properly installed and level. This will ensure the structural integrity of the wall.
Once all the studs are installed, you can move on to installing the top plate in the next step.
Read more: Simple Ways To Create A Calming Bedroom
Step 5: Install the top plate
With the studs in place, it’s time to install the top plate, which will complete the framing of the wall. Follow these steps to install the top plate:
- Measure the length of the wall and cut a 2×4 lumber to this measurement. This will be your top plate.
- Position the top plate on top of the installed studs, ensuring that it is flush with the ends and corners of the wall. Use a level to make sure it is perfectly straight.
- Nail or screw the top plate to the studs, driving the fasteners through the plate and into the studs. Space the nails or screws about 16 inches apart along the length of the plate.
- If the wall is longer than the length of the lumber you have, you may need to install multiple pieces of top plate. To join them together, use construction adhesive and attach a overlapping joint. Secure the joint with nails or screws for added stability.
Similar to the previous steps, it’s important to double-check that the top plate is level and properly aligned with the studs. This will ensure the overall stability and strength of the wall.
With the installation of the top plate complete, you’re now ready to secure the wall to the existing structure in the next step.
When framing a wall, make sure to measure and mark the placement of the studs accurately to ensure a sturdy and level structure. Use a level to check for plumb and straightness before securing the studs in place.
Step 6: Secure the wall to the existing structure
Now that the wall framing is complete, it’s time to secure it to the existing structure, whether it’s a floor or another wall. This step is crucial to ensure the stability and longevity of the framed wall. Follow these steps to secure the wall to the existing structure:
- Position the wall in its intended location, aligning it with the previously marked lines on the floor and ceiling.
- Using a power drill, pre-drill holes through the bottom plate of the framed wall and into the floor or subfloor beneath.
- Drive screws or nails through the pre-drilled holes to secure the bottom plate firmly to the floor or subfloor. Space the fasteners about 16 inches apart along the length of the bottom plate.
- If the wall is intended to be an interior wall and another wall intersects it, use a framing square to ensure that the walls are perpendicular to each other. Secure the intersecting walls together with screws or nails through the studs.
- If the wall is intended to be an exterior wall, you may need to anchor it to the concrete foundation. Consult a professional or local building codes to determine the appropriate anchor bolts or fasteners for your specific situation.
- Check the wall for any gaps or unevenness and make adjustments as necessary. Use shims to fill in any gaps between the wall and the existing structure.
Securely attaching the wall to the existing structure will provide stability and prevent any shifting or movement over time.
In the next step, we’ll discuss optional enhancements to your framed wall, such as adding electrical outlets and wiring.
Step 7: Add electrical outlets and wiring (optional)
Adding electrical outlets and wiring to your framed wall can greatly enhance its functionality and convenience. This step is optional but can be highly beneficial, especially if you’re creating a new room or renovating an existing space. Follow these steps to add electrical outlets and wiring to your framed wall:
- Create a plan: Determine where you want to place the electrical outlets on the wall. Keep in mind the layout and purpose of the room. Consult local building codes to ensure compliance with electrical requirements.
- Turn off the power: Before working with electrical wiring, ensure that the power to the area is turned off at the breaker panel. Use a voltage tester to double-check that the power is indeed off.
- Prepare the wiring: Run electrical wires through the studs, starting from the existing electrical source. Use appropriate wiring techniques, such as running the wires through holes drilled in the center of the studs and securing them with staples or cable clips.
- Install electrical boxes: Cut holes in the drywall or paneling where you want to install the electrical outlets. Place the electrical boxes in the holes and secure them to the studs using nails or screws.
- Connect the wiring: Strip the insulation from the ends of the wires and connect them to the appropriate terminals on the outlet or switch. Follow the manufacturer’s instructions and ensure proper grounding.
- Secure the outlets and switches: Attach the outlets and switches to the electrical boxes, using screws provided. Ensure that they are aligned and level with the wall surface.
- Test the electrical connections: Once the wiring is complete, turn on the power and test each outlet and switch to ensure they are functioning properly. Use a circuit tester or plug in a known working device to verify power.
Remember, if you’re not experienced with electrical work, it’s best to consult a licensed electrician to ensure the safety and proper installation of your electrical outlets and wiring.
In the next step, we’ll discuss another optional enhancement to your framed wall: installing insulation.
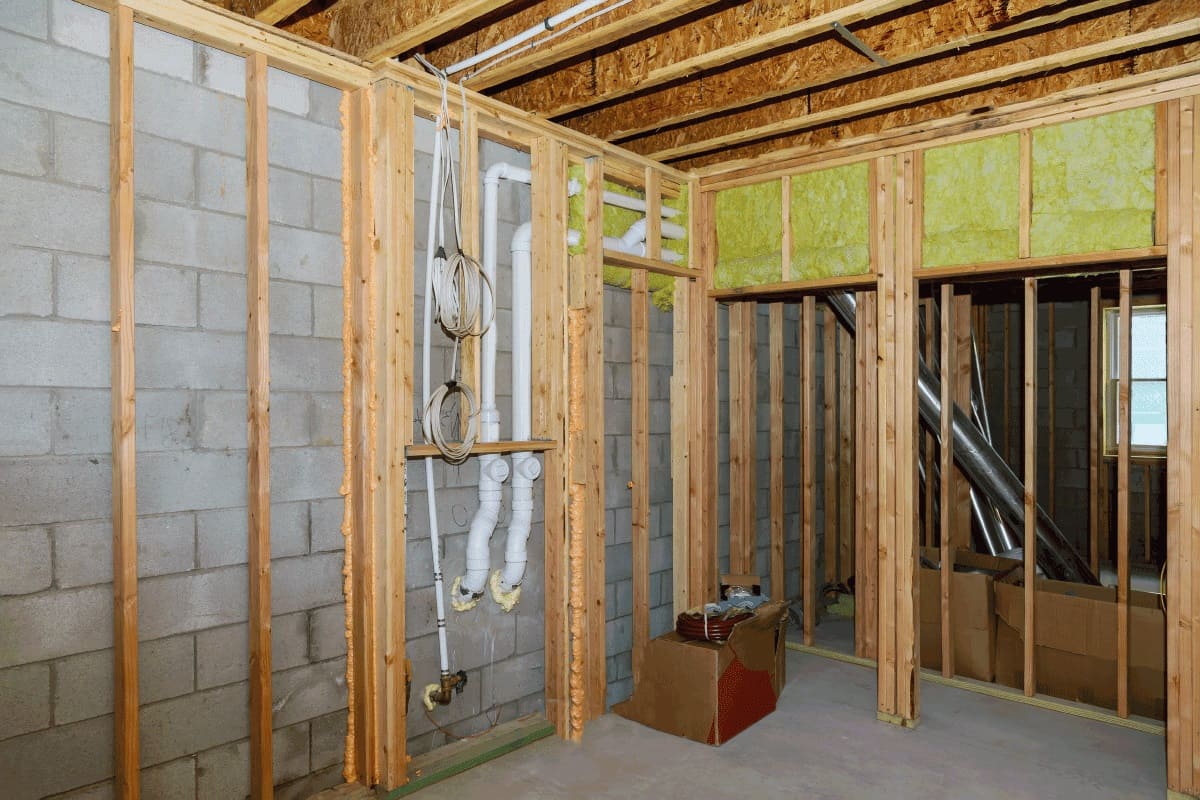
Step 8: Install insulation (optional)
Adding insulation to your framed wall can help improve energy efficiency and create a more comfortable living space. While this step is optional, it is highly recommended, especially if the wall is an exterior wall or if you live in an area with extreme weather conditions. Follow these steps to install insulation in your framed wall:
- Choose the right insulation: Select the type of insulation that suits your needs and complies with local building codes. Common options include fiberglass batts, foam boards, or blown-in insulation.
- Measure and cut the insulation: Measure the height between the studs and cut the insulation to the appropriate length. Use a utility knife or a insulation-cutting tool to cut the insulation precisely.
- Fit the insulation into the stud cavities: Place the insulation between the studs, ensuring a snug fit. Gently push the insulation into place, making sure it covers the entire cavity and reaches the top and bottom plates.
- Secure the insulation: Use insulation supports or staples to hold the insulation in place. Ensure that the insulation is not compressed or sagging, as this can reduce its effectiveness.
- Pay attention to electrical outlets and switches: When installing insulation around electrical outlets and switches, make sure to cut the insulation carefully to accommodate them. Maintain the proper clearance required by building codes.
- Seal gaps and joints: Use caulk or foam sealant to seal any gaps or joints in the insulation, ensuring a tight seal and preventing air leakage.
- Install a vapor barrier (if necessary): If your local climate requires a vapor barrier, install it on the warm side of the wall, facing the interior of the room. Follow the manufacturer’s instructions for proper installation.
Proper insulation installation can help regulate indoor temperature, reduce energy costs, and improve both thermal and sound insulation. It is an investment that can provide long-term benefits for your home.
In the final step, we’ll discuss finishing touches for your framed wall, such as covering it with drywall or paneling.
Read more: How To Frame Exterior Walls
Step 9: Finish the wall with drywall or paneling
Now that your framed wall is sturdy, secure, and insulated (if you chose to add insulation), it’s time to give it a finished look by covering it with drywall or paneling. This step will give your wall a smooth and polished appearance. Follow these steps to finish your framed wall:
- Measure and cut the drywall or paneling: Measure the dimensions of the wall and cut the drywall or paneling sheets to fit. Use a utility knife or a drywall saw to make precise cuts.
- Attach the drywall or paneling to the wall: Starting from one corner, position the first sheet of drywall or paneling against the wall. Make sure there is a 1/4-inch gap between the sheets to allow for expansion. Use drywall screws or paneling nails to secure the sheets to the studs, placing fasteners every 8 to 12 inches along the studs.
- Continue with the remaining sheets: Place the next sheet of drywall or paneling next to the first one, making sure to maintain the 1/4-inch gap. Repeat the process of attaching the sheets until the entire wall is covered.
- Fill the seams and screw/nail holes: Apply joint compound to the seams between the drywall sheets and to the screw/nail holes. Use a putty knife to spread the compound evenly and remove any excess. Allow the compound to dry according to the manufacturer’s instructions.
- Sand and smooth the surface: Once the joint compound is fully dry, use sandpaper or a drywall sander to smooth the surface, removing any rough patches or imperfections.
- Prime and paint (or finish as desired): Apply a coat of primer to the drywall/Panelling surface, and then paint it with your chosen color. Alternatively, if you’re using paneling, you can finish it with stain or varnish for a natural look.
Take your time during this step to ensure a smooth and seamless finish. Properly finishing your wall will not only improve its appearance but also protect it from wear and tear.
Congratulations! You have successfully framed and finished your wall. Enjoy your newly created space!
To wrap things up, let’s summarize the steps we followed:
- Gather the necessary tools and materials
- Measure and mark the placement of the wall
- Install the bottom plate
- Cut and install the studs
- Install the top plate
- Secure the wall to the existing structure
- Add electrical outlets and wiring (optional)
- Install insulation (optional)
- Finish the wall with drywall or paneling
By following these steps, you have successfully framed a wall and brought your vision to life. Well done!
Conclusion
Congratulations on completing the process of framing a wall! By following the step-by-step guide outlined in this article, you have gained the knowledge and skills to create sturdy, functional walls in your home. Framing a wall is an essential skill for any DIY enthusiast or homeowner looking to make improvements or renovations.
We started by gathering the necessary tools and materials, ensuring that we have everything needed for the job. Then, we moved on to measuring and marking the placement of the wall, ensuring precise positioning and alignment. The installation of the bottom plate provided a solid foundation, followed by cutting and installing the studs for vertical support.
We then installed the top plate to complete the framing and secured the wall to the existing structure for stability. Optional steps such as adding electrical outlets and wiring and installing insulation were discussed to enhance functionality and energy efficiency. Finally, we finished the wall by covering it with drywall or paneling, giving it a polished look.
This comprehensive guide not only provided you with the necessary steps but also emphasized the importance of safety, accuracy, and attention to detail throughout the process. Remember to always wear appropriate safety gear, use proper techniques, and consult professionals when necessary.
Now that you have successfully framed a wall, you can apply these skills to future projects, whether it’s creating additional rooms, dividing spaces, or undertaking larger renovations. Utilizing the knowledge gained, you can expand your DIY repertoire and confidently take on more complex home improvement endeavors.
Thank you for joining us on this framing journey. We hope this guide has been informative and valuable in your pursuit of creating a more functional and visually appealing living space. Happy framing!
Frequently Asked Questions about How To Frame A Wall The Simple Way
Was this page helpful?
At Storables.com, we guarantee accurate and reliable information. Our content, validated by Expert Board Contributors, is crafted following stringent Editorial Policies. We're committed to providing you with well-researched, expert-backed insights for all your informational needs.


0 thoughts on “How To Frame A Wall The Simple Way”