
Articles
How To Secure Vanity To Wall
Modified: December 7, 2023
Learn the best method of securing a vanity to the wall with these helpful articles. Ensure stability and safety in your bathroom renovation project.
(Many of the links in this article redirect to a specific reviewed product. Your purchase of these products through affiliate links helps to generate commission for Storables.com, at no extra cost. Learn more)
Introduction
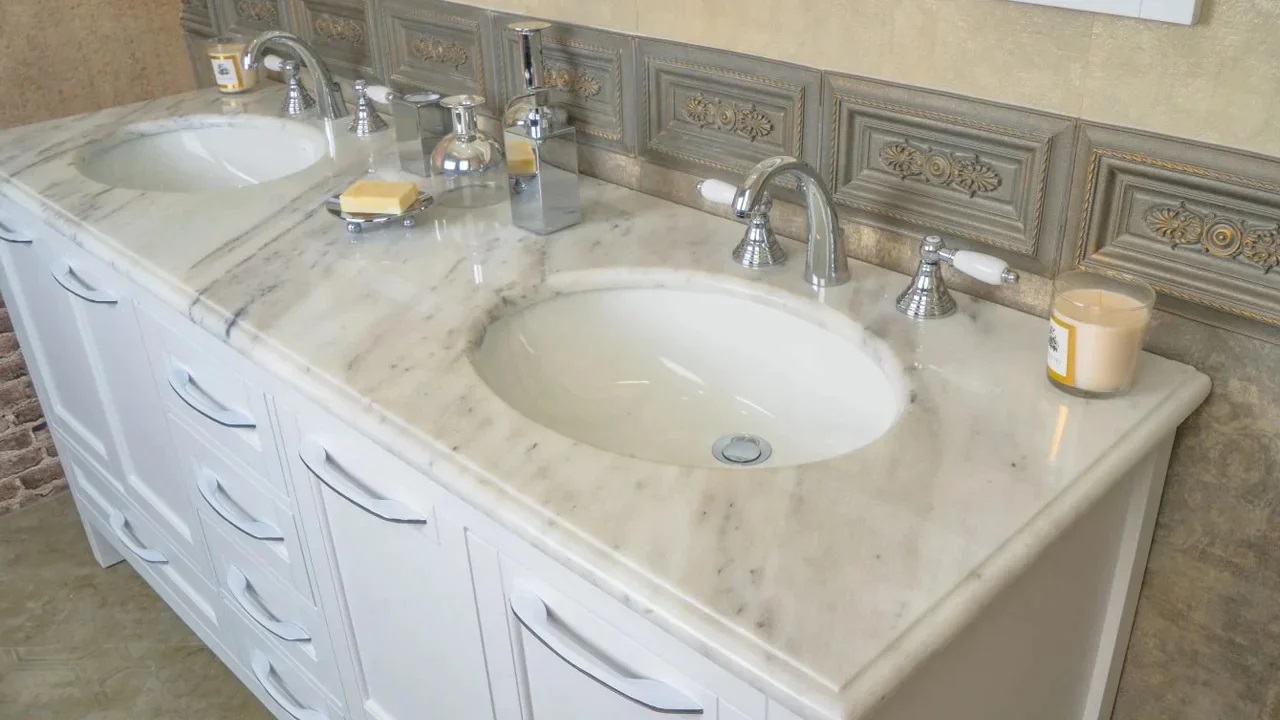
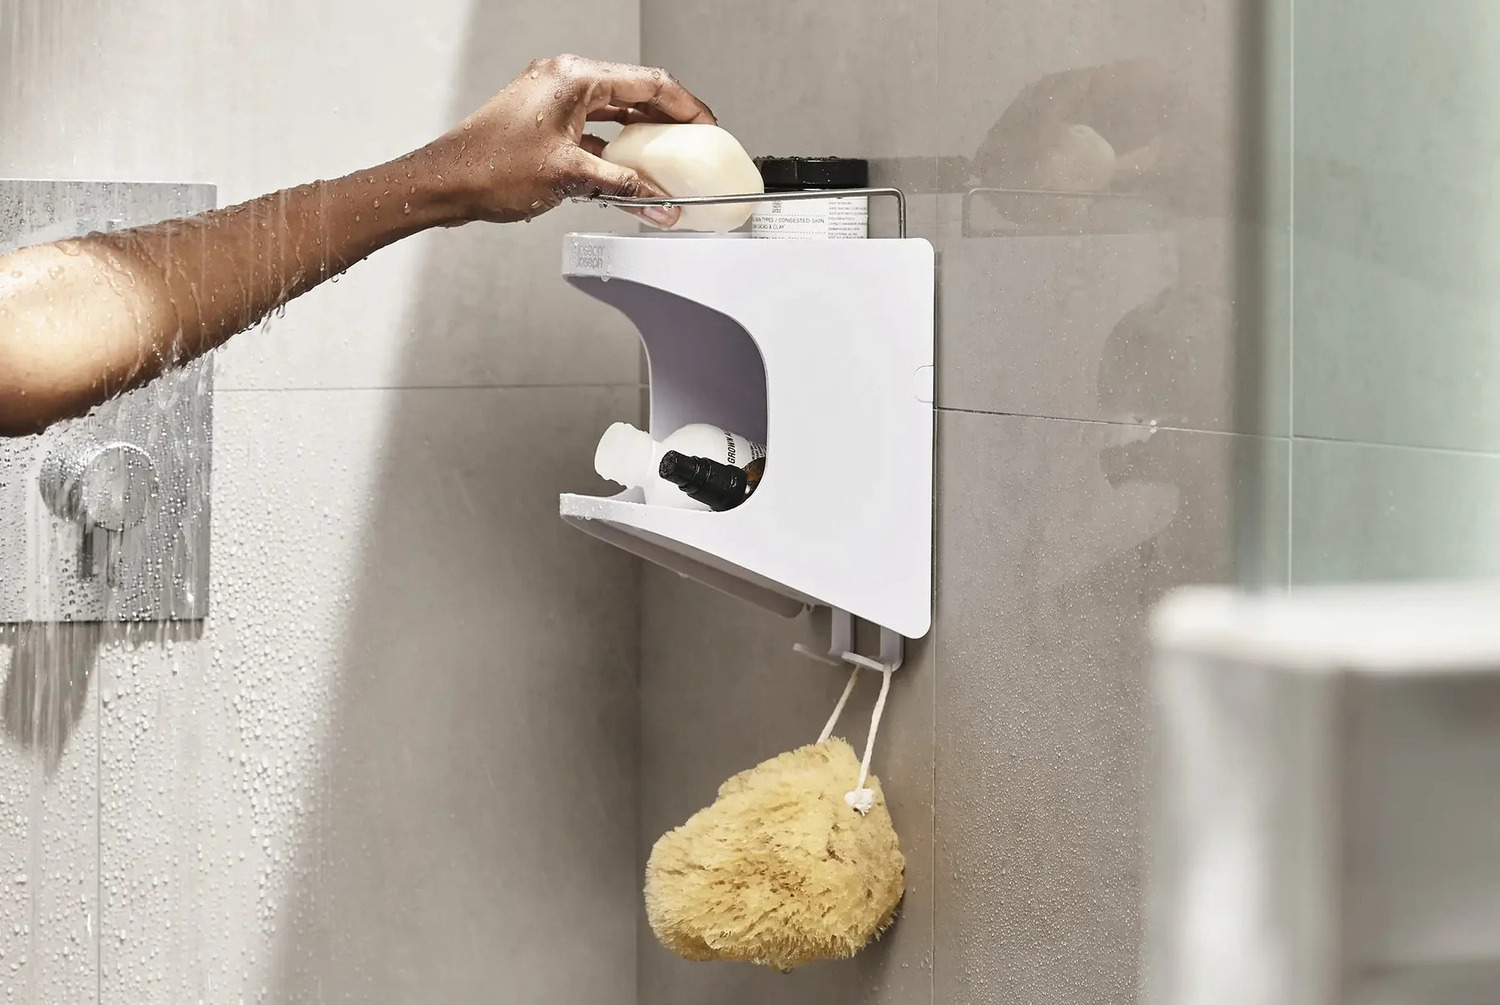
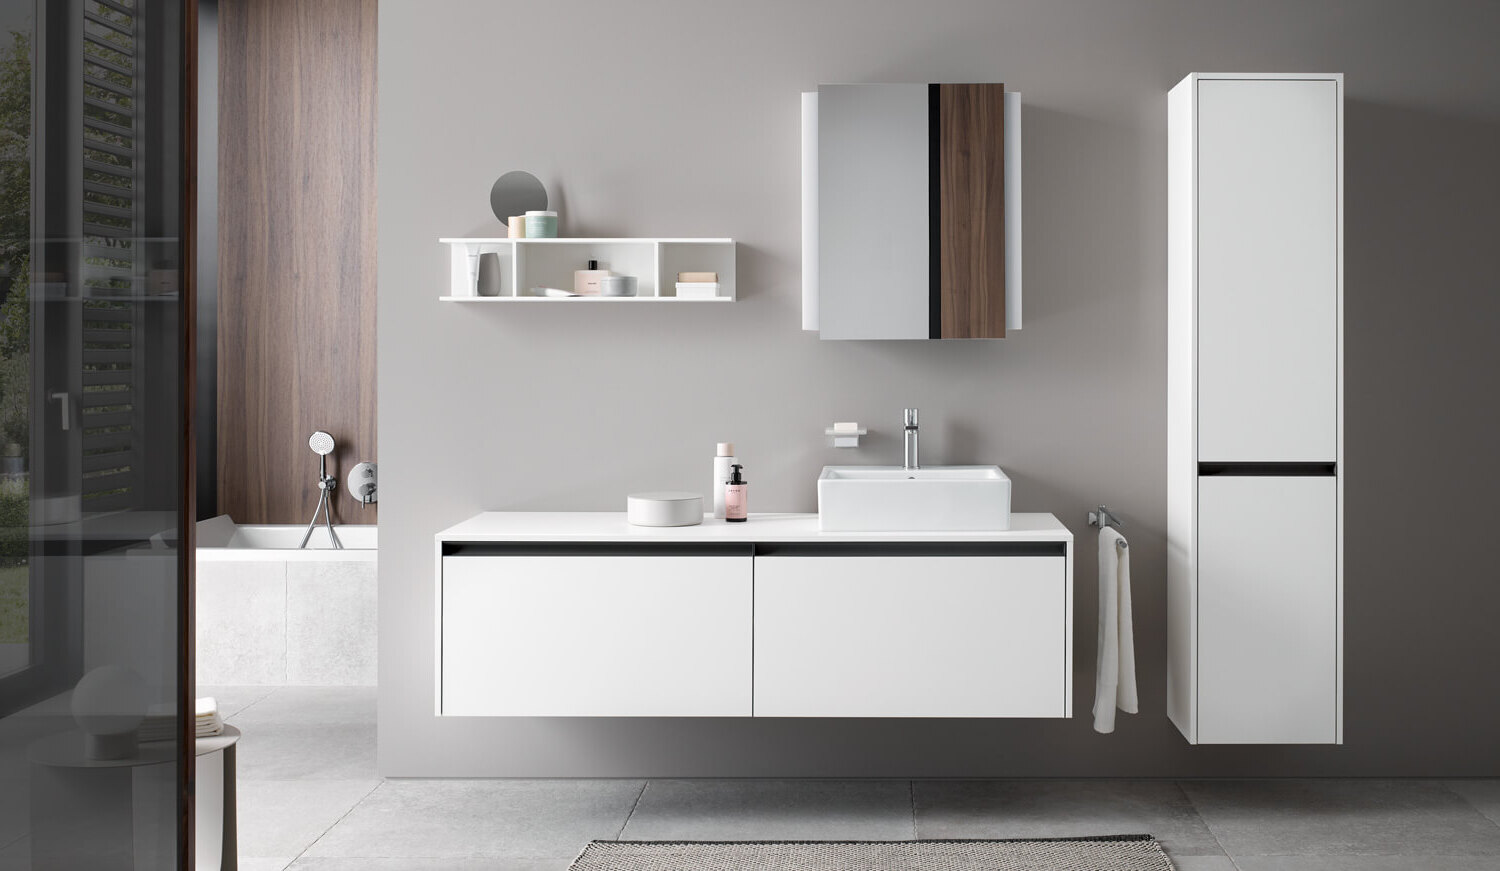
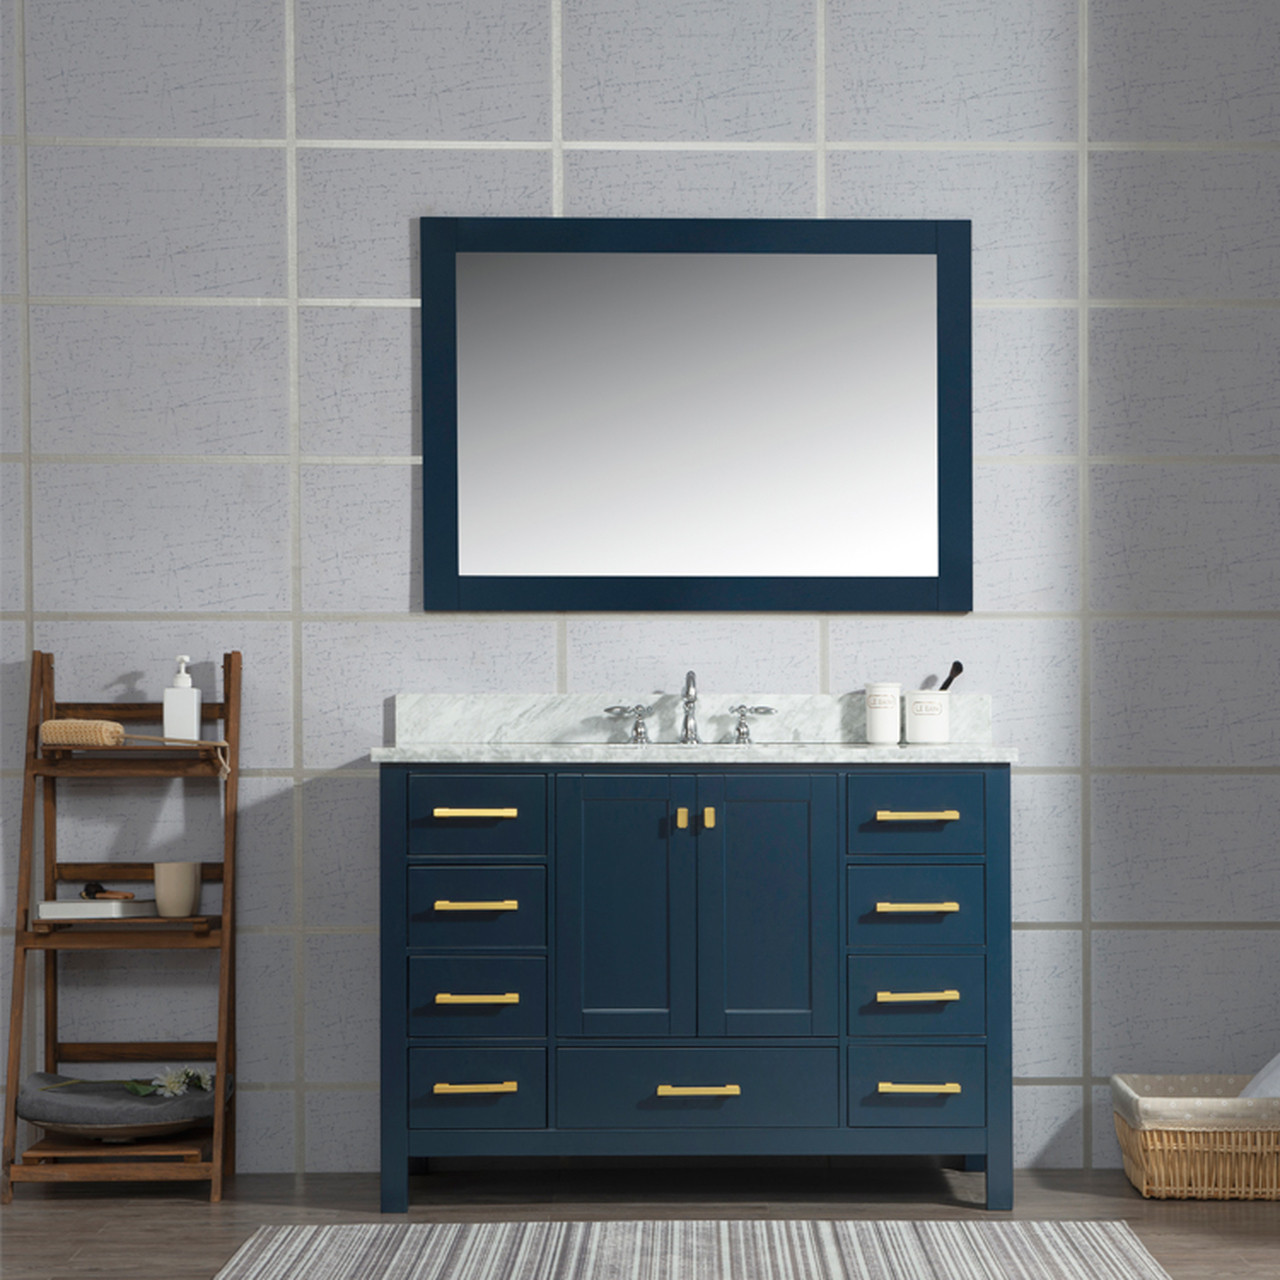
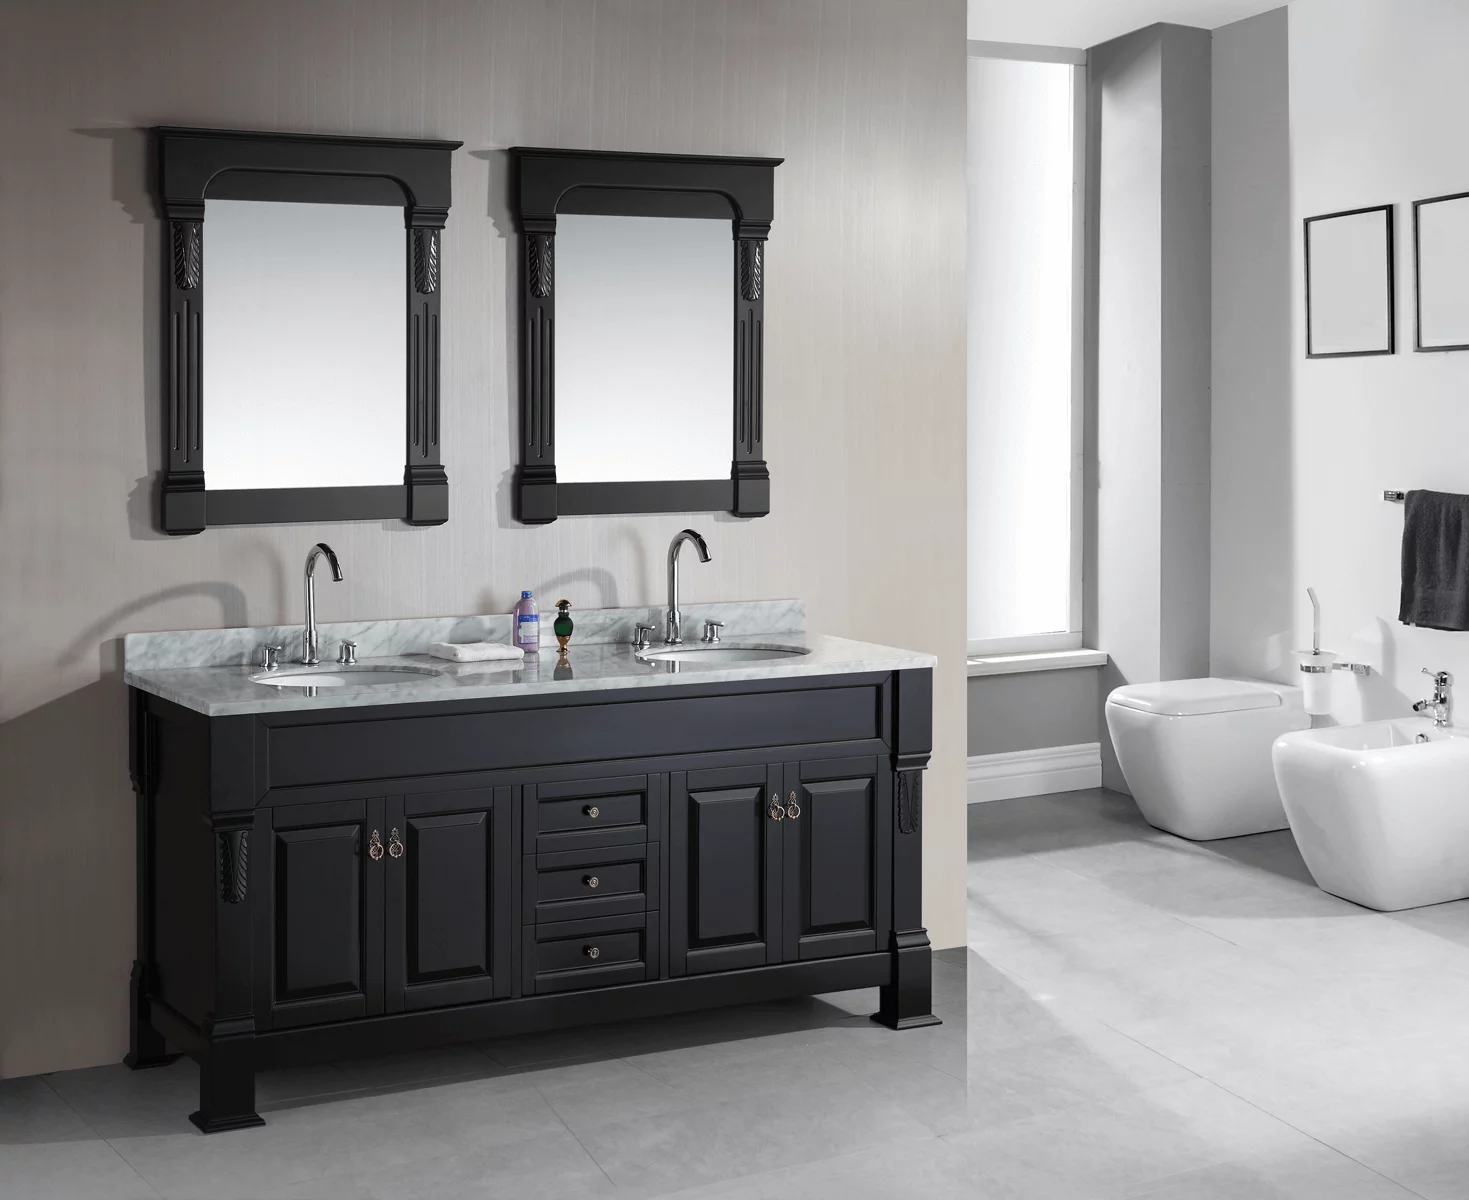
When it comes to designing a functional and stylish bathroom, a vanity is a must-have piece of furniture. Not only does it provide storage space for your toiletries and other essentials, but it also serves as a focal point in the room. However, to ensure the safety and stability of your vanity, it is crucial to secure it properly to the wall.
In this article, we will guide you through the step-by-step process of securely mounting a vanity to the wall. With the right tools and materials, along with a little bit of know-how, you will have your vanity safely attached in no time.
Before we dive into the specifics of the installation process, it is important to note that this guide assumes you have already assembled your vanity and are ready to mount it.
So, without further ado, let’s get started on securing your vanity to the wall!
Key Takeaways:
- Securely mounting a vanity to the wall requires essential tools, accurate measurements, and proper attachment to studs or wall anchors for stability and safety.
- Double-checking the stability of the vanity ensures a secure installation, adding functionality and style to your bathroom while preventing safety risks.
Read more: How To Secure A Sink To A Vanity
Step 1: Gather the necessary tools and materials
Before you begin mounting your vanity to the wall, you will need to gather a few essential tools and materials. Having everything prepared before starting the installation will make the process smoother and more efficient. Here’s a list of what you’ll need:
- A cordless drill
- A level
- A pencil or marker
- A tape measure
- Screws and wall anchors
- A stud finder
- Mounting brackets
The cordless drill will be used for pre-drilling holes and attaching screws. A level is necessary to ensure that your vanity remains perfectly horizontal. The pencil or marker will be used for marking the position of the vanity and studs on the wall. The tape measure is essential for accurate measurements.
Screws and wall anchors are crucial for securely attaching the vanity to the wall. It’s important to choose screws and anchors that are appropriate for the weight and size of your vanity. If you’re unsure which ones to use, consult the manufacturer’s recommendations or seek the assistance of a hardware professional.
A stud finder is a helpful tool for locating the studs in your wall. By attaching your vanity to the studs, you’ll ensure maximum stability and support. Finally, mounting brackets are typically provided with the vanity and are necessary for attaching it to the wall.
Once you have gathered all of the necessary tools and materials, you’re ready to move on to the next step: measuring and marking the position of the vanity on the wall.
Step 2: Measure and mark the position on the wall
Now that you have all your tools and materials ready, it’s time to measure and mark the exact position of your vanity on the wall. This step is crucial to ensure that your vanity is centered, level, and properly aligned with other fixtures in the bathroom. Here’s what you need to do:
- Measure the width of your vanity using a tape measure. This will help you determine its center point.
- Use a pencil or marker to mark the center point of your vanity on the wall. This will serve as your reference point.
- Measure the height of your vanity and mark the top edge on the wall using a level. This will help you ensure that the vanity is installed at the desired height.
- Take into consideration any plumbing or electrical fixtures that might interfere with the installation. Make sure to mark their positions on the wall as well.
- Double-check your measurements and make any necessary adjustments before moving on to the next step.
By measuring and marking the position of your vanity on the wall, you ensure that it is installed in the right place and at the desired height. This step is crucial for achieving a professional-looking installation. Once you are satisfied with your measurements and markings, it’s time to move on to the next step: locating and marking the studs in the wall.
Step 3: Locate and mark the studs in the wall
Locating the studs in your wall is essential for securely mounting your vanity. Studs provide the necessary strength and support to hold the weight of the vanity and prevent it from sagging or falling over time. Follow these steps to find and mark the studs:
- Use a stud finder to detect the presence of studs behind the wall. Move the stud finder along the wall until it indicates a stud’s location. Typically, studs are spaced either 16 or 24 inches apart.
- Mark the edges of each stud using a pencil or marker. This will give you a visual reference for attaching the vanity brackets later on.
- Double-check the stud locations by gently tapping on the wall surface. A solid sound indicates the presence of a stud, while a hollow sound suggests no stud behind.
- If you’re having trouble locating studs or your vanity positioning doesn’t align with the available studs, you may need to use additional support measures like wall anchors or toggle bolts. Consult the manufacturer’s instructions or seek advice from a professional for the best course of action.
By accurately identifying and marking the studs in your wall, you can ensure that your vanity is securely anchored and won’t come loose or wobble over time. Locating the studs also helps distribute the weight evenly, preventing damage to the wall and ensuring long-lasting stability for your vanity.
Once you have marked the stud locations, it’s time to move on to the next step: pre-drilling holes and attaching mounting brackets.
Use a stud finder to locate the wall studs, then use screws to secure the vanity to the studs for maximum stability and support.
Step 4: Pre-drill holes in the vanity and attach mounting brackets
Now that you have marked the stud locations, it’s time to prepare the vanity for installation by pre-drilling holes and attaching mounting brackets. This step will ensure a secure and stable connection between the vanity and the wall. Follow these instructions:
- Line up the mounting brackets with the stud markings on the wall. Ensure that the brackets are level and evenly spaced.
- Using a pencil or marker, mark the locations for the screw holes on the back of the vanity. Make sure the marks are aligned with the mounting brackets on the wall.
- Set the mounting brackets aside and pre-drill pilot holes into the back of the vanity using an appropriate drill bit. This will help prevent the wood from splitting and make it easier to attach the screws.
- Once the pilot holes are drilled, align the mounting brackets with the pre-drilled holes and secure them in place using screws. Make sure the brackets are flush against the vanity and tightly attached.
By pre-drilling holes in the vanity and attaching the mounting brackets, you create a strong and secure connection between the vanity and the wall. This step is crucial for ensuring the stability and longevity of your vanity installation.
With the mounting brackets securely in place, you are now ready to move on to the next step: securing the vanity to the wall using screws and anchors.
Read more: How To Install Wall Hung Vanity
Step 5: Secure the vanity to the wall using screws and anchors
Now that the mounting brackets are attached to the vanity, it’s time to secure the vanity to the wall using screws and anchors. This step will provide additional stability and ensure that the vanity stays securely in place. Follow these instructions to complete the installation:
- Position the vanity against the wall, aligning the mounting brackets with the marked stud locations.
- Using a cordless drill, drive screws through the mounting brackets and into the marked stud locations. Make sure the screws are tight but not over-tightened to avoid damaging the vanity or the wall.
- If there are areas of the vanity that do not align with the marked stud locations, use wall anchors to provide additional support. Pre-drill holes for the wall anchors, insert them, and then attach the screws through the mounting brackets into the wall anchors.
- Continue securing the vanity to the wall, ensuring that all mounting brackets are attached to either studs or wall anchors.
By using screws and anchors, you create a strong and secure attachment between the vanity and the wall. This step is crucial for ensuring that the vanity remains stable and doesn’t wobble or move over time.
Once you have securely fastened the vanity to the wall, it’s time to move on to the next step: double-checking the stability of the vanity.
Step 6: Double-check the stability of the vanity
After securing the vanity to the wall, it’s important to double-check its stability to ensure a safe and properly installed fixture. Here’s what you need to do:
- Gently push and pull on the vanity to test its stability. If it feels loose or wobbly, revisit the previous steps to ensure the mounting brackets are securely attached to the wall.
- Use a level to verify that the vanity is perfectly horizontal. Adjust as necessary by tightening or loosening the screws on the mounting brackets.
- Inspect the vanity from different angles to ensure that it is centered and aligned with other bathroom fixtures.
- Test the functionality of any drawers or doors on the vanity. Make sure they open and close smoothly without any obstructions.
By double-checking the stability of the vanity, you can identify any potential issues and address them before completing the installation. This step is essential for ensuring the long-term durability and usability of your vanity.
If you have followed the steps outlined in this guide, your vanity should now be securely attached to the wall and ready for use. Enjoy your newly installed and properly secured vanity!
Before concluding, it’s important to note that the installation process may vary depending on the specific type and design of your vanity. Always refer to the manufacturer’s instructions and seek professional assistance if needed.
Conclusion
Congratulations! You have successfully learned how to securely mount a vanity to the wall. By following the step-by-step instructions outlined in this guide, you have ensured the stability and safety of your vanity installation.
Remember, a securely mounted vanity not only enhances the functionality of your bathroom but also adds a touch of style and elegance to the space. Properly anchoring the vanity to the wall ensures that it remains sturdy and does not pose any safety risks.
Throughout the installation process, we covered essential steps like gathering the necessary tools and materials, measuring and marking the position on the wall, locating and marking the studs, pre-drilling holes and attaching mounting brackets, securing the vanity to the wall using screws and anchors, and double-checking the stability of the vanity.
By carefully following these steps, you have created a strong foundation for your vanity, ensuring its durability and longevity. Your vanity is now ready to withstand daily use and provide a functional and aesthetically pleasing storage solution in your bathroom.
Remember, different vanities may have specific installation requirements, so always refer to the manufacturer’s instructions for detailed guidelines that are tailored to your specific model.
Thank you for choosing this guide as your resource for securing a vanity to the wall. We hope this information has been helpful in your DIY journey. Enjoy your beautifully mounted vanity and the enhanced functionality and style it brings to your bathroom!
Frequently Asked Questions about How To Secure Vanity To Wall
Was this page helpful?
At Storables.com, we guarantee accurate and reliable information. Our content, validated by Expert Board Contributors, is crafted following stringent Editorial Policies. We're committed to providing you with well-researched, expert-backed insights for all your informational needs.


0 thoughts on “How To Secure Vanity To Wall”