Home>Construction & Tools>Building Materials>How To Brick A Fireplace Surround
Building Materials
How To Brick A Fireplace Surround
Published: January 21, 2024
Learn how to brick a fireplace surround using high-quality building materials. Follow our step-by-step guide for a stunning and durable result.
(Many of the links in this article redirect to a specific reviewed product. Your purchase of these products through affiliate links helps to generate commission for Storables.com, at no extra cost. Learn more)
Introduction
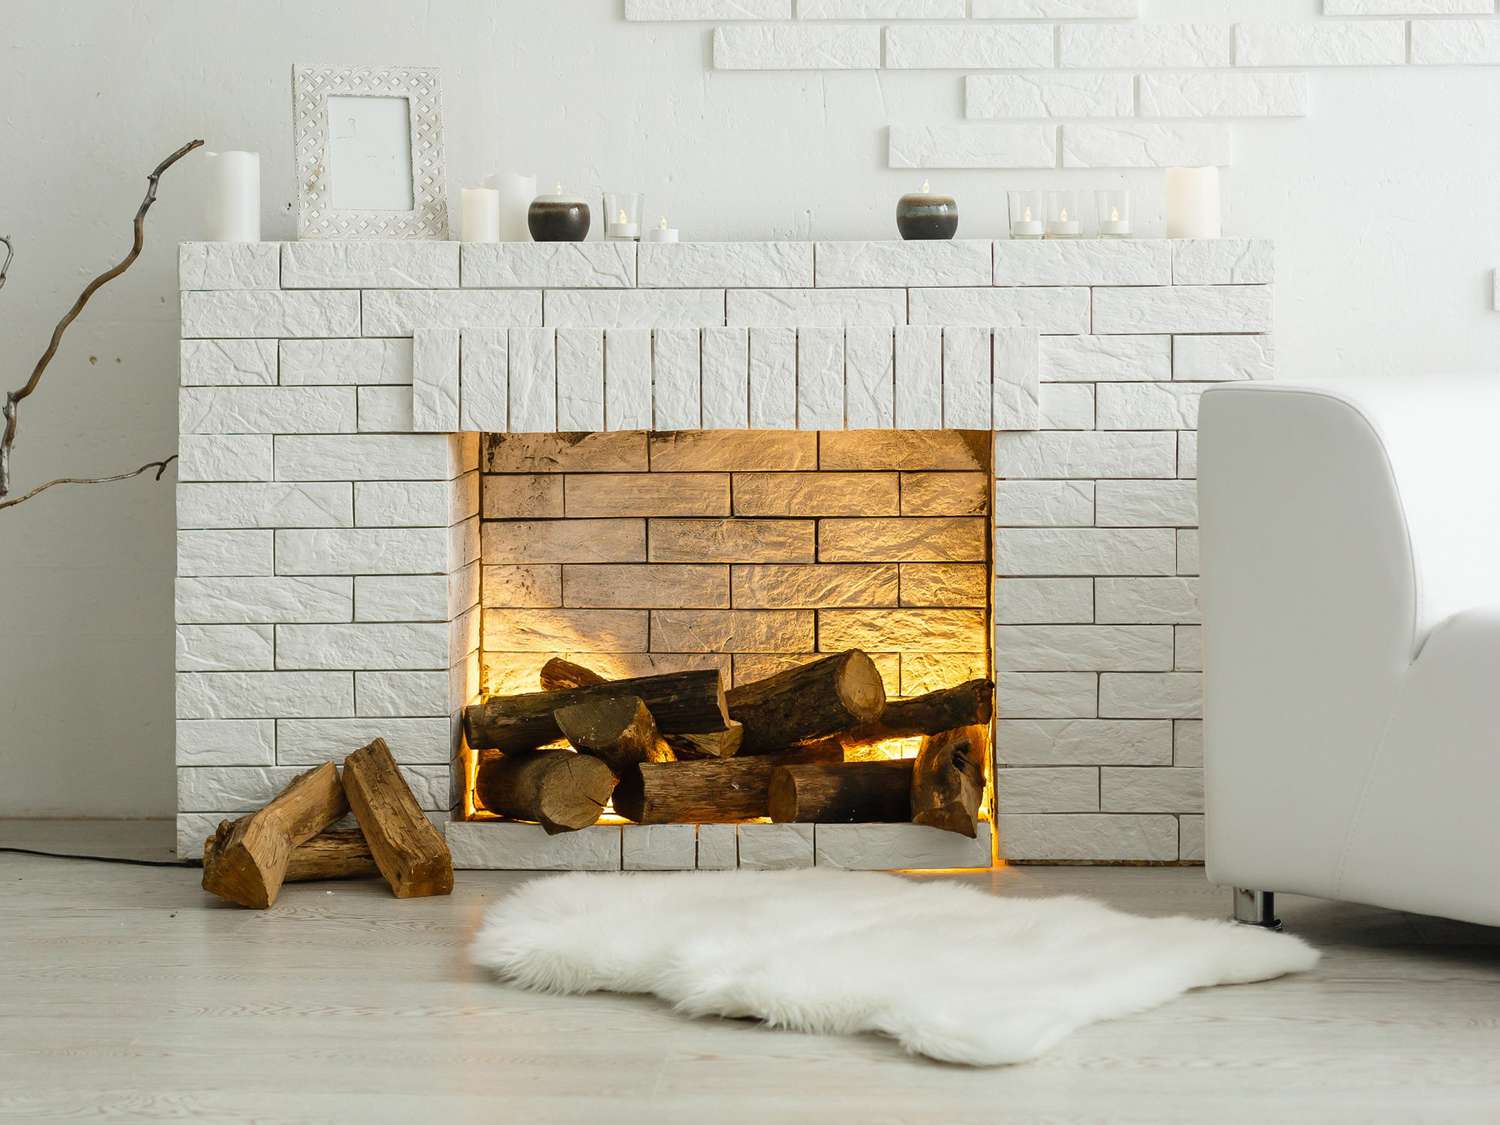
Welcome to the world of DIY fireplace renovations! Adding a brick surround to your fireplace can instantly transform the look and feel of your living space, creating a cozy and inviting atmosphere. Whether you're a seasoned DIY enthusiast or just starting to explore the world of home improvement, this step-by-step guide will walk you through the process of creating a stunning brick fireplace surround.
Brick surrounds have been a timeless and popular choice for homeowners, offering a classic and rustic charm that complements a variety of interior design styles. By embarking on this project, you'll not only enhance the aesthetic appeal of your fireplace but also add value to your home.
Throughout this guide, we'll explore the essential materials and tools you'll need, the crucial steps to prepare the area, measure and plan for the installation, and the techniques for seamlessly placing and grouting the bricks. Whether you're aiming for a traditional, farmhouse, or modern look, the versatility of brick allows you to customize your fireplace surround to suit your unique taste and style.
So, roll up your sleeves, gather your tools, and get ready to embark on a rewarding and creative journey. Let's dive into the world of brick fireplace surrounds and turn your vision into a stunning reality!
Key Takeaways:
- Transform your fireplace with a stunning brick surround to create a cozy and inviting atmosphere. By following the step-by-step guide, you’ll enhance your home’s aesthetic appeal and add value to your living space.
- Embrace the world of DIY home improvement and infuse your personal touch into your living environment. The timeless charm and versatility of a brick fireplace surround offer a warm and inviting atmosphere, creating a focal point for cherished moments and gatherings.
Read more: How To Build A Brick Fireplace Surround
Step 1: Gather Materials
Before diving into the construction of your brick fireplace surround, it’s essential to gather all the necessary materials and tools. Here’s a comprehensive list of what you’ll need to embark on this project:
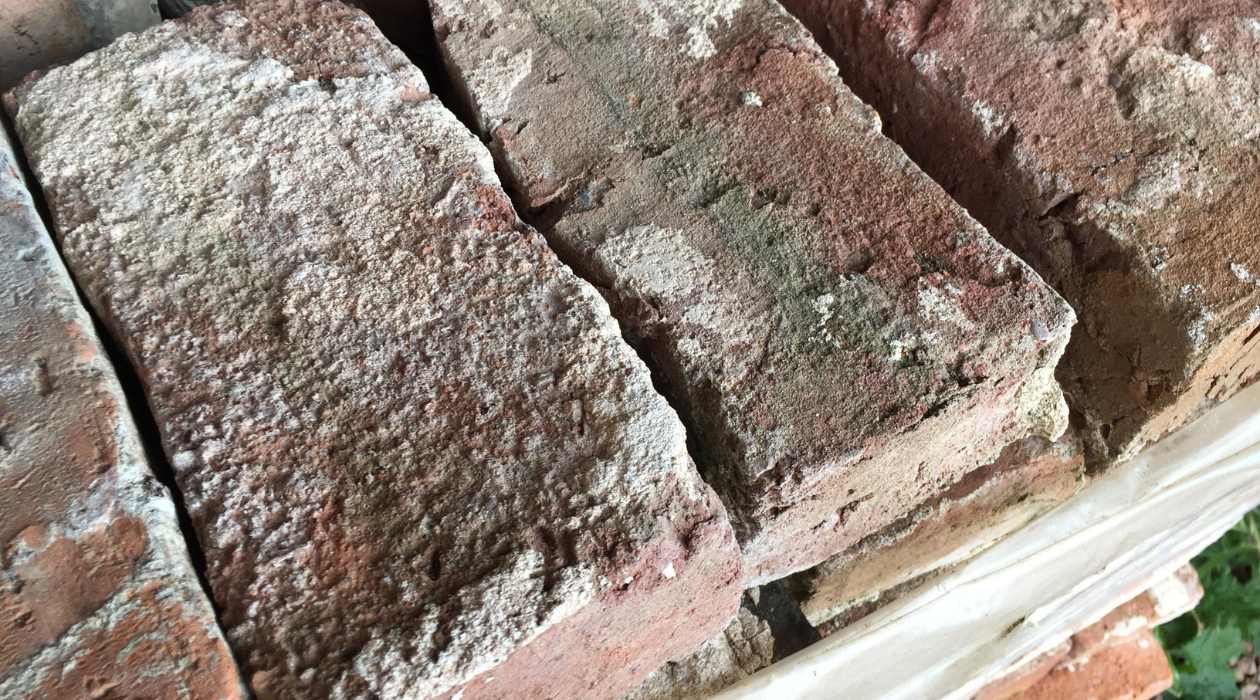
- Bricks: Select high-quality bricks that align with your desired aesthetic. Consider the color, texture, and size of the bricks to ensure they complement your existing decor.
- Mortar: Choose a suitable mortar mix for securing the bricks in place. Opt for a mortar color that harmonizes with the overall design scheme.
- Grout: You’ll need grout to fill the gaps between the bricks. Similar to the mortar, select a grout color that enhances the visual appeal of the surround.
- Measuring Tape: Accurate measurements are crucial for a precise and polished finish. Invest in a reliable measuring tape to ensure the bricks are aligned correctly.
- Level: A level is essential for confirming that the bricks are installed evenly and vertically, preventing any slanted or uneven surfaces.
- Trowel: A trowel is indispensable for applying the mortar and grout with precision. Look for a trowel that provides comfortable handling and allows for smooth application.
- Bucket and Mixing Tools: You’ll need a sturdy bucket for mixing the mortar and grout, along with appropriate mixing tools to achieve the desired consistency.
- Protective Gear: Safety should always be a priority. Equip yourself with gloves, safety goggles, and a dust mask to safeguard against potential hazards during the construction process.
- Drop Cloths: Cover the surrounding area with drop cloths to protect your floors and furnishings from any debris or spills.
- Brush and Sponge: These tools are essential for cleaning excess mortar and grout from the bricks, ensuring a clean and polished appearance.
By gathering these materials and tools, you’ll be well-prepared to commence the construction of your brick fireplace surround. With everything in place, you’re one step closer to creating a captivating focal point in your home.
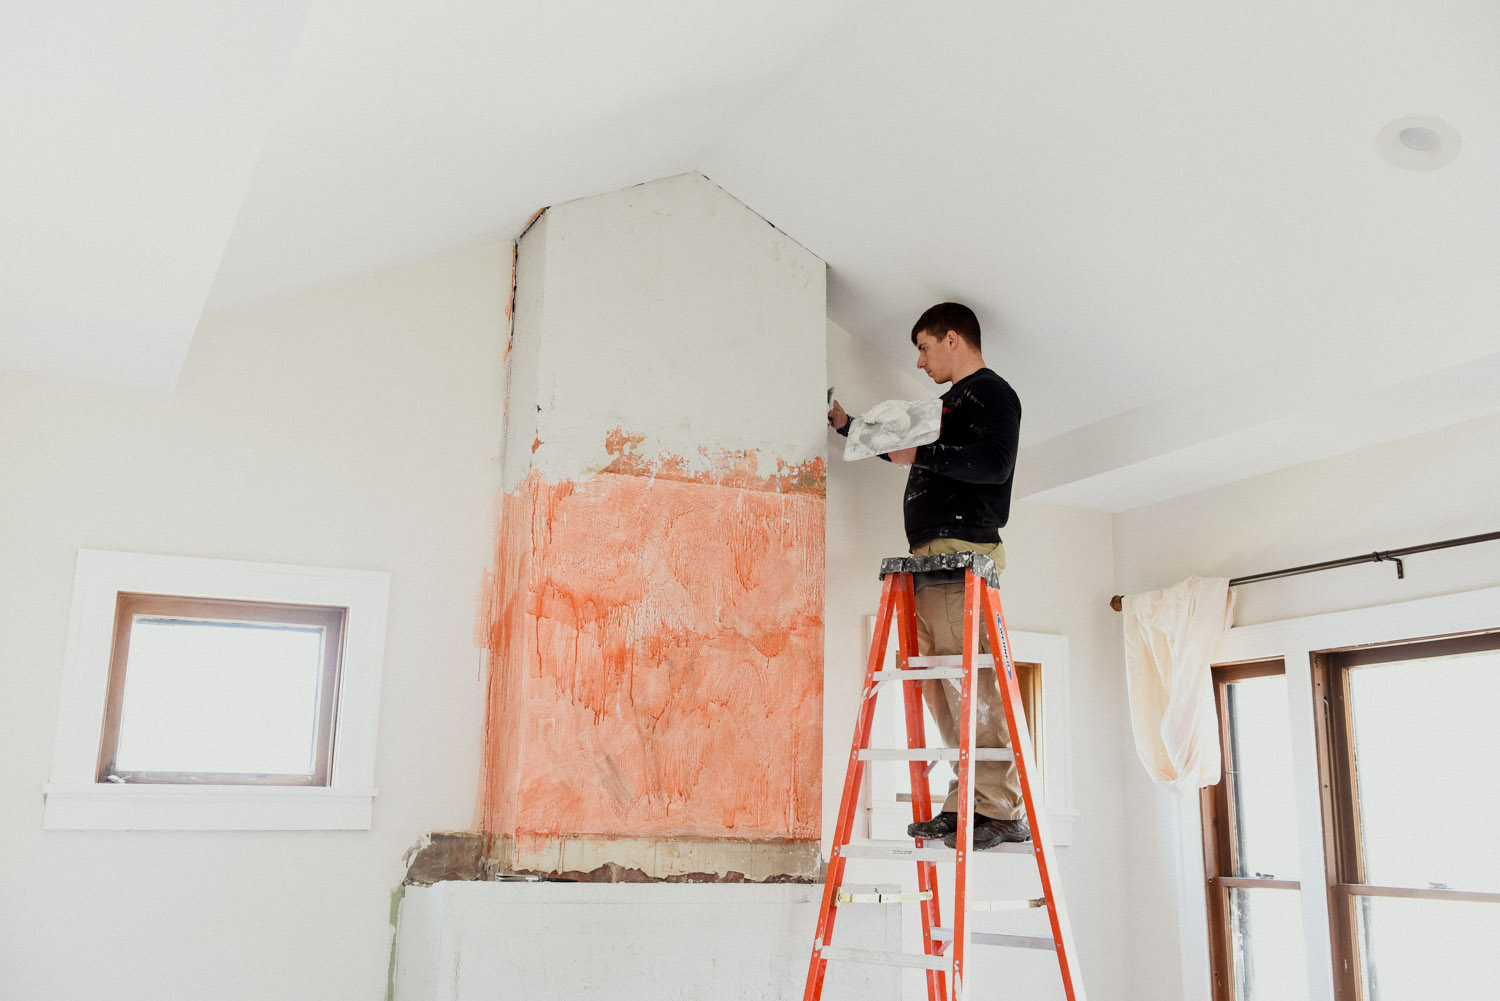
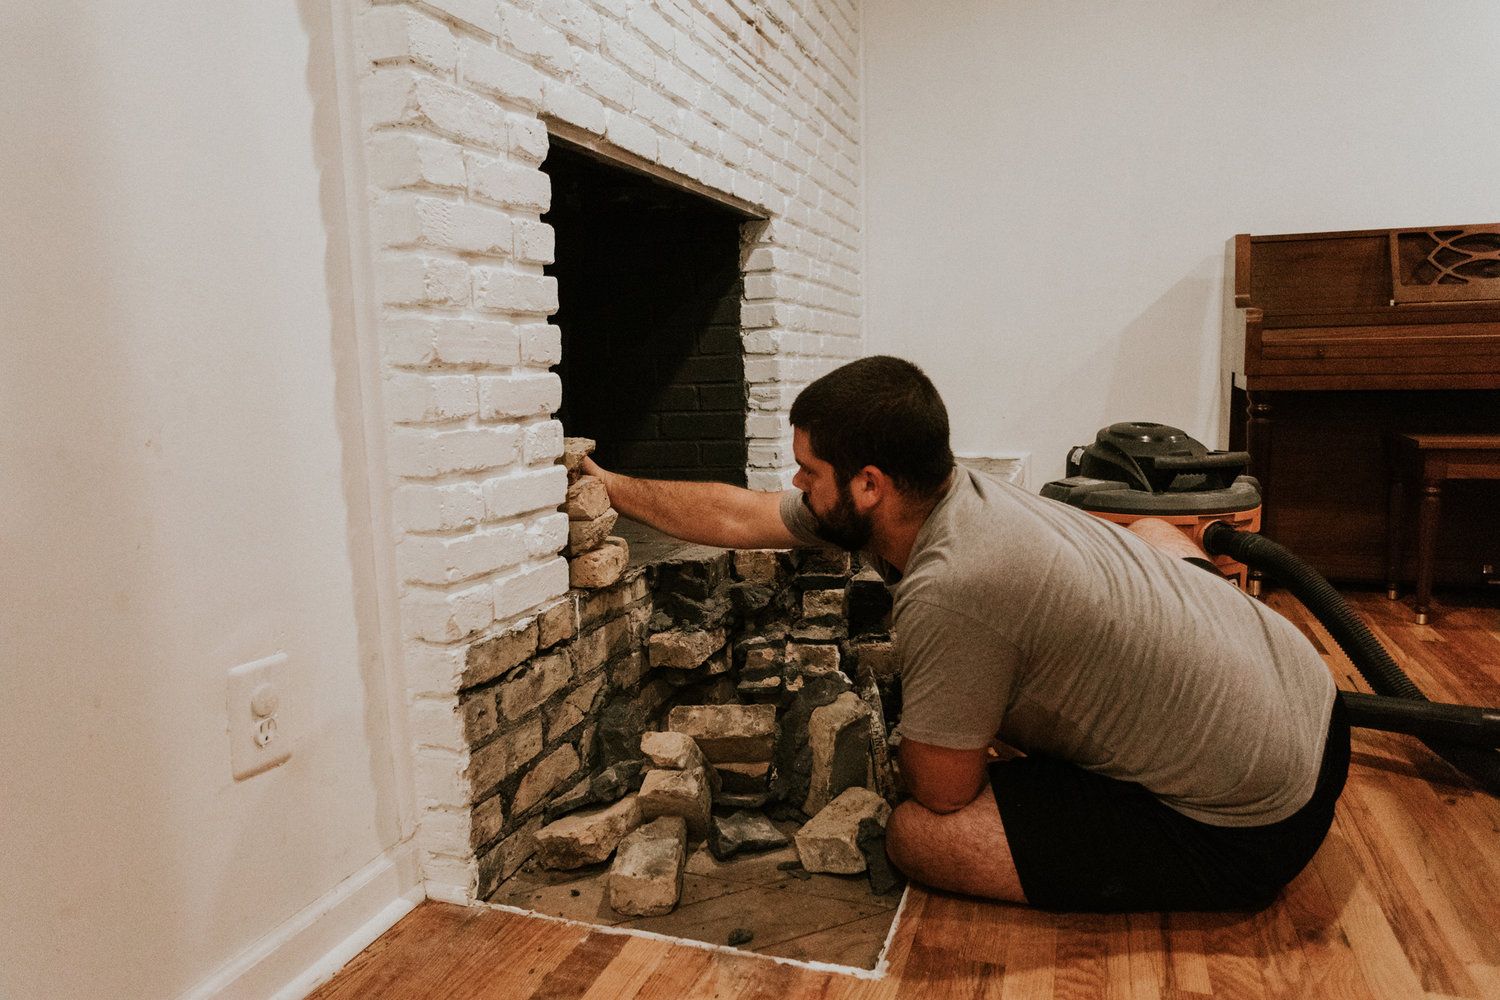
Step 2: Prepare the Area
Before you start installing the bricks, it’s crucial to prepare the area surrounding your fireplace to ensure a smooth and efficient construction process. Here’s a detailed guide on how to prepare the space for the installation:
- Clean the Surface: Begin by thoroughly cleaning the existing surface around the fireplace. Remove any dirt, dust, or debris to create a clean and stable foundation for the brick installation.
- Protect Surrounding Surfaces: Cover the hearth, mantel, and adjacent walls with protective materials such as drop cloths or plastic sheeting to prevent any accidental damage during the construction process.
- Inspect the Fireplace Structure: Take a close look at the condition of the fireplace structure. Ensure that it is sound and free from any structural issues that may affect the installation of the brick surround.
- Address Any Repairs: If you notice any cracks, gaps, or other structural concerns, address them before proceeding with the installation. It’s essential to have a sturdy and stable foundation for the bricks.
- Mark the Layout: Use a pencil or chalk to mark the layout of the brick surround on the wall. This step helps you visualize the placement of the bricks and ensures a precise and symmetrical installation.
- Establish Clear Work Zones: Create designated work zones around the fireplace to facilitate a systematic installation process. Clear the area of any obstacles or unnecessary items to allow for seamless movement during construction.
- Ensure Adequate Ventilation: If you’re working indoors, ensure that the space is well-ventilated. Open windows and doors to allow for proper airflow and minimize the inhalation of dust and fumes during the installation.
By meticulously preparing the area, you’ll set the stage for a successful and visually appealing brick fireplace surround. Taking the time to prepare the space will contribute to a streamlined construction process and a stunning end result that enhances the ambiance of your living space.
Step 3: Measure and Plan
Precision is paramount when it comes to creating a beautifully crafted brick fireplace surround. Before diving into the installation process, it’s essential to take accurate measurements and develop a comprehensive plan. Here’s how to approach the crucial steps of measuring and planning:
- Measure the Fireplace: Begin by measuring the dimensions of the fireplace, including the height, width, and depth. These measurements will serve as the foundation for determining the layout and placement of the bricks.
- Consider Design Options: Explore various design options for the brick layout. Whether you prefer a traditional running bond pattern, a herringbone design, or a custom arrangement, take the time to visualize the desired look for your fireplace surround.
- Create a Layout Plan: Using the measurements of the fireplace, sketch a layout plan on paper or digitally. This plan should include the positioning of the bricks, the pattern to be used, and any additional design elements such as decorative accents or trim.
- Account for Clearances: Ensure that the layout plan accounts for clearances around the fireplace, including mantels, vents, and other protruding features. It’s crucial to maintain proper clearances for safety and functionality.
- Calculate Material Requirements: Based on the layout plan, calculate the quantity of bricks, mortar, and grout needed for the installation. Having a clear understanding of the material requirements will streamline the procurement process and prevent delays during construction.
- Visualize the End Result: Take a moment to visualize how the brick surround will complement the overall aesthetic of the room. Consider how the chosen design will harmonize with the existing decor and create a cohesive visual impact.
By meticulously measuring and planning the layout of the brick surround, you’ll lay the groundwork for a seamless and visually striking installation. This thoughtful approach will ensure that the end result aligns with your vision, creating a stunning focal point that elevates the ambiance of your living space.
Before starting to brick a fireplace surround, make sure to measure and plan the layout carefully. Use a mortar mix that is suitable for fireplace use and apply it evenly to the back of each brick. Press the bricks firmly into place and use a level to ensure they are straight. Allow the mortar to dry completely before grouting.
Step 4: Install the Bricks
With the preparation and planning complete, it’s time to embark on the exciting phase of installing the bricks for your fireplace surround. This step-by-step guide will walk you through the process of seamlessly placing the bricks to create a captivating and enduring feature in your home.
Here’s a detailed breakdown of the installation process:
- Prepare the Mortar: Start by preparing the mortar according to the manufacturer’s instructions. Achieving the right consistency is crucial for ensuring the bricks adhere securely to the surface.
- Apply Mortar to the Surface: Using a trowel, apply a layer of mortar to the back of each brick before placing it on the surface. This ensures proper adhesion and stability.
- Place the First Course: Begin the installation at the base of the fireplace, placing the first course of bricks according to your predetermined layout. Use a level to ensure the bricks are aligned horizontally and vertically.
- Build Upward: As you progress upward, continue placing each course of bricks, applying mortar and maintaining consistent spacing between the bricks. Use the level regularly to confirm that the bricks are aligned and plumb.
- Cut Bricks as Needed: If necessary, use a masonry saw to cut bricks to fit around protrusions or to achieve the desired fit. Exercise caution and wear appropriate safety gear when handling cutting tools.
- Fill Gaps with Grout: Once the bricks are in place, fill the gaps between them with grout using a grout bag or trowel. Smooth the grout to achieve a clean and uniform appearance.
- Clean Excess Mortar and Grout: After the mortar and grout have set for a brief period, use a brush and sponge to remove any excess material and achieve a polished finish.
- Allow for Proper Curing: Allow the mortar and grout to cure according to the manufacturer’s recommendations before exposing the fireplace to heat or additional construction activities.
By following these steps with precision and care, you’ll bring your vision of a stunning brick fireplace surround to life. The installation process is a testament to your creativity and dedication, culminating in a captivating feature that enriches the ambiance of your living space.
Read more: How To Paint Fireplace Surround
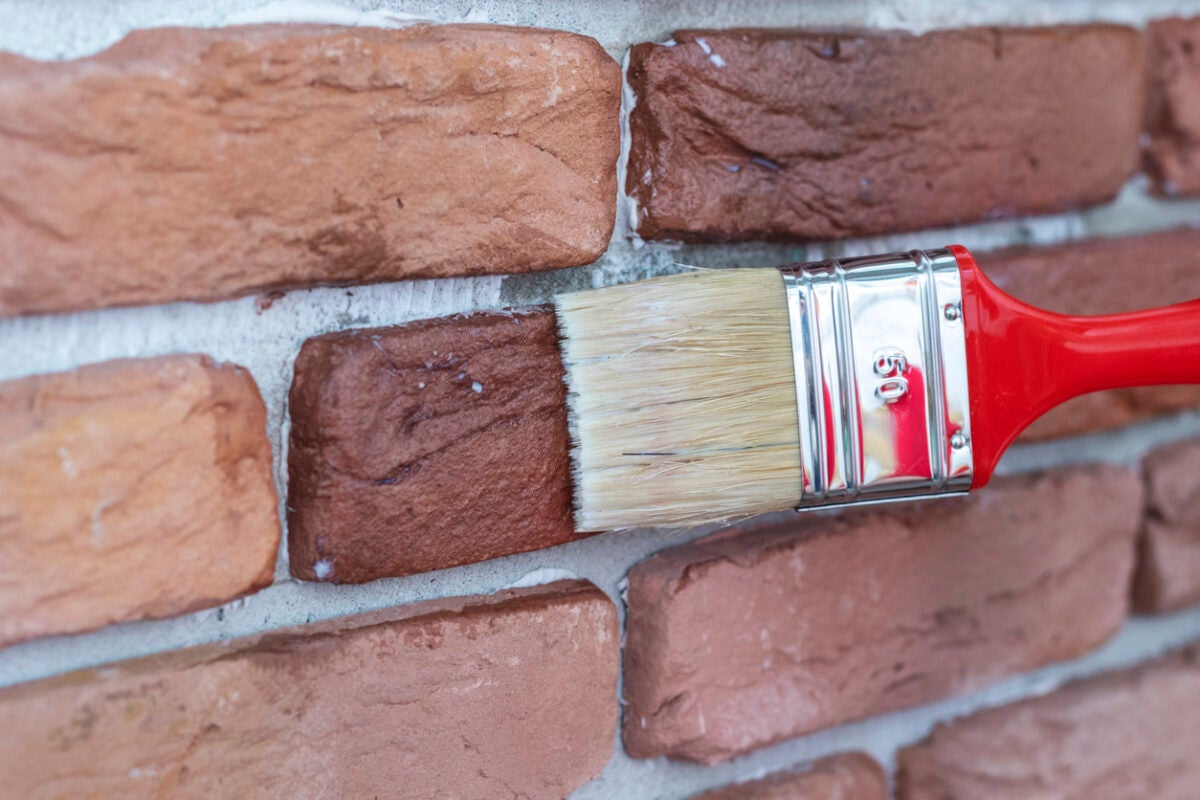
Step 5: Grout and Finish
As you near the completion of your brick fireplace surround, the final steps of grouting and finishing are essential for achieving a polished and enduring result. This phase adds the finishing touches that elevate the visual appeal and ensure the longevity of your newly installed bricks. Let’s delve into the detailed process of grouting and finishing the surround:
- Prepare the Grout: Begin by preparing the grout mixture to the desired consistency, ensuring that it is well-mixed and free of lumps.
- Apply Grout to the Gaps: Using a grout bag or trowel, carefully fill the gaps between the bricks with the prepared grout. Ensure that the grout is evenly distributed and completely fills the spaces.
- Smooth the Grout: After applying the grout, use a grout finishing tool or a rounded stick to smooth the grout lines and achieve a clean, uniform appearance.
- Clean Excess Grout: Once the grout has set for a brief period, use a damp sponge to gently wipe away any excess grout from the surface of the bricks. Take care not to remove grout from the gaps between the bricks.
- Inspect and Touch Up: After the initial cleaning, inspect the grout lines for any inconsistencies or areas that may require additional grout. Touch up any uneven or sparse areas to ensure a cohesive finish.
- Allow for Proper Curing: Allow the grout to cure according to the manufacturer’s recommendations, ensuring that it sets and hardens properly for long-term durability.
- Apply Sealant (Optional): Depending on the type of grout used, consider applying a suitable sealant to protect the grout from staining and enhance its resilience over time.
- Final Clean-Up: Once the grout has fully cured, perform a final clean-up of the surrounding area, removing any residual grout or construction debris to reveal the pristine beauty of your brick fireplace surround.
By meticulously grouting and finishing the bricks, you’ll bring your fireplace surround to its full potential, creating a timeless and captivating focal point in your home. The attention to detail and craftsmanship invested in this phase will yield a stunning and enduring addition to your living space, enriching the ambiance and inviting warmth and charm into your daily life.
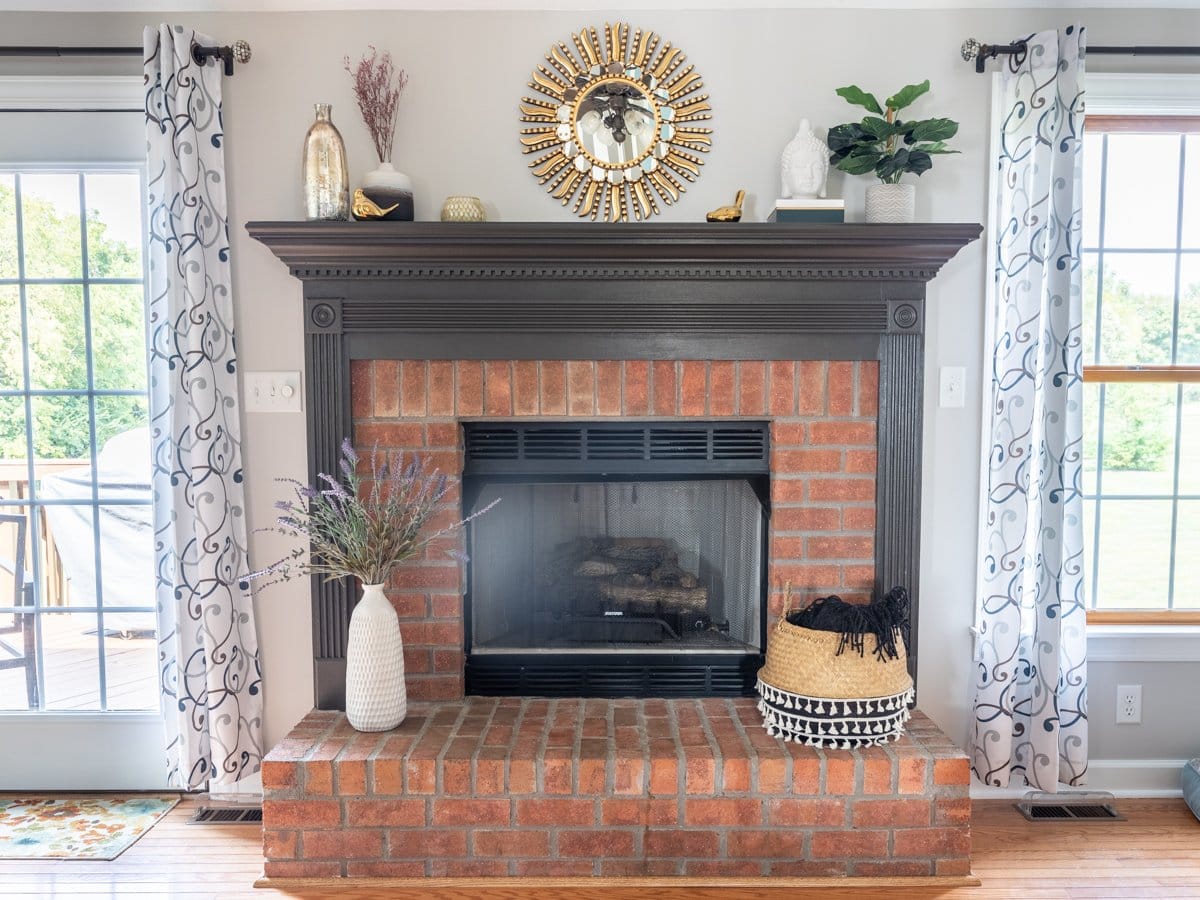
Conclusion
Congratulations on successfully completing the transformation of your fireplace with a stunning brick surround! Your dedication, creativity, and attention to detail have culminated in the creation of a captivating focal point that enriches the ambiance of your living space. As you admire the finished result, take a moment to appreciate the journey you’ve embarked upon and the rewarding outcome you’ve achieved.
By following the step-by-step guide, you’ve not only enhanced the aesthetic appeal of your home but also added value and character to your living space. The timeless charm and versatility of a brick fireplace surround offer a warm and inviting atmosphere, creating a focal point that draws family and guests together in comfort and style.
Embracing the world of DIY home improvement empowers you to infuse your personal touch into your living environment, creating a space that reflects your unique style and vision. The process of installing a brick surround has not only allowed you to exercise your creativity but has also provided a sense of accomplishment as you witness the tangible results of your efforts.
As you bask in the warmth and beauty of your newly adorned fireplace, remember that the journey doesn’t end here. Your home is a canvas for ongoing creativity and personal expression, and each project you undertake adds to the tapestry of memories and experiences woven into the fabric of your living space.
Whether you’ve chosen a traditional, modern, or eclectic design for your brick fireplace surround, the enduring appeal of brick will stand the test of time, serving as a backdrop for cherished moments and gatherings for years to come.
So, as you enjoy the cozy ambiance and visual allure of your enhanced fireplace, take pride in the craftsmanship and dedication you’ve poured into this project. Your home is a reflection of your passion and creativity, and the brick fireplace surround stands as a testament to your commitment to creating a warm and inviting sanctuary for yourself and those you hold dear.
Frequently Asked Questions about How To Brick A Fireplace Surround
Was this page helpful?
At Storables.com, we guarantee accurate and reliable information. Our content, validated by Expert Board Contributors, is crafted following stringent Editorial Policies. We're committed to providing you with well-researched, expert-backed insights for all your informational needs.

0 thoughts on “How To Brick A Fireplace Surround”