Articles
How To Build A Brick Fireplace Surround
Modified: September 2, 2024
Learn how to build a stunning brick fireplace surround with our comprehensive articles. Enhance your home's ambiance and add warmth and charm.
(Many of the links in this article redirect to a specific reviewed product. Your purchase of these products through affiliate links helps to generate commission for Storables.com, at no extra cost. Learn more)
Introduction
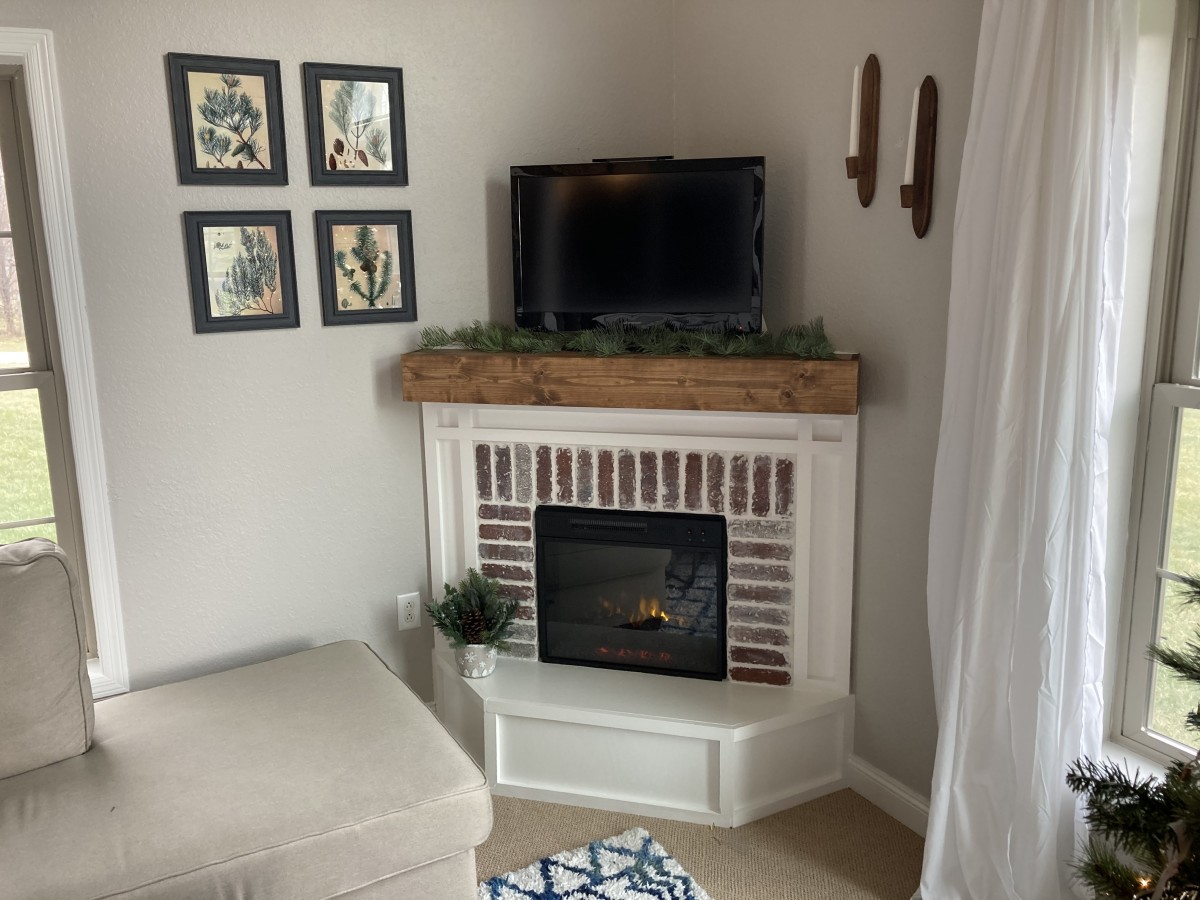
Nothing adds a touch of warmth and charm to a home quite like a brick fireplace surround. Whether you’re looking to create a cozy ambiance or add a focal point to your living room, a brick fireplace surround can transform any space into a cozy retreat. While it may seem like a daunting task, with the right tools and a bit of patience, you can easily build a brick fireplace surround that will be the envy of your friends and family.
In this article, we will guide you through the step-by-step process of building a brick fireplace surround. From gathering the materials and tools to installing the mantel, we will cover every aspect to ensure that you have all the knowledge you need to create a stunning fireplace surround that reflects your personal style.
Key Takeaways:
- Building a brick fireplace surround is a rewarding DIY project that adds warmth and charm to your home. From gathering materials to adding finishing touches, each step contributes to creating a stunning focal point in your living space.
- Attention to detail and safety are crucial when building a brick fireplace surround. Consider the location, prepare the area, and personalize the space with decorative elements to create a cozy and inviting atmosphere for years to come.
Read more: How To Build A Brick Fireplace Outside
Step 1: Gathering Materials and Tools
Before you embark on your brick fireplace surround project, it’s essential to gather all the necessary materials and tools. Here’s a comprehensive list of what you’ll need:
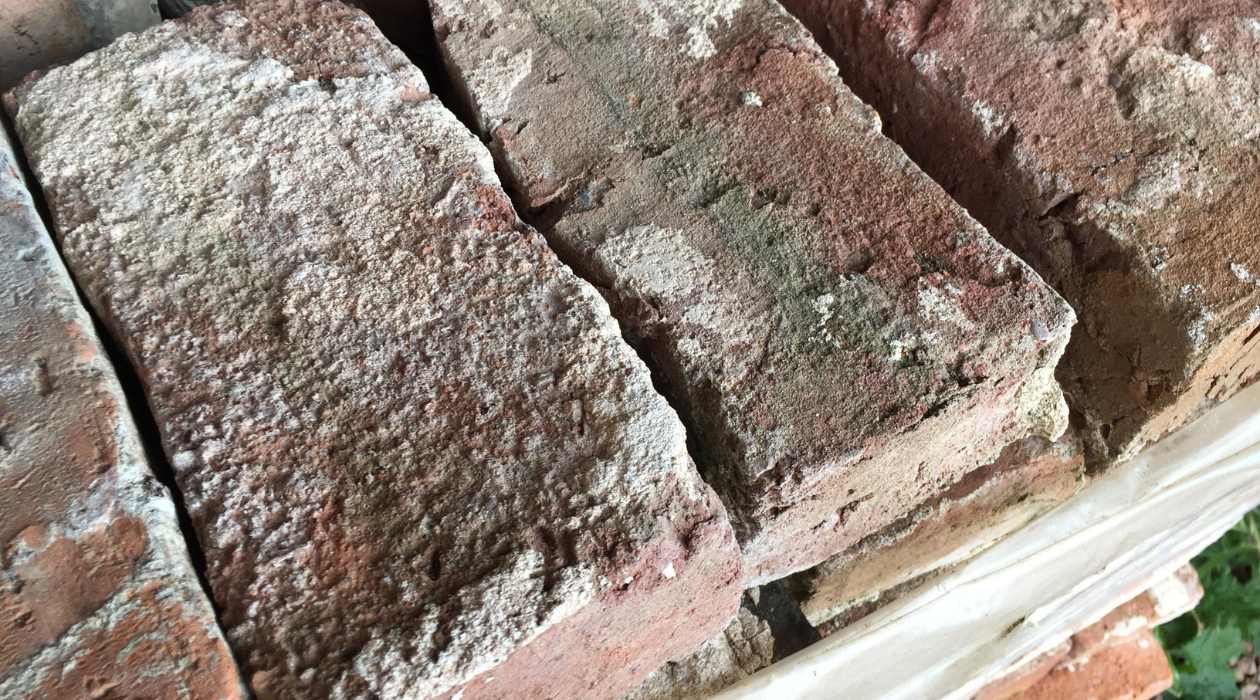
- Bricks: Choose bricks that are suitable for a fireplace surround. Opt for bricks that are fire-rated and designed for high-temperature environments.
- Mortar: Select a high-quality mortar that is specifically formulated for use with bricks. This will ensure a strong and durable bond between the bricks.
- Masonry Tools: You’ll need a variety of masonry tools, including a trowel, jointer, masonry saw, and level. These tools will help you shape and position the bricks with precision.
- Metal Lath: Metal lath is used to provide stability and support to the brickwork. It acts as a reinforcement and prevents the bricks from shifting or cracking.
- Wood Boards: Use wood boards to create a form for the base of the fireplace surround. Ensure that the boards are straight and sturdy.
- Mantel: Decide on the material and design of the mantel that will complement your fireplace surround. Common options include wood, stone, or marble.
- Safety Gear: Protect yourself by wearing safety goggles, gloves, and a dust mask. These will protect you from flying debris and dust particles while working with the materials.
Once you have gathered all the necessary materials and tools, you can proceed to the next step of building your brick fireplace surround. It’s important to ensure that you have everything you need before starting to avoid interruptions or delays in the construction process.
Step 2: Choosing the Right Location
Choosing the right location for your brick fireplace surround is crucial for both aesthetics and functionality. Here are a few factors to consider when selecting the ideal spot:
- Existing Structure: Take into account the existing structure of your home. You want to ensure that the fireplace surround will fit harmoniously with the overall design and style of the room.
- Ventilation: It’s crucial to choose a location that allows for proper ventilation. Ensure that there is enough space around the fireplace to allow for air circulation, preventing the buildup of heat and smoke.
- Clearance: Check the local building codes and regulations to determine the required clearance distances. This includes the distance from the fireplace to any combustible materials, such as walls, furniture, or curtains.
- Focal Point: Consider the focal point of the room. The fireplace often becomes the centerpiece, so choose a location that draws attention and enhances the overall ambiance of the space.
- Accessibility: Think about the practicality of the location. Make sure that the fireplace is easily accessible and convenient for tending to the fire and cleaning.
Once you have considered these factors, you can assess the available options and select the perfect location for your brick fireplace surround. Remember to take measurements and mark the area to ensure accurate construction in the next steps.
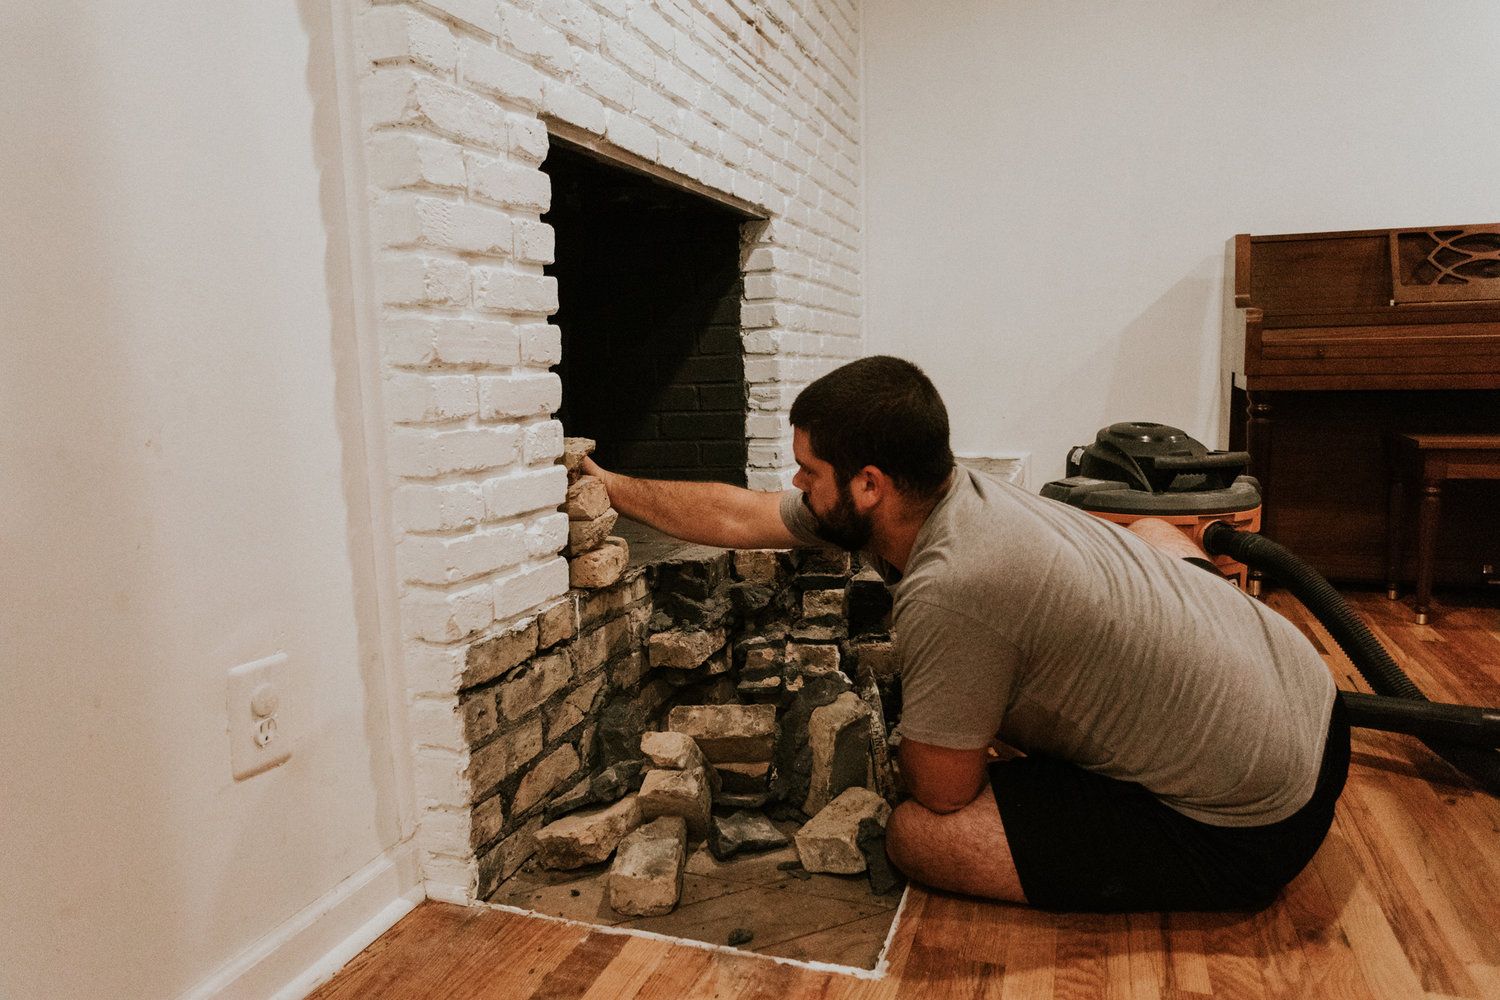
Step 3: Preparing the Area
Before you start building your brick fireplace surround, it’s important to properly prepare the area to ensure a smooth and successful construction process. Here are the steps to follow:
- Clear the Space: Remove all furniture, decorations, and any other items from the area where the fireplace surround will be installed. This will provide you with a clean and unobstructed work area.
- Protect the Floor: Place protective covering or drop cloths on the floor to prevent any damage or stains from mortar or debris.
- Prepare the Wall Surface: Ensure that the wall surface where the fireplace surround will be attached is clean and free from any dust, dirt, or loose material. Use a wire brush or scraper to remove any existing paint or wallpaper.
- Apply Metal Lath: Securely attach metal lath to the wall surface using screws or nails. This will provide a stable base for the mortar and bricks, ensuring a strong bond.
- Install the Base Support: Cut and install wood boards to create a form for the base of the fireplace surround. Use a level to ensure that the boards are straight and level. Secure them in place using screws or nails.
By properly preparing the area, you will create a solid foundation for your brick fireplace surround. This will help ensure that the structure is secure and built to last.
Step 4: Building the Base
With the area prepared, it’s time to start building the base of your brick fireplace surround. Here’s how to do it:
- Mix the Mortar: Follow the manufacturer’s instructions to mix the mortar to the correct consistency. Typically, you’ll need to add water to the mortar mix and stir until it reaches a thick, but workable, consistency.
- Apply the Mortar: Using a trowel, apply a layer of mortar to the area where the base will be built. Make sure to cover the entire area evenly and create a smooth surface.
- Position the Bricks: Carefully place the bricks on top of the mortar layer, pressing them firmly into place. Use a level to ensure that they are aligned and level. Leave space between the bricks for mortar joints, typically around 3/8 of an inch.
- Check for Levelness: Continuously check for levelness as you lay the bricks, adjusting as needed. This will ensure that the base of your fireplace surround is even and stable.
- Add More Layers: Continue applying mortar and stacking bricks to build up the base of your fireplace surround. Use a trowel to smooth out the mortar joints between the bricks, removing any excess mortar.
- Allow for Drying Time: Let the mortar dry and set according to the manufacturer’s instructions. This typically takes around 24-48 hours, but may vary depending on the specific mortar used.
Building the base of your brick fireplace surround is a crucial step in the construction process. Take your time to ensure that each brick is properly aligned and level to create a sturdy and visually appealing foundation.
When building a brick fireplace surround, make sure to use fire-resistant mortar and bricks to ensure safety and durability. Always follow local building codes and regulations.
Read more: How To Build Hot Tub Surround
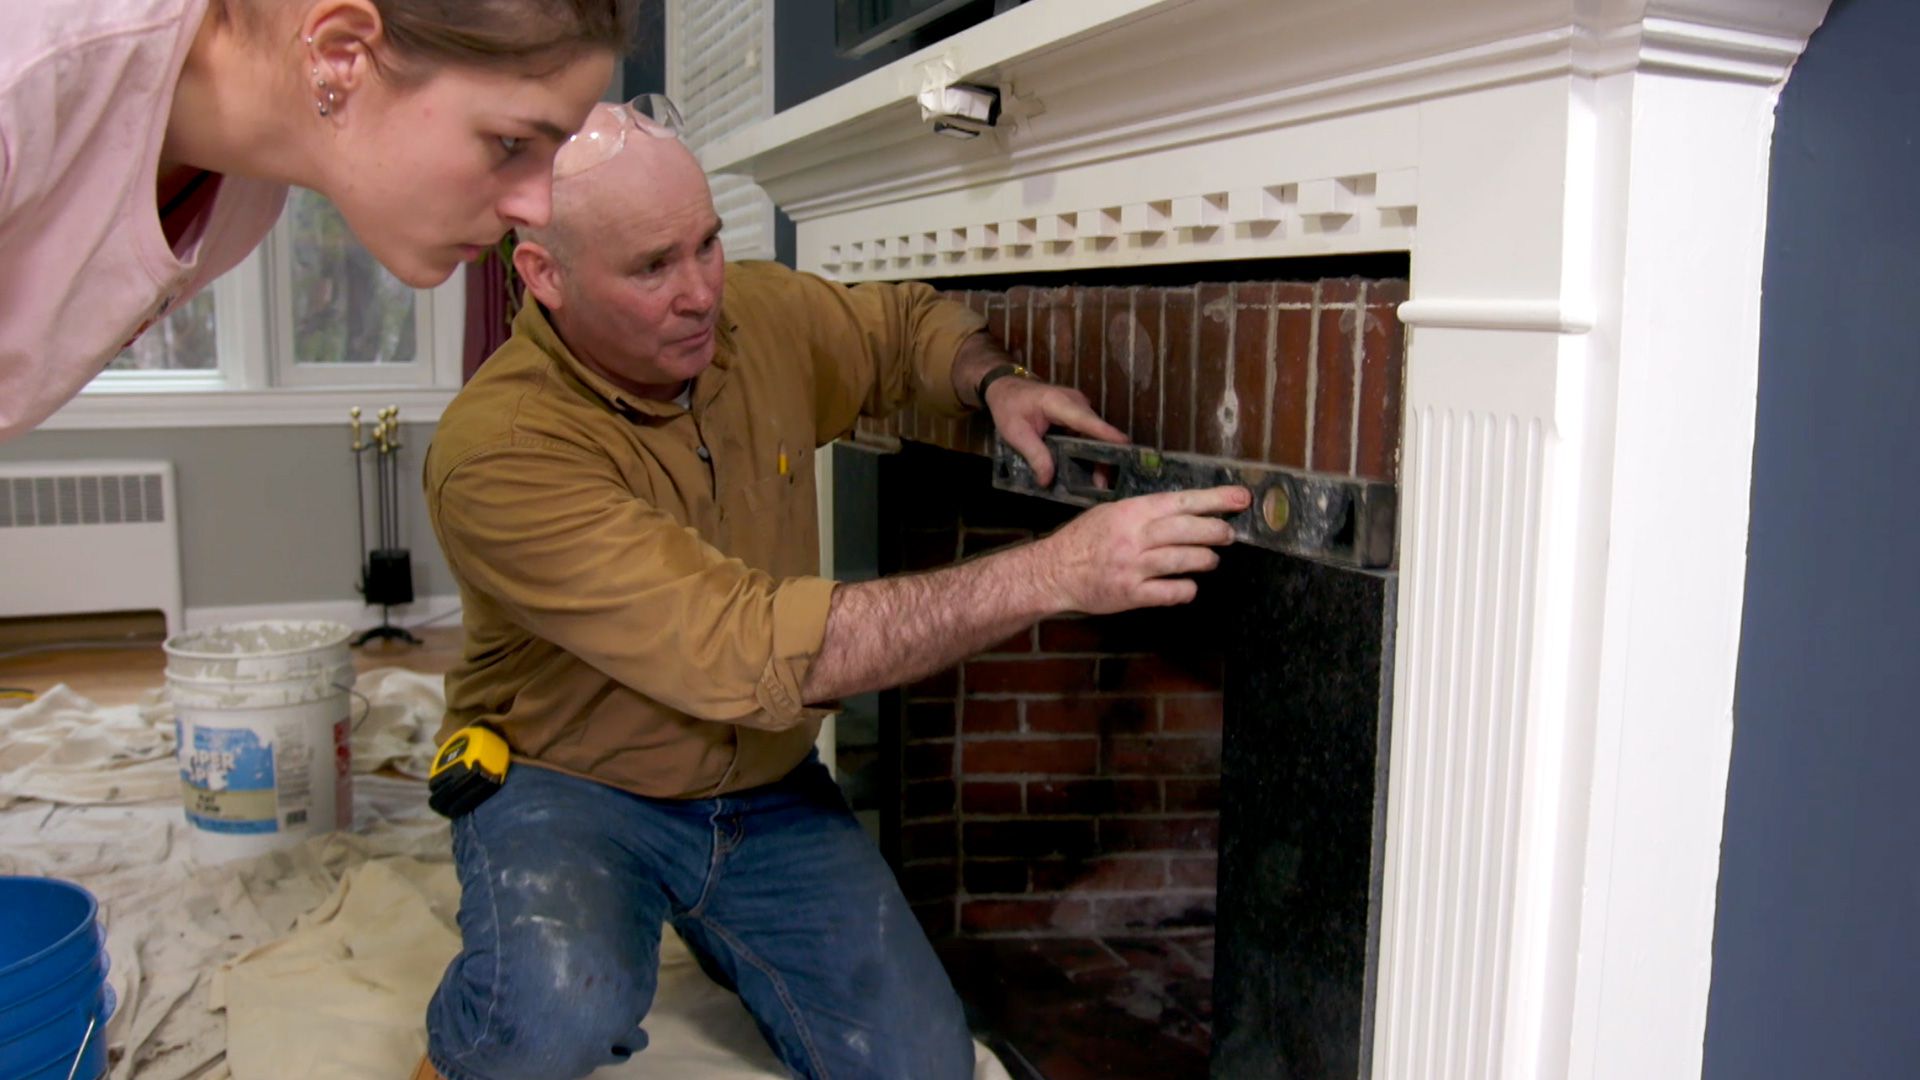
Step 5: Laying the Bricks
Once the base is built, it’s time to start laying the bricks for the walls of your fireplace surround. Follow these steps to ensure a precise and professional result:
- Mix Mortar: Prepare a fresh batch of mortar according to the manufacturer’s instructions.
- Apply Mortar: Using a trowel, spread a layer of mortar on the top of the base and on the sides where the bricks will be placed.
- Position Bricks: Carefully place the first brick against the side of the base, pressing it into the mortar. Check for levelness and adjust if necessary.
- Add More Bricks: Continue laying bricks, applying mortar between each layer. Use a level to ensure that the bricks are aligned vertically and horizontally.
- Check for Plumbness: Periodically check that the bricks are plumb (vertically level) using a level. Adjust them as needed to maintain a straight and even wall.
- Trim Bricks: If necessary, trim bricks to fit the desired shape of the fireplace surround using a masonry saw or chisel.
- Fill Mortar Joints: After laying each row of bricks, use a pointing trowel to fill the mortar joints, ensuring they are evenly filled and smoothed.
- Clean Excess Mortar: As you work, clean away any excess mortar that spills onto the bricks using a damp cloth or sponge.
Remember to take your time when laying the bricks, ensuring that each brick is securely placed and level. This will result in a sturdy and visually appealing brick fireplace surround.
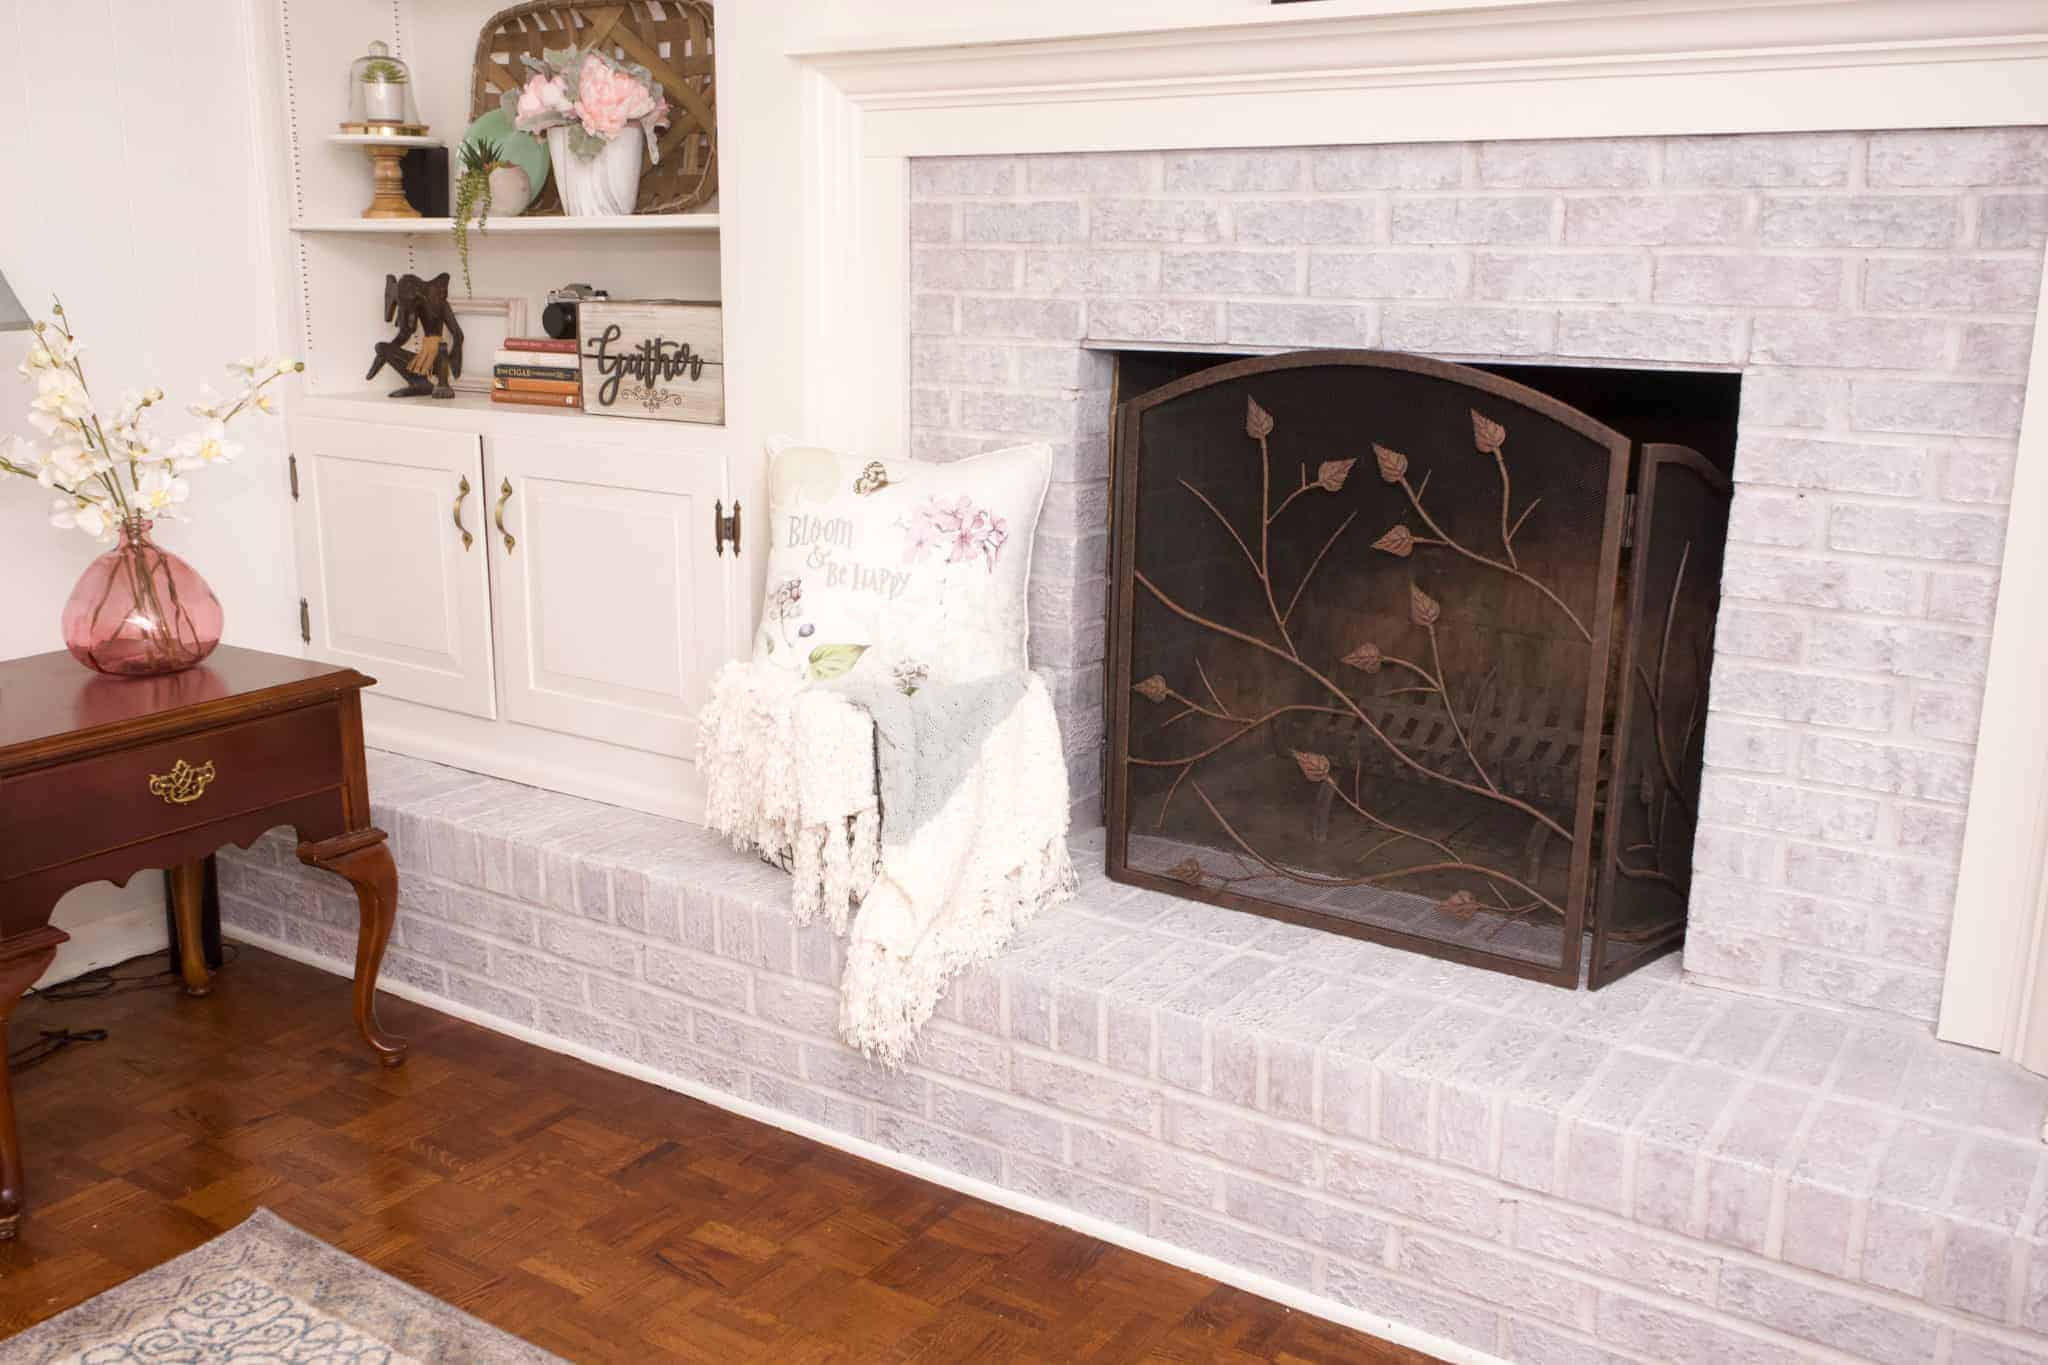
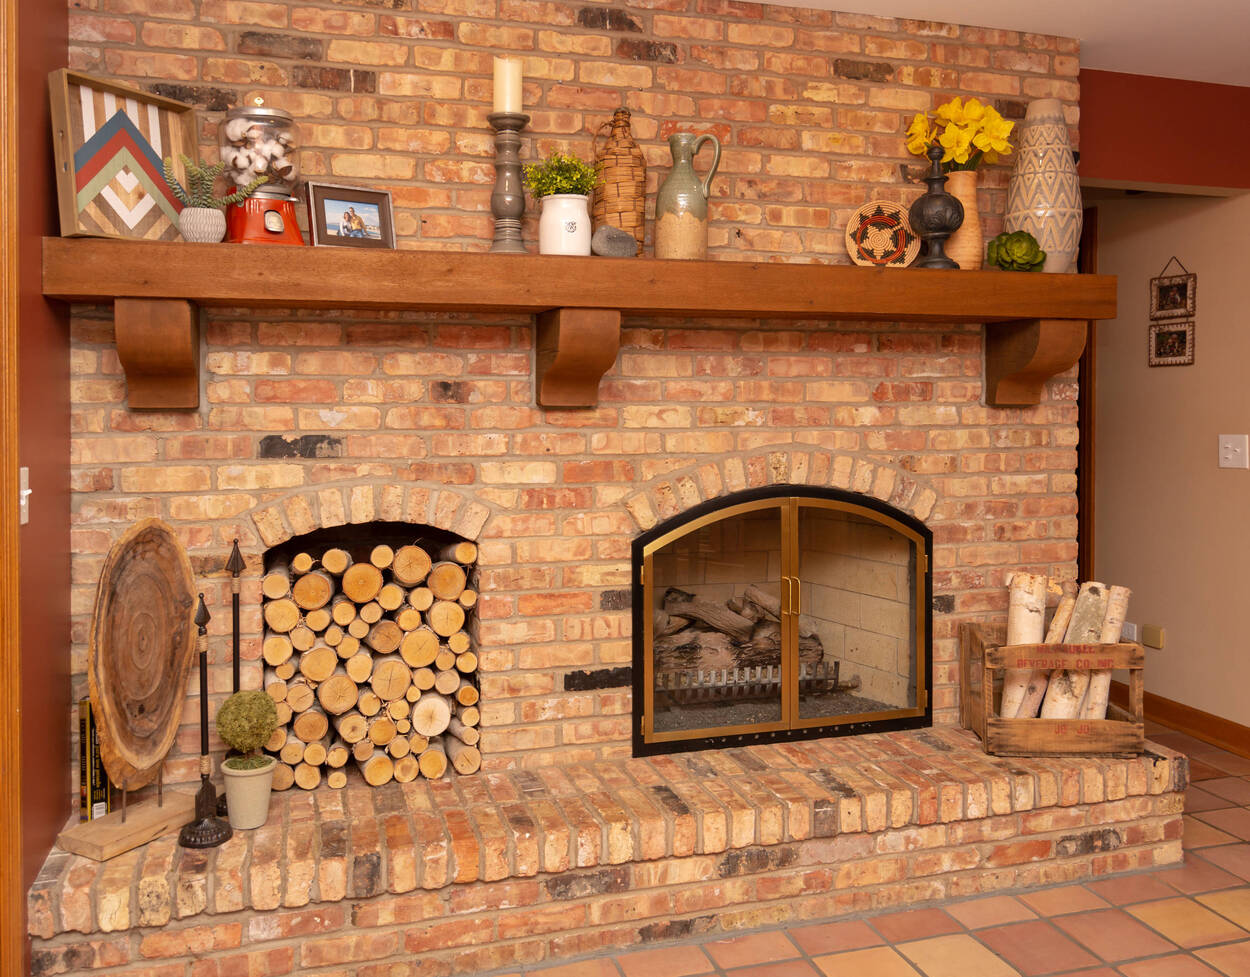
Step 6: Creating the Hearth
The hearth is an essential element of a brick fireplace surround, providing both functionality and beauty. Here’s how you can create a stylish and functional hearth:
- Measure the Space: Determine the desired dimensions for your hearth, ensuring it extends beyond the front of the fireplace for added safety.
- Prepare the Base: Use a level to ensure that the base is level and stable. If needed, add shims or additional mortar to correct any unevenness.
- Mix the Mortar: Prepare a batch of mortar, following the manufacturer’s instructions.
- Apply Mortar: Spread a layer of mortar on the top surface of the base, ensuring an even and smooth application.
- Lay Hearth Tiles: Carefully place the hearth tiles on the mortar, pressing them firmly into place. Use spacers to ensure consistent spacing between tiles.
- Check for Levelness: Use a level to ensure that the hearth tiles are level and aligned correctly. Make adjustments as needed.
- Fill Mortar Joints: Fill the mortar joints between the hearth tiles using a pointing trowel, making sure they are evenly filled and smoothed.
- Clean Excess Mortar: As you work, clean away any excess mortar that spills onto the tiles using a damp cloth or sponge.
- Allow for Drying Time: Allow the mortar to dry and set according to the manufacturer’s instructions, typically around 24-48 hours.
The hearth is not only a functional component but also a design feature that can enhance the overall look of your fireplace surround. Take the time to ensure that the hearth is level, well-constructed, and visually appealing.
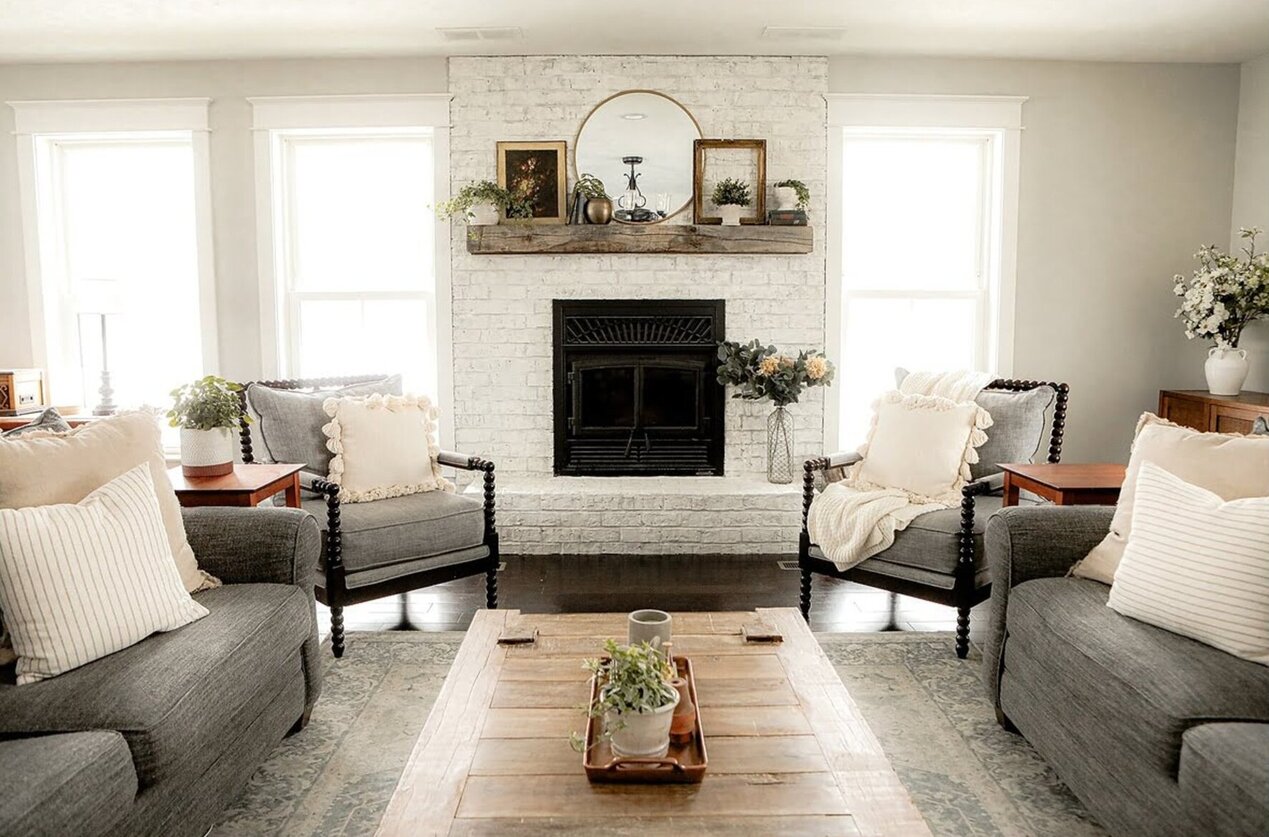
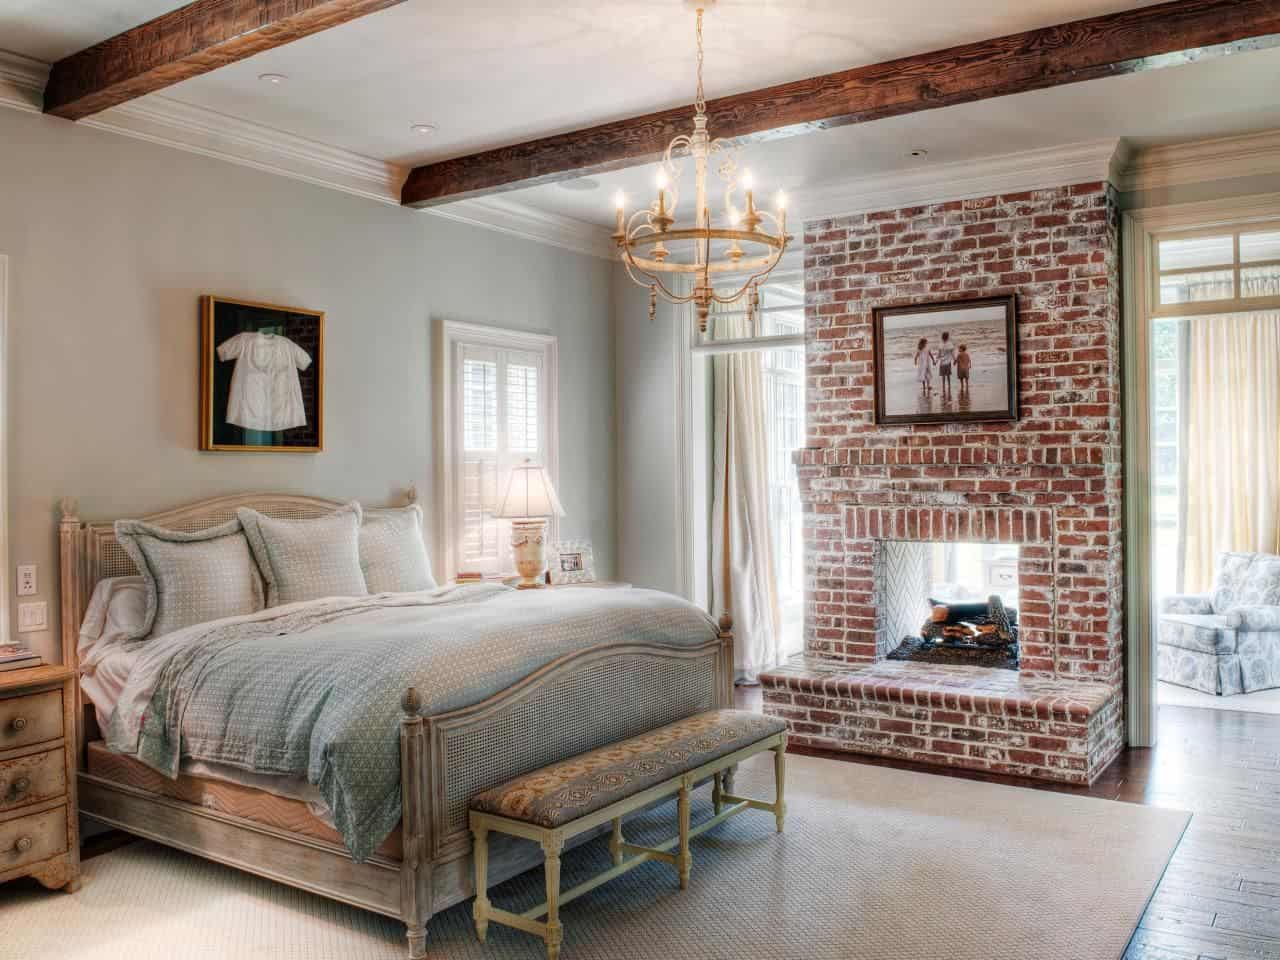
Step 7: Installing the Mantel
The mantel is the finishing touch that completes the look of your brick fireplace surround. Here’s how you can install the mantel securely and beautifully:
- Select the Mantel: Choose a mantel that complements the style and design of your fireplace surround. Common options include wood, stone, or marble.
- Measure and Mark: Determine the desired height for your mantel and mark the wall accordingly. Use a level to ensure that the markings are straight and even.
- Prepare the Wall: Remove any paint, wallpaper, or debris from the area where the mantel will be installed. Ensure that the wall surface is clean and smooth.
- Attach the Mantel: Use brackets or mounting hardware appropriate for the material of your mantel to securely attach it to the wall. Follow the manufacturer’s instructions for proper installation.
- Level and Secure: Use a level to ensure that the mantel is straight and level. Adjust as needed and securely tighten the mounting hardware or brackets.
- Fill Nail Holes or Gaps: If necessary, fill any nail holes or gaps between the mantel and the wall using wood putty or caulk. Smooth and sand the surface for a seamless finish.
- Paint or Stain (Optional): If desired, paint or stain the mantel to match your desired aesthetic. Follow the proper steps for painting or staining the material of your mantel.
The mantel adds a significant visual impact to your fireplace surround, creating a focal point in your living space. Take your time during installation to ensure that the mantel is securely attached and level, providing a beautiful and functional addition to your brick fireplace surround.
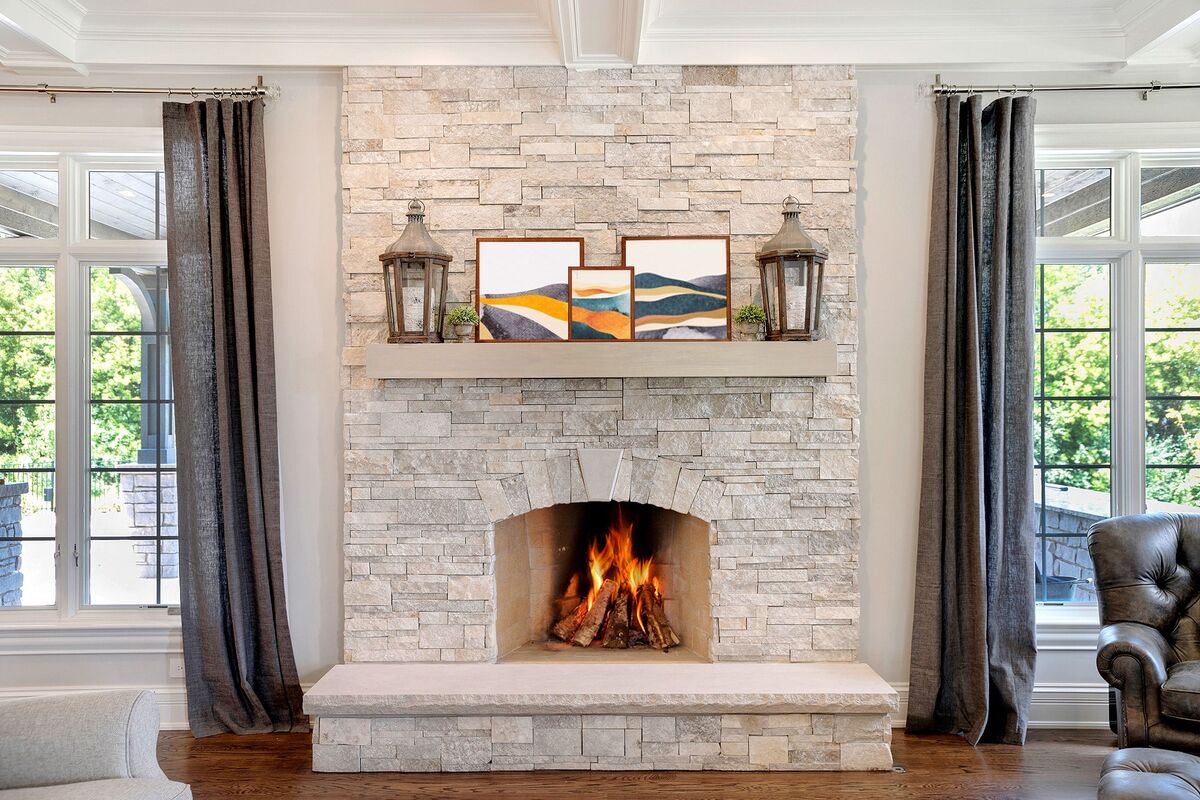
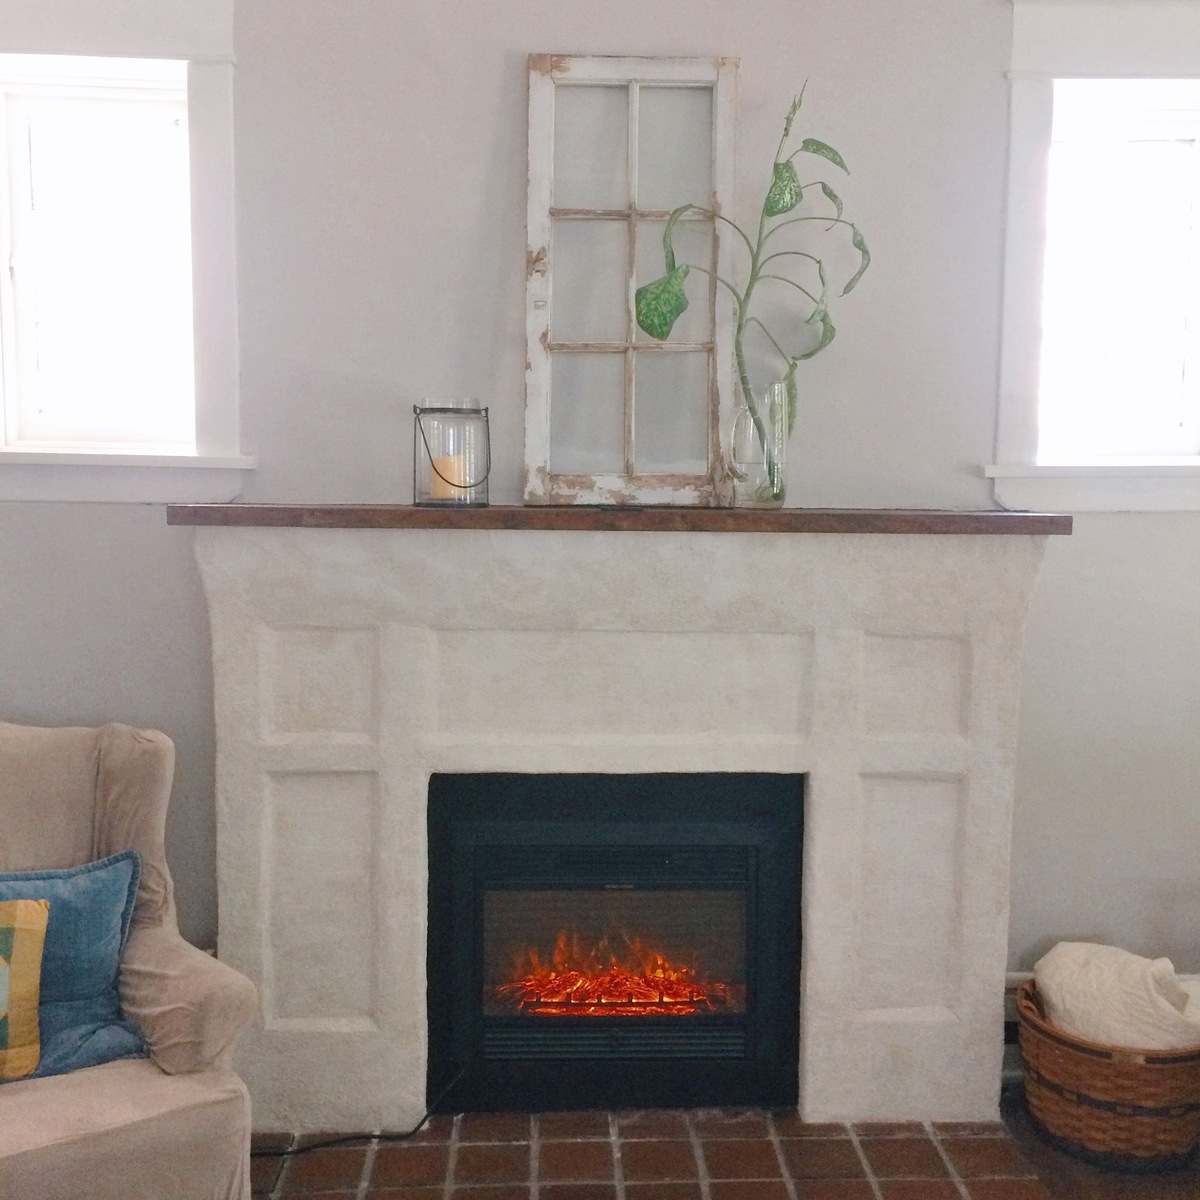
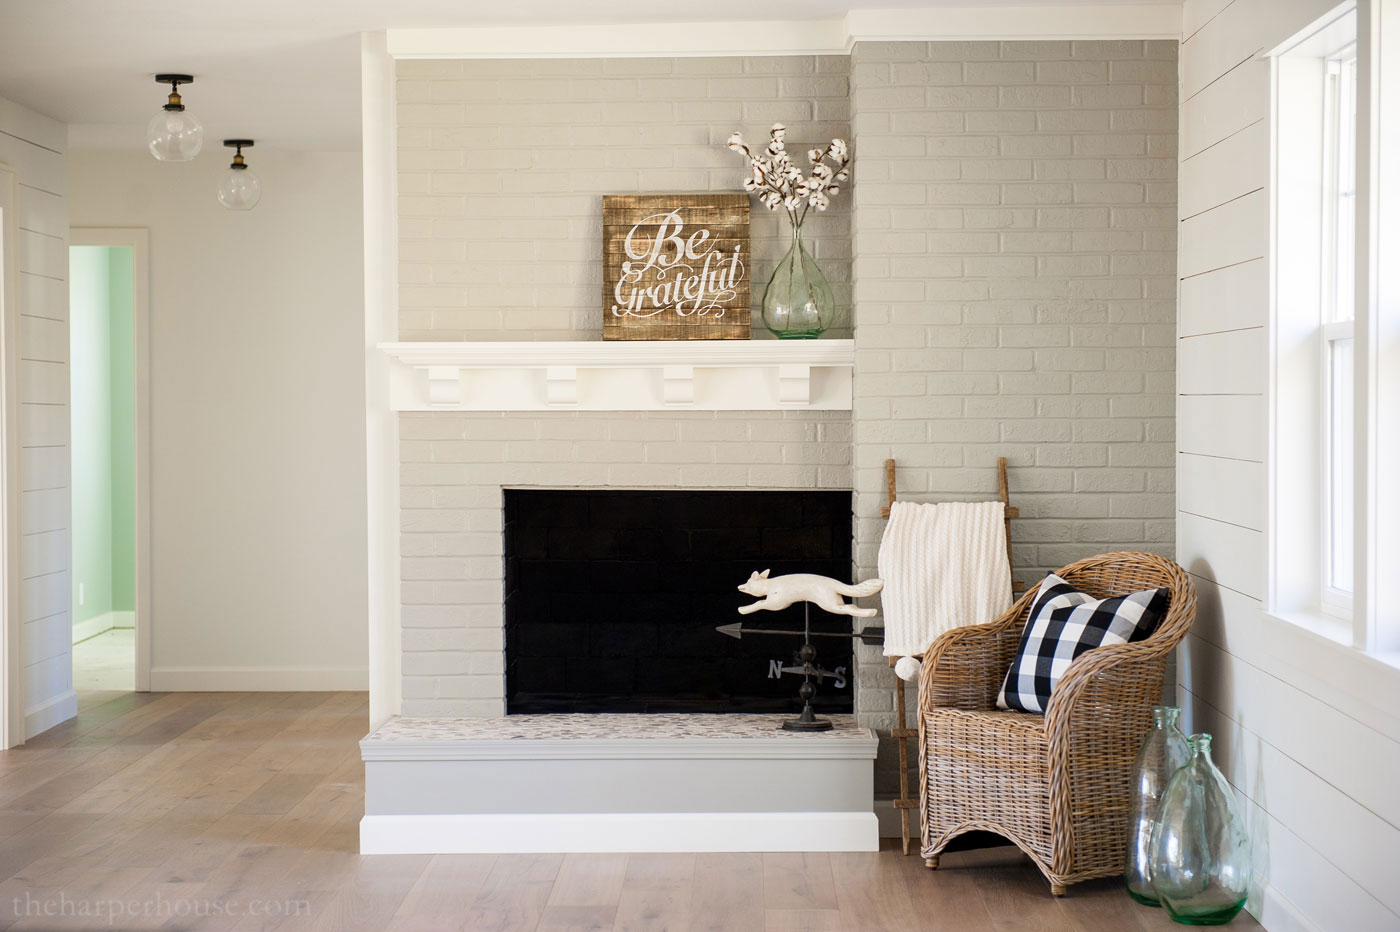
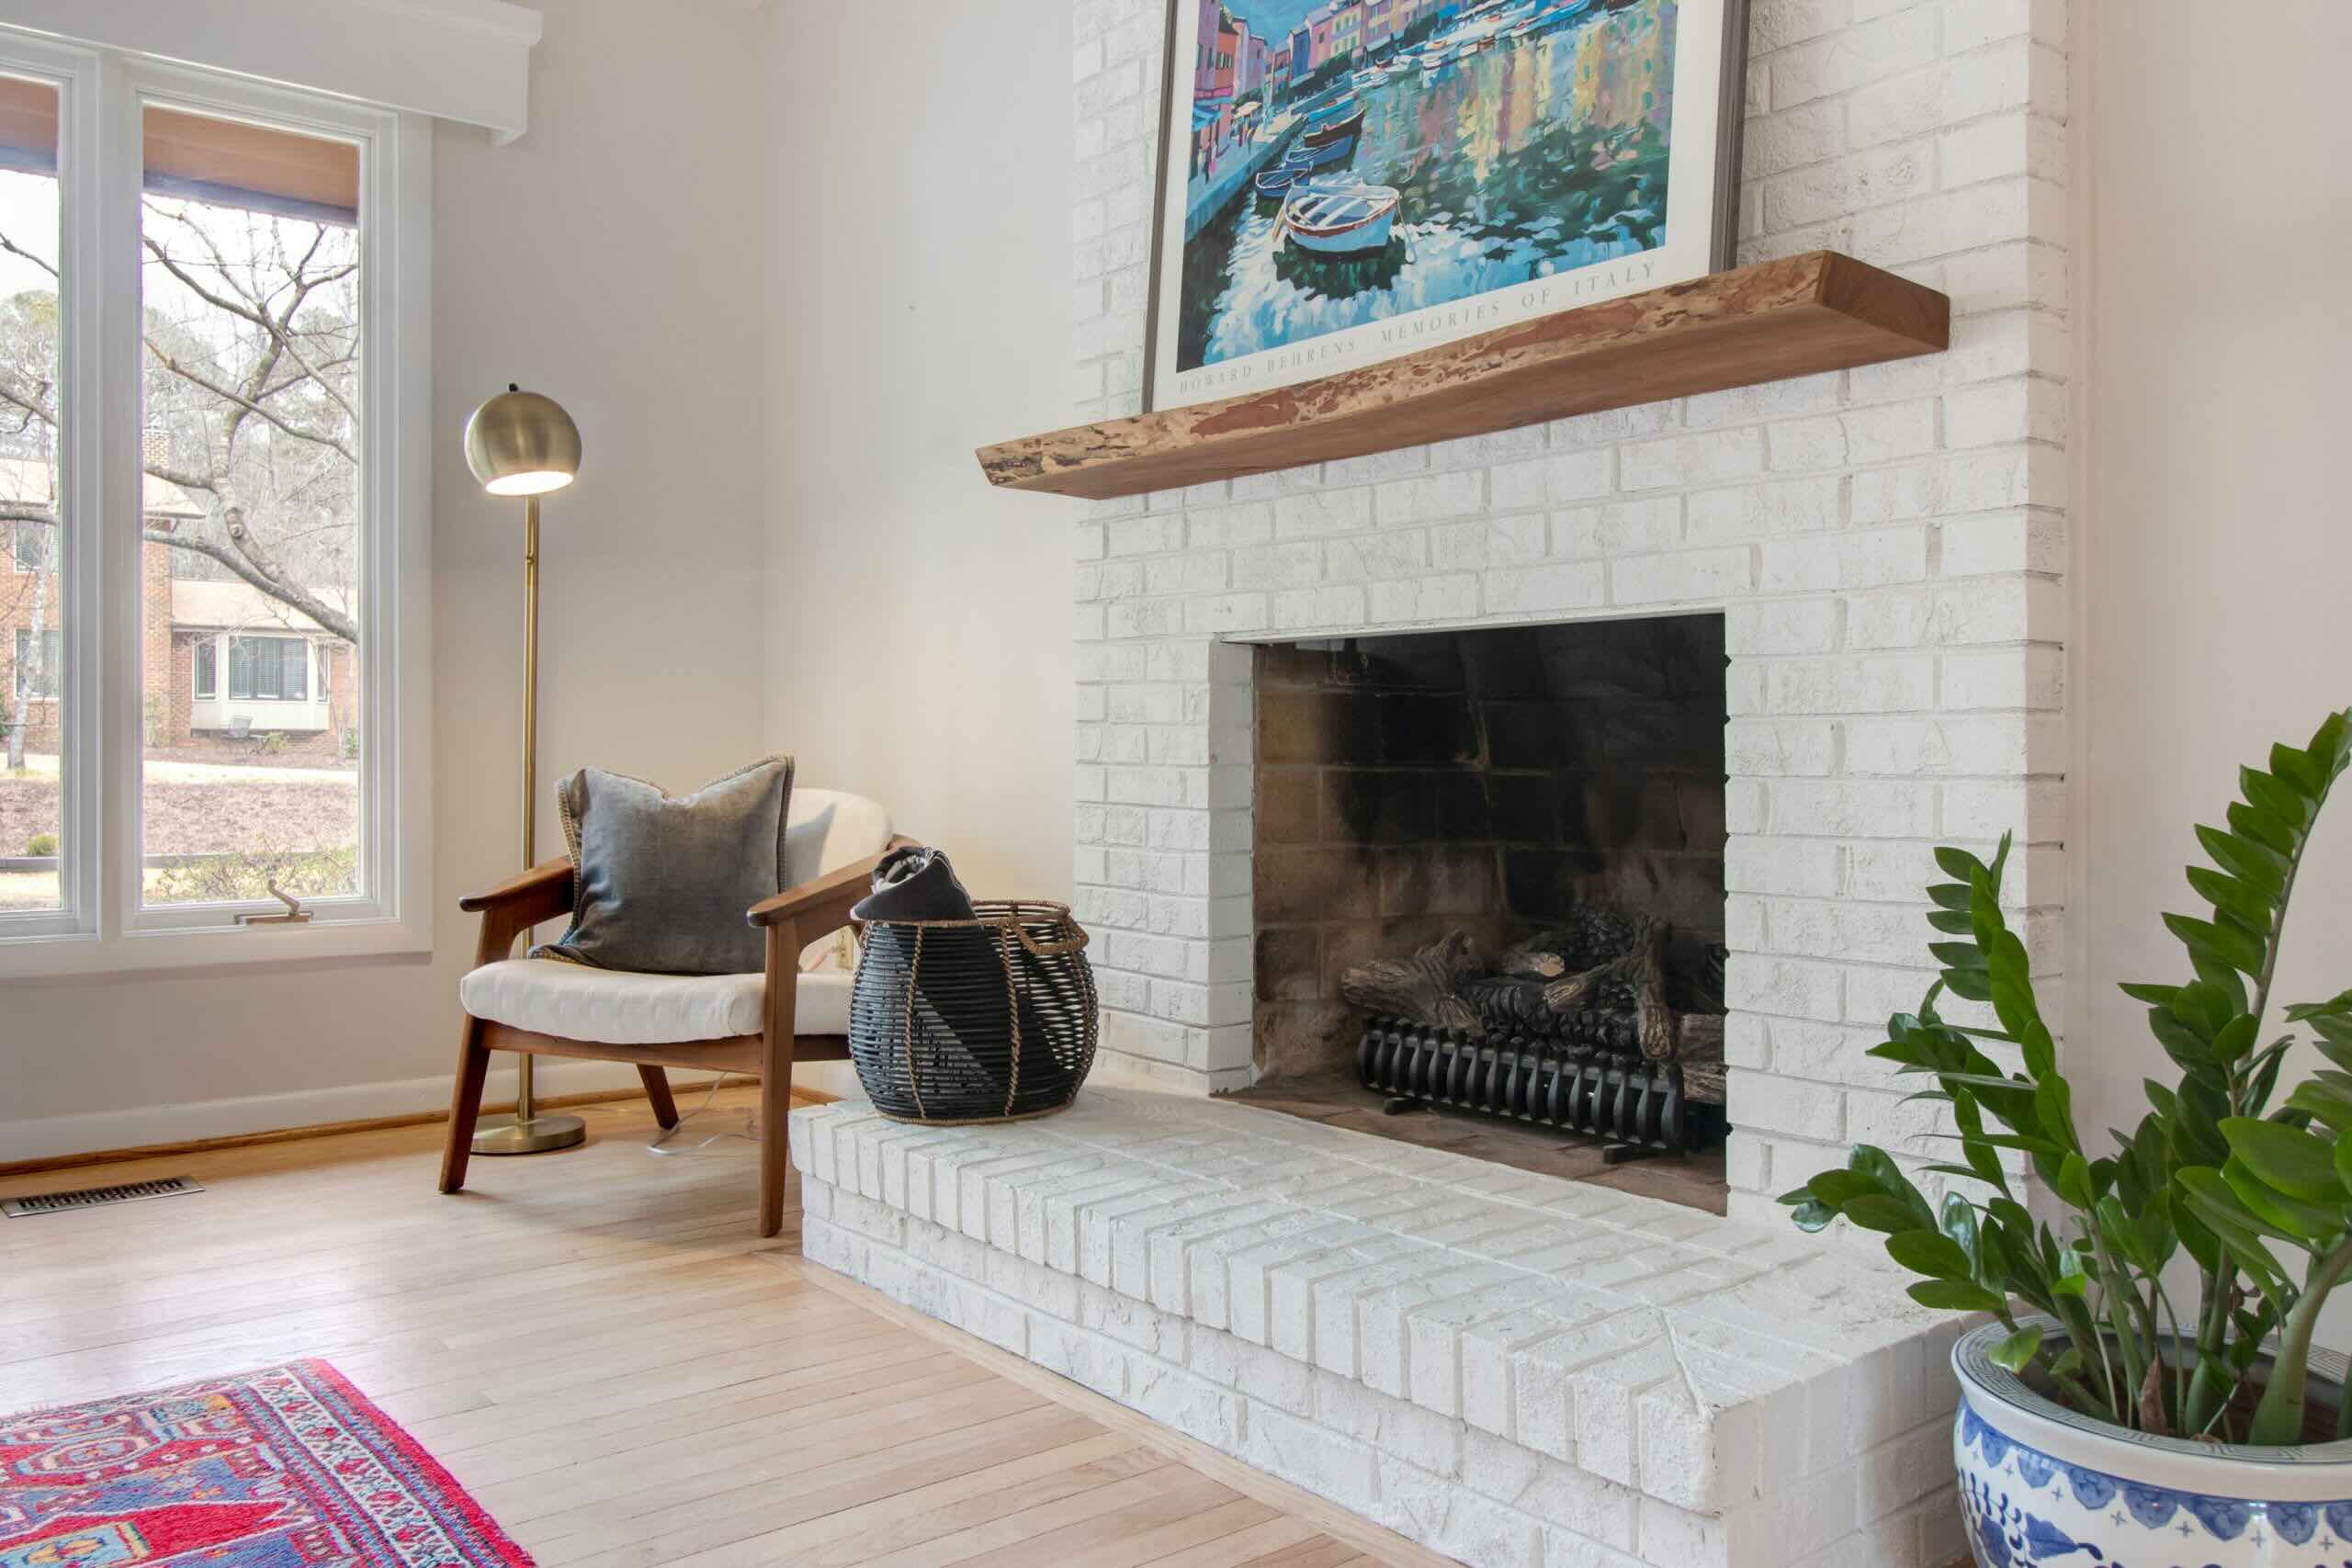
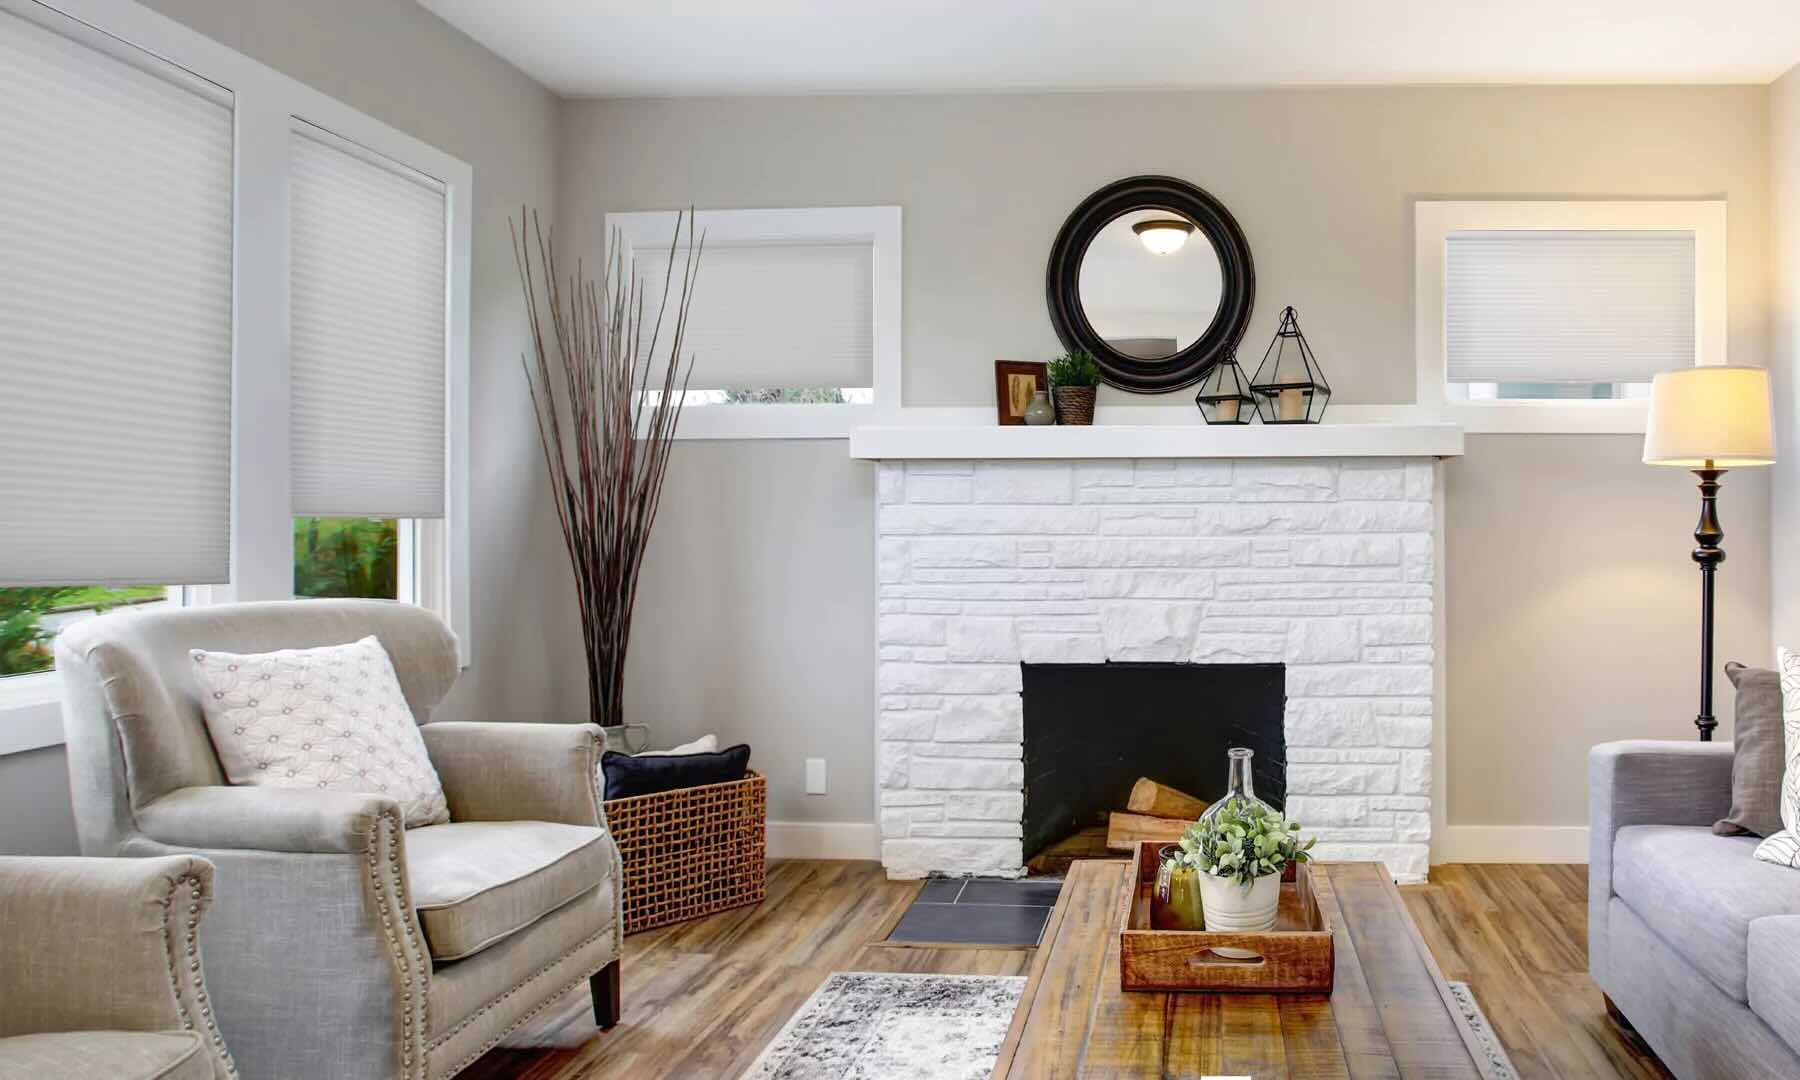
Step 8: Finishing Touches
With the construction of your brick fireplace surround complete, it’s time to add the finishing touches that will make it truly shine. Here’s what you can do to elevate the overall look and feel:
- Clean the Fireplace: Remove any dust or debris from the fireplace surround, both inside and outside. Use a brush and dustpan to sweep away any loose particles.
- Seal the Bricks: Consider applying a sealant to the bricks to enhance their color and protect them from stains or weathering. Follow the manufacturer’s instructions for the appropriate sealant and application method.
- Add Decorative Elements: Personalize your fireplace surround by adding decorative elements such as candles, vases, or artwork. These accents will enhance the ambiance and reflect your personal style.
- Dress the Hearth: Place a fire-resistant rug or stone tiles on the hearth to create a visually appealing and safe space. Choose materials that can withstand high temperatures and easily cleanable.
- Accessorize the Mantel: Arrange decorative items such as artwork, picture frames, or plants on the mantel. Be mindful of the balance and scale of the accessories to create an attractive display.
- Lighting: Install lighting fixtures or sconces that highlight the fireplace surround and create a warm and inviting atmosphere. Consider using LED or low-heat bulbs for safety.
- Style with Furniture: Arrange furniture around the fireplace to create a cozy seating area. Place comfortable chairs, sofas, or ottomans that encourage relaxation and conversation.
- Maintain and Clean: Regularly clean and maintain your brick fireplace surround to ensure its longevity and beauty. Use a soft brush or vacuum attachment to remove dust and periodically touch up mortar joints if needed.
Adding these finishing touches will elevate the overall aesthetic appeal of your brick fireplace surround. The combination of decorative elements, lighting, and well-chosen accessories will create an inviting and cozy atmosphere in your living space.
Read more: How To Stain A Brick Fireplace
Conclusion
Building a brick fireplace surround is a rewarding and fulfilling project that can add warmth, charm, and a cozy ambiance to your home. By following the step-by-step process outlined in this article, you can create a beautiful and functional fireplace surround that becomes a focal point in your living space.
From gathering the materials and tools to installing the mantel, each step of the construction process plays a crucial role in ensuring a successful outcome. Take your time, pay attention to detail, and use proper safety precautions throughout the construction journey.
Remember, the key to a well-built brick fireplace surround lies not only in the technical aspects of construction but also in the aesthetic choices you make. Consider the overall design of your home and choose materials, colors, and decorative elements that harmonize with your existing decor.
Once your brick fireplace surround is complete, add the finishing touches that elevate its beauty and personalize the space. Whether it’s arranging furniture, adding decorative elements, or incorporating lighting, these final touches will truly make your fireplace a standout feature in your home.
Lastly, remember to regularly maintain and clean your fireplace surround to ensure its longevity and visual appeal. By doing so, you can continue to enjoy the cozy warmth and inviting atmosphere that your brick fireplace surround provides for many years to come.
So, roll up your sleeves, gather your materials, and embark on the journey of building your brick fireplace surround. You’ll be rewarded with a stunning focal point that not only adds value to your home but also creates unforgettable memories with friends and family.
Now that you've mastered building a brick fireplace surround, why not delve into more creative possibilities? Our article on fireplace design offers 18 fabulous ideas to spruce up your fireplace, blending functionality with aesthetic charm. Whether you're aiming for a rustic feel or a modern twist, you'll find inspiration to transform your space into something truly special. Don't miss out on these exciting design opportunities to elevate your home's ambiance.
Frequently Asked Questions about How To Build A Brick Fireplace Surround
Was this page helpful?
At Storables.com, we guarantee accurate and reliable information. Our content, validated by Expert Board Contributors, is crafted following stringent Editorial Policies. We're committed to providing you with well-researched, expert-backed insights for all your informational needs.
0 thoughts on “How To Build A Brick Fireplace Surround”