
Articles
How To Do Blow-In Insulation
Modified: January 8, 2024
Learn the step-by-step process of blown-in insulation installation with our informative articles. Achieve energy efficiency and improved comfort in your home.
(Many of the links in this article redirect to a specific reviewed product. Your purchase of these products through affiliate links helps to generate commission for Storables.com, at no extra cost. Learn more)
Introduction
In today’s energy-conscious world, the need for effective insulation is more important than ever. A well-insulated home not only helps to reduce utility costs but also creates a more comfortable living environment. When it comes to insulation, there are various options available, including blown-in insulation.
Blown-in insulation is a popular choice for homeowners due to its versatility, efficiency, and cost-effectiveness. It involves the installation of loose insulation materials, such as fiberglass, cellulose, or mineral wool, by blowing them into enclosed spaces, including walls, attics, and floors. This method ensures complete coverage and can be applied to both new and existing homes.
In this article, we will delve into the details of blown-in insulation, explore its benefits, discuss the preparation required before installation, outline the different types of blown-in insulation materials, highlight the necessary equipment and tools, explain the steps involved in the installation process, provide crucial safety precautions, offer tips for a successful installation, and address common problems and troubleshooting techniques that may arise.
By the end of this article, you will have a comprehensive understanding of blown-in insulation and be equipped with the knowledge to embark on your own insulation project.
Key Takeaways:
- Blown-in insulation offers excellent thermal performance, soundproofing, and fire resistance, making it a versatile and eco-friendly choice for homeowners seeking energy efficiency and comfort.
- Proper preparation, equipment, and adherence to safety precautions are crucial for a successful blown-in insulation installation. Addressing common problems and seeking professional advice can ensure optimal results.
Read more: How To Blow Insulation In Walls
What is blown-in insulation?
Blown-in insulation, also known as loose-fill insulation, is a method of insulating homes and buildings by blowing loose insulation materials into spaces to create a thermal barrier. Unlike traditional insulation methods that involve laying batts or rolls, blown-in insulation offers greater flexibility and ease of installation.
The concept of blown-in insulation revolves around the use of lightweight and loose materials that are blown into cavities or voids, filling the space completely and providing excellent insulation properties. The most common materials used for blown-in insulation include fiberglass, cellulose, and mineral wool.
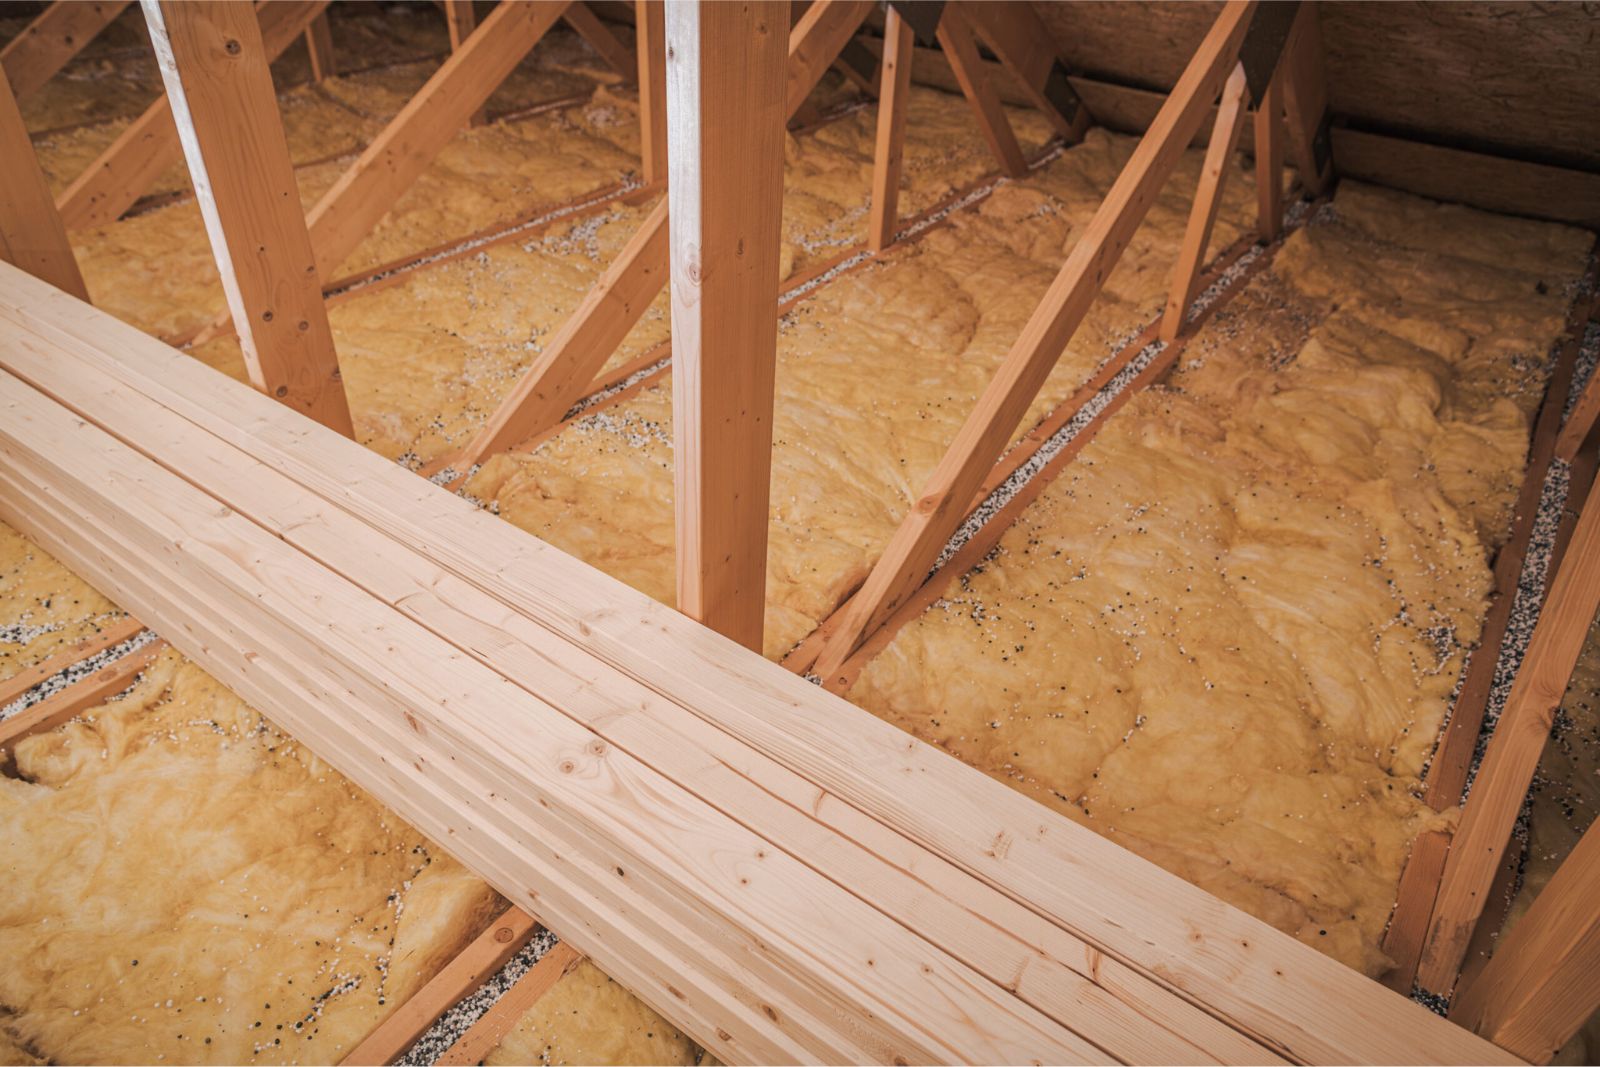
Fiberglass blown-in insulation consists of tiny glass fibers that are blown into the desired area. These fibers trap air pockets, preventing heat transfer and improving energy efficiency. Fiberglass insulation offers excellent thermal performance and is resistant to moisture, mold, and pests.
Cellulose blown-in insulation is made from recycled paper products, primarily newspaper, treated with fire retardants to enhance its safety. The cellulose fibers are blown and settle densely, offering excellent resistance to heat flow. Cellulose insulation is eco-friendly, as it reduces landfill waste and requires less energy to produce compared to other insulation materials.
Mineral wool, also known as rock wool, is made from natural minerals, such as basalt or diabase. It is melted and spun into fine fibers, which are then blown in as insulation. Mineral wool insulation provides exceptional fire resistance, sound absorption qualities, and thermal efficiency.
Blown-in insulation offers several advantages over traditional insulation methods. Its loose nature allows it to conform to irregular spaces, eliminating gaps and voids that may occur with other methods. It can be installed in areas that are difficult to access, such as attics, cathedral ceilings, and existing walls, without the need for extensive tear-out or modification.
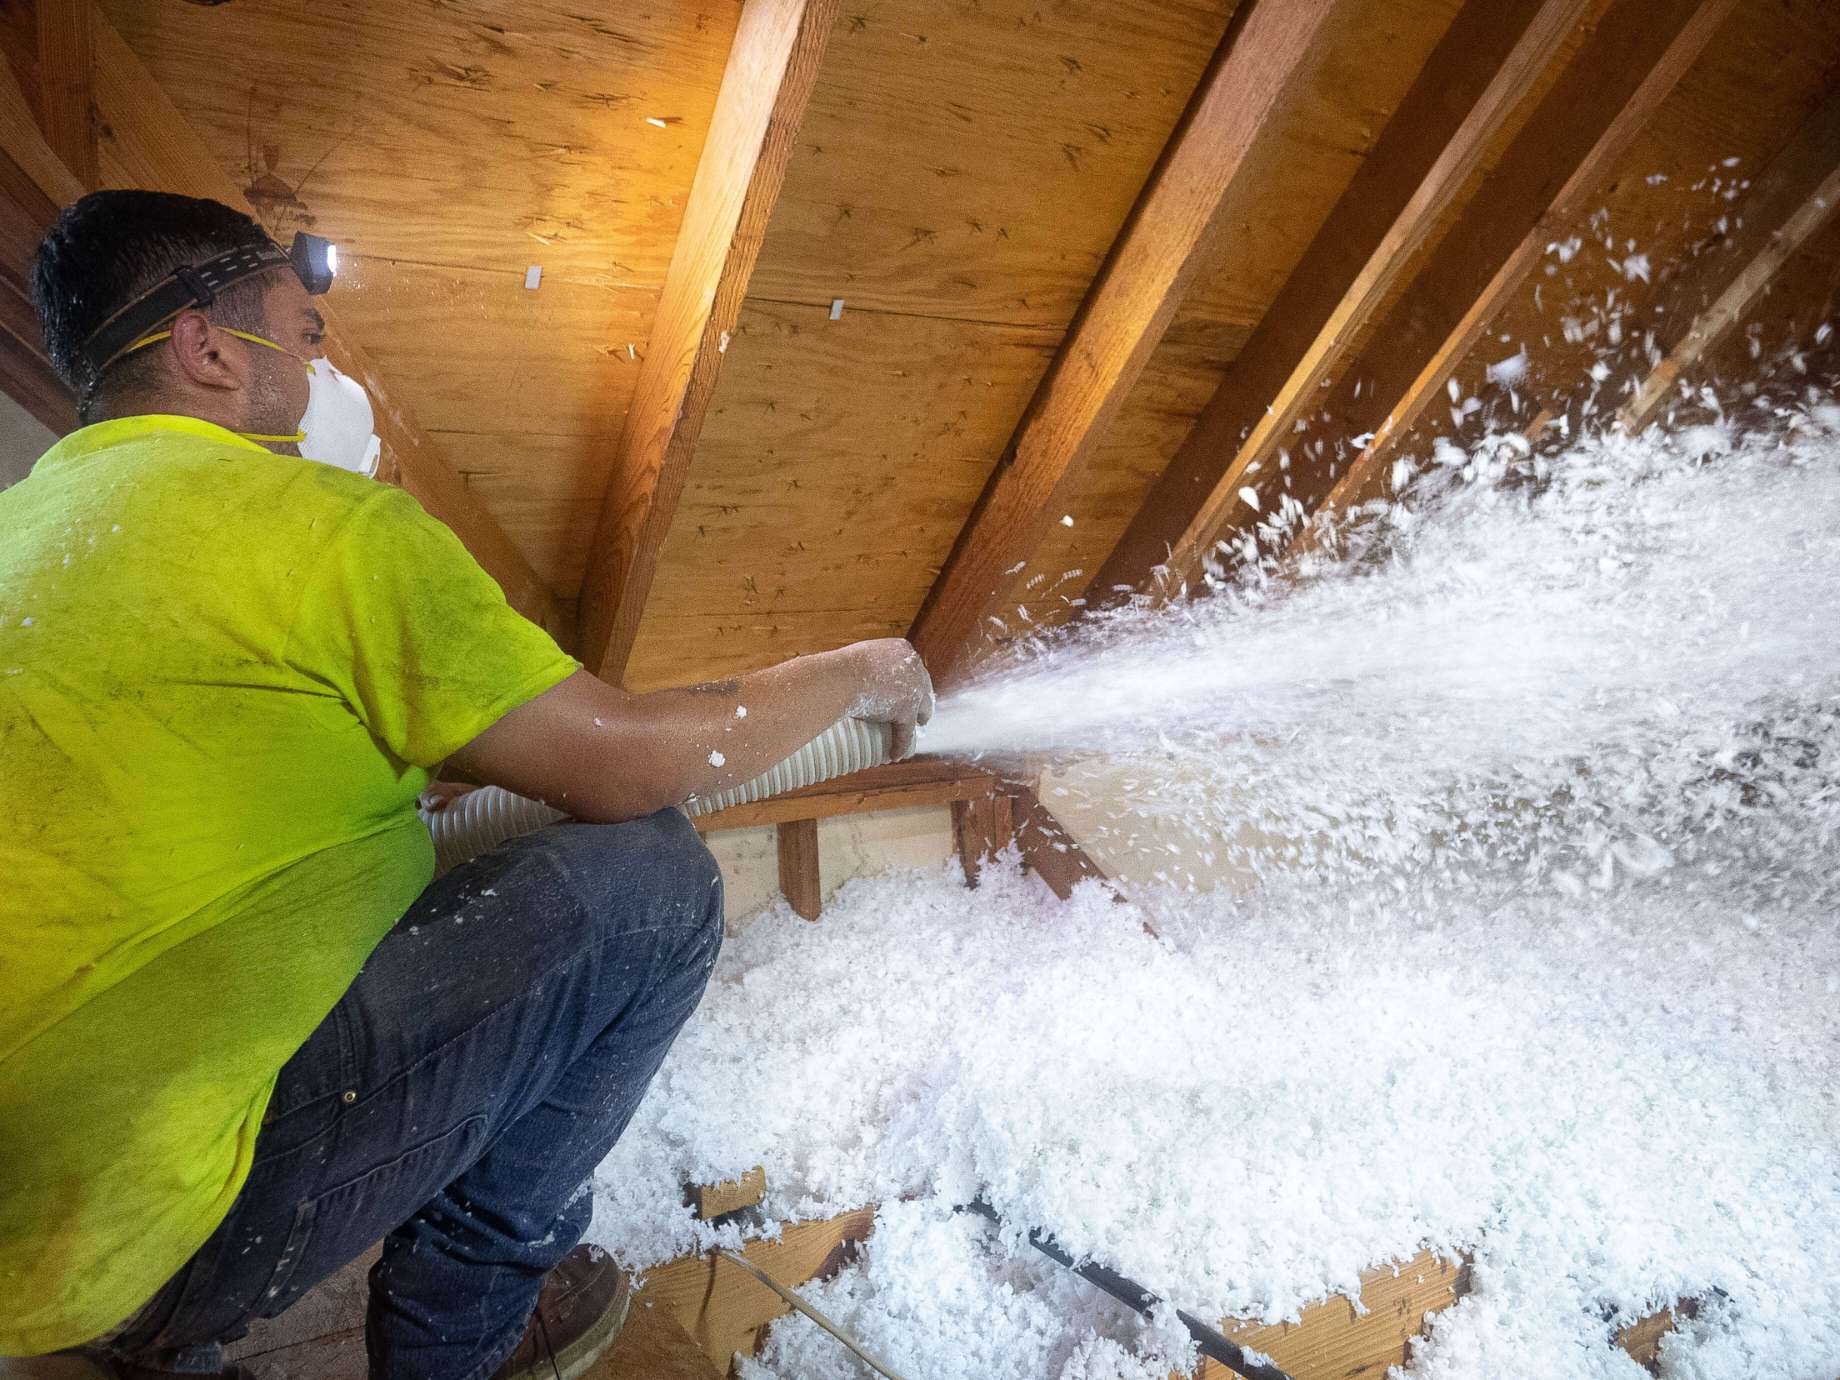
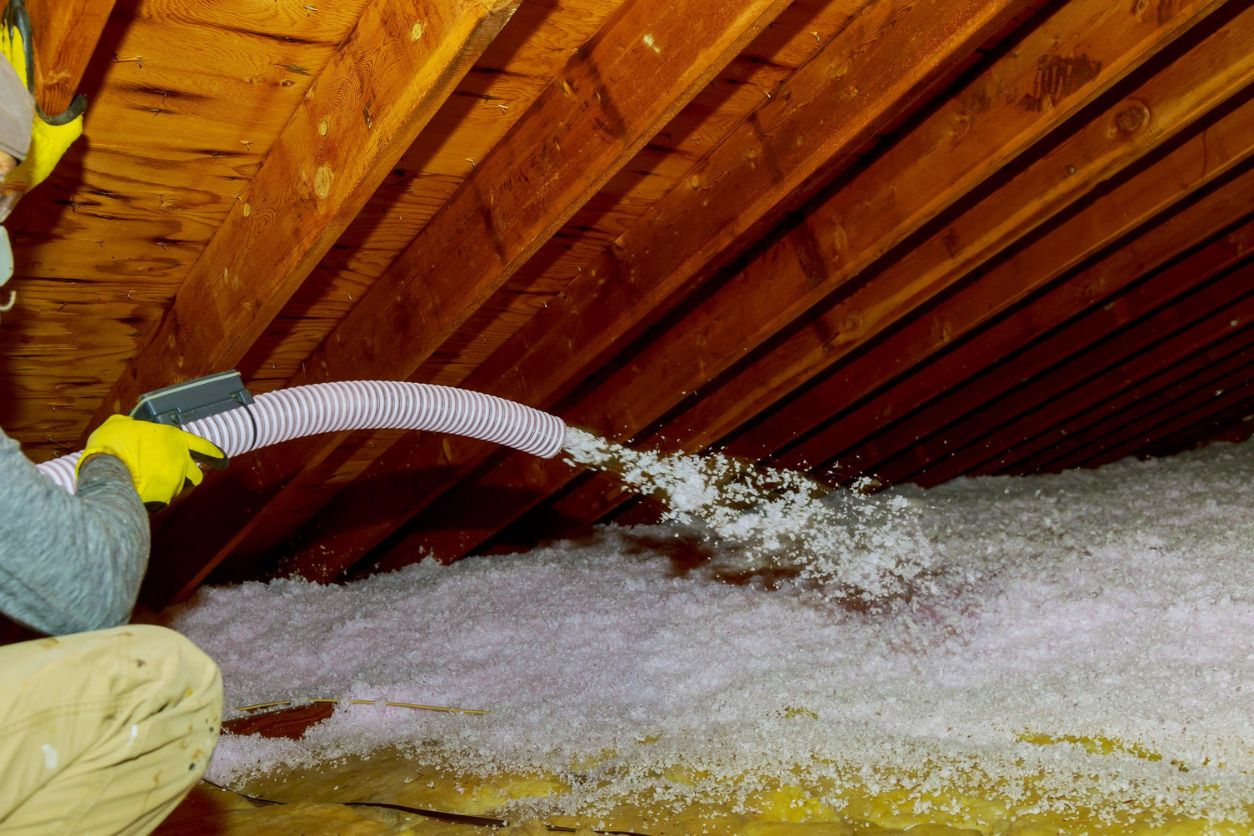
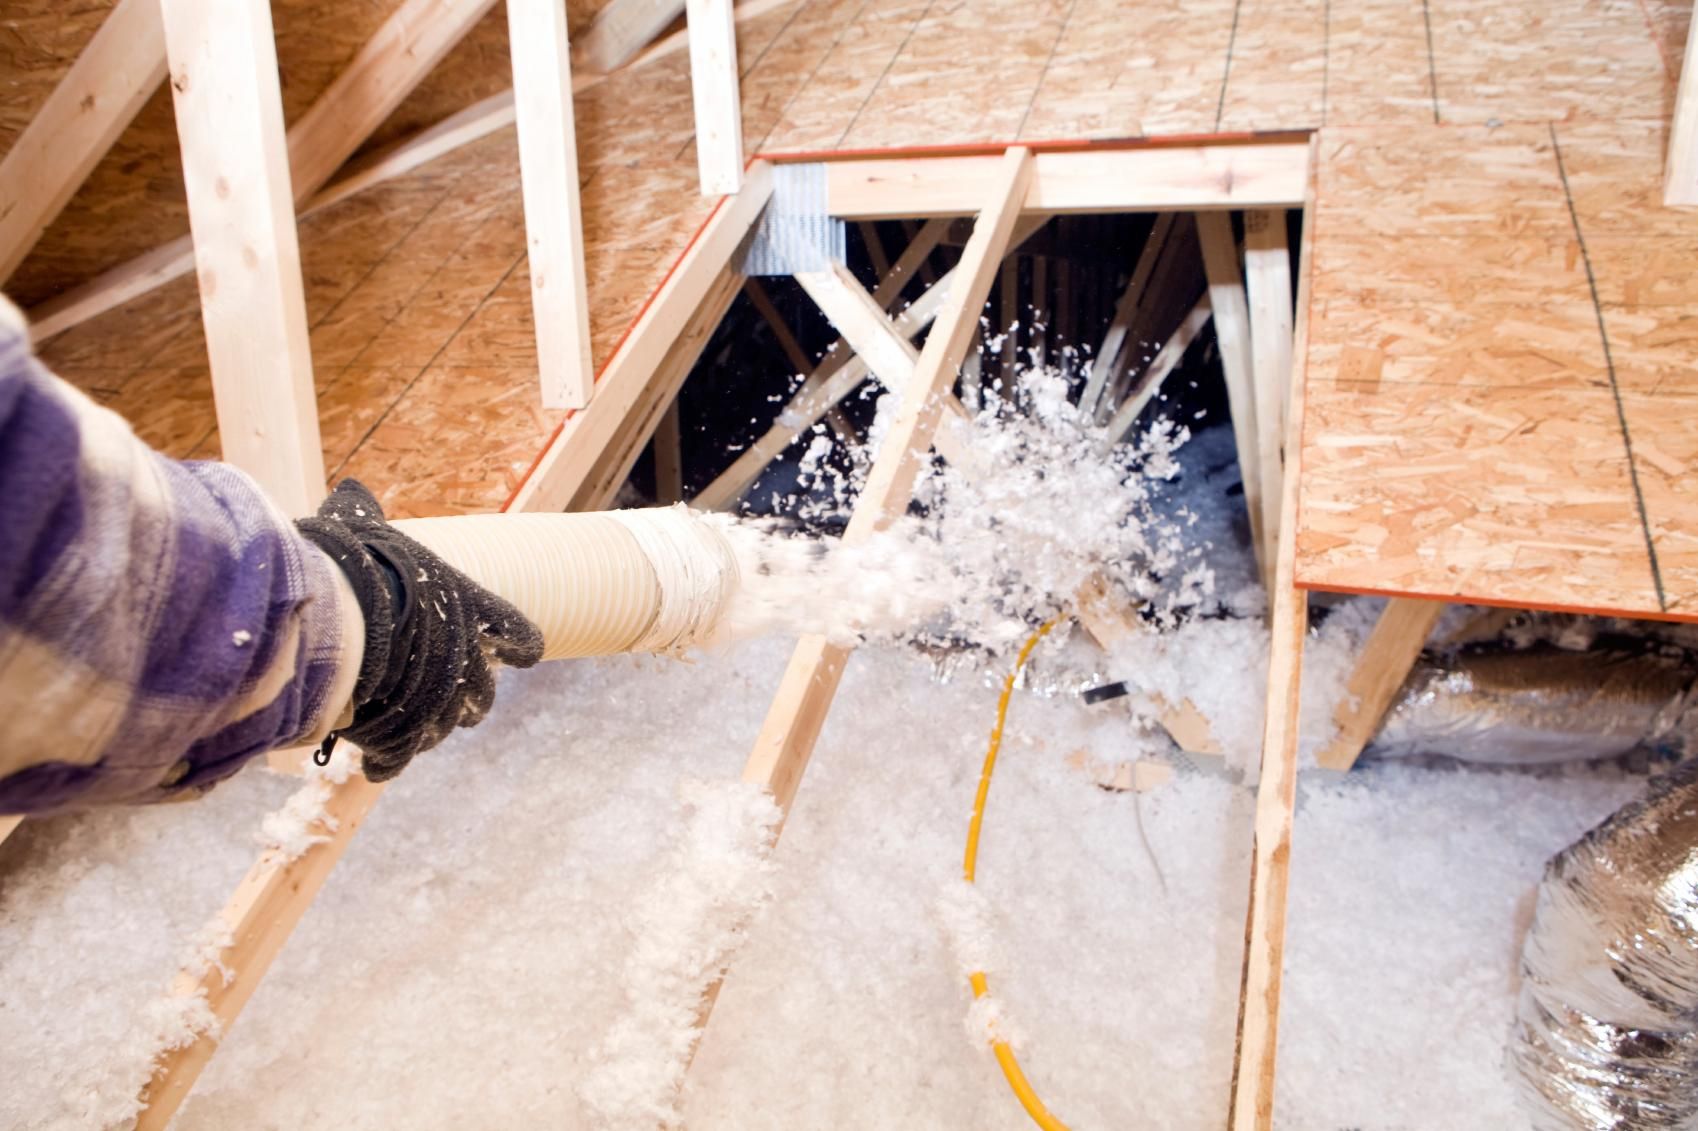
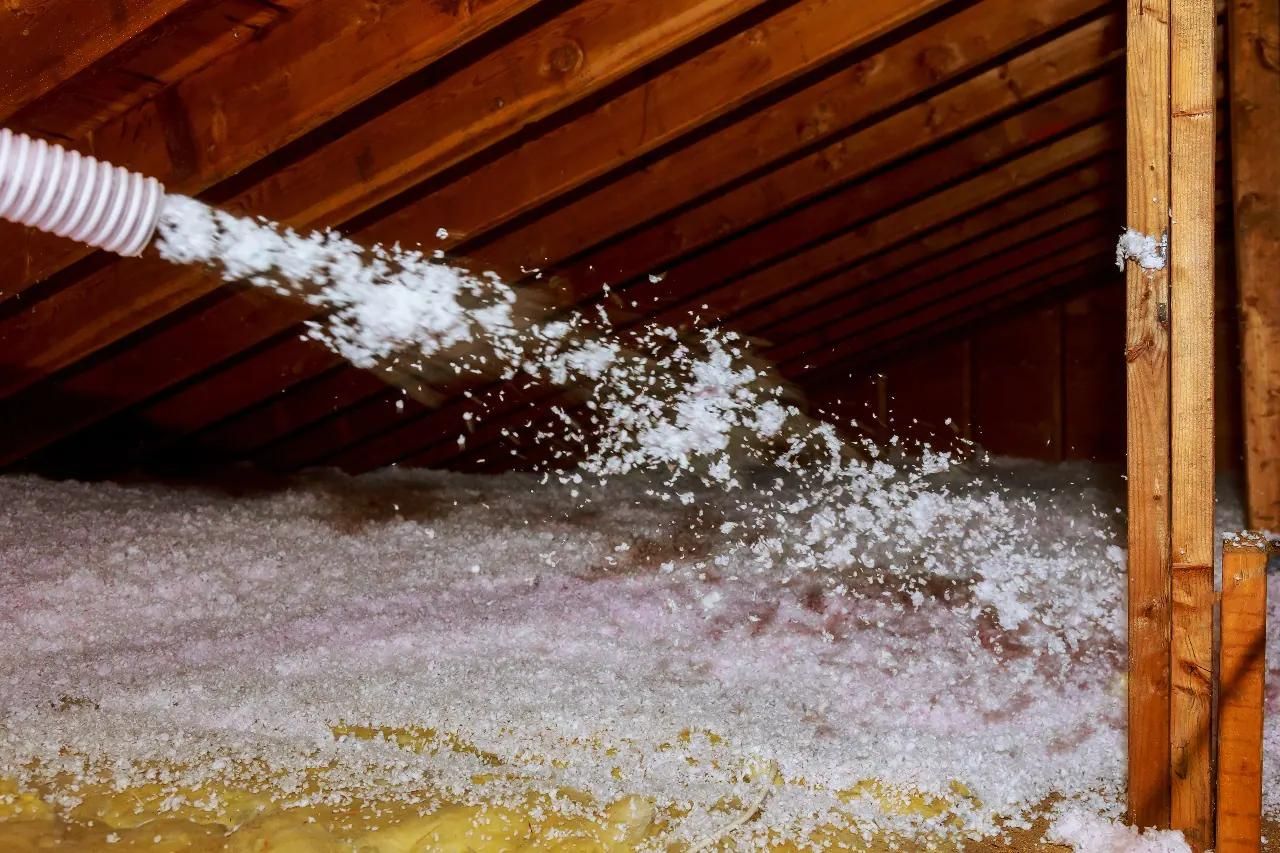
The installation process involves the use of specialized equipment, such as blowing machines and hoses, to blow the insulation material into the desired area. The installer determines the appropriate density and thickness of the insulation based on the specific requirements of the space.
In the next section, we will explore the numerous benefits of blown-in insulation, making it a popular choice among homeowners and contractors alike.
Benefits of blown-in insulation
Blown-in insulation offers a wide range of benefits that make it an attractive option for homeowners and contractors alike. Let’s explore some of the key advantages of using blown-in insulation in your home or building:
- Excellent thermal performance: Blown-in insulation creates a seamless and airtight thermal barrier, reducing heat transfer and preventing energy loss. This helps to keep your home warm in the winter and cool in the summer, leading to increased energy efficiency and lower utility bills.
- Uniform coverage: Blown-in insulation evenly fills cavities and voids, eliminating gaps and air leaks that are commonly found with other insulation methods. This ensures consistent insulation throughout your home, reducing hot or cold spots and maximizing comfort.
- Improved soundproofing: Blown-in insulation has excellent sound-absorbing properties, reducing noise transmission between rooms and from external sources. This is particularly beneficial for homeowners who live in noisy environments or have rooms that require extra soundproofing, such as home theaters or recording studios.
- Enhanced fire resistance: Certain types of blown-in insulation, such as cellulose and mineral wool, are treated with fire retardants, making them highly resistant to flames and minimizing the spread of fire. This can greatly increase the safety of your home and provide valuable time for evacuation in case of fire incidents.
- Energy cost savings: By creating an effective thermal barrier, blown-in insulation reduces the need for excessive heating or cooling, resulting in significant energy savings. Over time, these savings can add up, reducing your carbon footprint and contributing to a more sustainable home environment.
- Eco-friendly choice: Blown-in insulation made from recycled materials, such as cellulose, reduces the consumption of new resources and helps divert waste from landfills. Additionally, the production process for blown-in insulation requires less energy compared to other insulation methods, making it a more environmentally friendly choice.
- Quick and easy installation: Blown-in insulation can be installed relatively quickly, even in hard-to-reach areas, with the help of specialized equipment. This saves time and minimizes disruption to your home, especially when retrofitting existing walls or attics.
- Long-lasting performance: Blown-in insulation materials, such as fiberglass and mineral wool, are known for their durability and resistance to settling. This means that they will maintain their insulating properties over time, ensuring long-lasting performance and fewer maintenance needs.
Overall, blown-in insulation offers numerous benefits that contribute to a more energy-efficient, comfortable, and environmentally friendly home or building. From improved thermal performance to soundproofing capabilities, it is a versatile option for homeowners looking for an effective insulation solution.
In the next section, we will discuss the preparation required before the installation of blown-in insulation.
Preparation before installation
Before proceeding with the installation of blown-in insulation, certain preparation steps need to be taken to ensure a smooth and successful process. These preparations include:
- Assessing the insulation needs: Start by evaluating the current insulation levels in your home or building. Check the existing insulation in walls, attics, and floors to determine if additional insulation is needed. Consider factors such as climate, energy efficiency goals, and local building codes when deciding on the desired R-value (thermal resistance) for your insulation.
- Identifying potential insulation areas: Identify the areas that require insulation. Common areas include attics, crawlspaces, walls, and floors. Consider any specific spaces, such as knee walls or recessed lighting cavities, that may need special attention during the installation process.
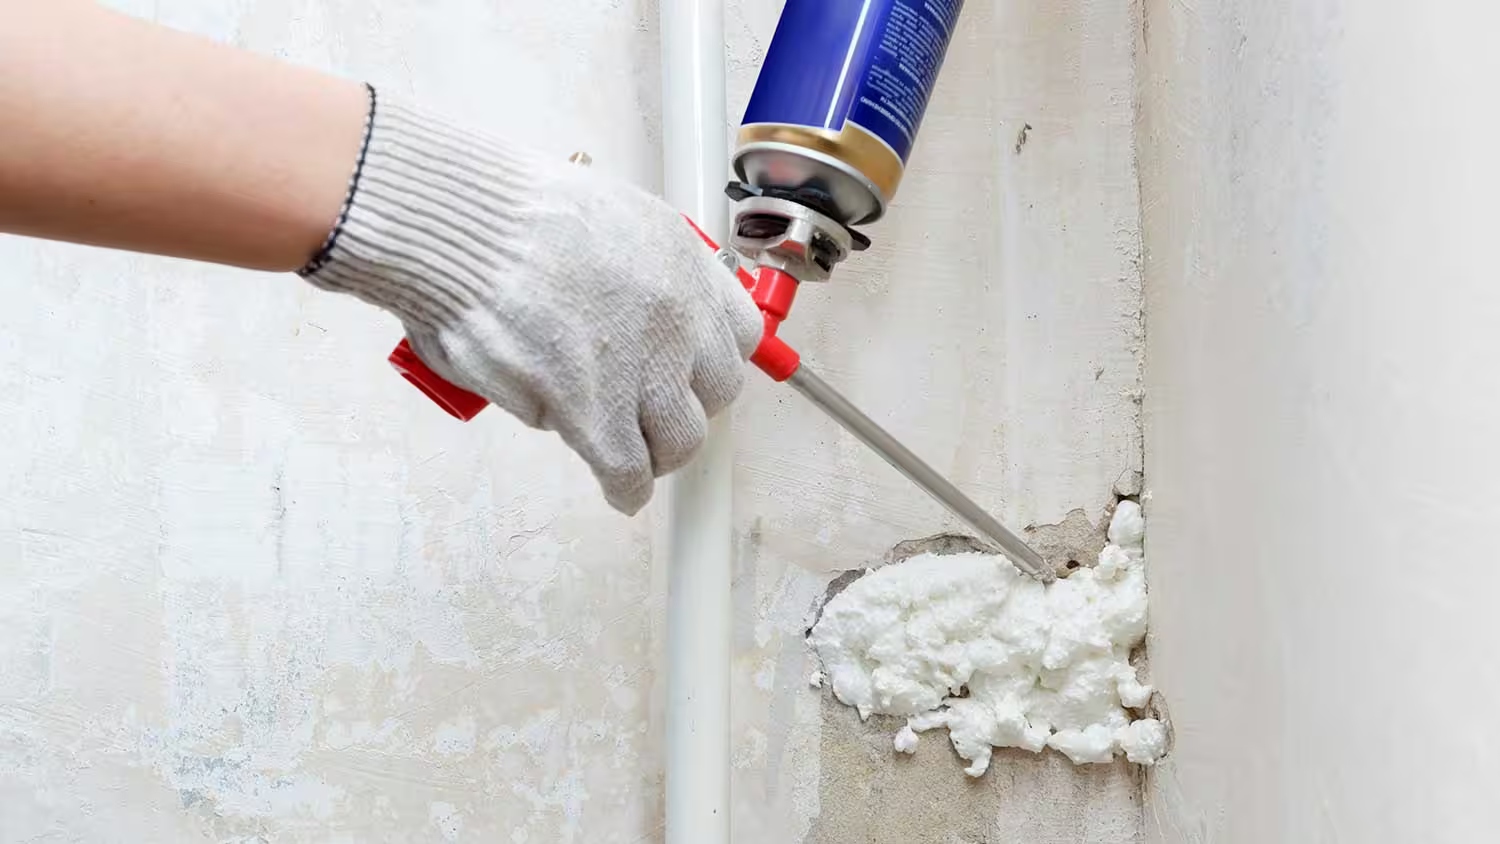
- Inspecting for air leaks: Inspect your home for any air leaks or gaps that may hinder the effectiveness of the insulation. Seal any visible cracks, holes, or gaps using weatherstripping, caulk, or expanding foam insulation. Ensuring a well-sealed and airtight space will maximize energy efficiency and prevent air infiltration.
- Preparing the installation area: Clean the installation area and remove any debris or obstructions that may impede the installation process. Inspect for mold, moisture, or structural issues that may need to be addressed before proceeding with insulation.
- Protecting vulnerable areas: Take necessary precautions to protect vulnerable items in the installation area, such as electronic devices, furniture, and valuables. Cover or move items, where necessary, to prevent damage or contamination during the installation process.
- Ensuring proper ventilation: Ensure that your home or building has proper ventilation, especially in areas where blown-in insulation will be installed. Proper ventilation helps prevent moisture buildup and allows for better air circulation, improving the lifespan and performance of the insulation.
- Consulting professionals: If you are unsure about the insulation requirements or installation process, it is recommended to consult with a professional insulation contractor. They can assess your specific needs, recommend the appropriate insulation type and density, and ensure proper installation according to industry standards.
By adequately preparing before the installation, you are setting the stage for a successful and efficient blown-in insulation project. Taking these necessary steps will help you achieve optimal energy efficiency, comfort, and performance from your insulation.
In the next section, we will dive into the different types of blown-in insulation materials available in the market.
Types of blown-in insulation materials
When it comes to blown-in insulation, there are several materials to choose from, each with its own unique properties and advantages. The most common types of blown-in insulation materials are:
- Fiberglass: Fiberglass blown-in insulation is made from tiny glass fibers that are blown or sprayed into the desired area. These fibers trap pockets of air, providing excellent thermal resistance. Fiberglass insulation is non-combustible and resistant to moisture, mold, and pests. It is often considered a cost-effective and versatile choice for insulating attics, walls, and floors.
- Cellulose: Cellulose blown-in insulation is made from recycled paper products, such as newspapers, which are treated with fire retardants and chemicals to enhance its thermal and fire-resistant properties. Cellulose fibers are blown into cavities, filling them densely to create a highly effective thermal barrier. Cellulose insulation is eco-friendly, offering excellent soundproofing qualities, and is commonly used in attics, walls, and floors.
- Mineral Wool: Mineral wool, also known as rock wool, is made from natural minerals, such as basalt or diabase, which are melted and spun into fine fibers. These fibers are then blown into the desired area, creating a dense and highly effective insulating layer. Mineral wool insulation offers exceptional fire resistance, sound absorption properties, and thermal efficiency. It is commonly used in areas that require high fire safety, such as attics, basements, and between floors.
- Cellulose-Like Insulation: Some manufacturers offer cellulose-like blown-in insulation made from alternative materials like plant-based fibers, wool, or recycled denim. These materials provide similar benefits to traditional cellulose insulation and are often valued for their eco-friendliness and sustainability.
- Other Specialty Materials: In addition to the commonly used materials mentioned above, there are specialty blown-in insulation materials available. These include materials such as expanded polystyrene (EPS) beads and perlite. These specialty materials are often used in specific applications and offer unique properties, such as high thermal resistance, moisture resistance, or lightweight characteristics.
It’s important to consider the specific requirements of your project, including budget, desired R-value, fire resistance, and environmental considerations when choosing the most suitable blown-in insulation material. Consulting with an insulation professional can help you determine which material best meets your needs based on your specific circumstances.
In the next section, we will discuss the equipment and tools required for the installation of blown-in insulation.
Read more: How To Blow-In Cellulose Insulation
Equipment and tools needed
Installing blown-in insulation requires a specific set of equipment and tools to ensure a smooth and efficient installation process. Here are the essential items you will need:
- Blowing machine: A blowing machine is the key equipment required for the installation of blown-in insulation. It is designed to evenly distribute the insulation material into the designated area. The blowing machine should be chosen based on the type and density of the insulation being used.
- Hose: A flexible hose is used to connect the blowing machine to the installation area. The length of the hose will depend on the distance between the machine and the installation site. Make sure the hose is securely attached to the machine and is of the appropriate diameter to handle the insulation material.
- Nozzles and accessories: Depending on the specific installation requirements, you may need different types and sizes of nozzles and accessories. For example, a long-reach nozzle may be necessary for reaching difficult or narrow spaces, while a spreading nozzle can help evenly distribute the insulation material.
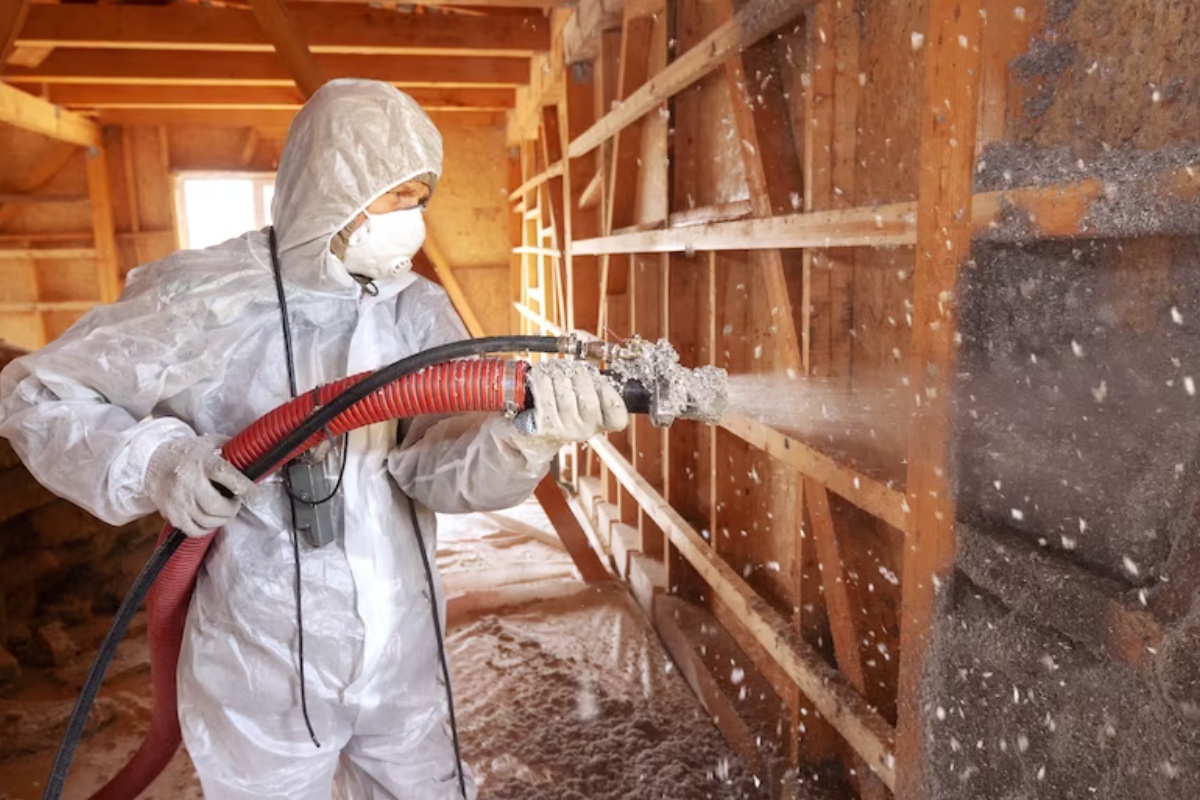
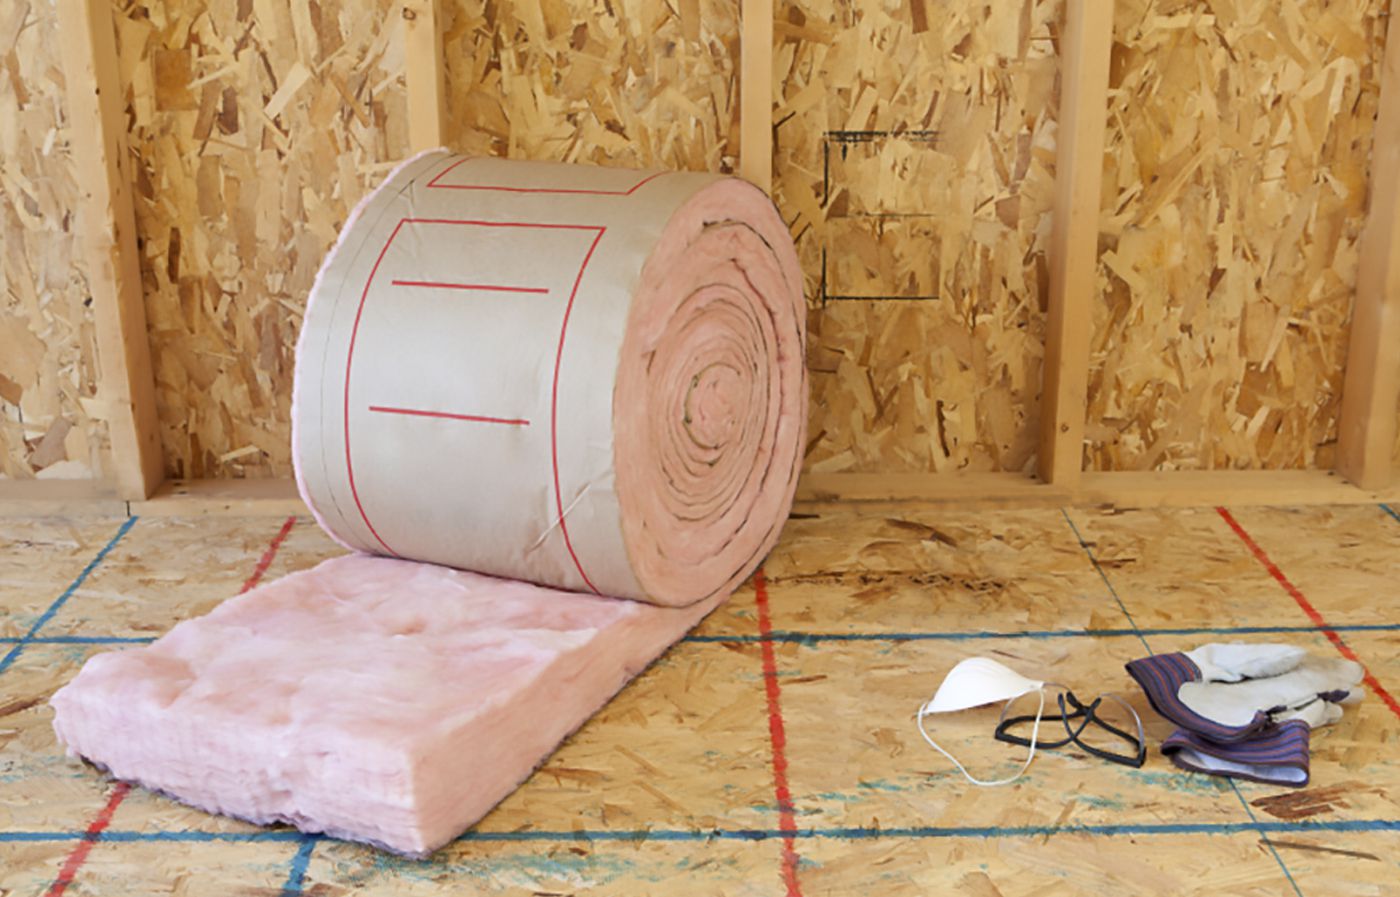
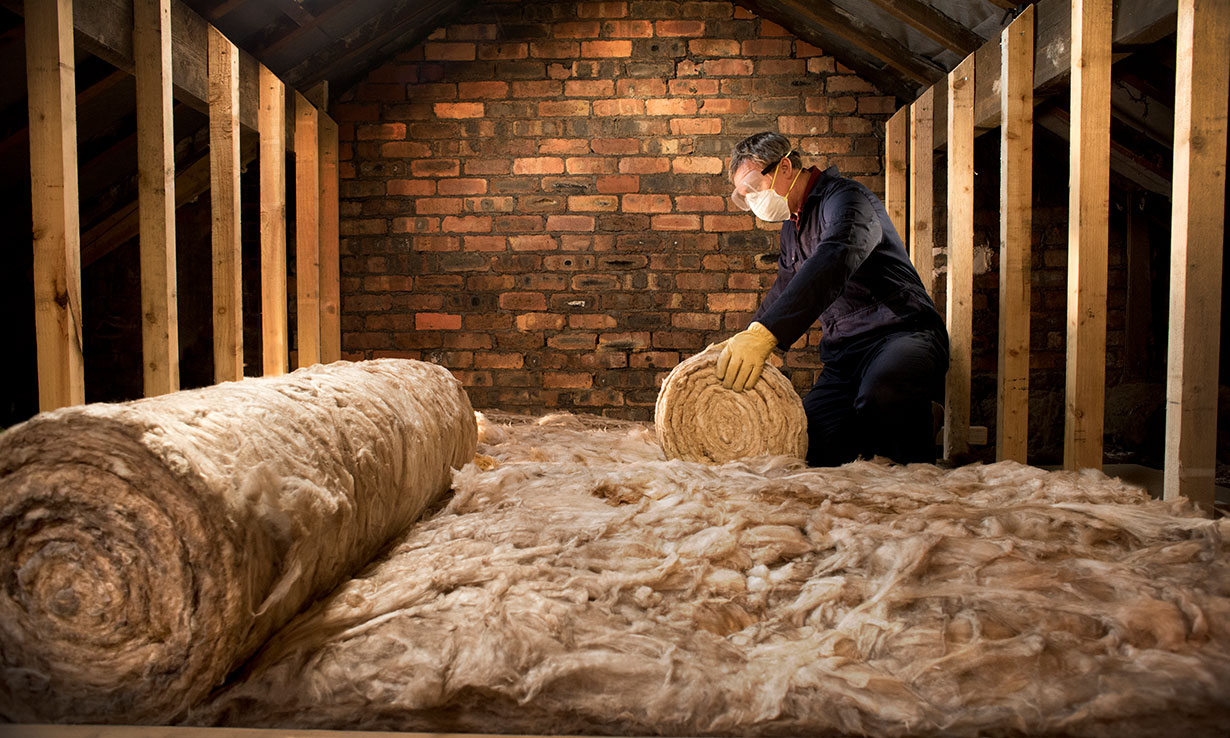
- Protective gear: Insulation installation can generate dust and particles, so it is important to wear appropriate protective gear. This includes safety goggles, a dust mask or respirator, gloves, and sturdy work clothing to protect against any potential irritation or allergic reactions.
- Measuring tools: To ensure accurate installation, you may need measuring tools such as a tape measure or laser measure. This will help you determine the proper insulation depth and density as per the recommended guidelines and desired R-value.
- Cutting tools: Depending on the type of insulation material being used, you may need cutting tools to trim and shape the material as needed. This can include a utility knife, shears, or a saw for fiberglass batts.
- Blower extension tubes: In some cases, you may require blower extension tubes to reach distant or confined areas. These tubes attach to the end of the hose and provide additional length for better access and maneuverability.
- Stapler or adhesive: In certain situations, you may need a stapler or an adhesive to secure insulation material in place. This can be necessary when insulating walls or ceilings where the insulation needs to be held in position until other finishes or coverings are installed.
- Ladders or scaffolding: Accessing high or hard-to-reach areas may require the use of ladders or scaffolding. Make sure you have appropriate and stable equipment to safely reach the installation site.
- Flashlight or work light: A flashlight or work light will help improve visibility in dark or poorly lit areas, allowing you to ensure proper coverage during the installation process.
Before starting the installation, familiarize yourself with the equipment and ensure everything is in good working condition. Following safety procedures and using the appropriate tools will help ensure a successful installation of blown-in insulation in your home or building.
In the next section, we will walk through the step-by-step process for installing blown-in insulation.
When doing blown-in insulation, make sure to wear protective gear such as goggles, a mask, and gloves to avoid any irritation from the insulation material.
Steps for installing blown-in insulation
Installing blown-in insulation requires careful planning and attention to detail to ensure effective coverage and maximum energy efficiency. Here are the general steps to follow when installing blown-in insulation:
- Preparation: Begin by preparing the installation area. Clear any debris, obstructions, or existing insulation material that may hinder the installation process. Ensure that the area is clean, dry, and free of any mold or structural issues.
- Protective gear: Put on your protective gear, including safety goggles, a dust mask or respirator, gloves, and appropriate clothing to protect yourself from dust and irritants during the installation process.
- Evaluate the desired density: Determine the recommended density or thickness of the blown-in insulation for the specific area you are insulating. This information can be obtained from the insulation manufacturer or by consulting an insulation professional.
- Load the insulation material: Load the desired insulation material into the blowing machine, ensuring that it is properly connected to the hose. Follow the manufacturer’s instructions for loading the material and adjusting the machine settings based on the desired density.
- Start the installation: Begin blowing the insulation material into the installation area. Start from the furthest point and work your way toward the exit to avoid stepping on or disturbing the freshly installed insulation.
- Ensure even coverage: Use a back-and-forth motion and make multiple passes over the same area to achieve even coverage and avoid any gaps or voids. Pay close attention to corners, edges, and hard-to-reach spots to ensure thorough insulation.
- Monitor the density: Continuously monitor the density or thickness of the blown-in insulation as you work. Adjust the machine settings, if necessary, to maintain the desired density and achieve the recommended R-value.
- Seal access points: As you complete each section, seal access points, such as electrical outlets or vents, with appropriate insulation materials to prevent any gaps or air leaks in the insulation layer.
- Repeat the process: Continue the installation process, moving systematically throughout the area until all planned spaces are adequately insulated.
- Clean up and inspect: Once the installation is complete, clean up any excess insulation material and debris. Inspect the installed insulation to ensure proper coverage, density, and adherence to applicable building codes and standards.
- Post-installation checks: Conduct post-installation checks, such as thermal imaging or blower door tests, to assess the effectiveness of the insulation and identify any areas that may need additional attention or improvement.
It is important to note that the precise steps for installing blown-in insulation may vary depending on the specific insulation material and the requirements of your project. Consulting the manufacturer’s guidelines and seeking advice from an insulation professional can provide valuable insights and ensure a successful installation.
In the next section, we will discuss important safety precautions to keep in mind during the blown-in insulation installation process.
Safety precautions
When installing blown-in insulation, it is essential to prioritize safety to protect yourself and ensure a smooth and accident-free installation process. Here are some important safety precautions to keep in mind:
- Protective gear: Wear appropriate protective gear, including safety goggles, a dust mask or respirator, gloves, and clothing that covers your body to prevent skin irritation and inhalation of insulation particles.
- Proper ventilation: Ensure that the installation area has adequate ventilation to minimize exposure to dust and improve indoor air quality. Open windows, use fans, or wear a respirator equipped with filters if necessary.
- Safe work environment: Keep the work area clear of any obstacles or tripping hazards. Remove or cover any fragile or valuable items to protect them from potential damage during the installation process.
- Stability: Use sturdy and stable ladders or scaffolding when working at heights to prevent falls or accidents. Ensure that the equipment is set up on a level surface and follow proper ladder safety guidelines.
- Electrical safety: Be aware of electrical hazards and take precautions when working around wiring, outlets, or fixtures. Turn off power to the installation area if necessary, and avoid contact with live wires or electrical components.
- Fire safety: Use caution when working with insulation materials that are flammable or combustible. Adhere to fire safety guidelines, especially when using blow-in insulation near heat sources, electrical equipment, or open flames.
- Proper machine operation: Follow the manufacturer’s instructions for operating the blowing machine and ensure that it is in good working condition before use. Avoid placing hands or fingers near the machine’s moving components and keep loose clothing away from the equipment.
- Insulation material hazards: Be aware of the specific hazards associated with the insulation material being used. For example, fiberglass insulation may cause skin irritation or respiratory issues if proper precautions are not taken. Follow handling and disposal guidelines provided by the manufacturer.
- First aid readiness: Keep a first aid kit readily available in case of any minor injuries or accidents. Familiarize yourself with basic first aid procedures, including how to treat cuts, scrapes, or exposure to insulation particles.
- Professional consultation: If you are unsure about any aspect of the installation process or encounter unexpected challenges, seek advice from a professional insulation contractor. Their expertise can help ensure that the installation is done safely and effectively.
By adhering to these safety precautions, you can minimize the risks associated with installing blown-in insulation and create a safer working environment for yourself and others involved in the project.
In the next section, we will provide some valuable tips for a successful installation of blown-in insulation.
Tips for a successful installation
Installing blown-in insulation requires attention to detail and careful execution to ensure a successful and effective outcome. Here are some valuable tips to keep in mind for a smooth installation process:
- Prepare the area: Before beginning the installation, properly clean and prepare the area to be insulated. Remove any debris, obstructions, or existing insulation material that may hinder the installation process. Ensure that the area is dry, free from mold or structural issues, and properly sealed for optimal insulation performance.
- Proper equipment setup: Familiarize yourself with the blowing machine and ensure that it is properly set up and calibrated. Follow the manufacturer’s guidelines for loading the insulation material and adjusting the machine settings based on the desired density or thickness. This will ensure consistent and uniform coverage during the installation.
- Test spray: Before starting the actual installation, perform a test spray in a small area to ensure that the insulation material is properly dispersed and that the desired density is achieved. Adjust the machine settings if needed to achieve the desired results before proceeding to larger areas.
- Work in layers: To achieve the recommended insulation thickness or density, work in layers rather than attempting to create a single thick layer. Make multiple passes over the same area, allowing the previous layer to settle before applying additional insulation. This helps to ensure even coverage and avoid overcompacting the insulation material.
- Address access points: Pay close attention to electrical outlets, vents, or other access points in the installation area. Properly seal and insulate around these areas to prevent any gaps or air leaks in the insulation layer. Use approved materials or covers as per the building codes and regulations.
- Consistency in density: Continuously monitor the density or thickness of the insulation material as you work. Ensure consistent density throughout the installation to achieve the desired R-value and maximize energy efficiency. Make adjustments to the machine settings as necessary to maintain the desired consistency.
- Protect electrical components: Take precautions to protect electrical components in the installation area. Install insulation baffles or shields around recessed lights or electrical fixtures to prevent the insulation material from directly contacting them. This will help prevent overheating and ensure the safety of electrical systems.
- Post-installation checks: Conduct thorough post-installation checks to ensure proper coverage, density, and adherence to building codes and standards. Use thermal imaging cameras or blower door tests to identify any areas that may need additional insulation or attention. This will help ensure optimal energy performance and comfort in your home or building.
- Consider professional assistance: While blown-in insulation can be a DIY project, consider consulting with a professional insulation contractor, especially for larger or more complex installations. They can provide expert advice, ensure compliance with building codes, and help achieve the best results for your specific project.
- Maintain proper ventilation: Throughout the installation process and after completion, ensure that your home or building has proper ventilation. Adequate airflow helps control moisture levels and prevents the buildup of condensation, ensuring the long-term performance and durability of the insulation.
By following these tips, you can ensure a successful and effective installation of blown-in insulation, maximizing its energy-saving potential and creating a more comfortable living environment.
In the next section, we will discuss common problems that may arise during the installation of blown-in insulation and provide troubleshooting techniques.
Read more: What Is Blow-In Insulation
Common problems and troubleshooting
While installing blown-in insulation can be a relatively straightforward process, there may be some common problems that you could encounter along the way. Here are a few issues that may arise during the installation and some troubleshooting techniques to address them:
- Inadequate coverage: Insufficient coverage can occur if the blowing machine is not properly calibrated or the density of the insulation material is not maintained consistently. To troubleshoot this, check the machine settings and ensure that the material is being applied evenly and at the desired density. Make additional passes over the area to fill any gaps and achieve the recommended insulation thickness.
- Uneven distribution: Uneven distribution of the insulation material can occur if the blowing machine is not operated correctly or if there are obstructions in the hose or nozzle. Check for any clogs or blockages and clear them, making sure that the material is flowing smoothly. Adjust the machine pressure or nozzle position as needed for a more even distribution of the insulation.
- Settling or compression: Over time, some types of blown-in insulation may settle or compress, resulting in reduced effectiveness. To address this, make sure you are using the recommended insulation material for the specific application and follow the manufacturer’s guidelines for installation. Avoid overcompacting the material during installation, and periodically check the insulation for any signs of settling. If necessary, add more insulation to restore the desired thickness or density.
- Inadequate air sealing: Blown-in insulation alone may not provide sufficient air sealing if there are gaps or cracks in the walls, floors, or ceilings. Ensure that the area is properly air sealed before installing the insulation by using weatherstripping, caulk, or expanding foam insulation to seal any openings or penetrations. This will enhance the energy efficiency and performance of the insulation.
- Mold or moisture issues: In damp or humid environments, moisture-related problems such as mold growth or condensation can occur. To address this, first identify and rectify the source of moisture, such as leaks or poor ventilation. Ensure that the area is dry and address any mold issues before installing blown-in insulation. Consider using insulation materials with moisture-resistant properties or installing a vapor barrier to mitigate future moisture-related issues.
- Improper electrical safety: When installing blown-in insulation near electrical fixtures or recessed lights, it is crucial to follow electrical safety guidelines. Ensure that insulation baffles or shields are properly installed to maintain a safe distance between the insulation and electrical components. Avoid covering or blocking ventilation around lighting fixtures to prevent overheating.
- Poor soundproofing performance: If the blown-in insulation does not provide the desired soundproofing performance, consider adding additional layers or using specific sound-blocking insulation materials. Consult with acoustic experts or insulation professionals to determine the most suitable solutions to achieve the desired soundproofing goals.
- Insufficient ventilation: Inadequate ventilation can lead to moisture buildup and decreased energy efficiency. If you notice issues with ventilation in your home or building after the installation of blown-in insulation, consult with ventilation experts or insulation professionals to assess the ventilation system, make any necessary modifications, or install additional vents or fans as needed.
Remember, if you encounter any significant issues during the installation process or are unsure how to address a particular problem, it is recommended to consult with a professional insulation contractor. They can provide expert guidance and help resolve any difficulties, ensuring a successful installation of blown-in insulation.
Now that you are aware of common problems and their troubleshooting techniques, we will conclude this article in the next section.
Conclusion
Blown-in insulation is a versatile and cost-effective solution for improving the energy efficiency and comfort of your home or building. It offers numerous benefits, including excellent thermal performance, uniform coverage, soundproofing capabilities, and fire resistance. With proper preparation, the right equipment and materials, and adherence to safety precautions, you can successfully install blown-in insulation to enhance your living environment.
Before starting the installation, assess your insulation needs and identify the areas that require insulation. Evaluate the different types of blown-in insulation materials available, such as fiberglass, cellulose, and mineral wool, to determine the most suitable option for your project.
Remember to properly prepare the installation area, address any air leaks, and ensure proper ventilation. Use the appropriate equipment, including a blowing machine, hoses, nozzles, and protective gear, to achieve consistent coverage and density during the installation process.
To ensure a successful installation, follow the step-by-step process, make multiple passes for even coverage, and seal access points to prevent any gaps or air leaks in the insulation layer. Conduct post-installation checks to verify the insulation’s effectiveness and address any areas that may need additional insulation.
Be aware of common problems that may arise, such as inadequate coverage, settling, or compression, and take appropriate troubleshooting measures to rectify these issues. If in doubt, consult with insulation professionals or contractors who can provide guidance and expert advice.
By investing in blown-in insulation, you will enjoy greater energy efficiency, cost savings, improved comfort, and reduced environmental impact. Creating a well-insulated living environment not only benefits you but also contributes to a sustainable future.
In conclusion, with the right knowledge and careful execution, you can successfully install blown-in insulation and transform your home into an energy-efficient, comfortable, and environmentally friendly space.
Frequently Asked Questions about How To Do Blow-In Insulation
Was this page helpful?
At Storables.com, we guarantee accurate and reliable information. Our content, validated by Expert Board Contributors, is crafted following stringent Editorial Policies. We're committed to providing you with well-researched, expert-backed insights for all your informational needs.



0 thoughts on “How To Do Blow-In Insulation”