Articles
How To Refill A Foam Soap Dispenser
Modified: February 22, 2024
Discover the easy steps to refill a foam soap dispenser with this informative article. Keep your dispenser stocked and ready for use.
(Many of the links in this article redirect to a specific reviewed product. Your purchase of these products through affiliate links helps to generate commission for Storables.com, at no extra cost. Learn more)
Introduction
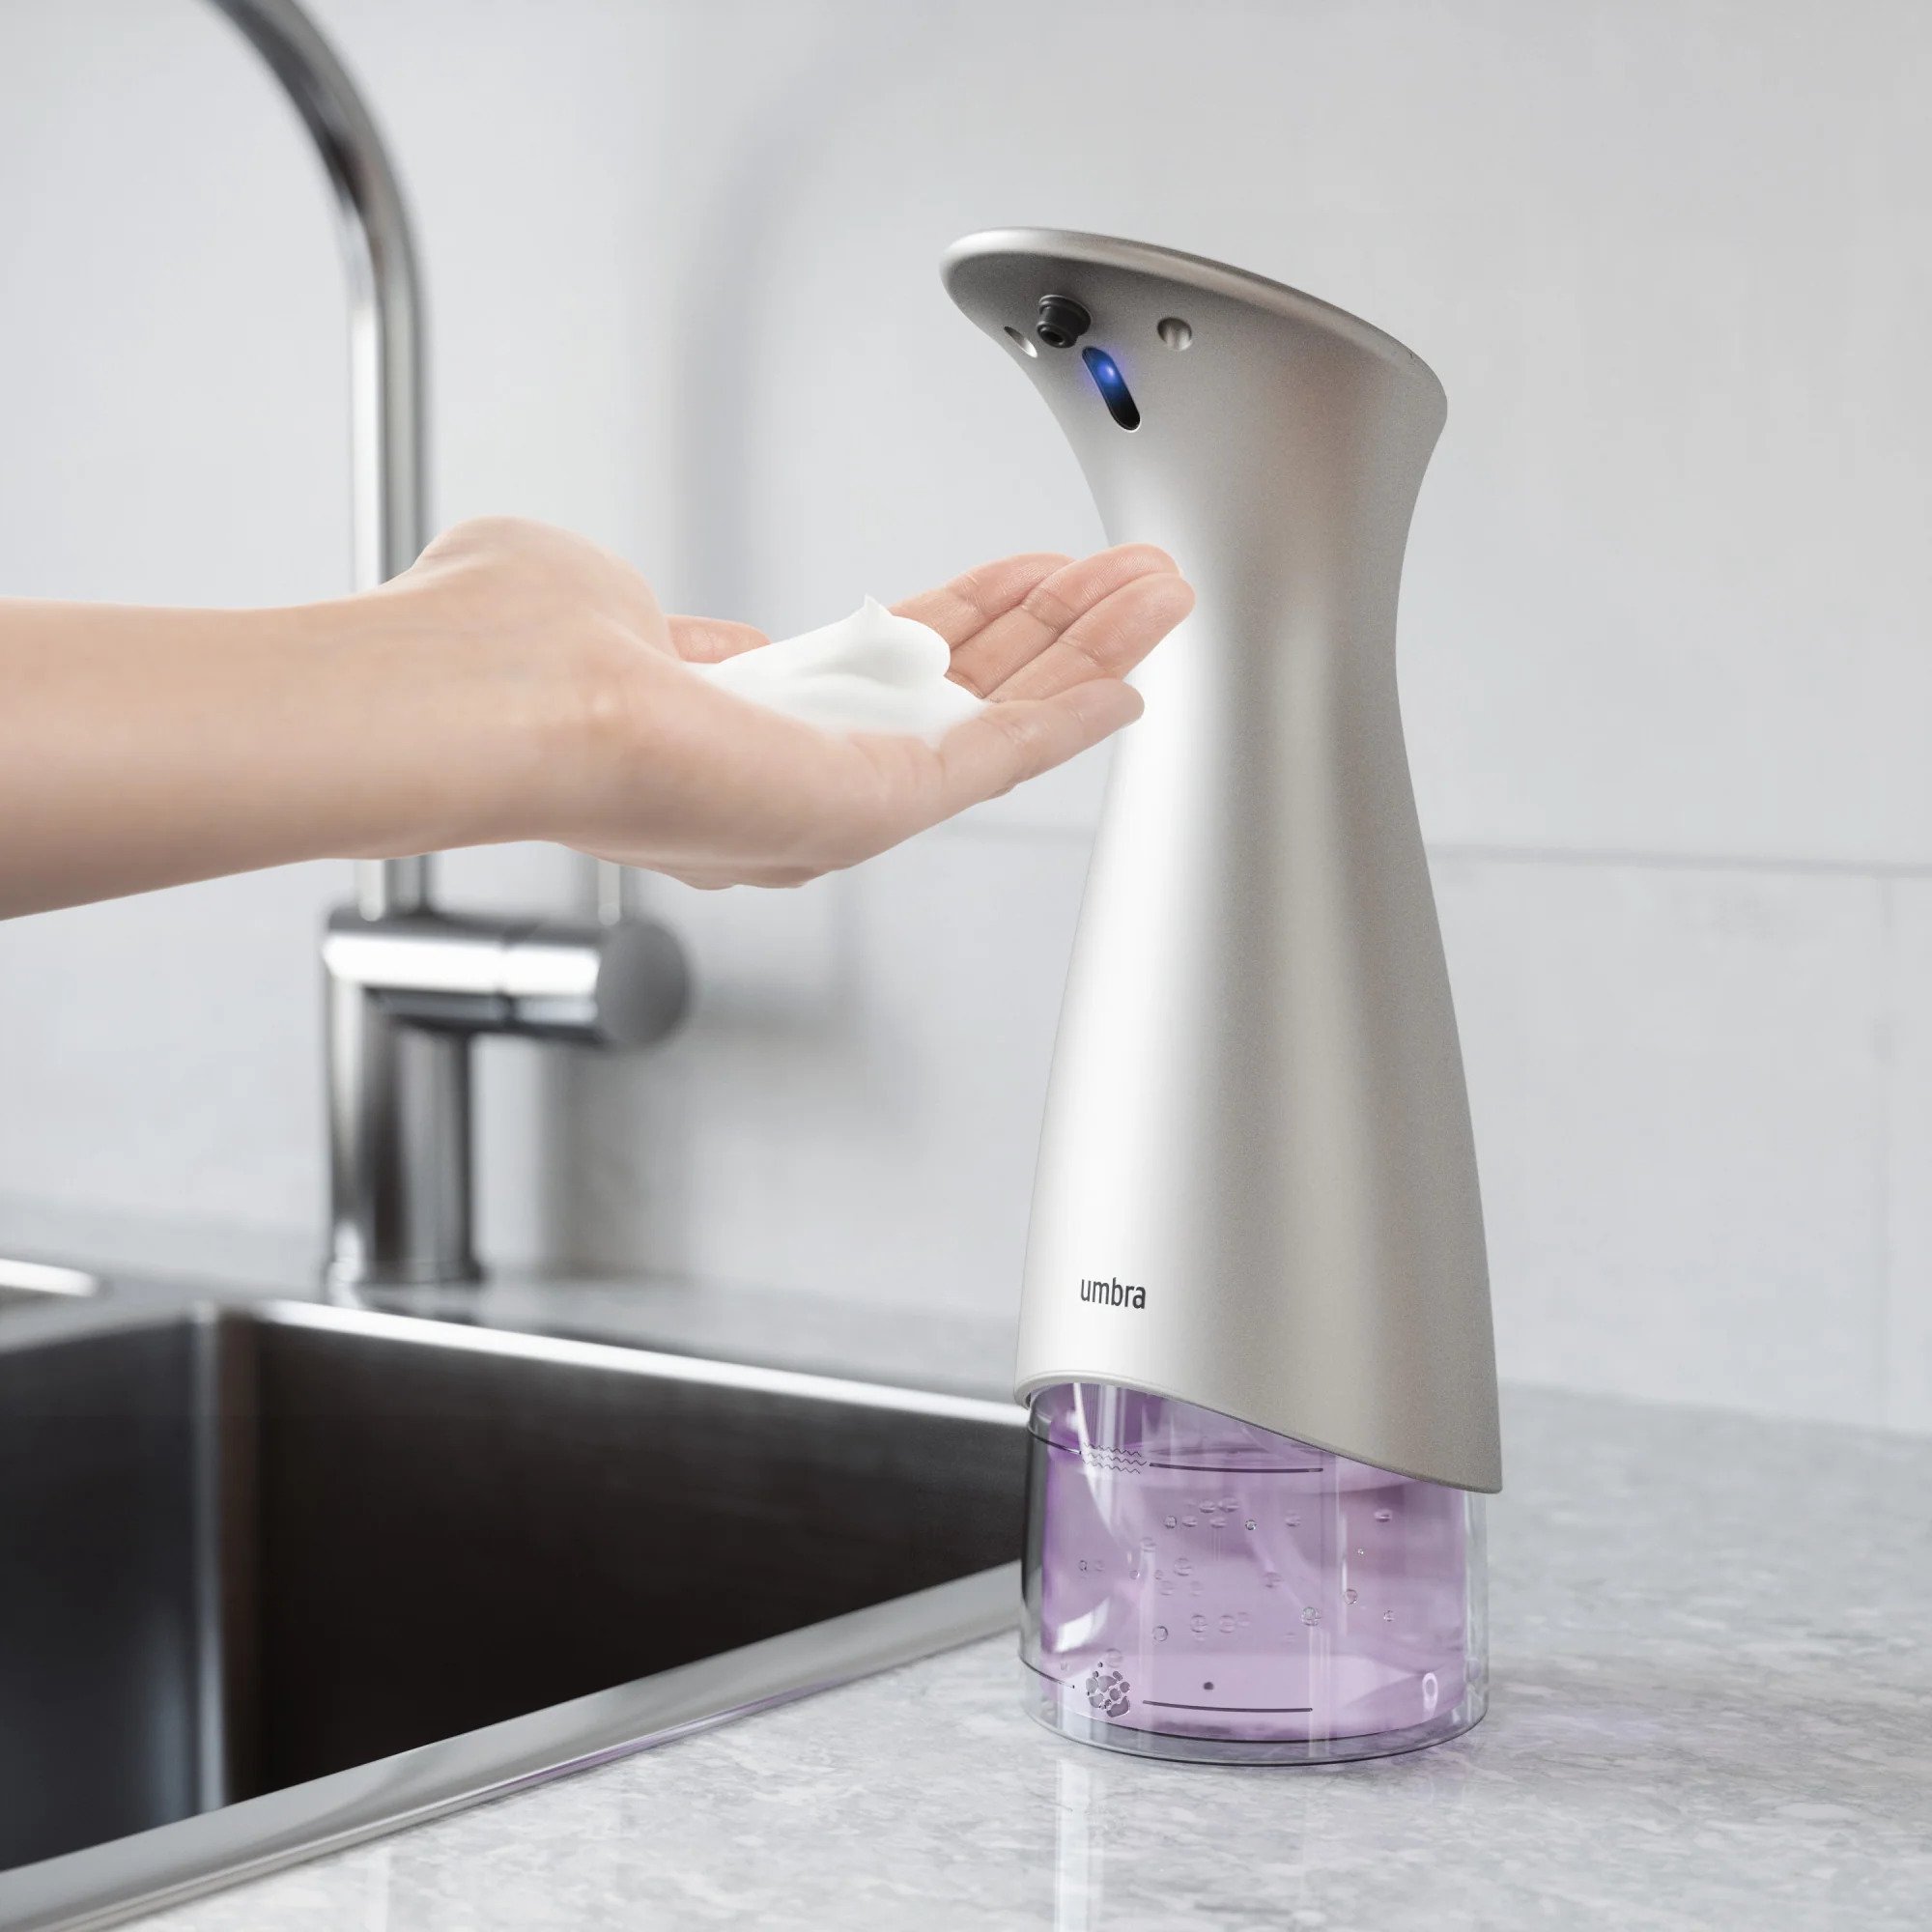
Welcome to our guide on how to refill a foam soap dispenser. Foam soap dispensers are a popular choice for many households and businesses due to their convenient and hygienic nature. However, constantly buying new foam soap refills can be costly and wasteful. By refilling your foam soap dispenser, you can save money and reduce your environmental impact.
In this article, we will walk you through the simple steps to refill your foam soap dispenser. We will discuss the necessary supplies, the proper way to dilute the liquid soap, and how to reattach the pump. Whether you are using a foam soap dispenser in your home or business, this guide will help you keep it stocked and ready for use.
So, why spend money on expensive foam soap refills when you can easily refill your dispenser using your own preferred liquid soap? Let’s dive in and learn how to refill a foam soap dispenser with ease.
Key Takeaways:
- Refilling a foam soap dispenser is a cost-effective and environmentally friendly way to ensure a continuous supply of foam soap, offering benefits such as cost savings, customization options, and emergency preparedness.
- By following simple steps to gather supplies, dilute the liquid soap, and reattach the pump, you can easily refill your foam soap dispenser, saving money and reducing waste while maintaining optimal hand hygiene.
Read more: How To Refill A Soap Dispenser
Why Refill a Foam Soap Dispenser?
Refilling a foam soap dispenser offers several benefits that make it a worthwhile task. Here are a few reasons why you should consider refilling your foam soap dispenser:
- Cost savings: Foam soap refills can be expensive, especially if you go through them quickly. By refilling your foam soap dispenser, you can save money in the long run. Simply purchase a large bottle of liquid soap, dilute it, and refill your dispenser whenever necessary.
- Environmental impact: In today’s world, it is essential to be mindful of our environmental footprint. By refilling your foam soap dispenser instead of purchasing new refills, you reduce plastic waste generated by empty refill bottles. This small change can make a big difference in reducing landfill waste.
- Customization: When you refill your foam soap dispenser, you have the freedom to choose any liquid soap that you prefer. You can experiment with different scents, formulas, or even make your own natural soap. This allows you to customize your handwashing experience to your liking.
- Emergency preparedness: Having a readily available supply of liquid soap can be beneficial during emergencies or times when stores may be closed. By refilling your foam soap dispenser, you can ensure that you always have an ample supply of soap for proper hand hygiene.
- Convenience: Refilling a foam soap dispenser is a simple and straightforward process. Once you get the hang of it, you will find it more convenient than constantly purchasing new refills. By having a refillable foam soap dispenser, you eliminate the need to frequently restock and can focus on other tasks.
With all these great reasons to refill your foam soap dispenser, it’s time to gather the necessary supplies and learn how to refill it properly. Let’s move on to the next section to get started.
Necessary Supplies
Before you begin refilling your foam soap dispenser, it’s important to gather all the necessary supplies. Having everything ready beforehand will make the process smoother and more efficient. Here are the supplies you will need:
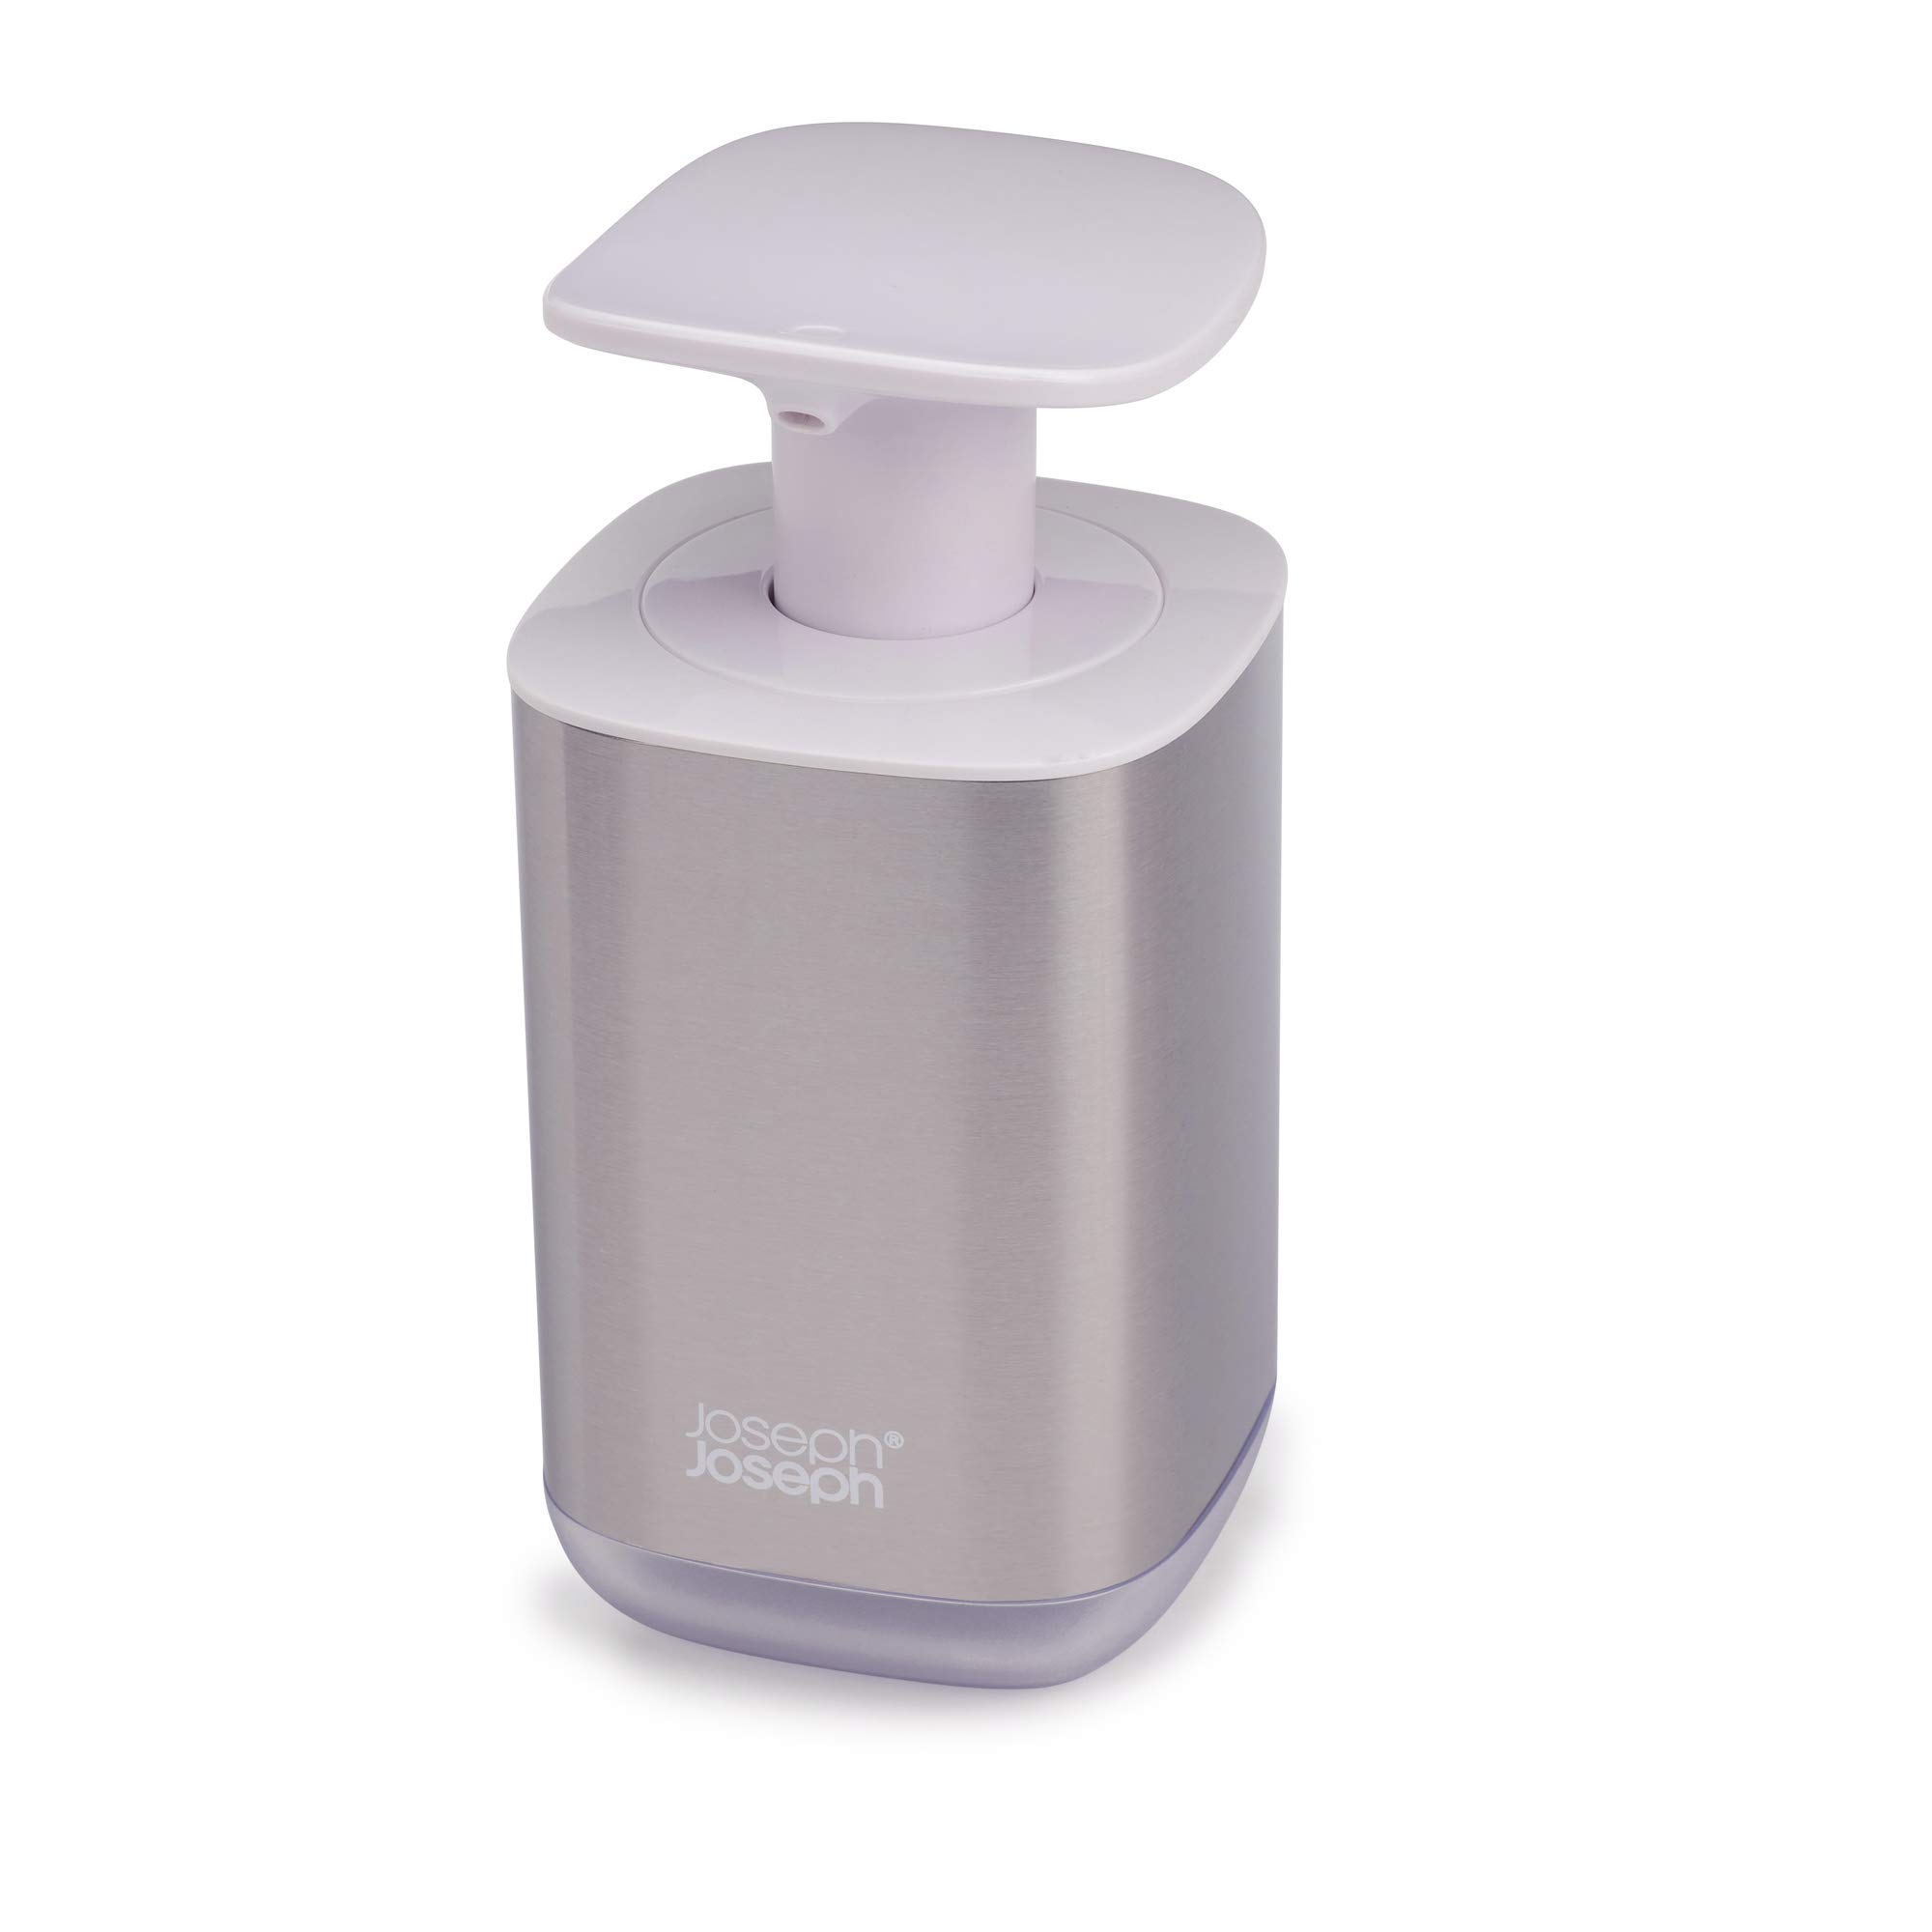
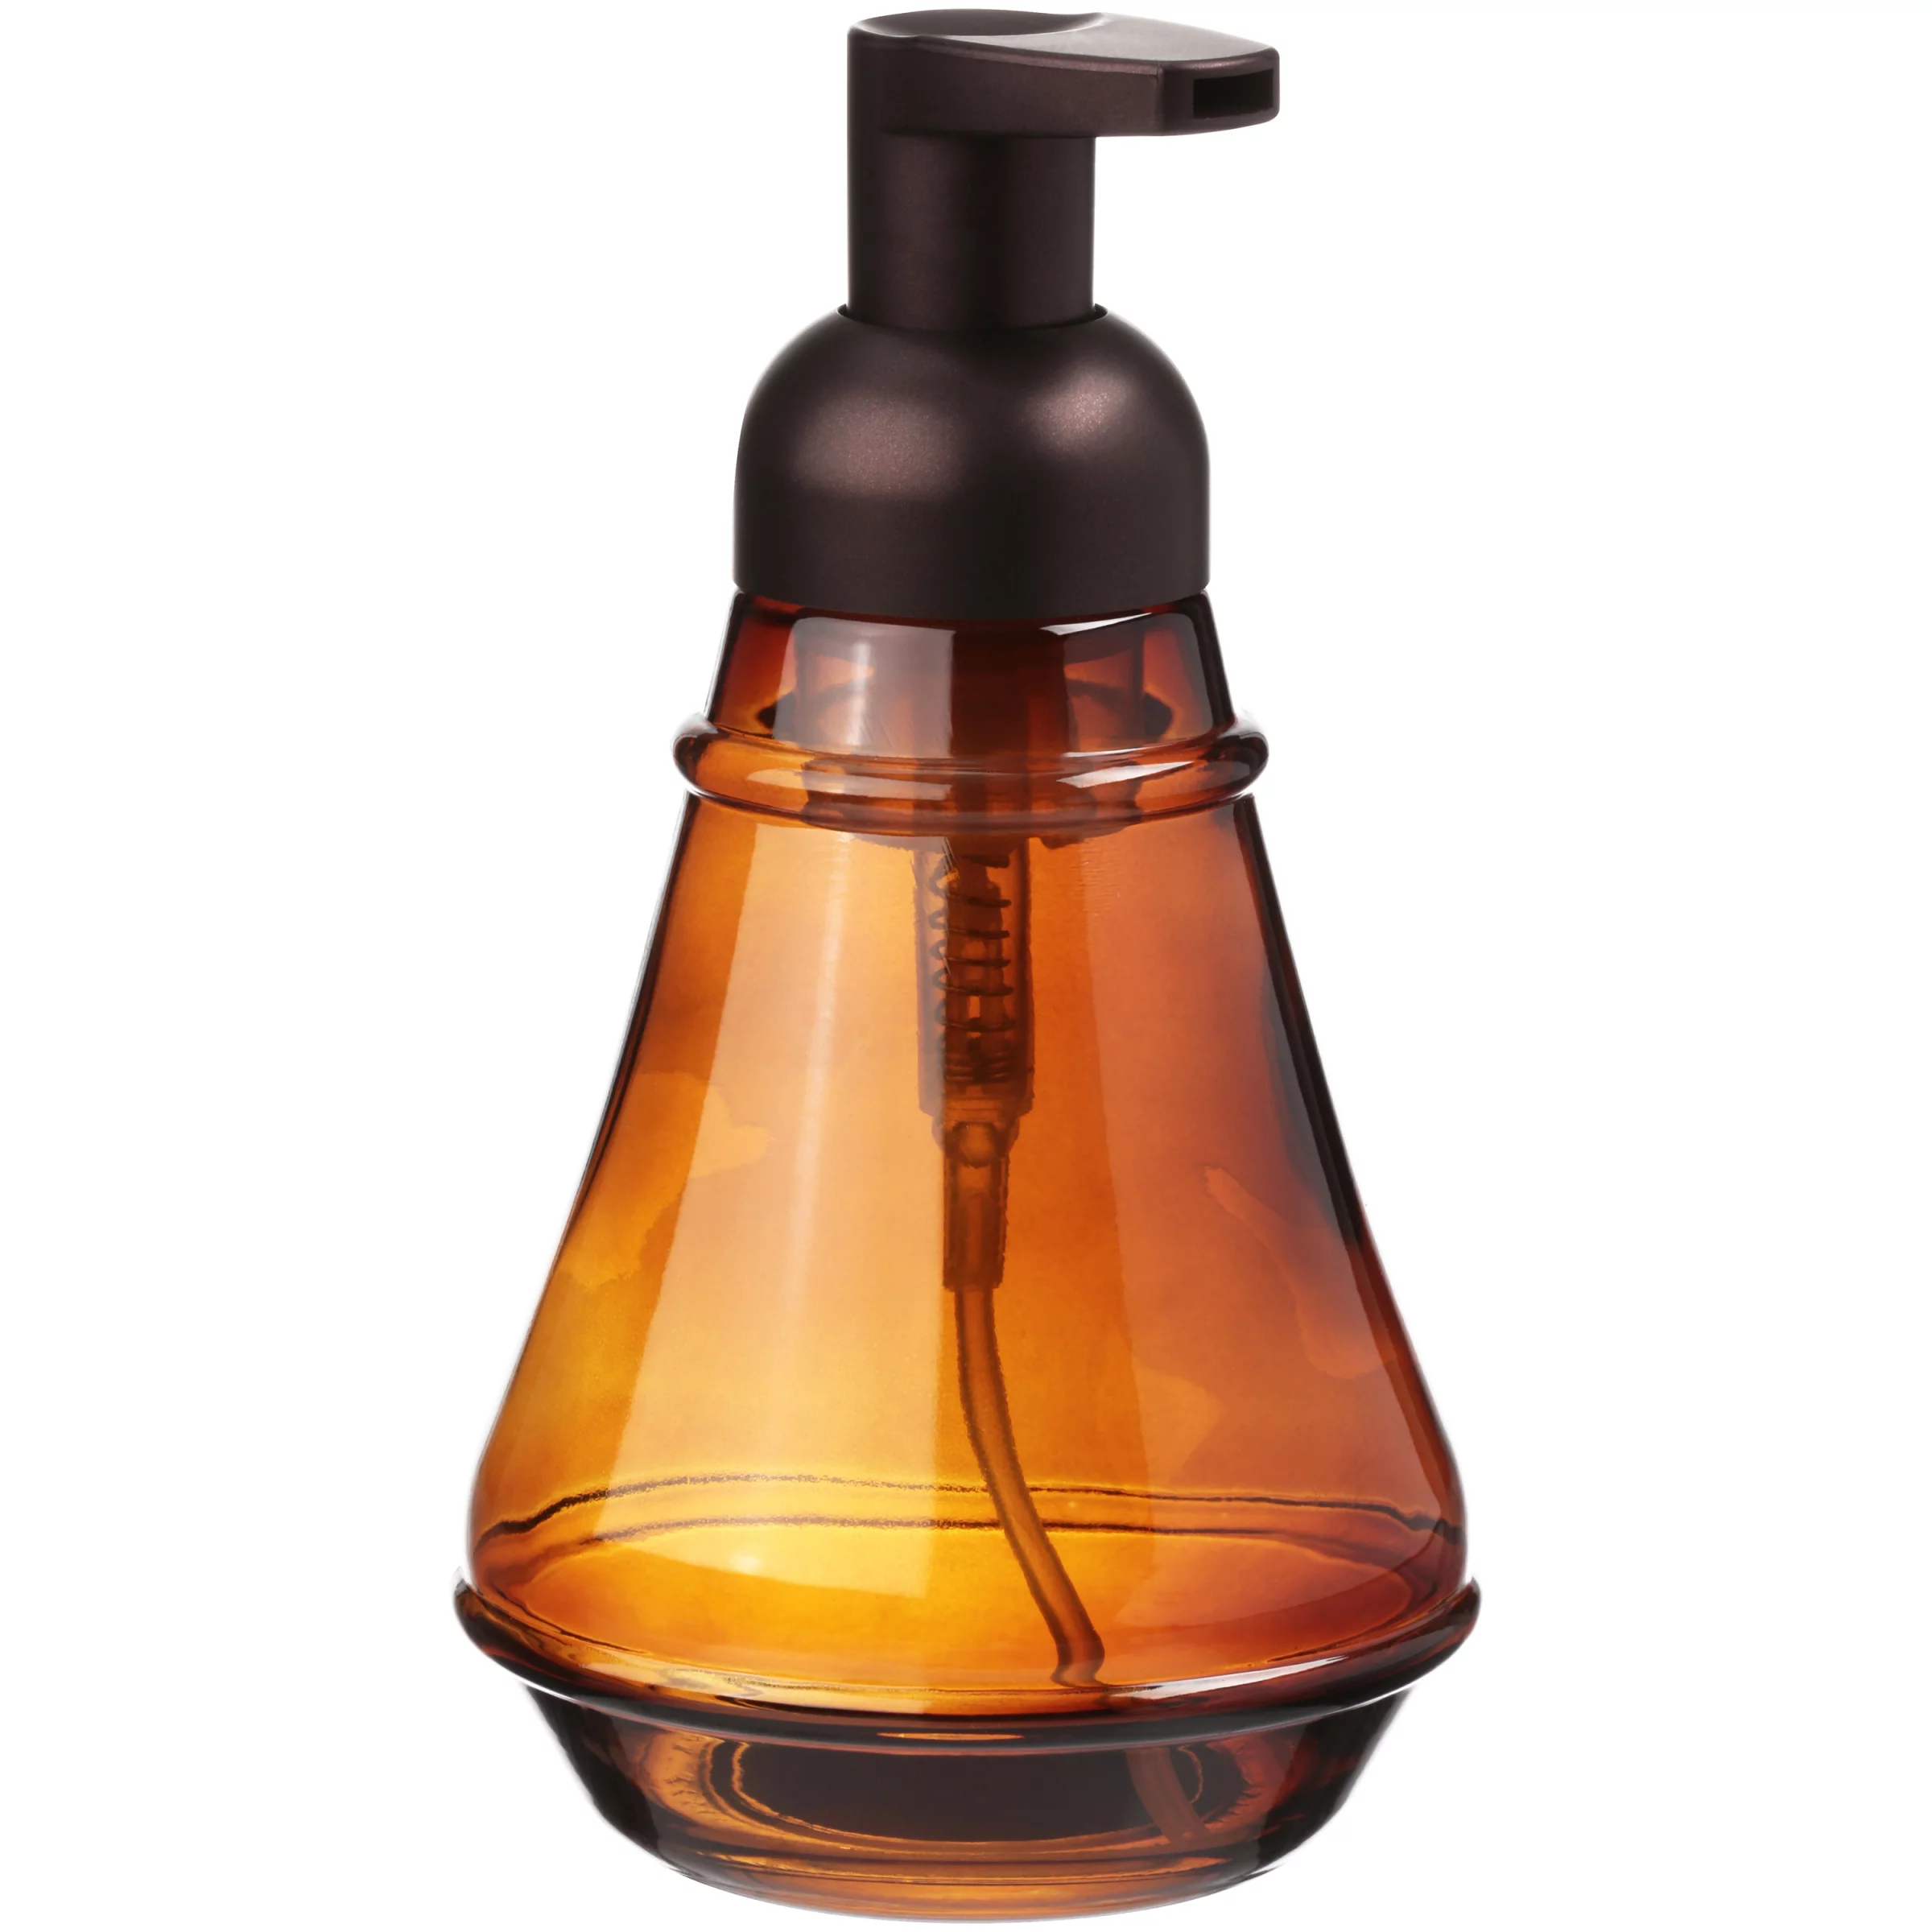
- Foam soap dispenser: Make sure you have a foam soap dispenser that is designed to be refilled. Check the label or packaging to ensure that it is refillable. If you don’t have one, you can easily find refillable foam soap dispensers at your local home goods store.
- Liquid soap: Choose a liquid soap of your preference. It could be a hand soap specifically labeled for foam dispensers or any other liquid soap. Keep in mind that some thick or lotion-like liquid soaps may not work well with foam dispensers.
- Water: You will need water to dilute the liquid soap. Ideally, use distilled or filtered water to avoid any impurities or minerals that could potentially clog the dispenser.
- Measuring cup or container: A measuring cup or container with volume markings will come in handy for diluting the liquid soap to the appropriate consistency. Make sure it is clean and dry before use.
- Optional: Essential oils or fragrance: If you desire a scented foam soap, you can add a few drops of your favorite essential oil or fragrance to the liquid soap. This step is entirely optional but can enhance the sensory experience of handwashing.
- Optional: Funnel: If your foam soap dispenser has a small opening, using a funnel can help you pour the diluted soap without any mess or spills. While not essential, a funnel can make the process easier.
Once you have gathered all the necessary supplies, you are ready to move on to the next section, which covers the step-by-step process of refilling your foam soap dispenser.
Step 1: Gather Your Supplies
Before starting the process of refilling your foam soap dispenser, it’s crucial to gather all the necessary supplies and ensure they are readily available. By doing so, you can save time and avoid interruptions during the refill process. Here’s what you need to do:
- Locate your foam soap dispenser: Identify the foam soap dispenser that requires refilling. It may be in your bathroom, kitchen, or any other area where you frequently wash your hands.
- Check the dispenser’s capacity: Take note of the capacity of your foam soap dispenser. Most foam dispensers are designed to hold a specific amount of liquid soap, typically ranging from 8 to 16 ounces. Knowing the capacity will help you determine the appropriate amount of soap to dilute.
- Gather your liquid soap: Choose the liquid soap of your preference. It can be a hand soap specifically labeled for foam dispensers or any other liquid soap that you find suitable. Ensure that the soap is compatible with foam dispensers and does not have a thick or lotion-like consistency, as that may result in clogging.
- Find a suitable container: Select a clean container for diluting the liquid soap. A measuring cup or container with volume markings is recommended for accurate measurements. Ensure that the container is dry and free of any residue from previous use.
- Collect distilled or filtered water: You will need water to dilute the liquid soap. It is advisable to use distilled or filtered water to prevent any impurities or minerals that may potentially clog the dispenser. Ensure that you have enough water available for the dilution process.
- Optional: Essential oils or fragrance: If you desire a scented foam soap, have your favorite essential oil or fragrance ready. These can be added to the liquid soap during the dilution process to provide a pleasant aroma. However, keep in mind that this step is entirely optional.
- Optional: Funnel: If your foam soap dispenser has a small opening, using a funnel can make the refill process easier and more efficient. While not essential, a funnel can help prevent spills and ensure that you pour the diluted soap accurately into the dispenser.
By gathering all the necessary supplies beforehand, you will have everything readily available when it’s time to proceed with the next steps. This preparation will streamline the refill process and make it a hassle-free experience. Once you have collected your supplies, you’re ready to move on to step 2: removing the pump from the dispenser.
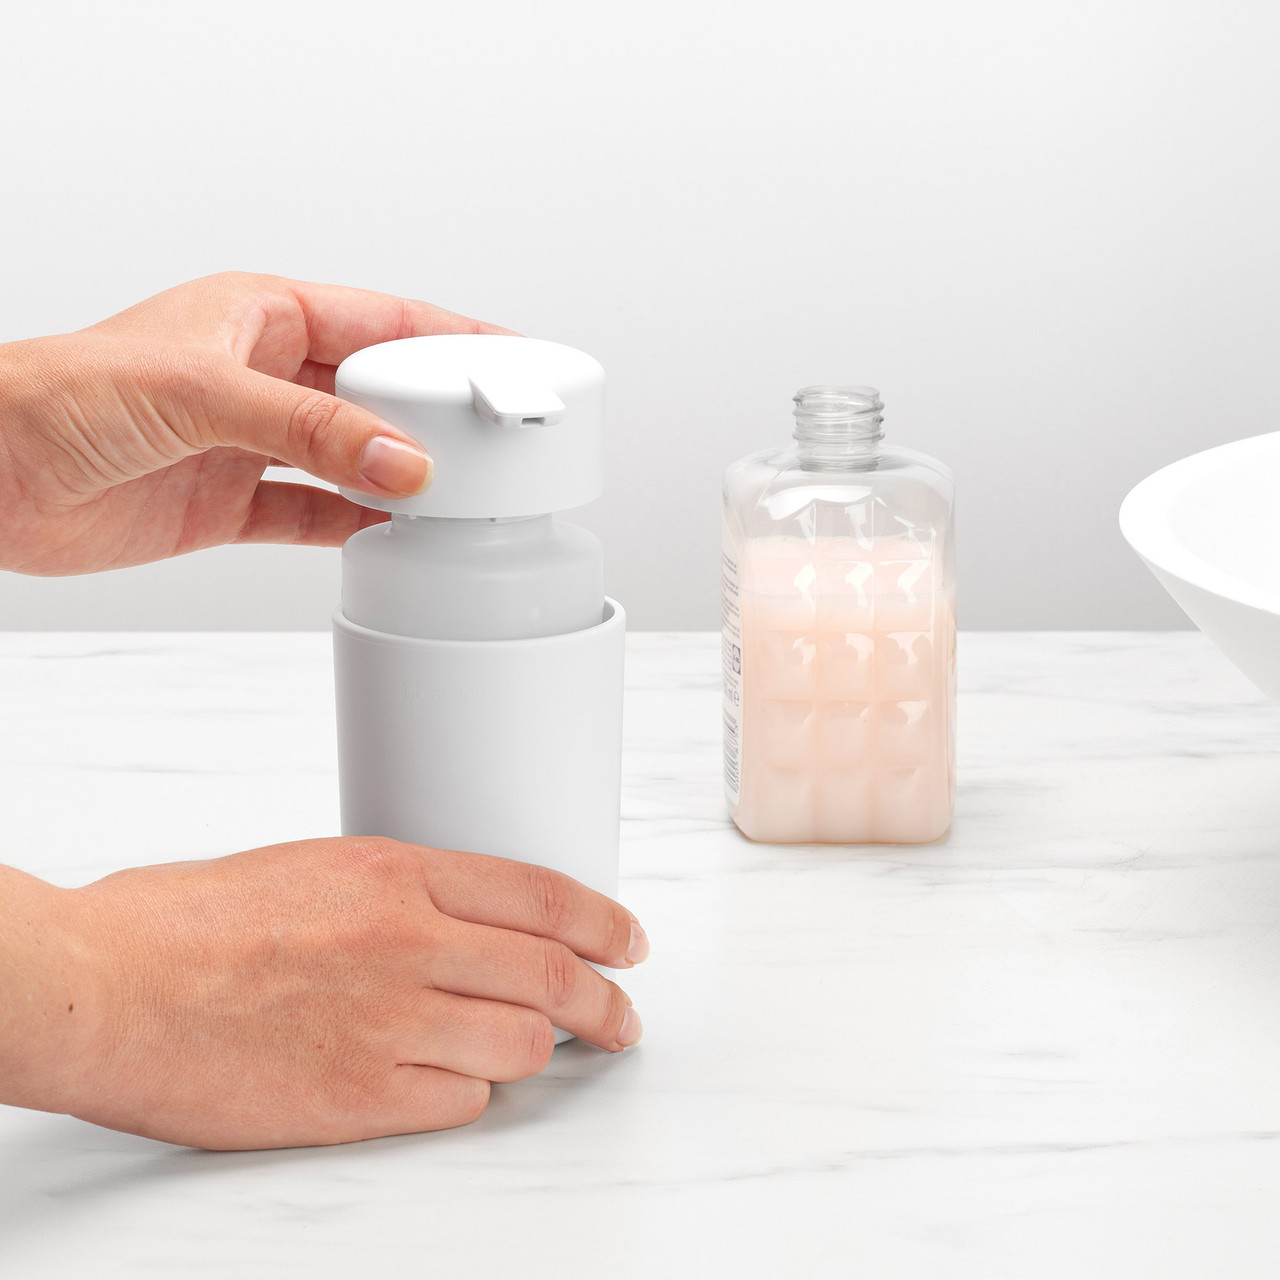
Step 2: Remove the Pump from the Dispenser
Now that you have gathered all the necessary supplies, it’s time to move on to refilling your foam soap dispenser. The first step in the process is to remove the pump from the dispenser. Follow these instructions:
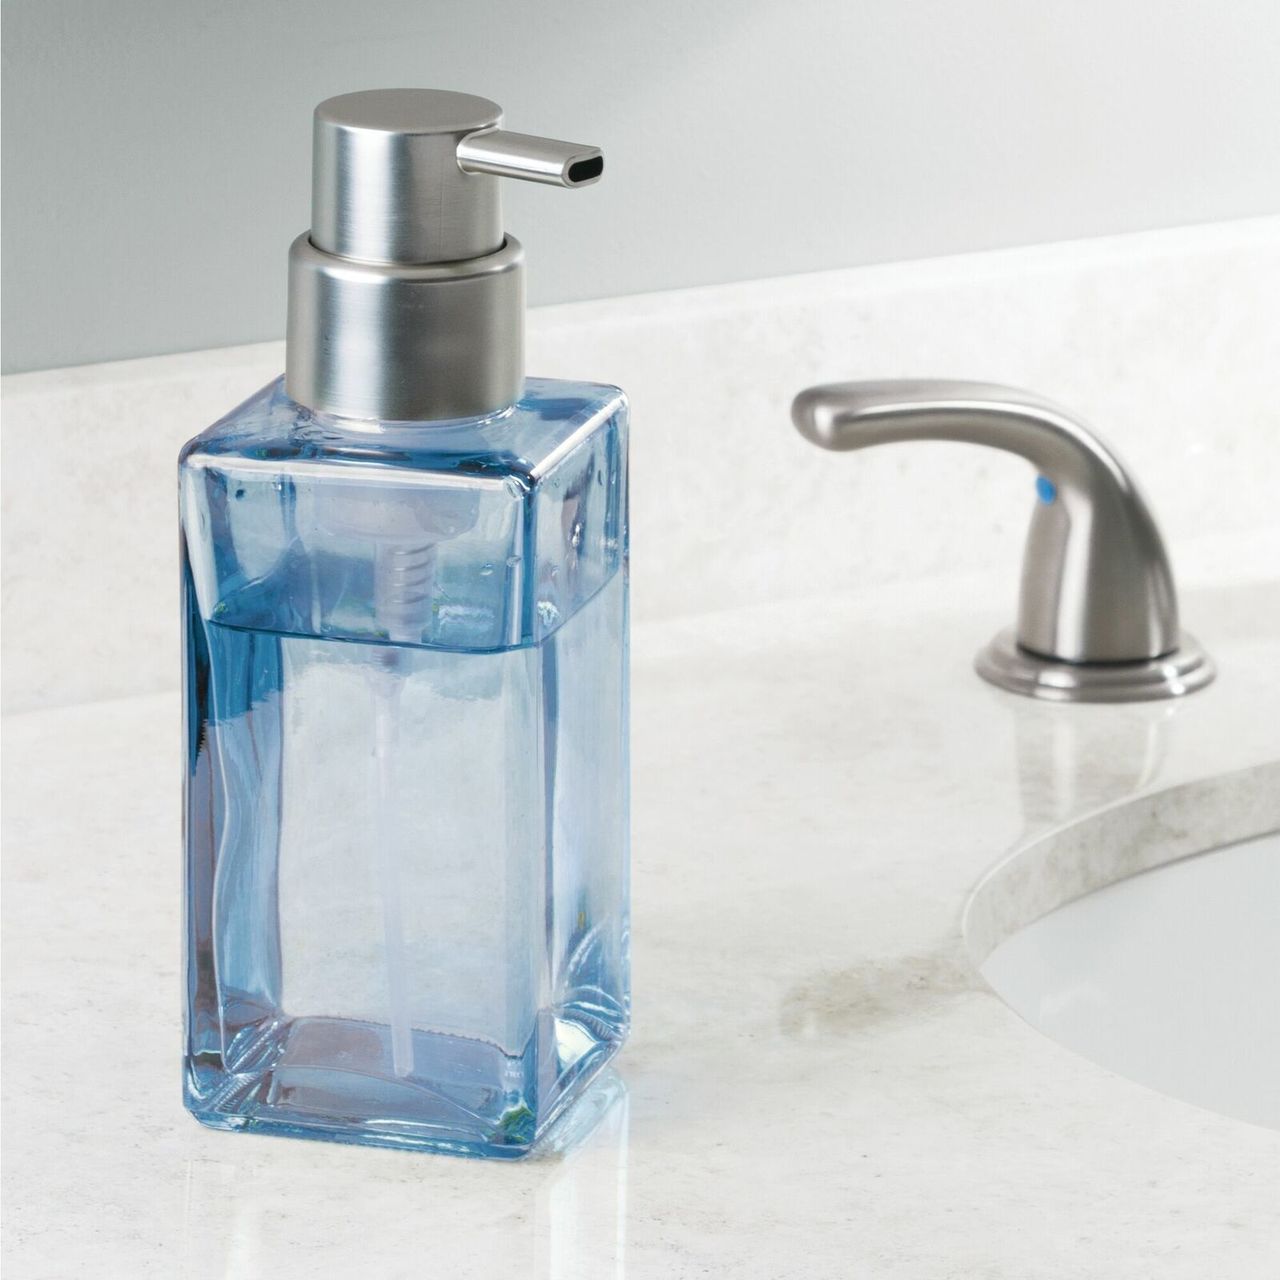
- Inspect the foam soap dispenser: Take a close look at the dispenser to locate the pump. Depending on the design, the pump may be visible on top of the dispenser or concealed underneath a cover. Familiarize yourself with the dispenser’s structure to understand how the pump is attached.
- Identify the pump: Once you have located the pump, identify the section that connects it to the dispenser. This may be a twist-off cap, a lock mechanism, or a snap-on attachment. Different models have varying methods for securing the pump, so make sure you understand how your specific dispenser functions.
- Unlock or release the pump: Following the appropriate method for your foam soap dispenser, unlock or release the pump from its secured position. This may involve twisting, pushing, or releasing a latch or button. Use gentle pressure to avoid damaging the dispenser or the pump.
- Remove the pump: Once you have successfully unlocked or released the pump, lift it out of the dispenser. Be cautious not to spill any remaining soap inside the dispenser or on yourself. Set the pump aside in a clean and dry area for now.
Removing the pump from the dispenser allows you to access the refill area and prepare the soap for the refill. Make sure to handle the pump and the dispenser with care to avoid any breakage or damage. With the pump now removed, you are ready to proceed to the next step: diluting the liquid soap.
When refilling a foam soap dispenser, dilute liquid soap with water in a 1:3 ratio, shake gently, and pour the mixture into the dispenser. Avoid overfilling to prevent clogging.
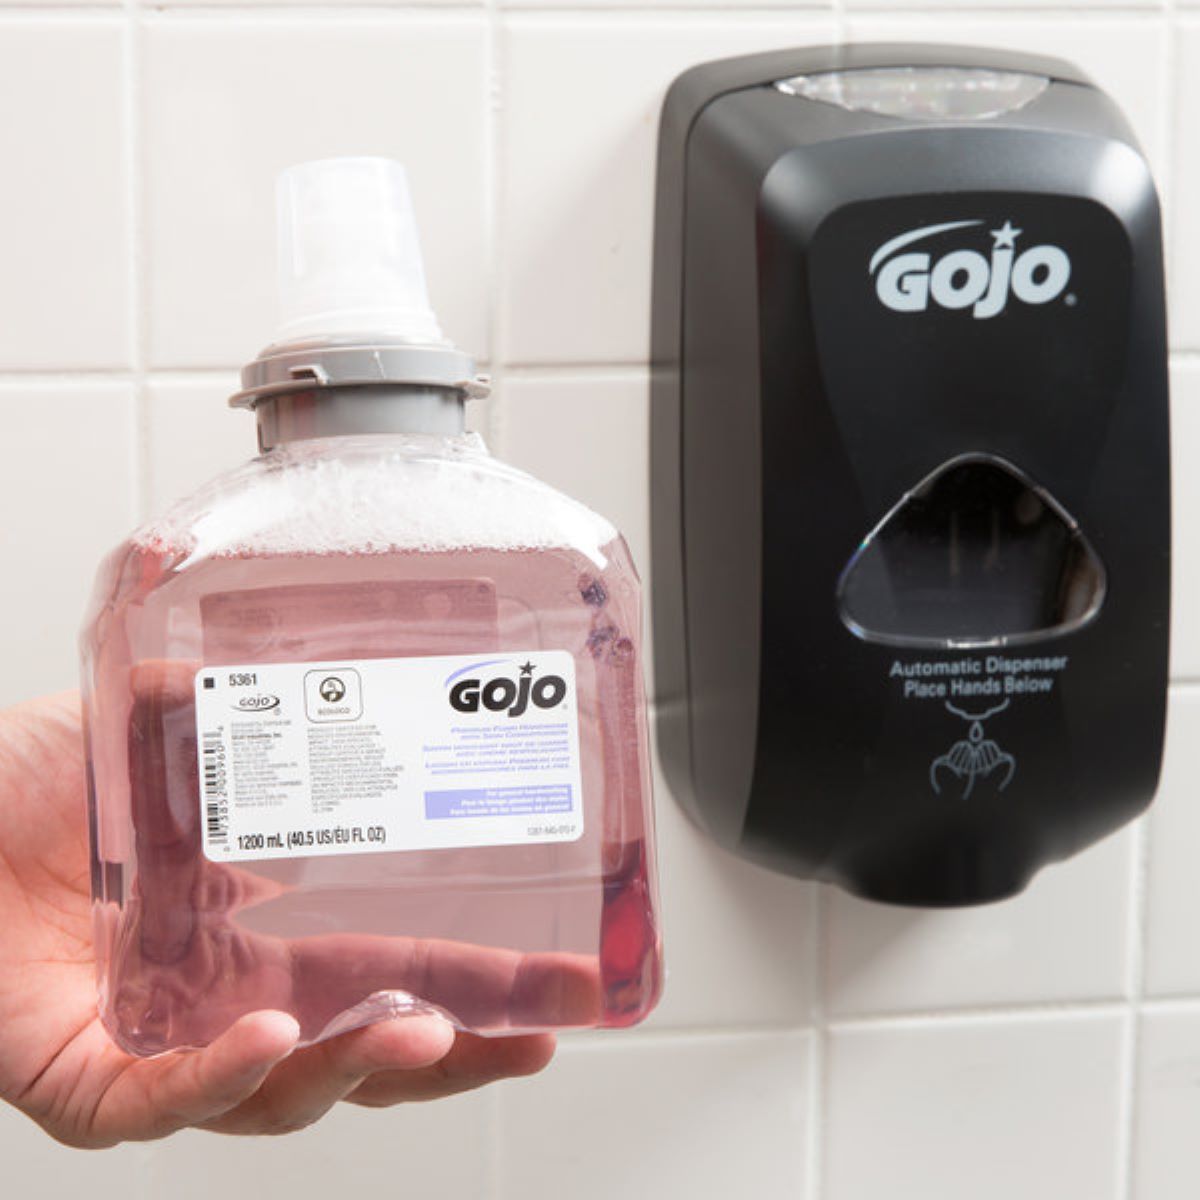
Read more: How To Refill Gojo Soap Dispenser
Step 3: Dilute the Liquid Soap
With the pump removed from the foam soap dispenser, you can now proceed to dilute the liquid soap. Diluting the soap helps to create the desired foam consistency and ensures that it dispenses properly. Follow these steps to dilute the liquid soap:
- Refer to the soap manufacturer’s instructions: Before diluting the liquid soap, check the packaging or label for any specific dilution instructions provided by the manufacturer. Some liquid soaps may require a specific water-to-soap ratio for optimal foam production.
- Prepare the dilution container: Pour the desired amount of liquid soap into the measuring cup or container. To achieve the appropriate foam consistency, it is generally recommended to dilute the soap with water in a 1:1 or 1:2 ratio. However, this may vary depending on the specific soap and dispenser. Adjust the ratio as per your preference and the manufacturer’s instructions.
- Add water: After pouring the liquid soap into the container, add the appropriate amount of water. Use distilled or filtered water, if possible, to prevent any impurities or minerals that could clog the foam soap dispenser. The exact amount of water will depend on the desired dilution ratio you decided on earlier.
- Mix the soap and water: Use a spoon or stirrer to thoroughly mix the liquid soap and water together. Ensure that the soap is completely dissolved and evenly distributed throughout the mixture. This will ensure a consistent foam consistency when you use the dispenser.
- Optional: Add essential oils or fragrance: If you desire a scented foam soap, add a few drops of your favorite essential oils or fragrance to the diluted soap mixture. Stir gently to blend the scent with the soap. This step is entirely optional but can enhance your handwashing experience.
By diluting the liquid soap properly, you ensure that it dispenses smoothly and creates the desired foam consistency when used in the foam soap dispenser. Take your time to mix the soap and water thoroughly to achieve a well-blended solution. Once you have diluted the soap, you can move on to the next step: pouring the diluted soap into the dispenser.
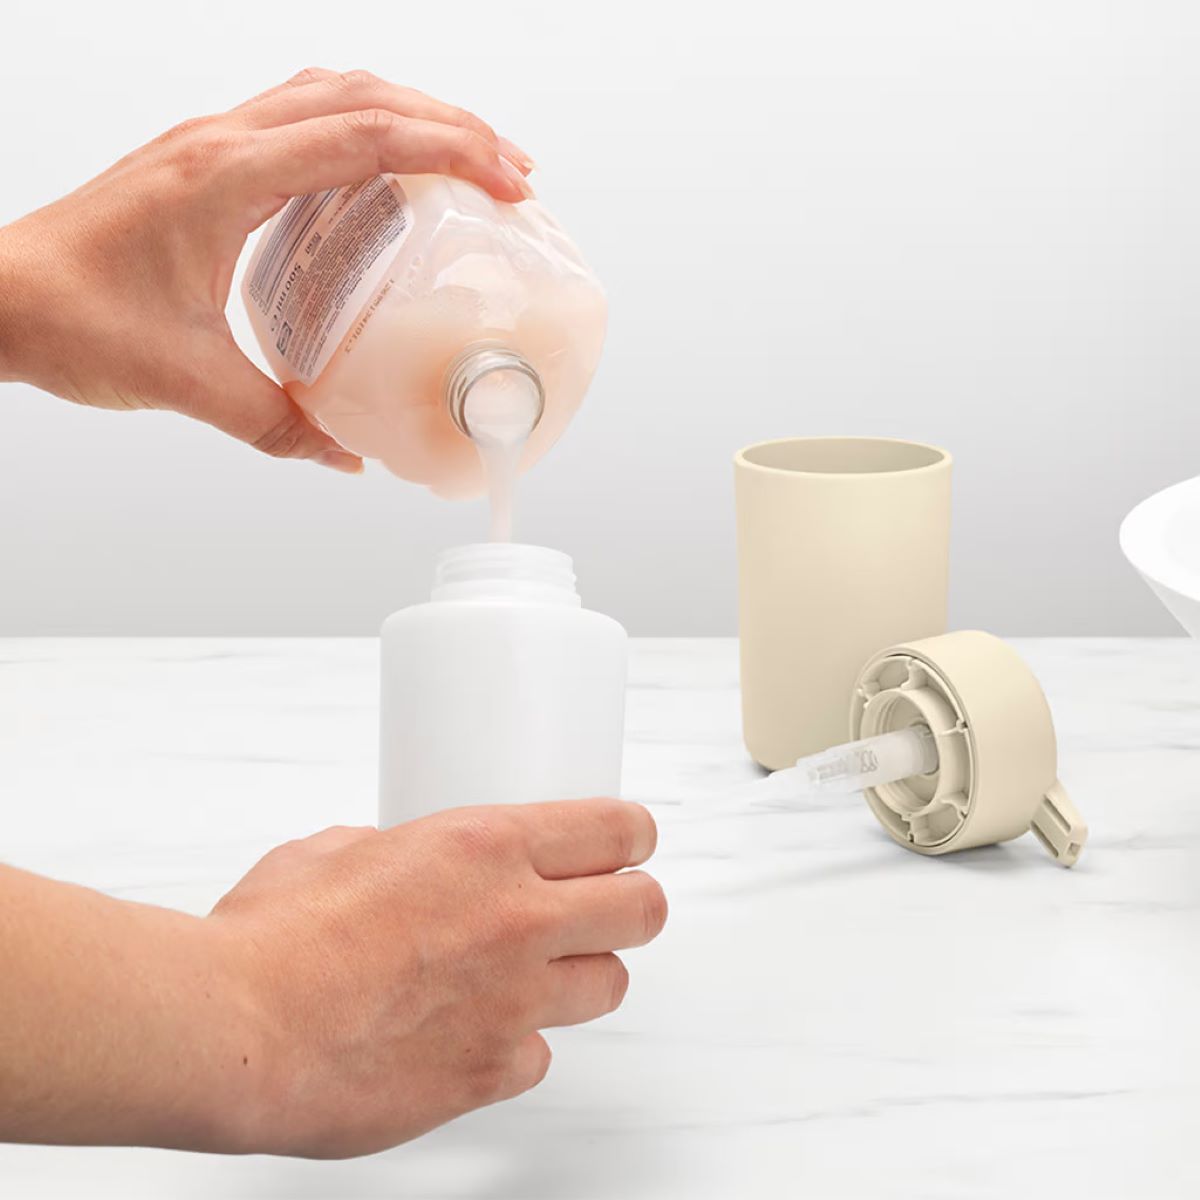
Step 4: Pour the Diluted Soap into the Dispenser
Now that you have properly diluted the liquid soap, it’s time to pour the mixture into the foam soap dispenser. Follow these steps to ensure a clean and efficient transfer:
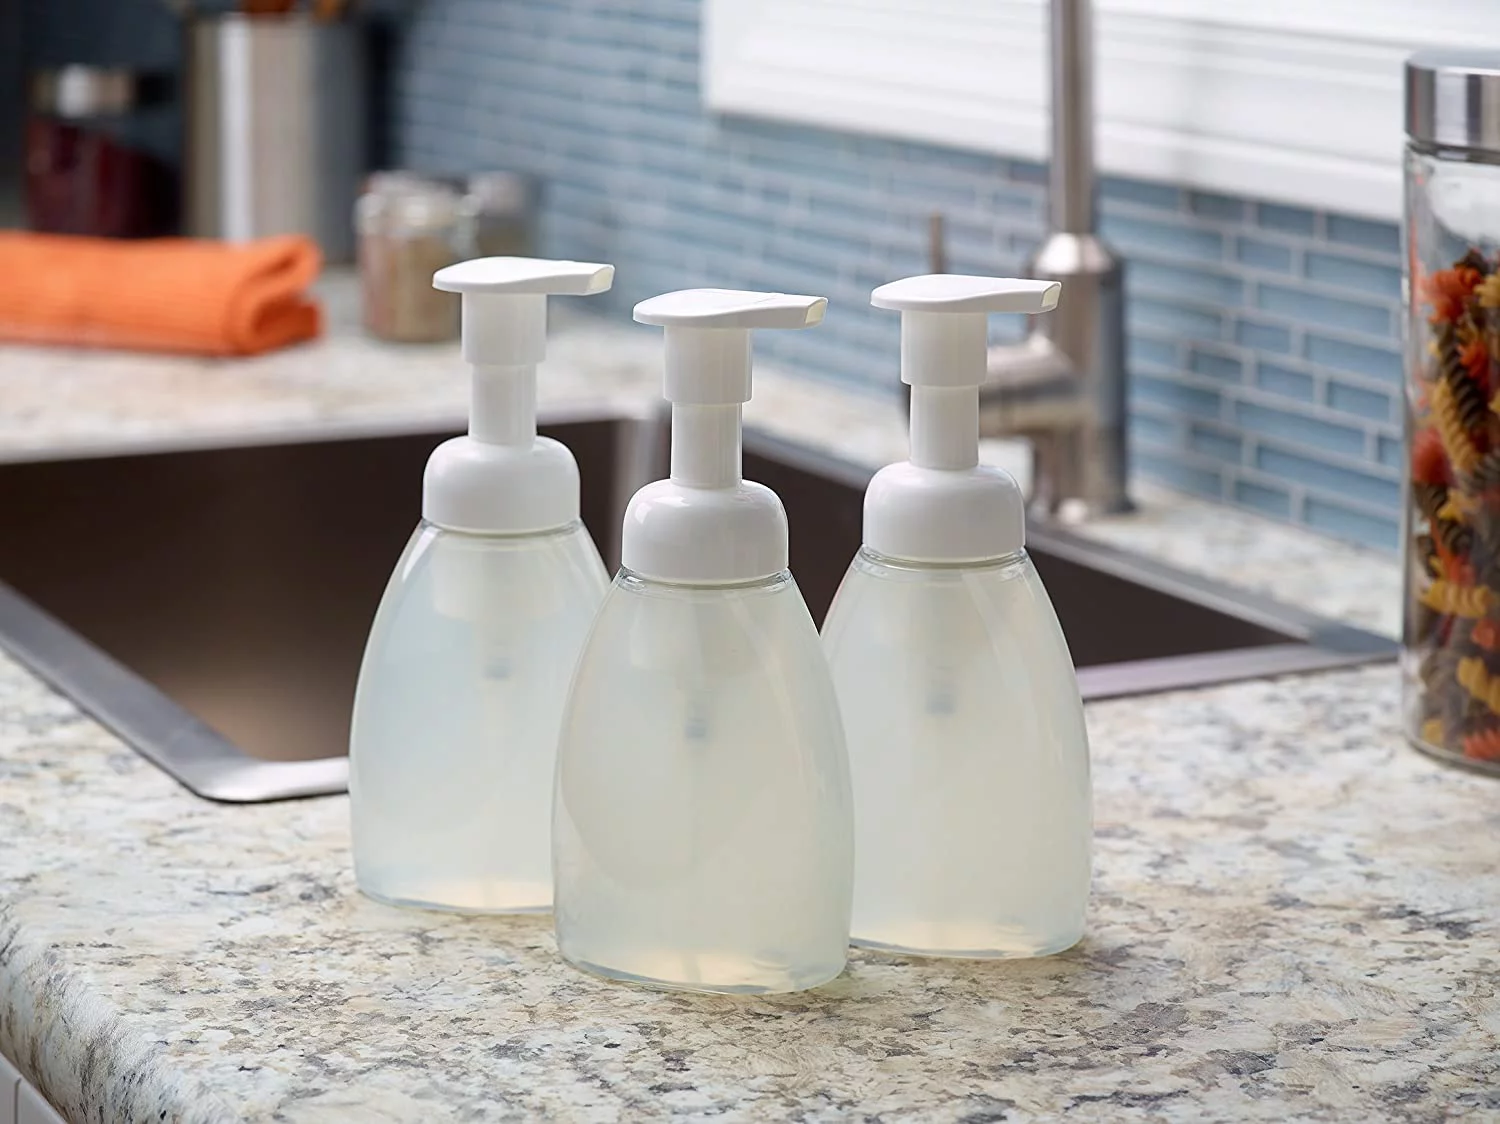
- Prepare the dispenser: Before pouring the diluted soap, make sure the foam soap dispenser is clean and dry. If there is any residual soap or water in the dispenser, rinse it out and wipe it dry with a clean cloth.
- Use a funnel (optional): If your foam soap dispenser has a small opening, using a funnel can make the pouring process easier and prevent any spills or mess. Place the funnel securely into the dispenser’s opening.
- Pour the diluted soap: Slowly and carefully pour the diluted soap mixture into the foam soap dispenser. Fill it up to about three-quarters full, leaving some space at the top to prevent overflowing when the pump is reattached.
- Avoid overfilling: Be cautious not to overfill the dispenser, as this may cause the soap to overflow or leak when the pump is reattached. If necessary, use a paper towel or cloth to wipe away any excess soap on the rim or exterior of the dispenser.
- Remove the funnel (if used): If you used a funnel to pour the diluted soap, carefully and slowly remove the funnel from the dispenser’s opening. Be cautious not to disrupt or spill the soap while doing so.
By pouring the diluted soap mixture into the foam soap dispenser, you replenish it with a fresh supply of soap ready for use. Take your time to pour the soap accurately and avoid any spills or overfilling. With the soap now in the dispenser, you can move on to the next step: reattaching the pump.
Step 5: Reattach the Pump
With the diluted soap now safely poured into the foam soap dispenser, it’s time to reattach the pump. Follow these steps to secure the pump back onto the dispenser:
- Inspect the pump: Take a close look at the pump to familiarize yourself with its structure and components. Identify any locking mechanisms, tabs, or threads that will help secure the pump to the dispenser.
- Align the pump: Position the pump over the opening of the foam soap dispenser, making sure it is properly aligned. Ensure that any locking mechanisms on the pump align with corresponding slots or threads on the dispenser to facilitate a secure fit.
- Press or twist the pump: Depending on the design of your foam soap dispenser, either press down firmly or twist the pump clockwise to lock it into place. Apply gentle pressure and ensure that the pump is securely attached to prevent any leaks or spills.
- Test the pump: Press down on the pump a few times to test its functionality. You should notice a controlled release of foam soap with each pump. If the pump feels loose or does not dispense soap properly, double-check the attachment and make any necessary adjustments.
Reattaching the pump is a crucial step in ensuring the proper functioning of your foam soap dispenser. Take your time to align and secure the pump to the dispenser, making sure it is tightly fastened. Once the pump is securely attached, it’s time to move on to the final step: testing the dispenser.
Step 6: Test the Dispenser
After reattaching the pump, it’s essential to test the dispenser to ensure that it dispenses foam soap properly. Follow these steps to verify the functionality of your newly refilled foam soap dispenser:
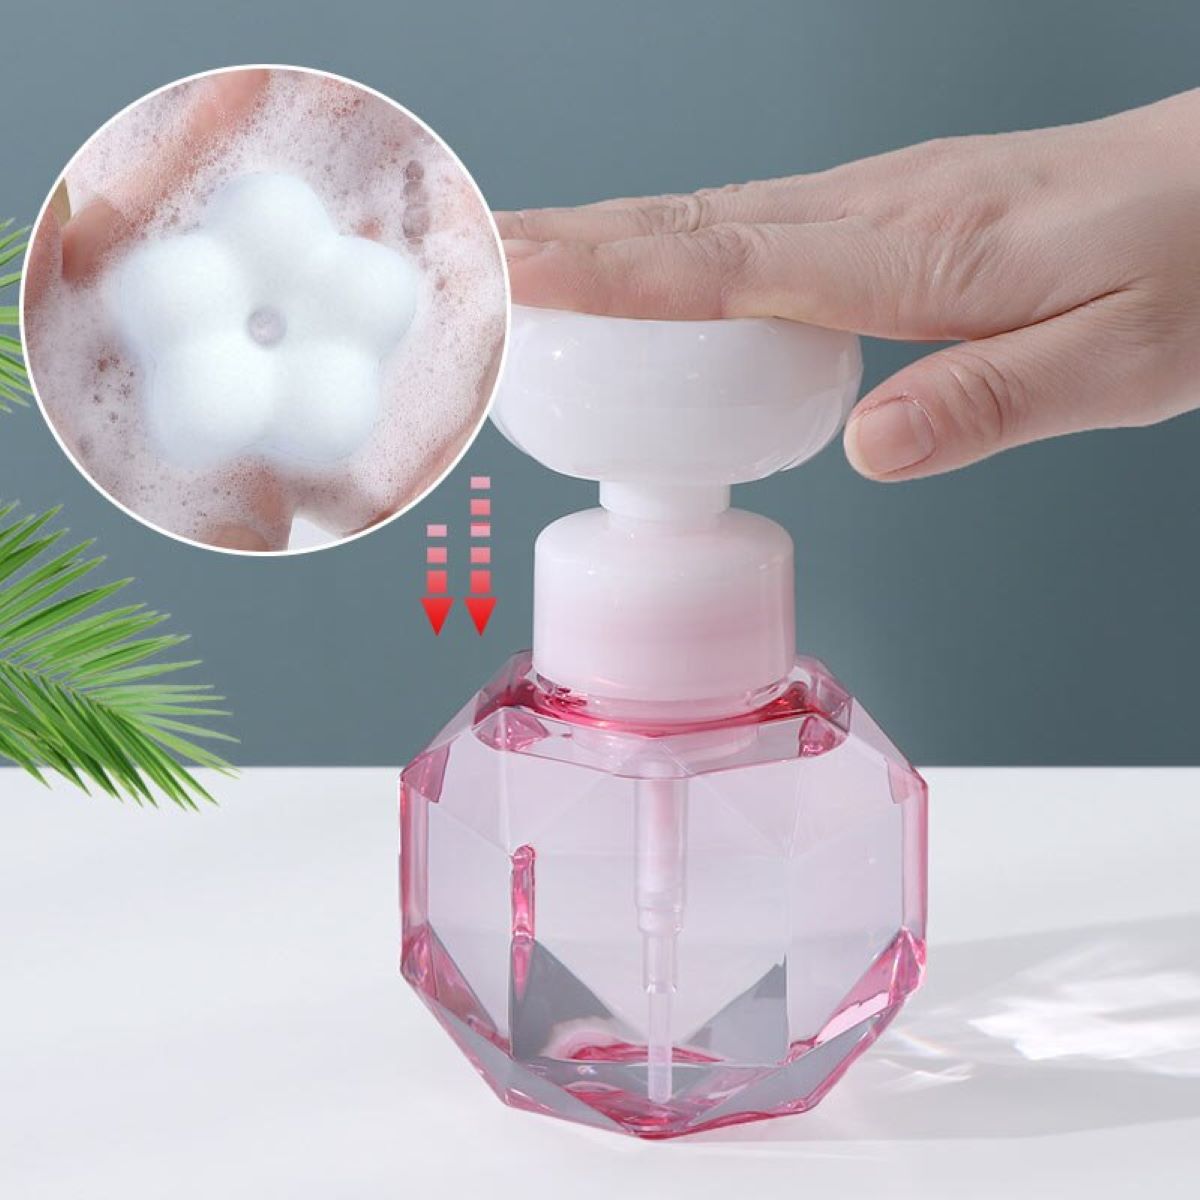
- Prime the pump: If it’s the first time you are using the dispenser or after a refill, you may need to prime the pump by pressing it multiple times until the foam soap starts dispensing. This process helps remove any air trapped in the pump system and ensures a smooth flow of foam soap.
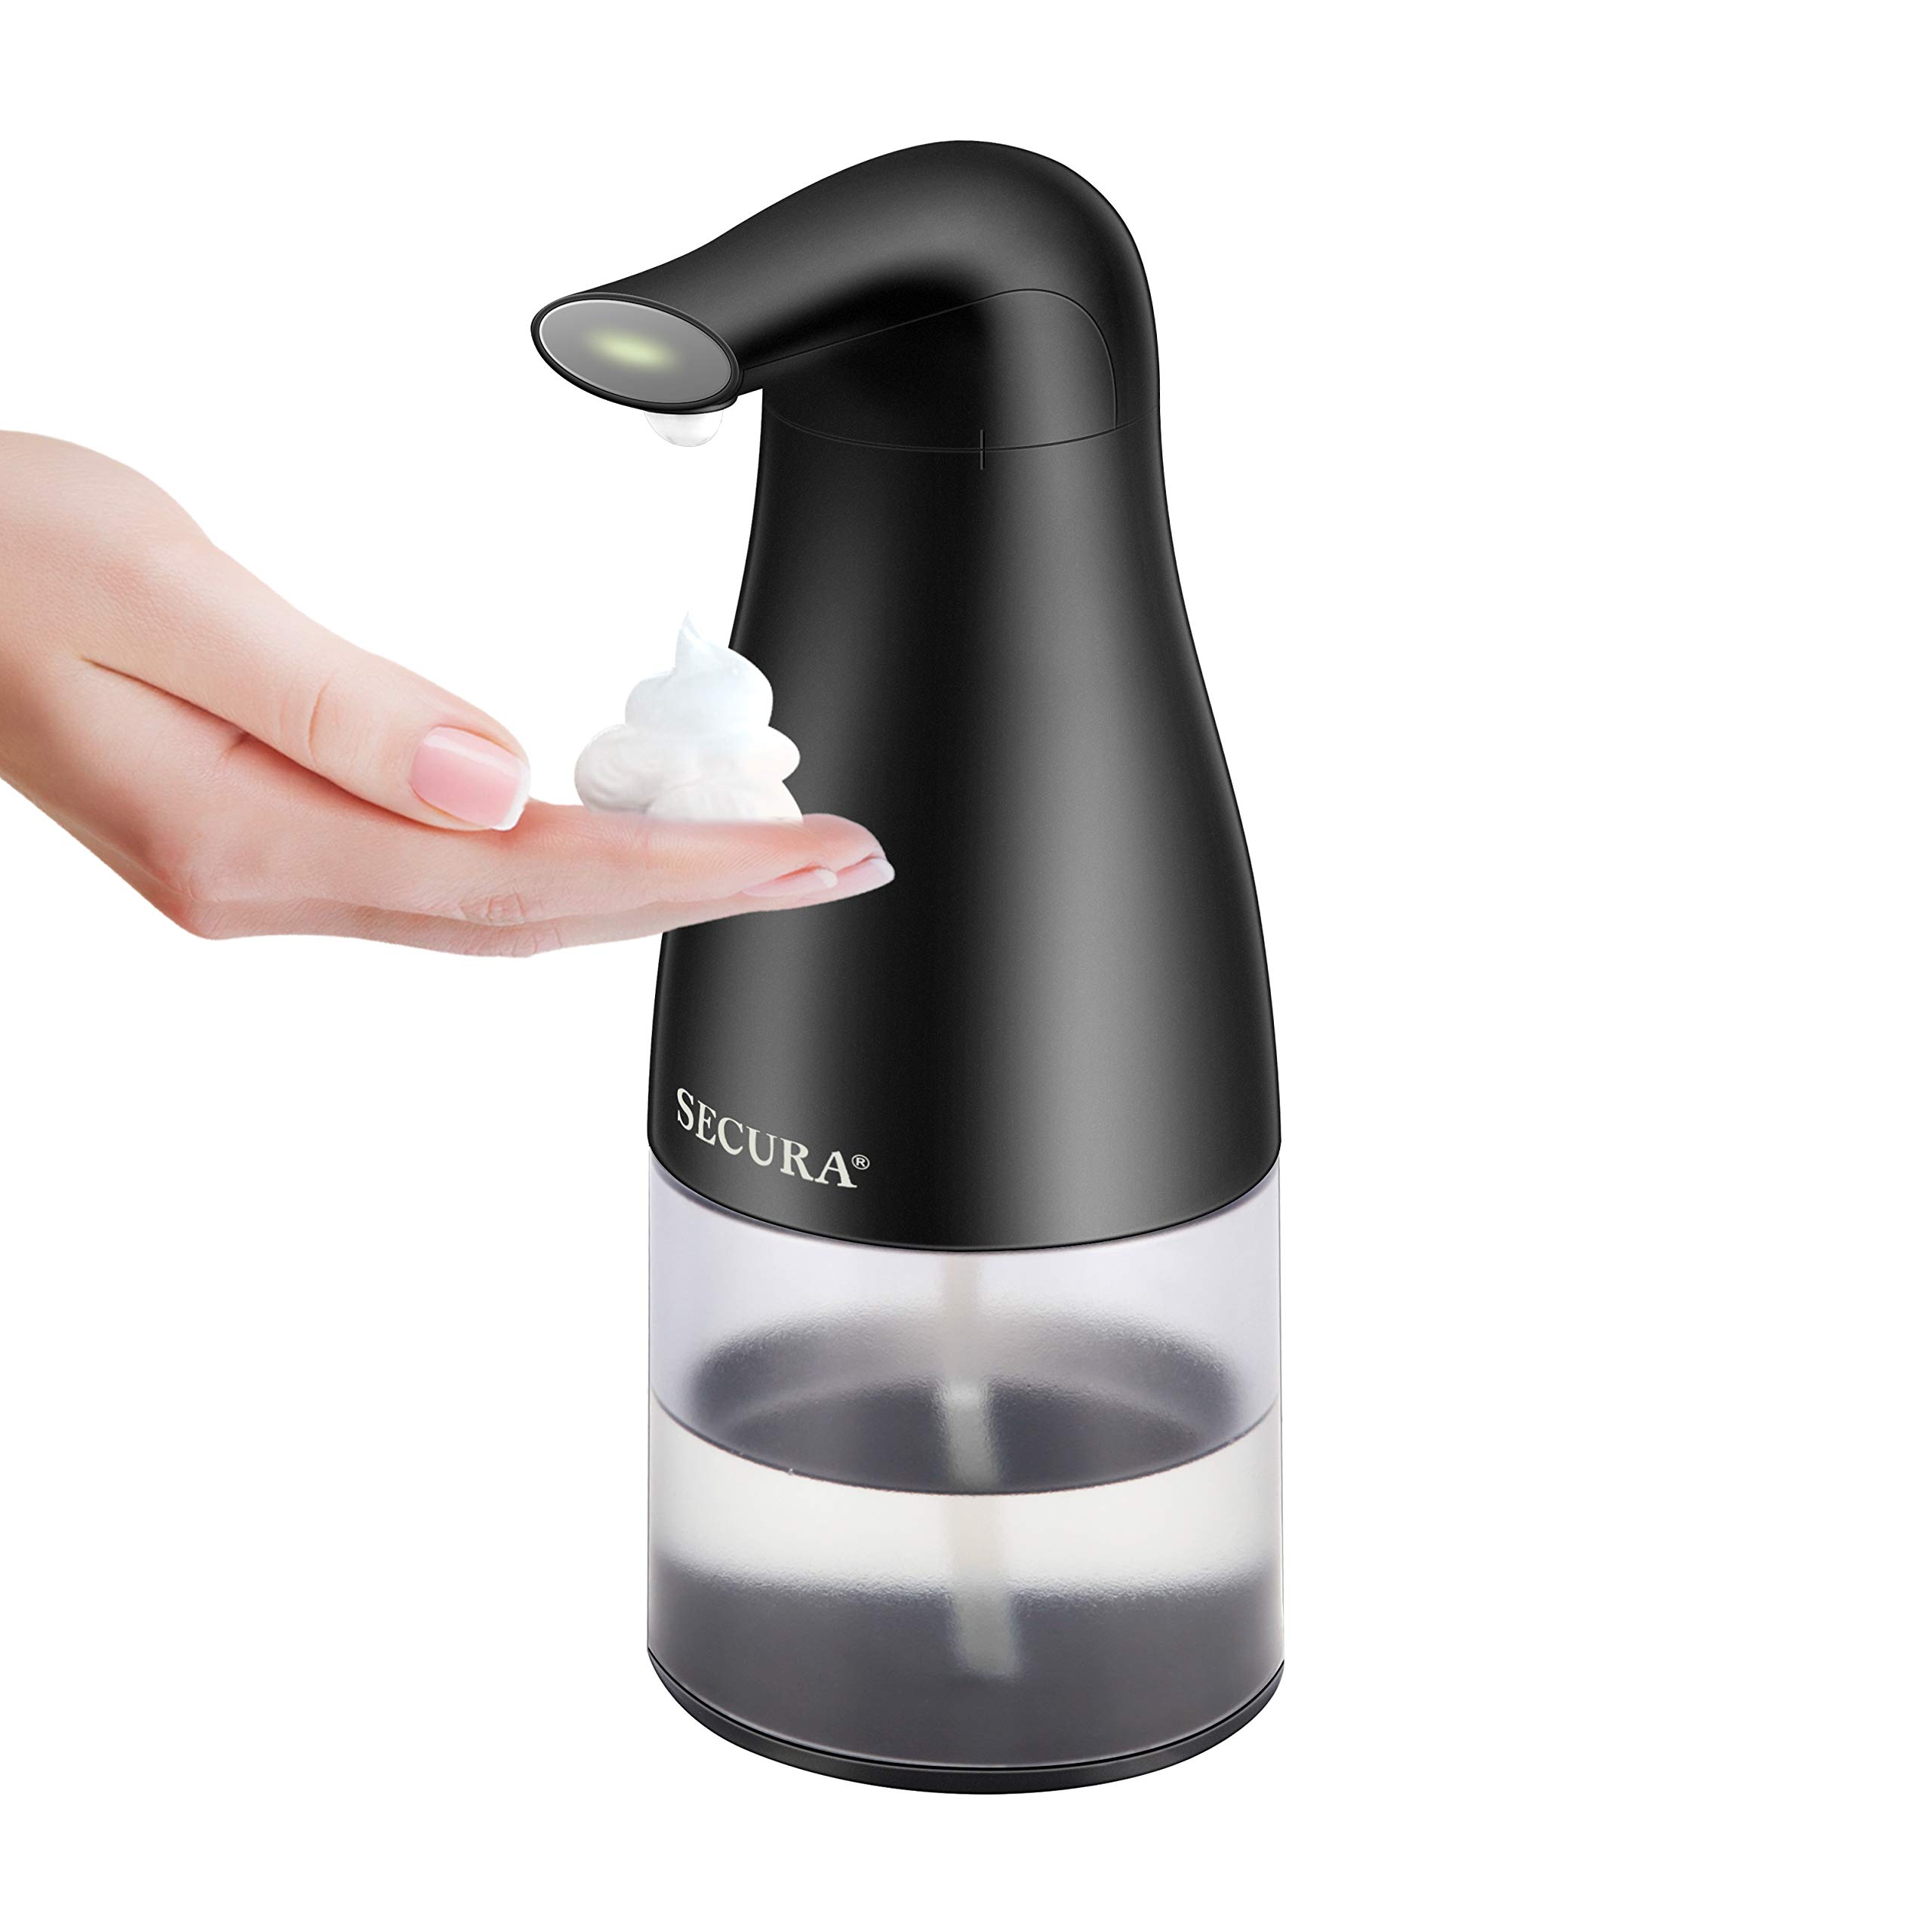
- Press the pump: Firmly press down on the pump to dispense the foam soap. You should notice a controlled release of foam with each pump. Adjust the pressure if needed to achieve your desired amount of foam.
- Observe the foam consistency: Pay attention to the foam consistency and quality. Ideally, the foam should be light and airy, providing a generous lather for effective handwashing. If the foam is too thin or too thick, adjust the dilution ratio accordingly when refilling the dispenser next time.
- Check for any leaks: While using the dispenser, keep an eye out for any leaks or drips. Ensure that the pump is securely attached and that the dispenser does not have any cracks or loose parts. If you notice any leaks, tighten the pump or address any issues promptly.
- Make adjustments if necessary: If you are not satisfied with the foam consistency or the functionality of the dispenser, you may need to make adjustments. This could involve diluting the soap differently, cleaning the pump or dispenser, or considering a different liquid soap that is more compatible with your foam dispenser.
By testing the foam soap dispenser after refilling, you can ensure that it is working optimally and dispensing the foam soap as desired. Make any necessary adjustments or tweaks to achieve the best performance and enjoy the convenience of your foam soap dispenser.
With the dispenser successfully tested and functioning properly, you have completed the process of refilling your foam soap dispenser. Congratulations! You can now enjoy the benefits of having a fully stocked and freshly filled foam soap dispenser in your home or workplace.
Remember to periodically check the soap level and repeat the refilling process when needed to maintain a continuous supply of foam soap for hygienic handwashing.
Read more: How To Make A Foaming Soap Dispenser
Conclusion
Refilling a foam soap dispenser is a simple and cost-effective way to ensure a continuous supply of foam soap while reducing waste and saving money. By following the steps outlined in this guide, you can easily refill your foam soap dispenser and enjoy the benefits of having a readily available and customizable handwashing experience.
We discussed the importance of refilling a foam soap dispenser, including the cost savings, environmental impact reduction, customization options, emergency preparedness, and convenience it offers. Refilling allows you to take control of your hand hygiene routine while being mindful of your budget and environmental footprint.
Throughout the process, we emphasized the importance of gathering the necessary supplies, removing the pump from the dispenser, diluting the liquid soap, pouring it into the dispenser, reattaching the pump securely, and testing the dispenser for functionality. Each step is crucial in ensuring a successful refill and optimal performance of your foam soap dispenser.
By refilling your foam soap dispenser, you are not only taking a step towards being more sustainable but also gaining the flexibility to choose your preferred liquid soap and customize your handwashing experience. You can experiment with different scents, formulas, or even make your own natural soap to enhance the sensory aspect of handwashing.
Now that you have learned how to refill a foam soap dispenser, you can confidently maintain a well-stocked and environmentally friendly handwashing solution in your home or business. Stay clean, save money, and reduce waste by refilling your foam soap dispenser whenever needed.
Remember, proper hand hygiene is essential for maintaining good health. Regularly washing your hands with foam soap helps prevent the spread of germs and keeps you and those around you safe. So, go ahead and refill your foam soap dispenser to ensure clean and healthy hands every time!
Frequently Asked Questions about How To Refill A Foam Soap Dispenser
Was this page helpful?
At Storables.com, we guarantee accurate and reliable information. Our content, validated by Expert Board Contributors, is crafted following stringent Editorial Policies. We're committed to providing you with well-researched, expert-backed insights for all your informational needs.

0 thoughts on “How To Refill A Foam Soap Dispenser”