Articles
How To Remove Sink Soap Dispenser
Modified: October 19, 2024
Looking for articles on how to remove a sink soap dispenser? Find step-by-step instructions and expert tips to easily uninstall your soap dispenser in no time!
(Many of the links in this article redirect to a specific reviewed product. Your purchase of these products through affiliate links helps to generate commission for Storables.com, at no extra cost. Learn more)
Introduction
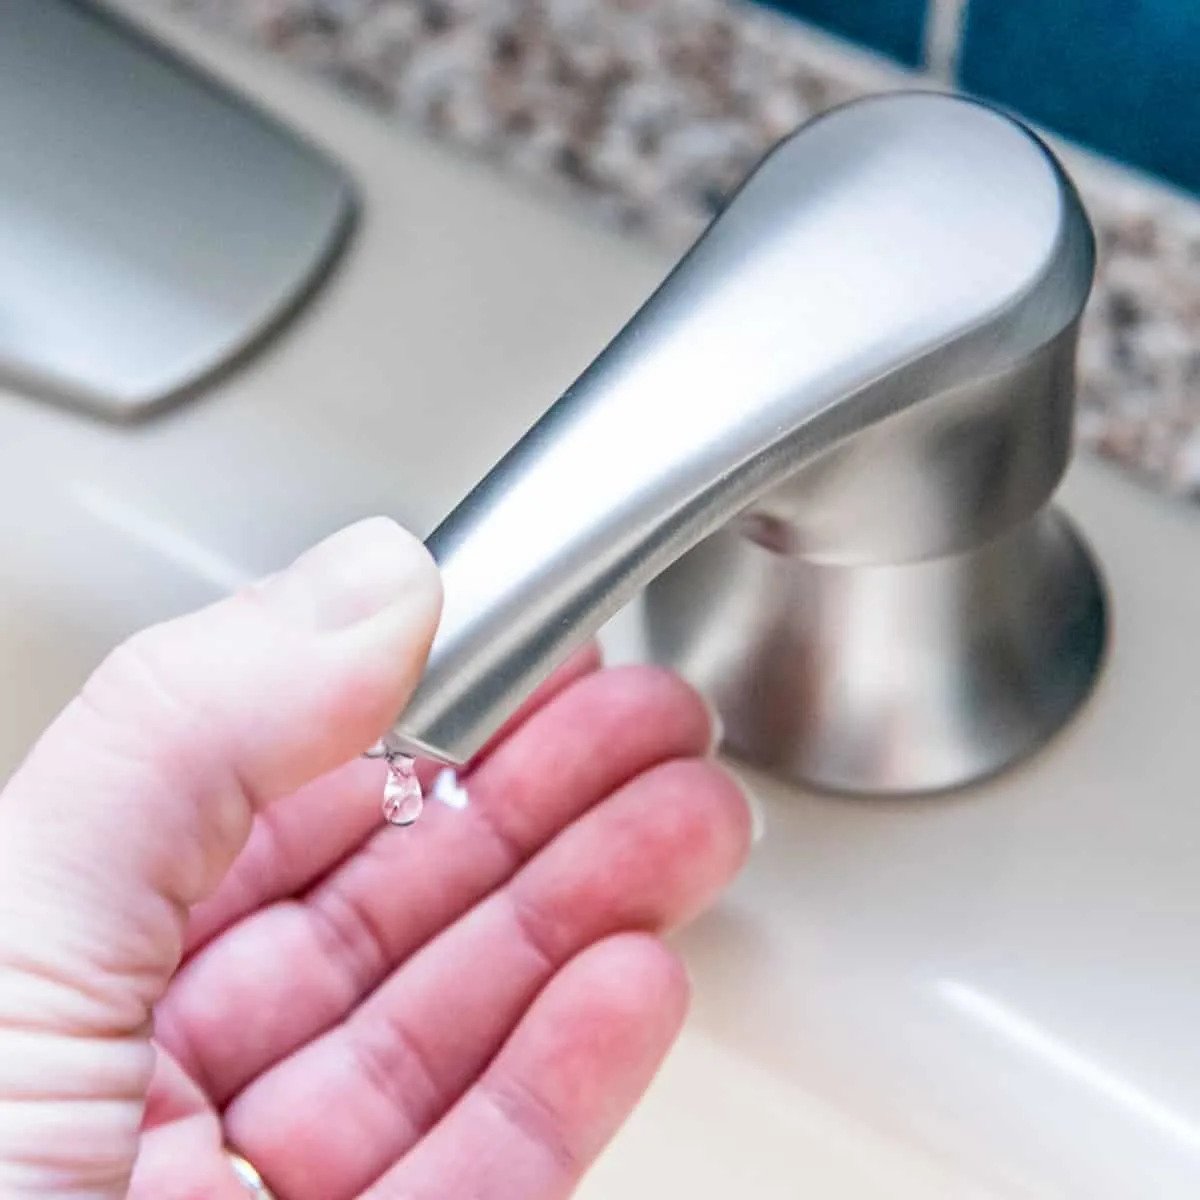
Having a soap dispenser attached to your sink can make washing your hands a convenient and mess-free experience. However, there may come a time when you need to remove the sink soap dispenser for various reasons. Whether you want to replace it with a new one or clean the area thoroughly, removing a soap dispenser can be a simple task that you can do yourself with the right tools and a few easy steps.
In this article, we will guide you through the process of removing a sink soap dispenser, from turning off the water supply to unscrewing and removing the dispenser itself. We will also provide tips on cleaning and preparing the sink for a new soap dispenser installation, should you choose to do so. So, let’s dive in and learn how to remove a sink soap dispenser.
Key Takeaways:
- Easily remove a sink soap dispenser by following simple steps, from turning off the water supply to unscrewing and cleaning the sink. Gather the necessary tools and materials for a smooth removal process.
- Whether replacing or cleaning, the process of removing a sink soap dispenser involves turning off the water supply, disconnecting components, and cleaning the sink area. Follow the step-by-step guide for a successful removal.
Tools and Materials Needed
Before you start removing the sink soap dispenser, it’s essential to gather the necessary tools and materials. Here’s a list of what you’ll need:
- Adjustable wrench
- Bucket or container
- Old towel or rag
- Plumber’s tape
- Cleaning solution or soap and water
- Sponge or scrub brush
- New soap dispenser (if you plan to install a replacement)
Make sure you have all these items ready before you begin the removal process. Having everything prepared will ensure a smooth and efficient experience.
Step 1: Turn off the Water Supply
The first step in removing a sink soap dispenser is to turn off the water supply. This step is crucial to prevent any potential leaks or accidental water flow during the removal process. To do this, locate the shut-off valves for your sink’s water supply lines, usually located under the sink or in the vicinity of the sink area.
Once you have located the shut-off valves, turn them clockwise (to the right) to shut off the water flow. You should now feel that there is no water coming out when you turn on the faucet handles. To ensure that the water supply is completely shut off, turn on the faucet and wait until no remaining water is coming out.
It’s always a good idea to have a bucket or container placed beneath the sink to catch any residual water that may be in the lines. Additionally, having an old towel or rag nearby to dry any wet surfaces will help prevent slipping or accidents during the removal process.
Turning off the water supply will provide a safe and dry environment for the rest of the removal process. With this step completed, you can move on to the next step of removing the soap dispenser bottle.
Step 2: Remove the Soap Dispenser Bottle
After turning off the water supply, the next step in removing a sink soap dispenser is to remove the soap dispenser bottle. This bottle typically holds the soap or detergent that is dispensed through the soap dispenser. Here’s how you can remove the soap dispenser bottle:
- Locate the soap dispenser bottle underneath the sink.
- If necessary, move any items or obstacles that may be blocking your access to the bottle.
- Gently twist the soap dispenser bottle counterclockwise (to the left) to unscrew it from its housing.
- As you unscrew the bottle, be prepared for any remaining liquid soap or detergent to spill. It’s a good idea to place a towel or rag beneath the bottle to catch any spills.
- Continue unscrewing the bottle until it is completely detached from the soap dispenser housing.
- Once the bottle is free, lift it out of the housing and set it aside.
By removing the soap dispenser bottle, you have taken the first step towards completely removing the soap dispenser from your sink. However, there are still additional parts and connections that need to be addressed in the next steps. Keep reading to learn how to disconnect the soap dispenser tube in Step 3.
Step 3: Disconnect the Soap Dispenser Tube
Once you have removed the soap dispenser bottle, the next step is to disconnect the soap dispenser tube. The tube is responsible for delivering the soap or detergent from the bottle to the dispenser pump. Here’s how you can disconnect the soap dispenser tube:
- Locate the soap dispenser tube that is connected to the bottom of the soap dispenser housing.
- Depending on the design of your soap dispenser, there may be a plastic or metal nut securing the tube to the housing.
- Using an adjustable wrench, carefully loosen and unscrew the nut in a counterclockwise direction.
- Once the nut is loose, gently pull the soap dispenser tube away from the housing.
- Be cautious of any remaining soap or detergent that may still be inside the tube. You can hold it above a container or sink to collect any drips.
By disconnecting the soap dispenser tube, you have successfully removed one of the key components of the soap dispenser. However, there are still a few more steps to complete the removal process. In the next step, we will release the lock nut that holds the soap dispenser housing in place. Stay with us to learn how to do that in Step 4.
Step 4: Release the Lock Nut
In the previous step, you disconnected the soap dispenser tube. Now, it’s time to release the lock nut that holds the soap dispenser housing in place. Releasing the lock nut will allow you to remove the entire soap dispenser assembly from the sink. Follow these steps to release the lock nut:
- Locate the lock nut underneath the sink, which is securing the soap dispenser housing.
- Using an adjustable wrench, turn the lock nut counterclockwise to loosen it.
- Continue loosening the lock nut until it is fully detached from the sink.
It’s important to note that some soap dispenser assemblies may have additional securing mechanisms, such as clips or brackets. If your soap dispenser has such components, make sure to remove them as well before attempting to detach the lock nut.
Once the lock nut is released, you can proceed to the next step of unscrewing and removing the soap dispenser assembly. We will guide you through this process in Step 5, so continue reading to learn more.
To remove a sink soap dispenser, first, locate the mounting nut underneath the sink and use a wrench to loosen and remove it. Then, pull the dispenser up and out of the hole in the sink. Finally, disconnect the hose and remove the dispenser completely.
Step 5: Unscrew the Soap Dispenser
With the lock nut released, the next step in removing a sink soap dispenser is to unscrew the soap dispenser from its housing. This involves detaching the actual dispenser part from the sink surface. Follow these steps to unscrew the soap dispenser:
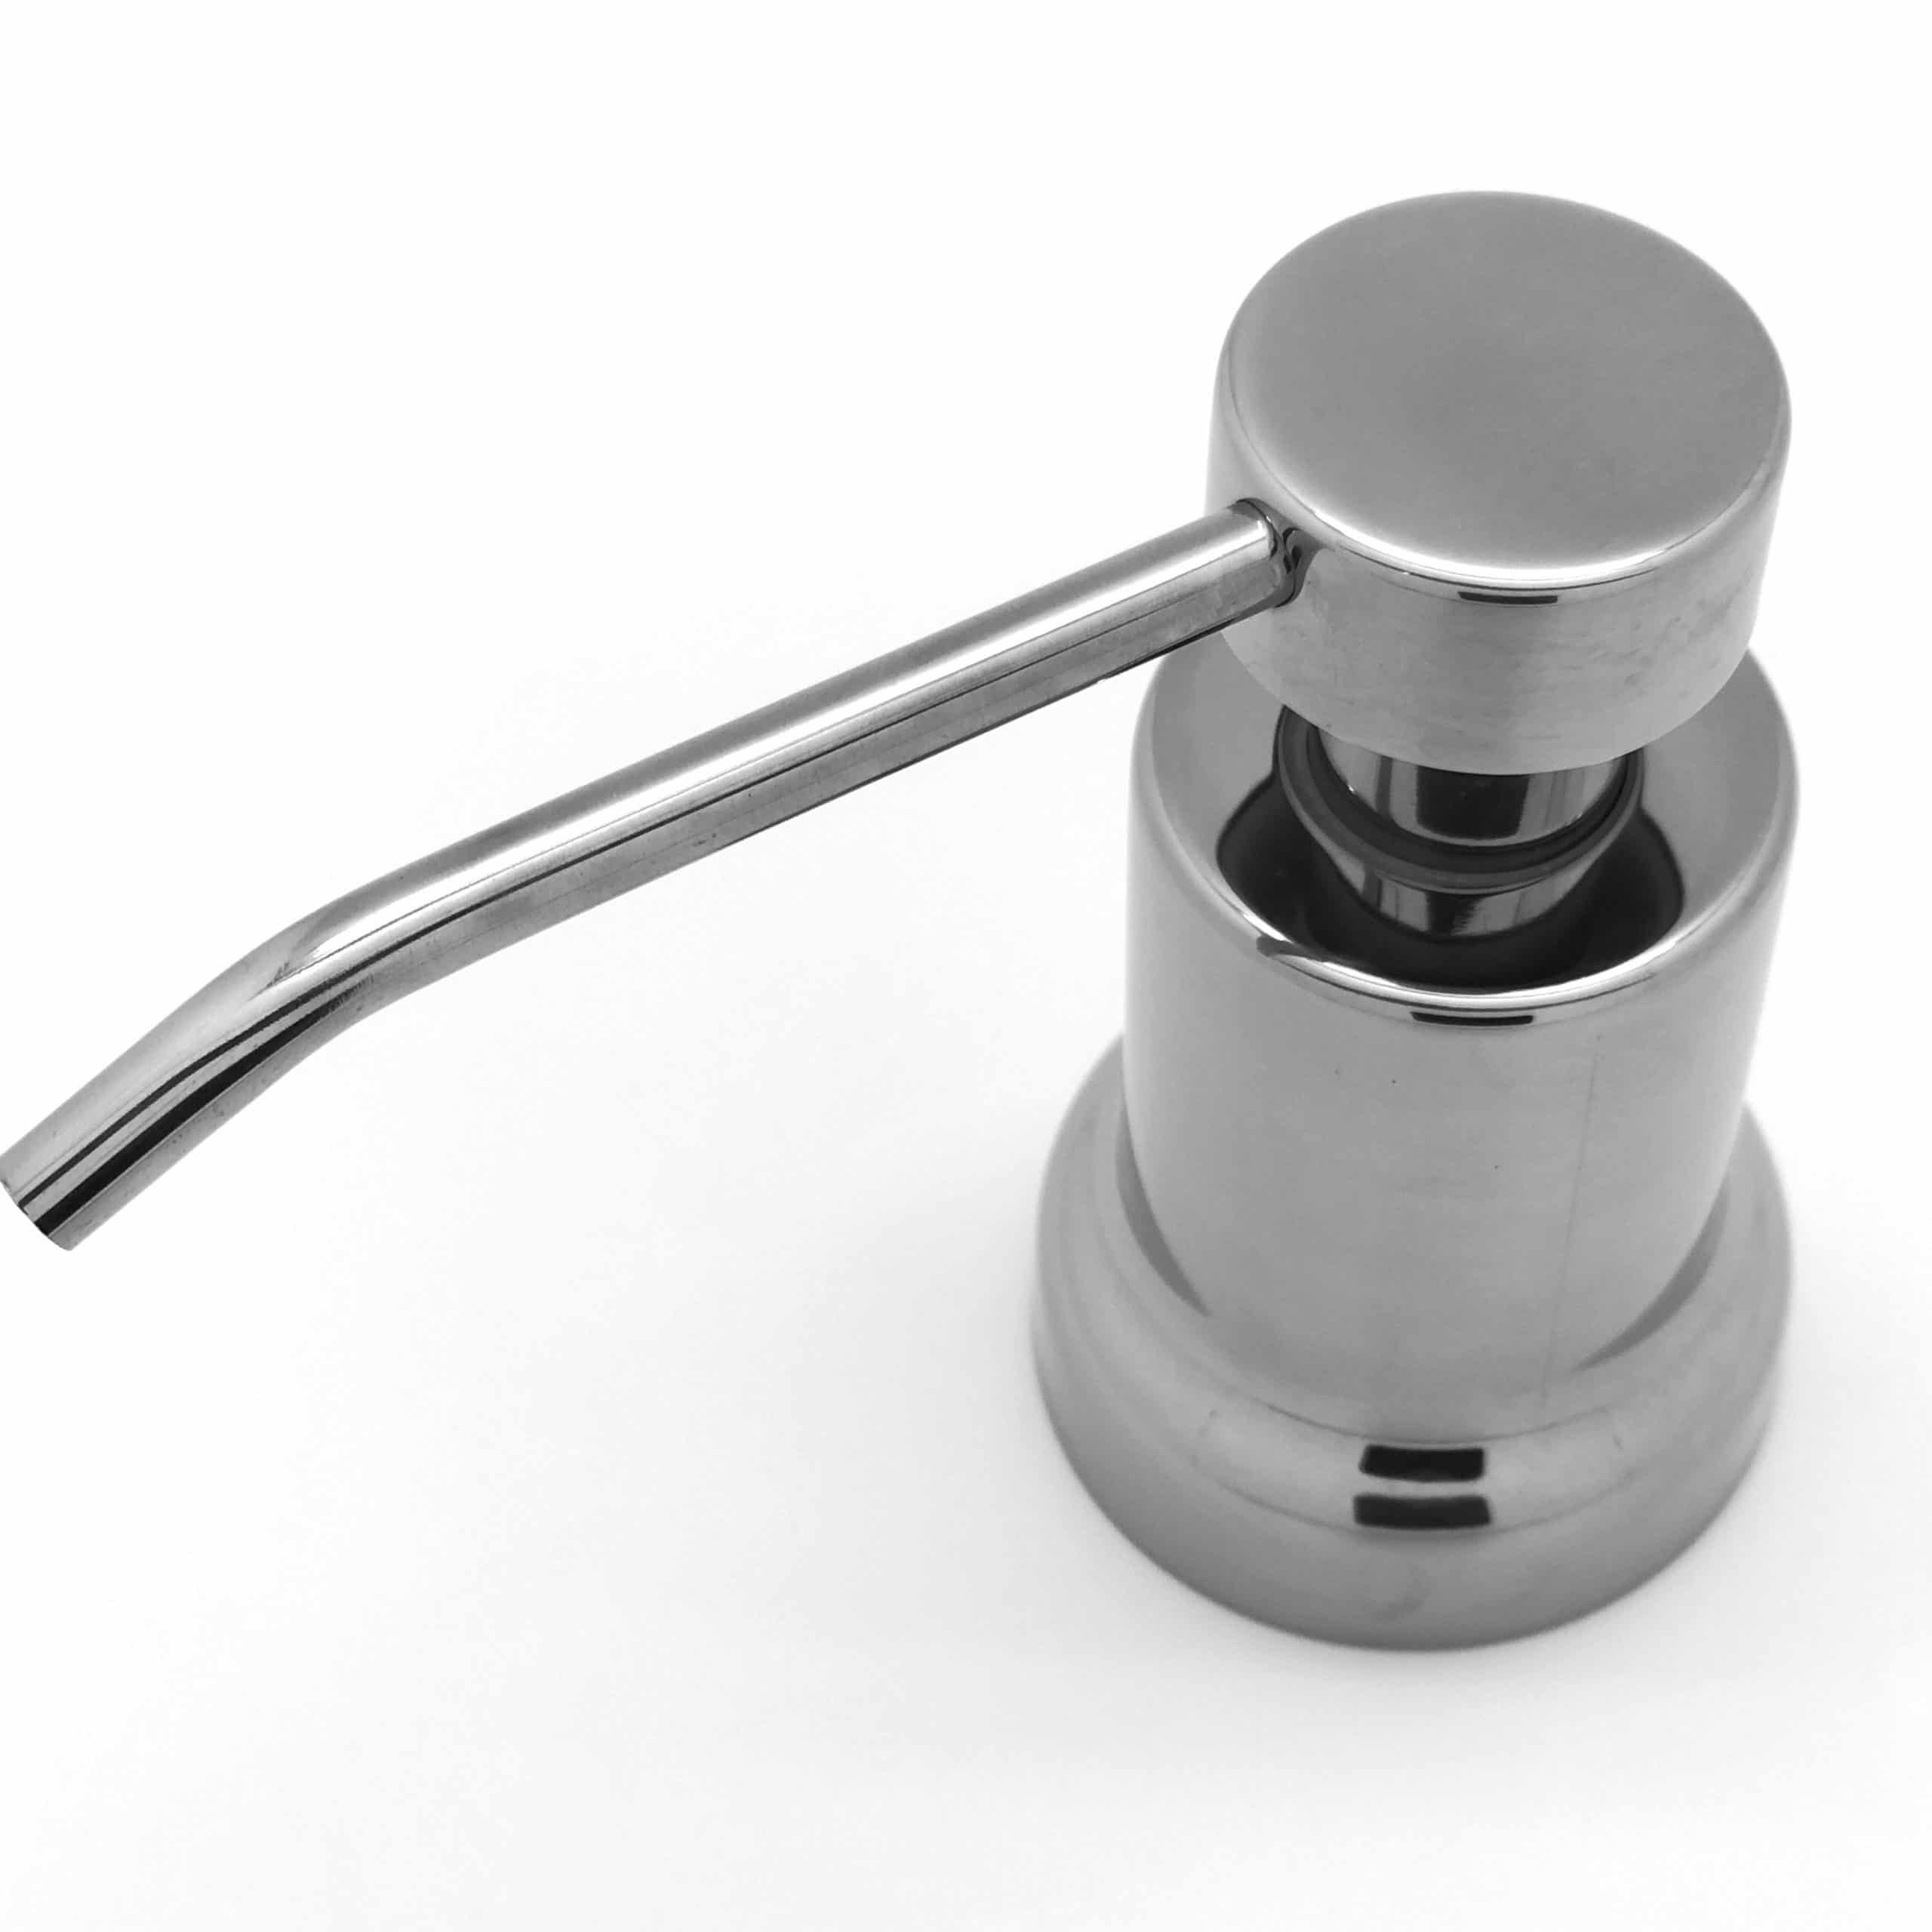
- Locate the soap dispenser body on the top of the sink.
- Inspect the dispenser to identify the mechanism used to secure it to the sink, which is usually a threaded connection.
- Using your hand or an adjustable wrench (if necessary), turn the soap dispenser counterclockwise to unscrew it from the sink.
- Continue unscrewing until the dispenser is completely detached from the sink surface.
During this process, you may need to apply some force to loosen the dispenser if it has been firmly attached. Remember to use caution and avoid using excessive force to prevent any damage to the sink or the dispenser itself.
Once the soap dispenser is unscrewed, set it aside and proceed to the next step of removing any remaining parts of the dispenser assembly. We will guide you through this process in Step 6, so stay tuned.
Step 6: Remove the Remaining Parts
In the previous step, you successfully unscrewed and removed the soap dispenser from the sink. However, there may still be some remaining parts of the dispenser assembly that need to be removed. Follow these steps to remove the remaining parts:
- Inspect the area around the hole where the soap dispenser was installed.
- If there are any additional components, such as a lock nut, gasket, or mounting bracket, remove them by unscrewing or detaching them accordingly.
- Using a cloth or sponge, clean the area around the hole to remove any residue or buildup.
- Inspect the sink for any damage or wear caused by the soap dispenser. If necessary, address any repairs or touch-ups needed before proceeding.
By removing the remaining parts and cleaning the area, you have completed the process of removing the sink soap dispenser. The next step is to clean and prepare the sink for either a new soap dispenser installation or for use without a dispenser. We will provide guidance on how to do this in Step 7, so keep reading.
Step 7: Clean and Prepare the Sink
Now that you have removed the soap dispenser and its components, it’s time to clean and prepare the sink for its next use. Whether you plan to install a new soap dispenser or leave the sink without one, following these steps will ensure a clean and sanitary environment:
- Fill a bucket or basin with warm water and add a mild cleaning solution or dish soap.
- Dip a sponge or scrub brush into the soapy water and scrub the entire sink, paying close attention to the area where the soap dispenser was installed.
- Rinse the sink thoroughly with clean water to remove any soap residue.
- Dry the sink with a clean towel or allow it to air dry.
- Inspect the sink surface for any leftover adhesive residue or marks. If necessary, use a gentle adhesive remover or baking soda paste to clean and restore the surface.
- Apply a thin layer of plumber’s tape to the threaded hole where the soap dispenser was installed. This will create a secure seal when you install a new dispenser in the future.
By cleaning and preparing the sink, you have completed the process of removing the soap dispenser and ensuring a fresh start. If you choose to install a new soap dispenser, you can proceed to Step 8. Otherwise, you now have a clean and functional sink ready for use.
Read more: How To Remove Rust From Soap Dispenser
Step 8: Install a New Soap Dispenser (Optional)
If you have chosen to install a new soap dispenser after removing the old one, follow these steps to safely and securely install it:
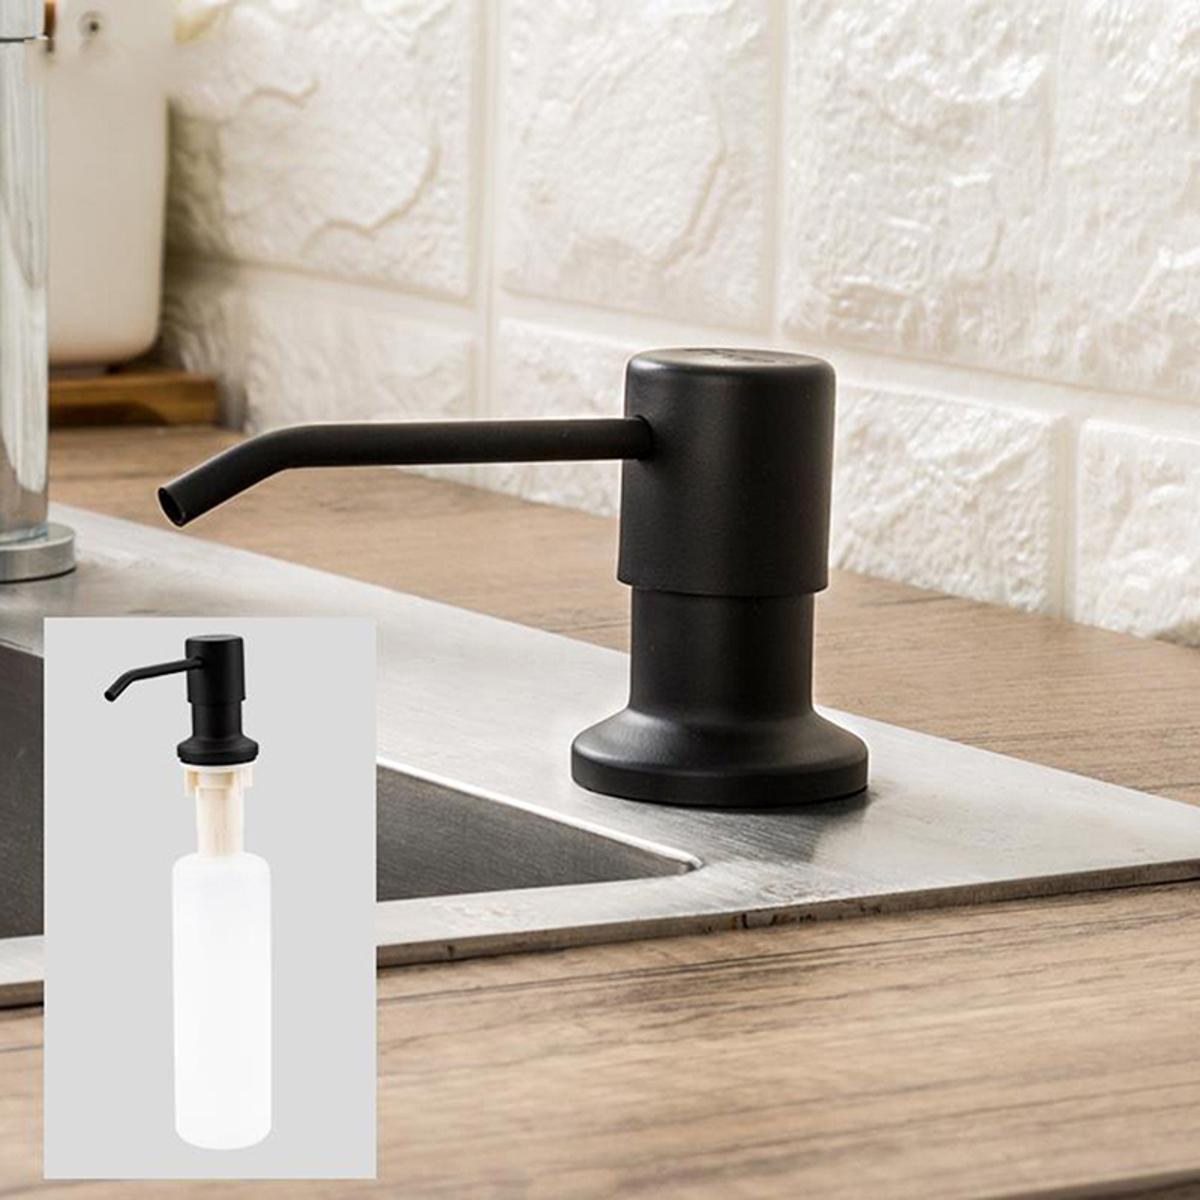
- Select a soap dispenser that fits your sink and complements your style preferences. Ensure that it comes with all the necessary components for installation.
- Refer to the manufacturer’s instructions that come with the new dispenser for specific installation steps.
- If needed, apply plumber’s tape to the threads of the dispenser’s base to create a watertight seal.
- Insert the soap dispenser into the hole on the sink surface.
- Underneath the sink, secure the dispenser in place by tightening the lock nut. Use an adjustable wrench to ensure a snug fit, being careful not to overtighten.
- Connect the soap dispenser tube to the dispenser housing, ensuring it is securely attached.
- Fill the soap dispenser bottle with your preferred soap or detergent.
- Test the dispenser by pumping it a few times to ensure proper functionality.
By following these steps, you can install a new soap dispenser and enjoy the convenience and cleanliness it brings to your sink. Remember to refer to the manufacturer’s instructions for any additional steps or specific considerations during the installation process.
Conclusion
Removing a sink soap dispenser can be a straightforward task that you can easily do yourself. By following the step-by-step guide provided in this article, you can successfully remove the soap dispenser and prepare your sink for its next use.
Remember to gather all the necessary tools and materials before starting the removal process. This ensures a smooth and efficient experience. Additionally, take precautions such as turning off the water supply and placing a bucket or towel to catch any spills or drips, keeping the work area clean and safe.
Whether you are removing the soap dispenser to replace it with a new one or simply to clean the sink area, the process remains the same. Turning off the water supply, removing the soap dispenser bottle, disconnecting the soap dispenser tube, releasing the lock nut, unscrewing the soap dispenser, removing any remaining parts, and cleaning and preparing the sink are the key steps to follow.
If you choose to install a new soap dispenser, refer to the manufacturer’s instructions for specific installation steps. Ensure that all components are securely attached and test the dispenser to confirm proper functionality.
With the soap dispenser removed and the sink clean and prepared, you are ready to move forward with your desired use of the space. Whether you opt for a new soap dispenser or leave the sink without one, you can take pride in the accomplishment of successfully completing the removal process.
Remember to exercise caution and take your time throughout the process to avoid any damage to the sink or injury to yourself. By following this guide, you can confidently remove a sink soap dispenser and achieve a fresh start for your sink area.
Frequently Asked Questions about How To Remove Sink Soap Dispenser
Was this page helpful?
At Storables.com, we guarantee accurate and reliable information. Our content, validated by Expert Board Contributors, is crafted following stringent Editorial Policies. We're committed to providing you with well-researched, expert-backed insights for all your informational needs.

0 thoughts on “How To Remove Sink Soap Dispenser”