Articles
How To Change Air Filter On Lg Refrigerator
Modified: September 1, 2024
Learn how to change the air filter on your LG refrigerator with our helpful articles. Keep your fridge running efficiently and maintain clean air in your home!
(Many of the links in this article redirect to a specific reviewed product. Your purchase of these products through affiliate links helps to generate commission for Storables.com, at no extra cost. Learn more)
Introduction
Welcome to our comprehensive guide on how to change the air filter on an LG refrigerator! Understanding this process is crucial for maintaining optimal performance and extending the lifespan of your fridge. The air filter plays a crucial role in ensuring that the air circulating within the refrigerator remains clean and free from odors. Over time, the air filter can become clogged with debris, affecting the overall efficiency of the refrigerator and potentially causing unpleasant smells.
In this article, we will guide you through the step-by-step process of changing the air filter on your LG refrigerator. We will also provide you with valuable tips and insights to make the task easier and more efficient. So, let’s get started and learn how to keep your LG refrigerator clean and fresh!
Key Takeaways:
- Regularly changing the air filter in your LG refrigerator is crucial for maintaining efficiency and eliminating odors, ensuring a fresh and clean environment for your food storage.
- By following the step-by-step process and testing the refrigerator functionality, you can ensure that your LG refrigerator is in proper working condition with a fresh and clean air filter.
Step 1: Gather the necessary tools
Before you begin the process of changing the air filter on your LG refrigerator, it’s important to gather all the necessary tools. Having these tools prepared and within reach will make the process much smoother and more efficient. Here are the tools you’ll need:
- Screwdriver: Depending on the model of your LG refrigerator, you may need a screwdriver to remove the cover or panel that houses the air filter. Make sure you have the appropriate type and size of screwdriver before you start.
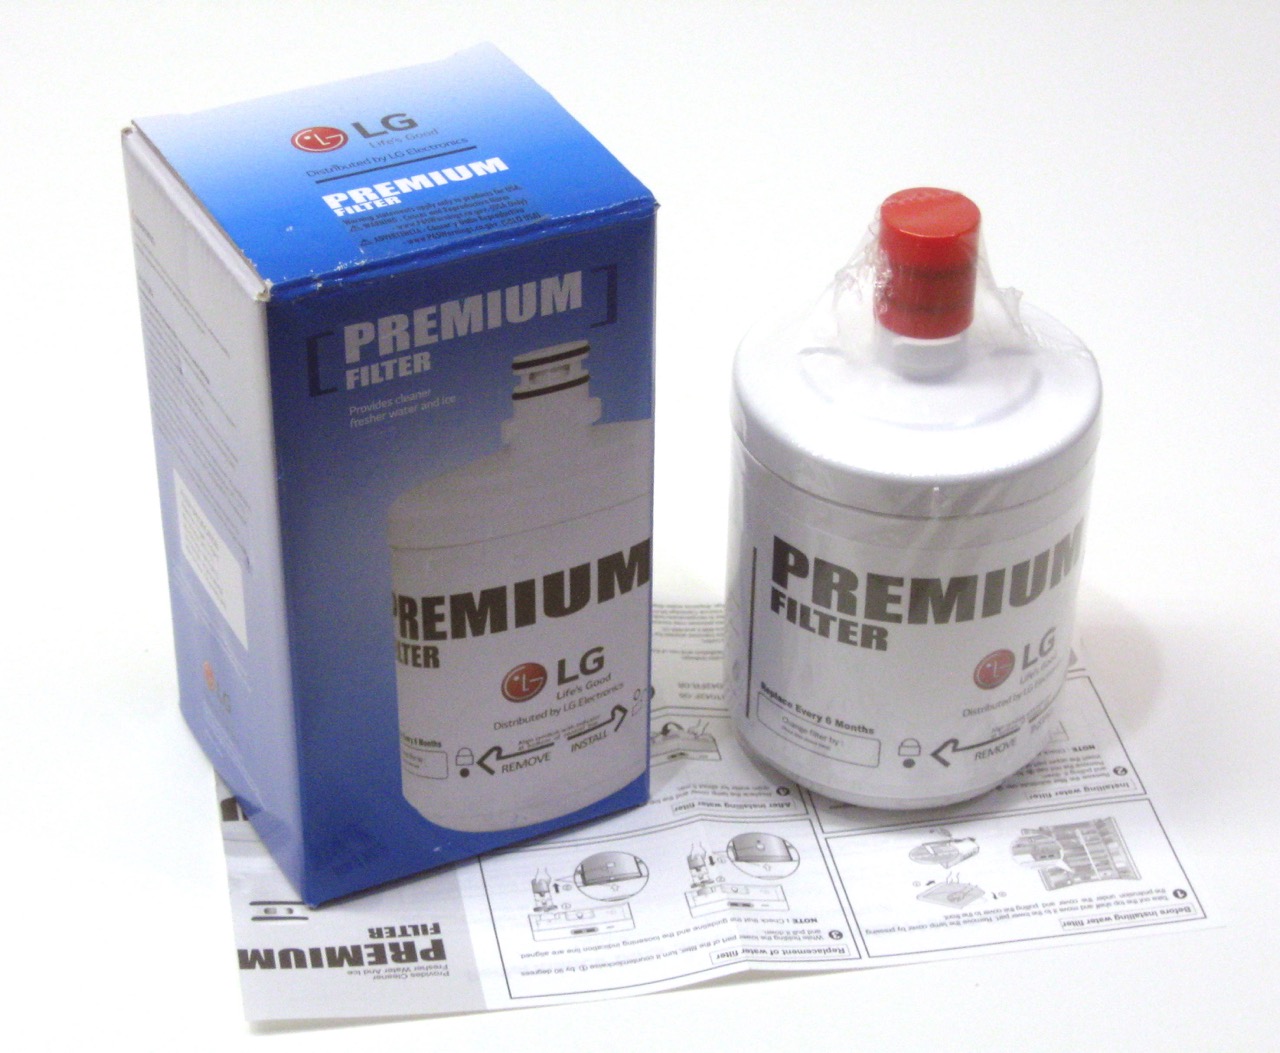
- Replacement air filter: It’s important to have a replacement air filter readily available. LG provides specific air filters for their refrigerators, so be sure to check the model number of your refrigerator and purchase the compatible air filter.
- Cleaning cloth: A clean cloth or rag will be useful for cleaning any dust or debris that may have accumulated in the air filter housing or other parts of the refrigerator during the process.
Once you have gathered all the necessary tools, you’re ready to move on to the next step.
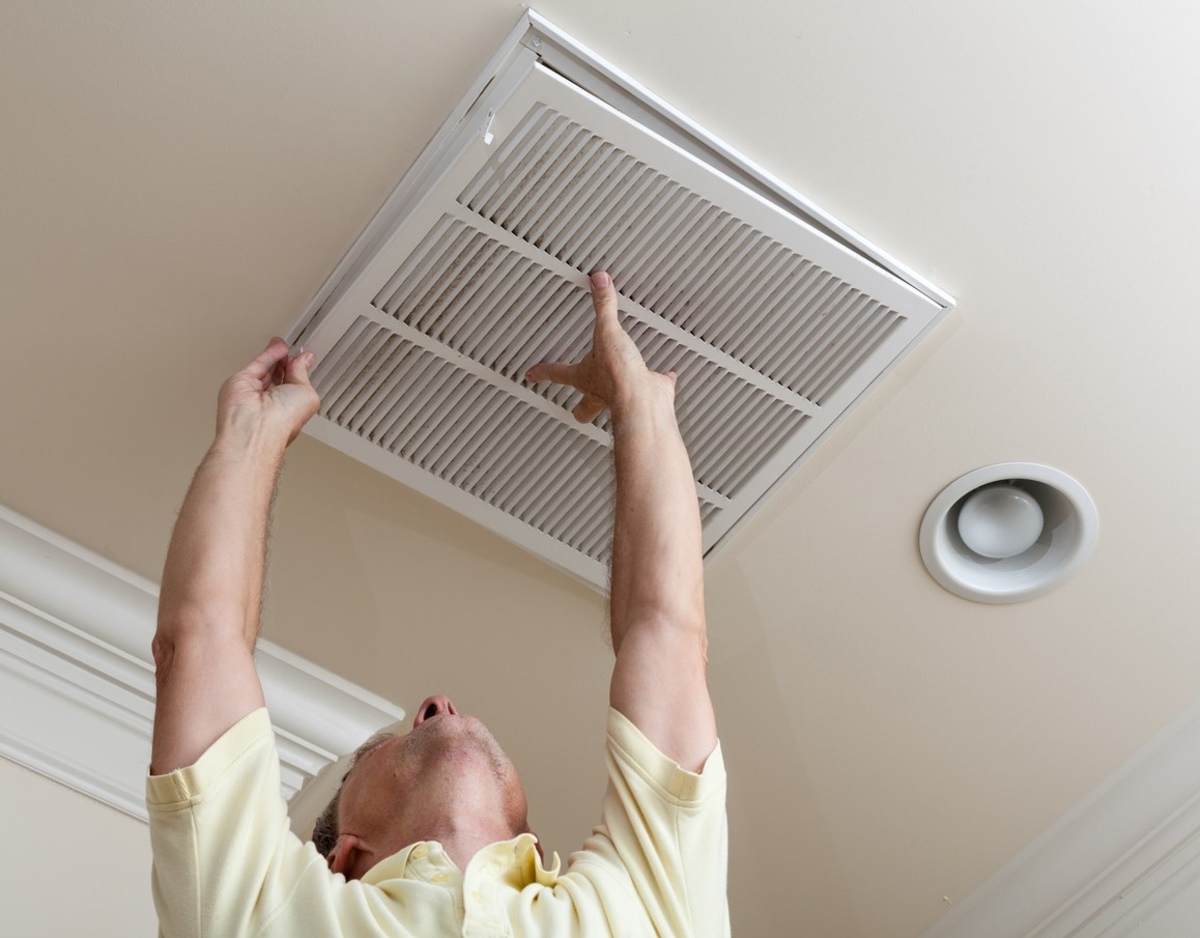
Step 2: Locate the air filter
Locating the air filter is an essential step in the process of changing it. While the exact location may vary depending on the model of your LG refrigerator, here are some general guidelines to help you find it:
- Refer to the user manual: The user manual provided with your LG refrigerator should have specific instructions on the location of the air filter. It’s always a good idea to consult the manual as it will provide accurate information for your particular model.
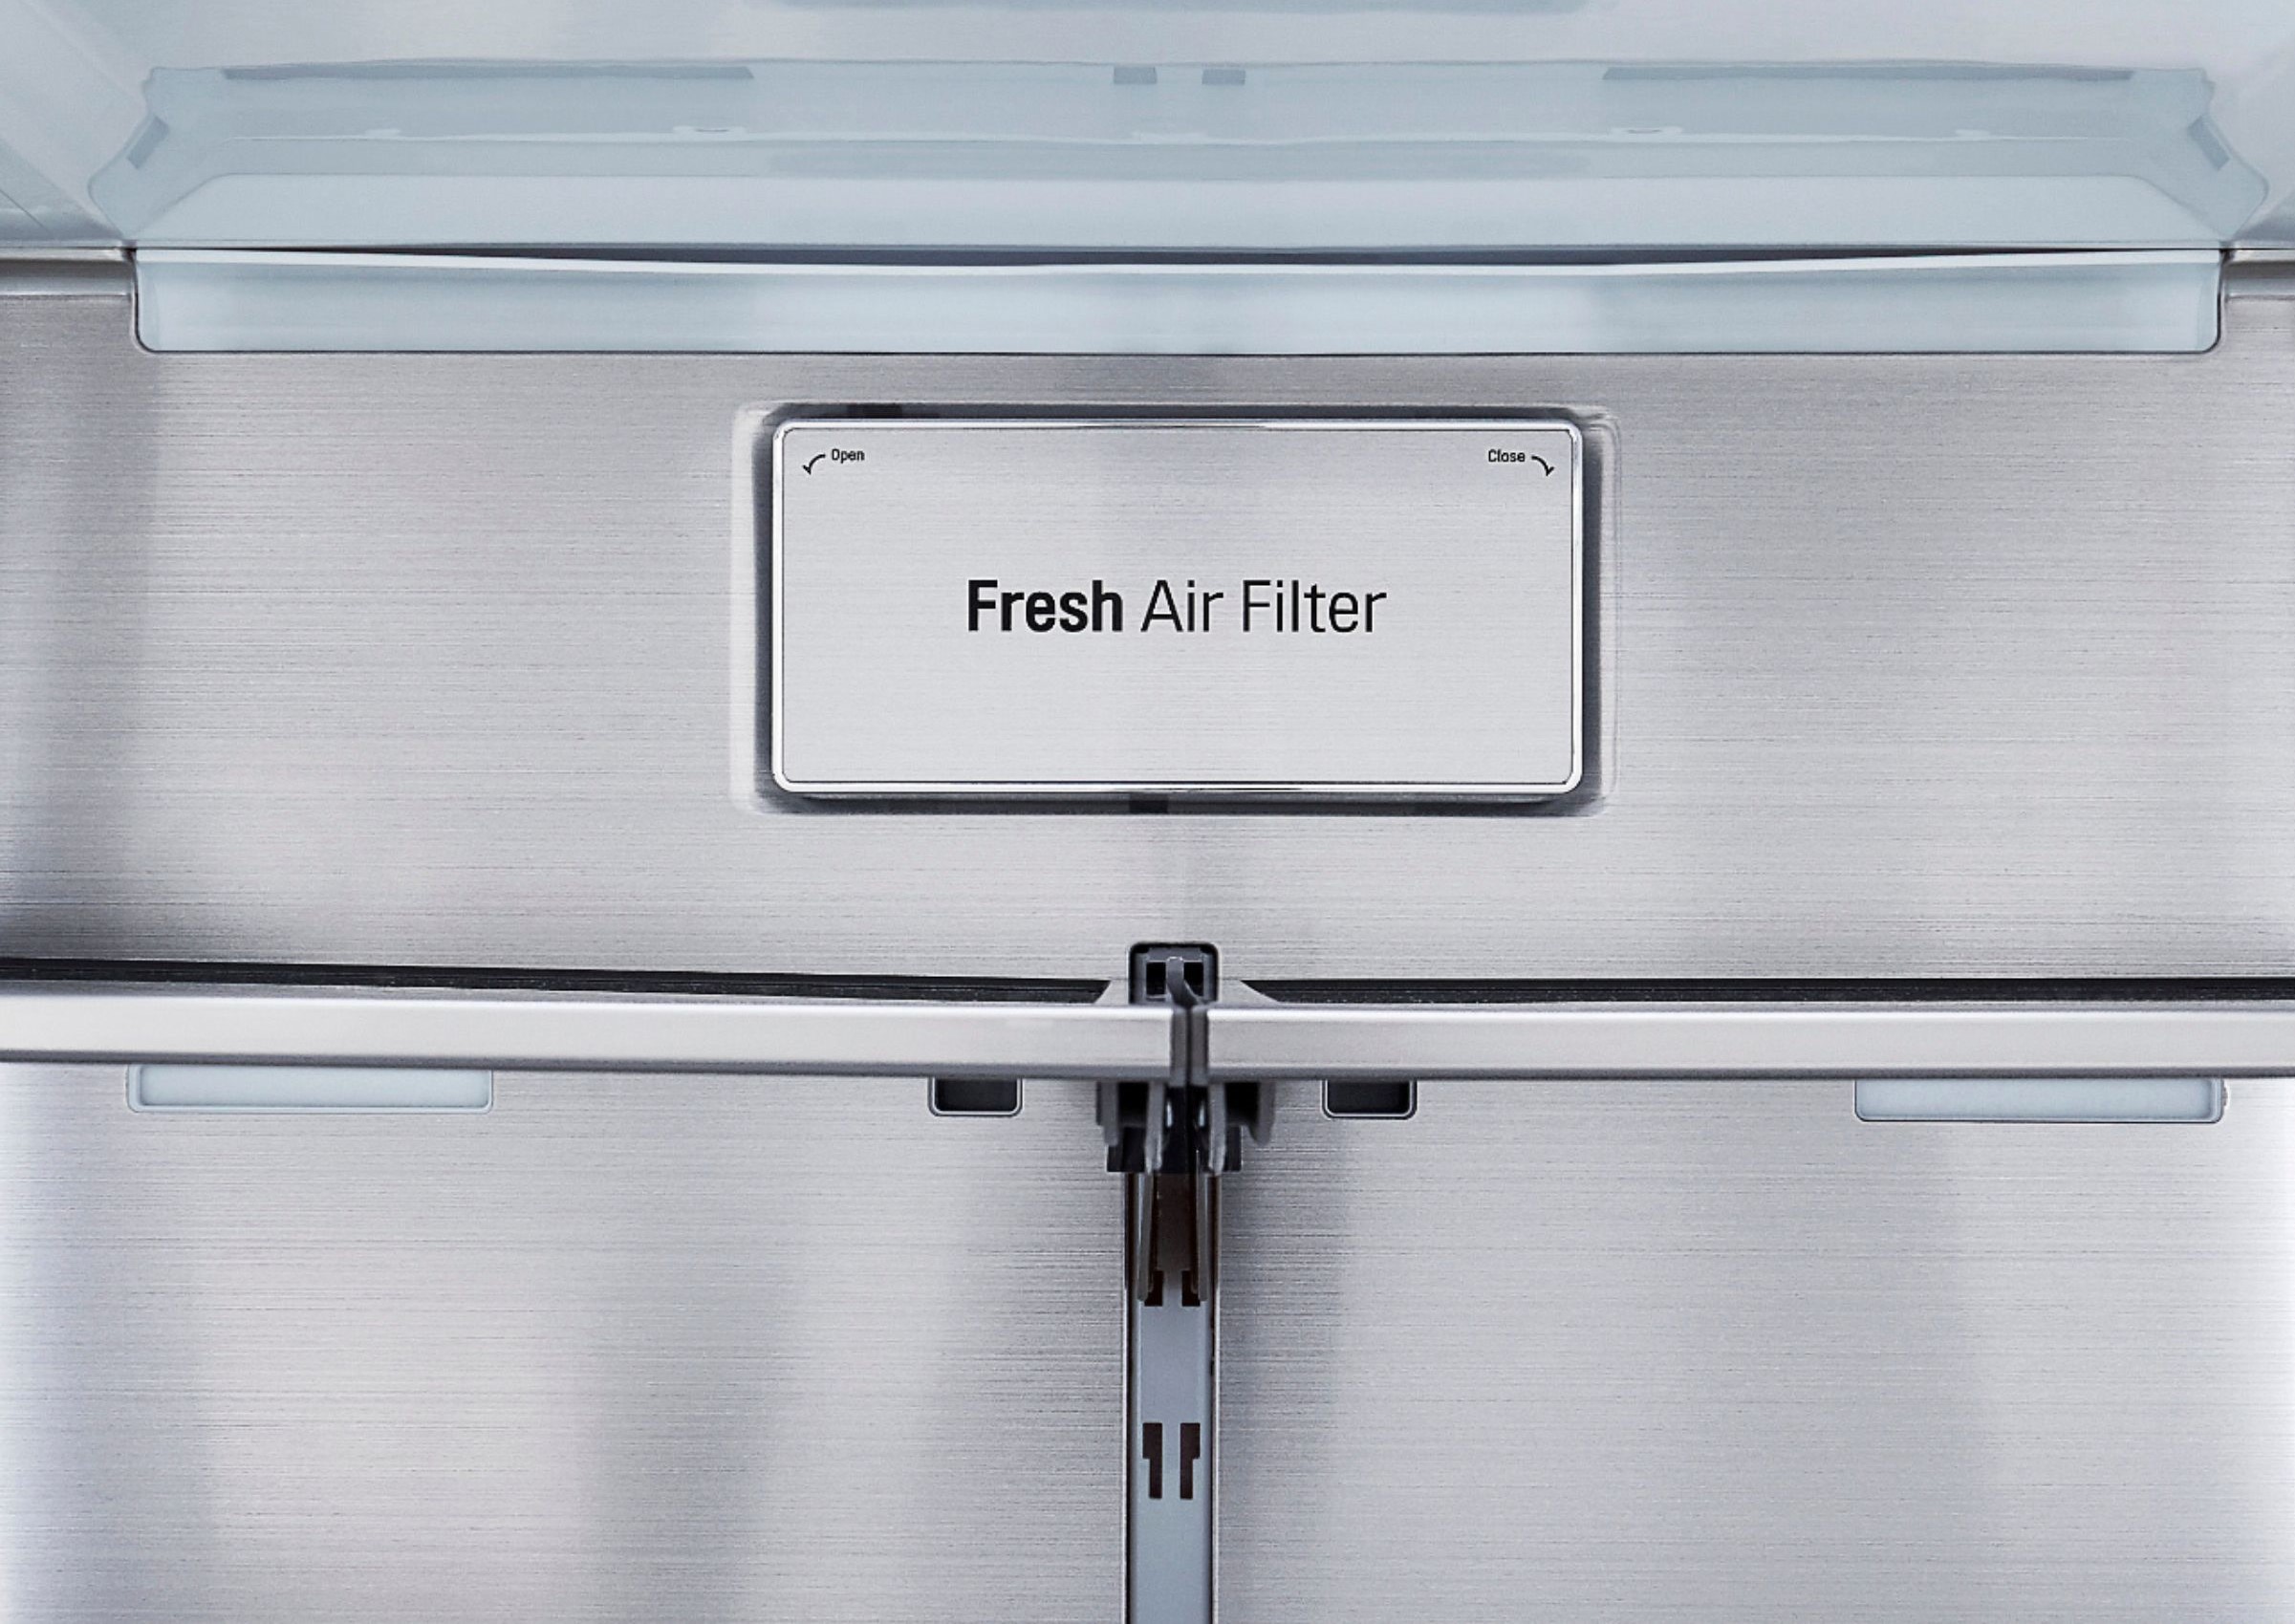
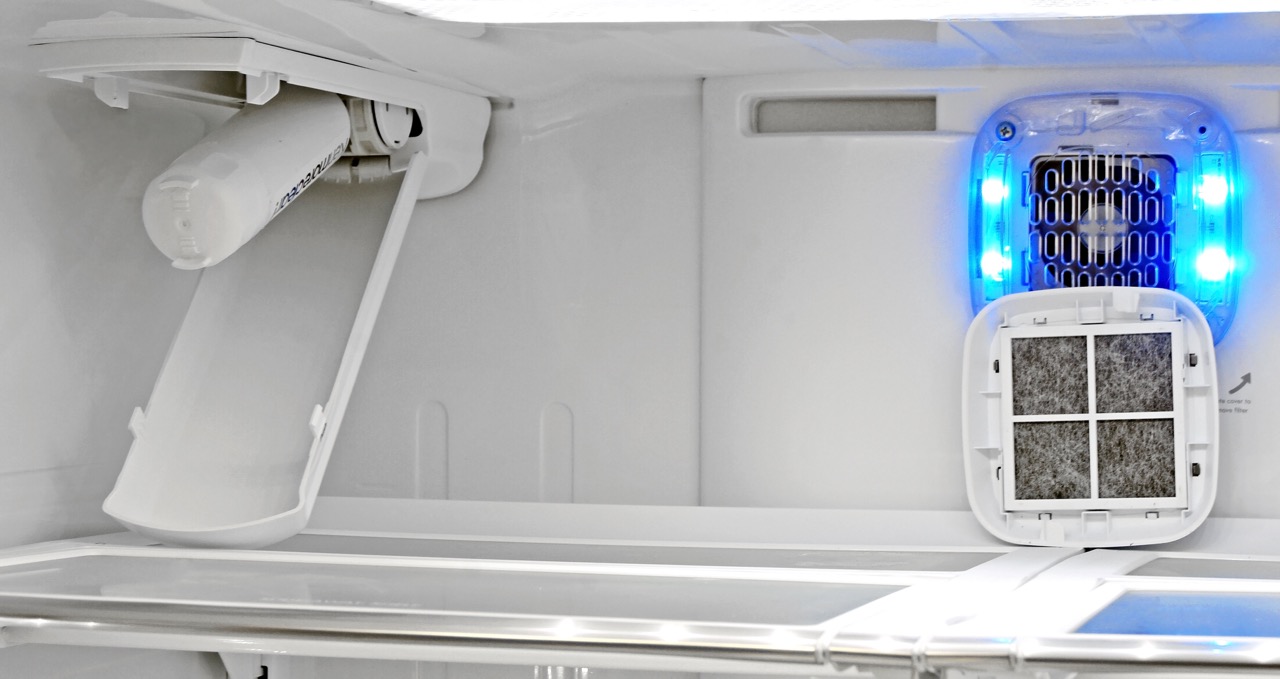
- Check the interior of the refrigerator: In most LG refrigerators, the air filter is located within the refrigerator compartment. Look for a vent or grill cover that indicates the presence of the air filter. It may be located near the back wall, top shelf, or even the side wall.
- Look for labeling: Some LG refrigerators have labels or stickers indicating the location of the air filter. Check the sides or interior walls of the refrigerator for any visible markers.
Once you have located the air filter, you are ready to proceed to the next step of removing the old filter.
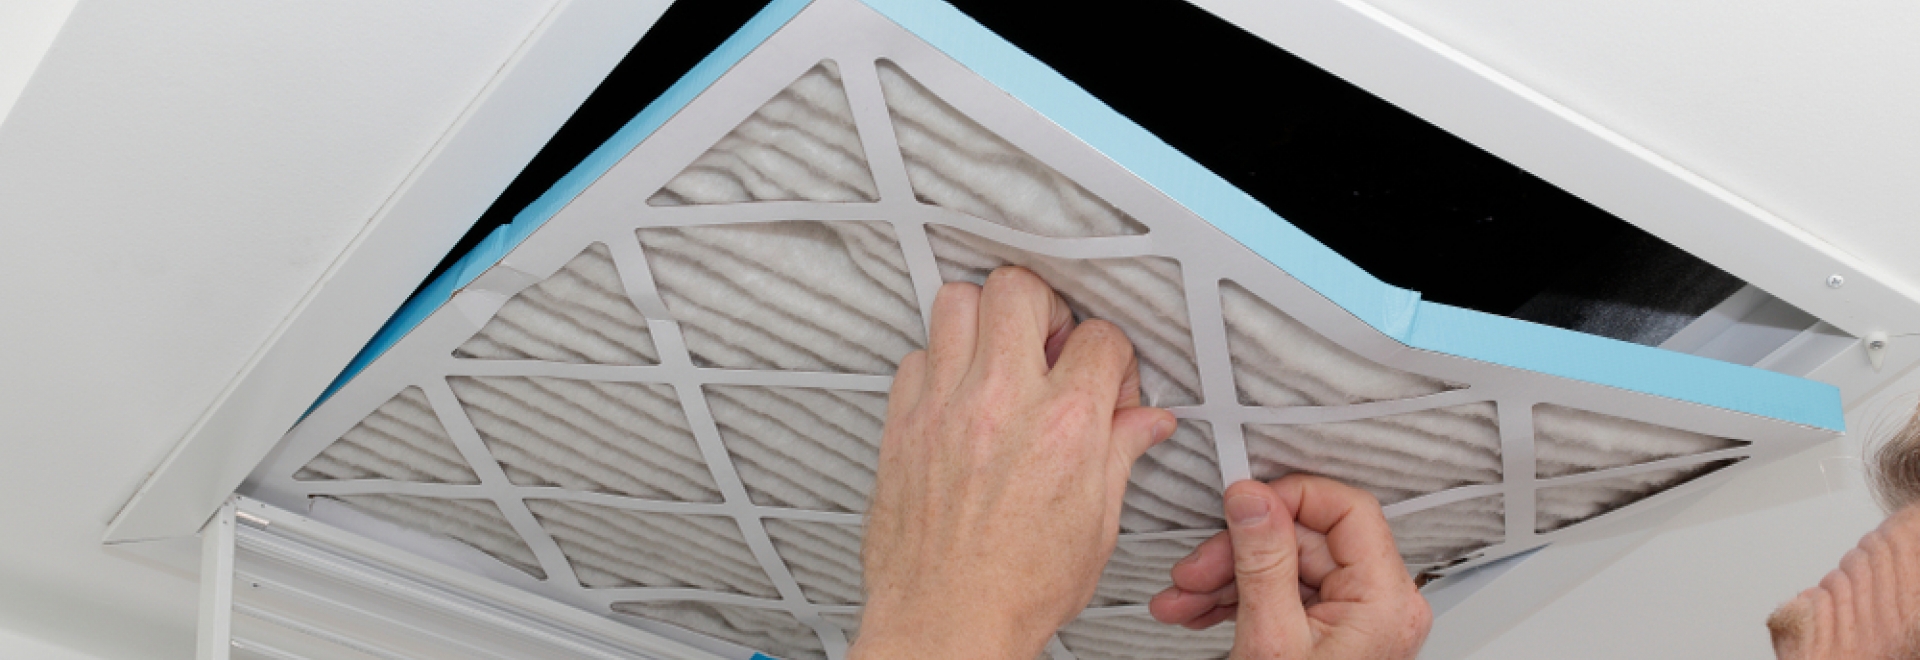
Step 3: Remove the old air filter
Now that you have located the air filter, it’s time to remove the old one. Follow these steps to safely remove the old air filter from your LG refrigerator:
- Turn off the refrigerator: Before you begin, it’s important to turn off your LG refrigerator and unplug it from the power source. This will ensure your safety and prevent any potential accidents.
- Open the air filter cover: Depending on the model of your LG refrigerator, the air filter may be housed in a cover or panel. Use a screwdriver to remove any screws or clips that are securing the cover in place. Once the cover is removed, you should have clear access to the air filter.
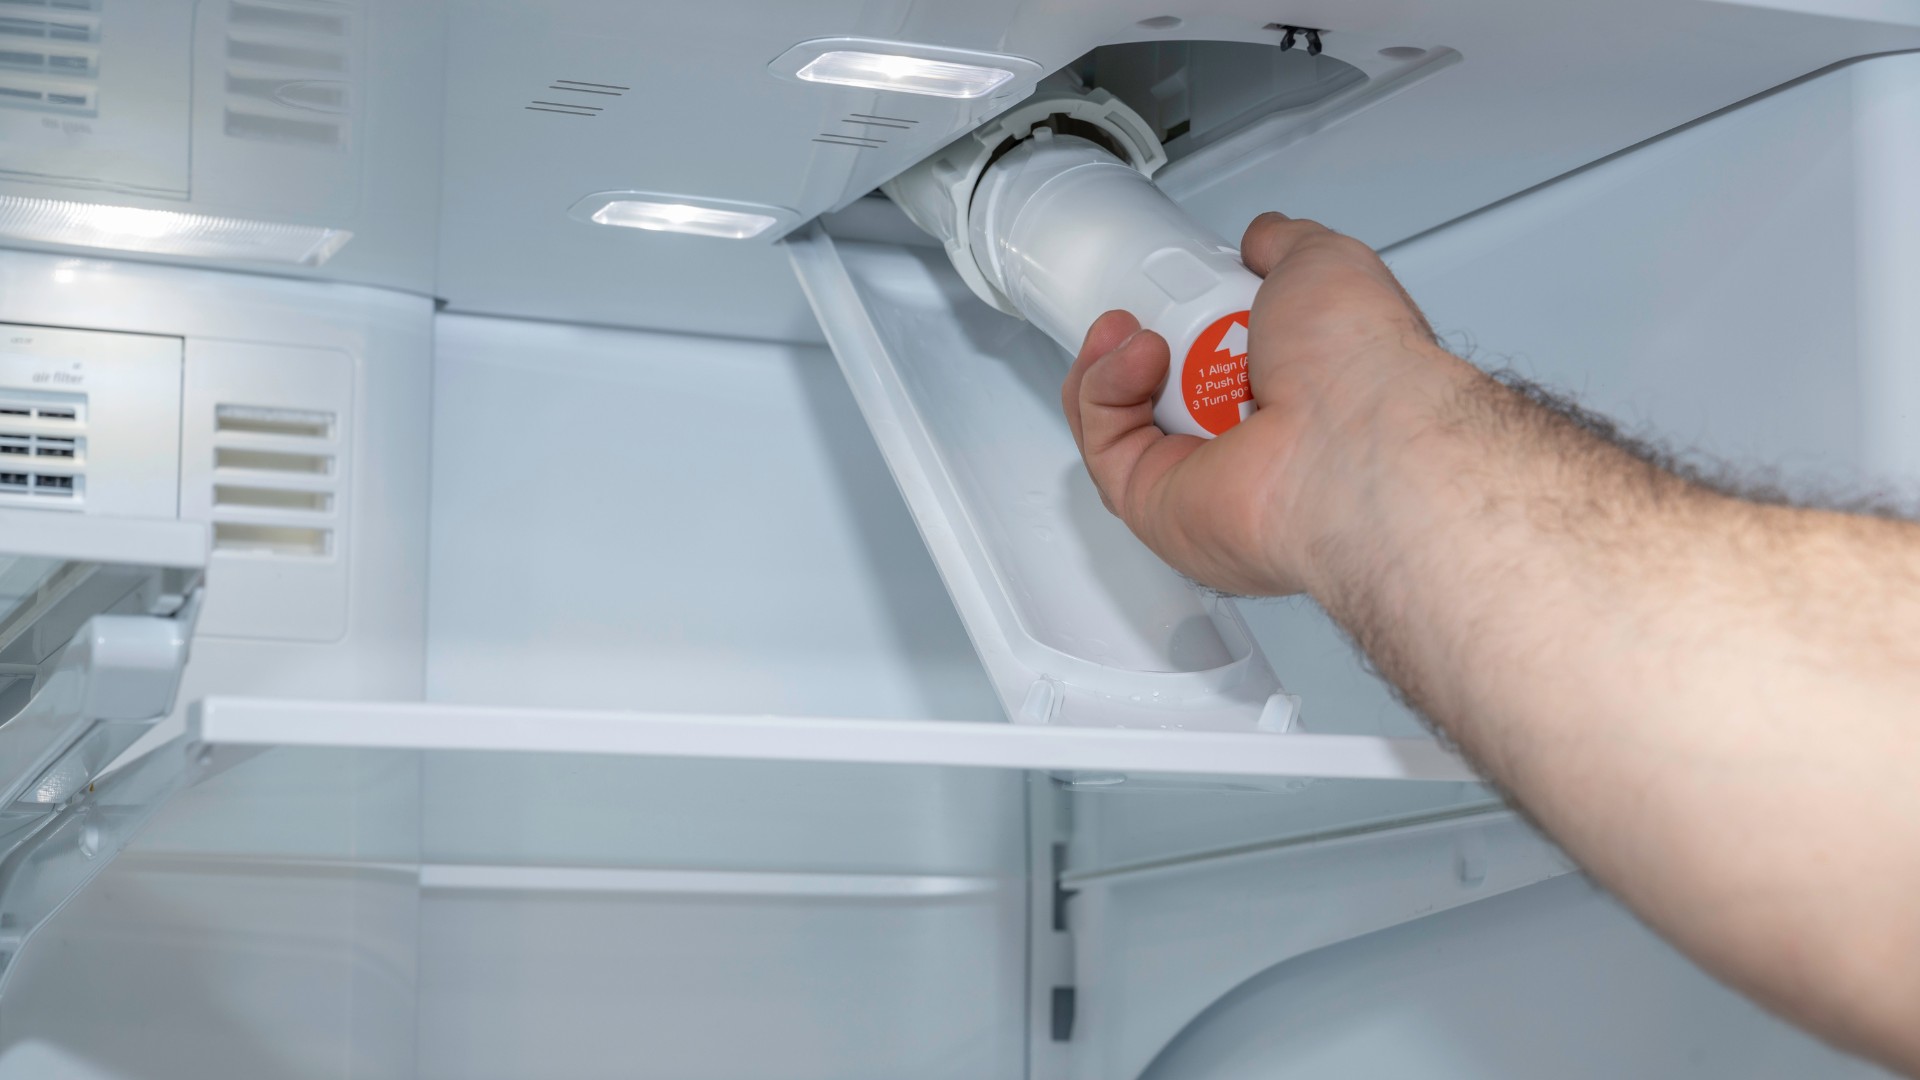
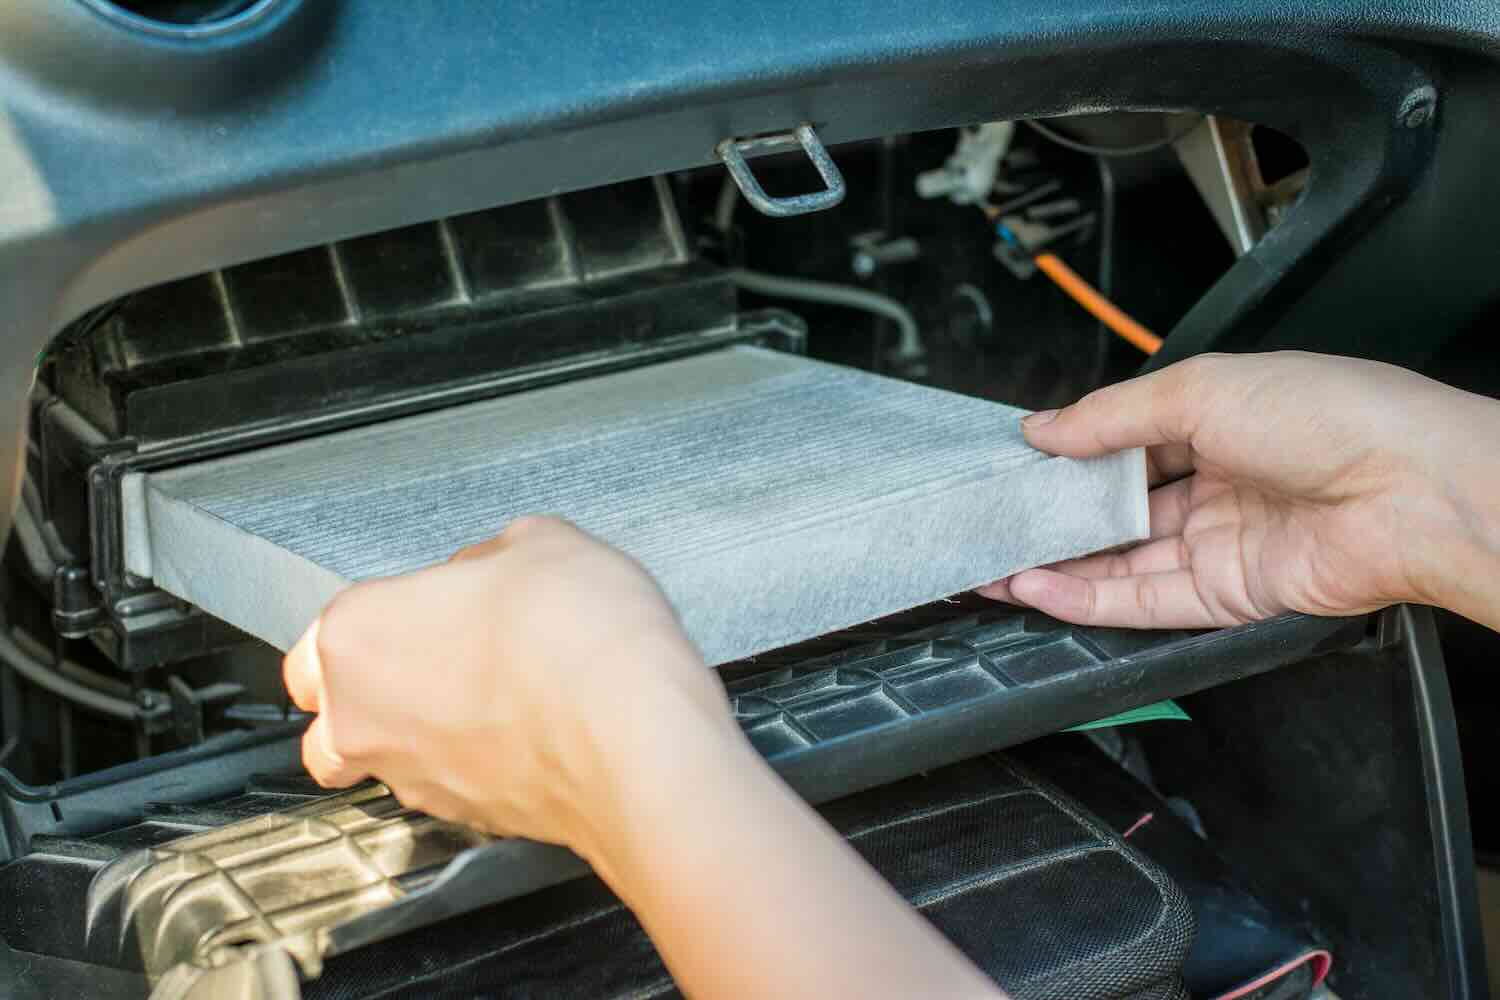
- Gently remove the old air filter: Carefully pull out the old air filter from its housing. Take note of its orientation and how it is positioned inside the refrigerator. The air filter may be designed as a slide-in or snap-on element, so use caution when removing it to avoid any damage.
Once you have successfully removed the old air filter, take a moment to inspect it. If you notice any signs of dirt, clogs, or discoloration, it’s a clear indication that it’s time for a replacement. Dispose of the old air filter properly.
Step 4: Clean the filter housing
After removing the old air filter, it’s important to clean the filter housing before installing the new one. This step will help ensure optimal performance and prevent any lingering odors. Follow these steps to clean the filter housing:
- Inspect the filter housing: Take a close look inside the filter housing to check for any visible dust, debris, or residue. Use a flashlight if needed to get a better view of the interior.
- Wipe the housing with a damp cloth: Dampen a clean cloth with warm water. Gently wipe the interior of the filter housing, removing any dirt or particles that may have accumulated. Pay extra attention to any areas that appear dirty or clogged.
- Allow the housing to dry: Once you’ve cleaned the filter housing, give it some time to air dry. This will ensure that no moisture remains before installing the new air filter.
By taking the time to clean the filter housing, you’ll create a clean and fresh environment for your new air filter to operate effectively.
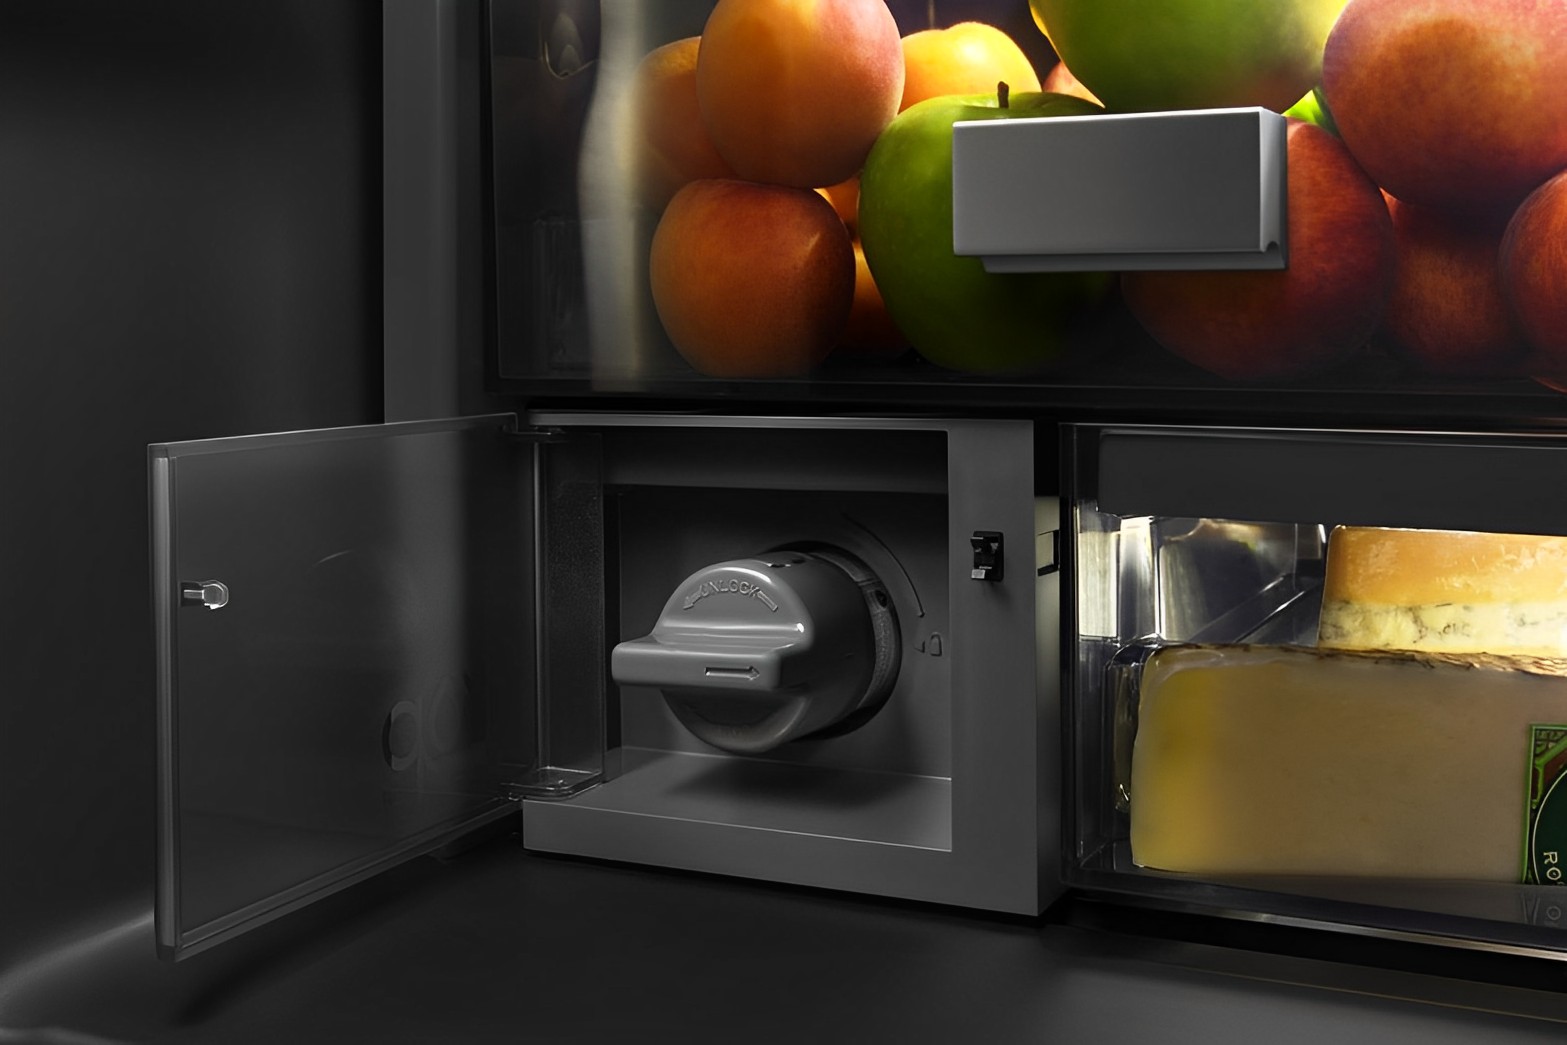
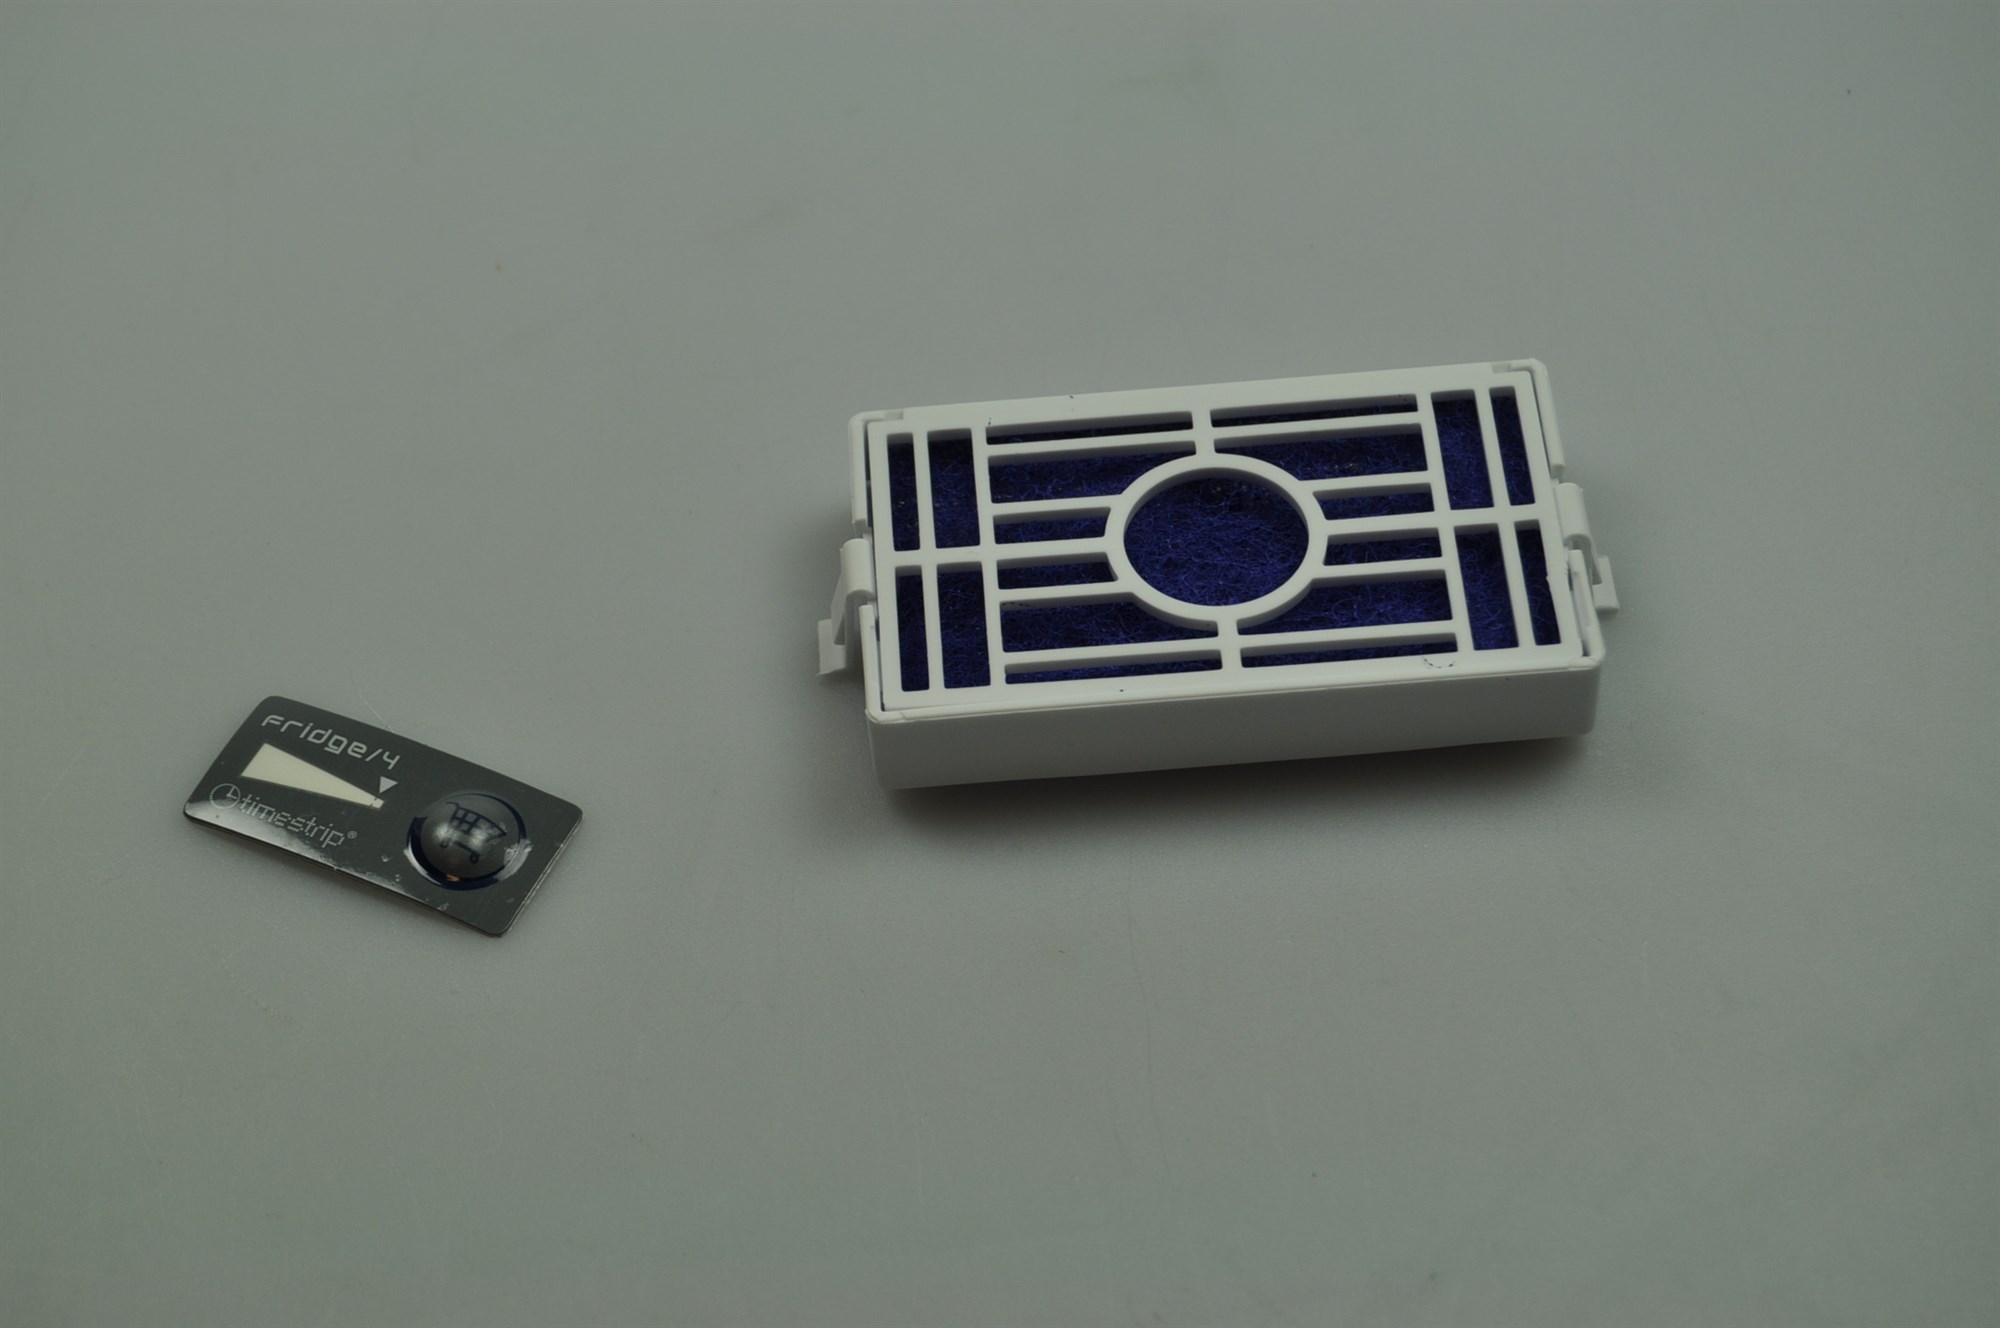
To change the air filter on an LG refrigerator, locate the filter housing inside the refrigerator and twist the cover to remove it. Then, take out the old filter and replace it with a new one, making sure to align the arrows on the filter and housing. Finally, twist the cover back into place.
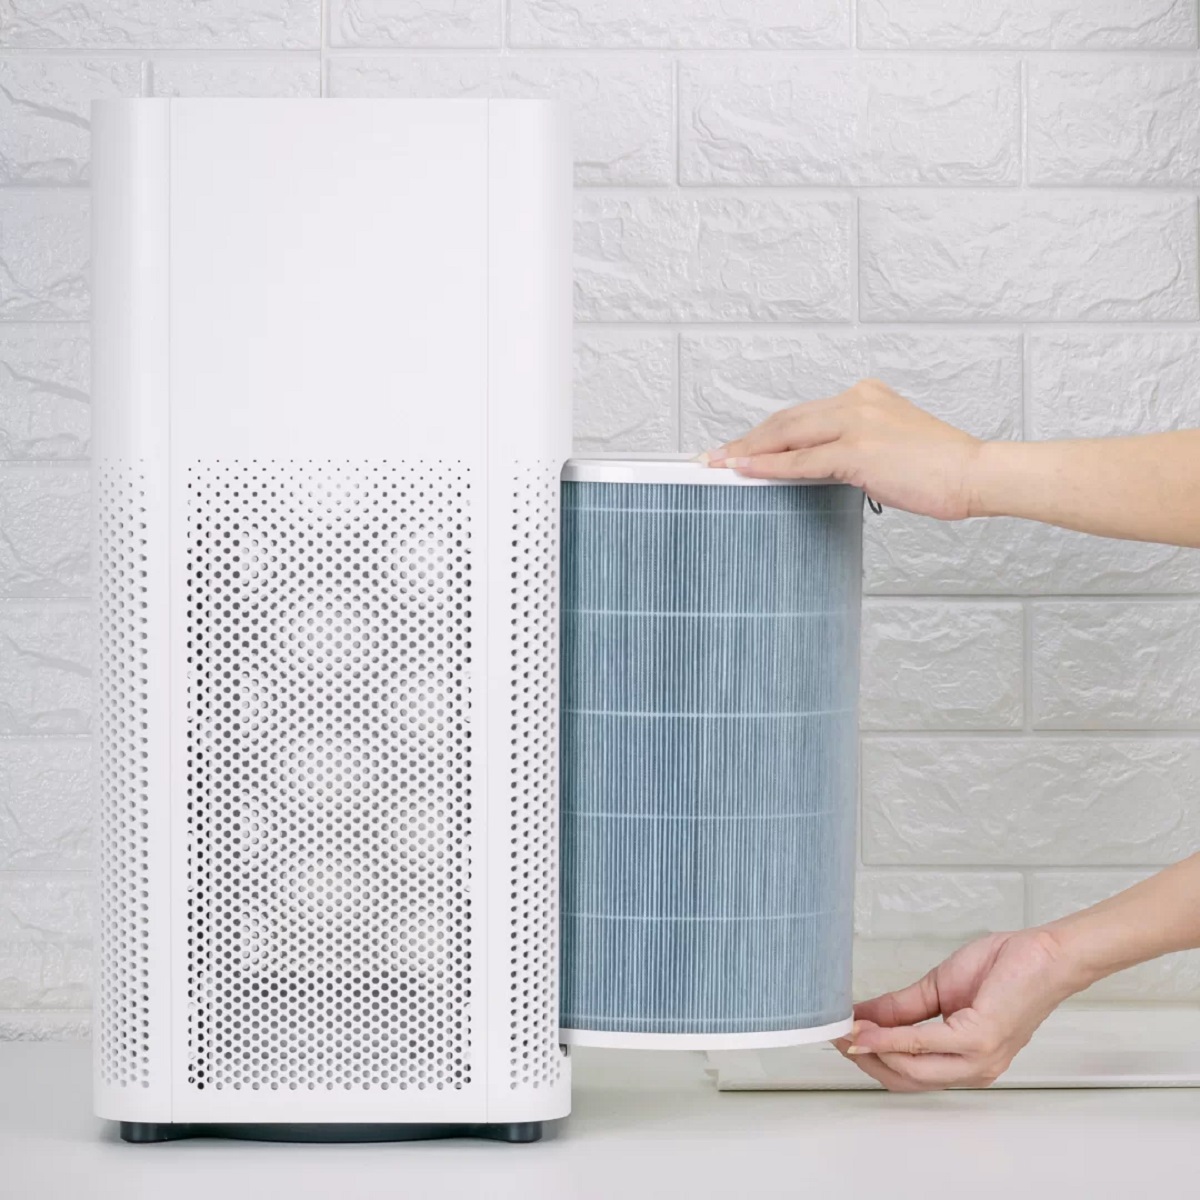
Step 5: Install the new air filter
Now that the filter housing is clean and dry, it’s time to install the new air filter in your LG refrigerator. Here’s how you can do it:
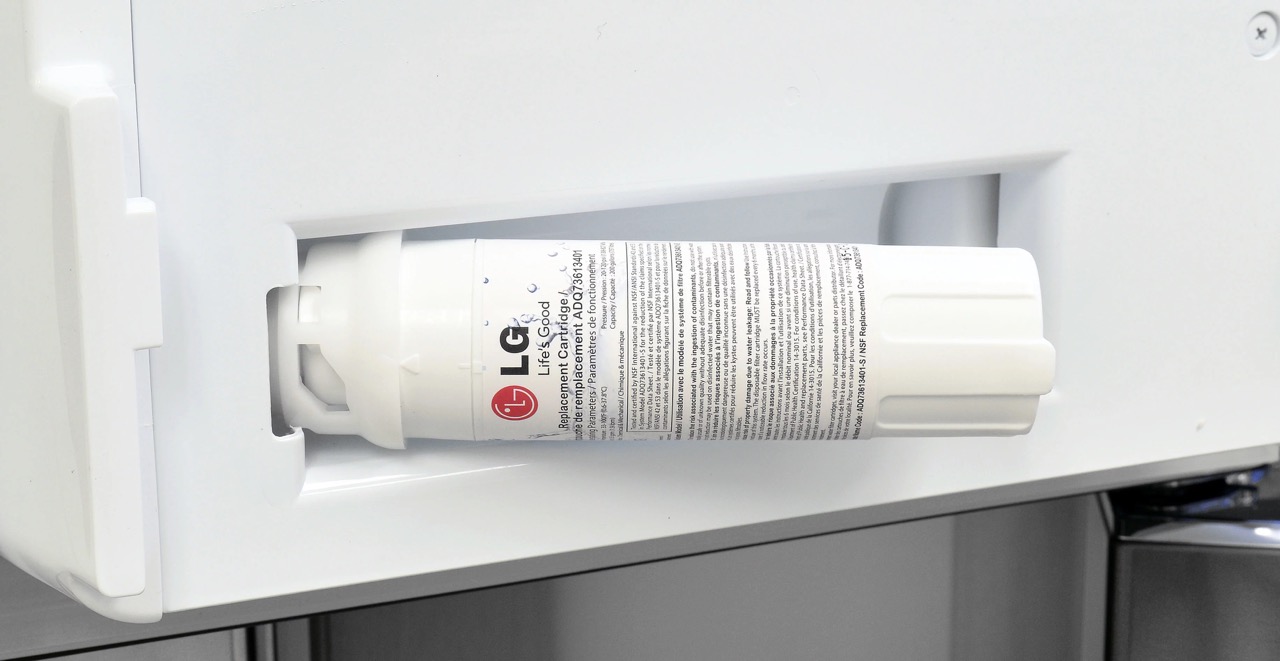
- Retrieve the new air filter: Take the new air filter out of its packaging. Ensure that it is the correct filter for your LG refrigerator model.
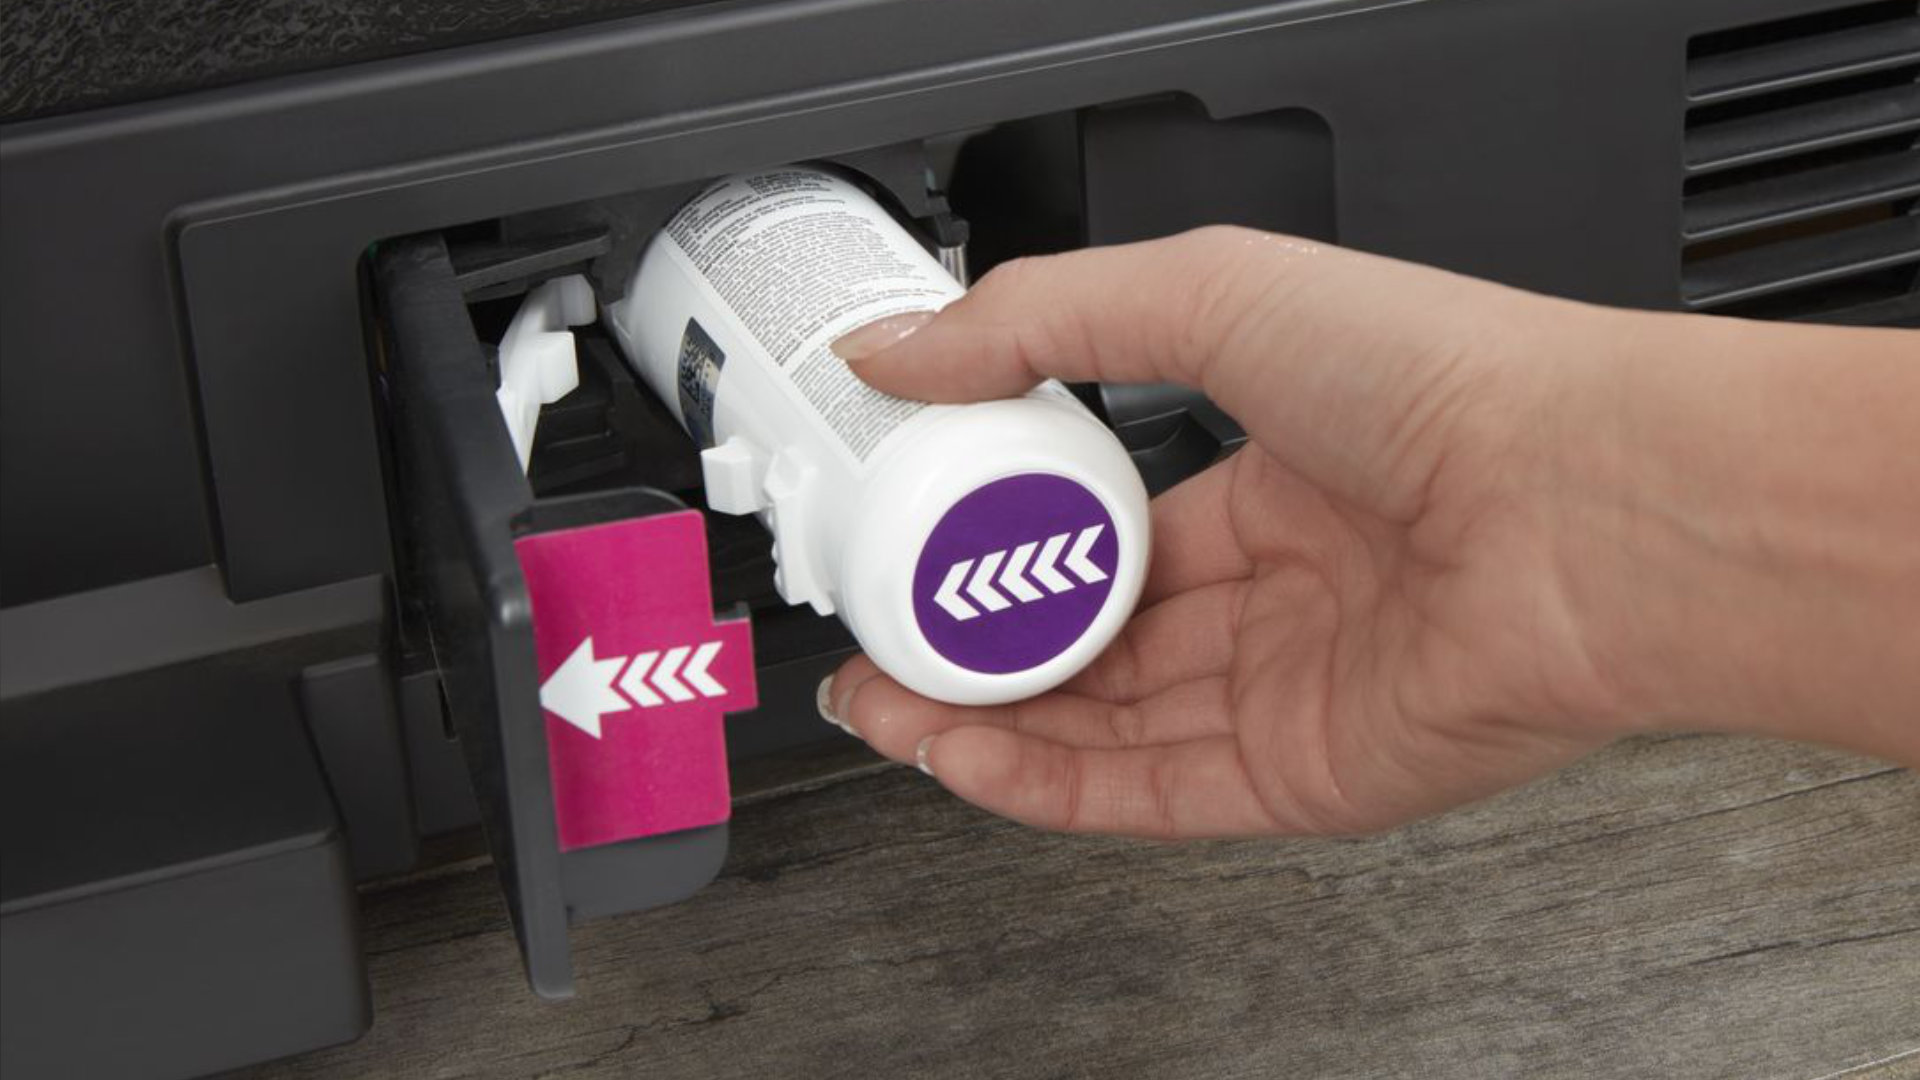
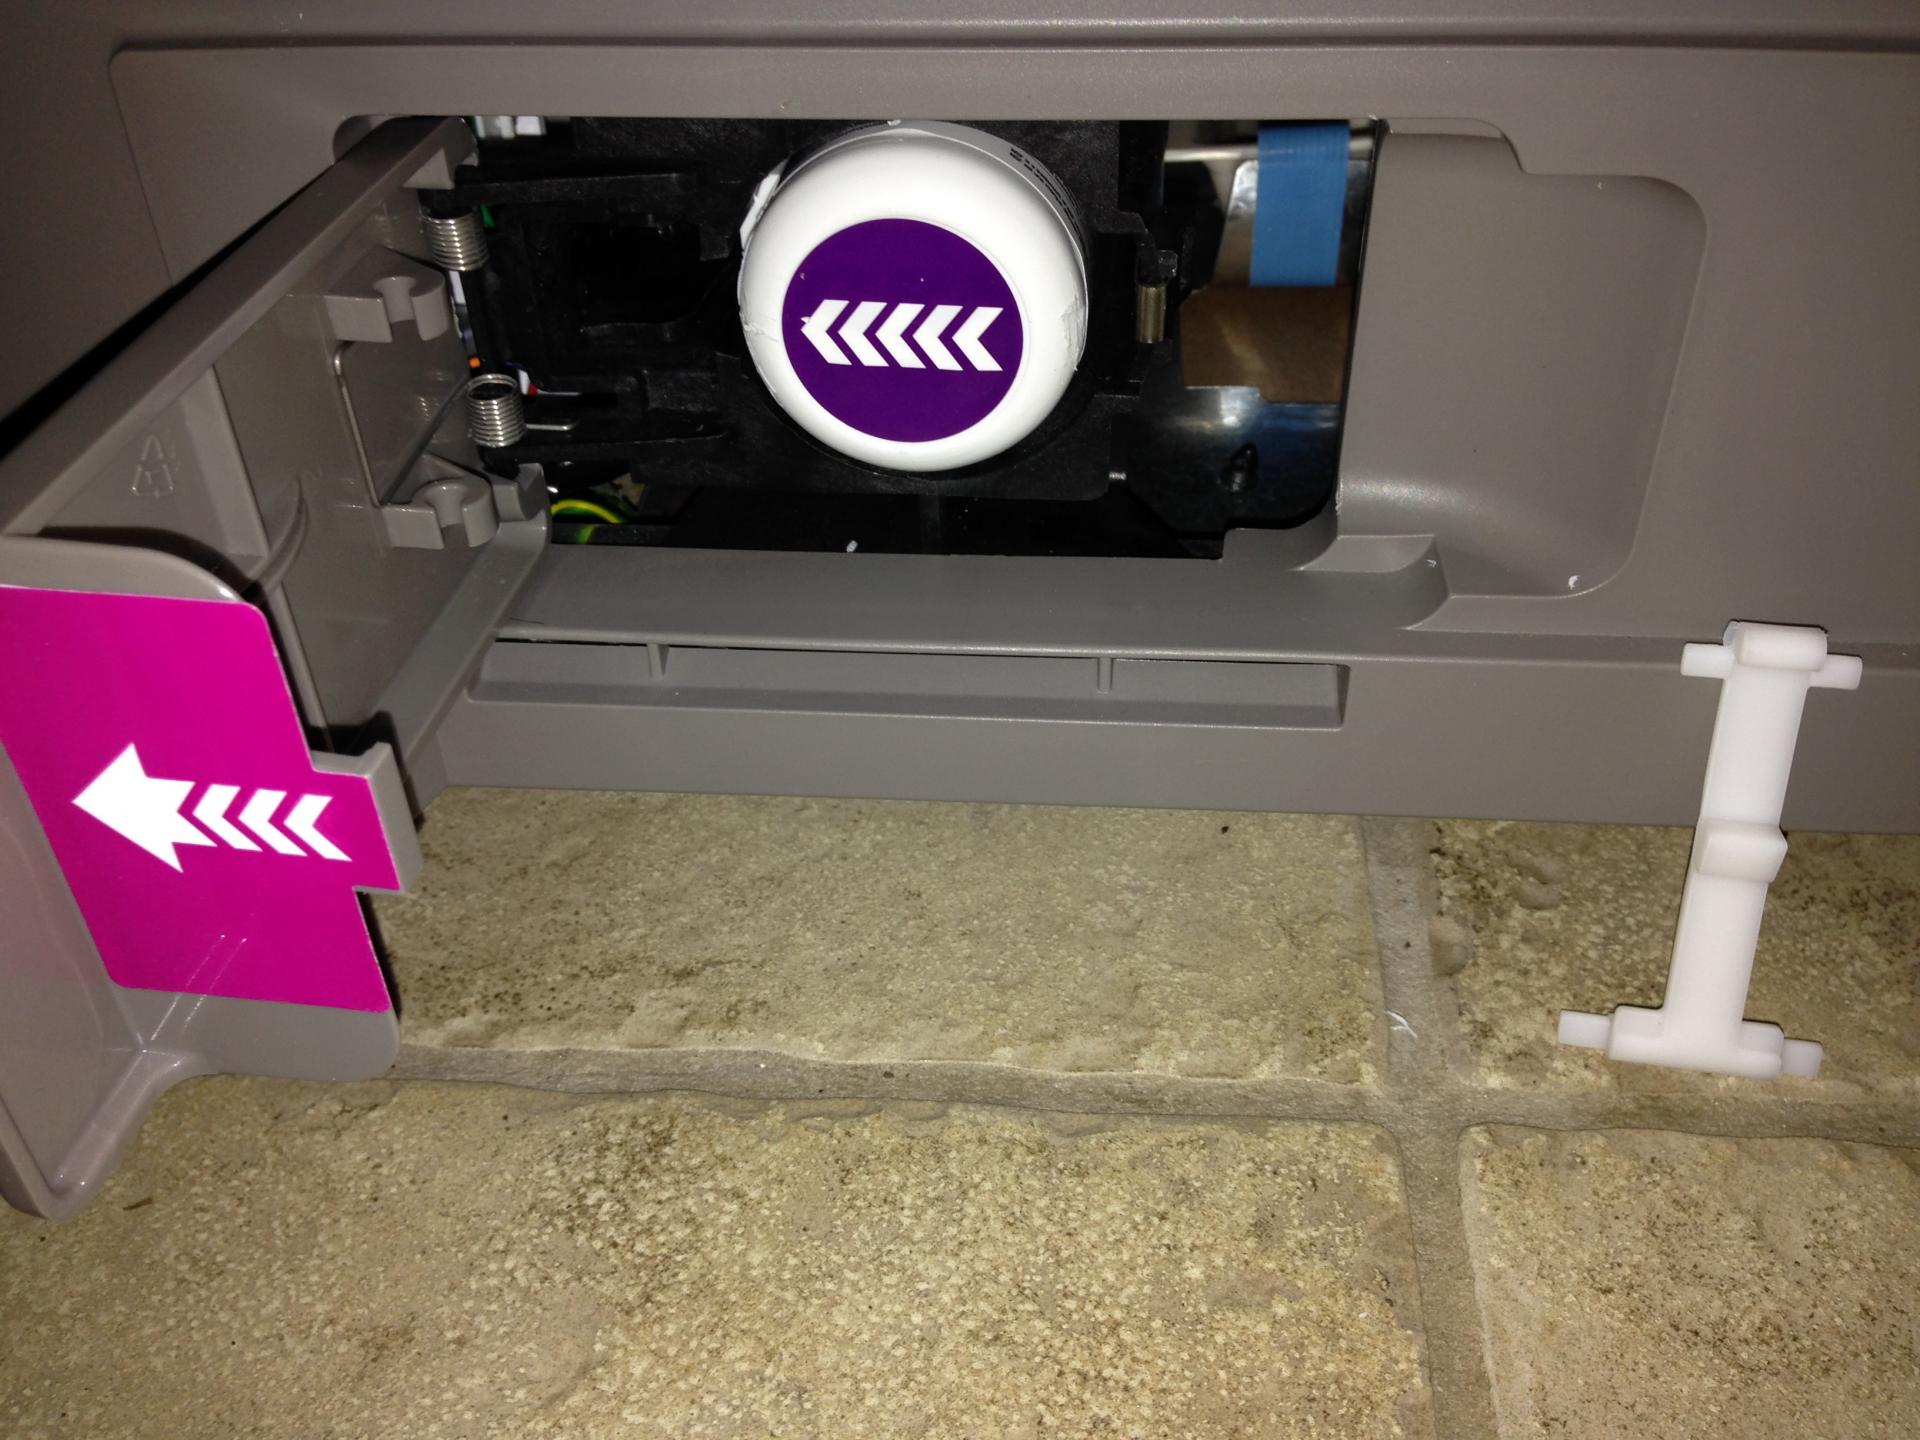
- Align the new air filter: Position the new air filter in the same orientation as the old one. Make sure it is aligned properly with the filter housing.
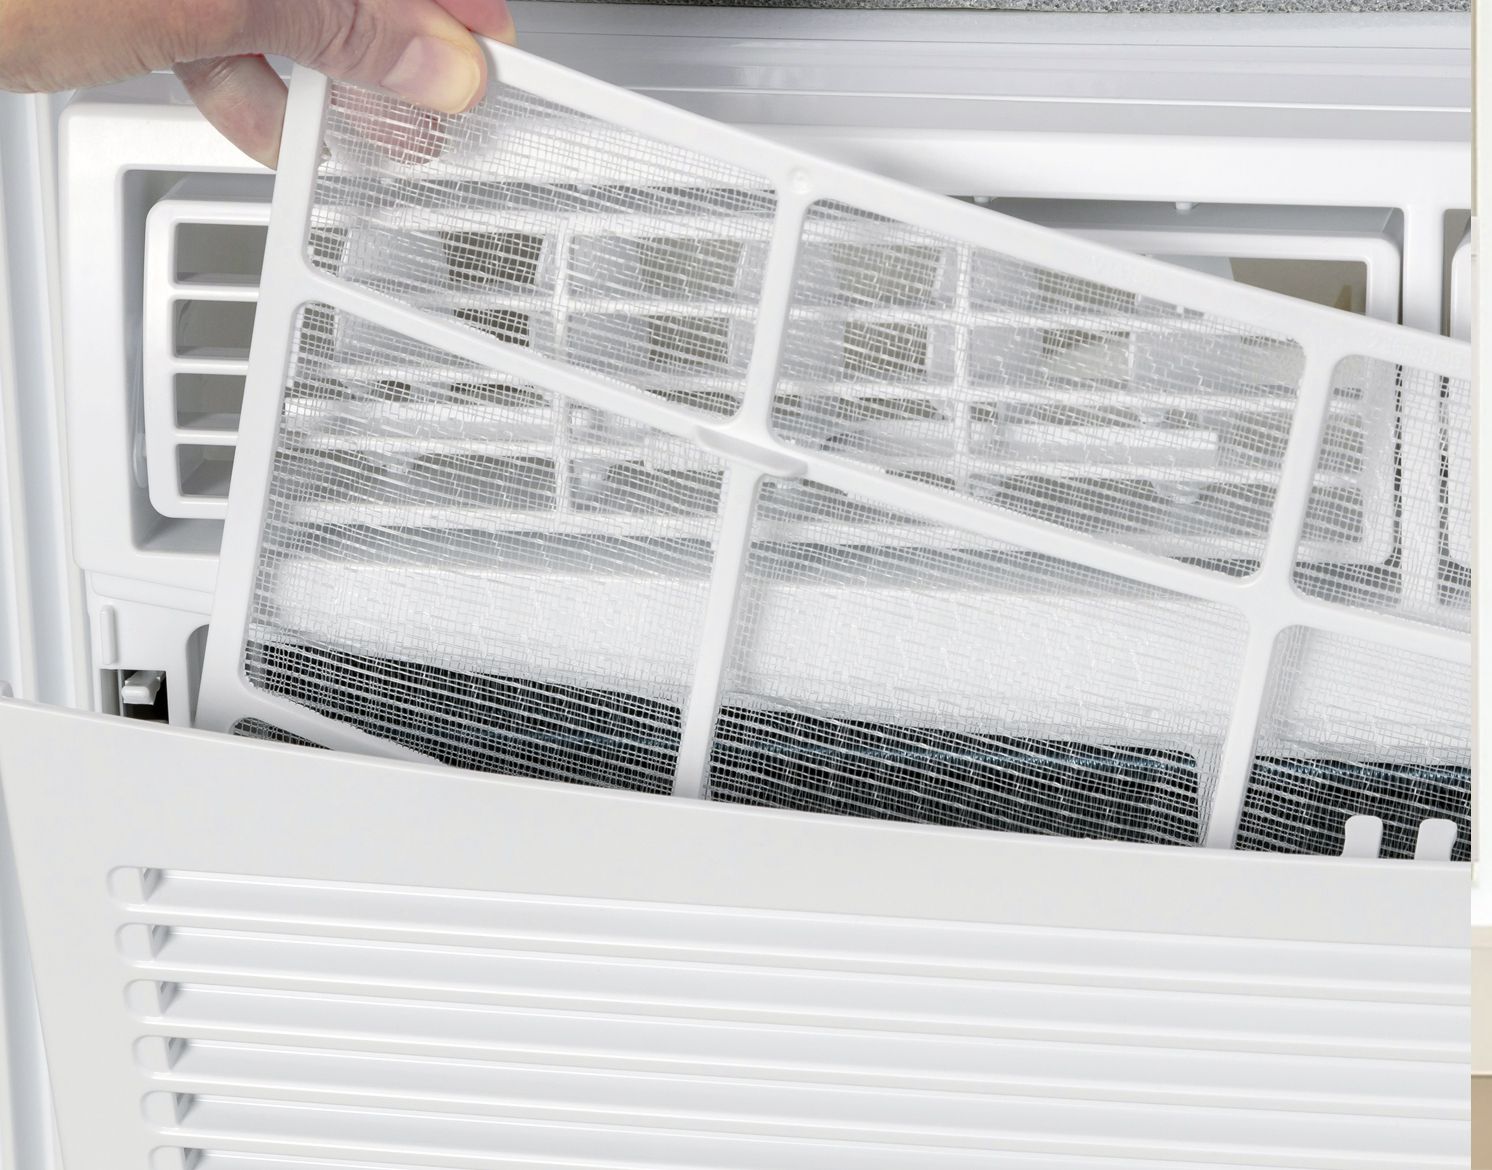
- Insert the new air filter: Gently slide or snap the new air filter into place within the filter housing. You may need to apply a bit of pressure to ensure that it is securely in position.
- Close the air filter cover: If there was a cover or panel that you removed earlier, now is the time to reattach it. Use a screwdriver or clips to secure the cover back in place over the air filter.
With the new air filter properly installed, you can now move on to the next step of resetting the air filter indicator.
Step 6: Reset the air filter indicator
Many LG refrigerators feature an air filter indicator that alerts you when it’s time to change the filter. After installing the new air filter, it’s important to reset this indicator to ensure accurate monitoring going forward. Here’s how you can reset the air filter indicator:
- Check the user manual: Refer to the user manual provided with your LG refrigerator to find specific instructions on how to reset the air filter indicator. Different models may have slightly different steps, so it’s best to follow the manufacturer’s guidelines.
- Locate the reset button or touchpad: Look for a dedicated reset button or touchpad on the control panel of your refrigerator. It is typically labeled “Filter Reset” or something similar.
- Press and hold the reset button: Press and hold the reset button for a few seconds until the indicator light or display goes off. This indicates that the air filter indicator has been successfully reset.
Note that the process of resetting the air filter indicator may vary depending on your specific LG refrigerator model. If you’re unable to locate the reset button or encounter any difficulties, consult the user manual or reach out to LG customer support for assistance.
Step 7: Test the refrigerator functionality
After completing the air filter replacement and resetting the indicator, it’s important to test the functionality of your LG refrigerator to ensure everything is working properly. Here’s what you can do:
- Plug in and power on the refrigerator: Plug the refrigerator back into the power source and turn it on. Allow it to run for a few minutes to ensure that it is functioning correctly.
- Check for proper airflow: Place your hand near the air vents inside the refrigerator to feel for any cool air circulating. Proper airflow indicates that the new air filter is correctly installed and allowing for efficient cooling.
- Check for any unusual odors: Take a moment to smell the air inside the refrigerator. A clean air filter should help eliminate any unpleasant odors, leaving the refrigerator smelling fresh and clean.
- Monitor the temperature: Keep an eye on the temperature inside the refrigerator over the next few hours. It should maintain a consistent and appropriate temperature for food storage.
If you notice any issues or abnormalities during the testing process, double-check the installation of the air filter and refer to the troubleshooting section of your LG refrigerator’s user manual. Alternatively, you can seek assistance from LG customer support for further guidance.
By following these steps and testing the refrigerator functionality, you can ensure that your LG refrigerator is in proper working condition with a fresh and clean air filter.
Conclusion
Changing the air filter on your LG refrigerator is a simple yet important maintenance task that can greatly contribute to the efficiency and longevity of your appliance. By following the steps outlined in this guide, you can successfully change the air filter and ensure a clean and odor-free environment inside your refrigerator.
Remember, regularly changing the air filter is crucial for optimal performance. A clogged or dirty filter can obstruct airflow and lead to reduced cooling efficiency and odors. So, make it a habit to check the air filter regularly and replace it as needed.
Additionally, familiarize yourself with the specific instructions provided in your LG refrigerator’s user manual as different models may have slight variations in the process. If you encounter any difficulties or have questions, don’t hesitate to reach out to LG customer support for assistance.
By properly maintaining your LG refrigerator and changing the air filter as advised, you can enjoy fresh and efficiently cooled food for years to come. Not only will this help preserve the quality of your groceries, but it will also save you money in the long run by prolonging the lifespan of your refrigerator.
We hope this guide has been helpful in guiding you through the process of changing the air filter on your LG refrigerator. Now go ahead, take action, and enjoy a clean and odor-free refrigerator!
Frequently Asked Questions about How To Change Air Filter On Lg Refrigerator
Was this page helpful?
At Storables.com, we guarantee accurate and reliable information. Our content, validated by Expert Board Contributors, is crafted following stringent Editorial Policies. We're committed to providing you with well-researched, expert-backed insights for all your informational needs.
0 thoughts on “How To Change Air Filter On Lg Refrigerator”