Articles
How To Change Refrigerator Water Filter
Modified: April 23, 2024
Learn how to easily change the water filter in your refrigerator with our informative articles. Keep your water clean and fresh.
(Many of the links in this article redirect to a specific reviewed product. Your purchase of these products through affiliate links helps to generate commission for Storables.com, at no extra cost. Learn more)
Introduction
Changing the water filter in your refrigerator is an essential maintenance task that ensures the quality and freshness of the water and ice dispensed from your fridge. Over time, the filter can become clogged with impurities, reducing its effectiveness and potentially affecting the taste and odor of the water. It is recommended to change the water filter every six months or as indicated by the manufacturer.
In this article, we will guide you through the process of changing the water filter in your refrigerator. Whether you are a seasoned DIY enthusiast or a beginner, following these steps will help you complete the task successfully and ensure that your refrigerator continues to provide clean and refreshing water.
Before we begin, it is important to note that the specific steps may vary depending on the make and model of your refrigerator. Therefore, always refer to the manufacturer’s instructions provided in the user manual for your specific appliance. Now, let’s get started!
Key Takeaways:
- Regularly changing your refrigerator’s water filter every six months is crucial for maintaining clean and refreshing water, ensuring the health and satisfaction of you and your family.
- Following the manufacturer’s instructions and properly installing a new water filter will help keep your refrigerator running smoothly and your water tasting fresh and pure.
Step 1: Gather the necessary tools and materials
Before you start replacing the water filter in your refrigerator, make sure you have all the necessary tools and materials. This will save you time and avoid any last-minute trips to the store. Here’s what you’ll need:
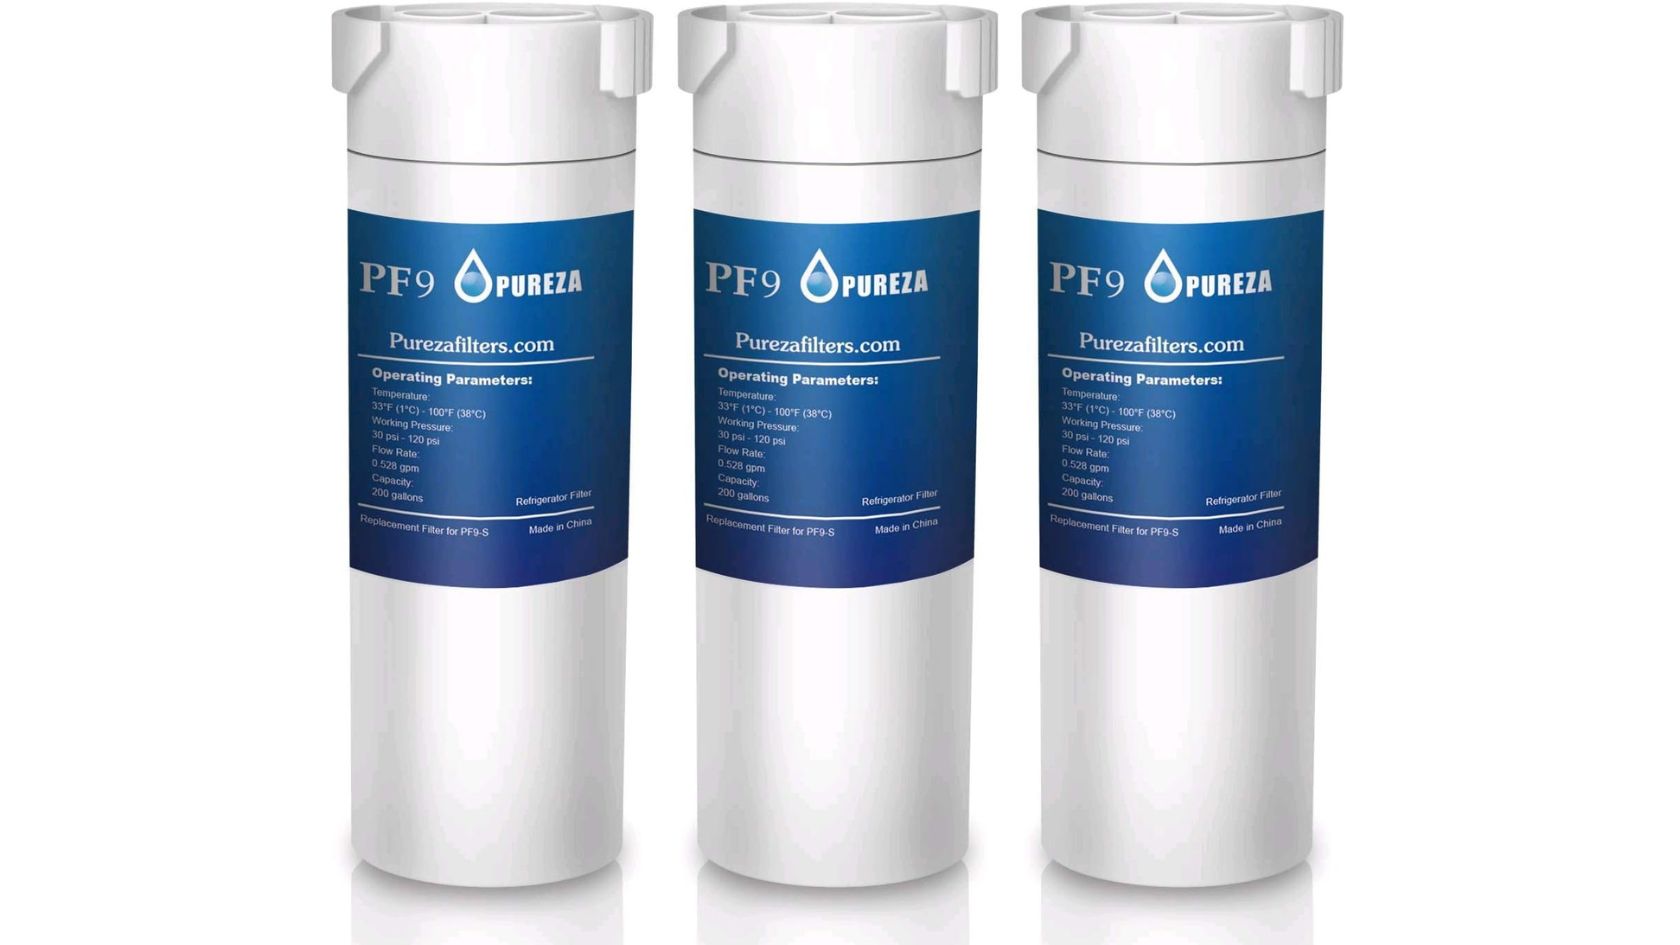
- A replacement water filter: Look for the model number or part number of the filter specified in your refrigerator’s user manual or on the current filter. You can find the compatible replacement filter at a local appliance store or order it online.
- Gloves: It is always a good idea to wear gloves to protect your hands from any dirt or contaminants when handling the filter.
- A towel or cloth: Place a towel or cloth nearby to catch any water drips or spills during the filter replacement process.
- Pliers (if required): Some refrigerator models may require the use of pliers to remove the filter housing. Check your user manual to see if this tool is necessary.
Once you have gathered all the necessary tools and materials, proceed to the next step to locate the water filter compartment.
Step 2: Locate the water filter compartment
The next step in changing the water filter in your refrigerator is to locate the water filter compartment. The location of the compartment can vary depending on the model and make of your refrigerator, so it’s essential to consult your user manual for specific instructions. However, here are some common areas where you can find the filter compartment:
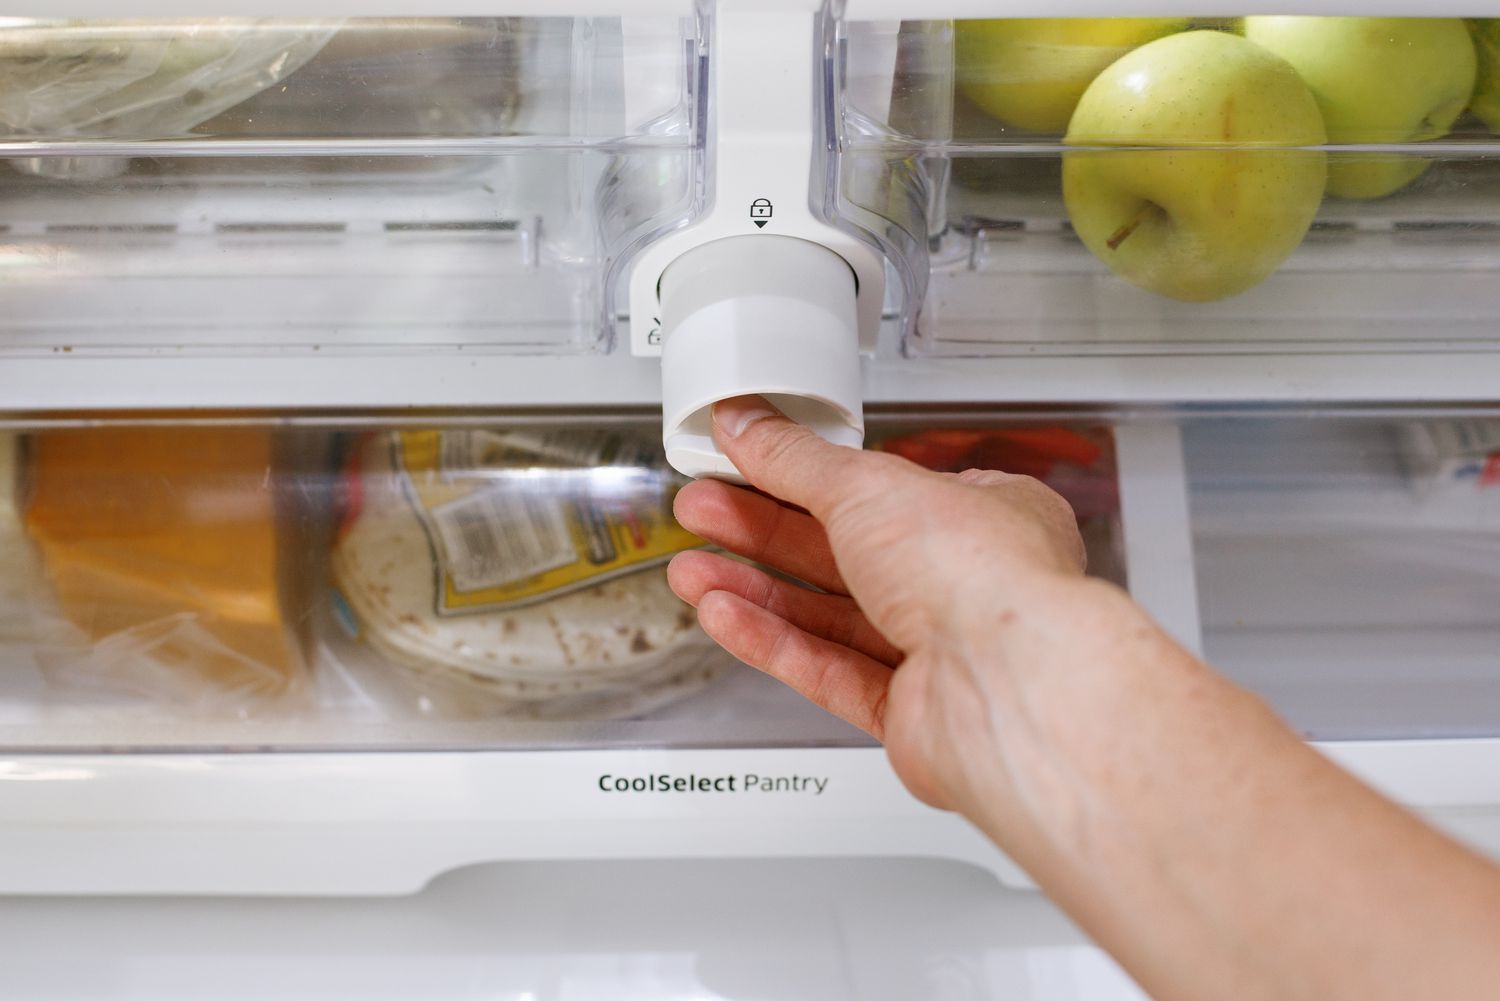
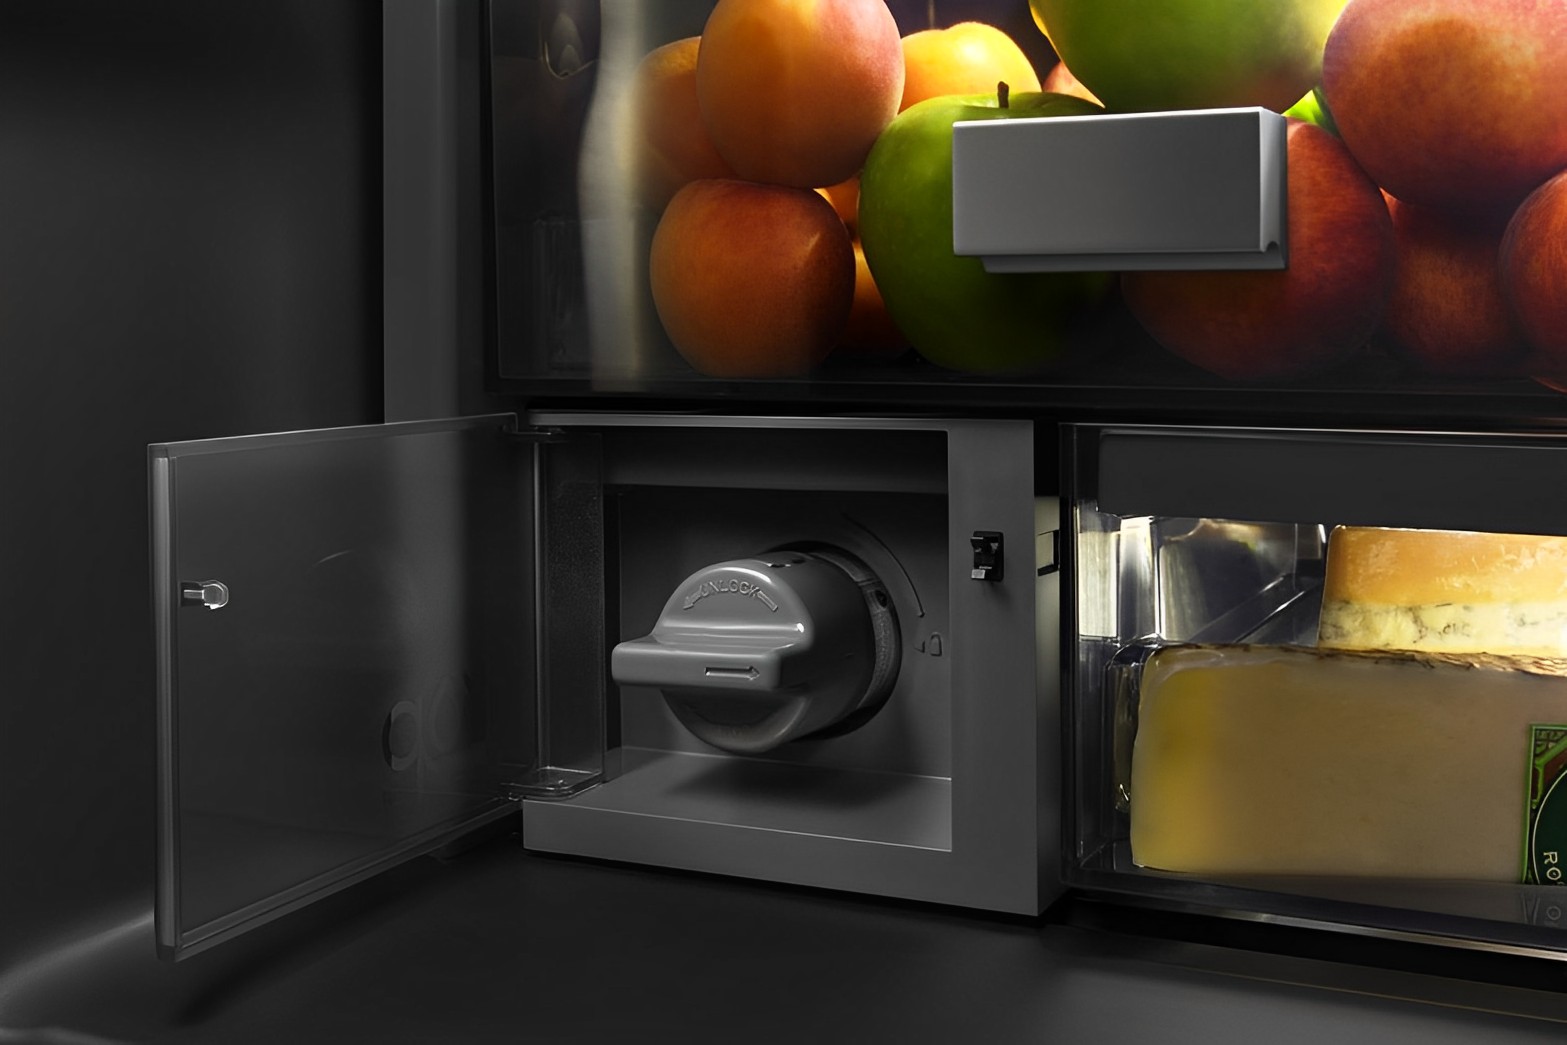
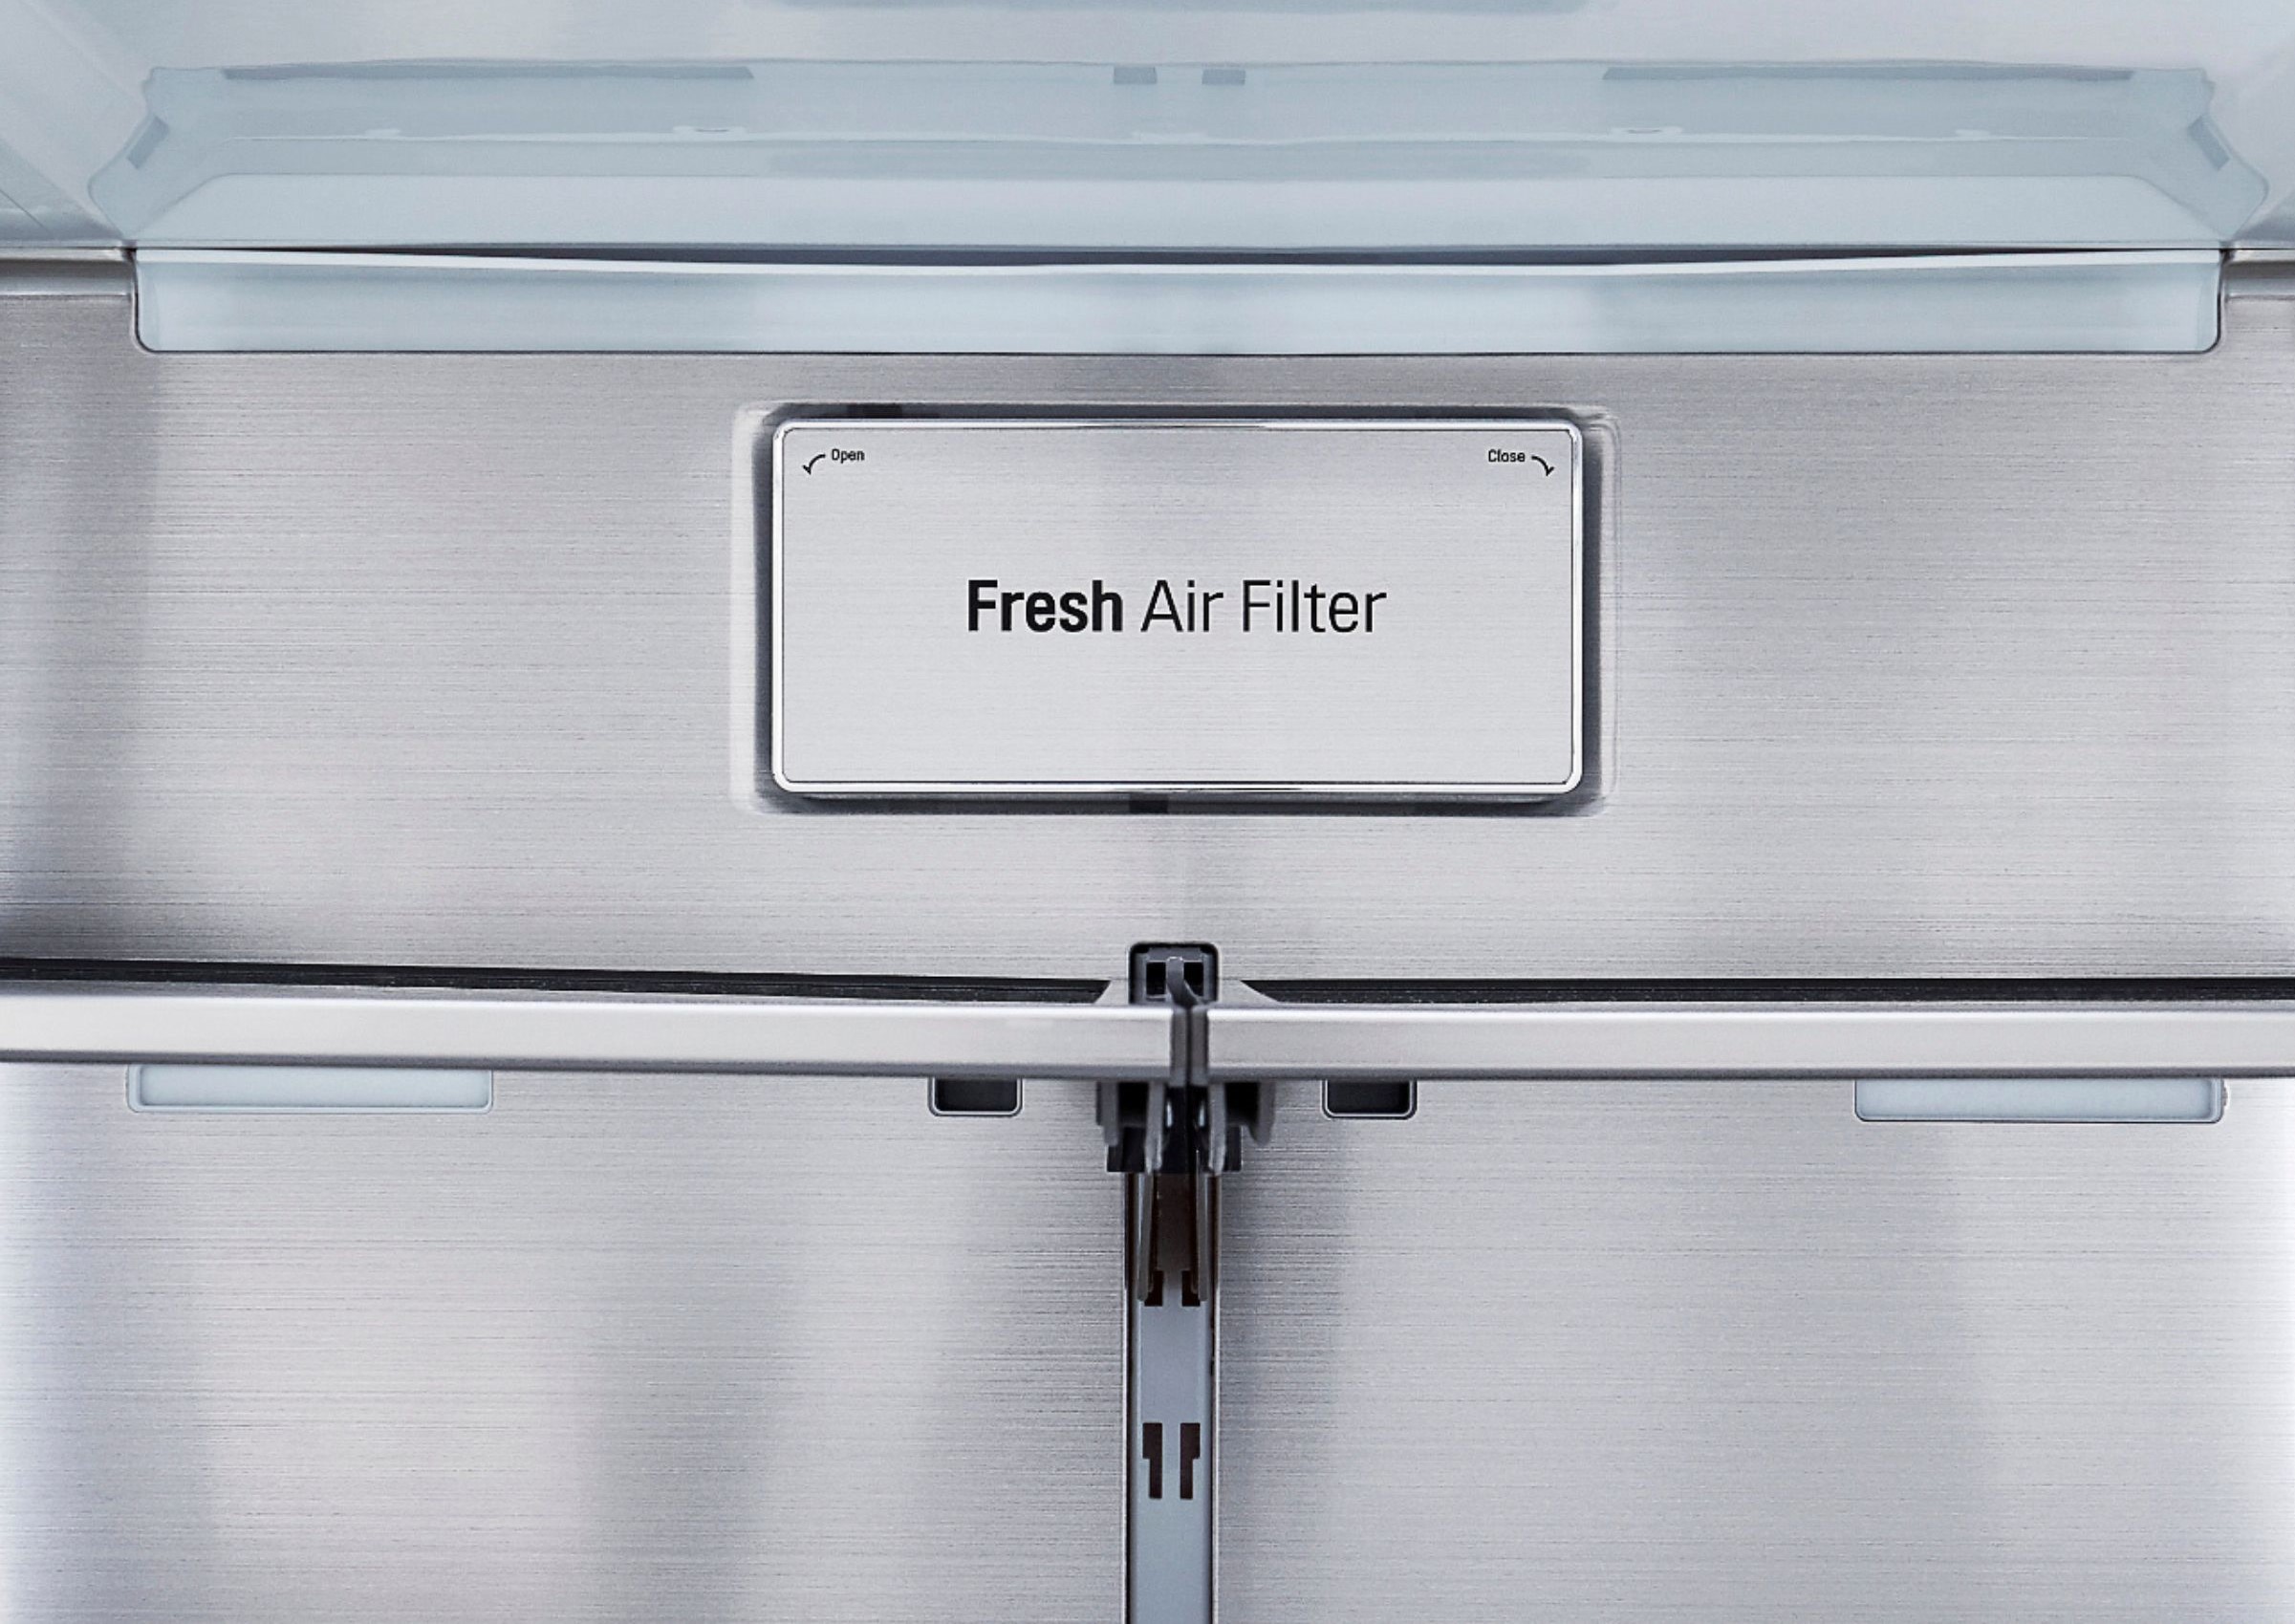
- Inside the refrigerator: Some refrigerators have the water filter located inside the main refrigerator compartment. Look for a small door or panel that can be opened to access the filter.
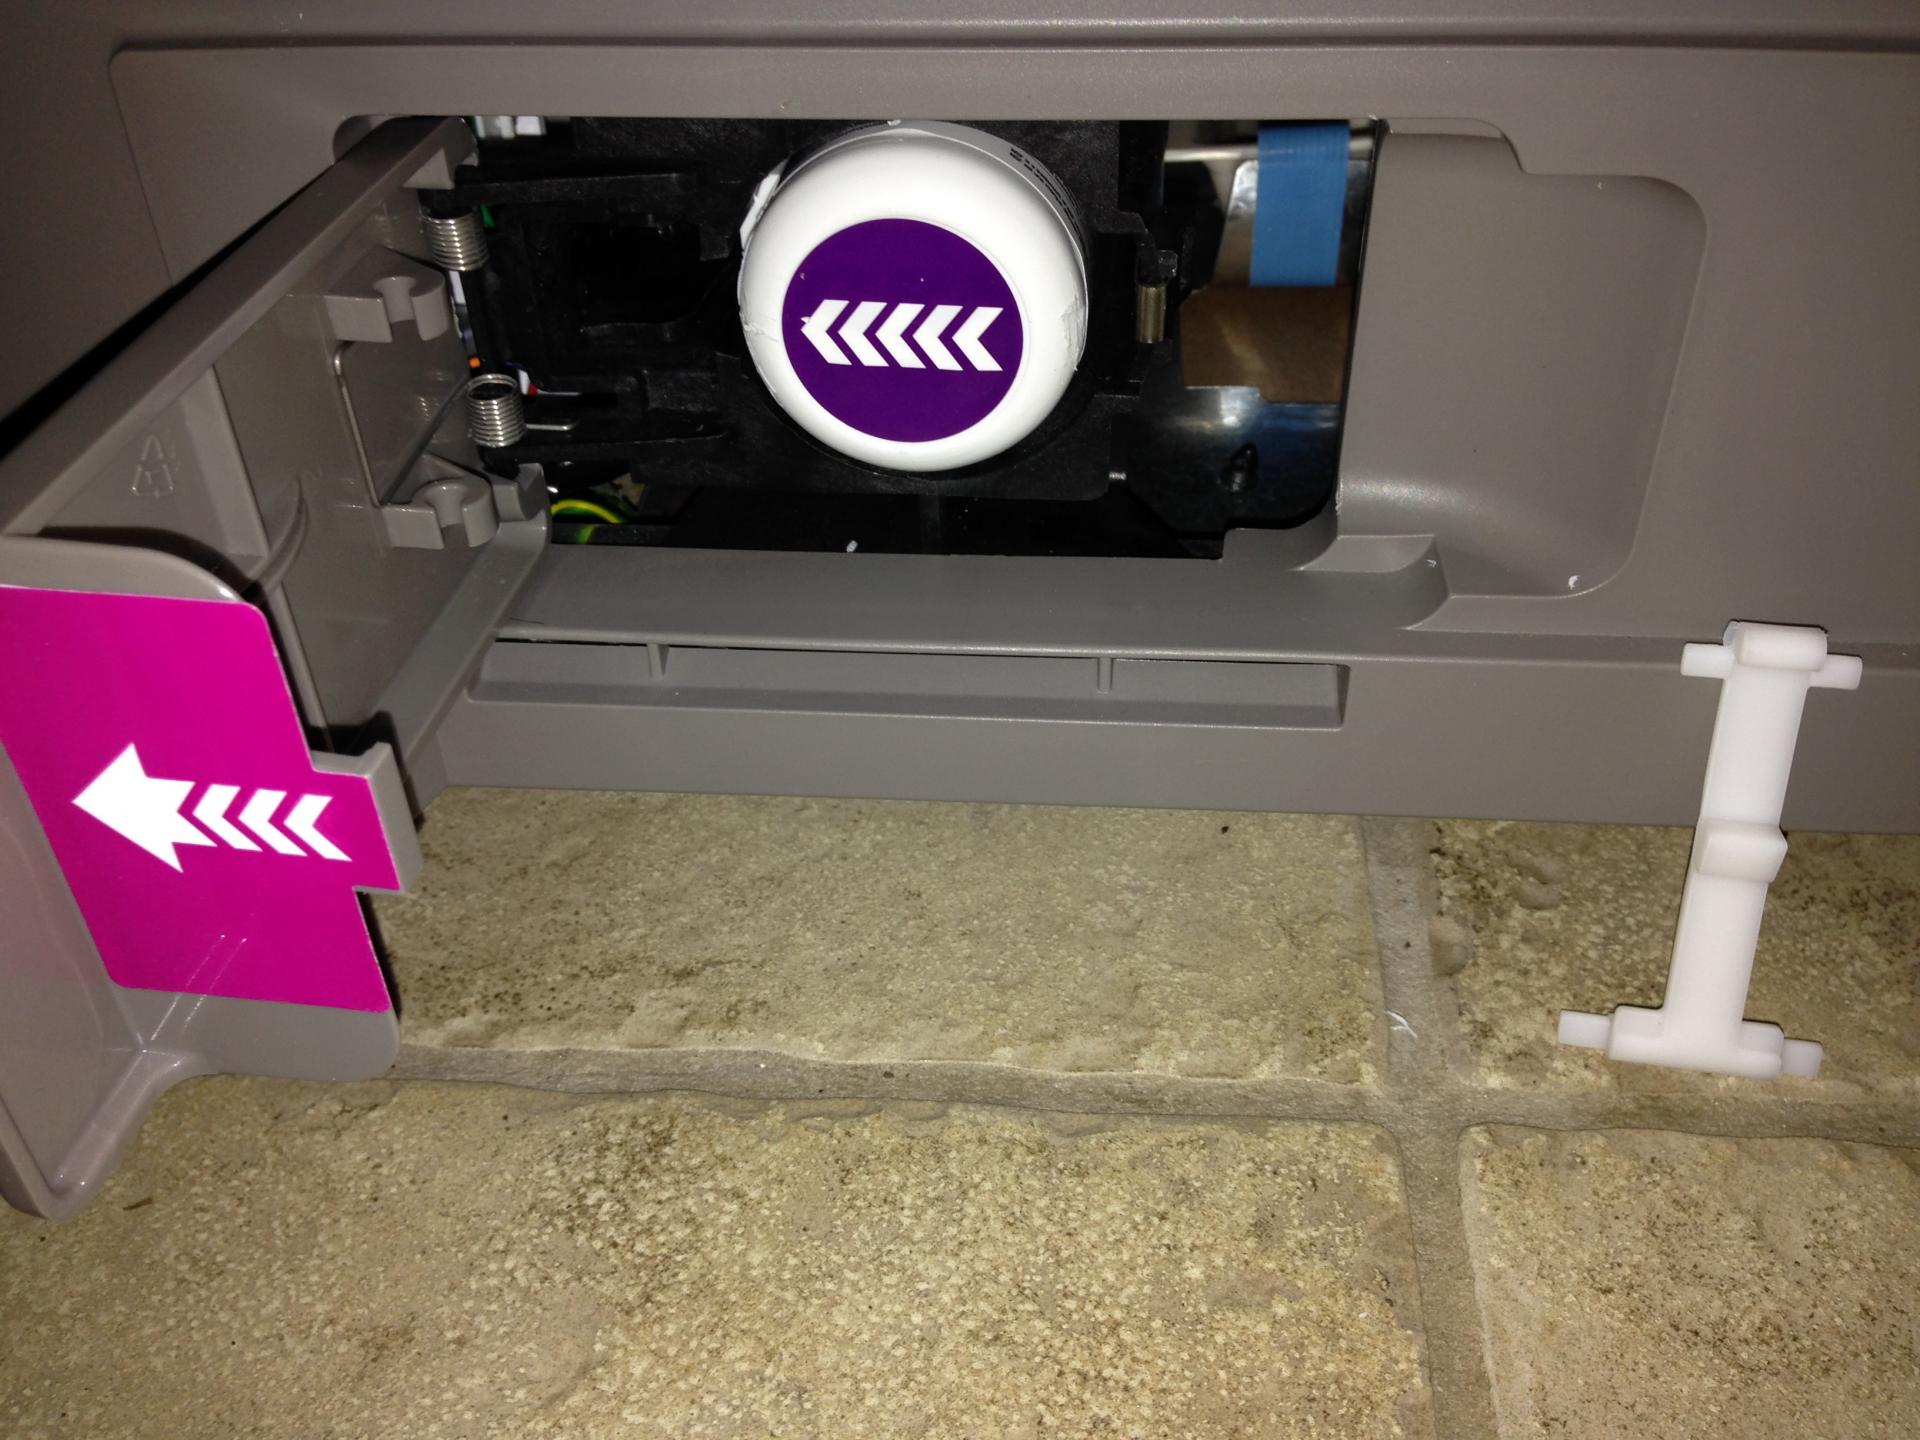
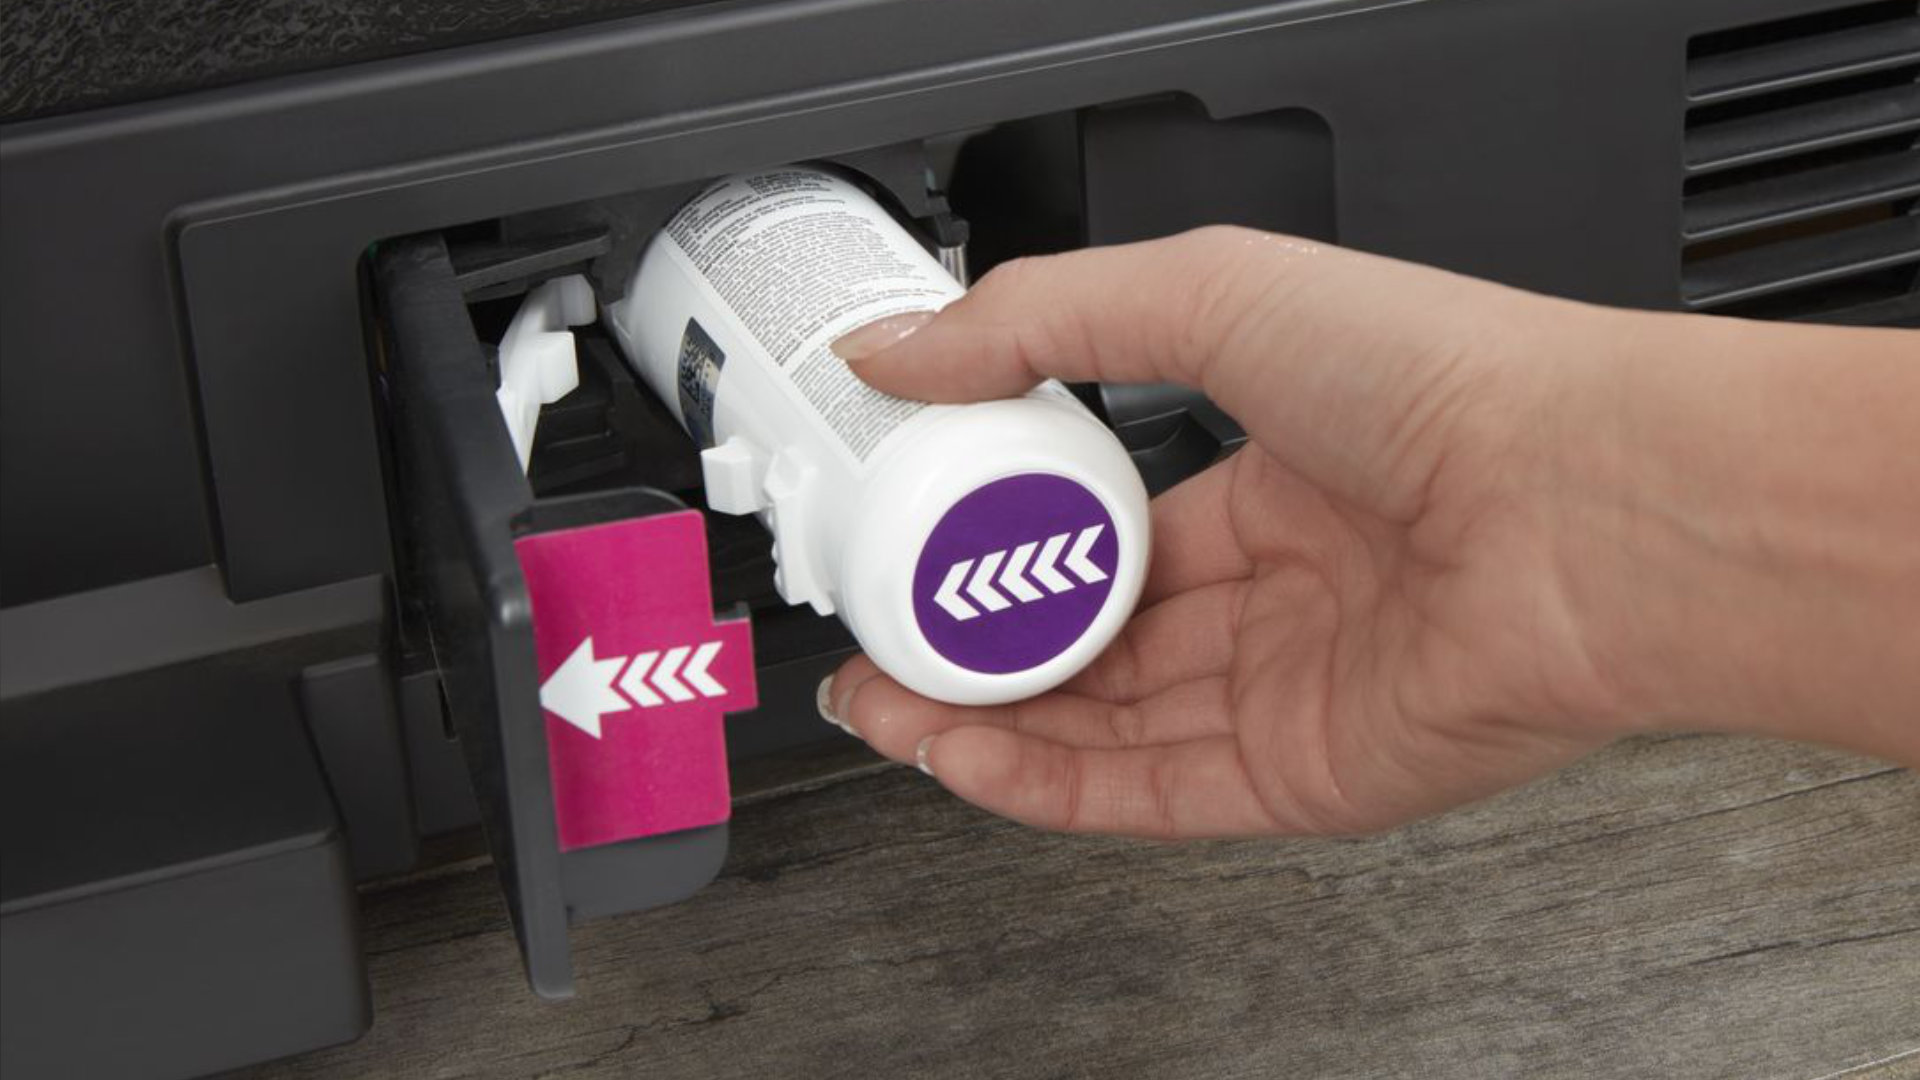
- At the bottom front of the refrigerator: In some models, the water filter compartment is located at the bottom front of the refrigerator. There may be a removable grille or cover that needs to be removed to access the filter.
- In the rear of the refrigerator: For certain refrigerator models, the water filter compartment is located at the back, either inside the refrigerator or behind a removable panel. You may need to pull the refrigerator away from the wall to access the filter.
Once you have located the water filter compartment, proceed to the next step to remove the old water filter.
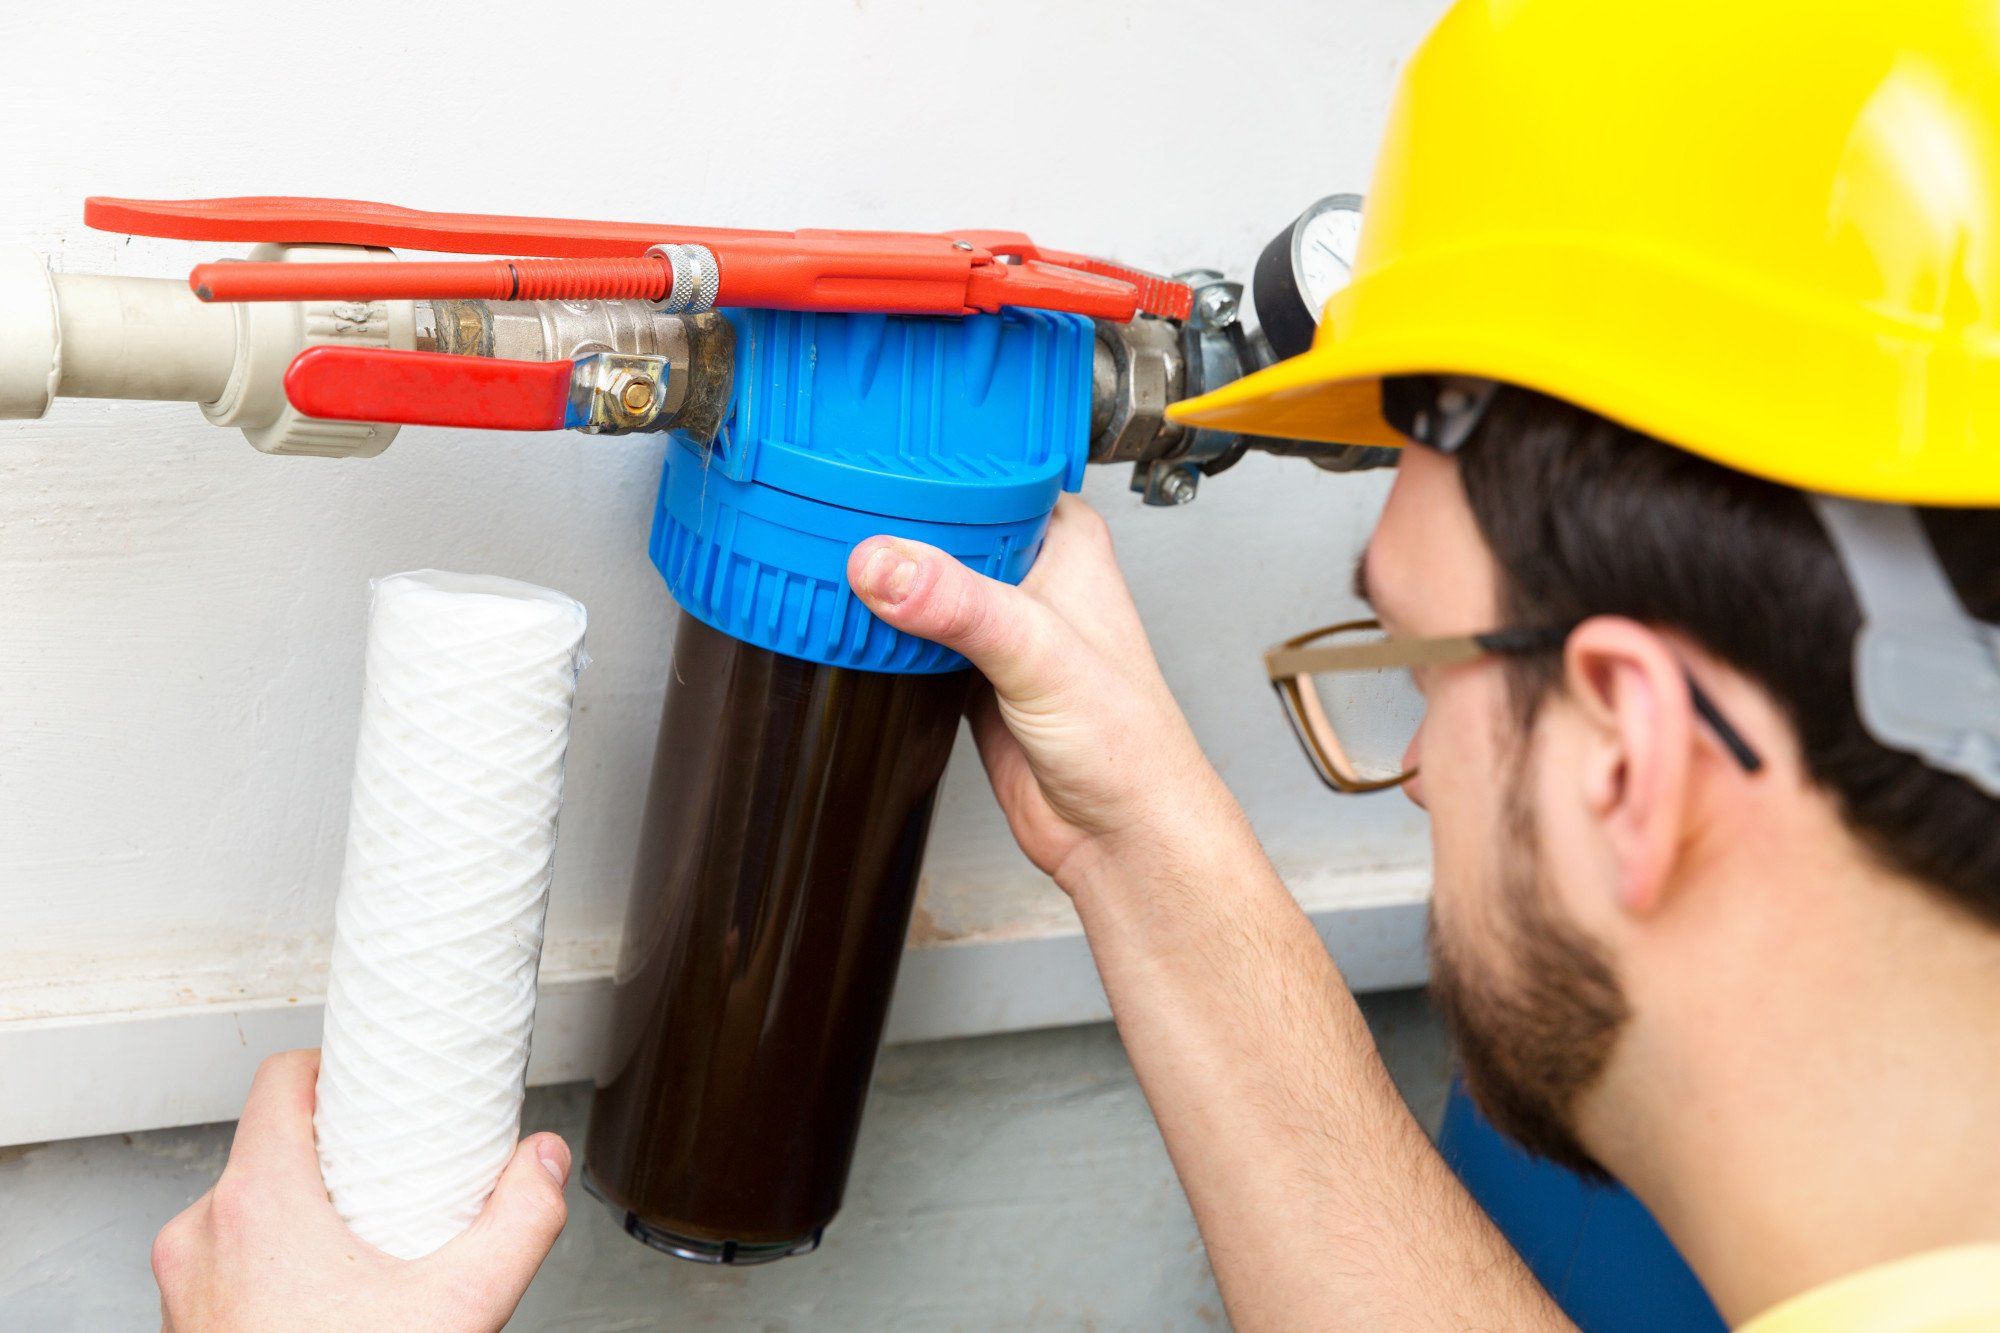
Step 3: Remove the old water filter
Now that you have located the water filter compartment, it’s time to remove the old water filter. Follow these steps:
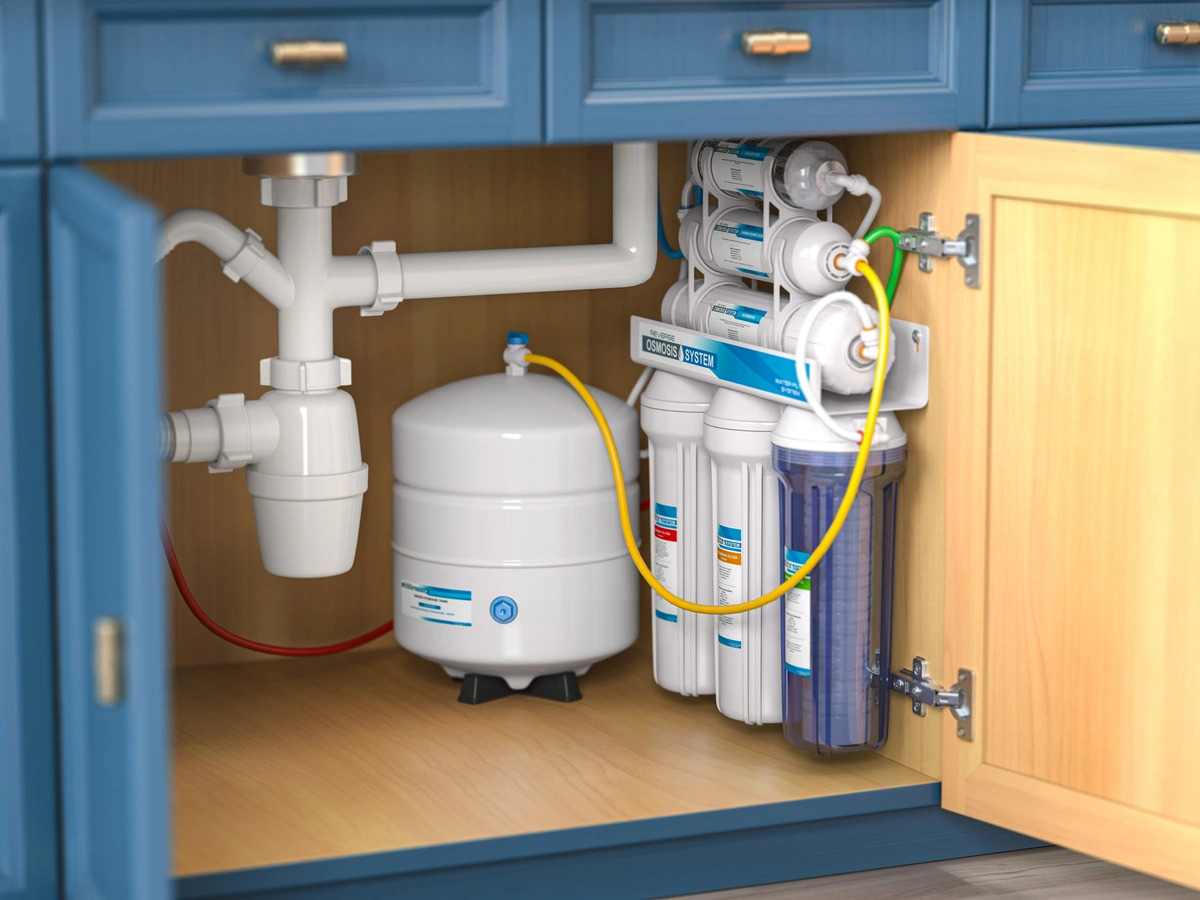
- Turn off the water supply: Before removing the filter, it’s important to turn off the water supply to prevent any leaks or spills. Locate the water shut-off valve near your refrigerator and close it.
- Open the filter compartment: Depending on the design of your refrigerator, you may need to open a door, remove a cover, or unscrew a cap to access the filter compartment.
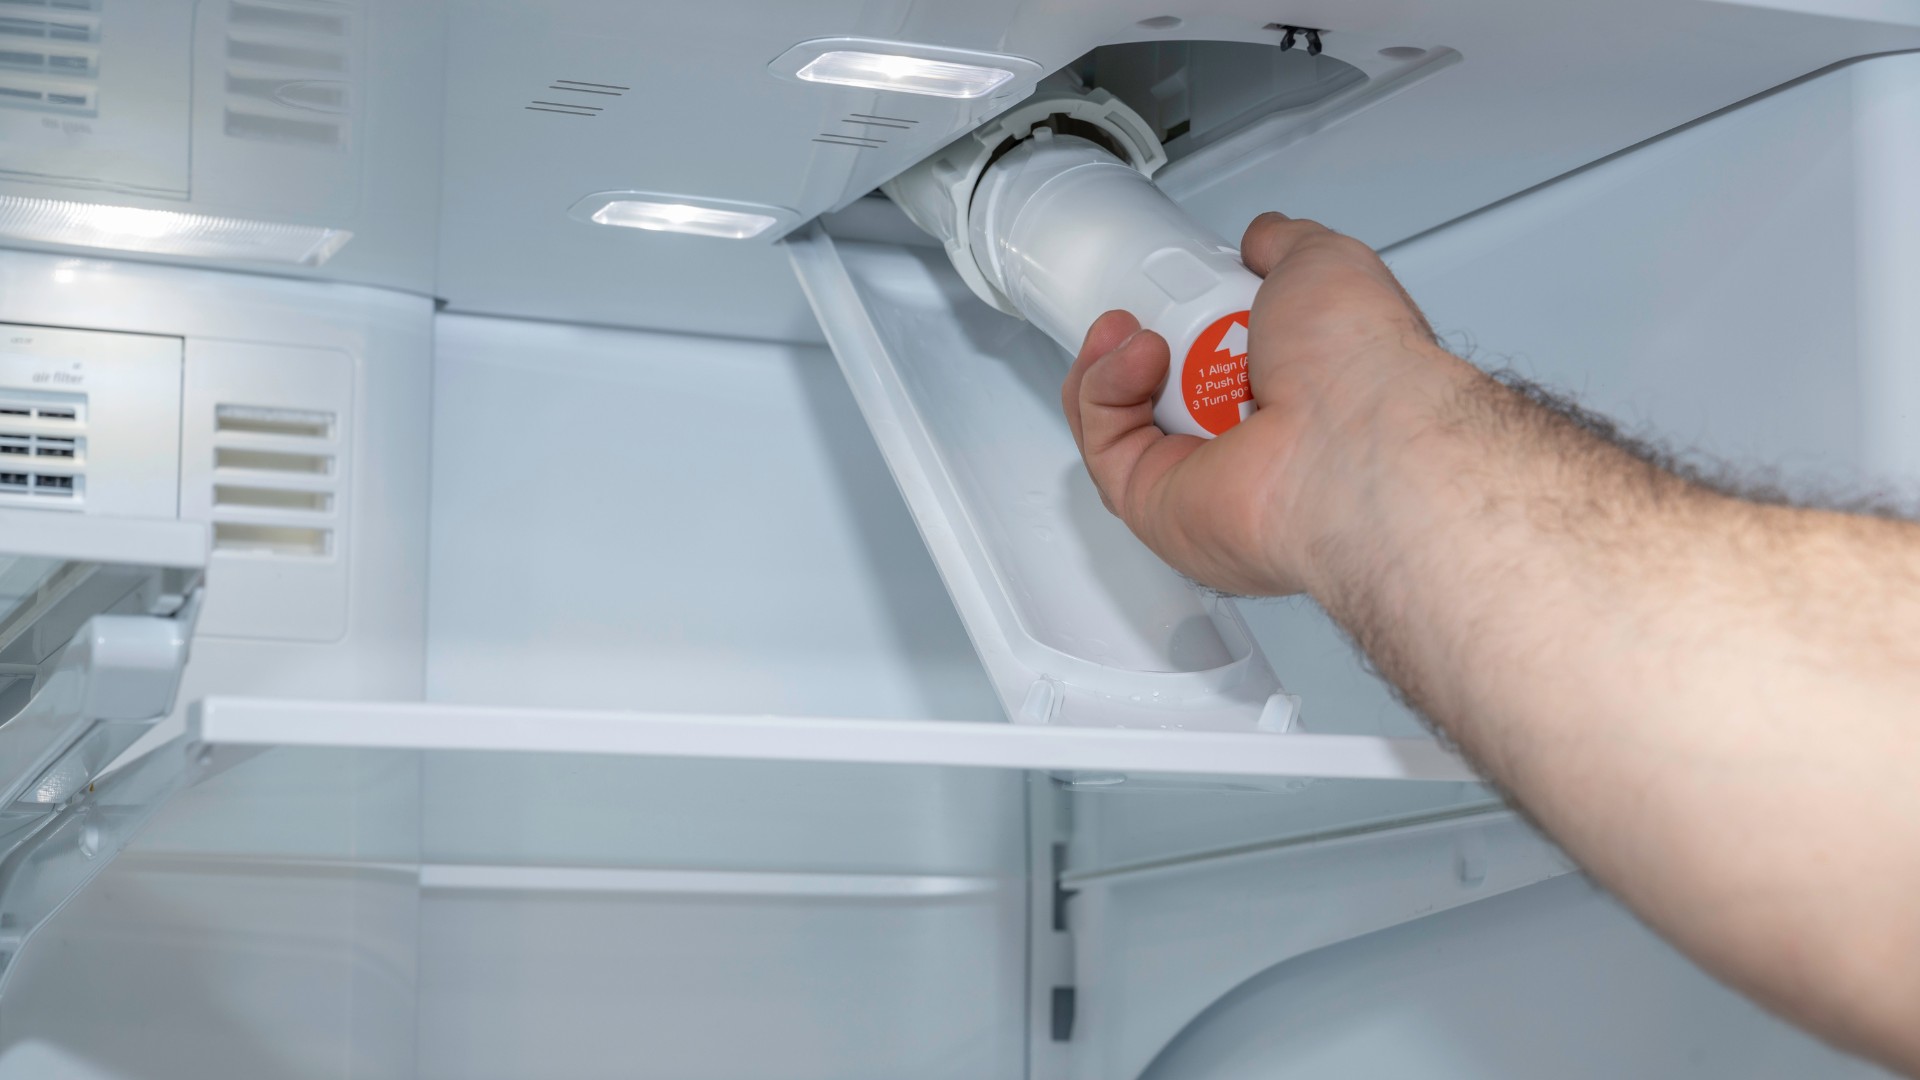
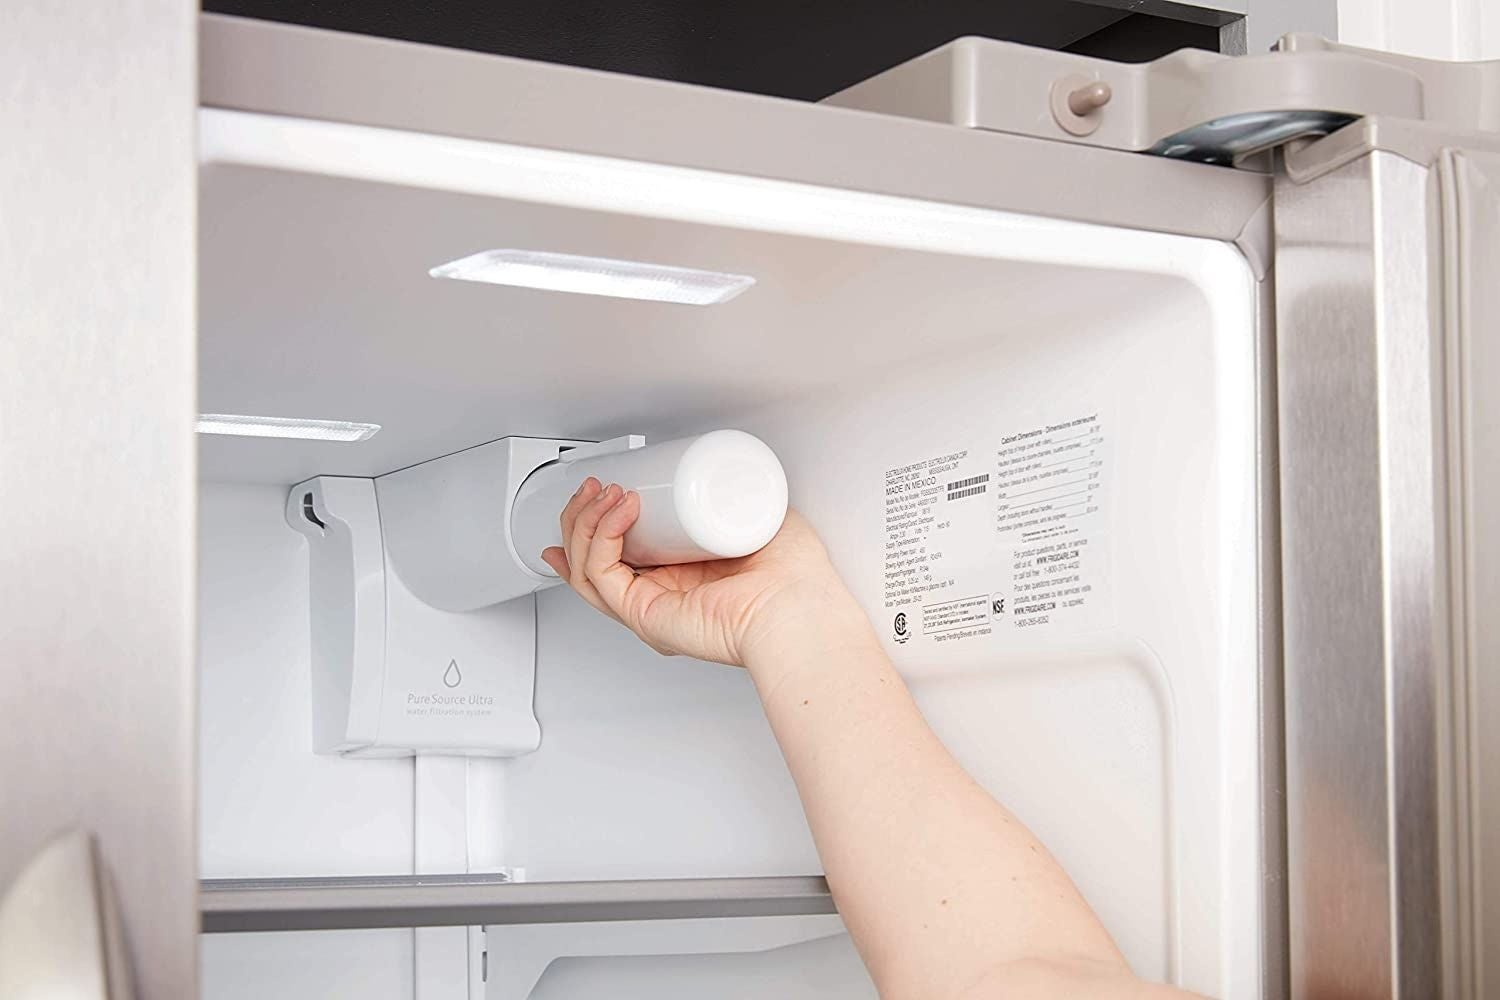
- Remove the old water filter: Carefully grip the old water filter and twist it counterclockwise to remove it. Some models may have a push-button release or a lever that needs to be disengaged before the filter can be removed. Follow the instructions specific to your refrigerator.
- Dispose of the old filter: Once the old water filter is removed, place it in a plastic bag for disposal. It’s important to properly dispose of the used filter to prevent any contamination or environmental harm.
At this point, you have successfully removed the old water filter. Now, it’s time to move on to the next step and install the new water filter.
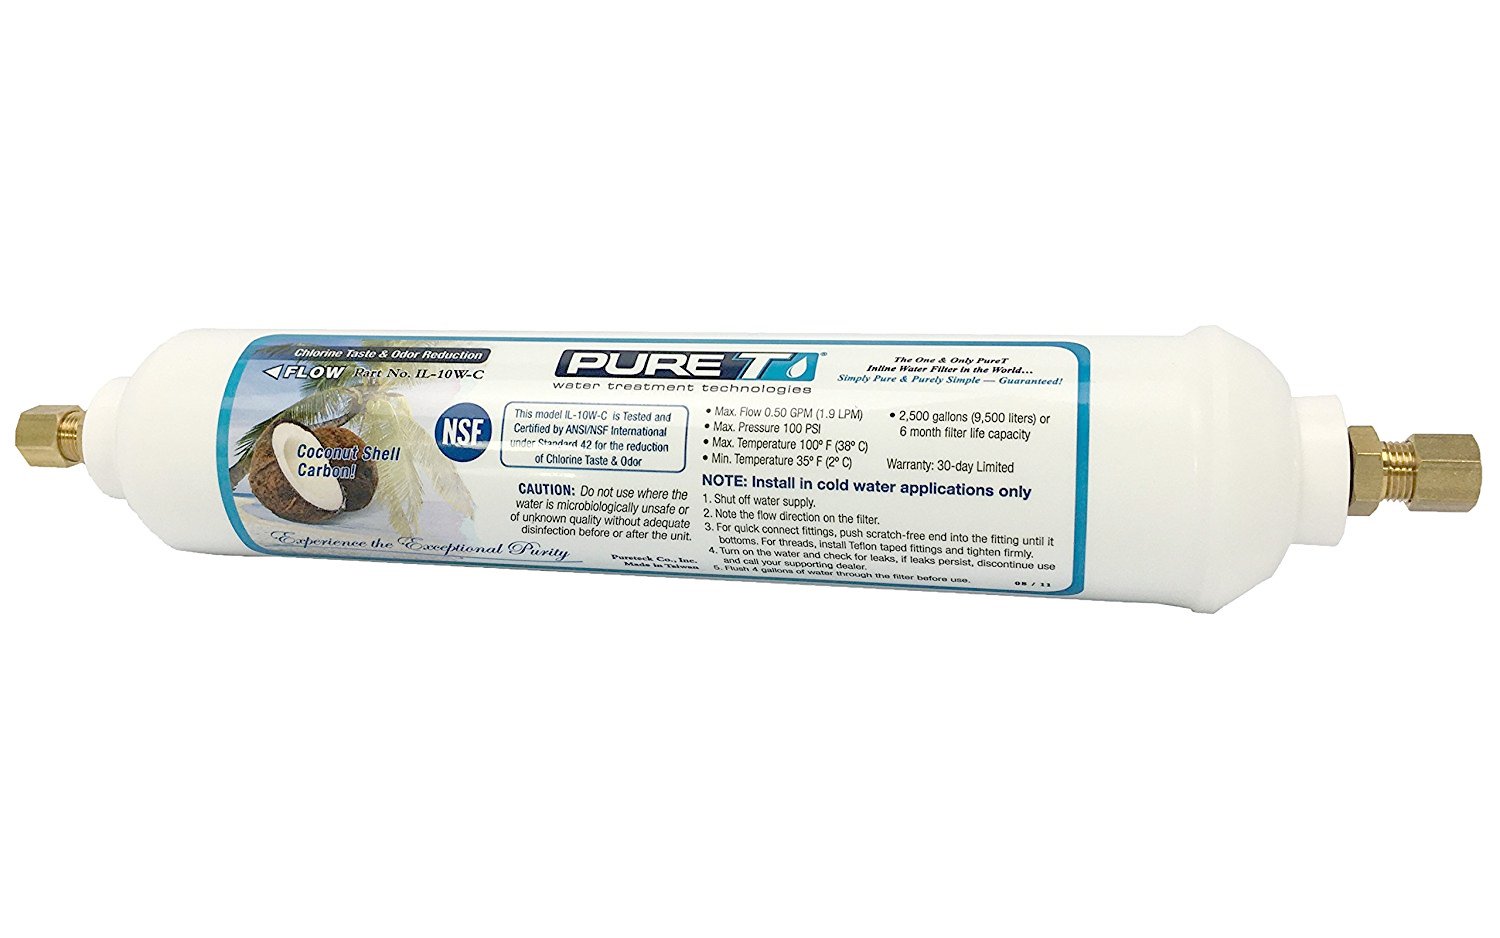
Step 4: Install the new water filter
With the old water filter removed, it’s time to install the new one. Follow these steps to ensure proper installation:
- Inspect the new filter: Before installing the new water filter, take a moment to inspect it for any damage or defects. Make sure it matches the model number or part number specified in your refrigerator’s user manual.
- Prepare the new filter: If your new filter has a protective cap or seal, remove it before installation. This will ensure the proper flow of water through the filter.
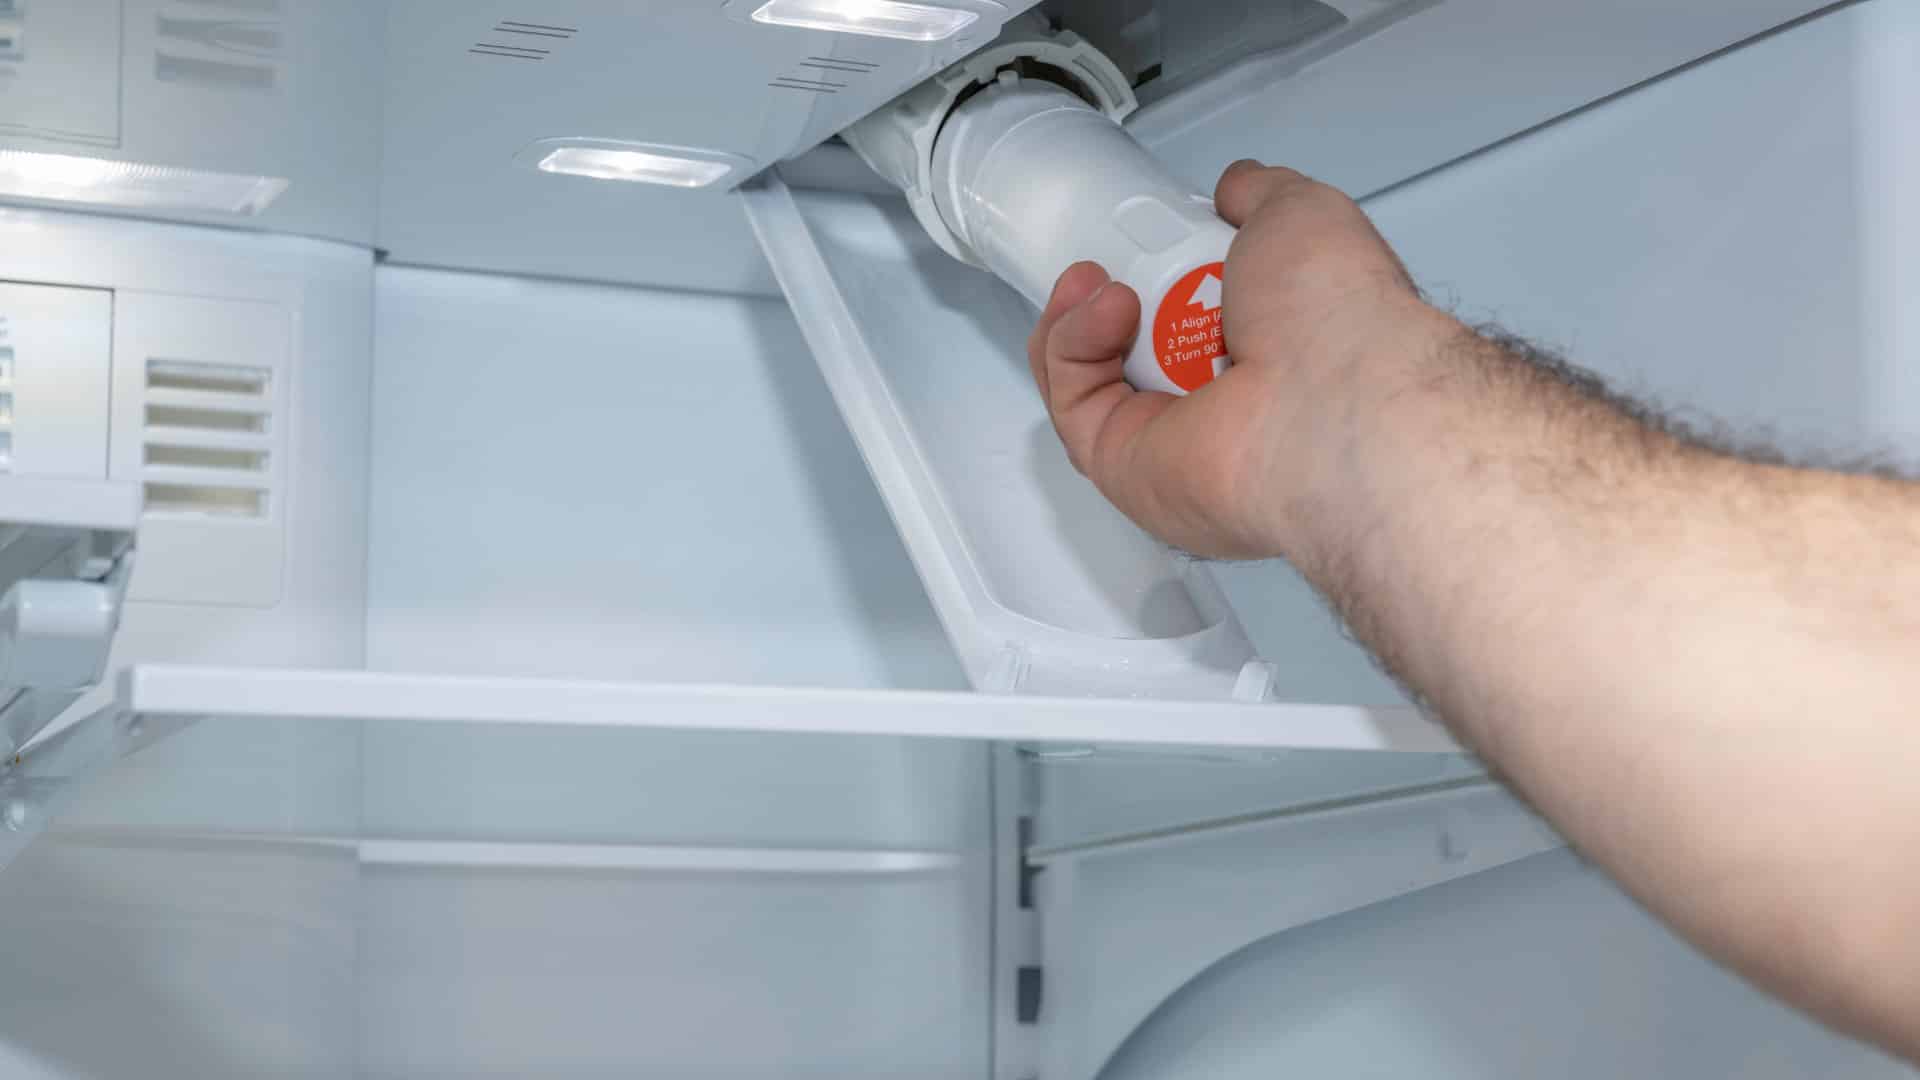
- Align the new filter: Insert the new water filter into the filter housing, aligning it with the arrows or markings indicated on the filter housing. Make sure it is firmly seated and properly aligned.
- Secure the new filter: Once the new filter is aligned, twist it clockwise until it locks into place. This may require a quarter turn or more, depending on your refrigerator model. Ensure that it is securely fastened.
- Clean up any spills: During the installation process, there may be some spills or drips. Use a towel or cloth to clean up any water and ensure that the surrounding area is dry.
With the new water filter installed, you are ready to move on to the next step and reset the filter indicator light, if applicable to your refrigerator.
When changing your refrigerator water filter, always turn off the water supply and follow the manufacturer’s instructions to ensure proper installation and function.
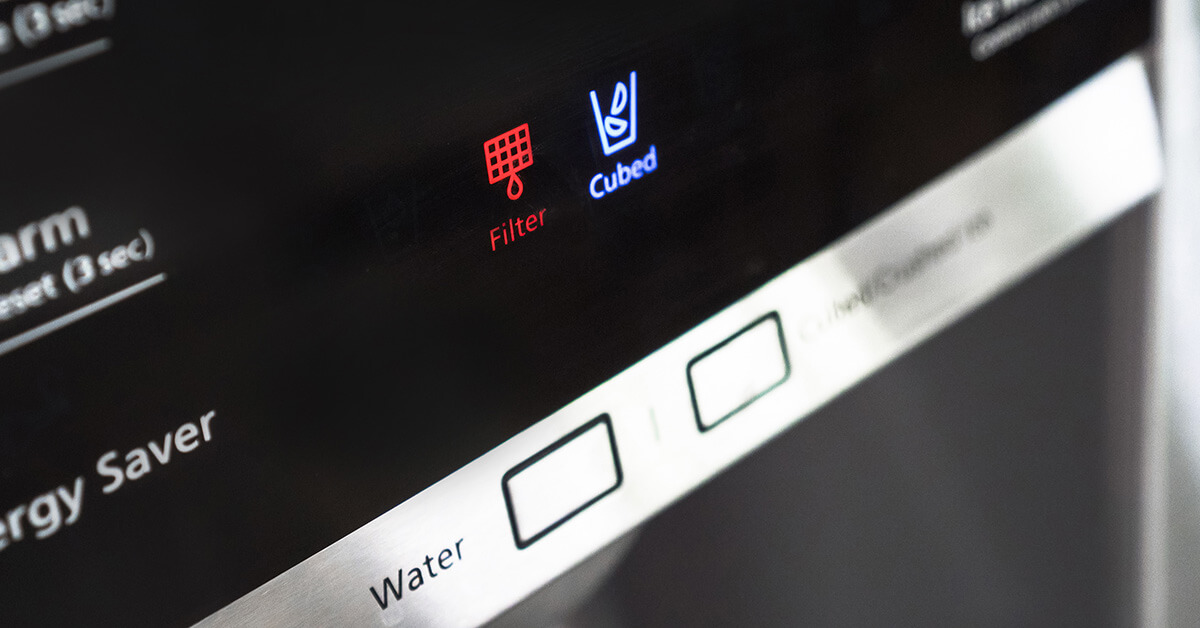
Step 5: Reset the filter indicator light (if applicable)
Some refrigerators are equipped with a filter indicator light that reminds you when it’s time to replace the water filter. If your refrigerator has this feature, you will need to reset the filter indicator light after installing the new filter. Here’s how:
- Refer to the user manual: Consult your refrigerator’s user manual to determine the specific instructions for resetting the filter indicator light. The process may vary depending on the make and model of your appliance.
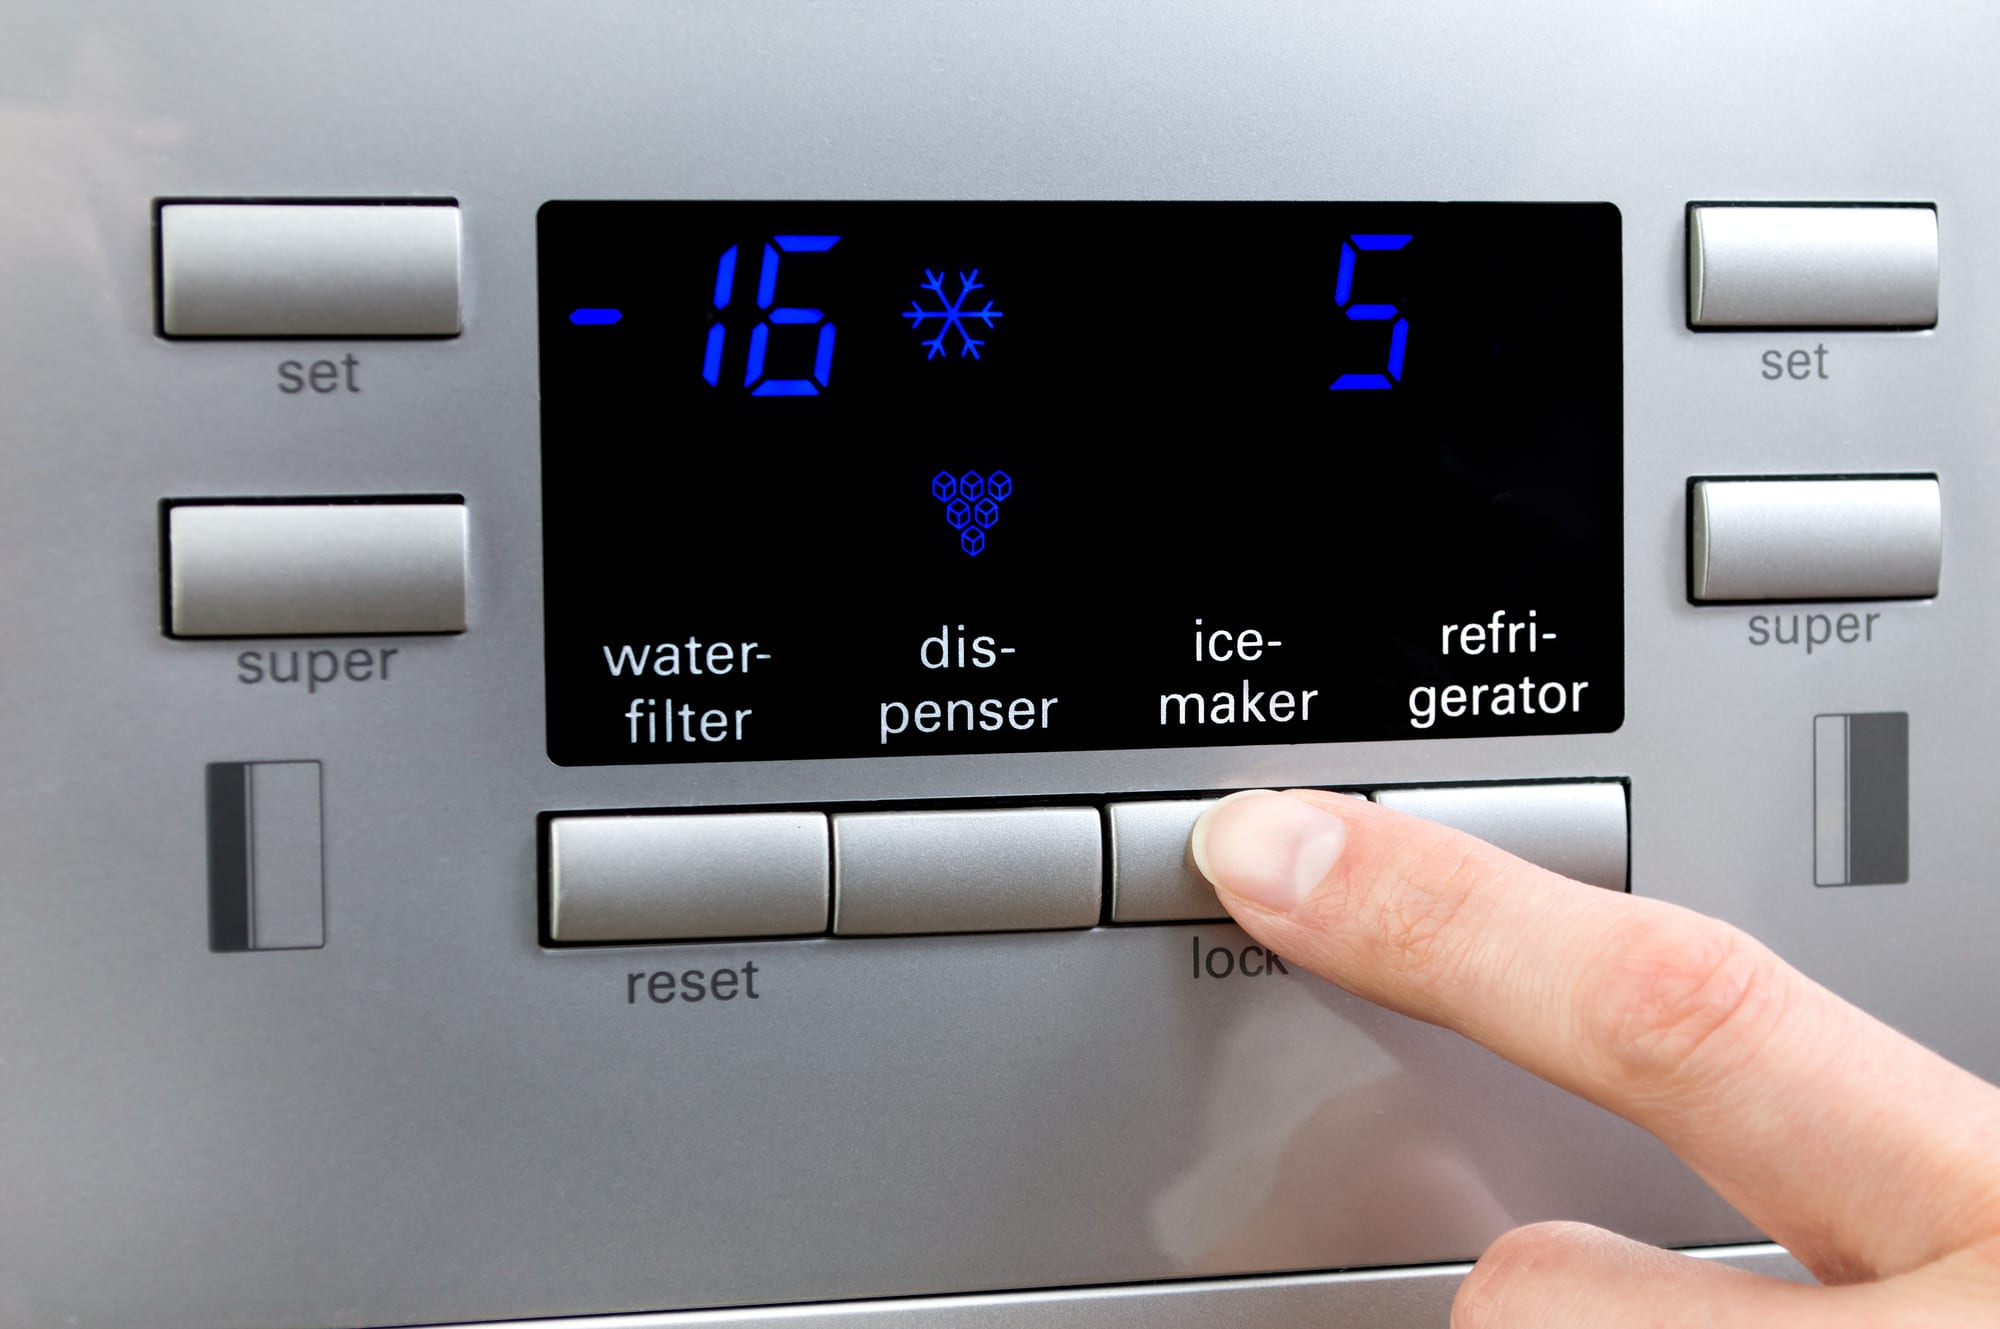
- Locate the reset button: Look for a reset button or control panel that controls the filter indicator light. It is typically located on the front control panel or inside the refrigerator.
- Press and hold the reset button: Press and hold the reset button for a few seconds until the filter indicator light changes or resets. The light may blink, change color, or go out completely, depending on your refrigerator model.
- Confirm the reset: Check the filter indicator light to ensure it has been successfully reset. It should now indicate that the filter has been changed or show a full filter life status.
By resetting the filter indicator light, you’re ensuring that the monitoring system recognizes the new filter and accurately displays its lifespan. This will help you keep track of when it’s time to replace the filter in the future.
Now that the filter indicator light is reset, it’s time to move on to the next step and run water through the new filter.
Step 6: Run water through the new filter
After installing the new water filter and resetting the filter indicator light, it’s important to run water through the new filter to purge any air and activate the filtration system. Here’s what you need to do:
- Open the water dispenser or dispenser lever: Depending on your refrigerator model, locate the water dispenser or dispenser lever on the front of the appliance. Open it to allow water to flow through the system.
- Run water for a few minutes: Let the water run for about three to five minutes to flush out any air or impurities that may be trapped in the new filter. This will help ensure the best quality of water.
- Monitor the water quality: While running the water, observe its color, odor, and taste. If you notice any unusual changes, such as a strong chlorine smell or discolored water, continue to run the water until it clears up. This indicates that the new filter is functioning properly.
Running water through the new filter also helps to establish proper water flow and prepares it for regular use. Once you are satisfied with the water quality, proceed to the final step to check for any leaks.
Step 7: Check for any leaks
After completing the previous steps and running water through the new filter, it’s crucial to check for any leaks to ensure that the installation was successful. Follow these steps to check for leaks:
- Inspect the filter housing: Carefully examine the area around the new filter and filter housing for any signs of water leakage. Look for wet spots, drips, or moisture.
- Tighten any connections: If you notice any leaks or loose connections, use pliers or your hands to tighten them gently. Be cautious not to overtighten, as it may cause damage.
- Check the water supply line: Inspect the water supply line connected to the refrigerator for any leaks or loose fittings. Tighten them as necessary.
- Monitor the area over time: After making adjustments, keep an eye on the filter and water supply connections for several hours or days to determine if there are any recurring leaks. If you notice continuous leaks, consult a professional technician or contact the manufacturer for further assistance.
Checking for leaks is a crucial step to ensure that your refrigerator is operating properly and preventing any water damage. By addressing any leaks promptly, you can prevent potential issues and maintain the efficiency of your fridge’s water filtration system.
With the final step completed, you have successfully changed the water filter in your refrigerator. Enjoy the benefits of fresh, clean water from your dispenser or ice maker!
Conclusion
Changing the water filter in your refrigerator is a vital maintenance task that ensures the quality and taste of the water and ice dispensed by your appliance. By following the steps outlined in this article, you can easily replace the water filter and keep your fridge running smoothly. Here’s a recap of the process:
- Gather the necessary tools and materials
- Locate the water filter compartment
- Remove the old water filter
- Install the new water filter
- Reset the filter indicator light (if applicable)
- Run water through the new filter
- Check for any leaks
Remember to consult your refrigerator’s user manual for specific instructions related to your particular make and model. This will ensure that you follow the manufacturer’s guidelines and maintain the warranty of your appliance.
Regularly replacing your refrigerator’s water filter is essential for maintaining the cleanliness and quality of your drinking water. It helps remove impurities, odors, and contaminants, ensuring that you and your family can enjoy refreshing and safe water right from your fridge.
Don’t neglect this important maintenance task. Set a reminder every six months to replace the water filter, or follow the recommended guidelines provided by the manufacturer. By doing so, you are not only ensuring the taste and quality of your water, but also prolonging the life of your refrigerator.
So go ahead and give your refrigerator the care it deserves by changing the water filter. Your taste buds and overall well-being will thank you for it!
Frequently Asked Questions about How To Change Refrigerator Water Filter
Was this page helpful?
At Storables.com, we guarantee accurate and reliable information. Our content, validated by Expert Board Contributors, is crafted following stringent Editorial Policies. We're committed to providing you with well-researched, expert-backed insights for all your informational needs.
0 thoughts on “How To Change Refrigerator Water Filter”