Home>Articles>How To Change Water Filter In Kitchenaid Refrigerator
Articles
How To Change Water Filter In Kitchenaid Refrigerator
Modified: August 27, 2024
Learn how to easily change the water filter in your Kitchenaid refrigerator with our step-by-step articles. Ensure clean and fresh water for your family.
(Many of the links in this article redirect to a specific reviewed product. Your purchase of these products through affiliate links helps to generate commission for Storables.com, at no extra cost. Learn more)
Introduction
Welcome to this guide on how to change the water filter in a KitchenAid refrigerator. Having clean and filtered water at your fingertips is essential for any household, and maintaining the water filter in your refrigerator is crucial for ensuring the quality of your drinking water and ice. Regularly changing the water filter will help remove impurities, improve the taste of your water, and maintain the optimal performance of your refrigerator.
In this article, we will take you through a step-by-step process to help you change the water filter in your KitchenAid refrigerator. We will provide detailed instructions and tips to ensure a hassle-free experience. But before we start, please note that the steps may vary slightly depending on the specific model of your KitchenAid refrigerator. It is always recommended to consult your refrigerator’s owner’s manual for model-specific instructions. Without further ado, let’s get started!
Key Takeaways:
- Regularly changing the water filter in your KitchenAid refrigerator is crucial for clean, refreshing water and ice. Follow the step-by-step guide to ensure hassle-free maintenance and optimal performance.
- Gather the necessary tools, locate the filter, remove and prepare the new one, install it securely, reset the indicator, and test for proper functioning. Enjoy clean, fresh, and great-tasting water with ease!
Read more: How To Change Water Filter Ge Refrigerator
Step 1: Gathering the necessary tools and supplies
Before you begin the process of changing the water filter in your KitchenAid refrigerator, it’s important to gather all the necessary tools and supplies. This will ensure a smooth and efficient process. Here are the items you will need:
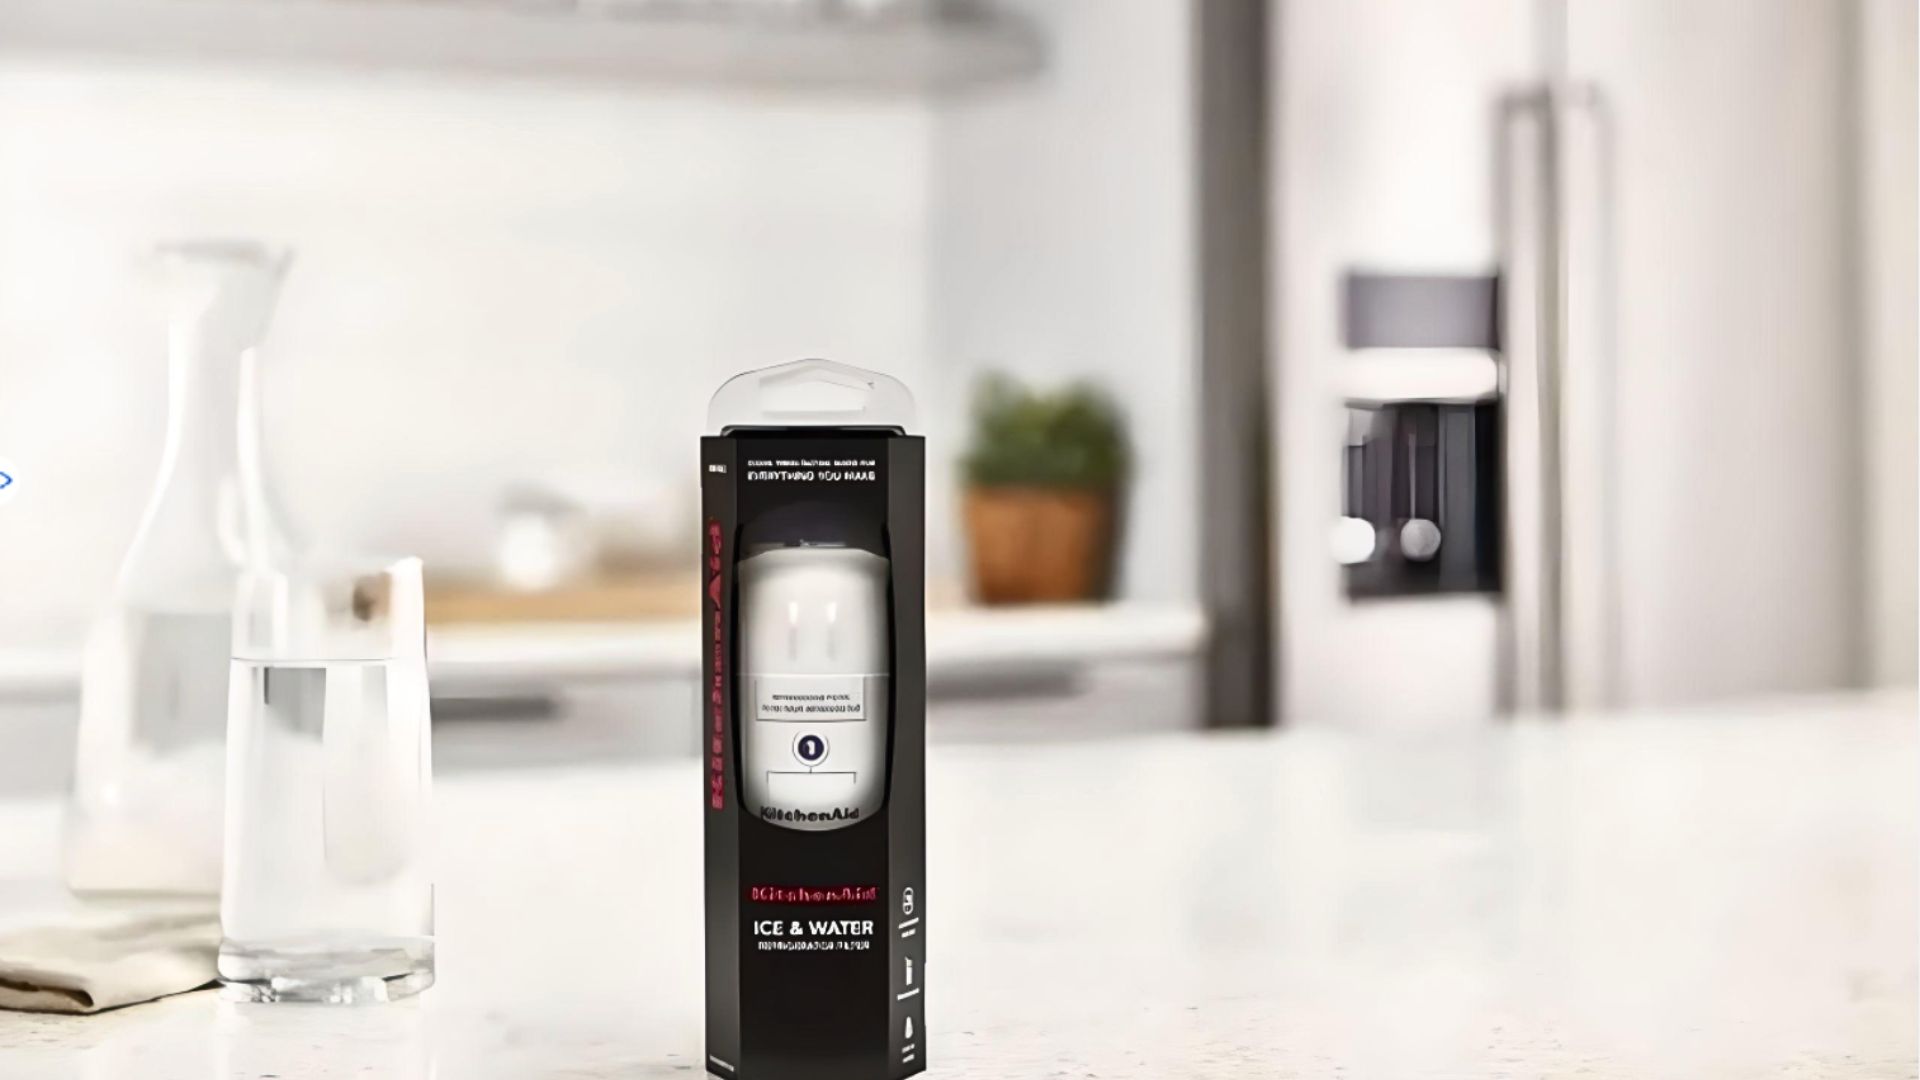
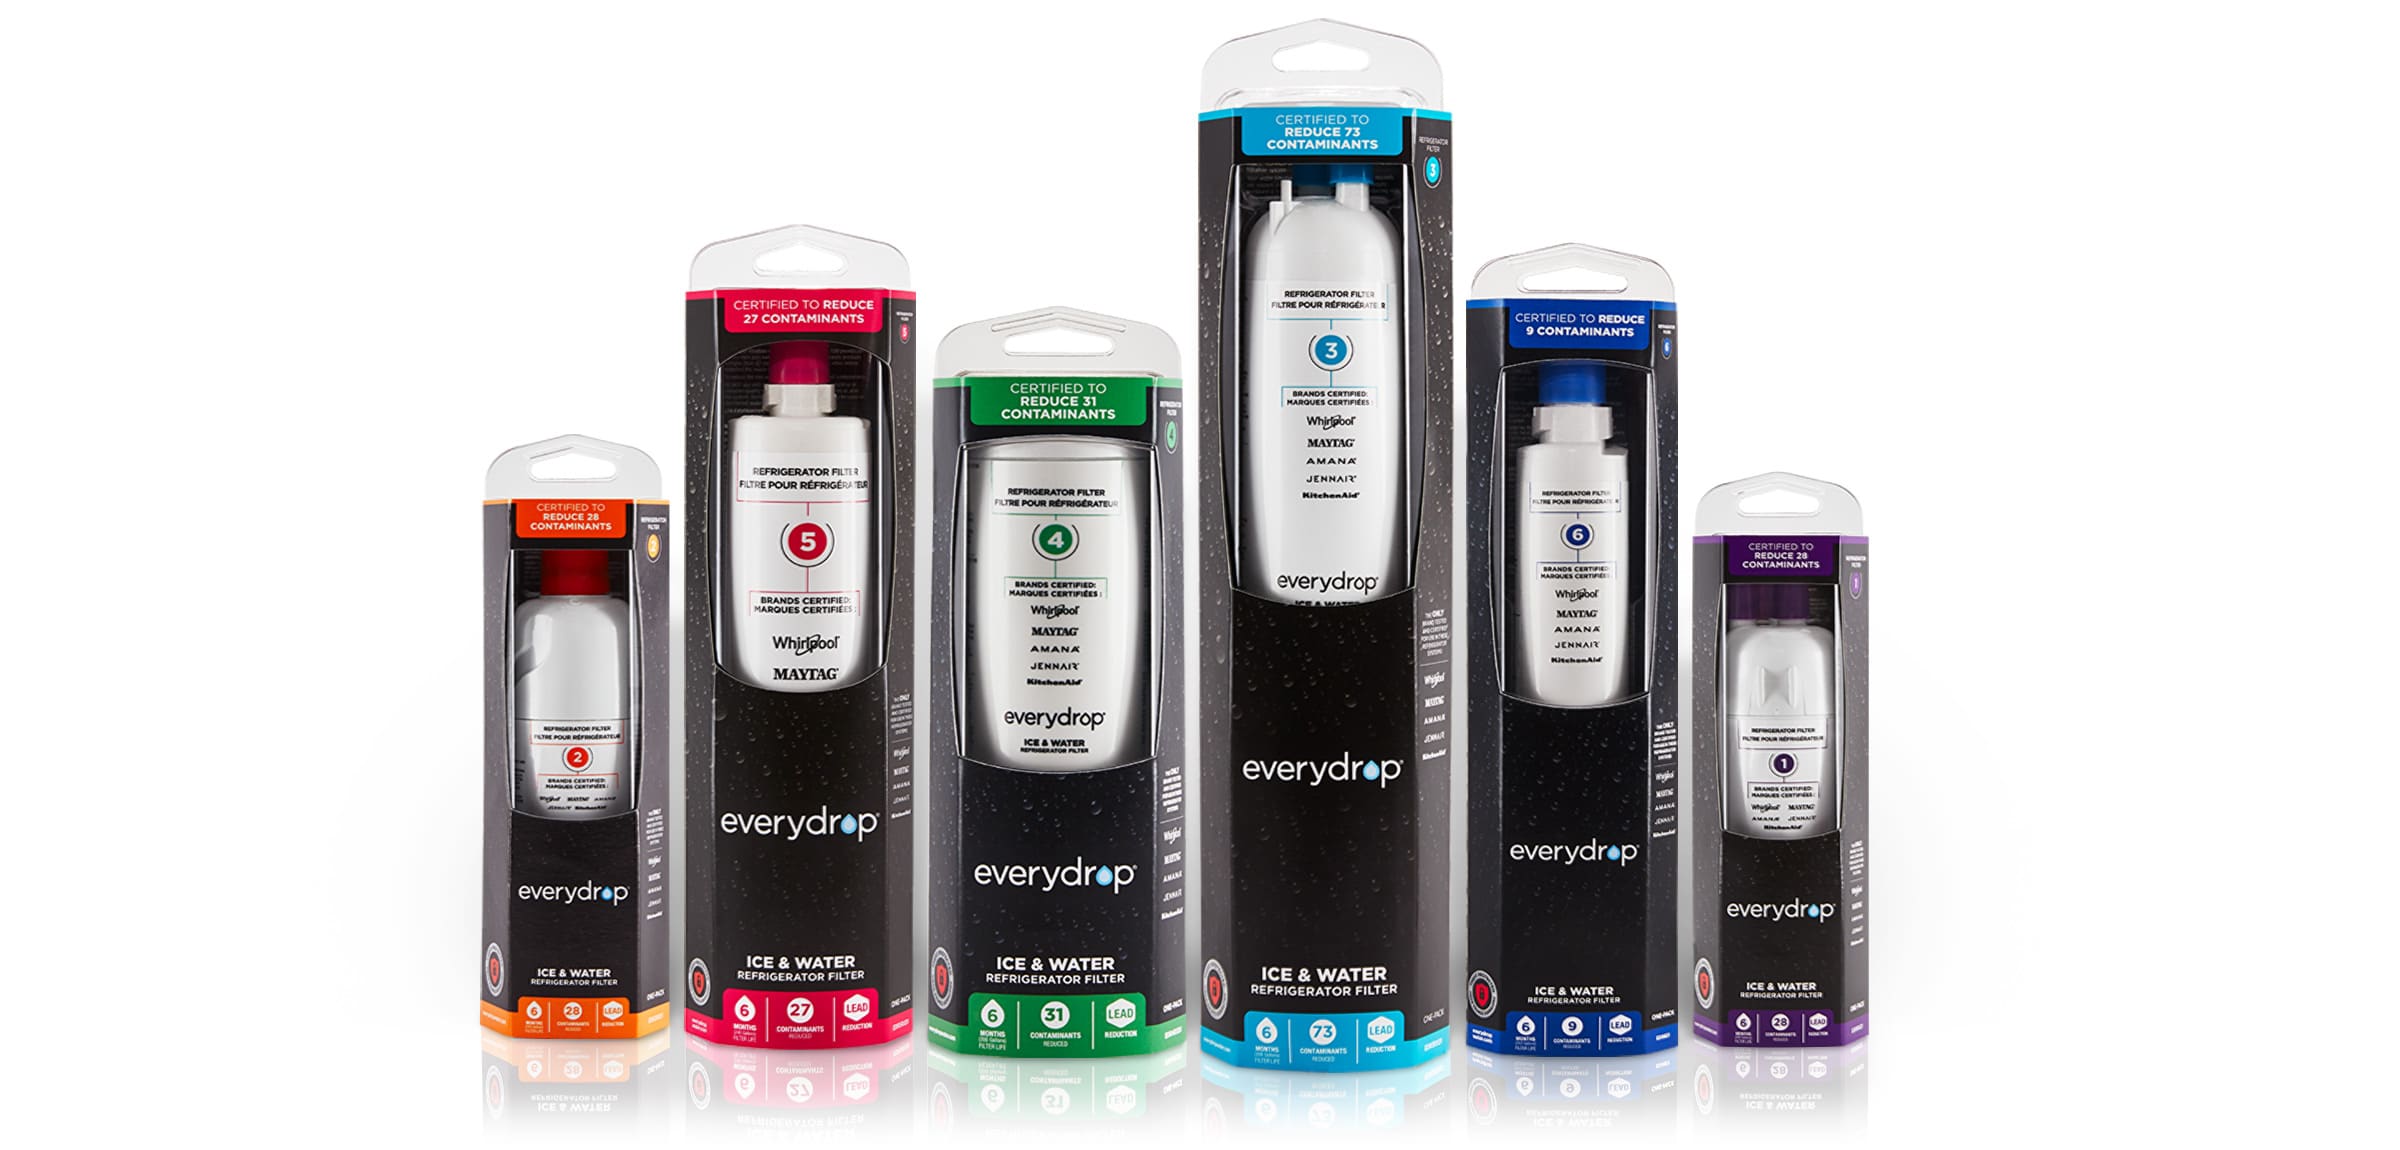
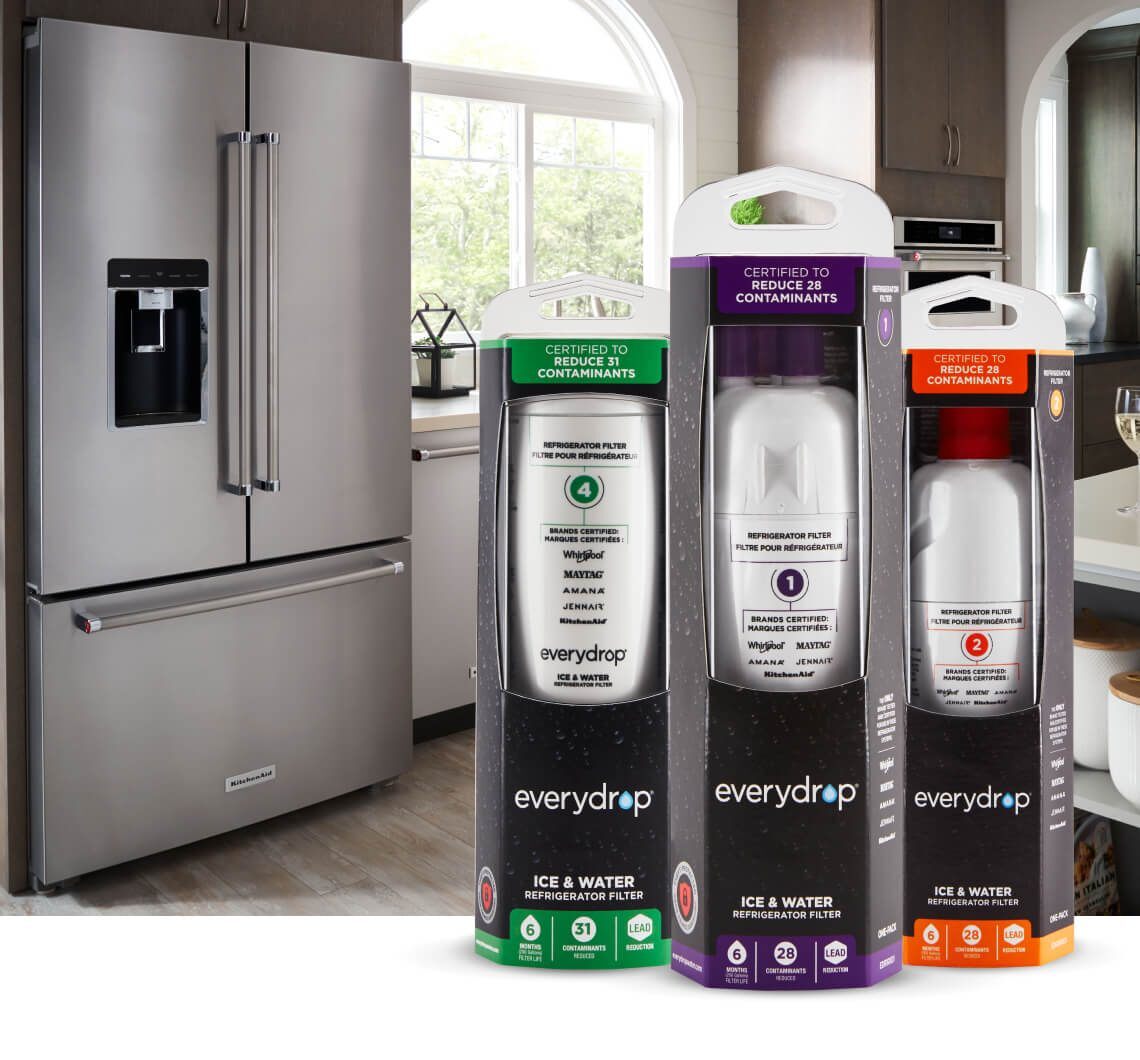
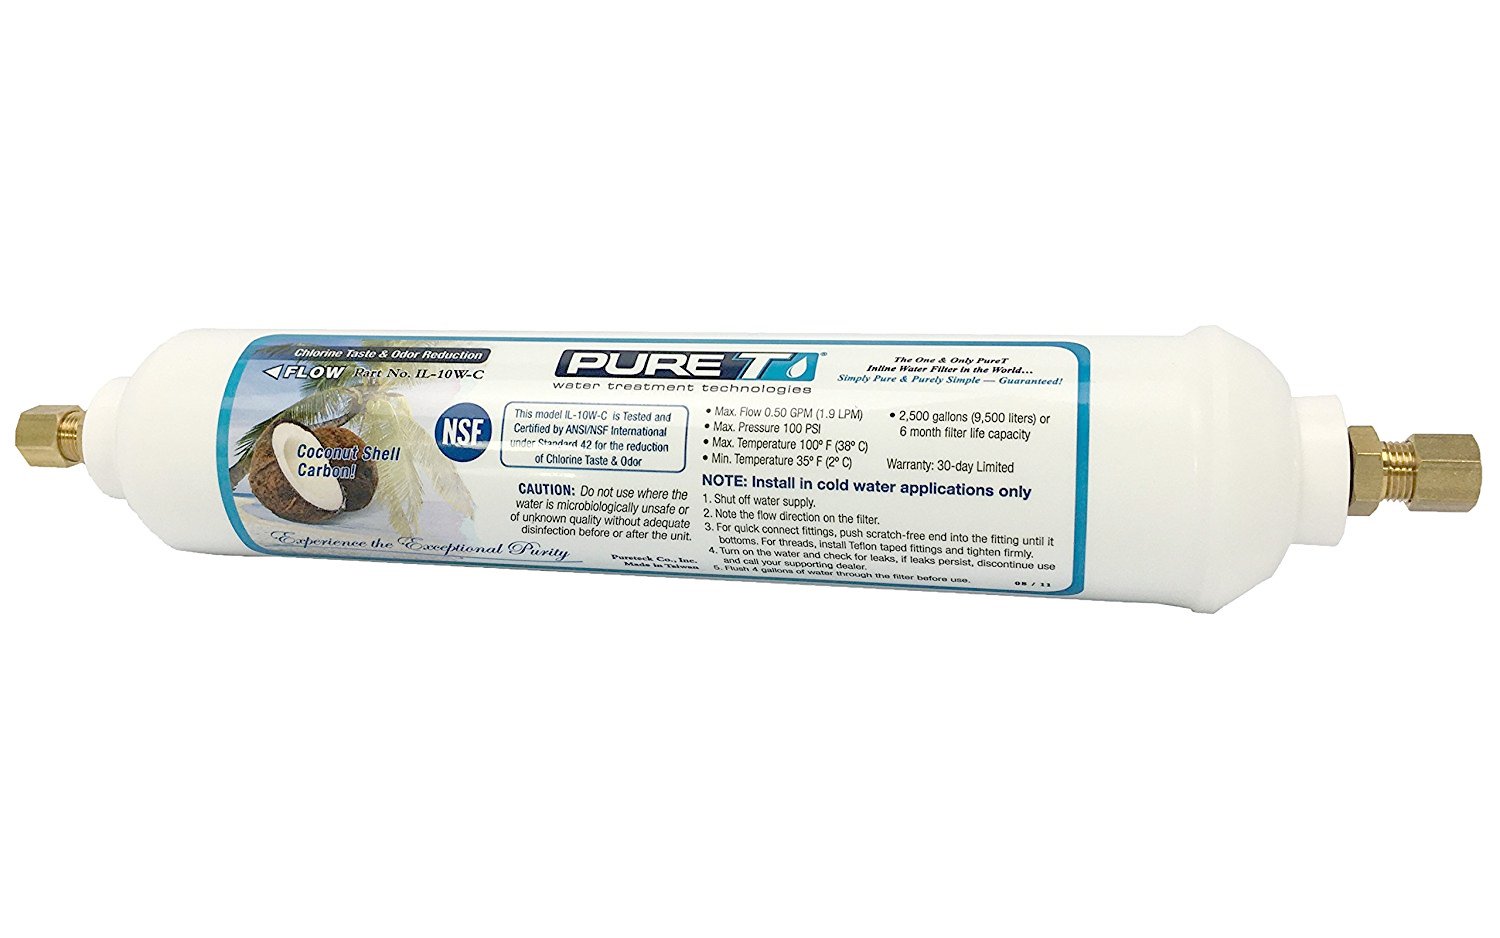
- A new water filter compatible with your KitchenAid refrigerator model
- A towel or cloth for cleaning up any spills
- A container to catch any water that may spill during the filter replacement
It’s important to note that the water filter you purchase should be an authentic KitchenAid replacement filter or a compatible filter recommended by the manufacturer. Using a filter that is not specifically designed for your refrigerator may result in subpar performance and potentially damage the unit.
Once you have gathered all the necessary tools and supplies, you are ready to move on to the next step.
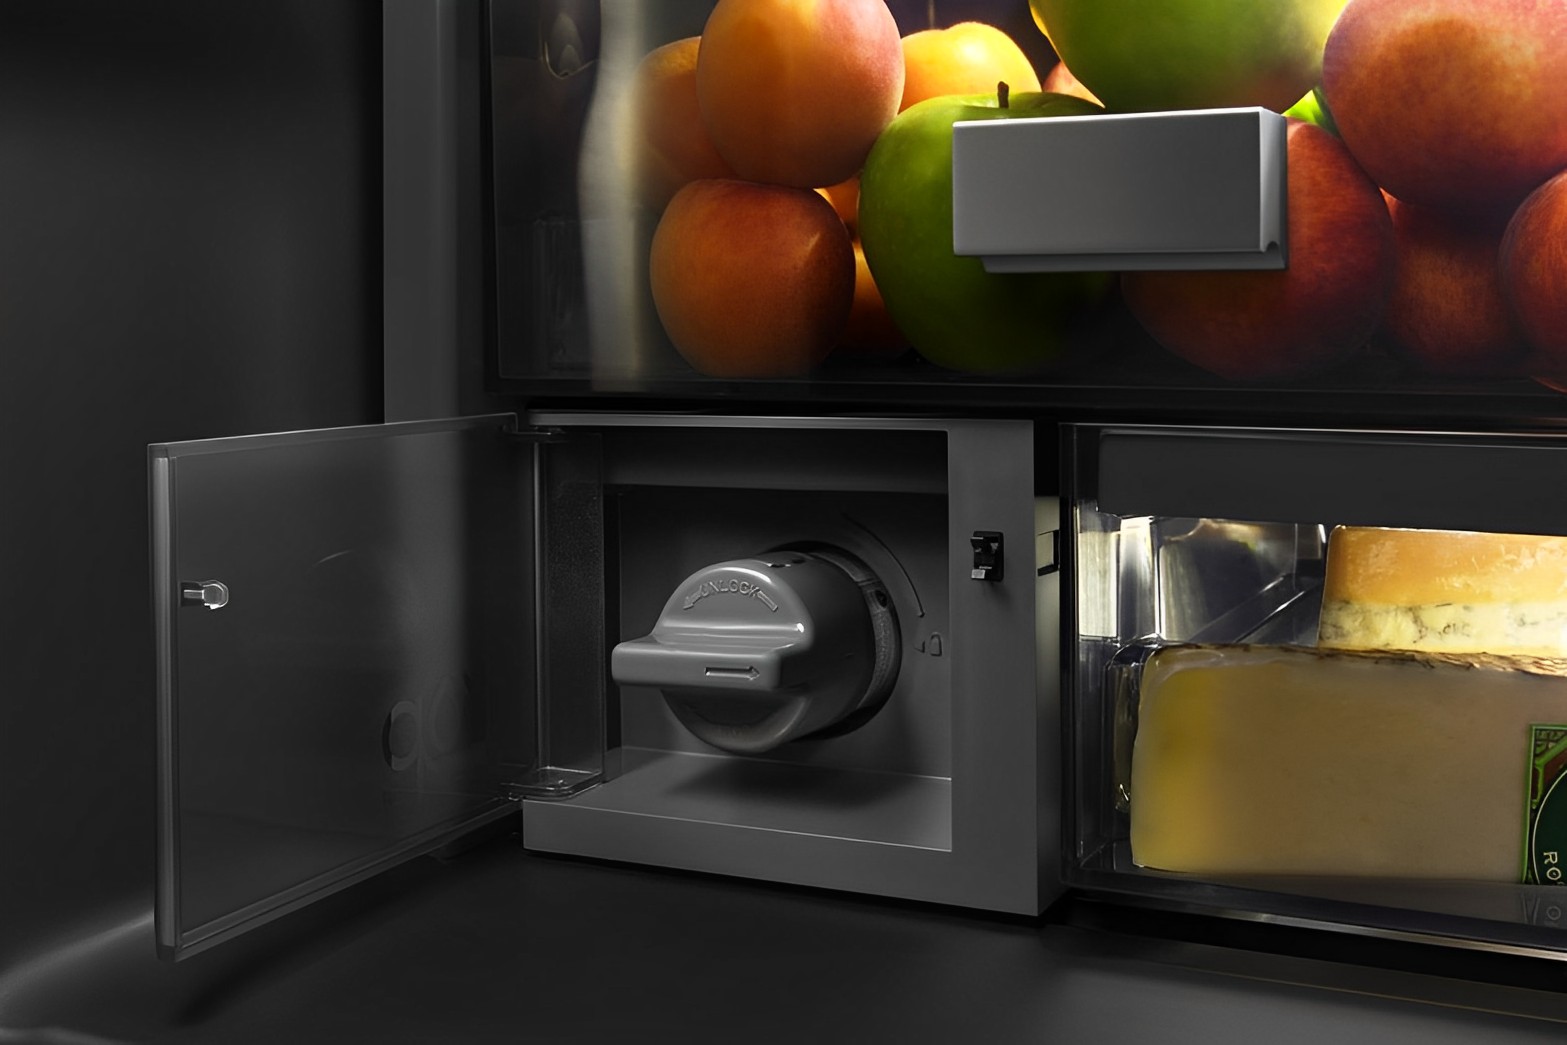
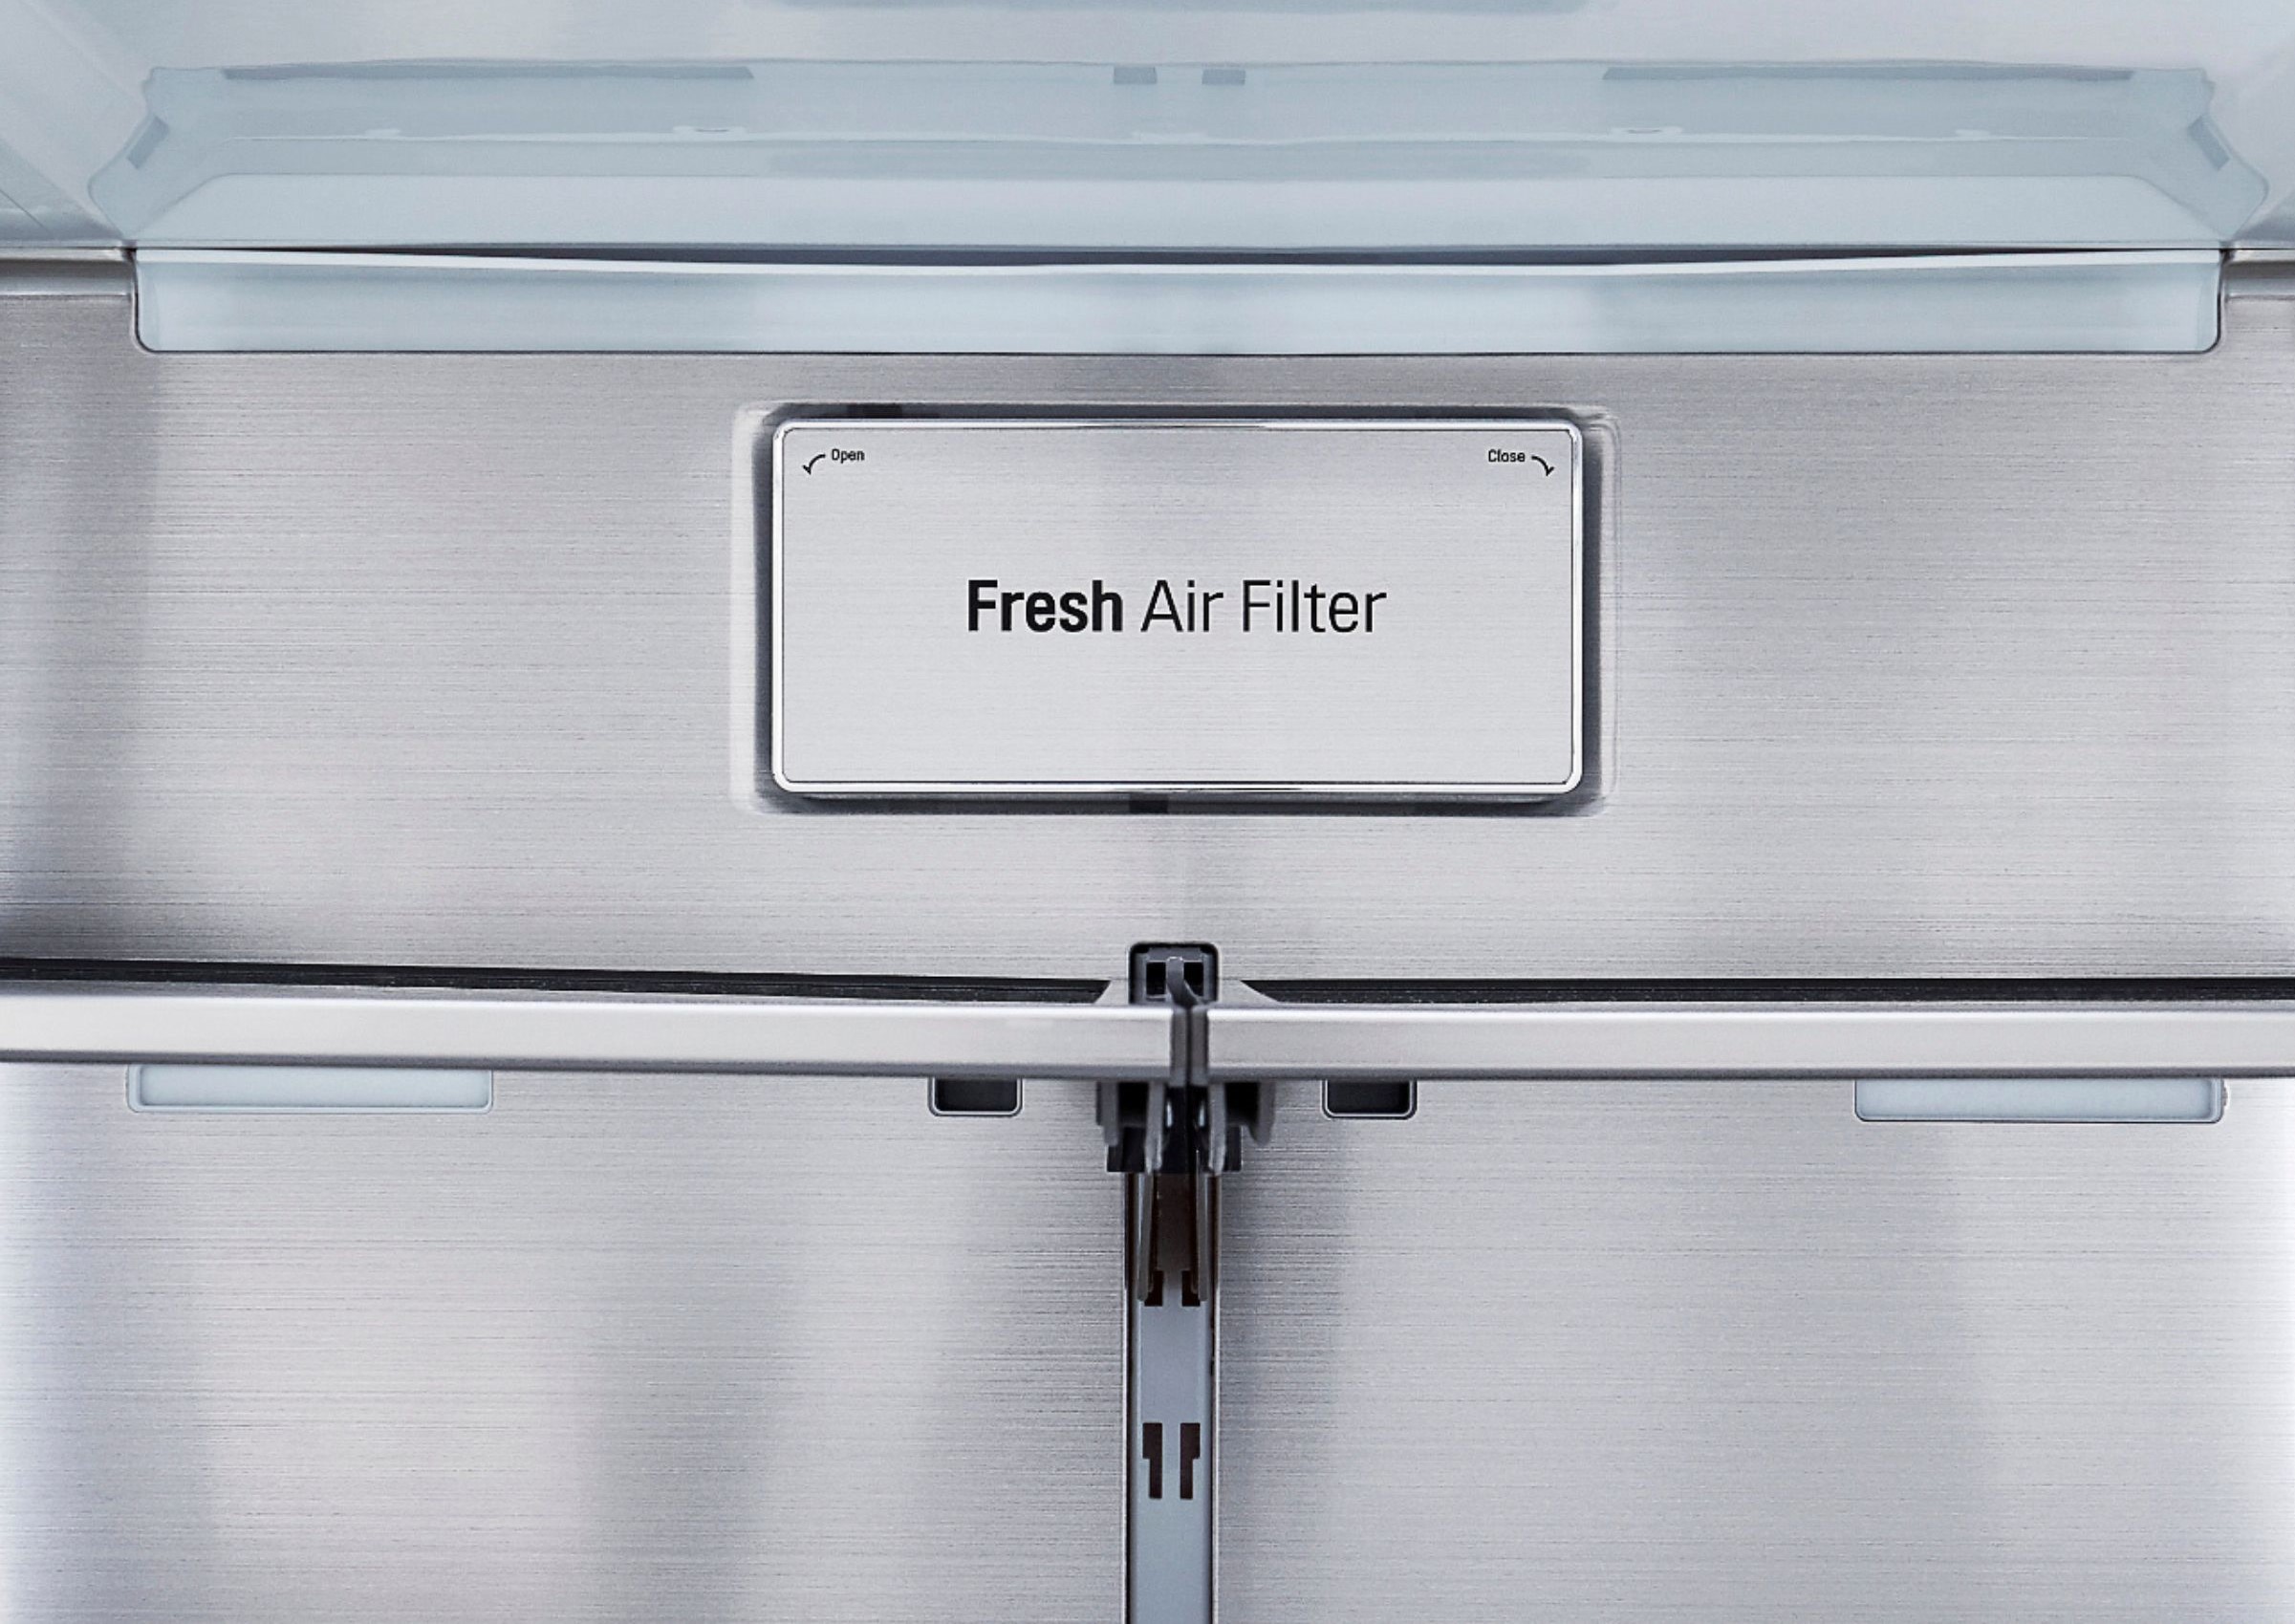
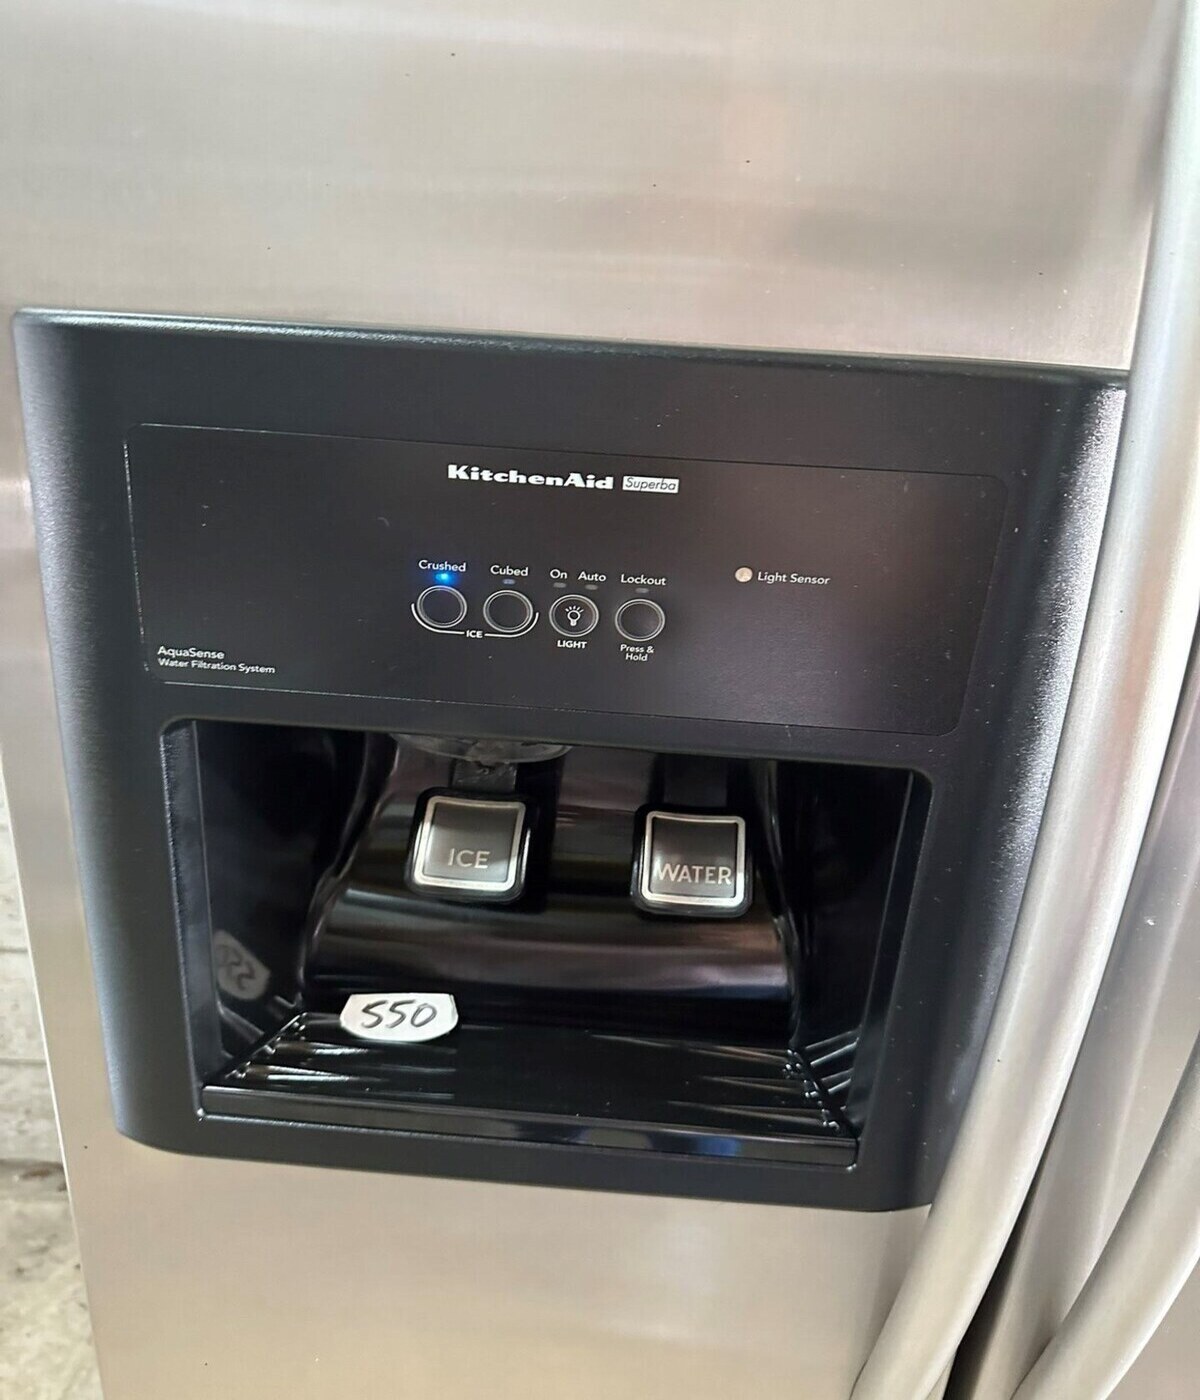
Step 2: Locating the water filter
Before you can change the water filter in your KitchenAid refrigerator, you need to locate its position. The location of the water filter may vary depending on the model of your refrigerator, but it is typically found inside the refrigerator compartment.
Here are a few common places where you may find the water filter:
- Upper right corner: In many KitchenAid refrigerator models, the water filter is located in the upper right corner of the refrigerator compartment. It may be behind a plastic cover or grille.
- Bottom grille: In some models, the water filter is located behind the bottom grille of the refrigerator. You may need to remove the grille to access it.
- Inside the refrigerator compartment: In a few refrigerator models, the water filter is installed inside the refrigerator compartment itself. It may be located on one of the walls or the ceiling of the fridge.
Refer to your refrigerator’s owner’s manual to determine the exact location of the water filter in your specific model. The manual will provide detailed instructions and diagrams to help you locate it. If you can’t find your manual, you can usually find it online on the KitchenAid website by searching for your refrigerator model number.
Once you have located the water filter, you are ready to proceed to the next step.
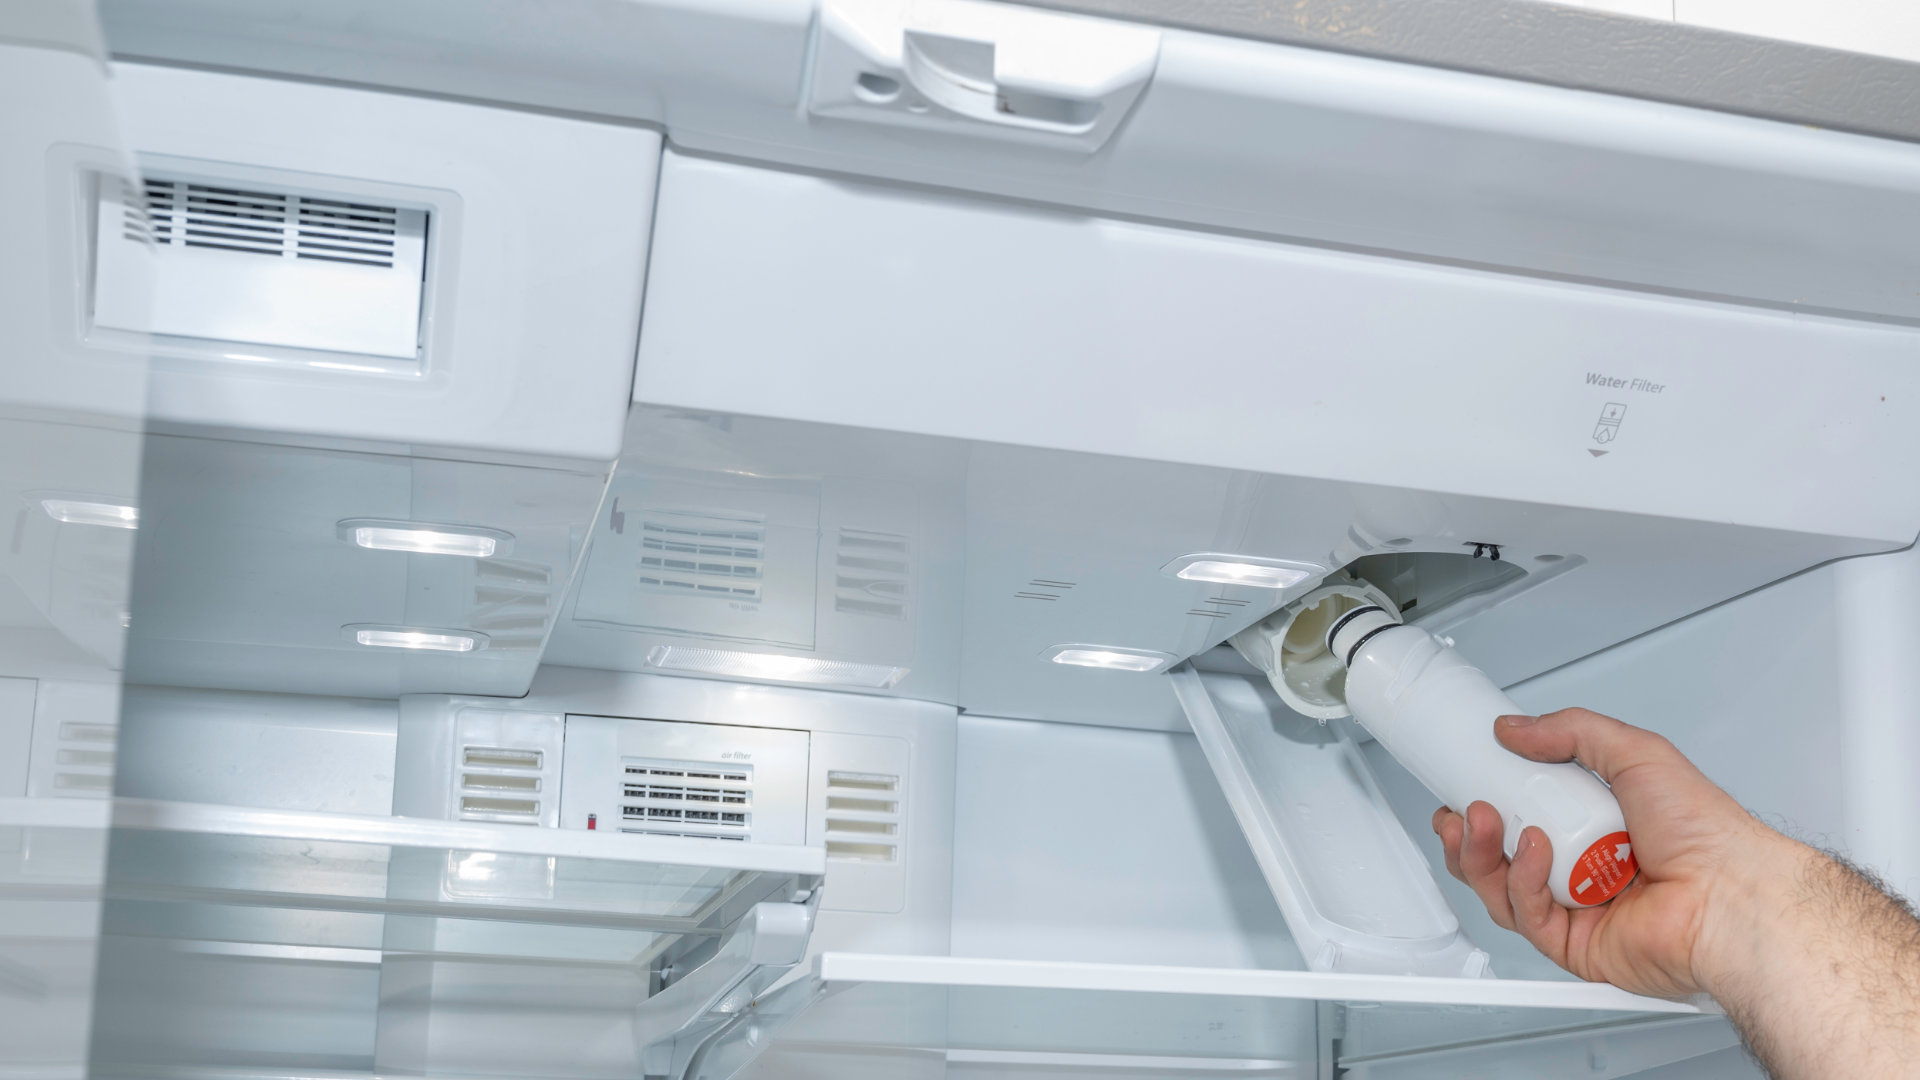
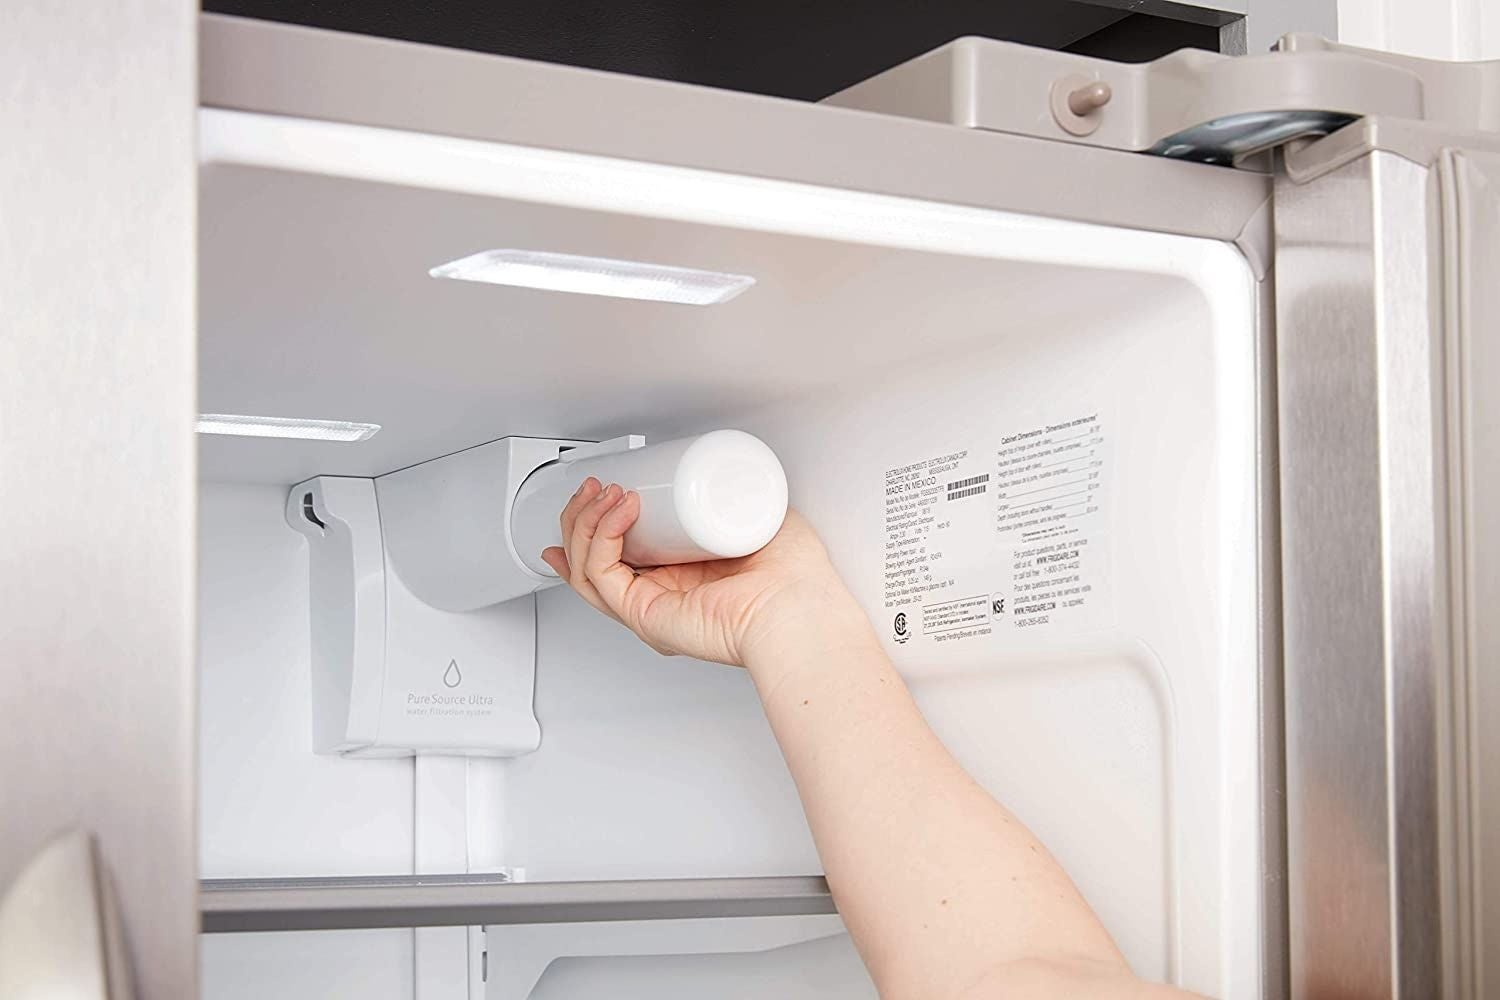
Step 3: Removing the old water filter
Now that you have located the water filter in your KitchenAid refrigerator, it’s time to remove the old filter. Follow the steps below to safely remove the old water filter:
- First, make sure to turn off the ice maker or dispenser by either flipping the switch or pressing the appropriate button. This will prevent any water flow during the filter replacement process.
- Next, examine the water filter for any visible handles or grips. Some filters have a twist-and-pull design, while others may require a push-and-release mechanism. If necessary, consult your refrigerator’s owner’s manual for specific instructions.
- Once you have identified the method for removing the old filter, grip it firmly and remove it from its housing. Be prepared, as there may be some water spillage when removing the filter. Have a towel or cloth ready to clean up any spills.
- Inspect the old filter for any signs of damage or clogs. If you notice any discoloration or debris, it is a clear indication that the filter has reached its maximum lifespan and needs to be replaced.
Properly dispose of the old water filter in accordance with your local recycling guidelines. Remember, it is important to replace the filter regularly to maintain the quality of your water.
With the old filter removed, you are now ready to move on to the next step of the process: preparing the new water filter.
Step 4: Preparing the new water filter
Now that you have successfully removed the old water filter from your KitchenAid refrigerator, it’s time to prepare the new filter for installation. Follow the steps below to ensure the new filter is ready to be installed:
- Take the new water filter out of its packaging. Be careful not to touch the filter media or the rubber gaskets to avoid contamination.
- Some filters may come with a protective cap or seal. Remove any protective covers or seals from the new filter before installation.
- Inspect the new filter for any signs of damage or defects. It should be clean and free from any visible issues.
- If your new filter has a lock or twist mechanism, make sure it is in the correct position for installation. Follow the instructions provided with the filter to ensure proper alignment.
It is important to note that some filters require pre-soaking or flushing before installation. Check the instructions provided with your specific water filter to determine if any pre-installation preparations are required. Following the manufacturer’s recommendations will help ensure optimal filter performance.
With the new water filter prepared, you are now ready to move on to the next step: installing the new water filter in your KitchenAid refrigerator.
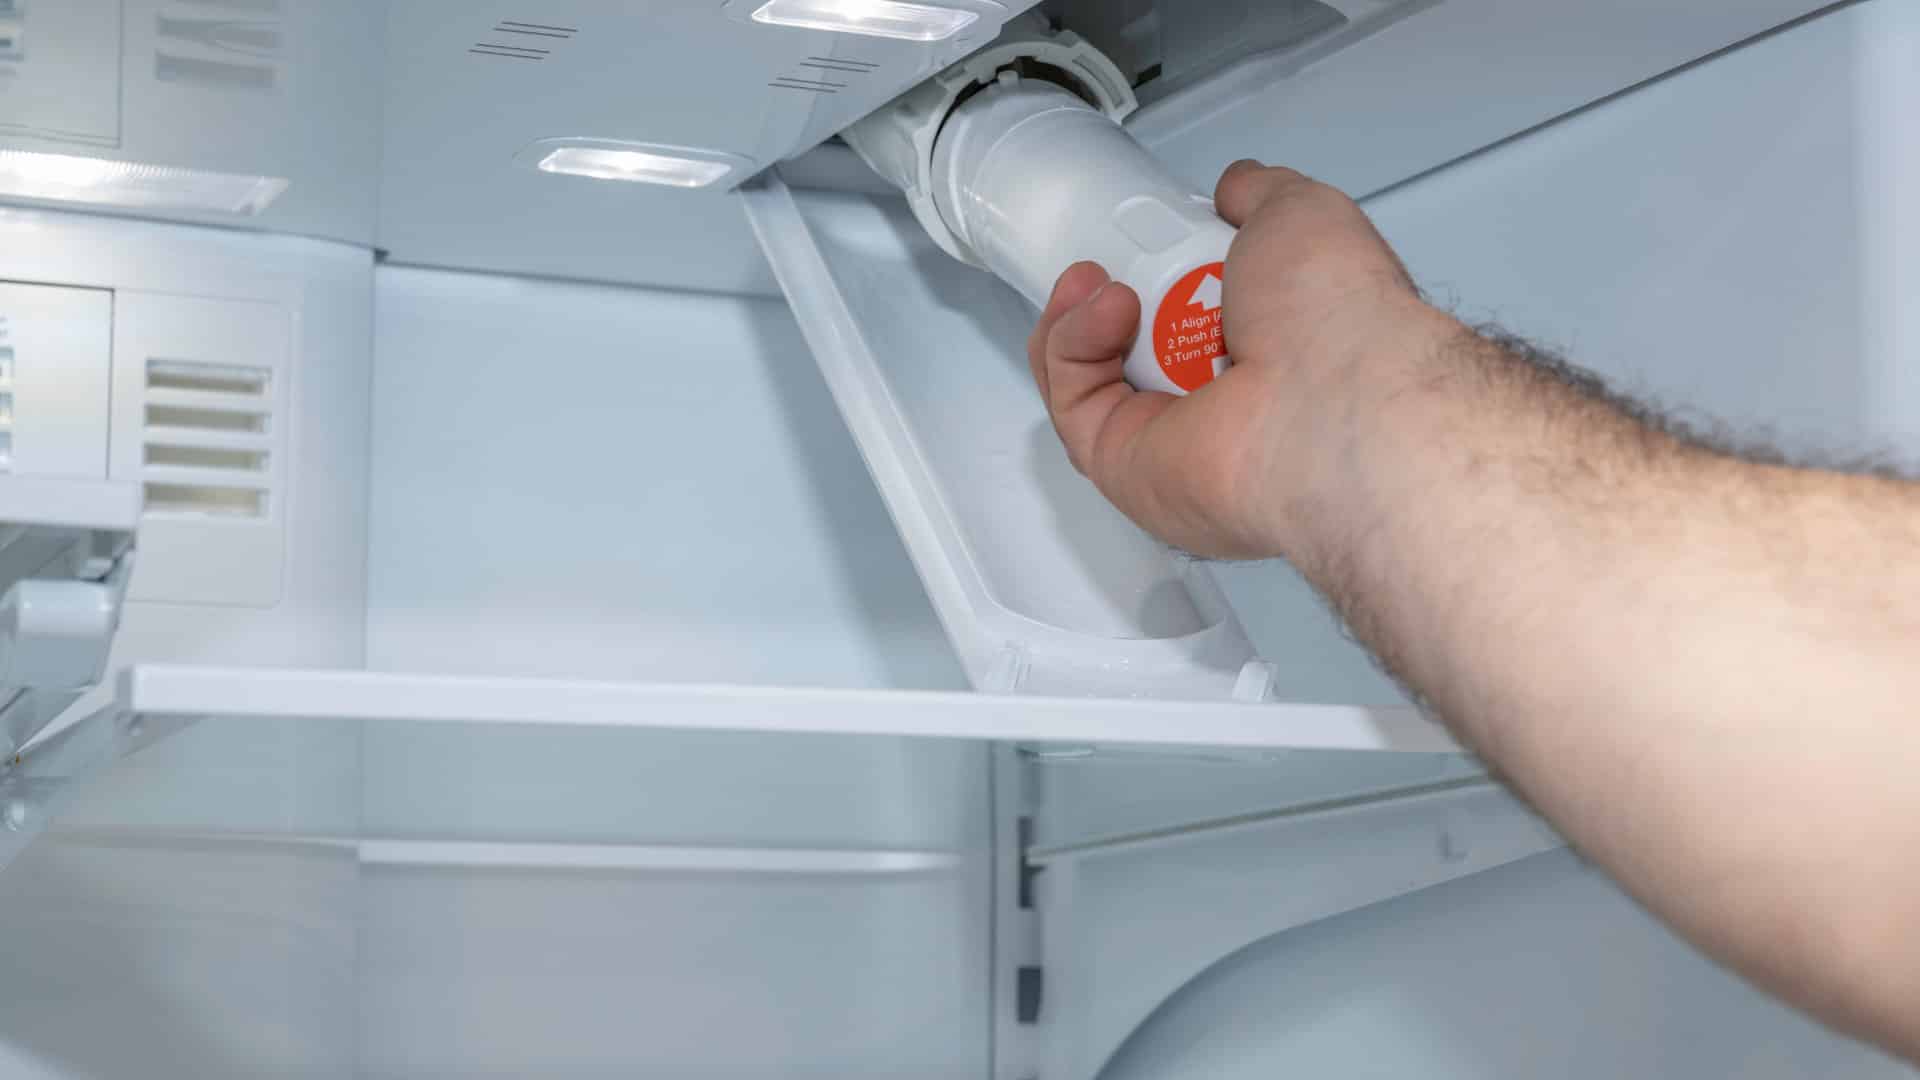
To change the water filter in a Kitchenaid refrigerator, locate the filter housing in the upper right corner of the refrigerator interior. Turn the filter counterclockwise to remove it, then replace with a new filter and turn it clockwise to lock it in place. Run water through the dispenser for a few minutes to flush the system.
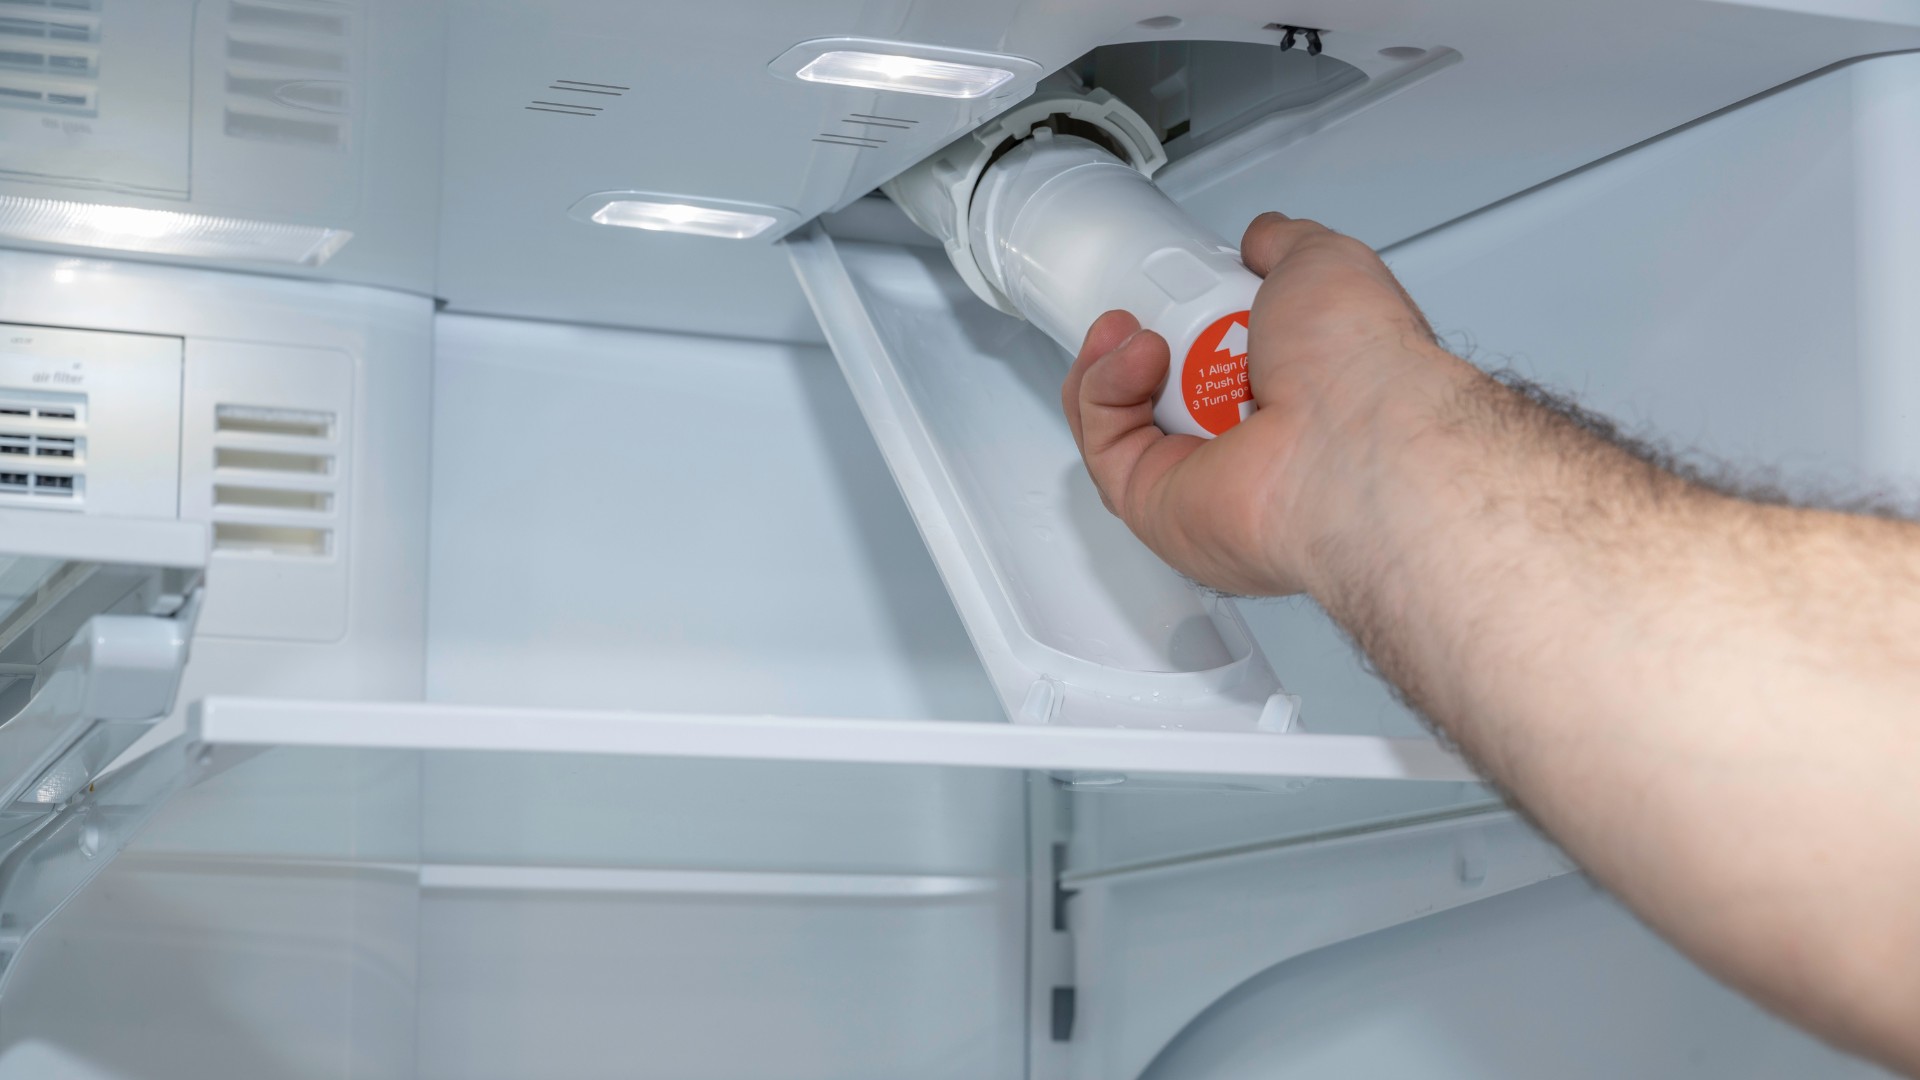
Step 5: Installing the new water filter
Now that you have prepared the new water filter for installation, it’s time to install it in your KitchenAid refrigerator. Follow these steps to properly install the new filter:
- Locate the filter housing where the old filter was removed. Line up the new filter with the housing, ensuring that it is properly aligned.
- For twist-and-lock filters, insert the filter into the housing and turn it clockwise until it locks into place. Make sure it is securely tightened to prevent any leaks.
- For push-and-release filters, simply push the filter into the housing until it clicks into place. It should fit snugly and securely.
- Once the new filter is properly installed, give it a gentle tug or twist to ensure it is securely locked into place.
Make sure to refer to your refrigerator’s owner’s manual for any specific instructions or considerations when installing the new water filter. Different models may have slight variations in the installation process.
After the new filter is installed, you are almost done. However, it is crucial to perform a few additional steps to ensure the proper functioning of the new filter.
Continue to the next step for instructions on resetting the water filter indicator.
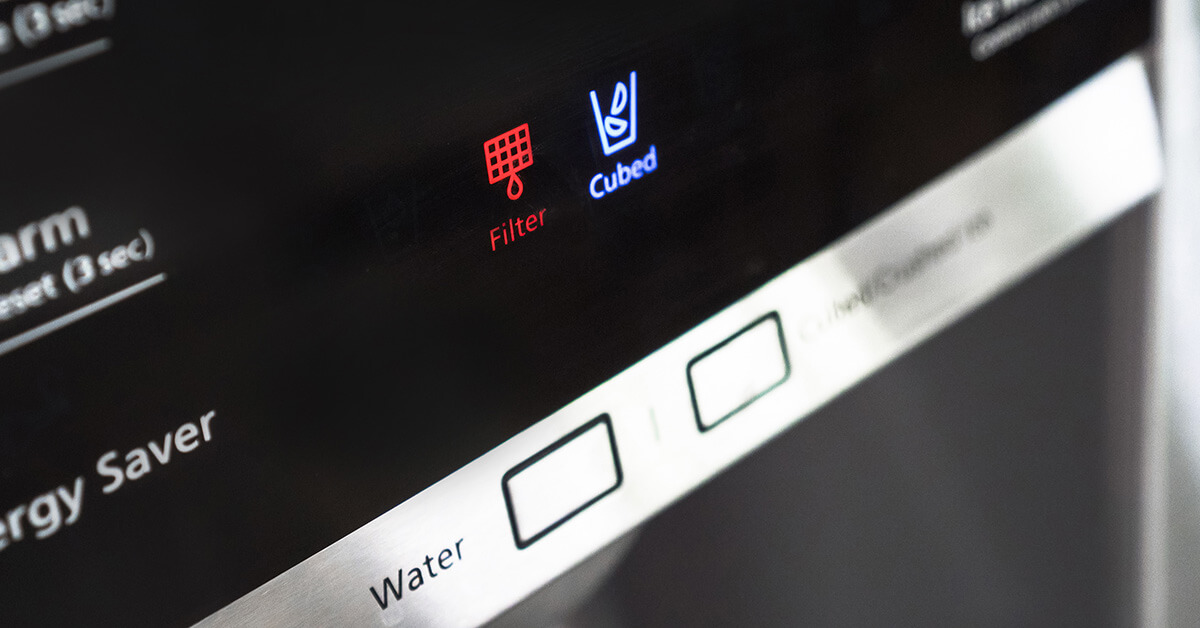
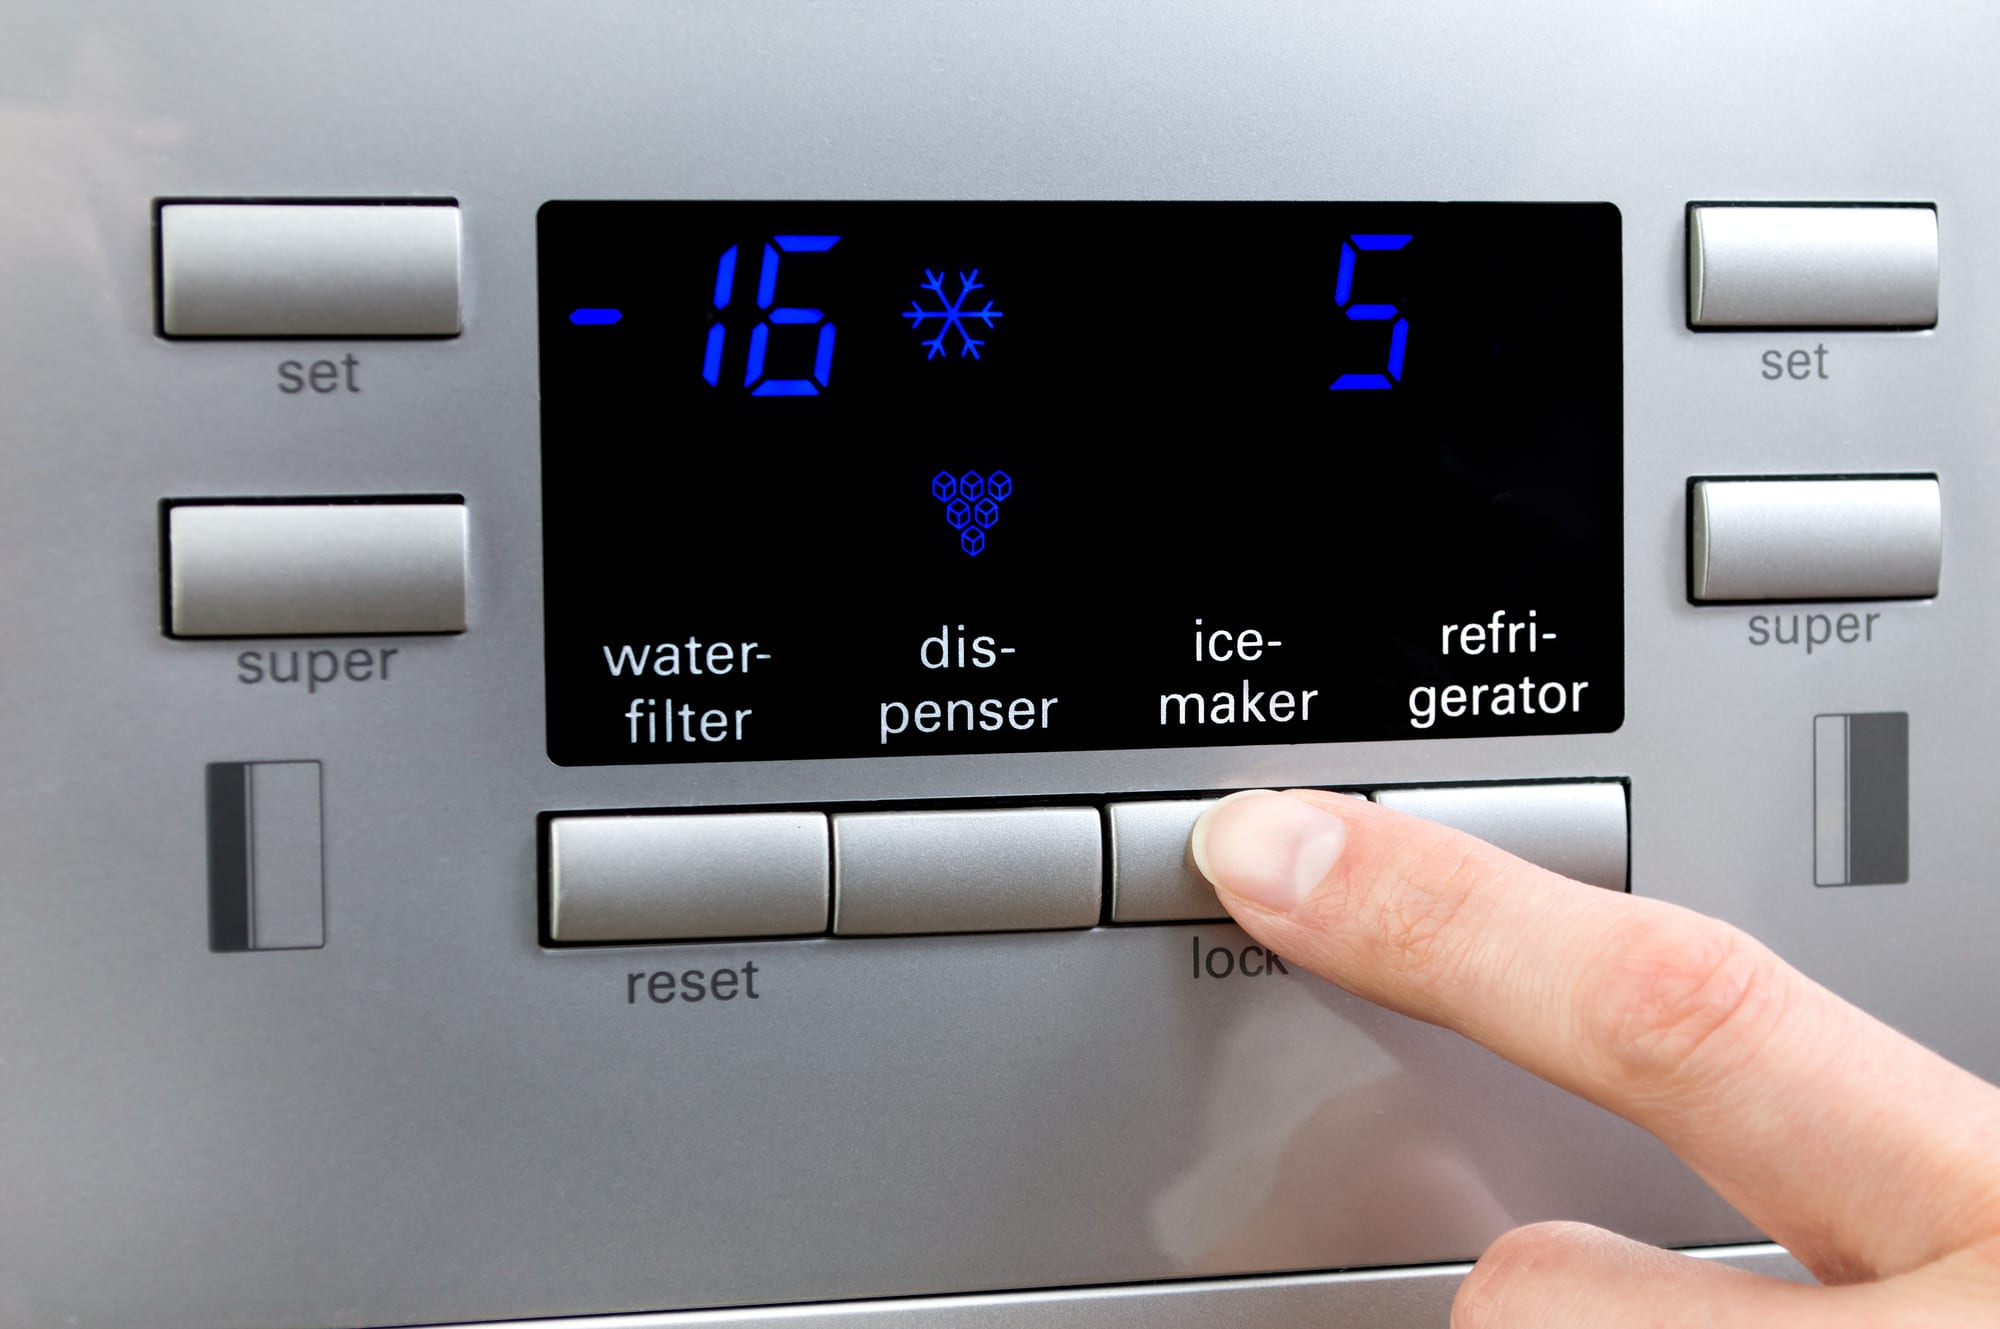
Step 6: Resetting the water filter indicator
After installing the new water filter in your KitchenAid refrigerator, it’s important to reset the water filter indicator. This indicator helps you keep track of when it’s time to replace the filter again. Follow these steps to reset the water filter indicator:
- Refer to your refrigerator’s owner’s manual to locate the specific instructions for resetting the water filter indicator. The process may vary depending on the model of your refrigerator.
- Typically, the reset button for the water filter indicator is located either on the control panel or inside the refrigerator compartment.
- Press and hold the reset button for a few seconds until the indicator light or display resets. The exact length of time required to reset the indicator may vary depending on the model of your refrigerator.
- Once the indicator is reset, it should reflect the new filter’s installation and be ready to track the lifespan of the new filter.
If you are unsure about the reset process for your specific refrigerator model, consult the owner’s manual or contact the manufacturer’s customer support for assistance. Properly resetting the water filter indicator will help ensure accurate filter monitoring and replacement.
With the indicator reset, you are almost done. The final step is to test the new water filter in your KitchenAid refrigerator.
Step 7: Testing the new water filter
Now that you have successfully installed the new water filter and reset the water filter indicator, it is important to test the filter to ensure it is functioning properly. Follow these steps to test the new water filter:
- Double-check that the water and ice dispensers are turned on after completing the installation. If you turned them off during the filter replacement process, make sure to switch them back on.
- Allow the refrigerator to dispense water for a few minutes to flush out any air bubbles or loose particles that may have accumulated during the installation process. This will ensure that you get clean, filtered water.
- Check for any leaks around the filter housing or any other areas. If you notice any leaks, turn off the water supply and check the installation of the filter to ensure it is properly tightened.
- Once the water flow appears clear and there are no leaks, fill a glass with water from the dispenser and taste it. The new filter should provide clean and fresh-tasting water, free from any unpleasant odors or tastes.
- Additionally, test the ice maker by dispensing some ice cubes. Check the quality of the ice cubes to ensure they are clear and free from impurities.
If you notice any issues during the testing process, such as continued leaks or a change in water quality, refer to your refrigerator’s owner’s manual for troubleshooting tips or contact the manufacturer’s customer support for further assistance. They will be able to provide guidance to resolve any potential problems.
Congratulations! You have successfully changed the water filter in your KitchenAid refrigerator and tested the new filter. By regularly maintaining and replacing the water filter, you can enjoy clean and refreshing water for drinking and ice-making.
Remember to mark your calendar or set a reminder to regularly replace the water filter, according to the manufacturer’s recommendations. This will ensure optimal performance and maintain the quality of your drinking water.
Thank you for following this step-by-step guide. If you have any other questions or concerns, feel free to reach out for further assistance.
Conclusion
Changing the water filter in your KitchenAid refrigerator is a simple yet important task that ensures you have clean and fresh-tasting water and ice. By following the steps outlined in this guide, you can easily replace the water filter and maintain the optimal performance of your refrigerator.
Remember to gather all the necessary tools and supplies before starting the process. Locate the water filter in your refrigerator, remove the old filter, and prepare the new one for installation. Install the new filter securely, reset the water filter indicator, and test the new filter to ensure proper functioning.
Regularly replacing the water filter in your KitchenAid refrigerator is crucial for removing impurities and maintaining the quality of your drinking water. It is recommended to consult your refrigerator’s owner’s manual for model-specific instructions and replacement intervals.
By following these steps and staying on top of your water filter maintenance, you can enjoy clean, fresh, and great-tasting water whenever you need it. Cheers to a healthier and more refreshing drinking experience!
Ready to ensure your refrigerator operates at peak efficiency? Don't miss our detailed guide on water filter replacement, perfect for those looking to keep their drinking water pristine in the coming year. Also, if you're keen on keeping your appliance in top-notch condition, our comprehensive tutorial on refrigerator maintenance will show you the ropes on cleaning your ice maker, ensuring it runs smoothly and efficiently.
Frequently Asked Questions about How To Change Water Filter In Kitchenaid Refrigerator
Was this page helpful?
At Storables.com, we guarantee accurate and reliable information. Our content, validated by Expert Board Contributors, is crafted following stringent Editorial Policies. We're committed to providing you with well-researched, expert-backed insights for all your informational needs.
0 thoughts on “How To Change Water Filter In Kitchenaid Refrigerator”