Home>Articles>How To Change Water Filter On Samsung Refrigerator
Articles
How To Change Water Filter On Samsung Refrigerator
Modified: October 20, 2024
Learn how to change the water filter on your Samsung refrigerator with our step-by-step guide. Read our informative articles for easy-to-follow instructions and ensure clean and fresh water for your family.
(Many of the links in this article redirect to a specific reviewed product. Your purchase of these products through affiliate links helps to generate commission for Storables.com, at no extra cost. Learn more)
Introduction
Having clean and filtered water is essential for maintaining a healthy lifestyle, and this includes ensuring that your refrigerator’s water filter is regularly changed. If you own a Samsung refrigerator, you’re in luck because changing the water filter is a simple and straightforward process. In this article, we will guide you through the step-by-step process of changing the water filter on your Samsung refrigerator.
Before we dive into the details, it’s important to understand the importance of regularly changing your refrigerator’s water filter. Over time, the filter becomes clogged with impurities, contaminants, and even bacteria, compromising the quality of the water it dispenses. By regularly replacing the water filter, you can ensure that your family has access to clean and fresh drinking water.
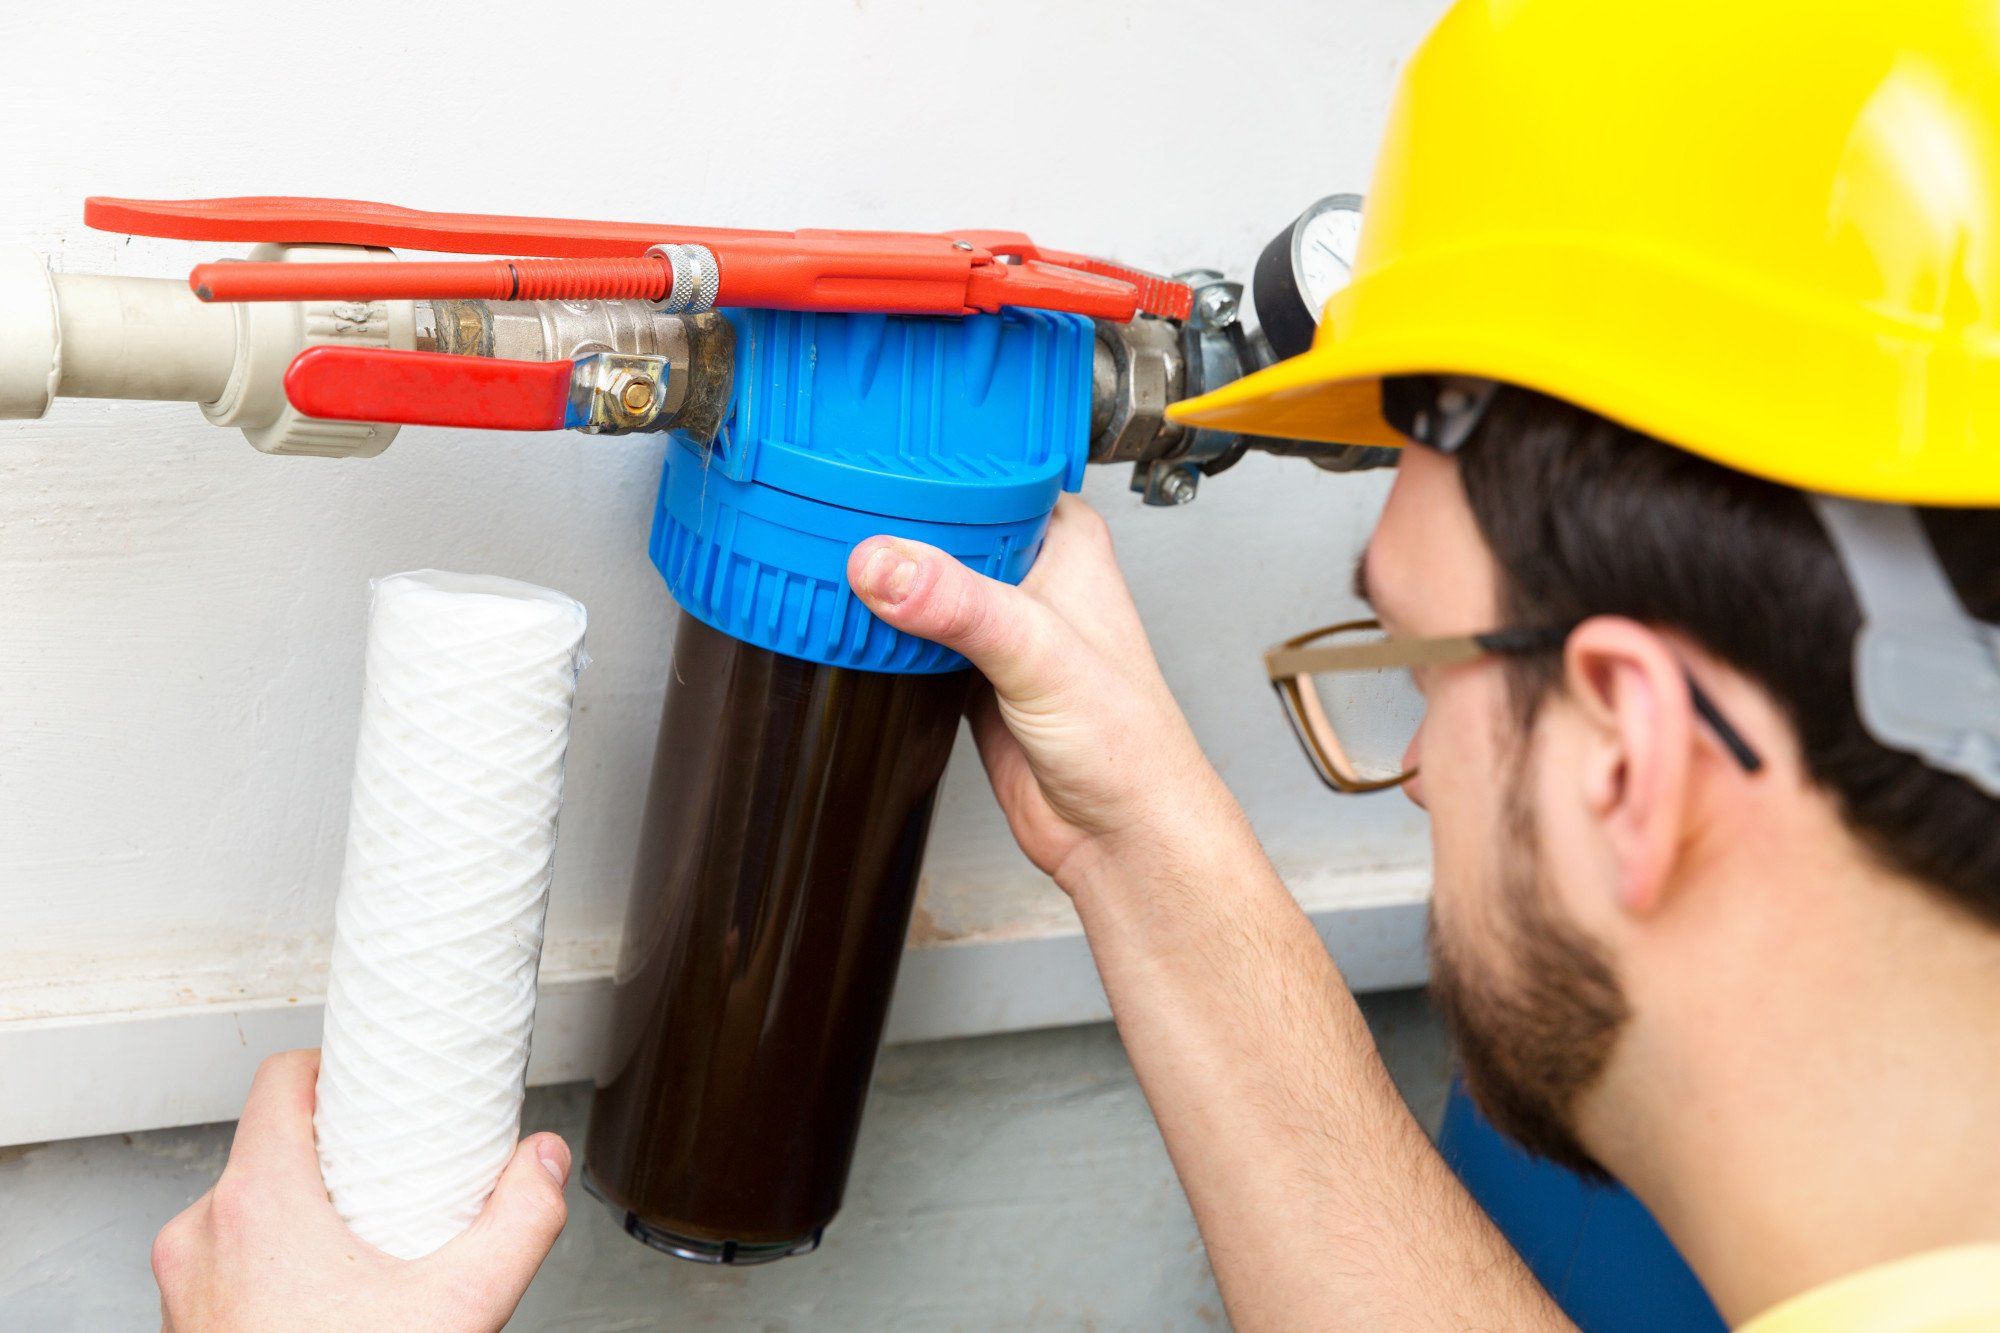
Changing the water filter on a Samsung refrigerator is a DIY task that requires minimal tools and can be completed in a matter of minutes. By following our guide, you’ll be able to confidently maintain and replace your refrigerator’s water filter, guaranteeing that every glass of water you pour is pure and refreshing.
In the following steps, we will provide you with a detailed walkthrough of the process, starting from gathering the necessary tools and materials to reseting the filter indicator light. So let’s get started on upgrading your water filtration system for your Samsung refrigerator.
Key Takeaways:
- Regularly changing the water filter in your Samsung refrigerator is crucial for ensuring clean and refreshing drinking water for you and your family. Follow the simple DIY steps outlined in this article to maintain a healthy water supply.
- From gathering the necessary tools to testing the new water filter, each step in the process of changing the water filter on your Samsung refrigerator is essential for maintaining the efficiency and longevity of your filtration system. Stay hydrated and enjoy clean, delicious water!
Read more: How To Change Water Filter Ge Refrigerator
Step 1: Gathering the necessary tools and materials
Before you begin the process of changing the water filter on your Samsung refrigerator, it’s important to gather all the necessary tools and materials. This will make the process much smoother and ensures that you have everything you need at your fingertips.
Here’s a list of tools and materials that you will need:
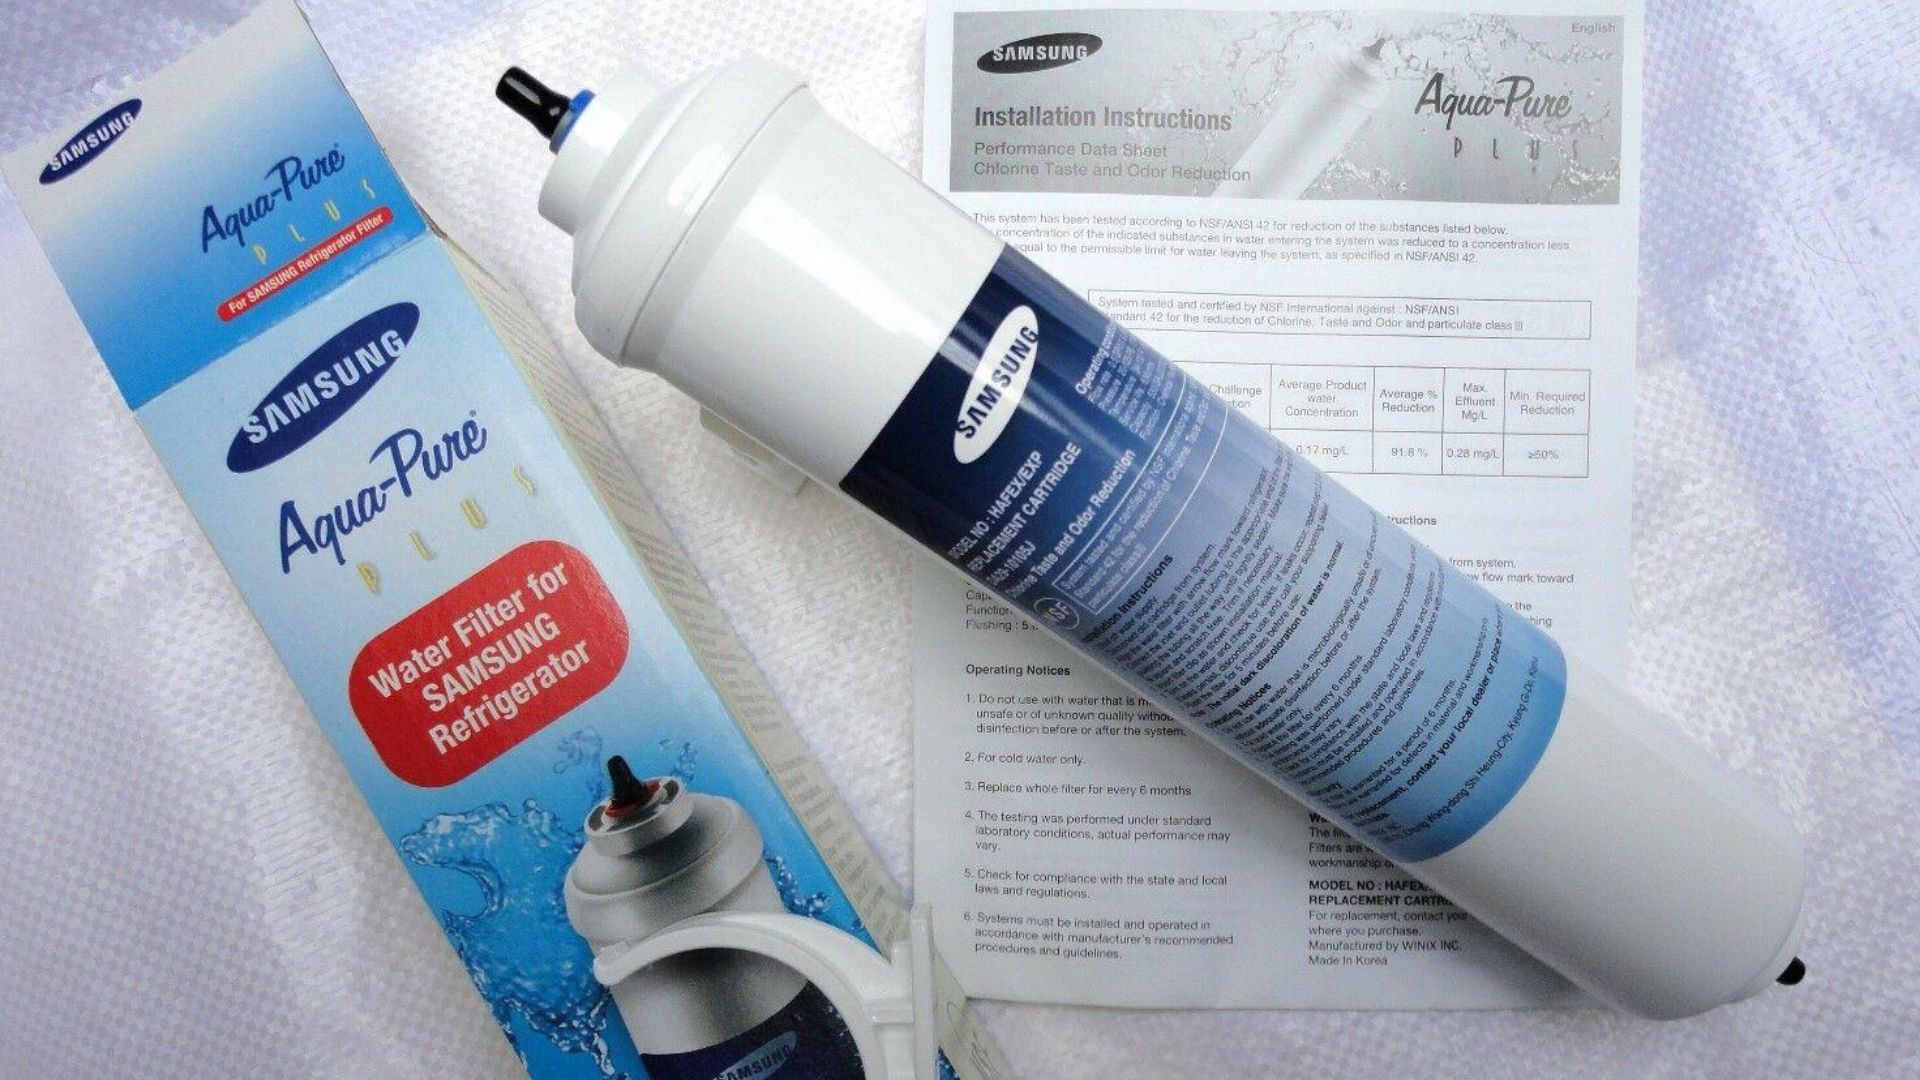
- A new water filter compatible with your Samsung refrigerator model. It’s crucial to ensure that you purchase the correct filter to ensure a proper fit and functionality.
- A clean cloth or towel for wiping any spills or drips.
- A small bucket or container to catch any water that may leak during the filter-changing process.
Once you have gathered all the necessary tools and materials, you’ll be well-prepared to begin the process of changing the water filter on your Samsung refrigerator. Having everything at hand will help you complete the task smoothly and efficiently.
It’s worth mentioning that it’s always a good idea to consult your owner’s manual or check Samsung’s official website for specific instructions related to your refrigerator model. Different models may have slight variations in the filter location or installation process, so it’s essential to have accurate information.
Once you’re confident that you have all the required tools and materials and have familiarized yourself with the specific instructions for your Samsung refrigerator model, you’re ready to move on to the next step: locating the water filter.
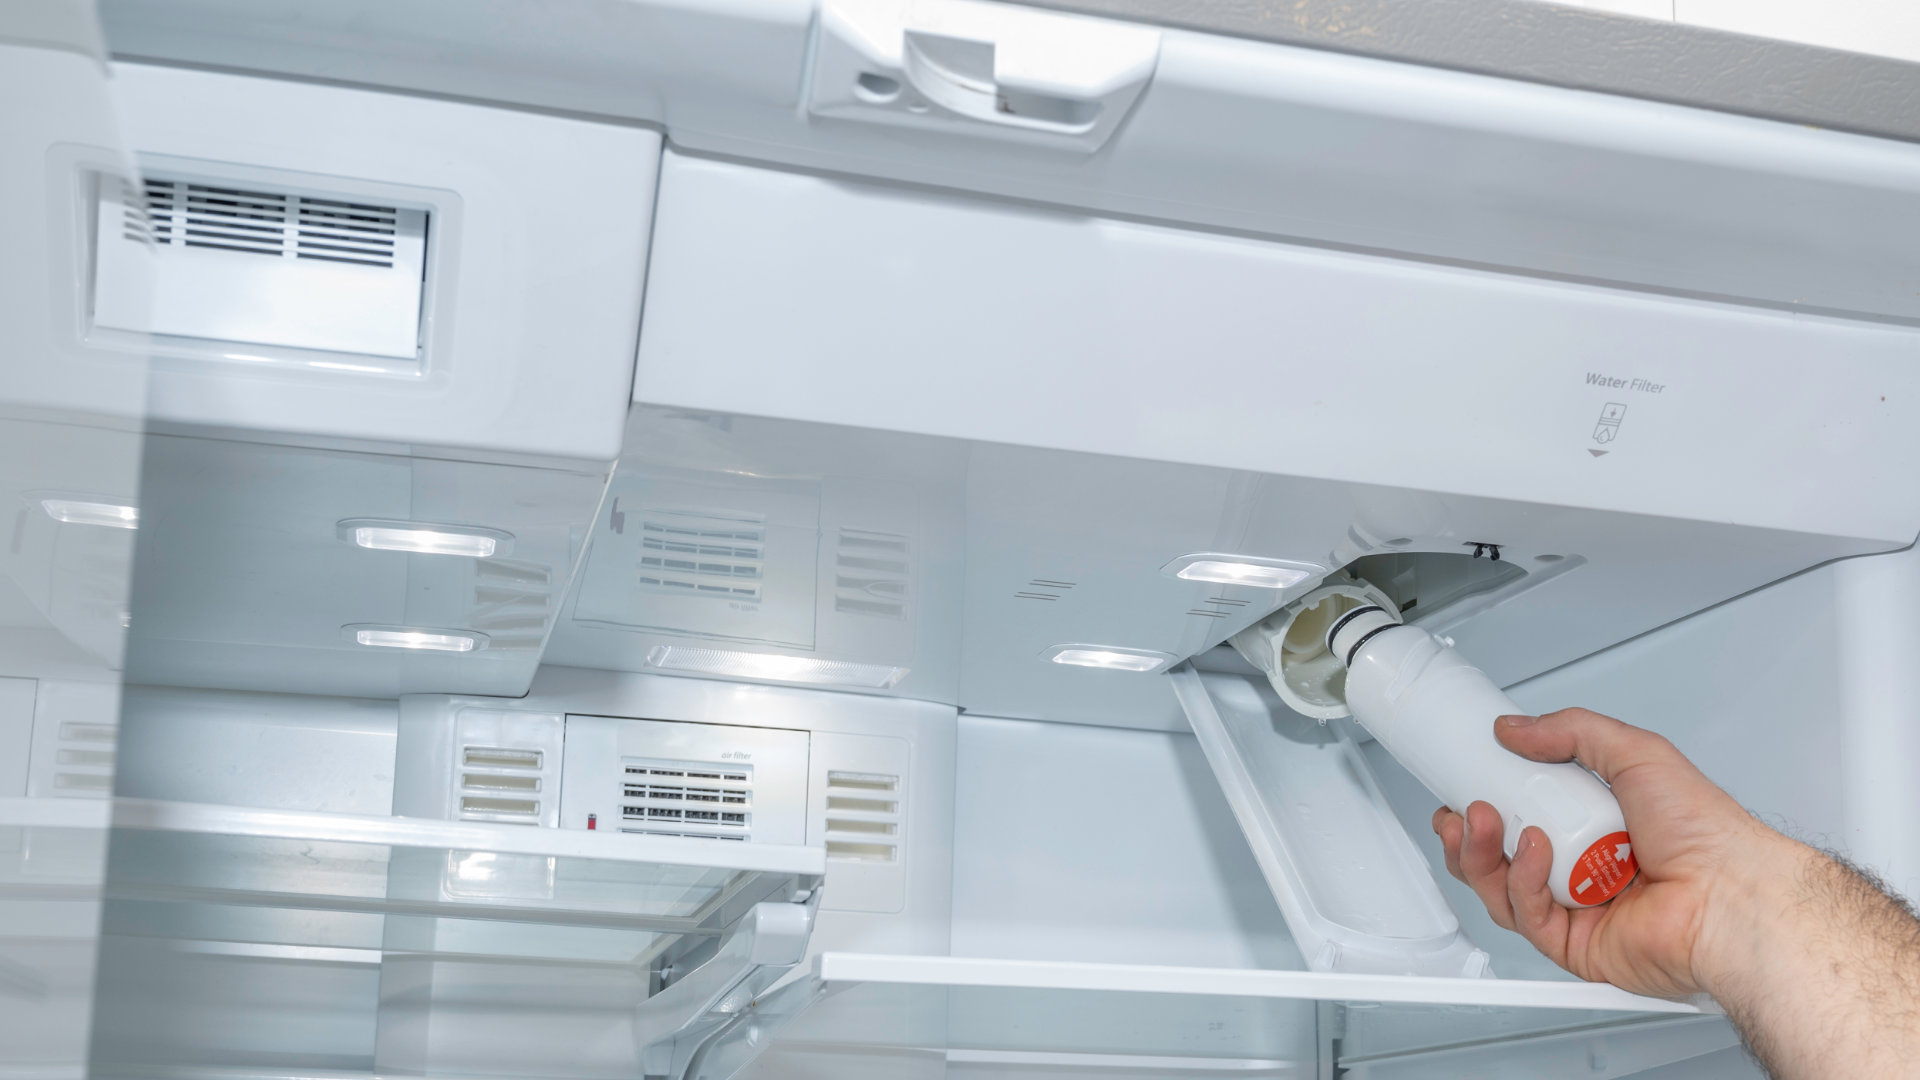
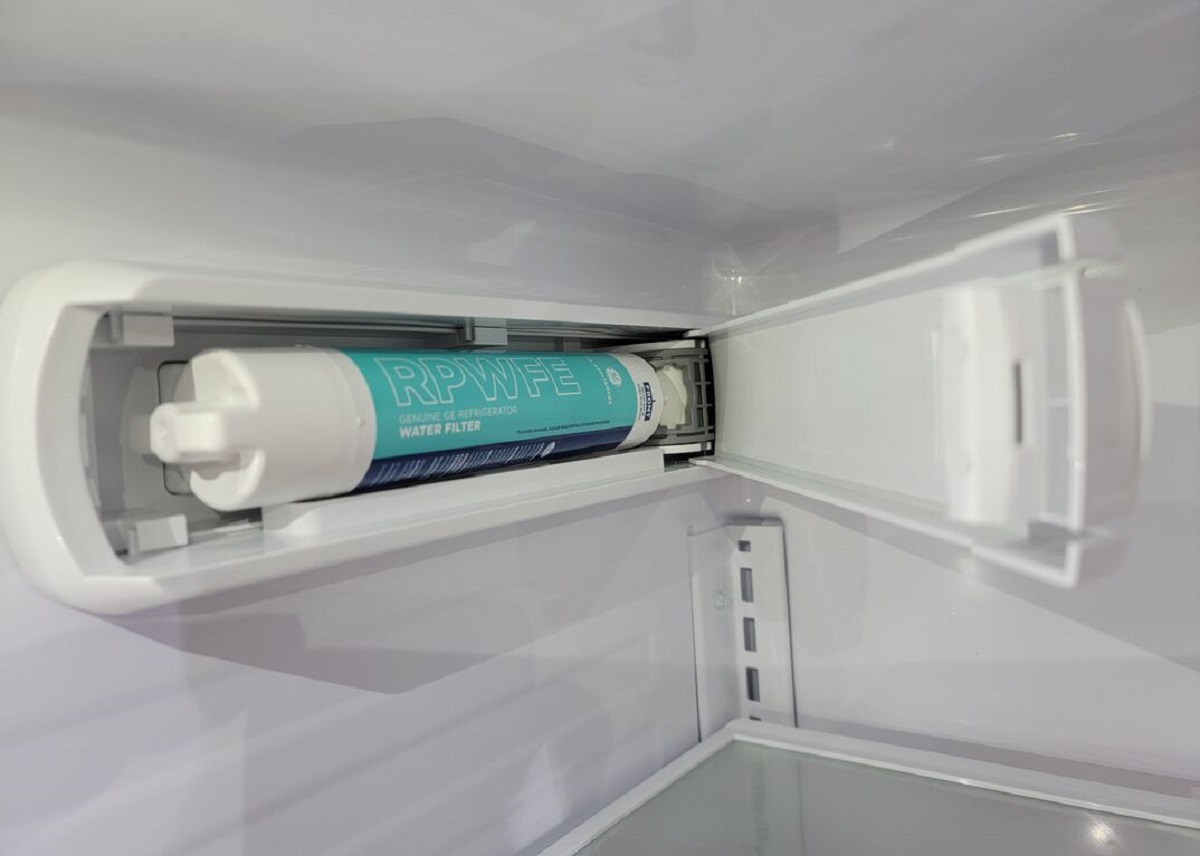
Step 2: Locating the water filter
Now that you have gathered all the necessary tools and materials, it’s time to locate the water filter in your Samsung refrigerator. The location of the water filter may vary depending on the model of your refrigerator, but it is typically found inside the refrigerator compartment.
Here are some common places where you might find the water filter:
- Inside the upper right corner of the refrigerator, near the back wall.
- In the bottom left corner of the refrigerator, near the vegetable crisper.
- Behind a cover or panel that needs to be removed before accessing the filter.
Look for any signs or labels indicating the presence of the water filter. Some Samsung refrigerator models also have a filter indicator light on the control panel that will notify you when it’s time to change the filter.
If you’re having trouble locating the water filter, refer to your owner’s manual or check Samsung’s official website for specific instructions and diagrams for your refrigerator model.
It’s important to note that before removing the old water filter, you should turn off the water supply to the refrigerator to avoid any leaks or spills. This can typically be done by either turning off the water valve behind the refrigerator or shutting off the main water supply to your home.
Once you have located the water filter and turned off the water supply, you’re ready to move on to the next step: removing the old water filter.
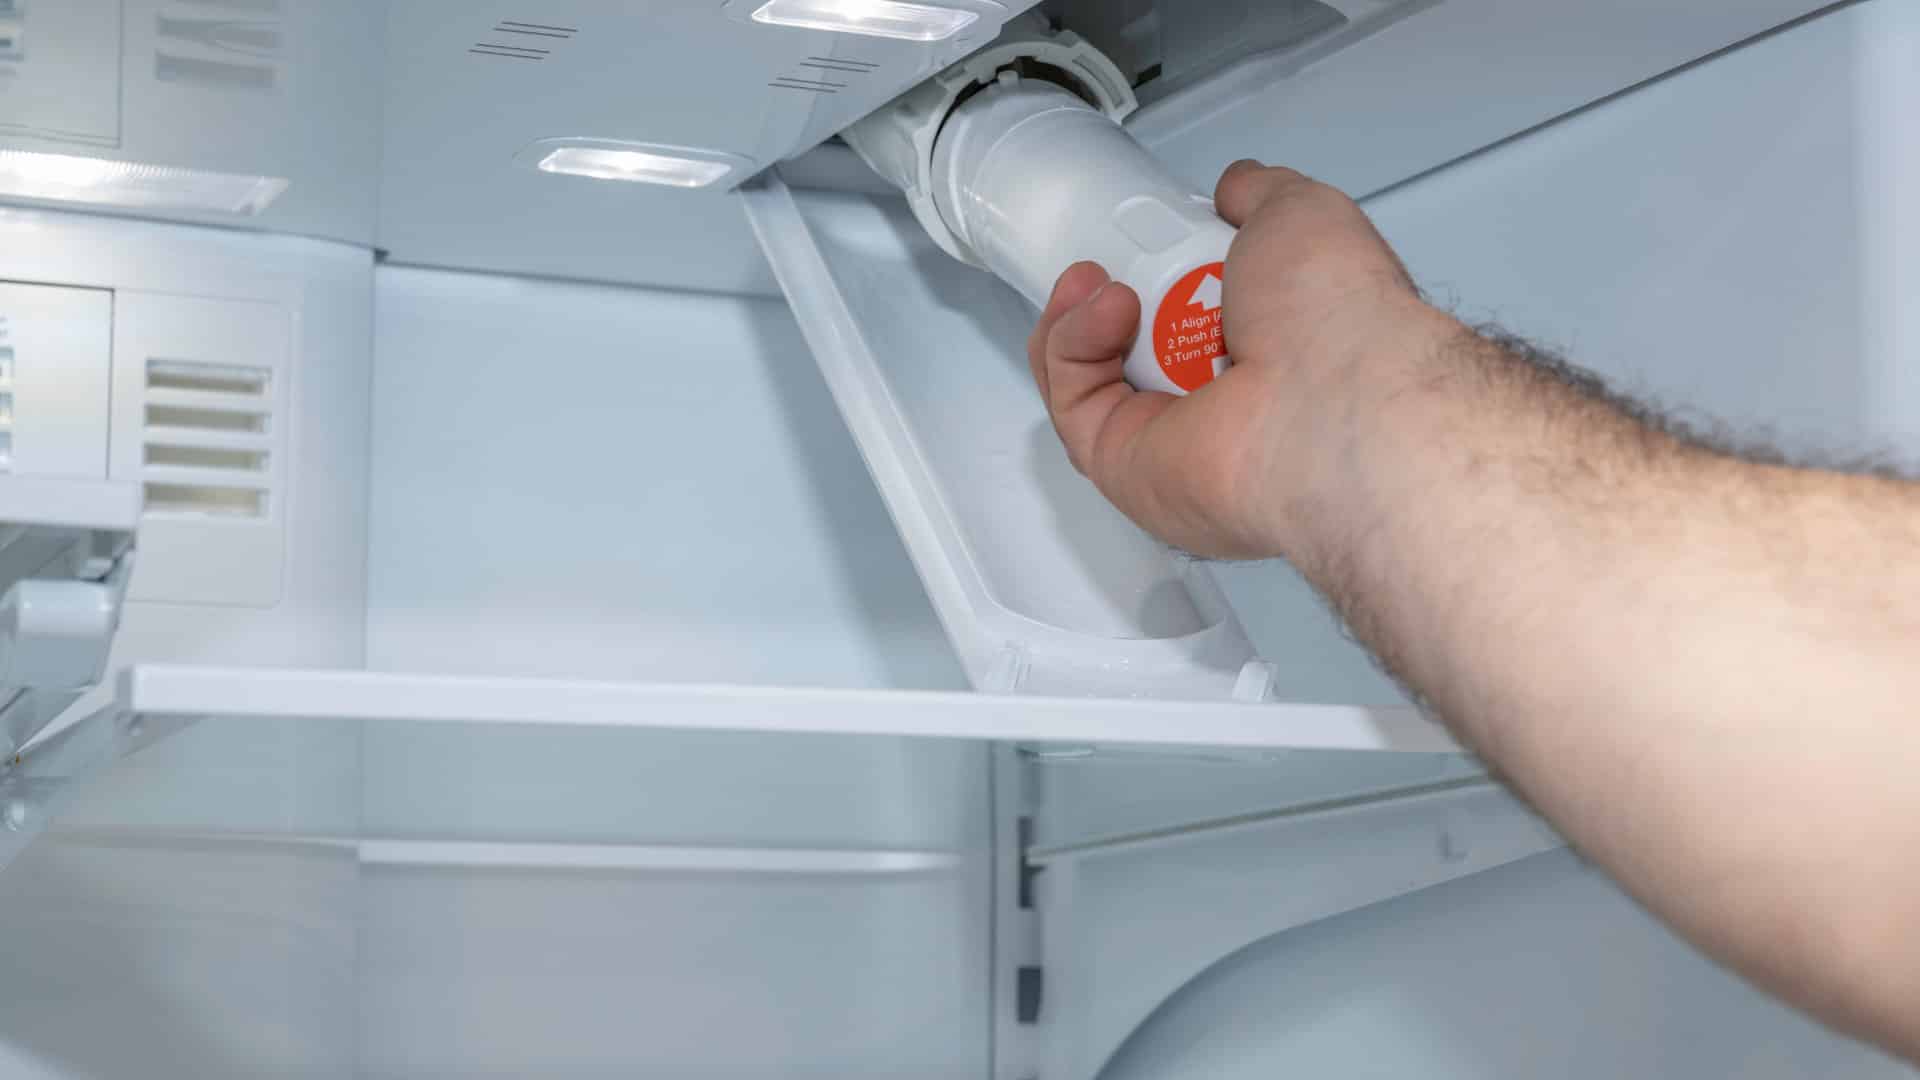
Step 3: Removing the old water filter
Now that you have located the water filter in your Samsung refrigerator and turned off the water supply, it’s time to remove the old water filter. Follow these steps to safely and effectively remove the filter:
- Open the refrigerator door and locate the water filter.
- Depending on your refrigerator model, you may need to remove a cover or panel to access the filter.
- Once you have clear access to the filter, carefully grip the filter with your hand.
- Rotate the filter counterclockwise until it unlocks and is fully released from its housing.
- If there is any residual water in the filter, be prepared for a small amount to drain out, so keep a cloth or towel handy to catch any drips.
- After the old filter is removed, inspect it for any signs of damage or clogging. If the filter is damaged, it’s important to replace it immediately.
Remember to handle the old filter with care, as it may still contain contaminants or impurities. It’s recommended to dispose of the old filter in accordance with local regulations.
With the old water filter successfully removed, you’re now ready to proceed with preparing the new water filter in the next step. Cleaning the filter housing before installing the new filter is also a good practice to ensure optimal efficiency and cleanliness.
Step 4: Preparing the new water filter
Now that you have removed the old water filter from your Samsung refrigerator, it’s time to prepare the new filter for installation. Follow these steps to ensure that the new filter is ready for use:
- Take out the new water filter from its packaging.
- Check the packaging or the filter itself for any stickers or seals that need to be removed before installation.
- Inspect the new filter for any damages or defects. If you notice any issues, it’s important to contact the manufacturer or supplier to get a replacement.
- Some water filters may require you to remove a protective cap or plug from the filter before installation. Refer to the instructions provided with your specific water filter model.
- If the new filter has a label indicating the “front” or “top” side, make sure to align it appropriately for correct installation.
It’s important to note that most water filters need to be primed or flushed before use. Priming helps remove any impurities or trapped air from the filter, ensuring that you’ll get clean and fresh water from the moment it’s installed. Refer to the manufacturer’s instructions for priming or flushing procedures specific to your water filter model.
By properly preparing the new water filter, you’ll ensure that it’s in optimal condition and ready to provide you with clean and filtered water. With the new filter prepared, you’re now ready to move on to the next step: installing the new water filter in your Samsung refrigerator.
To change the water filter on a Samsung refrigerator, locate the filter housing inside the refrigerator and turn the filter counterclockwise to remove it. Install the new filter by turning it clockwise until it locks into place. Run water through the dispenser for a few minutes to flush out any air or loose carbon particles.
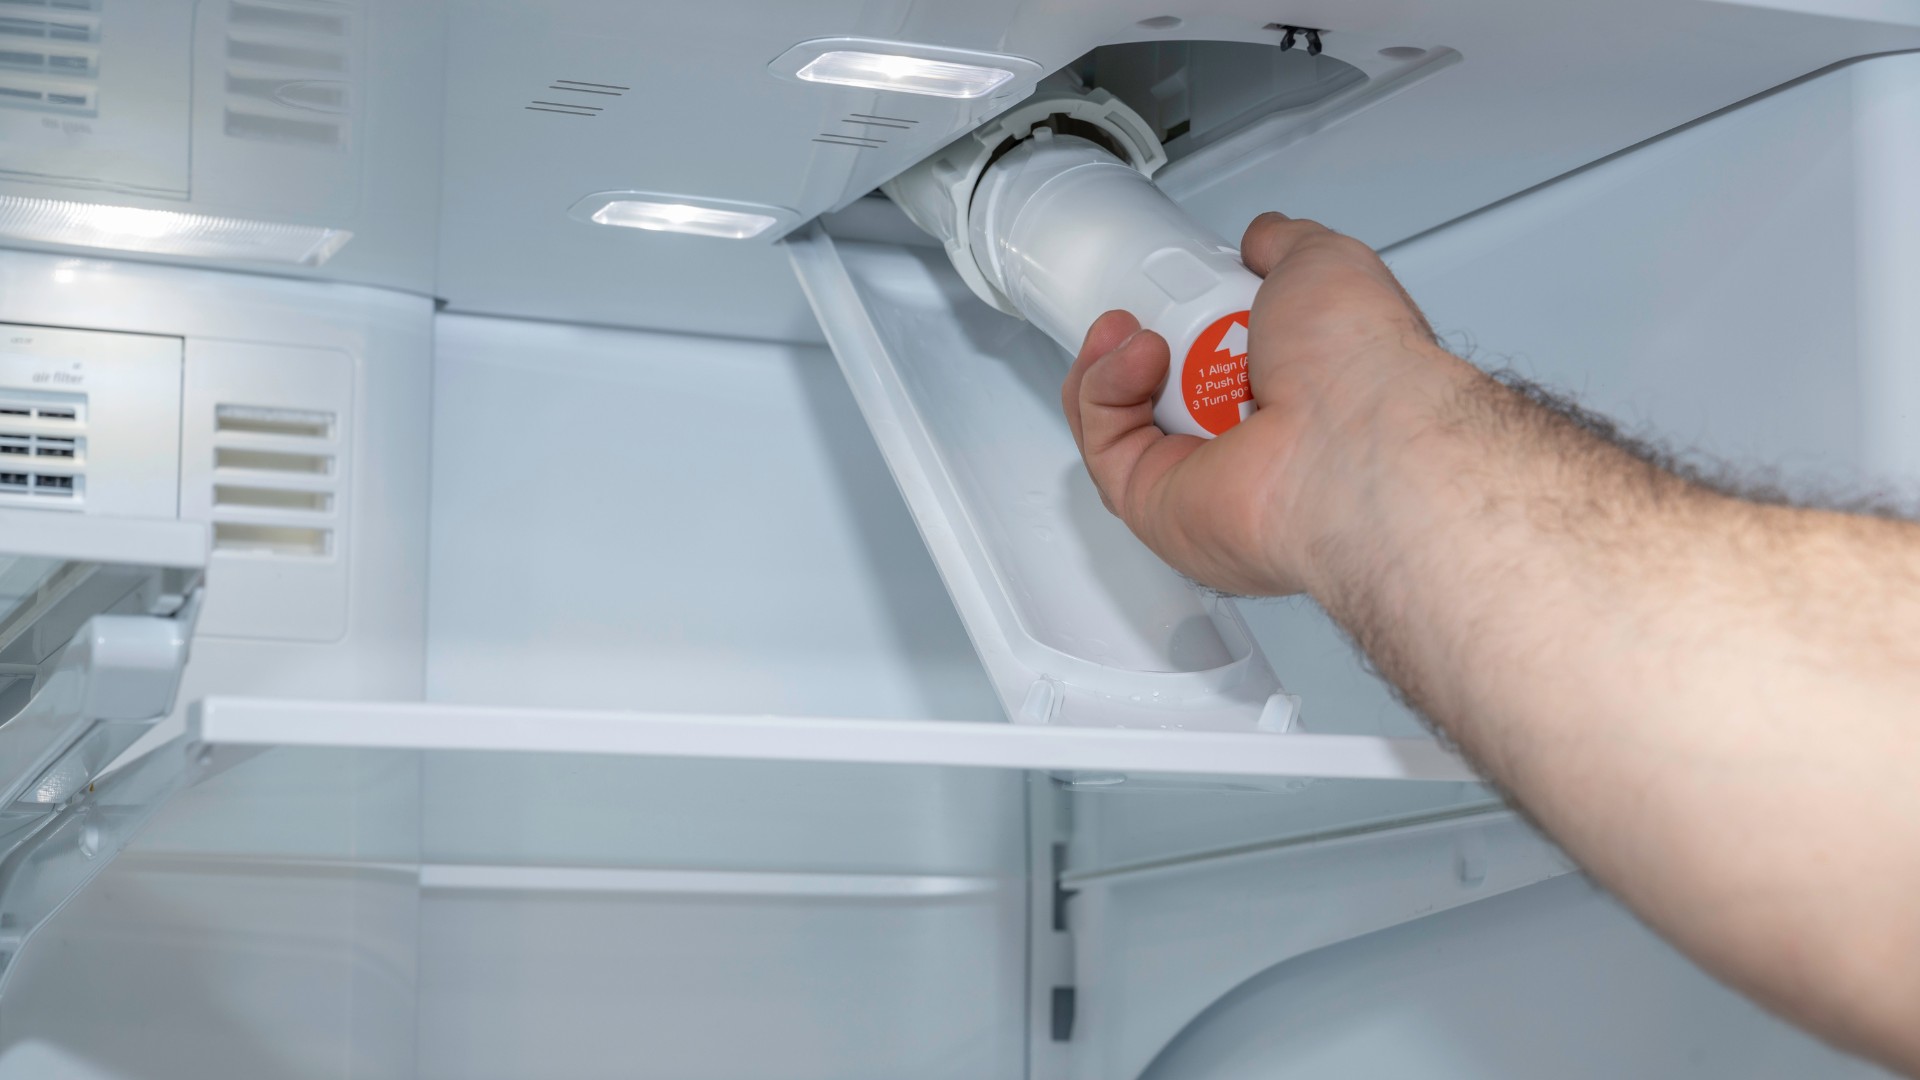
Step 5: Installing the new water filter
With the new water filter prepared and ready, it’s time to install it in your Samsung refrigerator. Follow these steps to properly install the new filter:
- Locate the filter housing or slot where the old filter was removed.
- Position the new filter in the housing, aligning it with the grooves or markings to ensure a proper fit.
- Gently push the new filter into the housing and rotate it clockwise until it locks into place.
- Continue rotating the filter until it is snug and secure. It should not rotate easily anymore.
- If there are any instructions provided with your specific water filter model, be sure to follow them carefully during the installation process.
It’s important to note that some water filters may have a filter cover or panel that needs to be fastened after the new filter is installed. If this is the case, follow the manufacturer’s instructions to secure the cover or panel in place.
Once the new filter is securely installed, you can proceed to the next step, which involves resetting the filter indicator light on your Samsung refrigerator.
By properly installing the new water filter, you can ensure that it is securely in place and ready to provide you with clean and filtered water. With the new filter installed, you’re almost finished with the process of changing the water filter. However, there’s one more important step left to complete: resetting the filter indicator light.
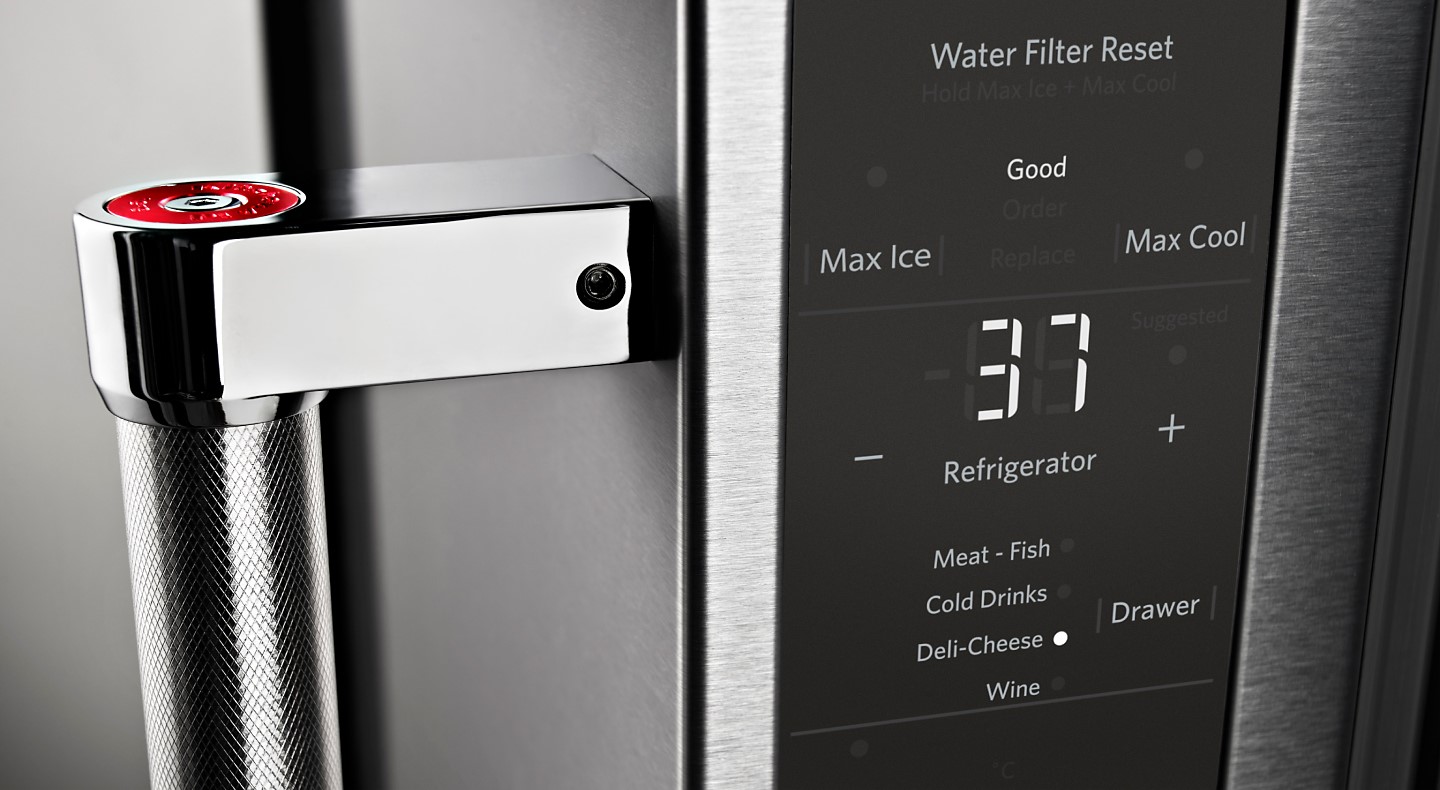
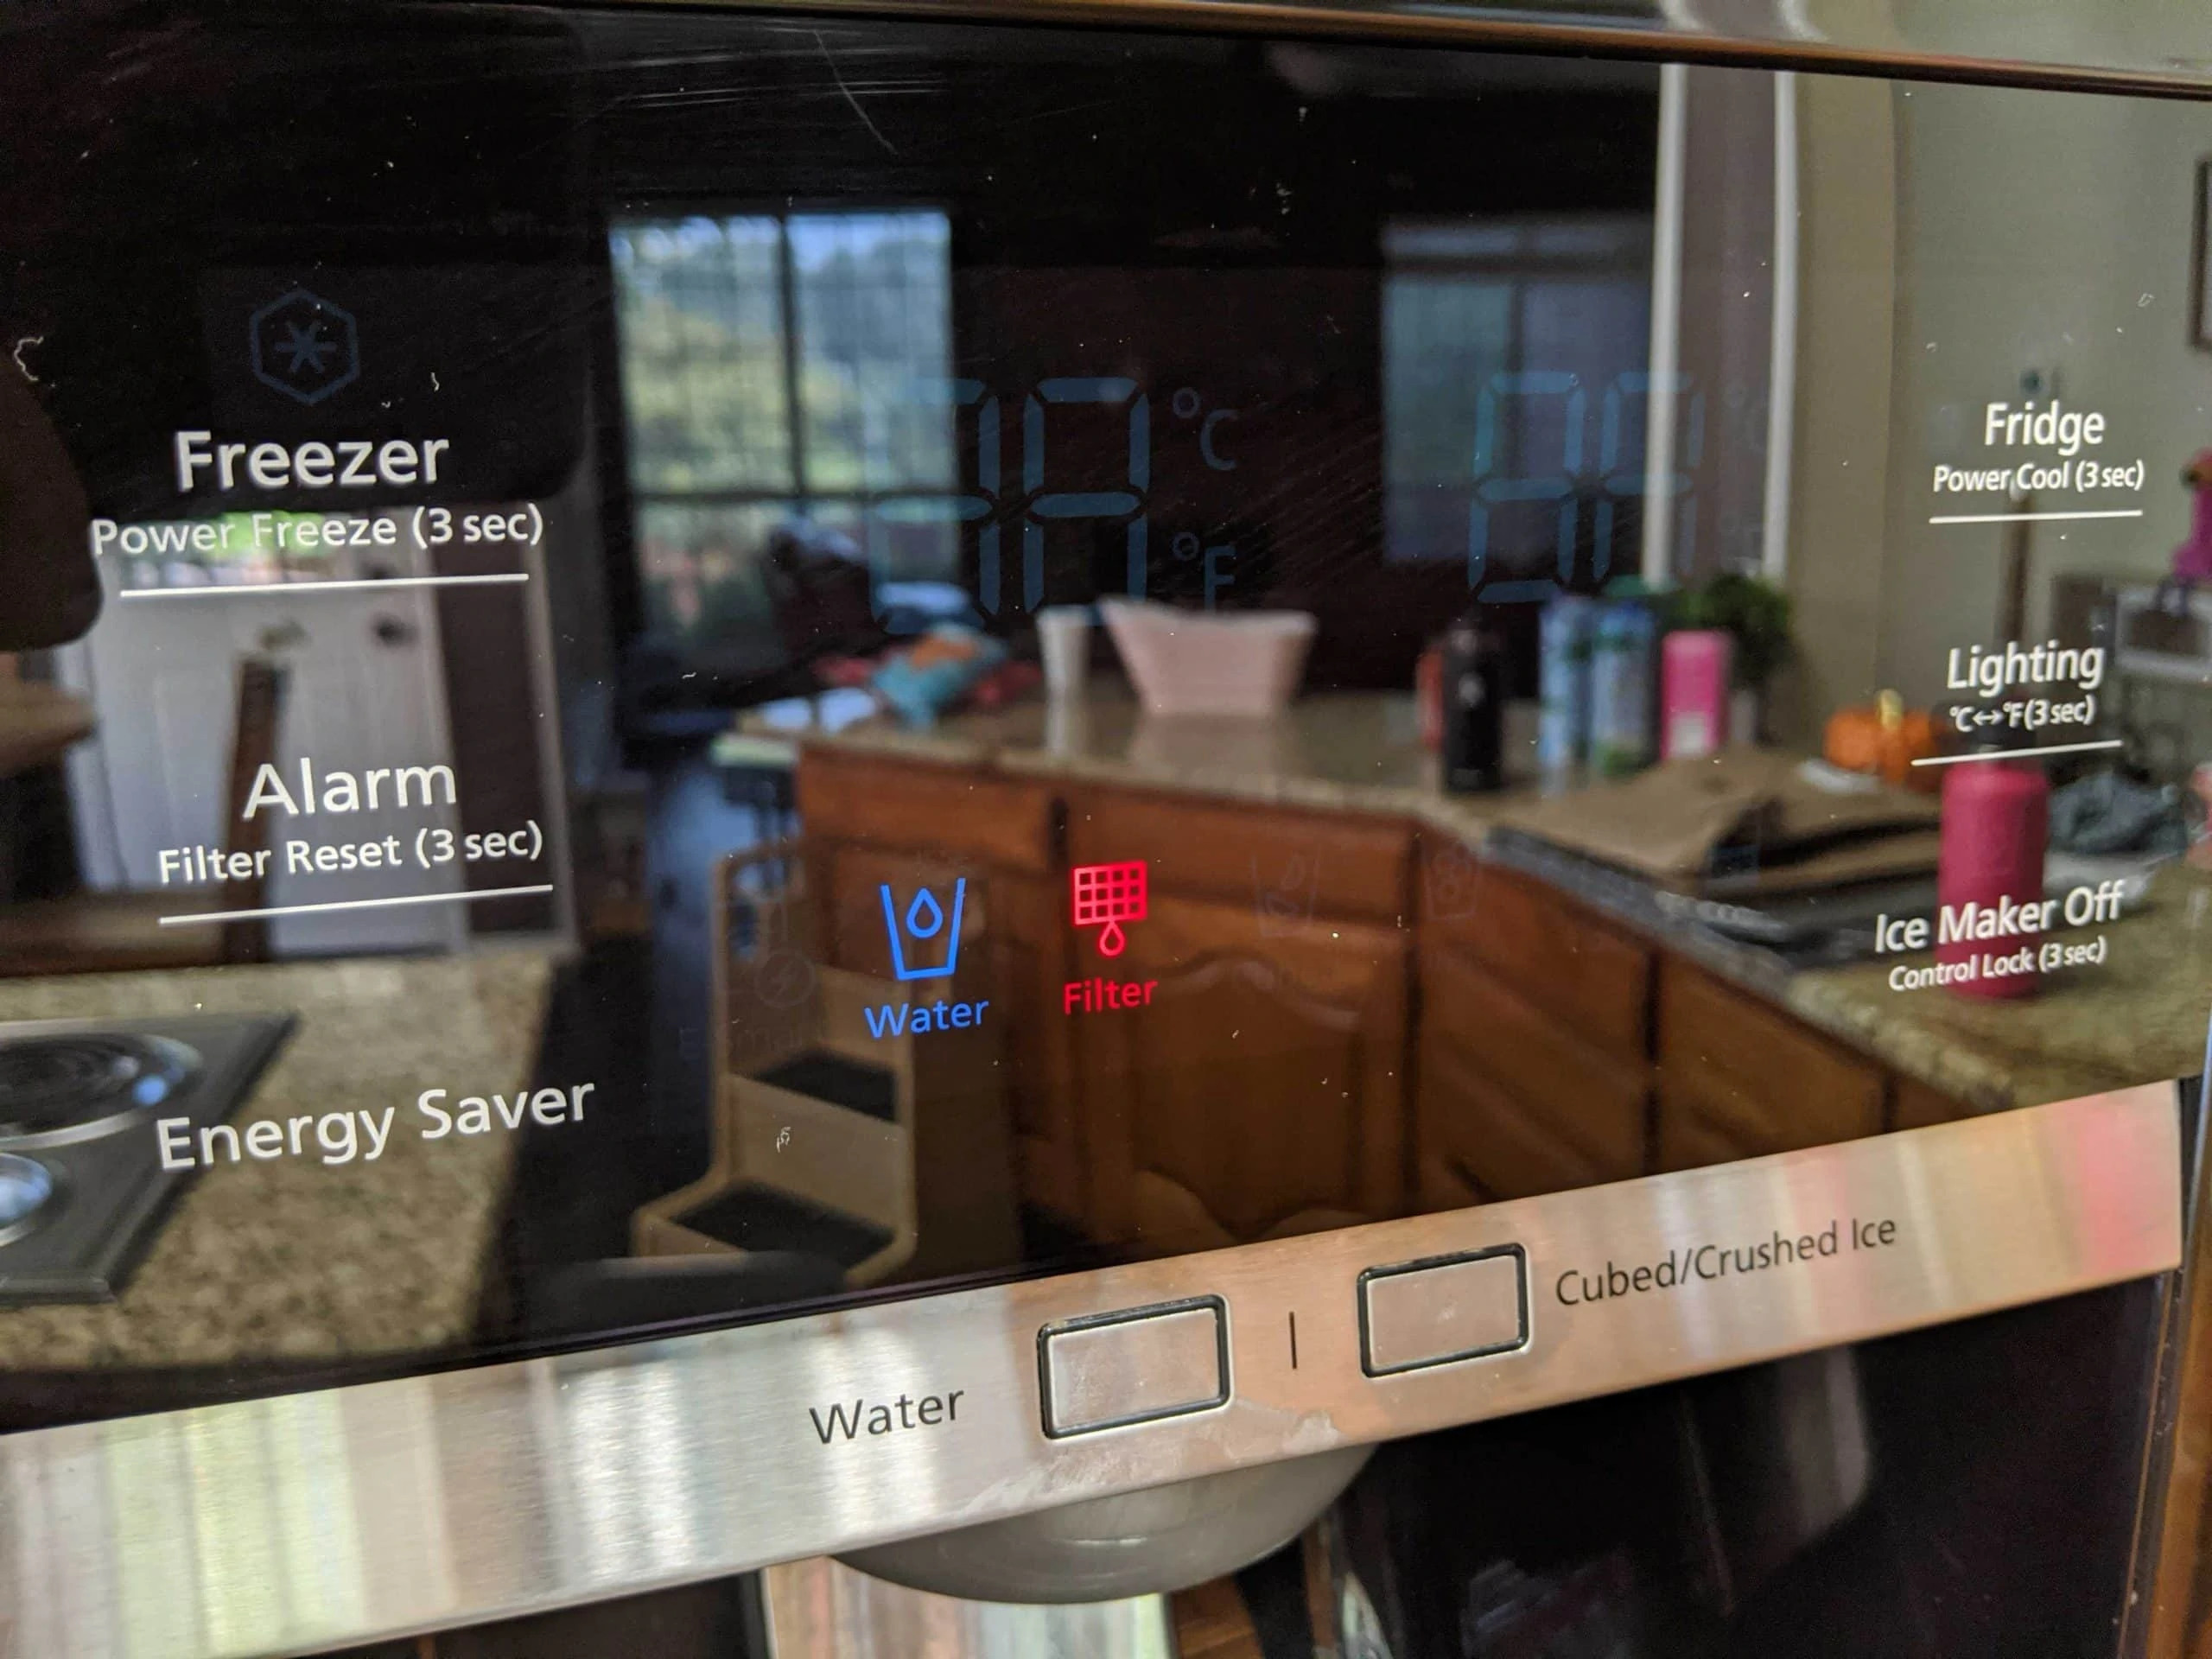
Step 6: Resetting the filter indicator light
After installing the new water filter in your Samsung refrigerator, it’s important to reset the filter indicator light. This will ensure that the refrigerator accurately tracks the lifespan of the new filter and notifies you when it’s time for the next replacement.
Follow these steps to reset the filter indicator light:
- Locate the control panel on the front of your Samsung refrigerator.
- Look for the “Filter” or “Reset” button on the control panel. The exact wording may vary depending on your refrigerator model.
- Press and hold the “Filter” or “Reset” button for a few seconds until the indicator light changes or turns off completely.
- Release the button once the indicator light has reset. The filter status should now reflect that a new filter has been installed.
If you’re unsure of the specific steps to reset the filter indicator light, consult your owner’s manual or refer to Samsung’s official website for instructions tailored to your refrigerator model.
Resetting the filter indicator light is an important step to ensure that you receive accurate notifications about when to replace the water filter in the future. With the light reset, the final step is to test the new water filter to ensure proper functionality.
With the filter indicator light successfully reset, you have completed the majority of the water filter replacement process. However, there’s one final step left to ensure the proper functioning of the new filter: testing it.
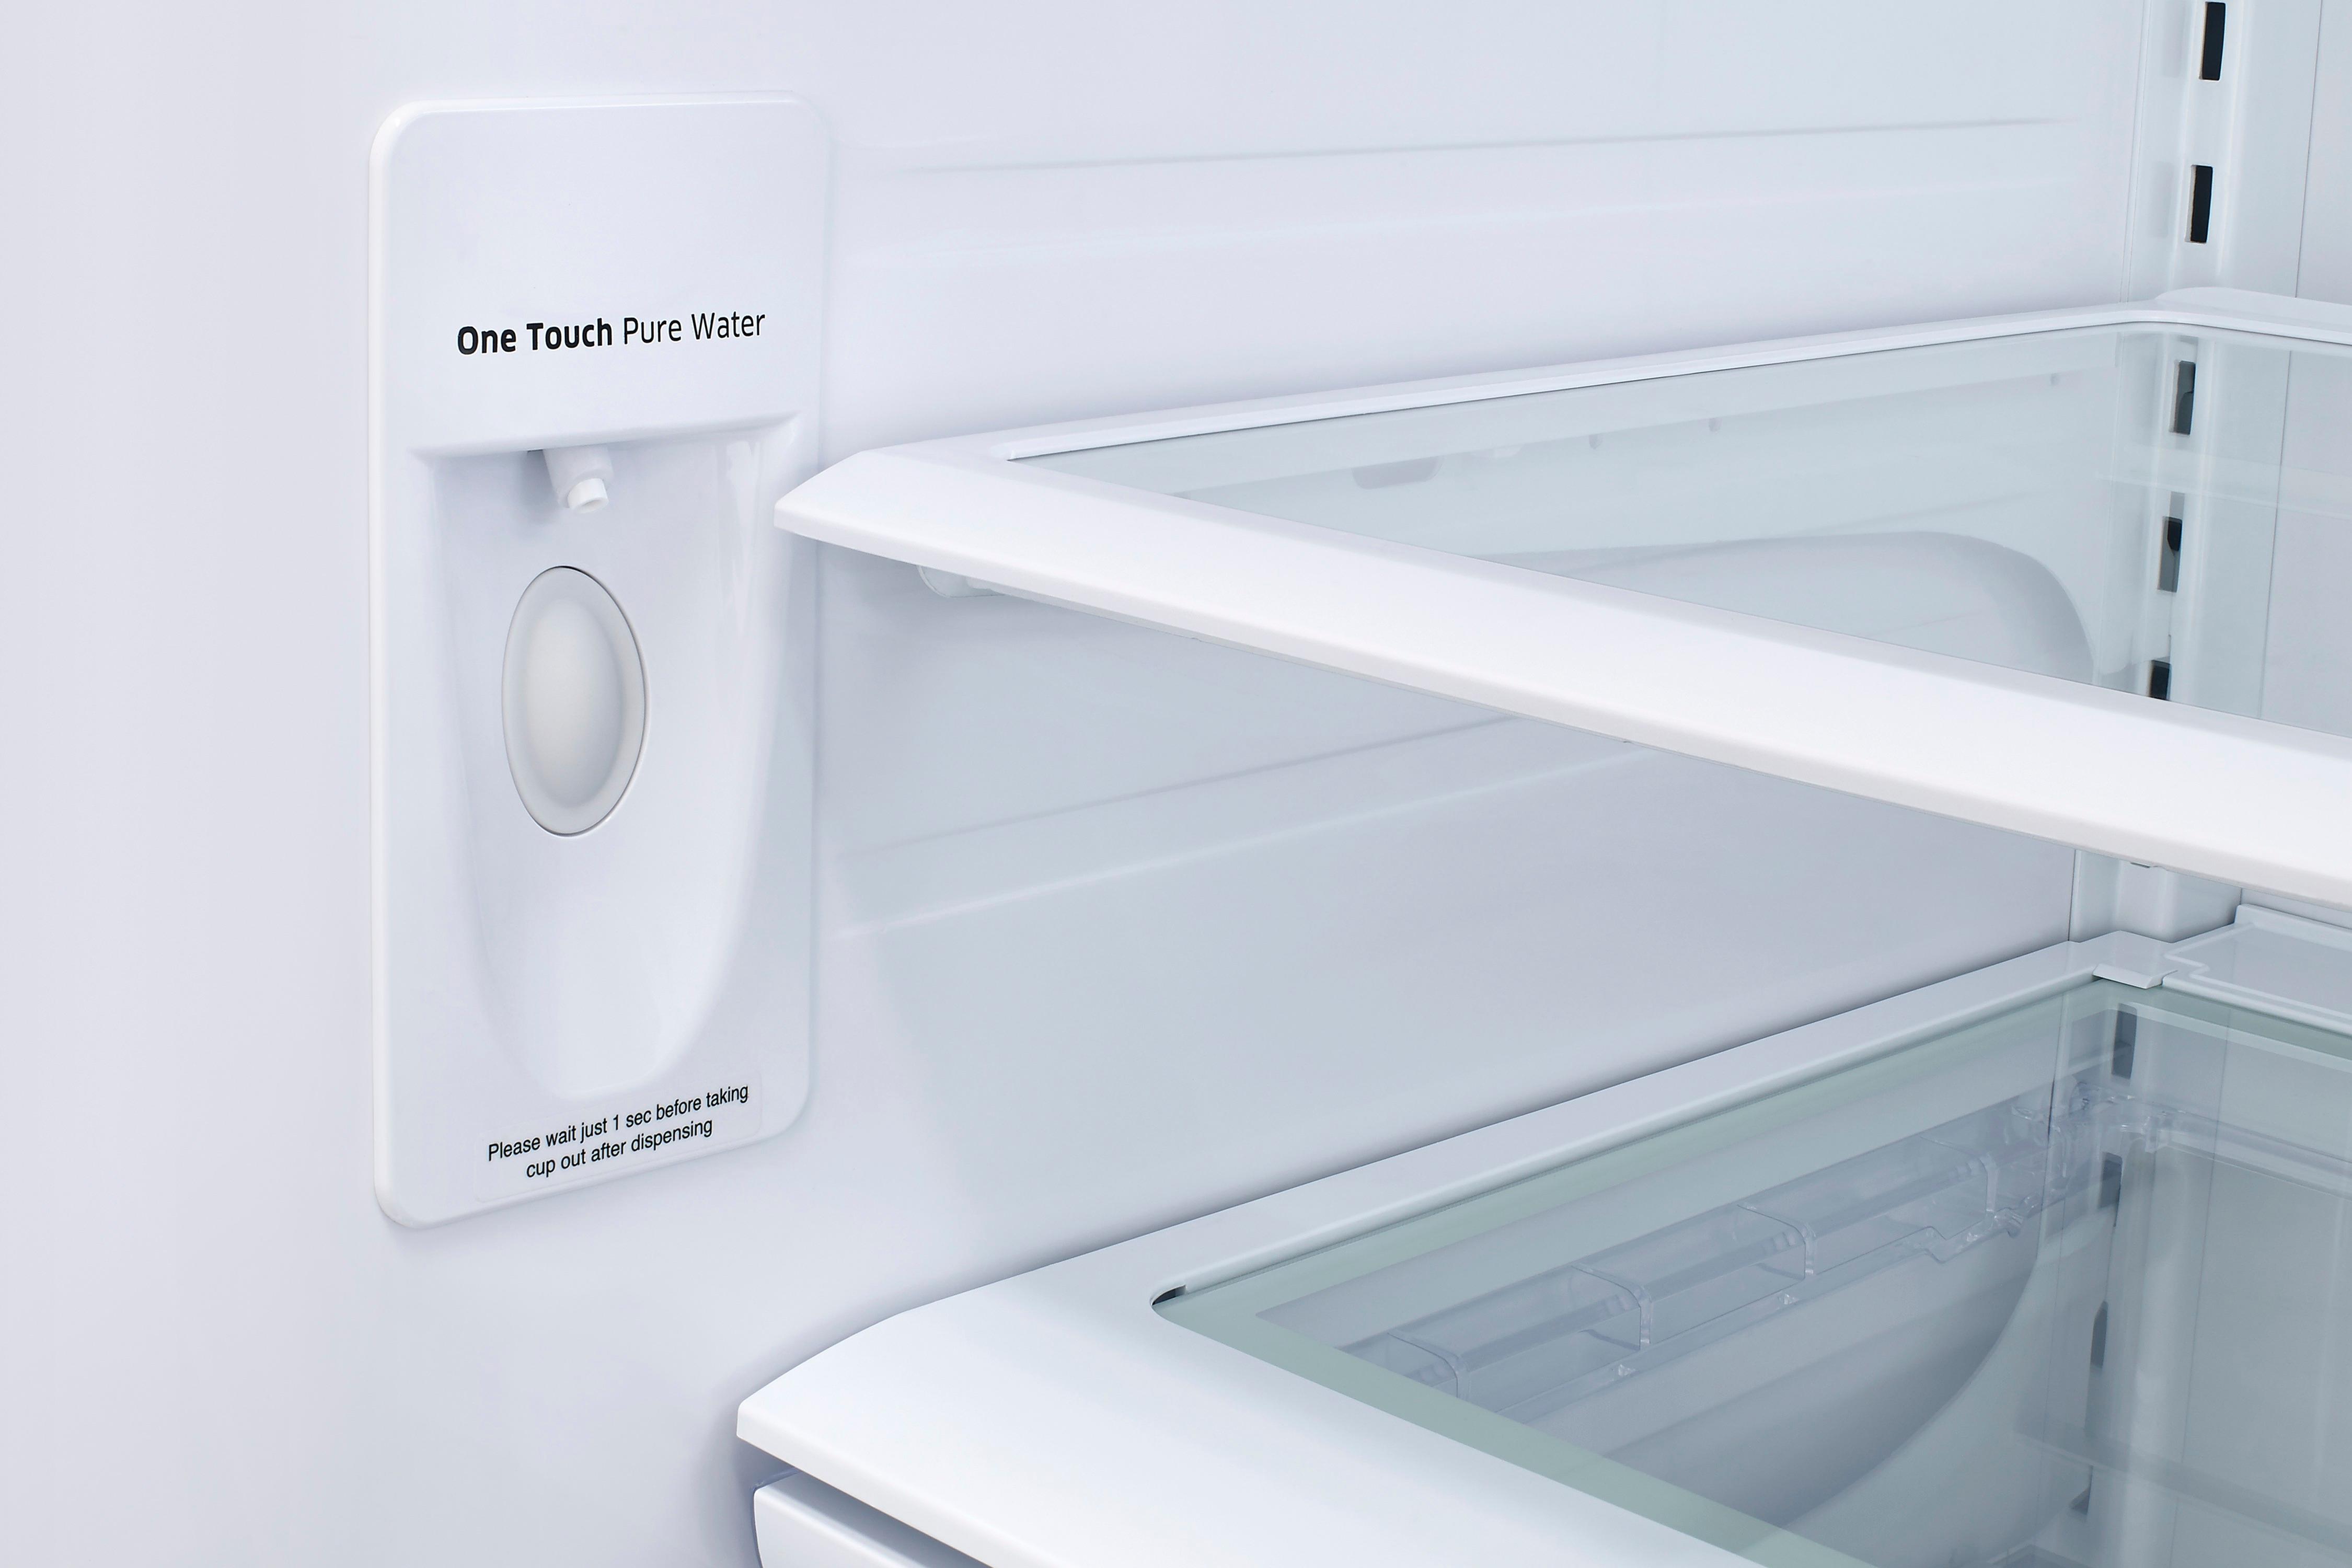
Step 7: Testing the new water filter
Once you have installed the new water filter and reset the filter indicator light, it’s essential to test the filter to ensure that it is working properly. Testing the filter will help you verify that it is providing clean and filtered water as expected.
Follow these steps to test the new water filter:
- Make sure that the water supply to the refrigerator is still turned off to prevent any leaks or spills during the testing process.
- Fill a glass with water from the refrigerator’s water dispenser.
- Observe the water carefully for any signs of cloudiness, odor, or unusual taste.
- Take a sip and assess the quality of the water. It should taste clean and refreshing without any unpleasant flavors or odors.
- If the water appears unclear or has an unusual taste or odor, it may indicate a problem with the installation or the new filter itself. In such cases, double-check the installation steps and consult the manufacturer or supplier for further assistance.
Testing the new water filter is an important final step to validate its proper functioning. By following these steps, you can ensure that your Samsung refrigerator is delivering clean and high-quality filtered water to you and your family.
With the new filter successfully tested and confirmed to be working correctly, you have completed the process of changing the water filter on your Samsung refrigerator. Congratulation on maintaining a clean and healthy water supply!
Remember, it’s crucial to keep track of the recommended filter replacement schedule for your specific refrigerator model and replace the filter accordingly. Regularly changing the water filter will ensure that you continue to enjoy clean and refreshing water every day.
We hope this guide has been helpful in assisting you with changing the water filter on your Samsung refrigerator. By following these steps, you can ensure the longevity of your refrigerator’s filtration system and provide your family with safe and delicious drinking water.
Happy hydrating!
Conclusion
Changing the water filter on your Samsung refrigerator is a simple and important maintenance task that ensures you have access to clean and filtered water. By following the step-by-step guide outlined in this article, you can confidently replace the water filter and maintain the highest quality of drinking water for you and your family.
From gathering the necessary tools and materials to locating the water filter, removing the old filter, preparing the new filter, installing it, resetting the filter indicator light, and testing the new water filter, each step is crucial in ensuring the proper functioning of your refrigerator’s filtration system.
Regularly changing the water filter is essential because it removes impurities, contaminants, and bacteria from your drinking water, ensuring its safety and taste. Additionally, it helps to maintain the efficiency and lifespan of your refrigerator’s water filtration system.
Remember to consult the owner’s manual or refer to Samsung’s official website for specific instructions related to your refrigerator model. Different models may have slight variations in the filter location or installation process, and it’s vital to have accurate information.
Lastly, be sure to keep track of the recommended filter replacement schedule for your Samsung refrigerator model. Regularly checking and replacing the water filter as needed will guarantee a continuous supply of clean and refreshing drinking water.
By following this comprehensive guide, you can confidently change the water filter on your Samsung refrigerator and enjoy the benefits of clean and filtered water. Stay hydrated!
Frequently Asked Questions about How To Change Water Filter On Samsung Refrigerator
Was this page helpful?
At Storables.com, we guarantee accurate and reliable information. Our content, validated by Expert Board Contributors, is crafted following stringent Editorial Policies. We're committed to providing you with well-researched, expert-backed insights for all your informational needs.


0 thoughts on “How To Change Water Filter On Samsung Refrigerator”