Articles
How To Change Water Filter Ge Refrigerator
Modified: September 2, 2024
Learn how to change the water filter in your GE refrigerator with our informative articles. Keep your fridge running smoothly and enjoy clean, fresh water.
(Many of the links in this article redirect to a specific reviewed product. Your purchase of these products through affiliate links helps to generate commission for Storables.com, at no extra cost. Learn more)
Introduction
Welcome to our comprehensive guide on how to change the water filter in your GE refrigerator. A water filter plays a crucial role in ensuring that the water you consume is free from impurities and contaminants, providing you with clean and fresh-tasting water. Over time, these filters can become clogged and will need to be replaced to maintain optimal performance.
In this article, we will take you through a step-by-step process to help you easily and efficiently change the water filter in your GE refrigerator. We will provide you with all the necessary information, tools, and tips to ensure a successful filter replacement.
Before we dive into the process, it’s important to note that the instructions provided are general guidelines. Different GE refrigerator models may have slightly different filter locations or mechanisms. Therefore, it’s always a good idea to refer to your specific refrigerator’s user manual for detailed instructions. Now, let’s get started!
Key Takeaways:
- Easily maintain clean and fresh-tasting water in your GE refrigerator by following our step-by-step guide to changing the water filter. Gather tools, locate the filter, and ensure proper installation for optimal performance.
- Regularly replacing the water filter in your GE refrigerator is essential for enjoying clean and healthy drinking water. Follow the manufacturer’s guidelines, test the filter, and enjoy the benefits of refreshing water.
Step 1: Gather the Necessary Tools and Materials
Before you begin the process of changing the water filter in your GE refrigerator, it’s essential to gather all the required tools and materials. This ensures that you have everything you need conveniently on hand, making the process smoother and more efficient.
Here are the tools and materials you will need:
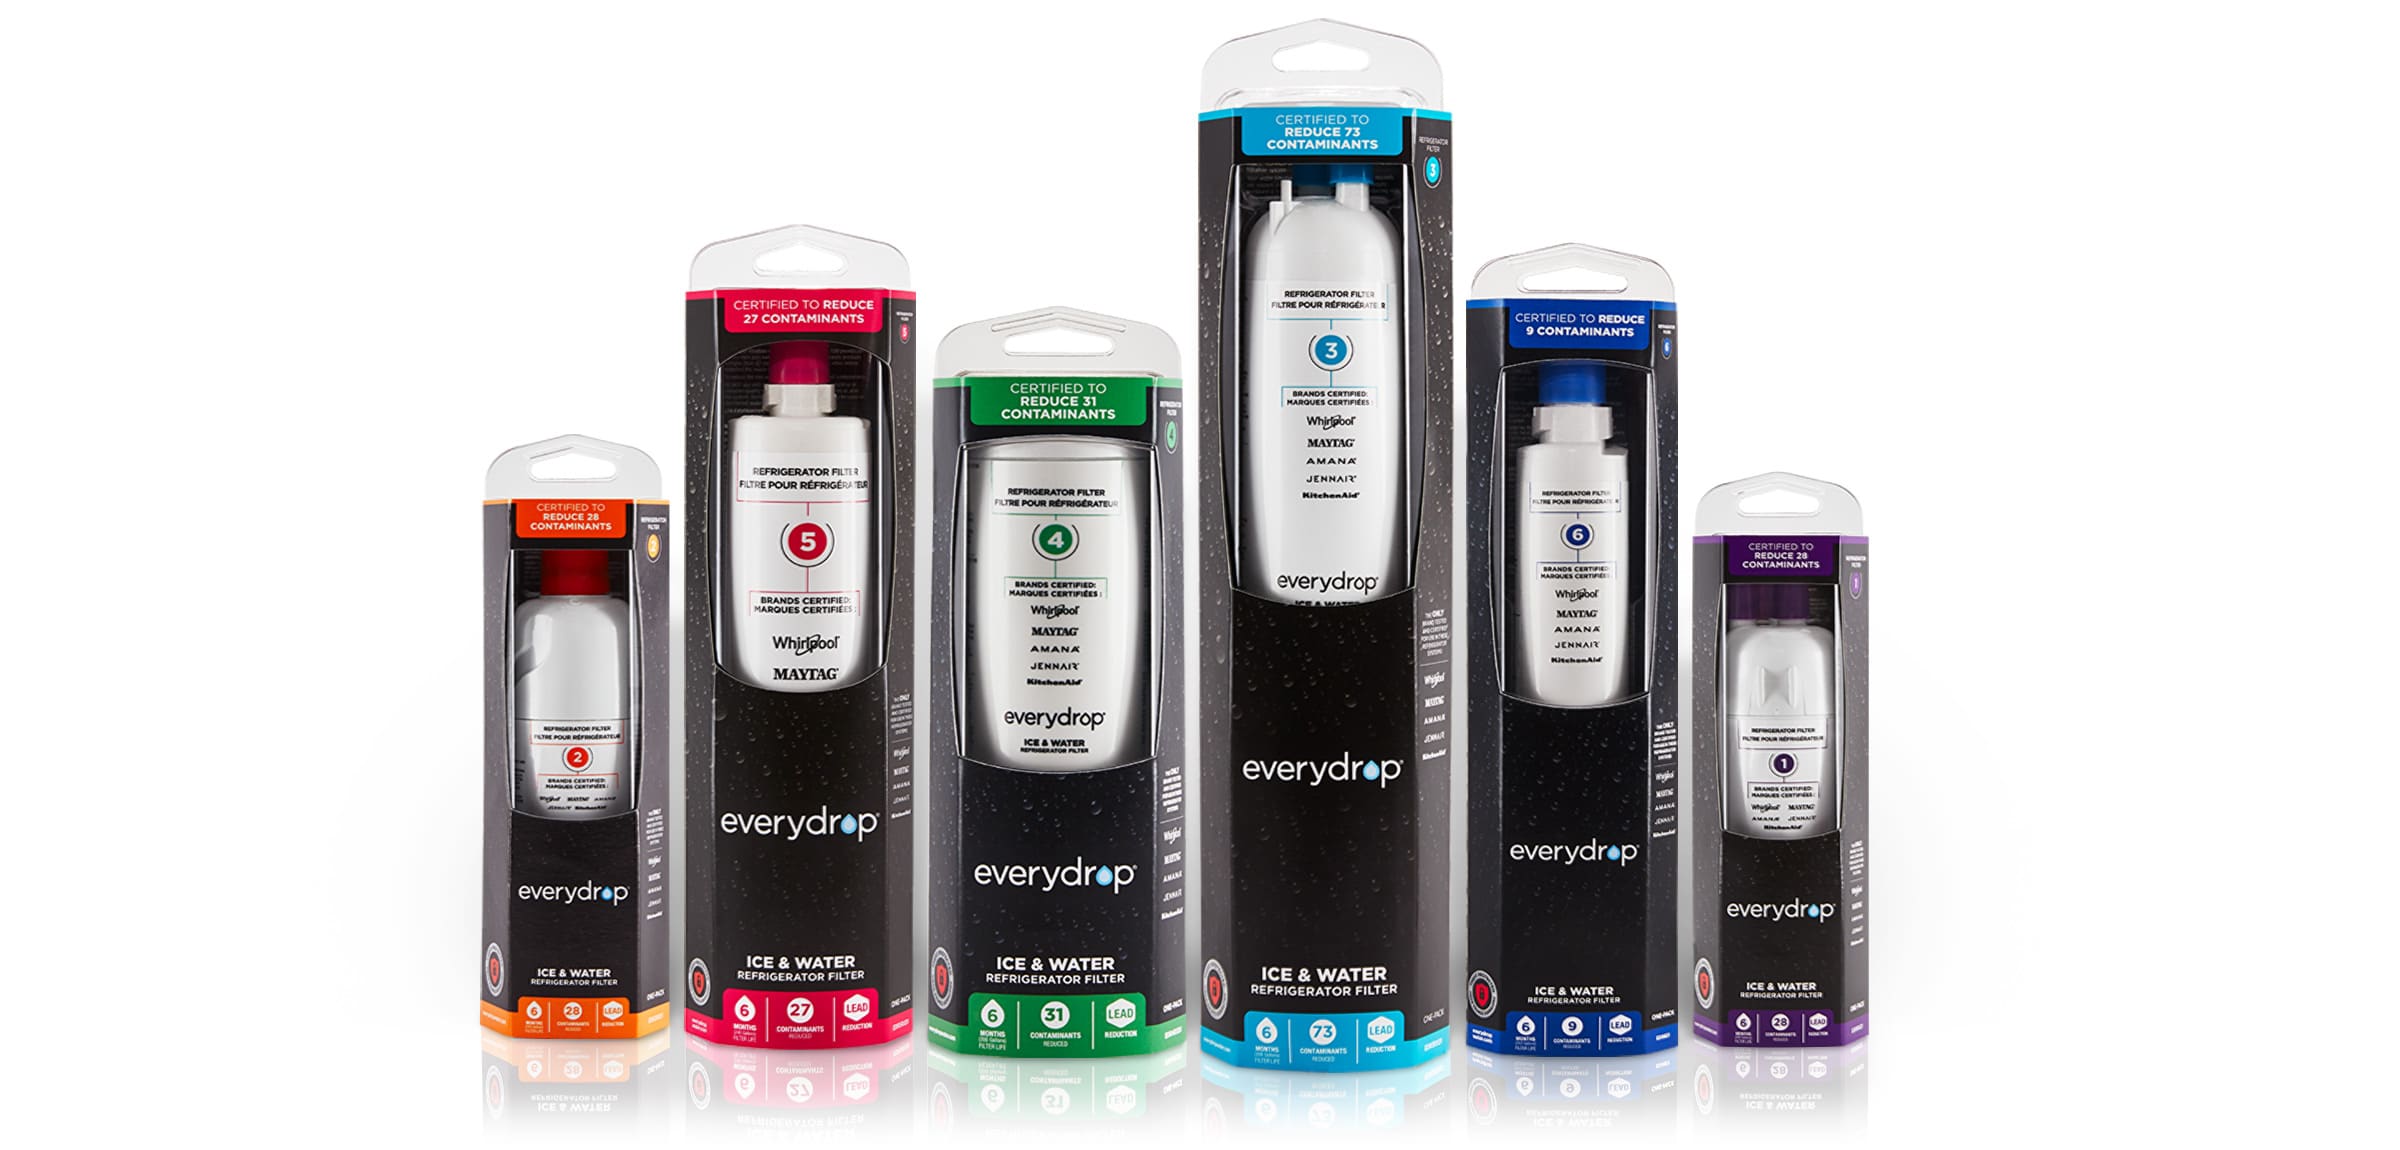
- A replacement water filter specifically designed for your GE refrigerator model. It’s important to use the correct filter to ensure compatibility and optimal performance.
- A clean cloth or paper towel for wiping any spills or drips.
- Protective gloves to keep your hands clean and protected.
- A small bucket or container to catch any water that may spill during the filter removal process.
Once you have gathered these tools and materials, you are ready to move on to the next step of locating the water filter in your GE refrigerator.
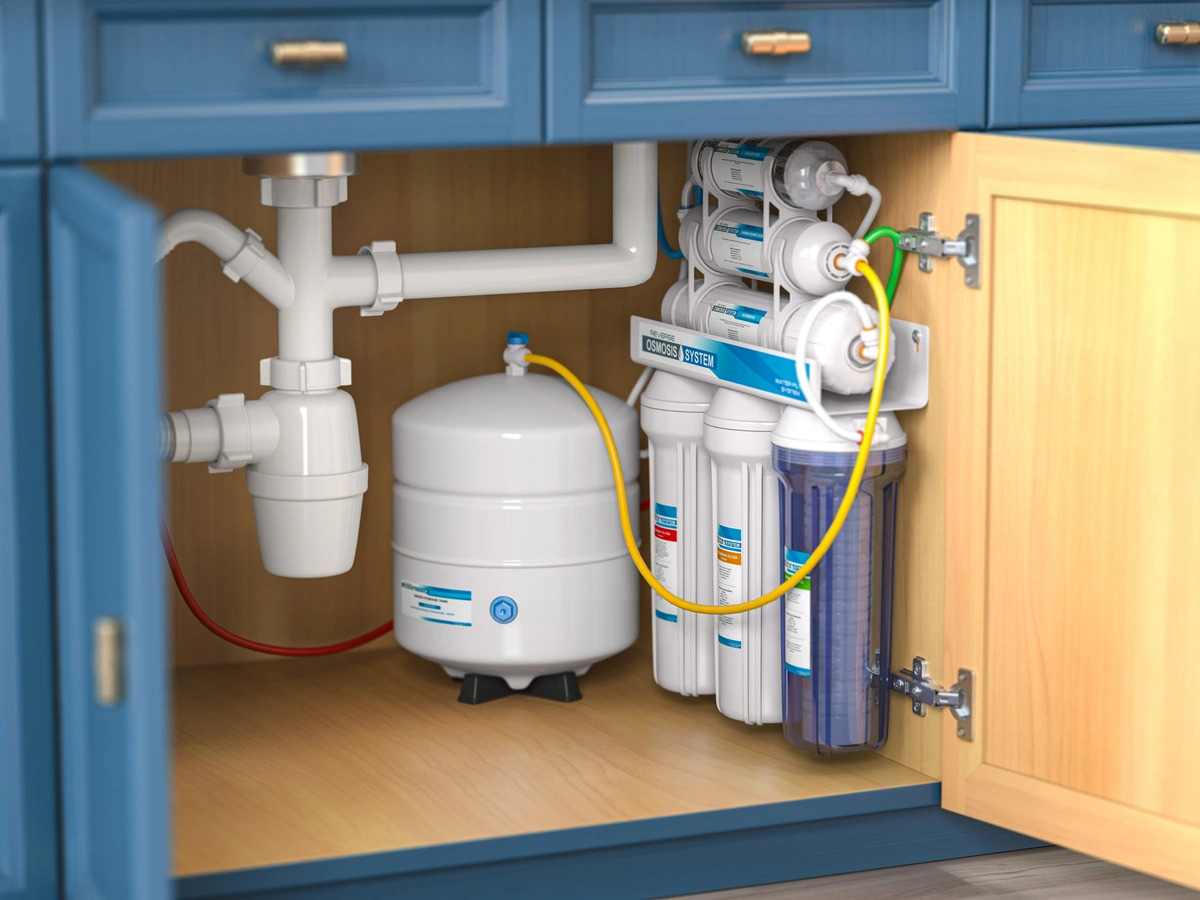
Step 2: Locate the Water Filter
Now that you have gathered all the necessary tools and materials, it’s time to locate the water filter in your GE refrigerator. The location of the water filter may vary depending on the model, but here are a few common areas where you can typically find it:
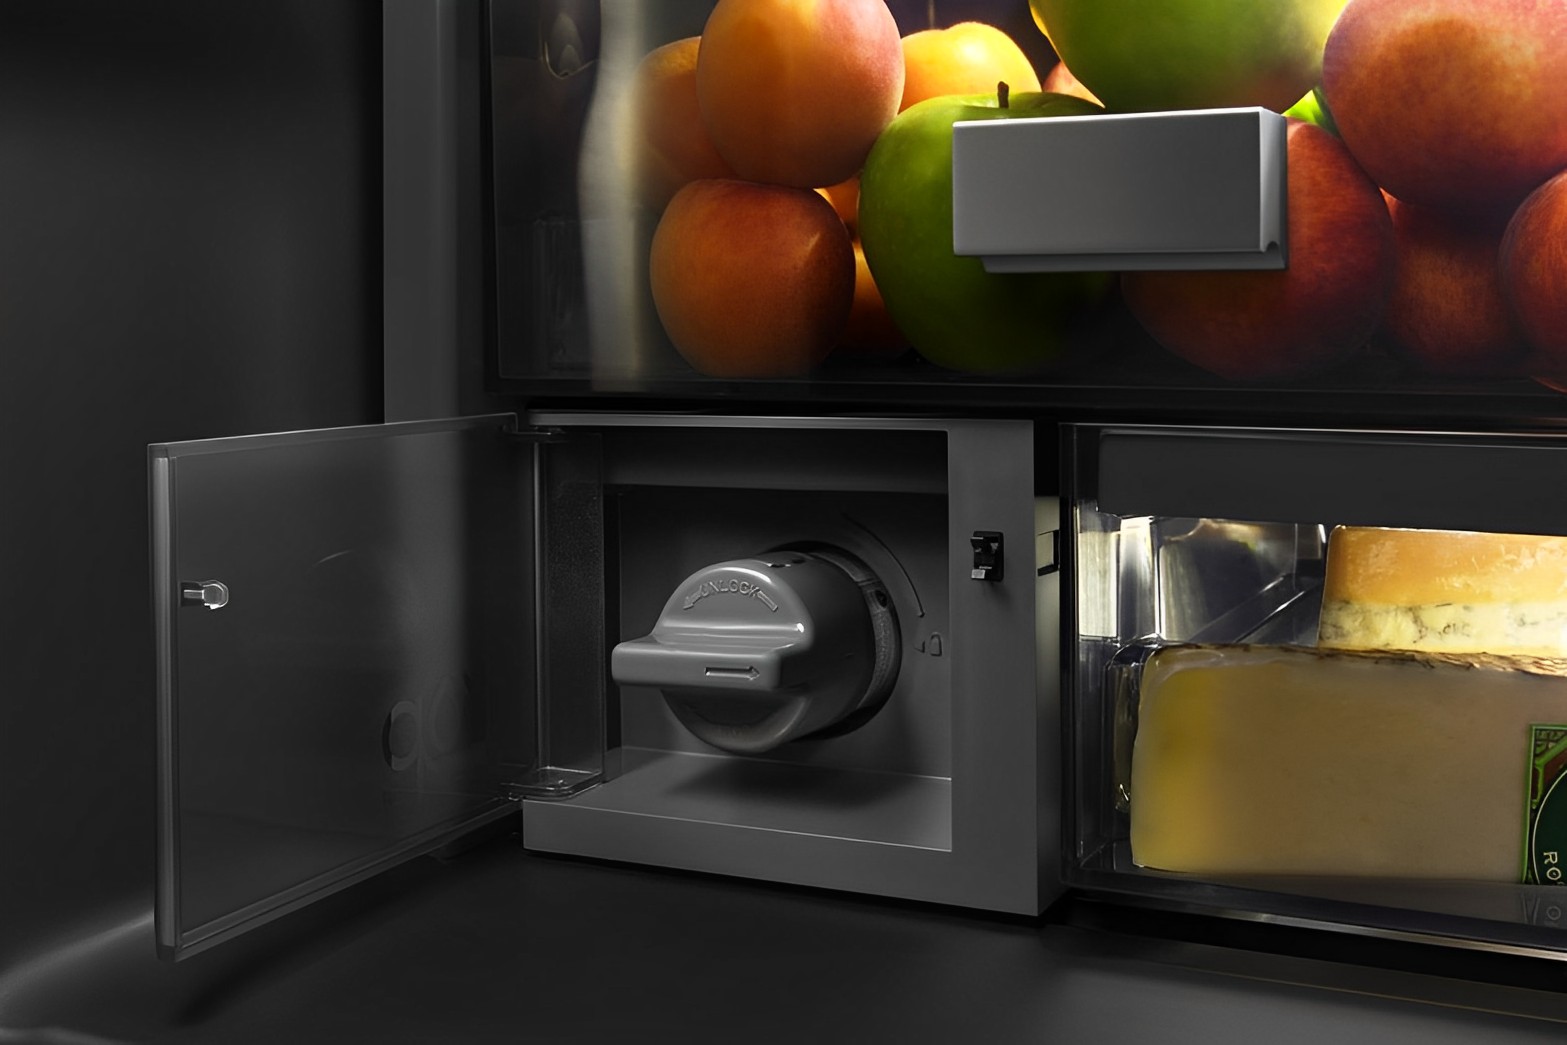
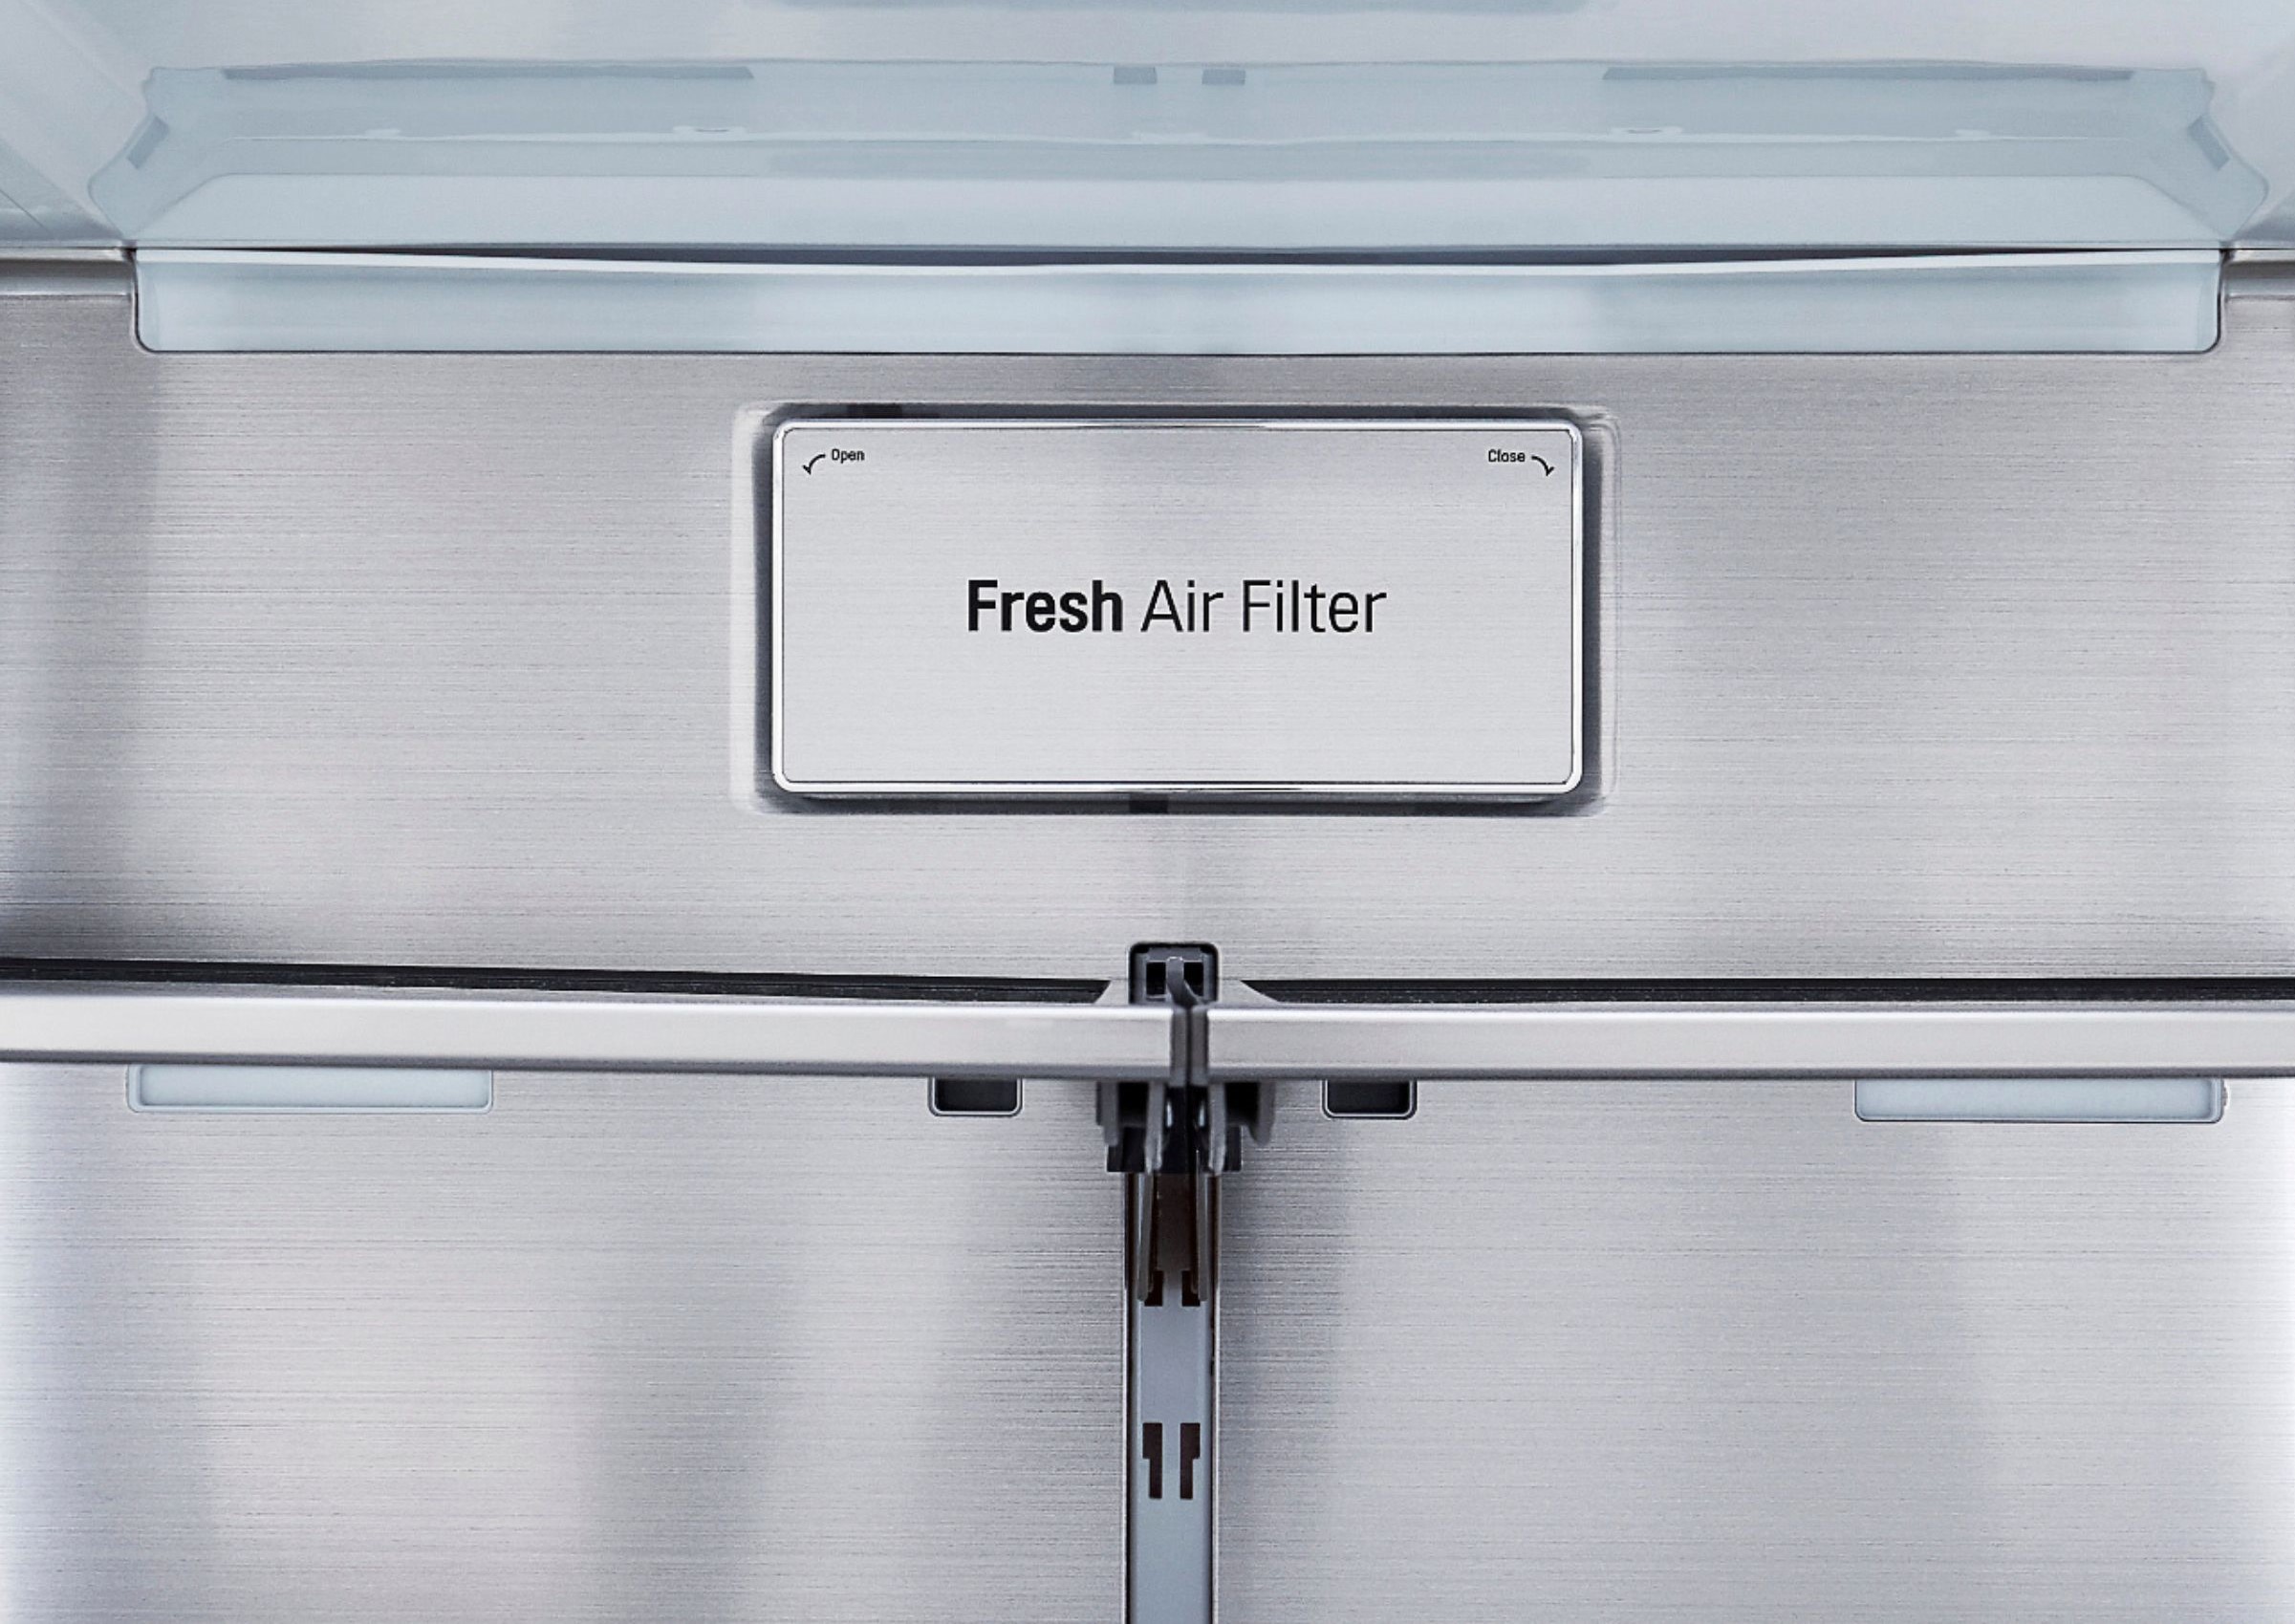
- Inside the refrigerator: Look for a filter compartment located on the back wall, ceiling, or side wall of the refrigerator compartment. It may be concealed behind a housing or a panel.
- Bottom grille: Some GE refrigerator models have the water filter located in the bottom grille, near the front of the appliance.
- Behind the refrigerator: In a few cases, the water filter might be located at the back of the refrigerator, accessible from behind the unit. You may need to pull the refrigerator away from the wall to access it.
Refer to your refrigerator’s user manual for specific guidance on where to find the water filter. Take note of any instructions or diagrams provided to ensure you locate the filter correctly.
Once you have located the water filter, proceed to the next step to prepare your refrigerator for the filter replacement process.
Step 3: Shut Off the Water Supply
Before replacing the water filter in your GE refrigerator, it’s important to shut off the water supply to prevent any leaks or water damage during the process. Here’s how you can safely shut off the water supply:
- Locate the water shut-off valve behind your refrigerator. This valve is usually located on the wall or the floor near the back of the appliance.
- Rotate the valve clockwise to shut off the water supply.
- Once the valve is completely closed, check for any water flow from the refrigerator’s dispenser. If there is still water coming out, double-check the valve to ensure it is fully closed.
Shutting off the water supply is a crucial step to avoid any water leakage when you remove the water filter. It ensures a smooth and mess-free filter replacement process. Now that you have turned off the water supply, you can move on to the next step of removing the old water filter from your GE refrigerator.
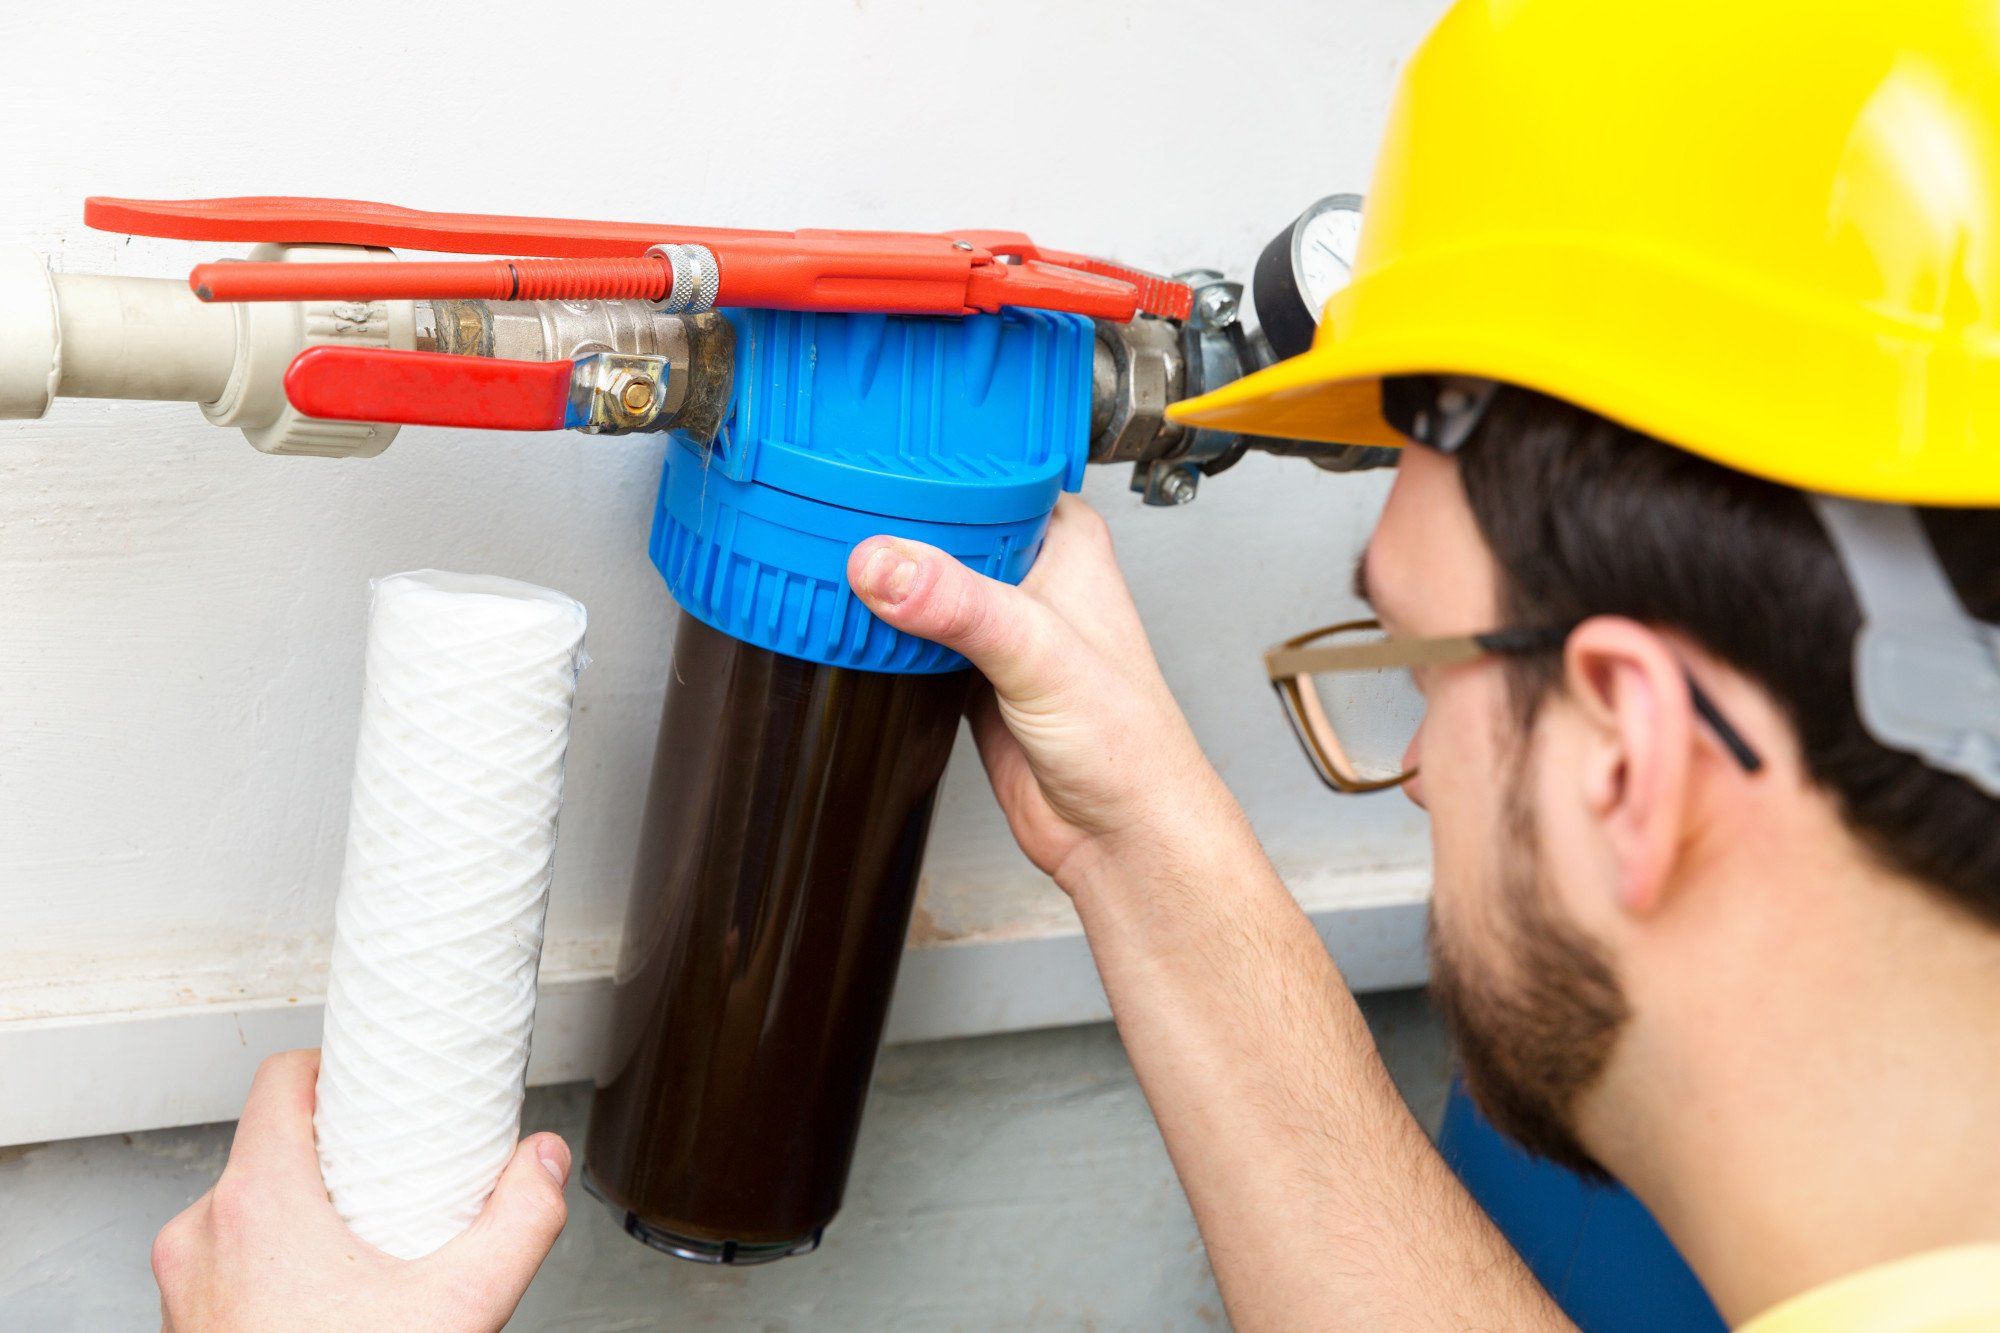
Step 4: Remove Old Water Filter
Now that you have shut off the water supply, it’s time to remove the old water filter from your GE refrigerator. Follow these steps to safely and effectively remove the old filter:
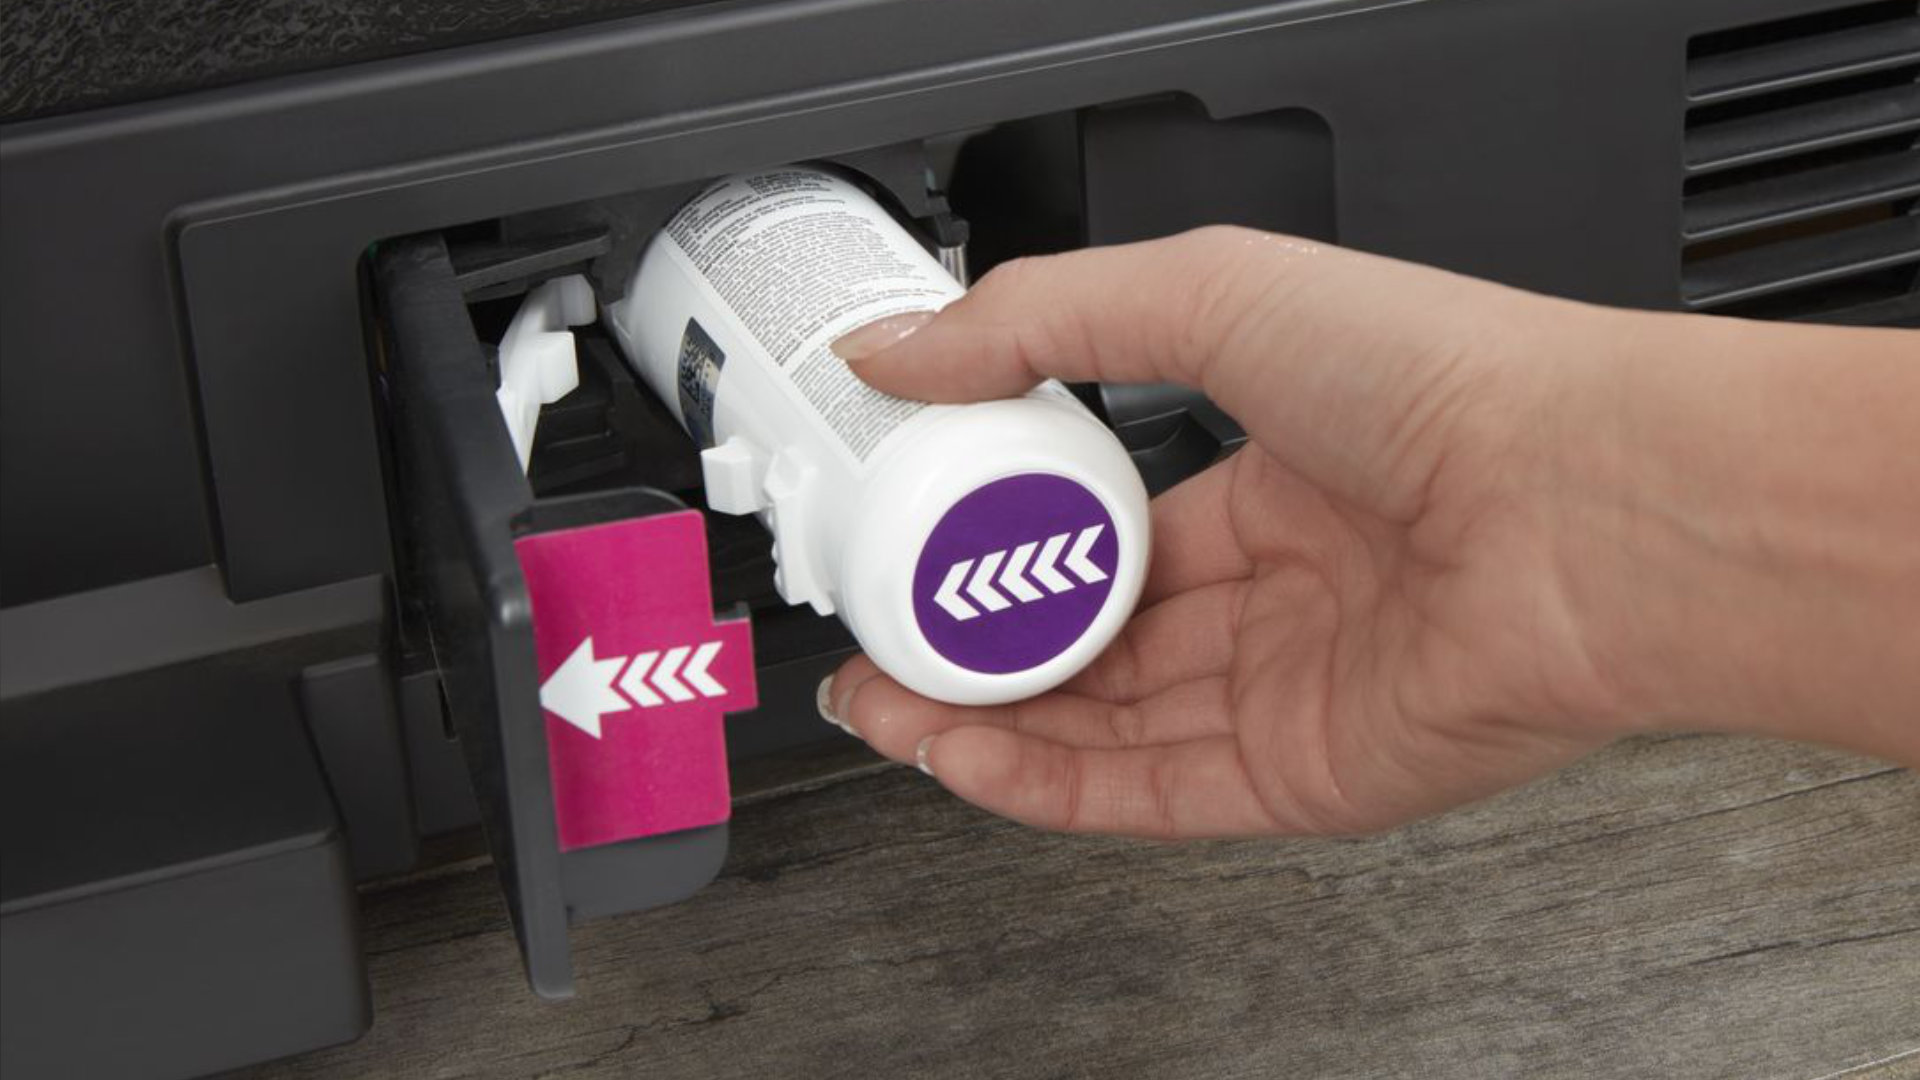
- Carefully open the filter compartment or housing where the water filter is located. This may involve removing a panel or twisting a cap to access the filter.
- Inspect the old filter and take note of its positioning and orientation. This will help you correctly install the new filter later.
- Hold the old filter firmly and gently twist it counterclockwise to unlock it. This will loosen the filter from its housing.
- Slowly pull the old filter straight out from its housing. Be cautious as there might still be some water inside the filter, so it’s best to have a towel or bucket nearby to catch any spills.
- Set the old filter aside and dispose of it as per your local regulations.
With the old water filter successfully removed, you are now ready to prepare the new water filter for installation. Proceed to the next step to learn how to properly prepare the new filter.
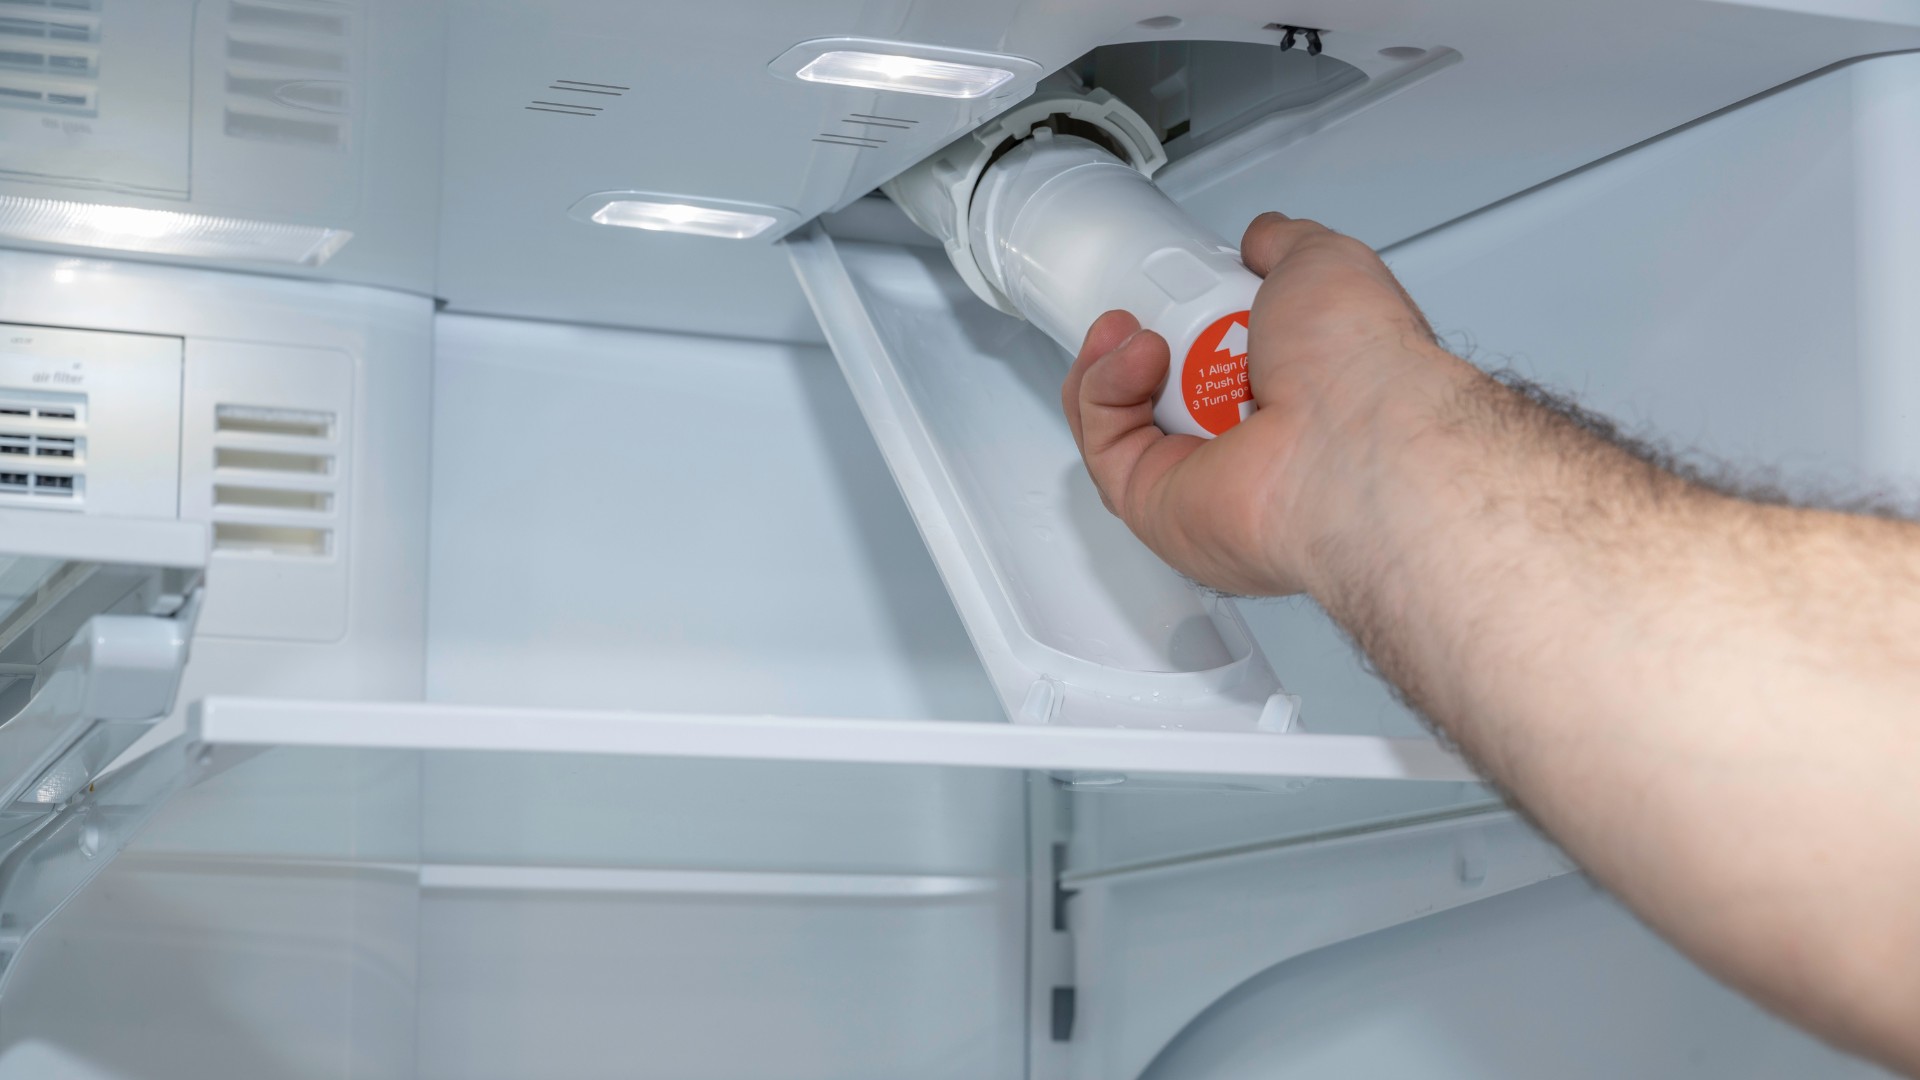
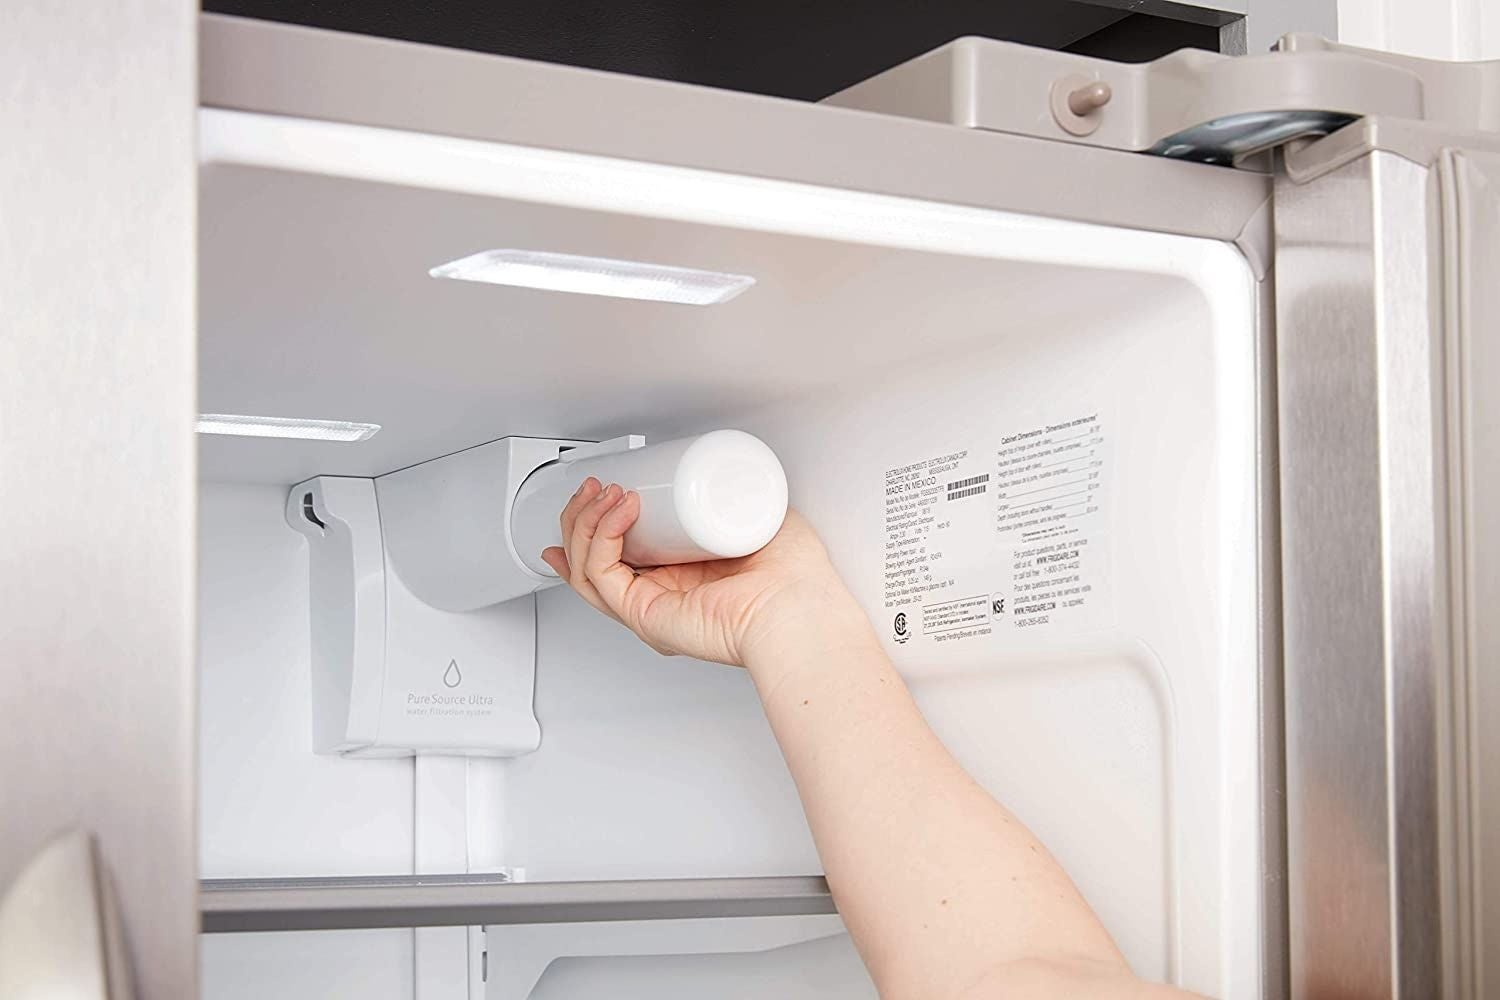
To change the water filter in your GE refrigerator, locate the filter cartridge in the upper right corner of the refrigerator compartment. Twist the old filter counterclockwise to remove it, then insert the new filter and twist it clockwise to secure it in place. Run water through the dispenser for a few minutes to flush out any air or loose carbon particles.
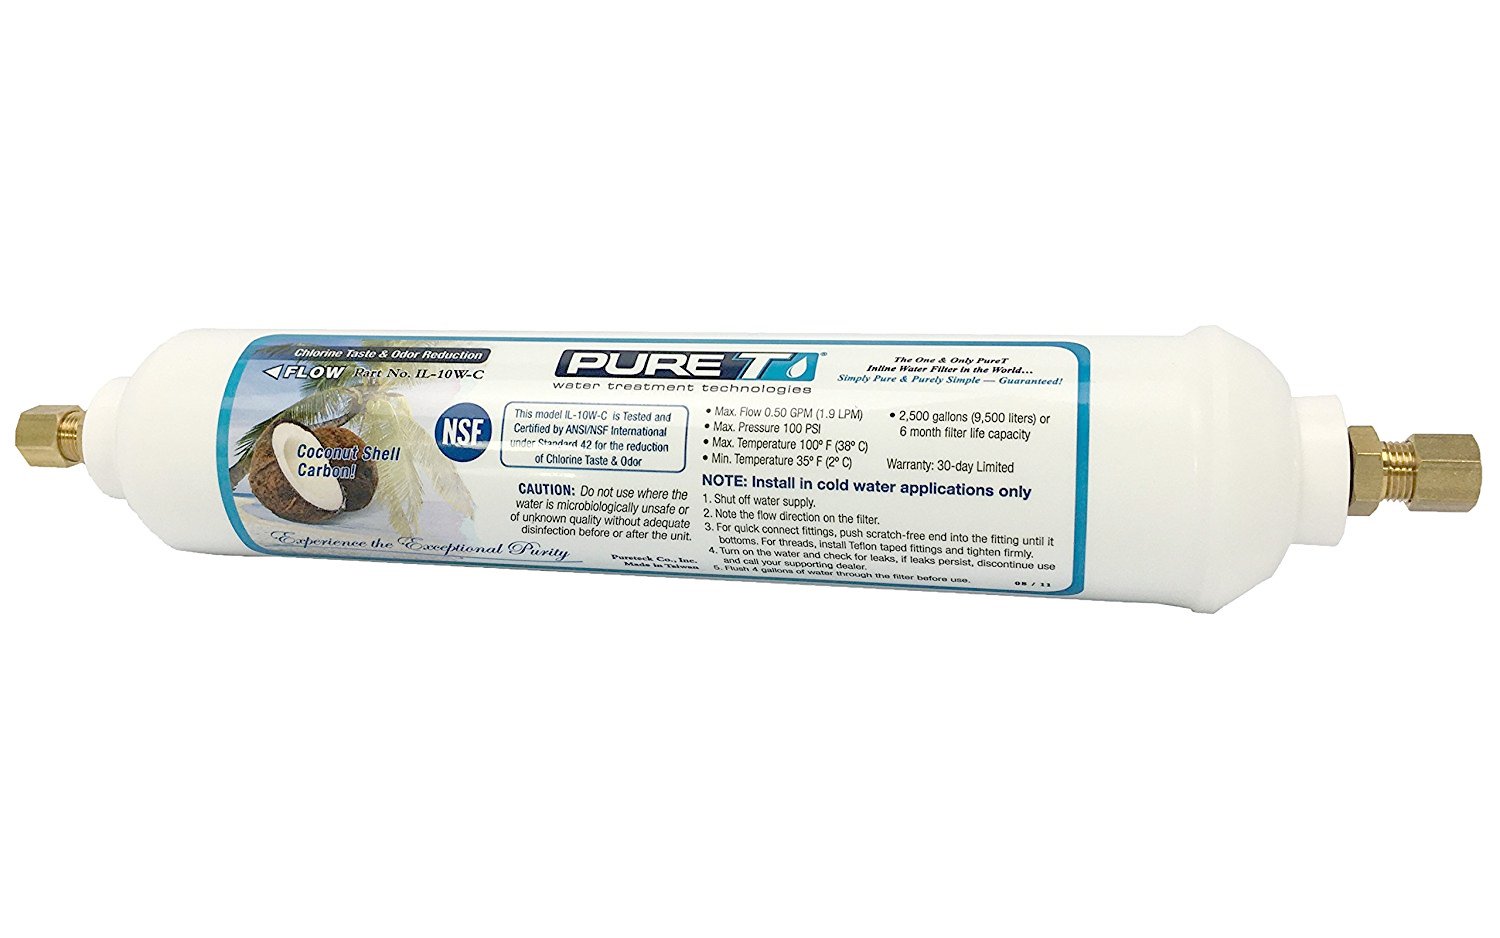
Step 5: Prepare the New Water Filter
With the old water filter removed, it’s time to prepare the new water filter for installation in your GE refrigerator. Take the following steps to ensure proper preparation:
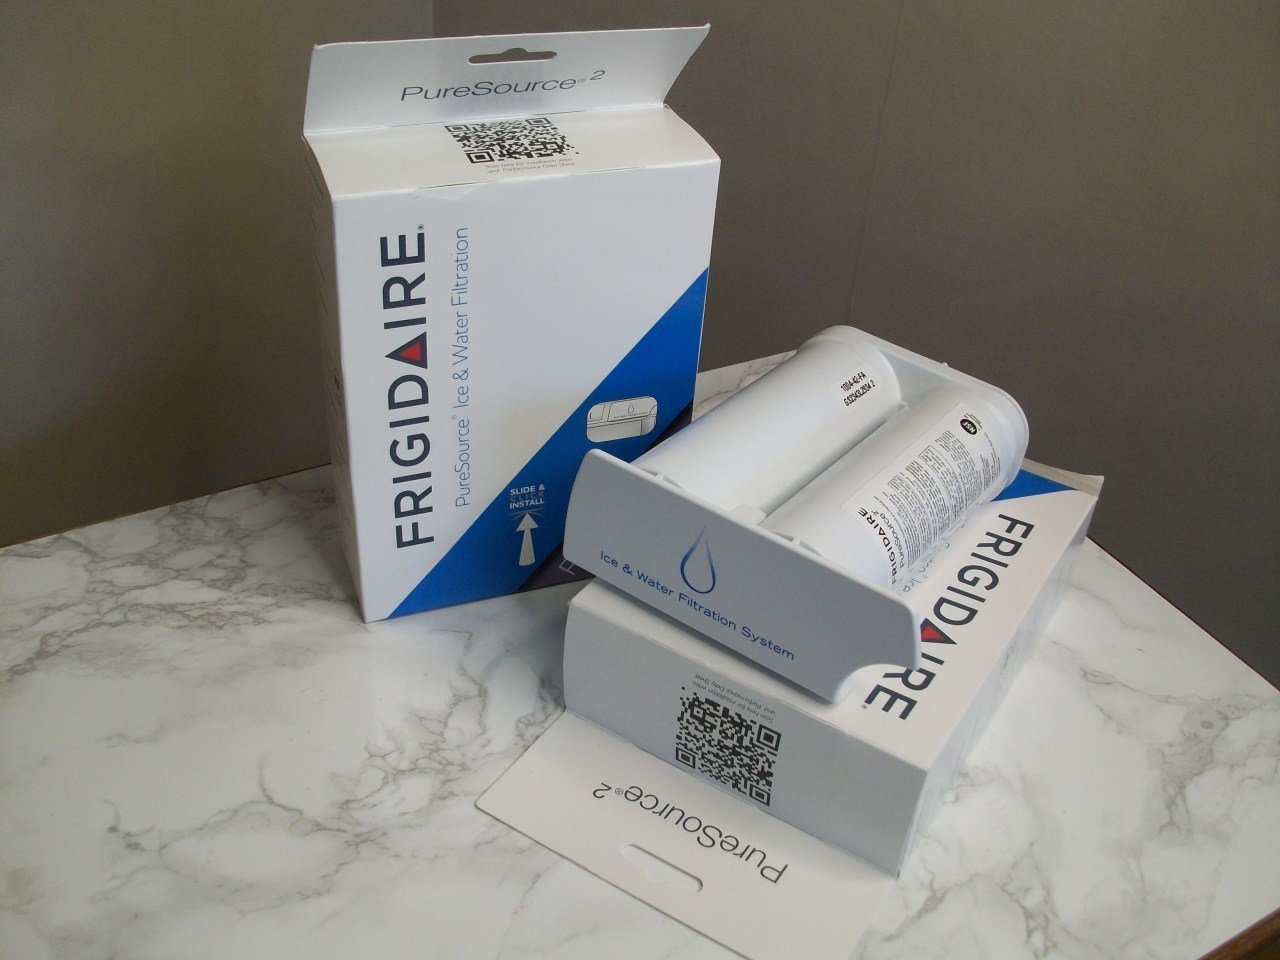
- Take the new water filter out of its packaging. Ensure that it is the correct replacement filter for your specific GE refrigerator model.
- If the new filter has any protective caps or seals, remove them carefully. These are meant to keep the filter clean and prevent any contamination.
- Check the new filter for any labels or markings indicating the flow direction. Make a note of this, as it will be crucial when installing the new filter.
- Inspect the new filter to ensure there are no visible damages or defects. If you notice any issues, do not proceed with the installation and contact the manufacturer or supplier for assistance.
It’s essential to properly prepare the new water filter to ensure its effectiveness and longevity. Taking the time to handle it with care and check for any damages will contribute to a successful filter replacement. Now that the new filter is ready, let’s move on to the next step of installing it in your GE refrigerator.
Step 6: Install the New Water Filter
Now that you have prepared the new water filter, it’s time to install it into your GE refrigerator. Follow these steps to properly install the new filter:
- Position the new water filter in the same orientation as the old one. Use the markings or labels on the filter to ensure the correct flow direction.
- Gently insert the new filter into the filter housing, aligning it with the opening.
- With a firm grip on the filter, slowly twist it clockwise until it locks into place. You may hear a click or feel the filter snugly fitting into the housing. This indicates that the filter is securely installed.
- Double-check the filter to ensure it is properly seated and tightly locked in place. This will prevent any leaks or issues once the water supply is turned back on.
With the new water filter successfully installed, you are one step closer to enjoying clean and fresh-tasting water from your GE refrigerator. Now, let’s move on to the next step to turn the water supply back on.
Step 7: Turn On Water Supply
Now that you have installed the new water filter in your GE refrigerator, it’s time to turn the water supply back on. Follow these steps to safely restore the water flow:
- Locate the water shut-off valve behind your refrigerator.
- Rotate the valve counterclockwise to gradually turn on the water supply.
- Allow the water to flow for a few seconds to flush out any air or impurities that may have accumulated during the filter replacement process.
- Check for any leaks or drips around the filter or the waterline connections. If you notice any leaks, immediately turn off the water supply again and inspect for any loose connections or damaged parts.
- Once you are confident that there are no leaks, close the filter compartment or housing securely.
Turning on the water supply is a crucial step to ensure the proper functioning of the new water filter. It allows clean water to flow through the filter and reach your refrigerator’s dispenser or ice maker. Now that the water supply has been restored, let’s proceed to the final step of testing the water filter.
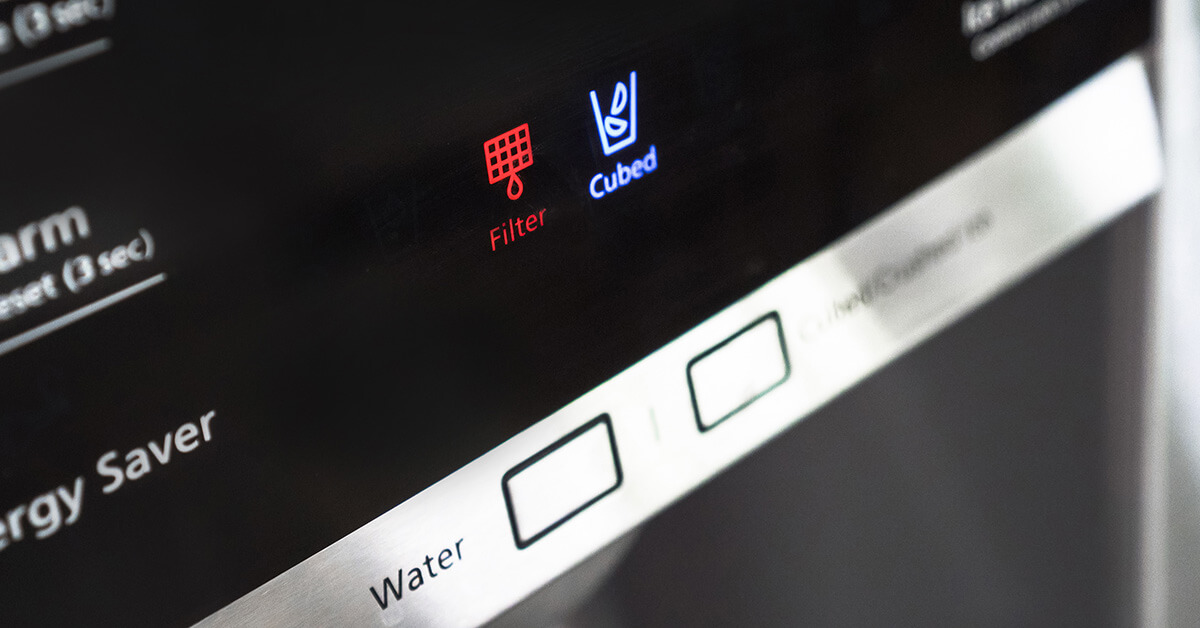
Step 8: Test the Water Filter
Now that you have successfully replaced the water filter and turned on the water supply in your GE refrigerator, it’s time to test the filter to ensure its proper functioning. Follow these steps to test the water filter:
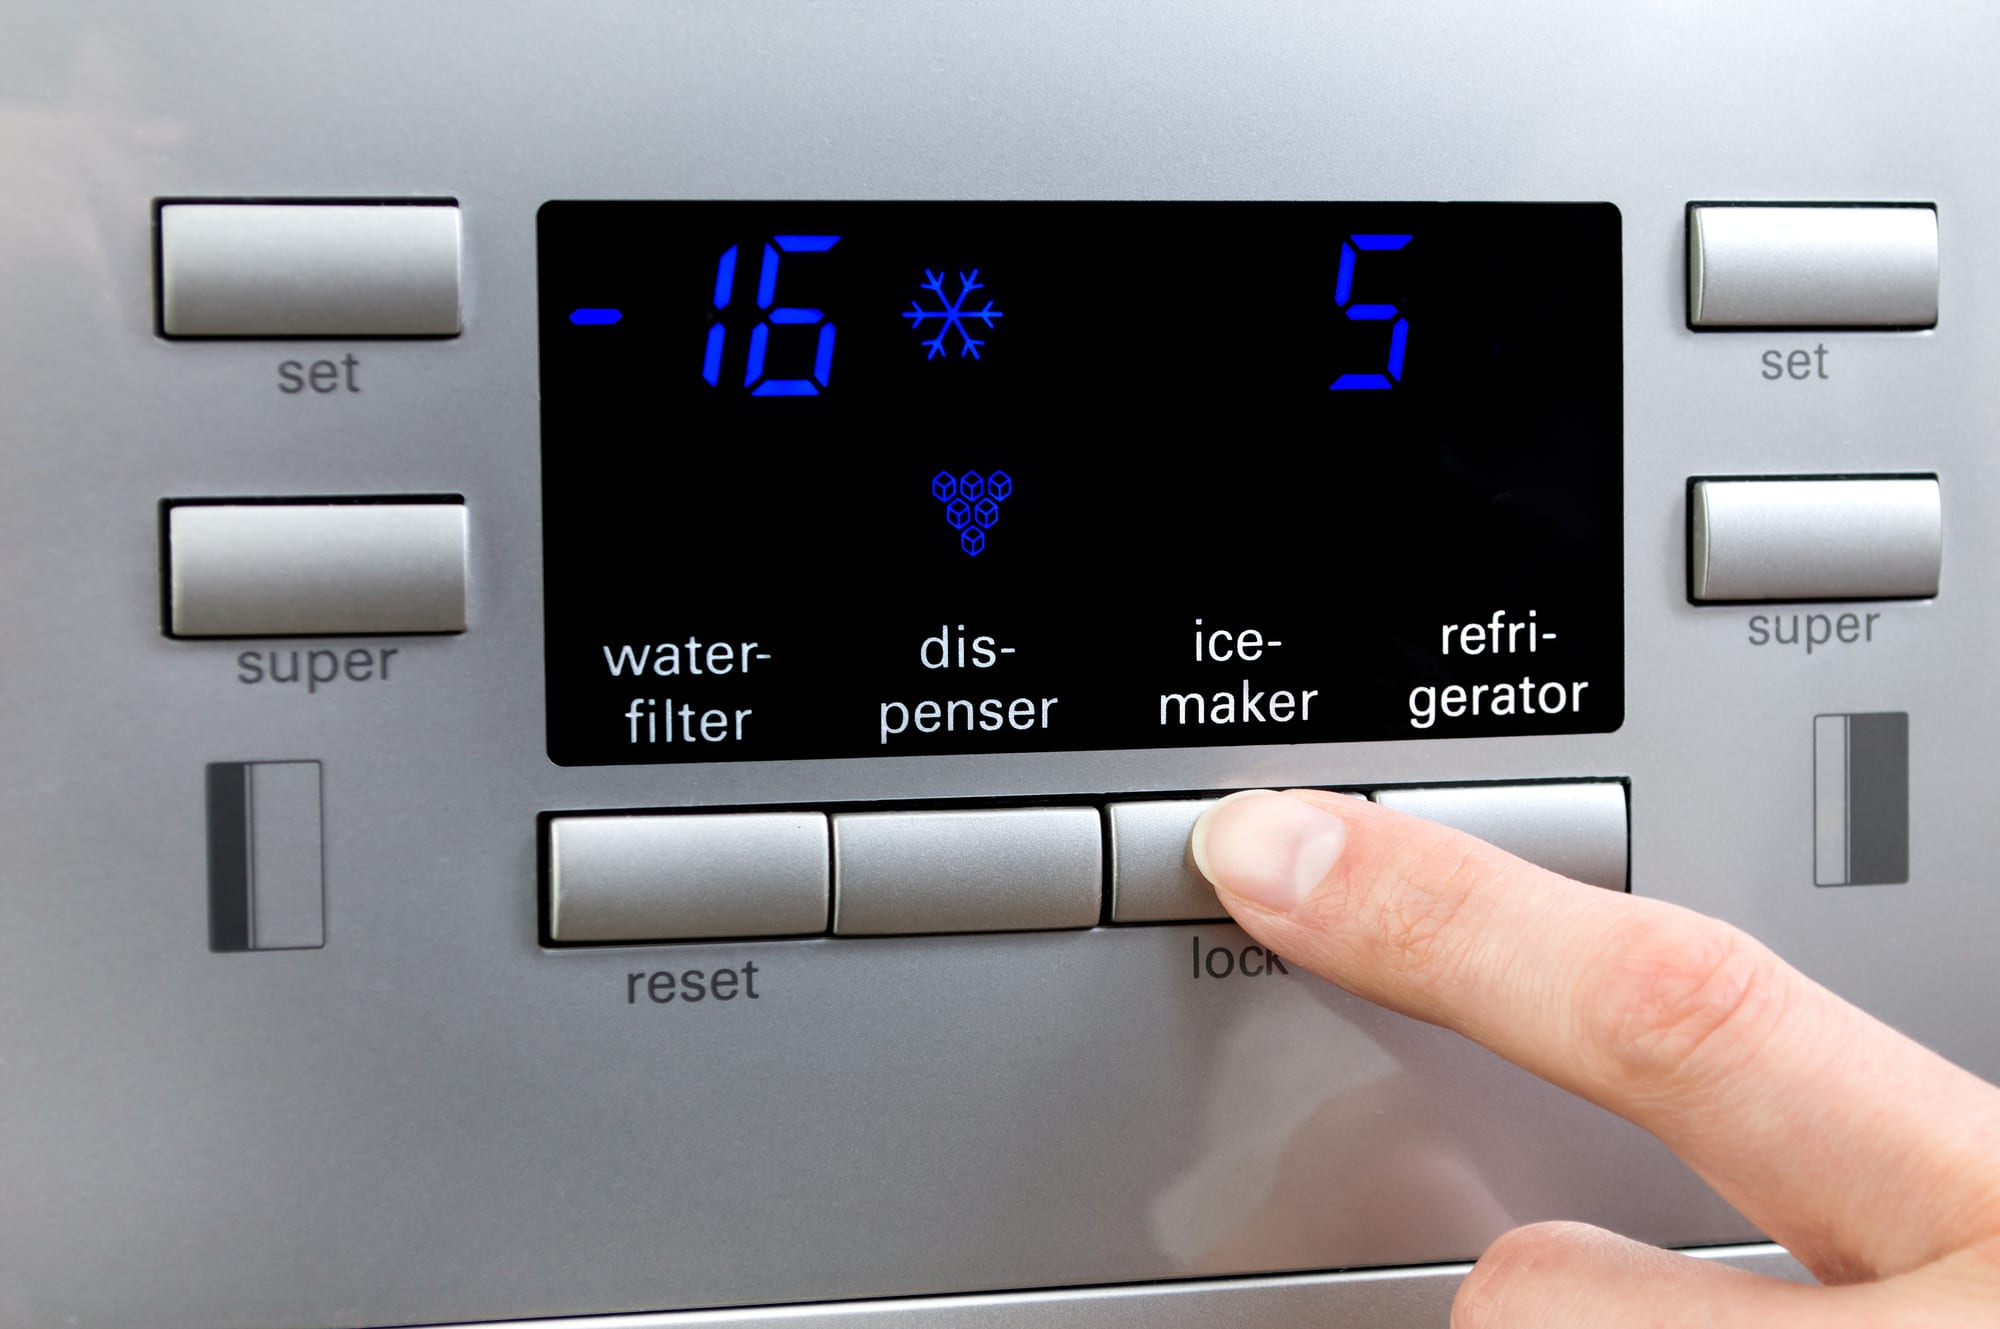
- Dispense water from your refrigerator’s water dispenser or use the ice maker to produce ice.
- Observe the water quality and taste. The water should be clear, free from any unusual odor, and have a fresh taste. If you notice any discoloration or strange taste, run the water dispenser for a few more seconds to flush out any remaining impurities.
- Check for any signs of water leakage or drips around the filter housing or waterline connections.
If the water passes the quality test and there are no leaks, congratulations! You have successfully changed the water filter in your GE refrigerator. Enjoy the clean and refreshing water that your refrigerator now provides.
In the event that you experience any issues with the water quality or notice leaks, double-check the installation of the filter and connections. If the problem persists, refer to your refrigerator’s user manual or contact the manufacturer for further assistance.
Remember, it’s recommended to regularly replace the water filter in your GE refrigerator according to the manufacturer’s guidelines. This ensures that you continue to enjoy clean and healthy drinking water.
With the testing complete, you have completed the entire process of changing the water filter in your GE refrigerator. Well done!
Conclusion
Changing the water filter in your GE refrigerator is a straightforward process that ensures you have access to clean and fresh-tasting water. By following the step-by-step guide outlined in this article, you can easily replace the water filter and maintain the optimal performance of your refrigerator.
Remember to gather all the necessary tools and materials before starting, locate the water filter in your specific GE refrigerator model, shut off the water supply, remove the old filter, prepare the new filter, install it correctly, turn the water supply back on, and finally, test the water filter to ensure its functionality.
Regularly replacing the water filter in your GE refrigerator helps to eliminate impurities and contaminants, providing you with better tasting water and peace of mind. By adhering to the manufacturer”s recommended filter replacement schedule, you can ensure the longevity of your refrigerator and the quality of your drinking water.
If you encounter any difficulties or have specific questions about your GE refrigerator model, always refer to the user manual or reach out to the manufacturer’s customer support for assistance.
With the knowledge and guidance provided in this article, you are well-equipped to change the water filter in your GE refrigerator and enjoy clean, refreshing water for you and your family.
Frequently Asked Questions about How To Change Water Filter Ge Refrigerator
Was this page helpful?
At Storables.com, we guarantee accurate and reliable information. Our content, validated by Expert Board Contributors, is crafted following stringent Editorial Policies. We're committed to providing you with well-researched, expert-backed insights for all your informational needs.
0 thoughts on “How To Change Water Filter Ge Refrigerator”