Home>Articles>How To Clean A Deck To Remove Tough Stains And Grimy Buildup
Articles
How To Clean A Deck To Remove Tough Stains And Grimy Buildup
Modified: October 25, 2024
Learn how to clean your deck and remove tough stains and grime buildup with these helpful articles.
(Many of the links in this article redirect to a specific reviewed product. Your purchase of these products through affiliate links helps to generate commission for Storables.com, at no extra cost. Learn more)
Introduction
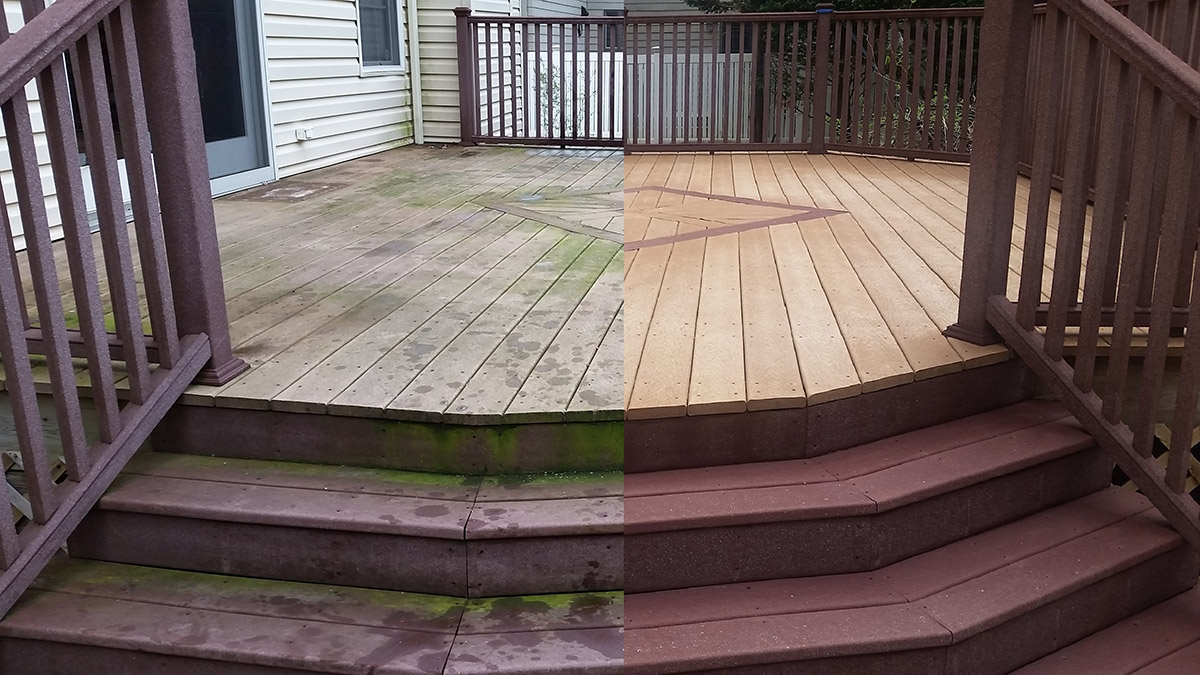
Welcome to our comprehensive guide on how to clean a deck to remove tough stains and grimy buildup. Your deck is a valuable outdoor space where you can relax, entertain, and enjoy the beauty of nature. However, over time, it’s common for decks to accumulate dirt, stains, mold, and other unsightly substances that can detract from its appearance and reduce its lifespan. Regular cleaning and maintenance are crucial to keep your deck looking its best and to protect it from damage.
In this article, we will take you through a step-by-step process on how to effectively clean your deck and remove even the toughest stains and buildup. We will cover the tools and materials you’ll need, as well as provide helpful tips and considerations along the way.
It’s important to note that the cleaning methods discussed here are suitable for most types of decks, including wood, composite, and PVC. However, we recommend checking the manufacturer’s guidelines or consulting with a professional if you have a specific type of deck or if you’re unsure about any aspect of the cleaning process.
So, let’s roll up our sleeves and get ready to restore your deck’s natural beauty and make it a space you can truly enjoy!
Key Takeaways:
- Regular deck cleaning and maintenance are essential to remove tough stains, protect the deck from damage, and ensure its longevity. Follow the step-by-step process and additional tips to keep your deck looking beautiful for years to come.
- Gather the necessary tools and materials, clear the deck, prepare the cleaning solution, apply it thoroughly, scrub and agitate the stains, rinse the deck, and apply the finishing touches to transform your deck into a pristine and inviting area for relaxation and entertainment.
Read more: How To Remove Tough Stains In Toilet Bowl
Tools and Materials Needed
Before you begin the deck cleaning process, it’s important to gather the necessary tools and materials. Having everything prepared in advance will ensure a smooth and efficient cleaning experience. Here’s a list of the items you’ll need:
- Garden hose or pressure washer: A garden hose with a spray nozzle or a pressure washer will be used to rinse the deck after cleaning.
- Broom or brush: A stiff broom or brush will help remove loose dirt and debris from the deck’s surface.
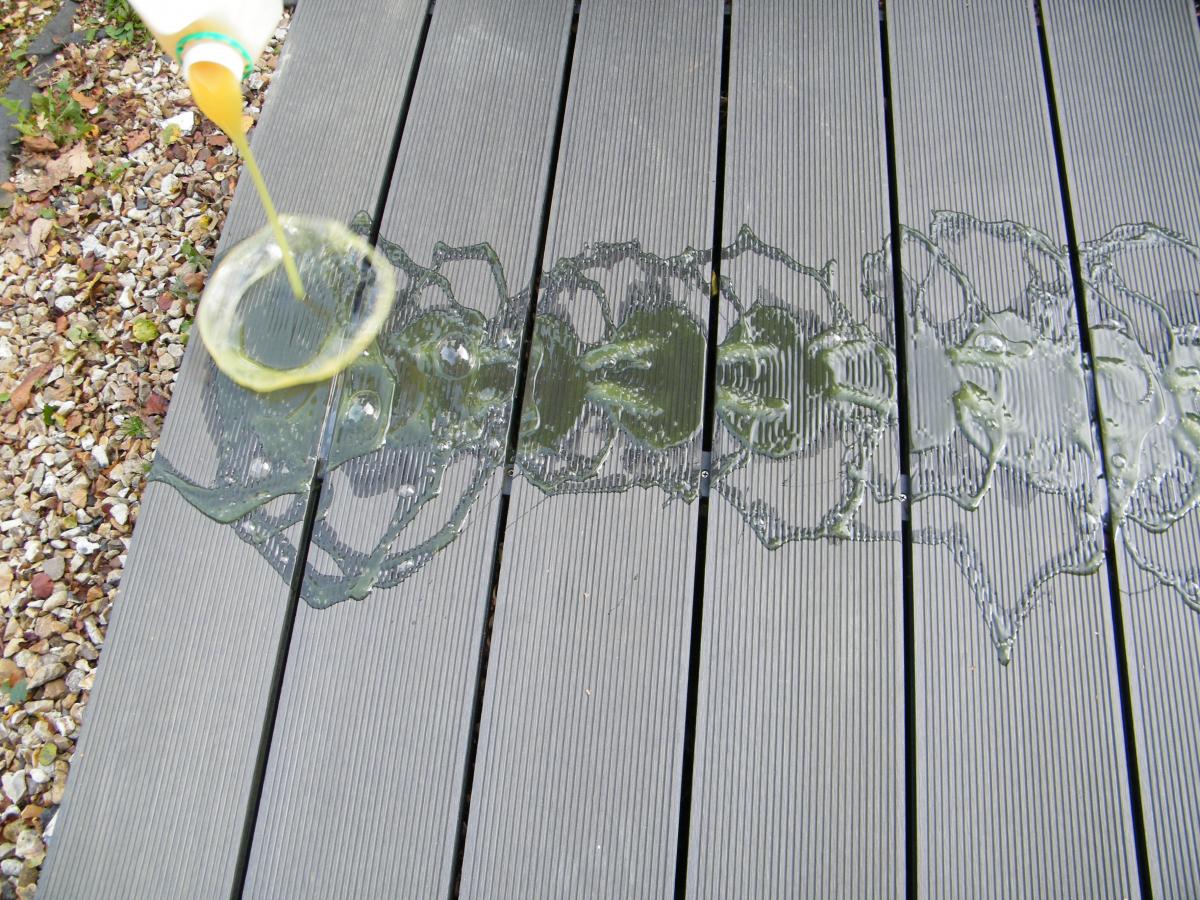
- Deck cleaner: Choose a deck cleaner specifically formulated for your deck type. Read the label carefully and follow the manufacturer’s instructions.
- Bucket: For mixing the deck cleaner solution.
- Safety equipment: It’s important to protect yourself while cleaning the deck. Wear safety goggles, gloves, and old clothing that you don’t mind getting dirty.
- Protective covering: If you have nearby plants or furniture, it’s a good idea to cover them with plastic or drop cloths to prevent any damage from the cleaning solution.
- Scraper: A scraper can be handy for removing any stubborn debris or stains that are difficult to remove with brushing alone.
- Sanding block: In case there are any rough or splintered spots on the deck, a sanding block can help smooth them out after cleaning.
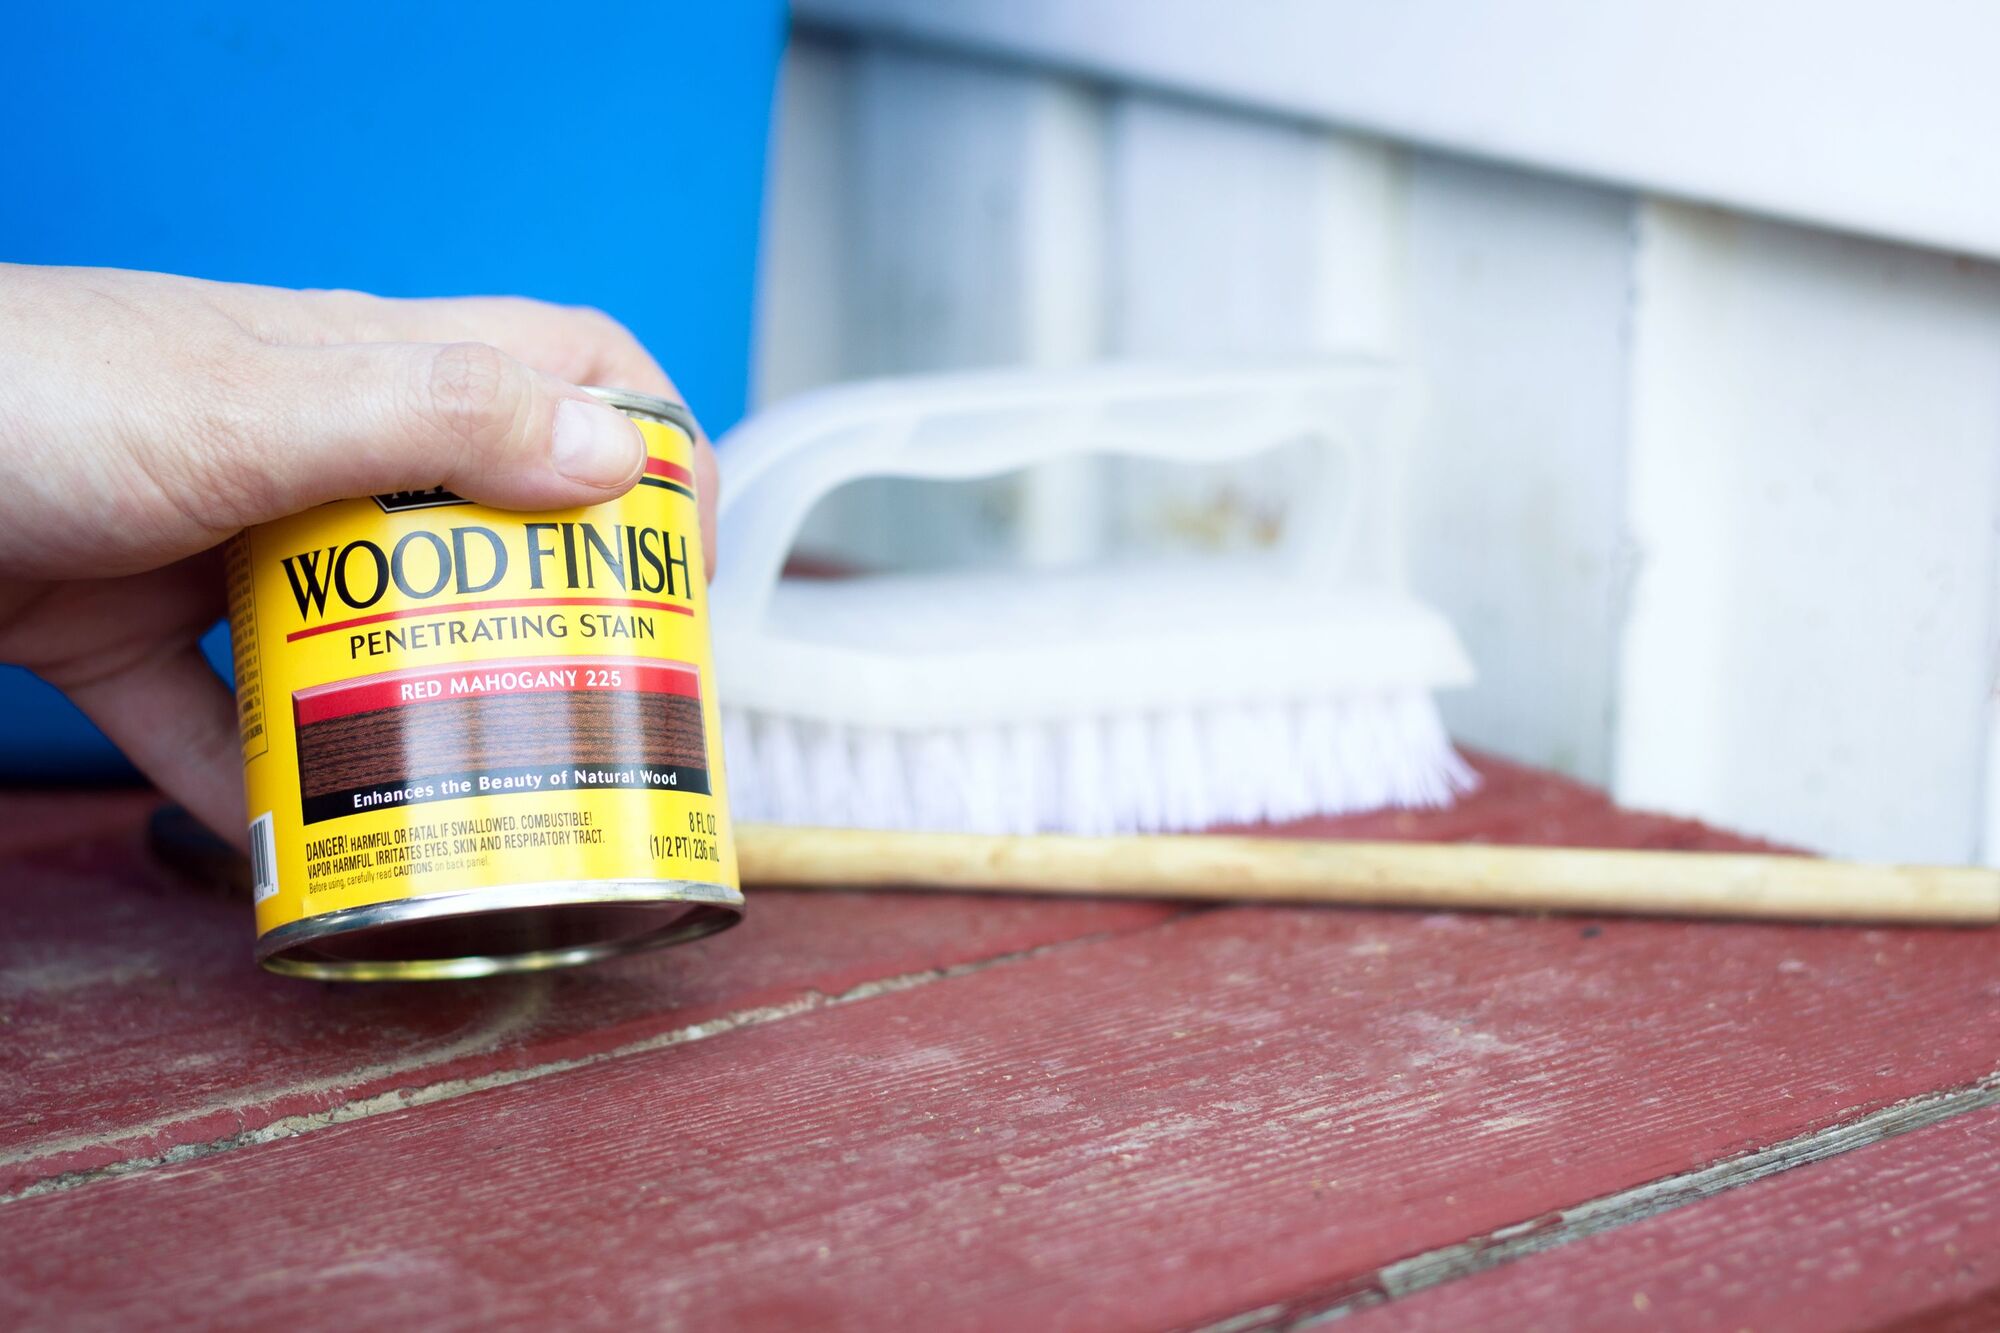
- Sealant or stain: Depending on the type of deck, you may want to apply a sealant or stain after cleaning and drying to protect the wood and enhance its appearance.
Make sure to have all these tools and materials ready before starting the cleaning process. This will minimize interruptions and allow you to focus on getting the best results for your deck. Now that you have everything prepared, let’s move on to the first step: clearing the deck.
Step 1: Clearing the Deck
Before you begin the cleaning process, it’s important to remove any furniture, plants, or other items from your deck. Clearing the deck will not only make the cleaning process easier and more effective but also prevent any damage to your belongings. Here’s how to clear your deck:
- Remove all furniture: Take out any chairs, tables, or other furniture from the deck. Store them in a safe and dry place.
- Clear plants and debris: If you have potted plants or other decorative items on your deck, move them to a different location temporarily. Sweep away any loose leaves, twigs, or debris using a broom or brush.
- Inspect for loose or damaged boards: While clearing the deck, keep an eye out for any loose or damaged boards. If you notice any, tighten or replace them before proceeding with the cleaning process.
Clearing the deck ensures that the cleaning solution can reach every part of the surface, allowing for a more thorough cleaning. It also prevents any accidental damage to your furniture or plants. Once the deck is clear, you’re ready to move on to the next step: preparing the cleaning solution.
Step 2: Preparing the Cleaning Solution
Now that your deck is clear, it’s time to prepare the cleaning solution. The type of cleaning solution you use will depend on the material of your deck and the specific stains or buildup you’re trying to remove. Here are a few common cleaning solutions for different types of decks:
- For wood decks:
- Mild dish soap and water: Mix a solution of warm water and mild dish soap. Use approximately 1 tablespoon of soap per gallon of water.
- Vinegar and water: Combine equal parts of white vinegar and water in a bucket.
- Commercial wood deck cleaner: Follow the manufacturer’s instructions for mixing the cleaner with water.
- For composite decks:
- Composite deck cleaner: Use a cleaner specifically designed for composite decking. Follow the instructions on the packaging for dilution ratios.
- Mild detergent and water: Mix a solution of warm water and mild detergent.
- For PVC decks:
- Mild detergent and water: Mix a solution of warm water and mild detergent.
- All-purpose cleaner: Use an all-purpose cleaner that is safe for use on PVC surfaces.
Once you’ve chosen the appropriate cleaning solution for your deck, follow these steps to prepare it:
- Fill a bucket with the recommended amount of water for the cleaning solution.
- Add the cleaning agent according to the instructions on the label. Stir the solution to ensure it’s well-mixed.
- If necessary, let the solution sit for a few minutes to allow the cleaning agent to activate.
It’s important to read and follow the instructions provided by the manufacturer for any commercial cleaning products. Mixing the cleaning solution properly will ensure its effectiveness in removing tough stains and grime from your deck. With the cleaning solution ready, it’s time to move on to the next step: applying the solution to your deck.
Step 3: Applying the Cleaning Solution
With the cleaning solution prepared, it’s time to apply it to your deck. Applying the solution thoroughly will help break down stains, dirt, and grime, preparing the deck for a thorough cleaning. Follow these steps to apply the cleaning solution:
- Start by wetting the deck: Use a garden hose or pressure washer to wet the entire deck surface. This will help loosen dirt and make the cleaning process more effective.
- Dip a stiff brush or broom into the cleaning solution: Dip the brush or broom into the bucket containing the cleaning solution. Make sure the bristles are saturated with the solution.
- Scrub the deck: Begin scrubbing the deck using firm pressure. Work in sections, moving from one end of the deck to the other. Pay extra attention to areas with heavy stains or buildup.
- Work with the grain: If you have a wood deck, scrub in the direction of the wood grain to avoid causing any damage or scratches.
- Apply more solution as needed: If you run out of cleaning solution, refill your bucket and continue applying the solution to the deck. Make sure the solution remains saturated on the brush or broom for effective cleaning.
- Let the solution sit: Allow the cleaning solution to sit on the deck for the recommended amount of time, usually 10-15 minutes. This allows the solution to penetrate and loosen stubborn stains.
As you apply the cleaning solution, you may notice suds forming. This is normal, especially if you’re using a dish soap-based solution. These suds help lift dirt and grime from the surface of the deck. However, if you’re using a commercial cleaner, check the instructions to see if sudsing is expected.
Applying the cleaning solution is an important step in the deck cleaning process. It helps break down stains and grime, making it easier to remove them in the next steps. Once you’ve thoroughly applied the solution, it’s time to move on to step 4: scrubbing and agitating the stains.
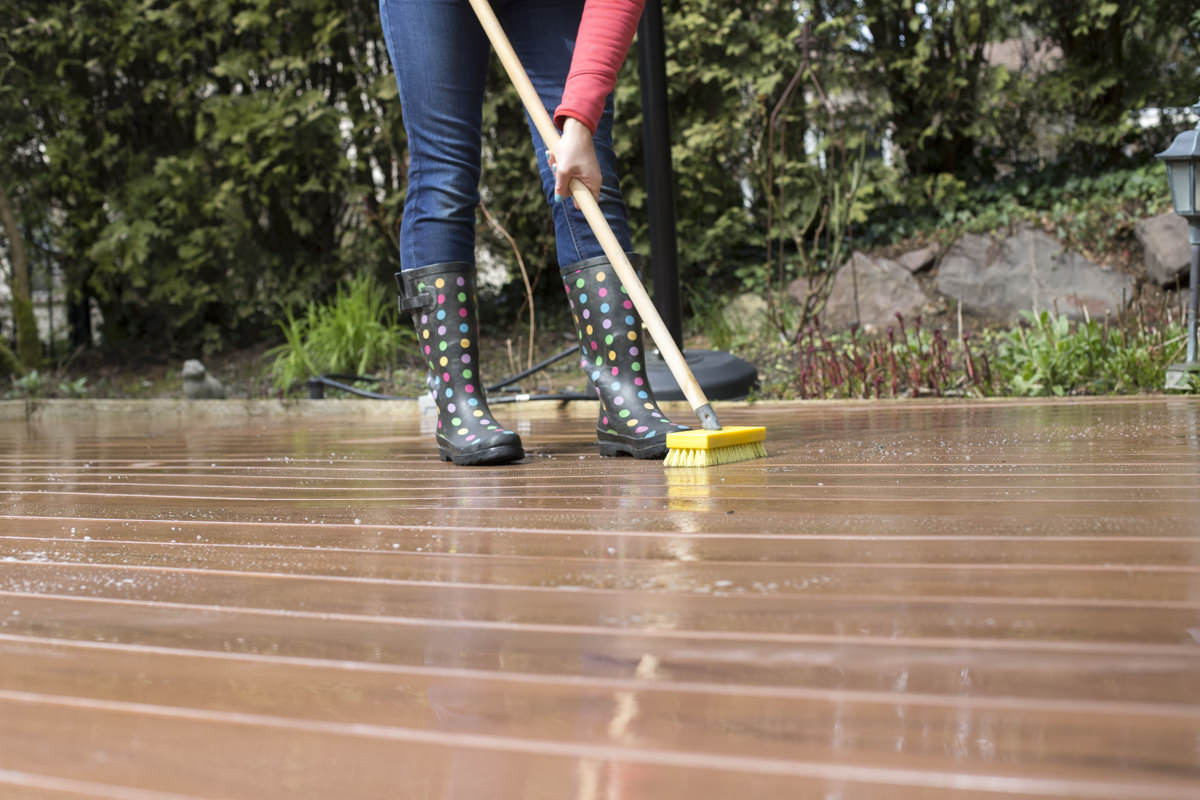
Use a deck cleaner with a stiff brush or pressure washer to remove tough stains and grimy buildup. Scrub in the direction of the wood grain for best results. Rinse thoroughly with water.
Step 4: Scrubbing and Agitating the Stains
After applying the cleaning solution to your deck, it’s time to tackle the tough stains and grime. Scrubbing and agitating the stains will help lift them from the surface of the deck, leaving it cleaner and more rejuvenated. Follow these steps to effectively scrub and agitate the stains:
- Using your brush or broom, focus on the areas with visible stains or heavy buildup.
- Apply firm pressure and use circular or back-and-forth motions to scrub the stains. This will help loosen the dirt and grime from the deck surface.
- If you encounter particularly stubborn stains, apply some additional cleaning solution directly to the stained area. Let it sit for a few minutes to penetrate the stain before scrubbing again.
- For tight corners or hard-to-reach areas, you can use a smaller brush or an old toothbrush to scrub away the stains.
- Continue scrubbing and agitating until the stains start to fade or disappear. Be patient and thorough in this step to achieve the best results.
Keep in mind that different stains may require different levels of effort and time to remove. Some stains, such as rust or mold, might need specialized cleaners or additional treatments. Refer to the cleaning product instructions or consult with a professional if you’re unsure how to tackle specific stains.
As you scrub, periodically dip your brush or broom back into the cleaning solution to ensure that it remains saturated. This will help maintain the cleaning power and effectiveness throughout the process.
Once you’ve thoroughly scrubbed and agitated the stains, you’re ready to move on to the next step: rinsing the deck.
Step 5: Rinsing the Deck
After scrubbing and agitating the stains, it’s time to rinse off the cleaning solution and the loosened dirt and grime from the deck’s surface. Rinsing is a crucial step to ensure that all traces of the cleaning solution are removed, preventing any potential residue or film on the deck. Follow these steps to effectively rinse your deck:
- Using a garden hose or pressure washer, start at one end of the deck and rinse the entire surface. Make sure to thoroughly rinse both the decking boards and the spaces between them.
- Use a sweeping motion with the water to ensure you cover the entire deck surface.
- If using a pressure washer, be careful not to use too much pressure, as it can damage the surface of the deck. Adjust the pressure accordingly, keeping it at a safe and effective level.
- Rinse from top to bottom: Start at the highest point of your deck and work your way down. This will ensure that any dirt or debris that has been dislodged will flow downward and be cleared away.
- Pay extra attention to the areas where you applied additional cleaning solution. Thoroughly rinse these areas to remove any lingering residue.
- Continue rinsing until the water runs clear and there are no visible signs of cleaning solution or dirt on the deck.
Take your time during the rinsing process to ensure that the deck is completely free of the cleaning solution. Any residue left behind can potentially damage the deck or attract more dirt and grime in the future.
Once you’ve rinsed the deck thoroughly, you’re ready to move on to the final step: applying the finishing touches and allowing the deck to dry.
Step 6: Final Touches and Drying
After rinsing off the cleaning solution, it’s time to give your deck the finishing touches and ensure that it dries properly. This step will help protect your deck and ensure that it looks its best. Follow these final steps to complete the deck cleaning process:
- Inspect the deck: Take a moment to inspect the deck and ensure that all stains and grime have been adequately removed. If necessary, you can spot-clean any remaining stubborn stains using a mild cleaner and a brush.
- Rinse nearby plants and furniture: If you covered any nearby plants or furniture during the cleaning process, rinse them off to remove any residue. This will prevent any potential damage to your plants or furniture.
- Allow the deck to dry: Depending on the weather conditions and the material of your deck, drying times may vary. Ideally, allow your deck to air dry in the sun for at least 24-48 hours before using it. Make sure the deck is completely dry before placing any furniture or decorations back on it.
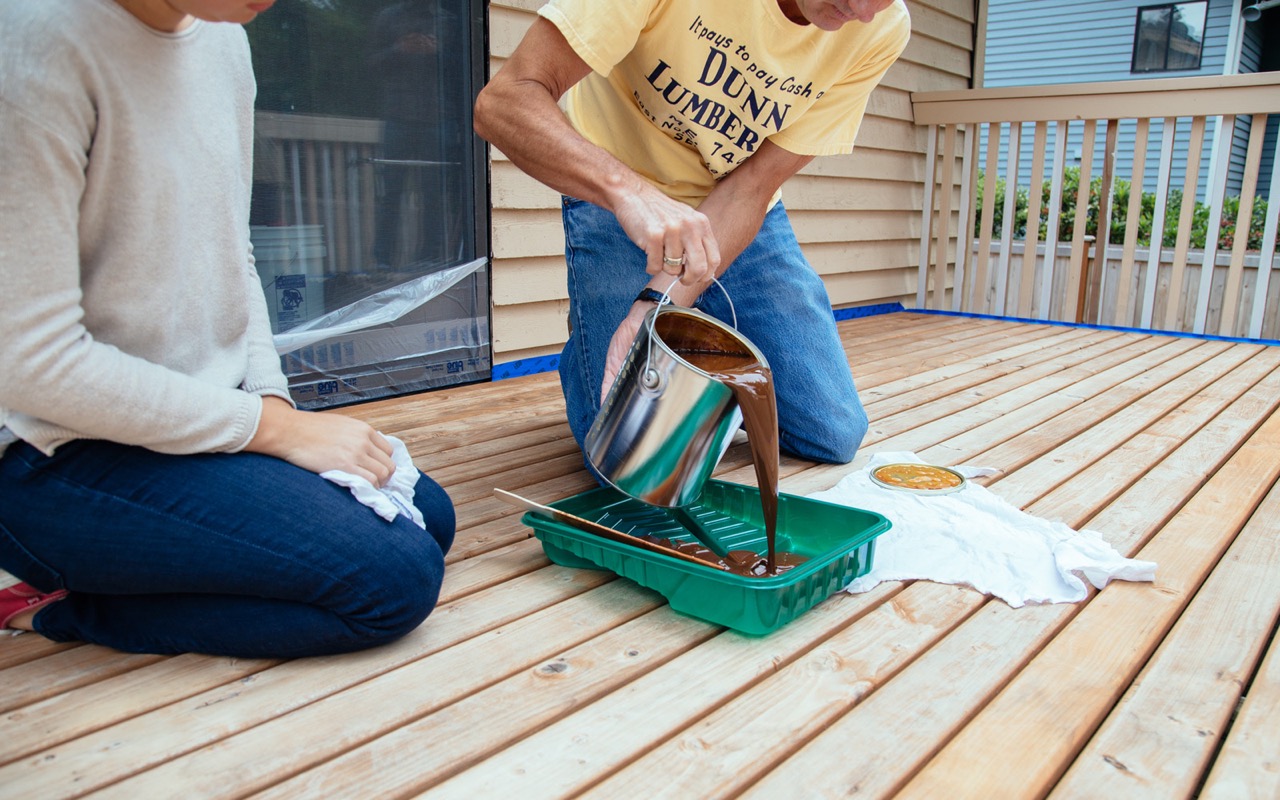
- Apply a sealant or stain (if desired): Once the deck is dry, you may choose to apply a sealant or stain to protect the wood or enhance the appearance of your deck. Follow the instructions provided by the manufacturer for the best application techniques.
- Clean your tools: After completing the deck cleaning process, clean your brushes, brooms, and other tools used. Rinse them thoroughly and allow them to dry before storing them away.
By taking care of these final touches, you’ll ensure that your deck is in top-notch condition. Regular cleaning and maintenance will help extend the lifespan of your deck and keep it looking beautiful for years to come.
Remember, each deck is unique, and the specific cleaning process may vary depending on the type of deck material and the severity of the stains. Always refer to the manufacturer’s guidelines and consider consulting with a professional if you have any concerns or specific questions about cleaning your deck.
Now that your deck is clean and ready, it’s time to sit back, relax, and enjoy your beautiful outdoor space!
Additional Tips and Considerations
While you now have a thorough understanding of the deck cleaning process, here are some additional tips and considerations to keep in mind to ensure the best results:
- Always follow the manufacturer’s instructions: Whether it’s for cleaning solutions, sealants, or any other products, be sure to read and follow the instructions provided by the manufacturer. This will help you achieve optimal results and prevent any potential damage.
- Test a small area first: Before applying any cleaning solution or stain to the entire deck, test it on a small, inconspicuous area. This will allow you to see how the product reacts with your specific deck material and avoid any unwanted surprises.
- Work in manageable sections: To prevent the cleaning solution from drying on the deck surface, work in small, manageable sections. This will ensure that you can rinse off each section before moving on to the next.
- Avoid using bleach on wood decks: While bleach can be effective in removing stains, it can also damage the wood fibers and discolor the deck. Stick to mild cleaning solutions or opt for deck-specific cleaners.
- Consider protective measures: If your deck is exposed to excessive sunlight, consider applying a UV protectant or using a deck covering to prevent premature fading and damage from the sun’s rays.
- Regularly sweep and clean your deck: To maintain a clean and well-maintained deck, establish a regular cleaning routine that includes sweeping away debris and dirt. This will prevent the buildup of grime and make future deep cleanings easier.
- Consider professional cleaning: If your deck is heavily stained or you’re uncertain about tackling the cleaning process yourself, don’t hesitate to hire a professional deck cleaning service. They have the expertise and equipment to handle tough stains and ensure a thorough cleaning.
- Maintain proper ventilation: When using cleaning products or sealants, ensure that the area is well-ventilated. Open windows and doors or use fans to keep the air circulating, especially if you’re working in a confined space.
By following these additional tips and considerations, you’ll be well-equipped to keep your deck looking its best and enjoying its longevity. Regular maintenance and cleaning will help you make the most of your outdoor space.
Now that you’re armed with all the knowledge and guidance you need, it’s time to put it into action and transform your deck into a pristine and inviting area for relaxation and entertainment.
Conclusion
Cleaning your deck to remove tough stains and grimy buildup not only improves its appearance but also extends its lifespan. By following the step-by-step process outlined in this comprehensive guide, you can effectively clean your deck and restore its natural beauty. Remember to gather the necessary tools and materials, clear the deck, prepare the cleaning solution, apply it thoroughly, scrub and agitate the stains, rinse the deck, and apply the finishing touches.
Throughout the deck cleaning process, keep in mind additional tips and considerations such as following manufacturer’s instructions, testing products on a small area, working in manageable sections, avoiding bleach on wood decks, regular maintenance, and considering professional cleaning if needed. These tips will help you achieve the best results and ensure the longevity of your deck.
Whether you have a wood, composite, or PVC deck, regular cleaning and maintenance are essential to keep it looking its best and protect it from damage. With proper care, your deck will remain a valuable outdoor space where you can relax, entertain, and enjoy the beauty of nature for years to come.
Remember, each deck is unique, and it’s important to consider the specific needs of your deck when selecting cleaning products and methods. If you’re uncertain or have any concerns, consult with a professional or refer to the manufacturer’s guidelines for your specific deck type.
Now that you have the knowledge and tools, it’s time to roll up your sleeves and give your deck the attention it deserves. Don’t wait any longer; start cleaning and reviving your deck today!
Frequently Asked Questions about How To Clean A Deck To Remove Tough Stains And Grimy Buildup
Was this page helpful?
At Storables.com, we guarantee accurate and reliable information. Our content, validated by Expert Board Contributors, is crafted following stringent Editorial Policies. We're committed to providing you with well-researched, expert-backed insights for all your informational needs.


0 thoughts on “How To Clean A Deck To Remove Tough Stains And Grimy Buildup”