Home>Furniture>Outdoor Furniture>How To Stain Your Decking
Outdoor Furniture
How To Stain Your Decking
Modified: March 7, 2024
Learn how to stain your outdoor furniture and give your deck a fresh new look. Follow our step-by-step guide for the best results.
(Many of the links in this article redirect to a specific reviewed product. Your purchase of these products through affiliate links helps to generate commission for Storables.com, at no extra cost. Learn more)
Introduction
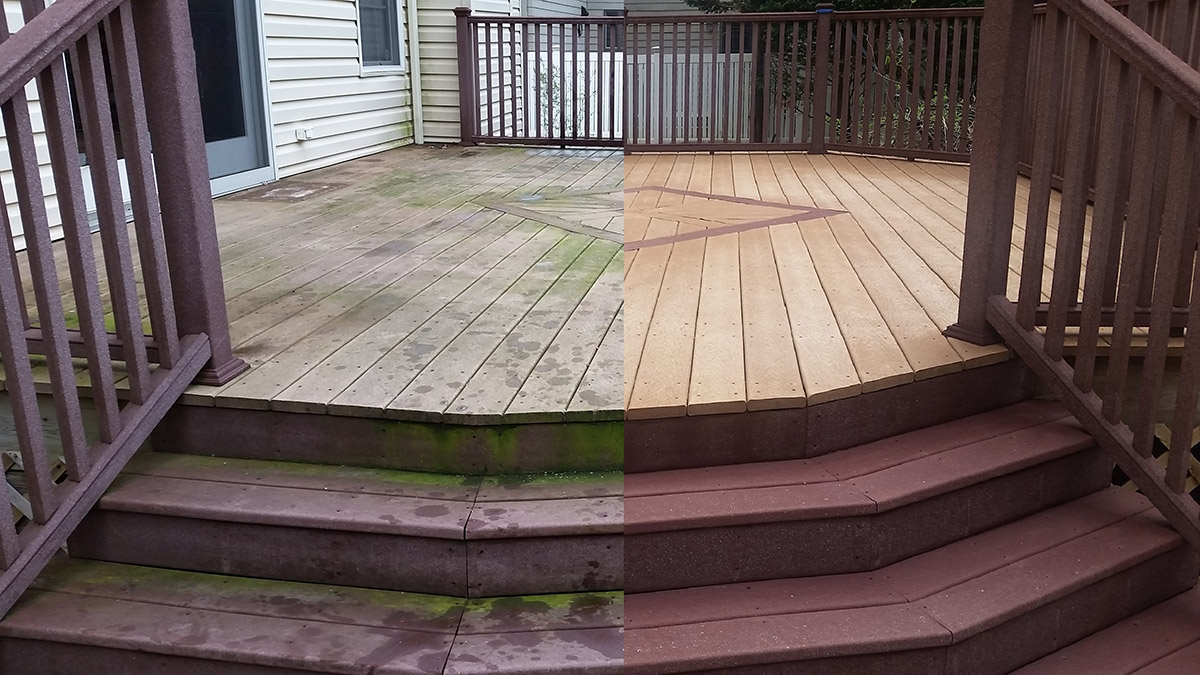
Welcome to our comprehensive guide on how to stain your decking! If you’re looking to enhance the beauty and longevity of your outdoor space, staining your deck is a great way to go. Not only does it protect the wood from the elements, but it also adds a touch of color and character that can transform your outdoor living area into a true oasis.
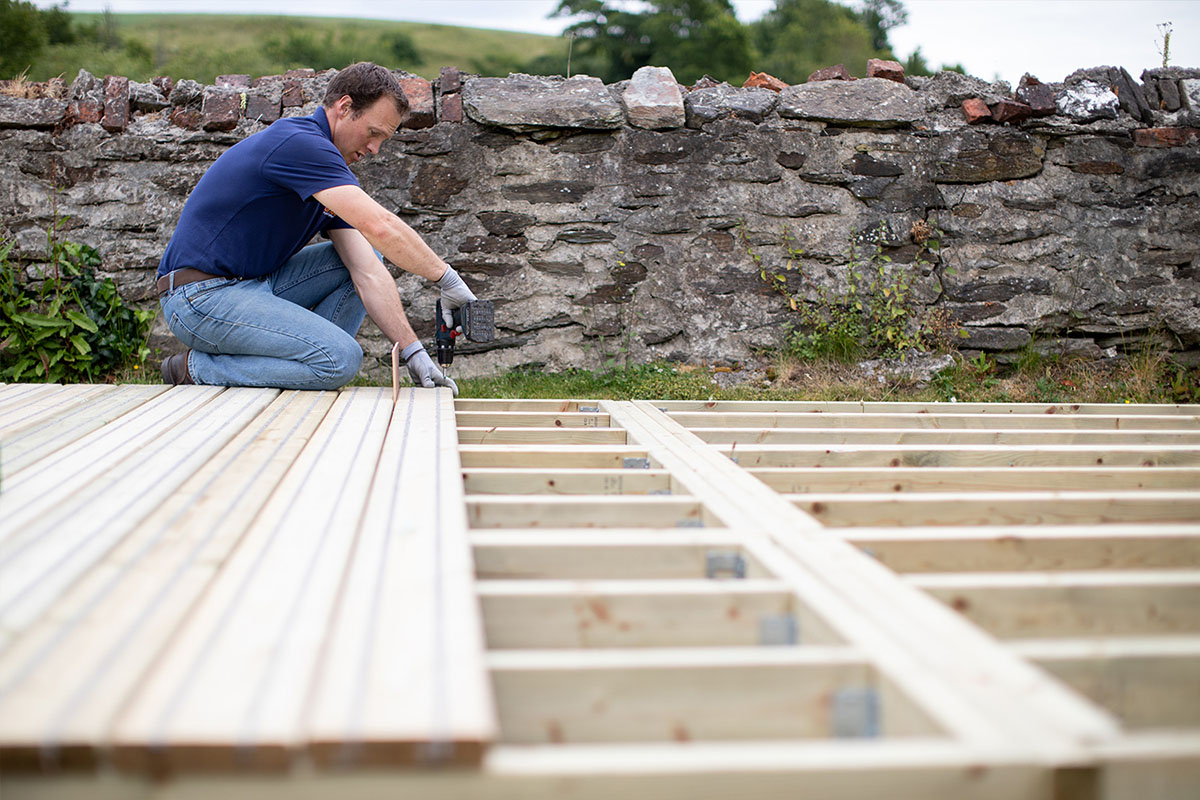
Staining your decking not only improves its appearance but also helps to prevent weathering, rot, and decay. Whether you have a brand new deck or are looking to give your existing one a refresh, this step-by-step guide will walk you through the process of staining your deck and provide you with helpful tips for maintenance.
Before diving into the staining process, it’s important to gather all the necessary supplies. This will ensure that you have everything you need to complete the job efficiently and effectively. Let’s take a look at the essential tools and materials you’ll need:
Key Takeaways:
- Protect and beautify your outdoor space by staining your deck. It adds color, protects from weathering, and enhances the overall appearance of your outdoor living area.
- Regular maintenance, including cleaning, inspecting, and reapplying stain as needed, will keep your stained deck looking beautiful and extend its lifespan.
Gather Supplies
Before you begin staining your deck, it’s crucial to gather all the necessary supplies. Here’s a list of what you’ll need:
- Deck stain: Choose a stain specifically formulated for outdoor use. Consider the type of wood your deck is made of and the desired color and finish.
- Deck cleaner: This will help remove dirt, grime, and any previous coatings from your deck surface, ensuring optimal stain adhesion.
- Deck brush or pressure washer: Depending on the condition of your deck, you can use a deck brush for a manual scrub or a pressure washer for more stubborn stains or larger areas.
- Protective gear: Safety should always be a priority, so don’t forget to wear gloves, safety glasses, and a mask to protect yourself from chemicals and debris.
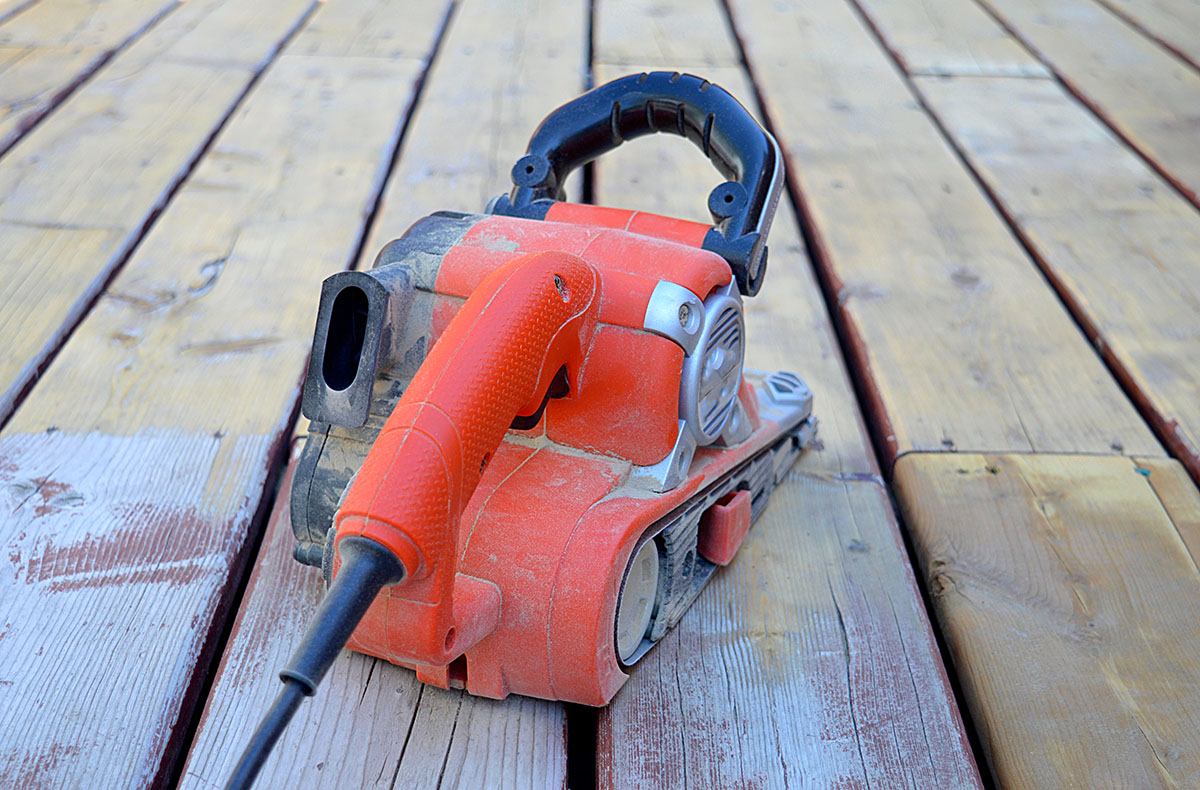
- Sanding equipment: If your deck has rough spots or splintered areas, it’s a good idea to sand them down before staining. You’ll need a handheld sander or sanding block along with various grits of sandpaper.
- Drop cloths or plastic sheeting: These will help protect surrounding areas from accidental drips or splatters.
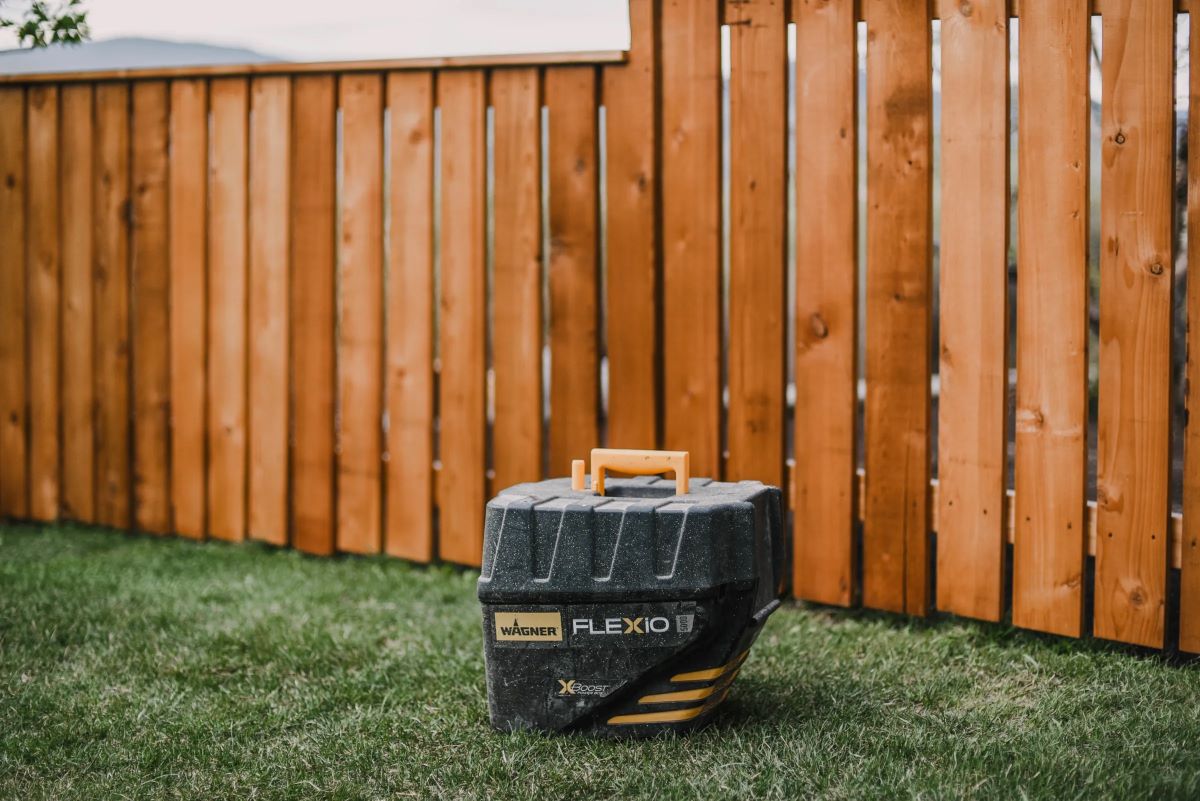
- Applicator: Options include brushes, rollers, or sprayers. Select the one that best suits your deck size and personal preference. Brushes are usually recommended for better control and coverage.
- Stir stick: Essential for thoroughly mixing the stain before application.
- Painter’s tape: Use this to protect any surfaces adjacent to the deck, such as the siding of your house.
Make sure to check the product labels for any additional supplies recommended by the manufacturer. Having all your supplies ready before starting will save you time and frustration during the staining process.
Clean Deck
Once you have gathered all the necessary supplies, the next step in staining your deck is to thoroughly clean it. Cleaning your deck is essential for optimal stain application and adherence. Follow these steps to ensure a clean and prepped surface:
- Clear the deck: Remove any furniture, plants, or decor from the deck area. This will give you unobstructed access to clean every inch of the surface.
- Sweep the deck: Start by sweeping the deck surface to remove loose dirt, leaves, and debris. Pay close attention to corners and hard-to-reach areas.
- Use a deck cleaner: Apply a deck cleaner according to the manufacturer’s instructions. This will help remove any stubborn stains, mildew, or algae. Use a deck brush to scrub the surface, focusing on heavily soiled areas.
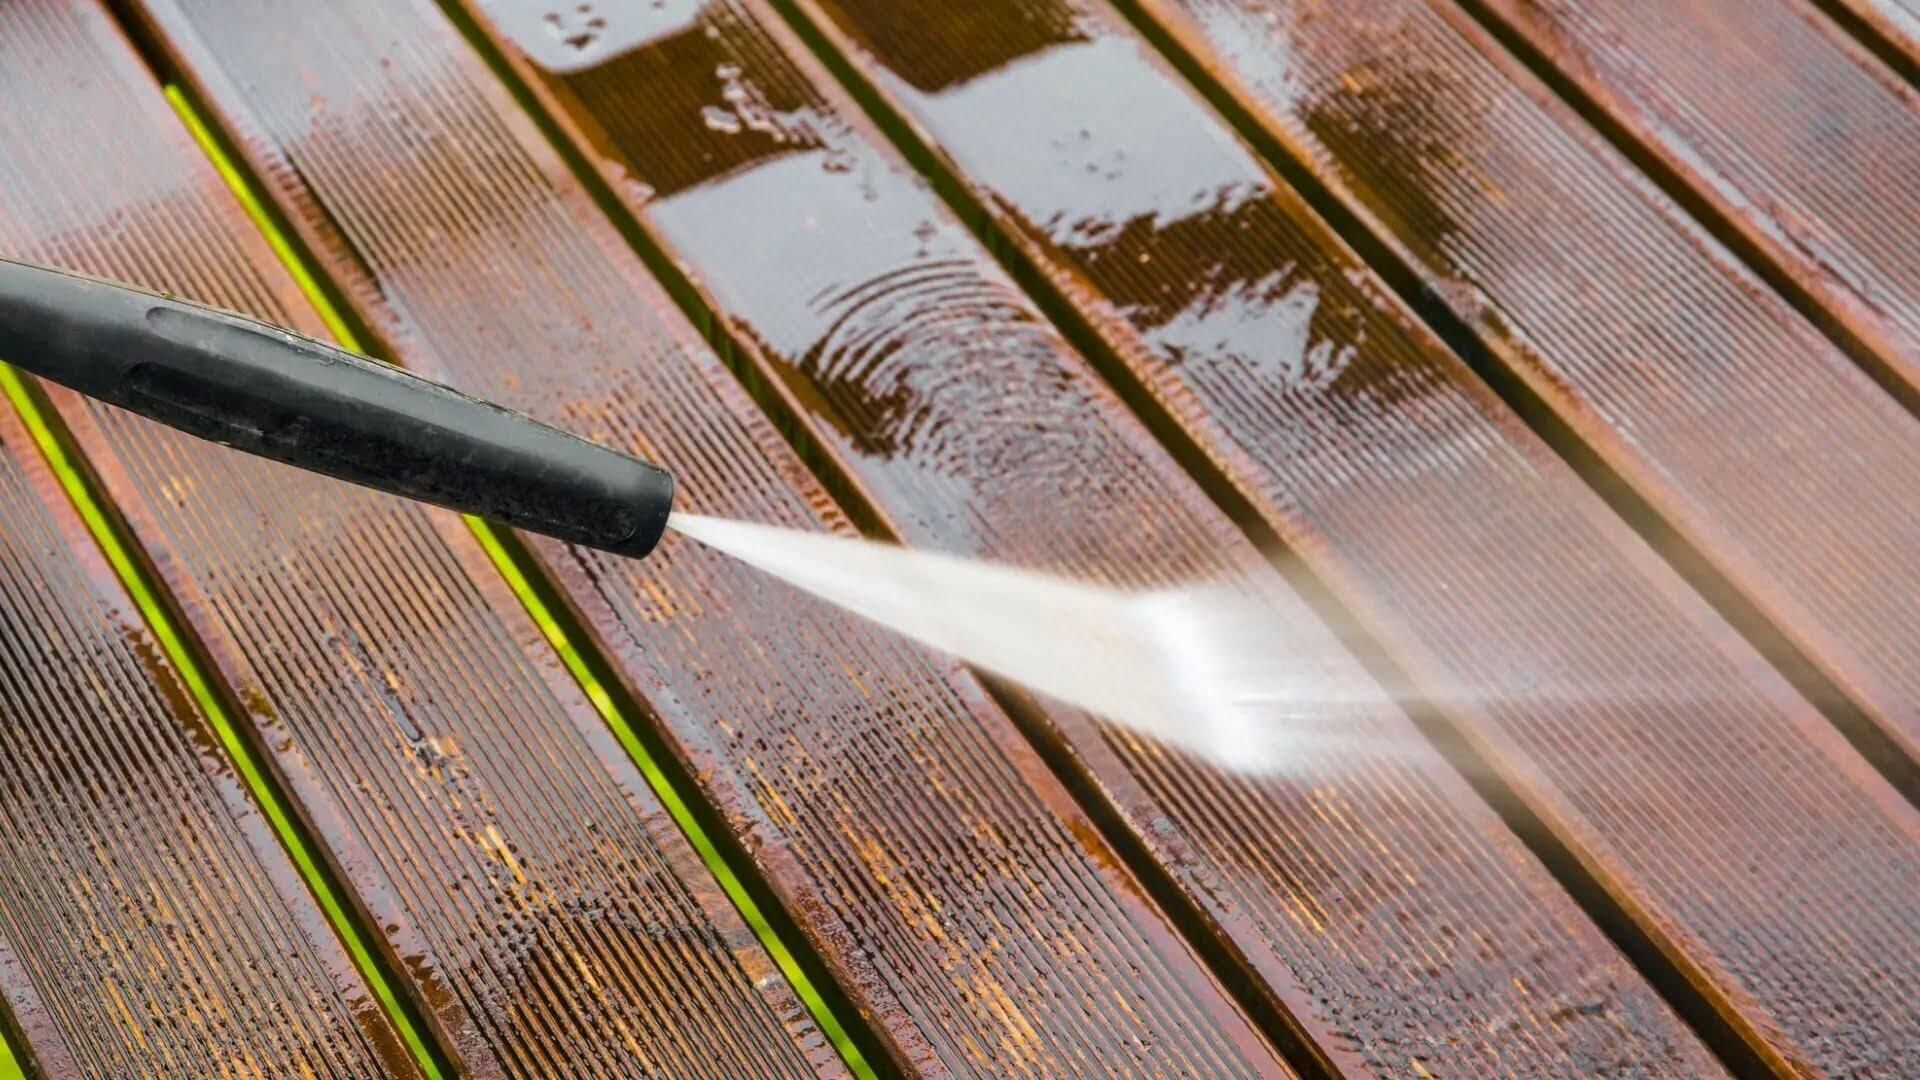
- Rinse the deck: Rinse off the deck cleaner using a garden hose or pressure washer. Make sure to use low pressure to avoid damaging the wood. Aim for a thorough rinse, ensuring no cleaner residue remains.
- Inspect the deck: After the deck has dried, inspect the surface for any loose boards, nails, or screws. Replace or tighten them as necessary. Also, check for any rot or decay that may require repair.
By properly cleaning your deck, you create a clean slate for the stain to adhere to, ensuring a long-lasting and beautiful finish.
Prepare Deck
Now that your deck is clean and fully dry, it’s time to prepare it for staining. Preparing the deck involves a few important steps to ensure the best results:
- Sand the deck: If your deck has any rough spots, splintered areas, or uneven surfaces, it’s crucial to sand them down. Use a handheld sander or sanding block with medium grit sandpaper to smooth out these imperfections. Sanding helps create a smooth and even surface for the stain to penetrate.
- Protect nearby surfaces: To prevent accidental staining of adjacent surfaces, cover any nearby plants, siding, or furniture with plastic sheeting or drop cloths. Secure them in place using painter’s tape.
- Apply painter’s tape: If you have any features on or near your deck that you want to keep stain-free, like railings or post caps, apply painter’s tape to protect them. This will ensure clean lines and a professional finish.
- Check the weather: Before proceeding with staining, check the weather forecast to ensure no rain or excessive moisture is expected for at least 24-48 hours. Staining in optimal weather conditions will help the stain dry properly and adhere to the wood.
By properly preparing your deck, you create an ideal surface for the stain to adhere to, resulting in a more uniform and long-lasting finish. Taking the time to complete these preparation steps will ensure the best possible outcome for your staining project.
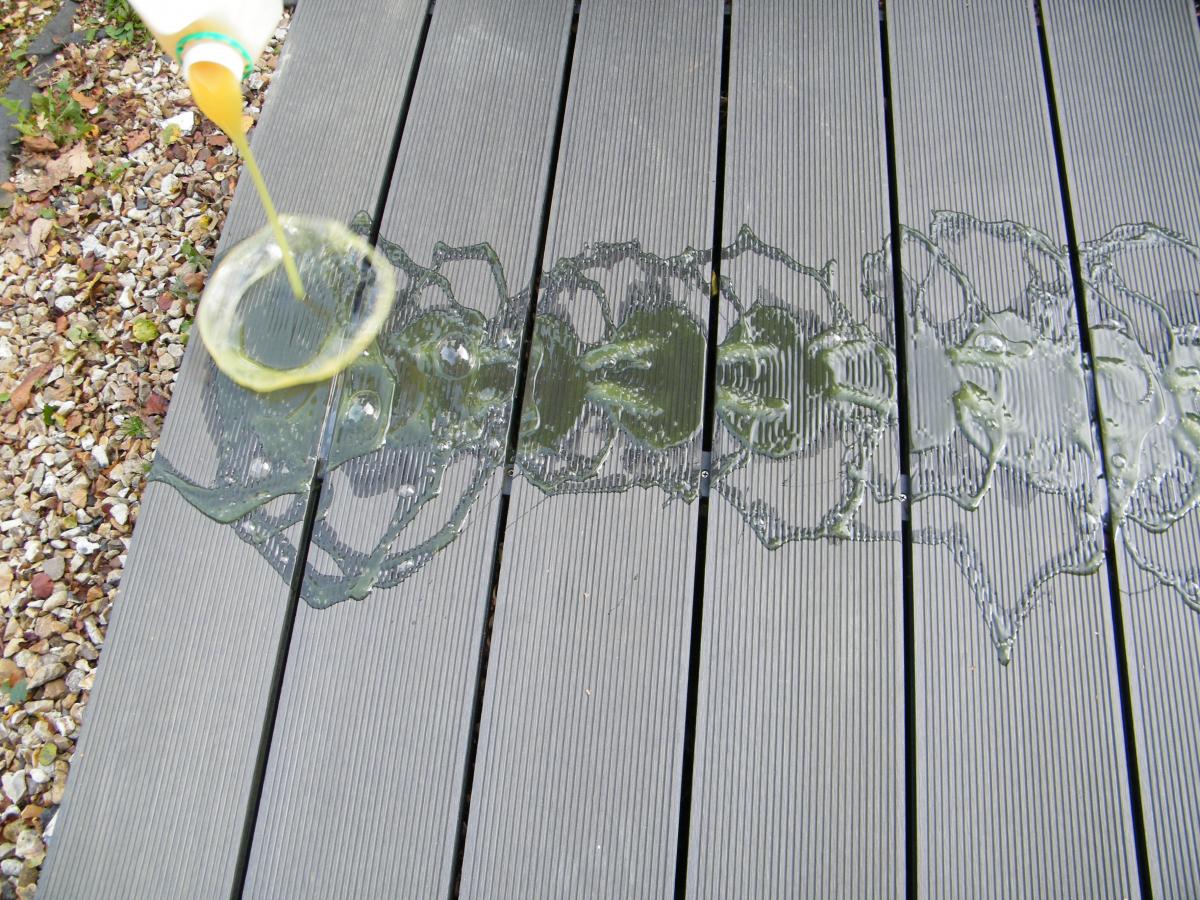
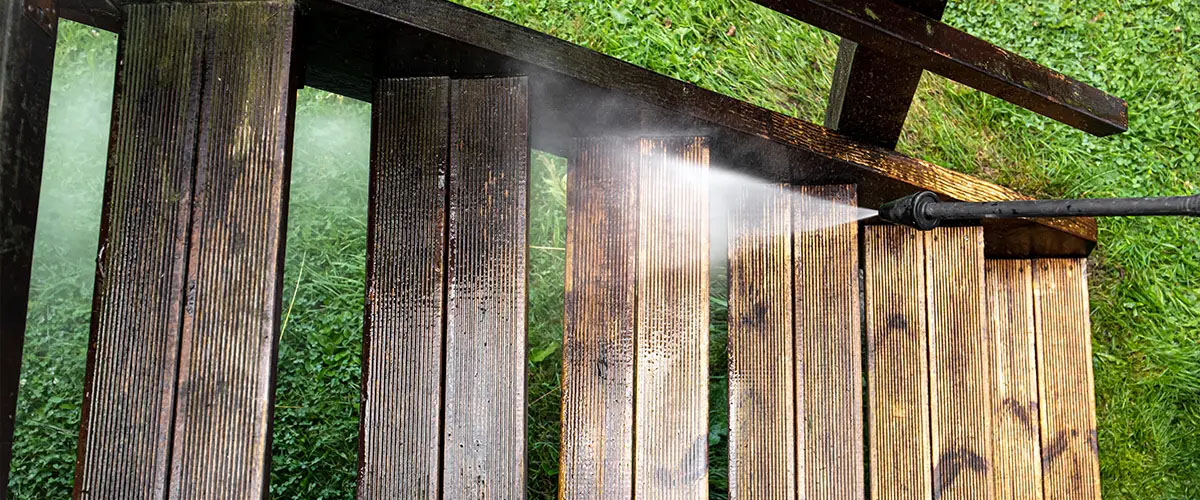
Before staining your decking, make sure to thoroughly clean and dry the surface to ensure the stain adheres properly. Use a quality deck cleaner and a pressure washer for best results.
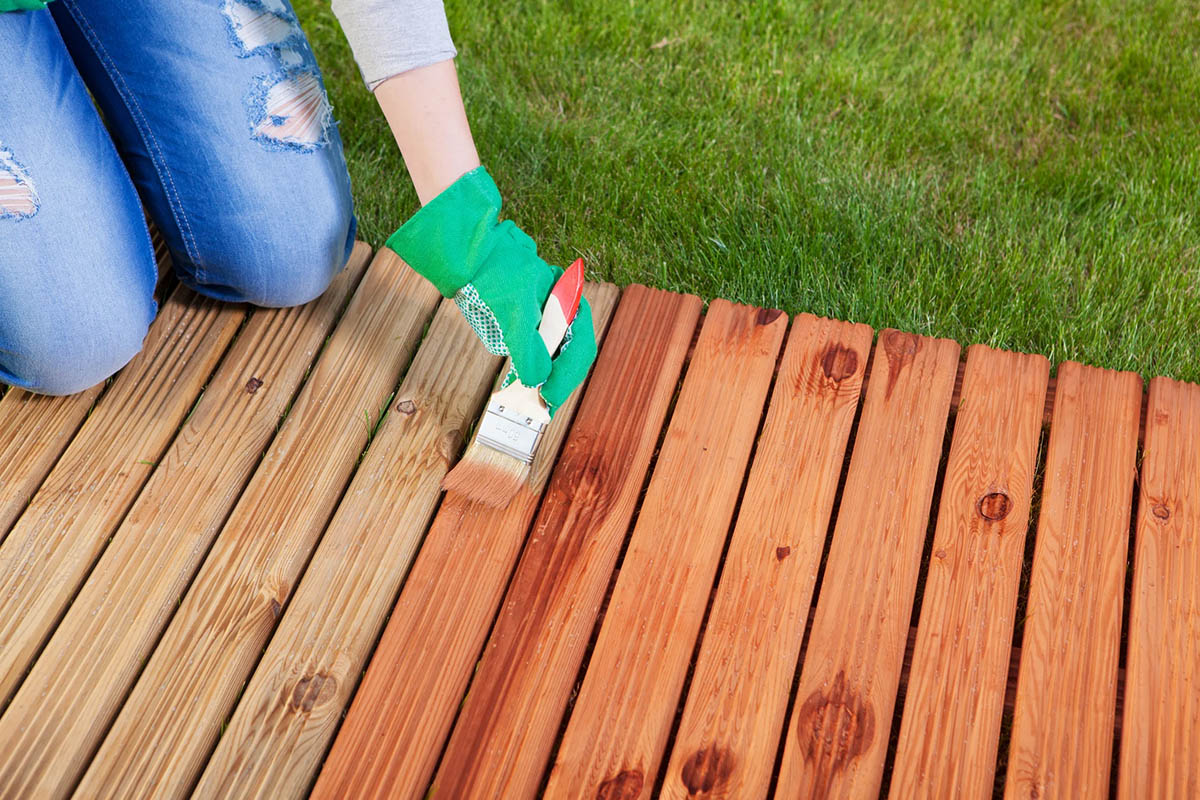
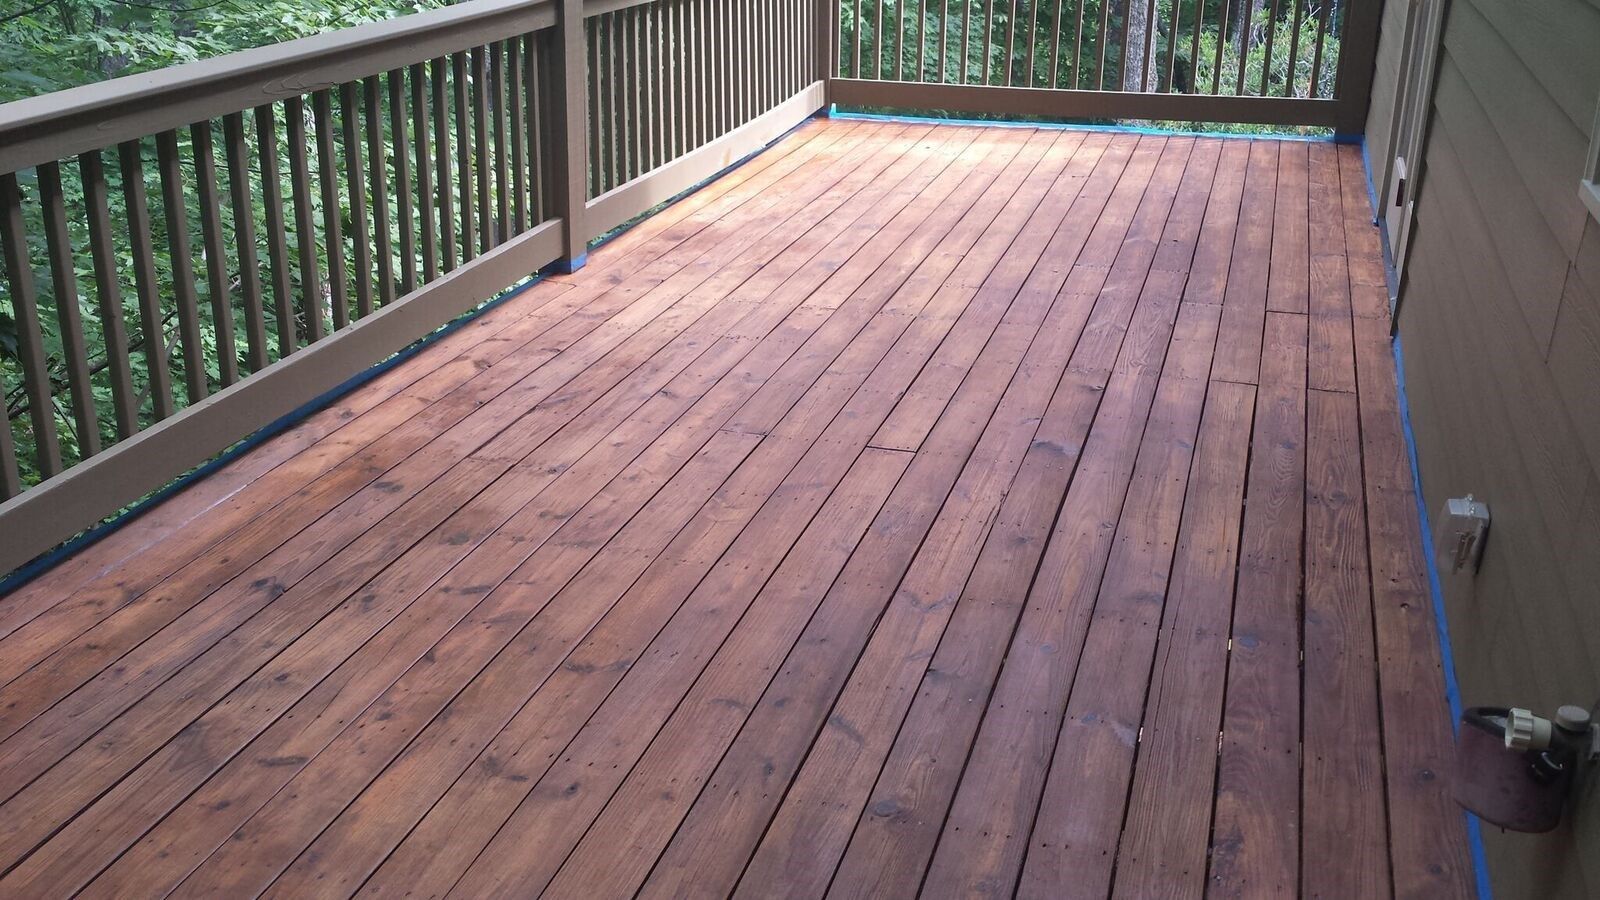
Apply Stain
With your deck clean and properly prepared, it’s time to apply the stain. Follow these steps for a successful stain application:
- Choose the right day: Select a day with mild temperatures and low humidity. Avoid staining in direct sunlight as it can cause the stain to dry too quickly and result in an uneven finish.
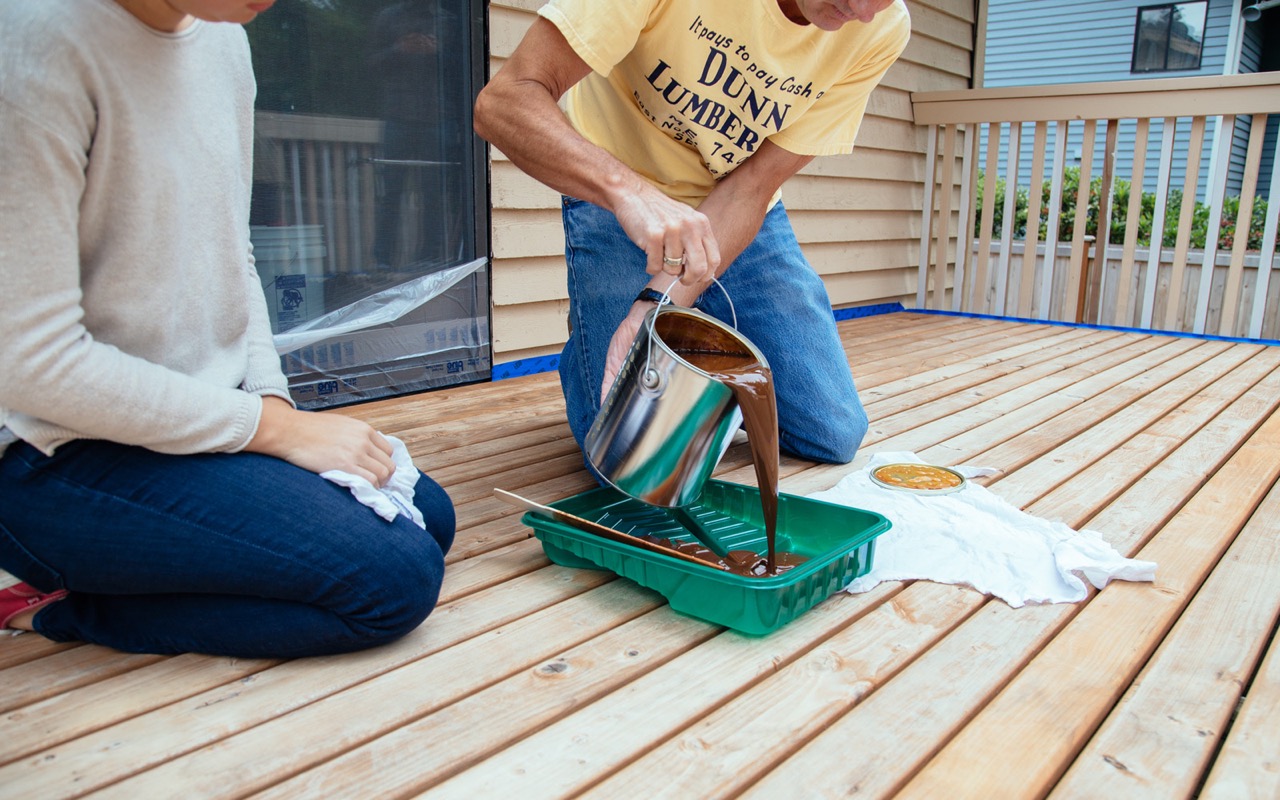
- Stir the stain: Use a stir stick to thoroughly mix the stain, ensuring an even distribution of color and pigments.
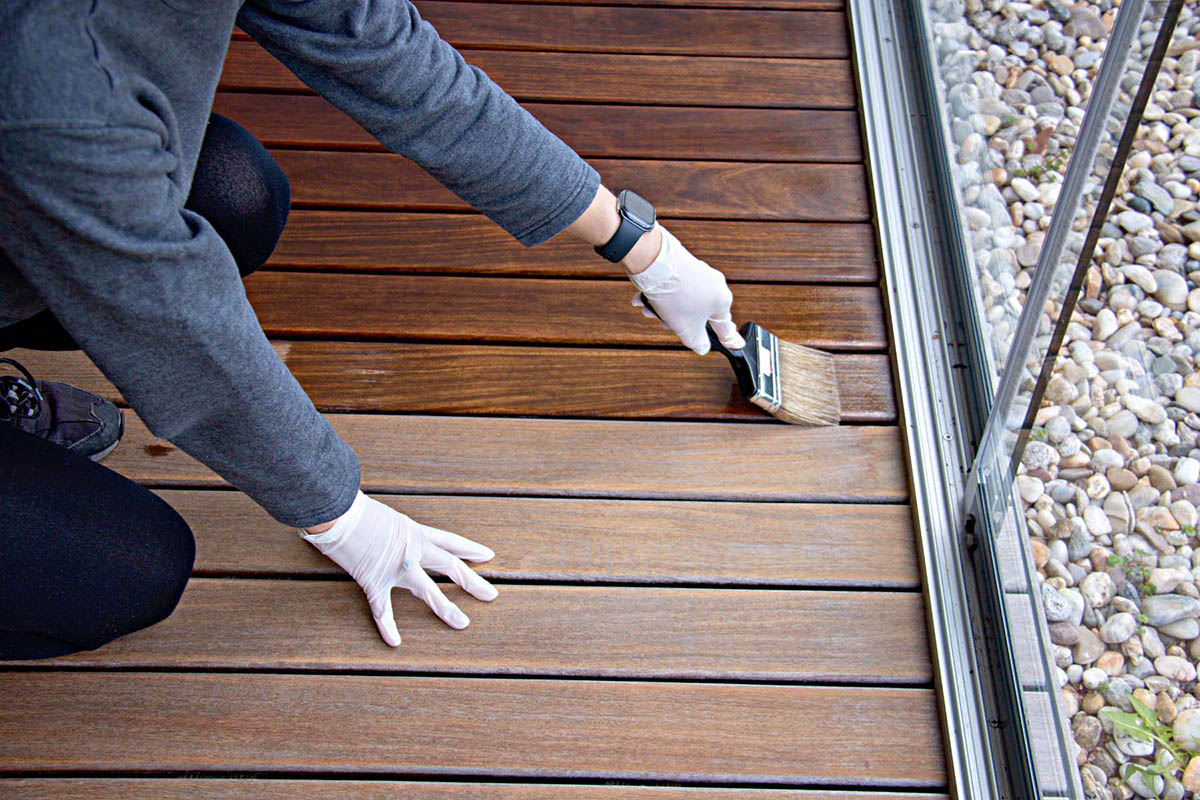
- Start from the top: Begin staining from the top of your deck, working your way down. This will prevent any drips or stains on previously stained areas.
- Use smooth strokes: Using a brush or roller, apply the stain in smooth, even strokes. Work in the direction of the wood grain for optimal coverage.
- Maintain a wet edge: To avoid lap marks, make sure to maintain a wet edge while staining. This means working on a manageable section at a time and slightly overlapping each stroke.
- Pay attention to the gaps: Don’t forget to stain between the deck boards and in any hard-to-reach areas.
- Apply multiple coats if necessary: Depending on the desired color intensity and the opacity of the stain, you may need to apply multiple coats. Allow each coat to dry according to the manufacturer’s instructions before applying the next one.
- Clean up excess stain: If there are any drips or puddles of excess stain, use a brush or cloth to clean them up immediately to prevent uneven drying or pooling.
Remember to follow the specific instructions provided by the manufacturer of the stain you are using, as different stains may have slightly different application techniques. Take your time with the application process to ensure thorough coverage and a beautiful end result.
Read more: How To Strip Your Decking
Allow to Dry
After applying the stain, it’s crucial to allow your deck ample time to dry. Proper drying ensures that the stain fully penetrates the wood, allowing for a durable and long-lasting finish. Follow these guidelines to ensure the best drying process:
- Check the manufacturer’s instructions: Refer to the instructions provided by the stain manufacturer for specific drying times. Factors such as temperature, humidity, and the number of coats applied can affect drying times.
- Avoid foot traffic: To prevent any accidental smudging or damage to the stain, avoid walking on the deck until it is completely dry. Place signage or barriers to remind others to stay off the deck during this time.
- Provide adequate ventilation: Open windows and doors to promote air circulation and aid in the drying process. This helps to prevent any moisture from getting trapped, which can affect the drying time and the durability of the stain.
- Monitor weather conditions: Keep an eye on the weather forecast during the drying period. If rain or high humidity is expected, it’s best to cover the deck or postpone any outdoor activities that could potentially damage the stain.
- Perform a touch test: To determine if the deck is fully dry, lightly touch a small, inconspicuous area with your finger. If it feels dry to the touch and no stain transfers onto your finger, the deck is likely ready for use.
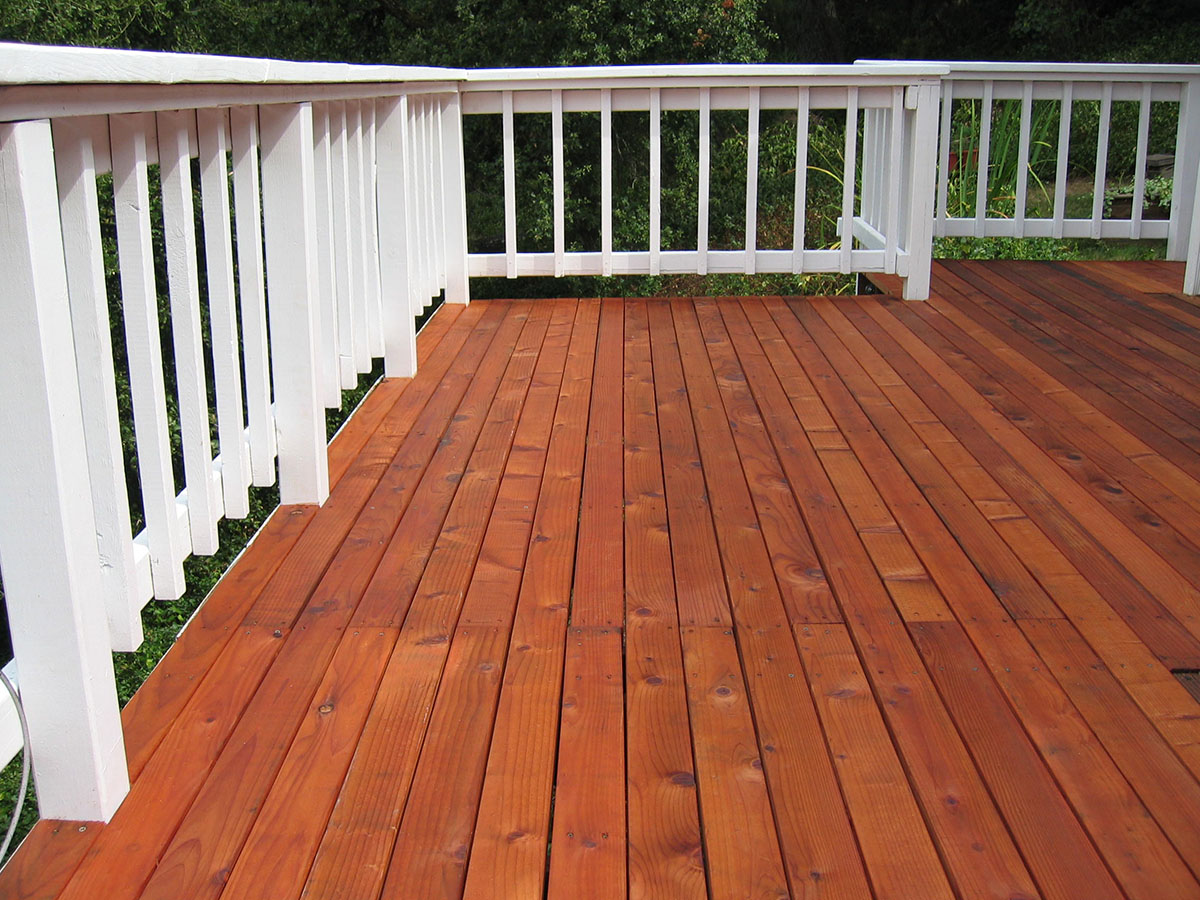
Remember, proper drying is crucial for the stain to cure and bond effectively with the wood. Rushing the process or using the deck before it’s fully dry can result in a compromised finish.
Maintain and Reapply
Once you’ve successfully stained your deck, it’s important to establish a regular maintenance routine to keep it looking its best. Here are some tips to help you maintain and protect your stained deck:
- Clean regularly: Regularly sweep off debris and dirt from your deck. This will prevent buildup and prolong the lifespan of the stain. For stubborn stains or mildew, use a mild deck cleaner and a soft brush to gently scrub the affected areas.
- Inspect for damage: Periodically inspect your deck for any signs of damage, such as rot or splintered boards. Address any issues promptly to prevent further deterioration.
- Reapply stain as needed: Over time, exposure to the elements can cause the stain on your deck to fade or wear off. Monitor the condition of your deck and reapply stain as recommended by the manufacturer or when the color begins to fade. Properly cleaning and prepping the deck before reapplication is essential for optimal results.
- Consider sealant: To further protect your stained deck, consider applying a clear sealant over the stain. This will provide an extra layer of defense against moisture, UV rays, and other damaging elements.
- Protect furniture and objects: Use coasters, mats, or pads under furniture and objects to prevent scratches or stains on your deck surface.
- Trim vegetation: Regularly trim nearby plants and vegetation to prevent them from touching or rubbing against the deck. This will help to minimize moisture retention and potential damage to the stain.
By incorporating these maintenance practices into your routine, you can extend the life of your stained deck and enjoy its beauty and functionality for years to come.
Frequently Asked Questions about How To Stain Your Decking
Was this page helpful?
At Storables.com, we guarantee accurate and reliable information. Our content, validated by Expert Board Contributors, is crafted following stringent Editorial Policies. We're committed to providing you with well-researched, expert-backed insights for all your informational needs.


0 thoughts on “How To Stain Your Decking”