
Articles
How To Clean A Dish Washer
Modified: September 1, 2024
Looking for articles on how to clean a dish washer? Check out our comprehensive guide on cleaning and maintaining your dish washer for optimal performance.
(Many of the links in this article redirect to a specific reviewed product. Your purchase of these products through affiliate links helps to generate commission for Storables.com, at no extra cost. Learn more)
Introduction
Welcome to this comprehensive guide on how to clean a dishwasher. We all rely on our dishwashers to handle the daily chore of cleaning our dishes, but over time, food particles, grease, and mineral deposits can build up, leading to a less effective and hygienic dishwasher. Cleaning your dishwasher regularly not only ensures its optimal performance but also helps prolong its lifespan.
Many people overlook the importance of cleaning their dishwasher, assuming that the hot water and detergent used during the cleaning cycle are sufficient to keep it clean. However, without regular maintenance, a dishwasher can become a breeding ground for bacteria and unpleasant odors. By following the steps outlined in this article, you can keep your dishwasher running smoothly and ensure sparkling clean dishes every time.
In this guide, we will walk you through the process of cleaning your dishwasher, step by step. We will cover everything from emptying the dishwasher to cleaning the various parts, both inside and out. We will also provide helpful tips and precautions along the way.
Before we dive into the cleaning process, let’s take a quick look at the materials you will need:
Key Takeaways:
- Regular maintenance of your dishwasher is crucial for optimal performance and longevity. Follow the step-by-step guide to ensure sparkling clean dishes and a hygienic dishwasher for years to come.
- Running an empty cycle with vinegar and a final rinse cycle are essential for deep-cleaning and deodorizing your dishwasher. Incorporate these steps into your routine for a spotless and efficient appliance.
Read more: How To Repair A Dish Washer
Materials Needed
Before you begin cleaning your dishwasher, make sure you have the following materials on hand:
- Dish soap or dishwasher cleaner
- White vinegar
- Baking soda
- A soft brush or toothbrush
- Microfiber cloth or sponge
- Lemon or lemon juice (optional)
These common household items will be used throughout the cleaning process to effectively remove grease, grime, and mineral deposits from your dishwasher.
Once you have gathered all the necessary materials, we can move on to the step-by-step process of cleaning your dishwasher.
Step 1: Emptying the Dishwasher
The first step in cleaning your dishwasher is to ensure that it is completely empty of dishes, utensils, and any other items. This will allow you to have unobstructed access to all the parts that need to be cleaned.
Start by removing any removable racks or accessories from the dishwasher. Take out the silverware basket, the dish rack, and any other detachable components. Inspect them for any food debris or build-up and rinse them with warm soapy water if needed. Set them aside to air dry while you clean the rest of the dishwasher.
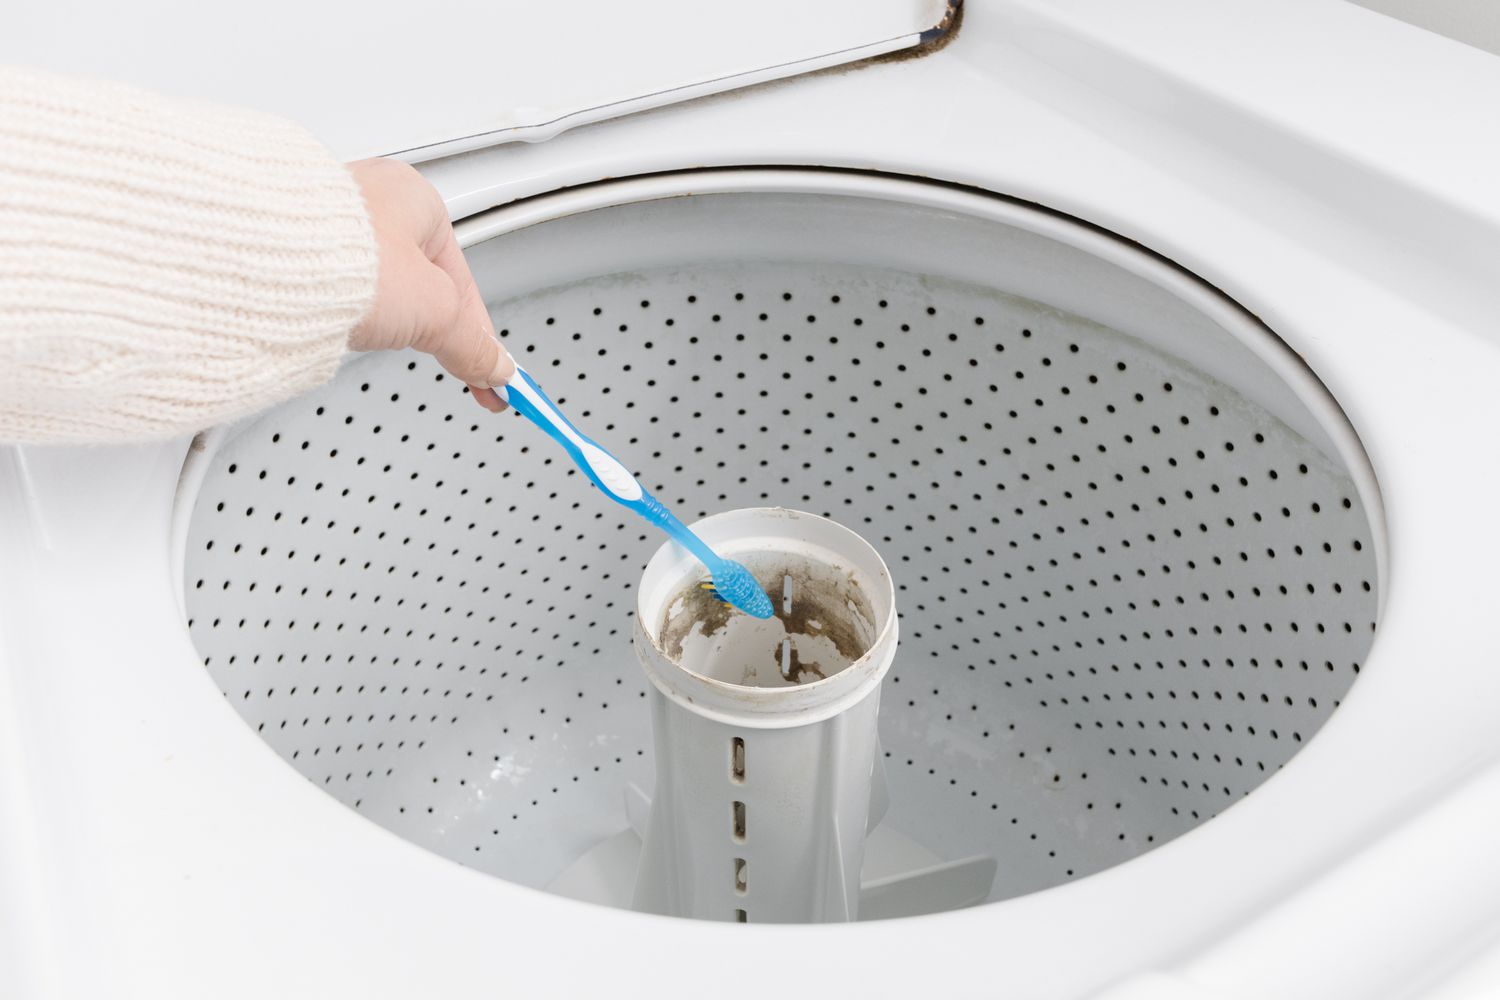
Next, take a close look at the drain at the bottom of the dishwasher. Remove any debris or gunk that may have accumulated there. This could include food particles, small bits of paper, or other foreign objects. Use a soft brush or toothbrush to dislodge any stubborn grime.
Once the dishwasher is completely empty and the drain is clear, you are ready to move on to the next step: removing and cleaning the filter.
Step 2: Removing and Cleaning the Filter
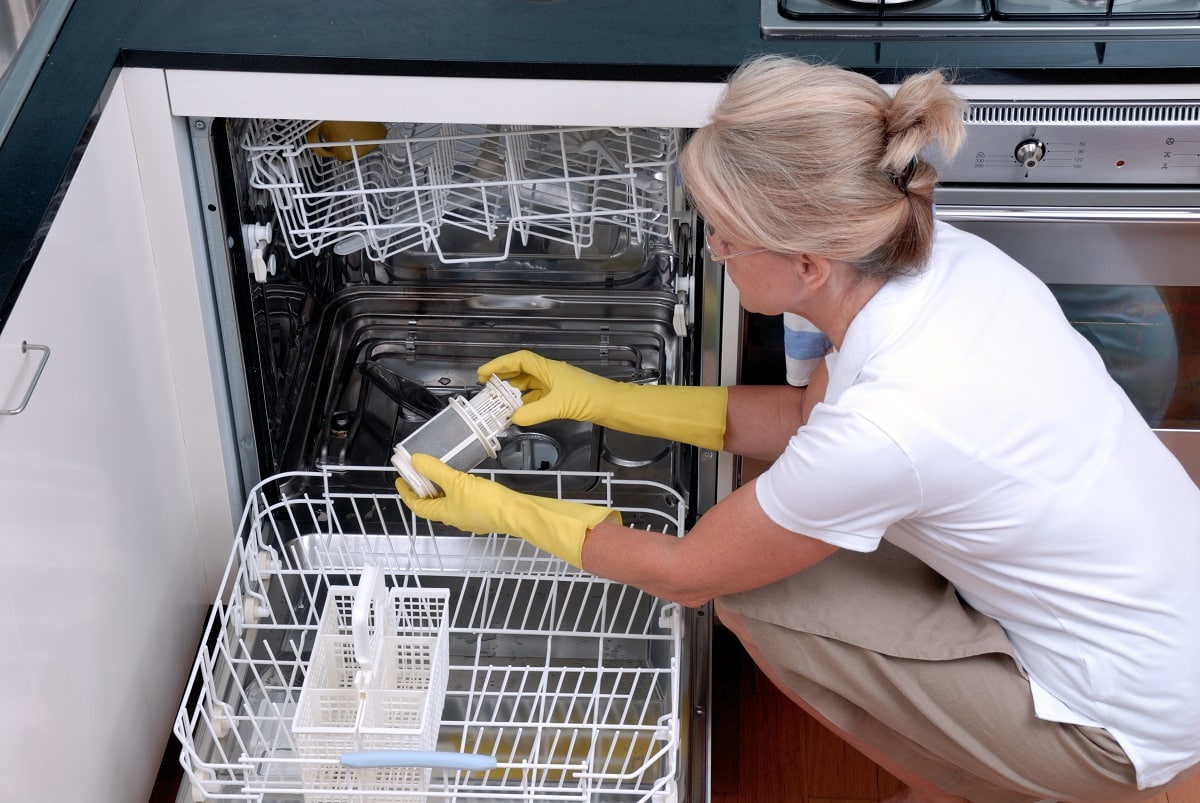
One of the most important parts of your dishwasher to clean is the filter. The filter is responsible for trapping food particles and preventing them from clogging the drain and spray arms.
Start by locating the filter, which is typically located at the bottom of the dishwasher. The exact location may vary depending on the model of your dishwasher, so consult your dishwasher’s manual if you’re unsure.
Once you have located the filter, carefully remove it from the dishwasher. Some filters may have a handle or a release button to make removal easier. Others may require you to unscrew it. Follow the manufacturer’s instructions for your specific dishwasher model.
Once the filter is removed, inspect it for any visible debris or residue. Rinse it under warm water to remove any loose particles. Use a soft brush or toothbrush to gently scrub away any stubborn grime.
In some cases, the filter may be dishwasher-safe and can be placed in the dishwasher for a more thorough cleaning. Check the manufacturer’s instructions to determine if this is the case for your dishwasher’s filter.
After cleaning the filter, carefully place it back into its original position in the dishwasher. Ensure that it is securely fitted and properly aligned.
With the filter cleaned and reinstalled, you can now move on to the next step: cleaning the spray arms.
Step 3: Cleaning the Spray Arms
The spray arms of your dishwasher are responsible for distributing water and detergent evenly, ensuring a thorough cleaning of your dishes. Over time, the spray arms can become clogged with mineral deposits, food particles, and other debris, hindering their performance.
To clean the spray arms, start by removing them from the dishwasher. They are typically located at the bottom and top of the dishwasher, and they may be held in place with clips or screws.
Once you have removed the spray arms, inspect them for any clogs or build-up. Use a thin, pointed object, such as a toothpick or a straightened paperclip, to clear any obstructions from the spray holes.
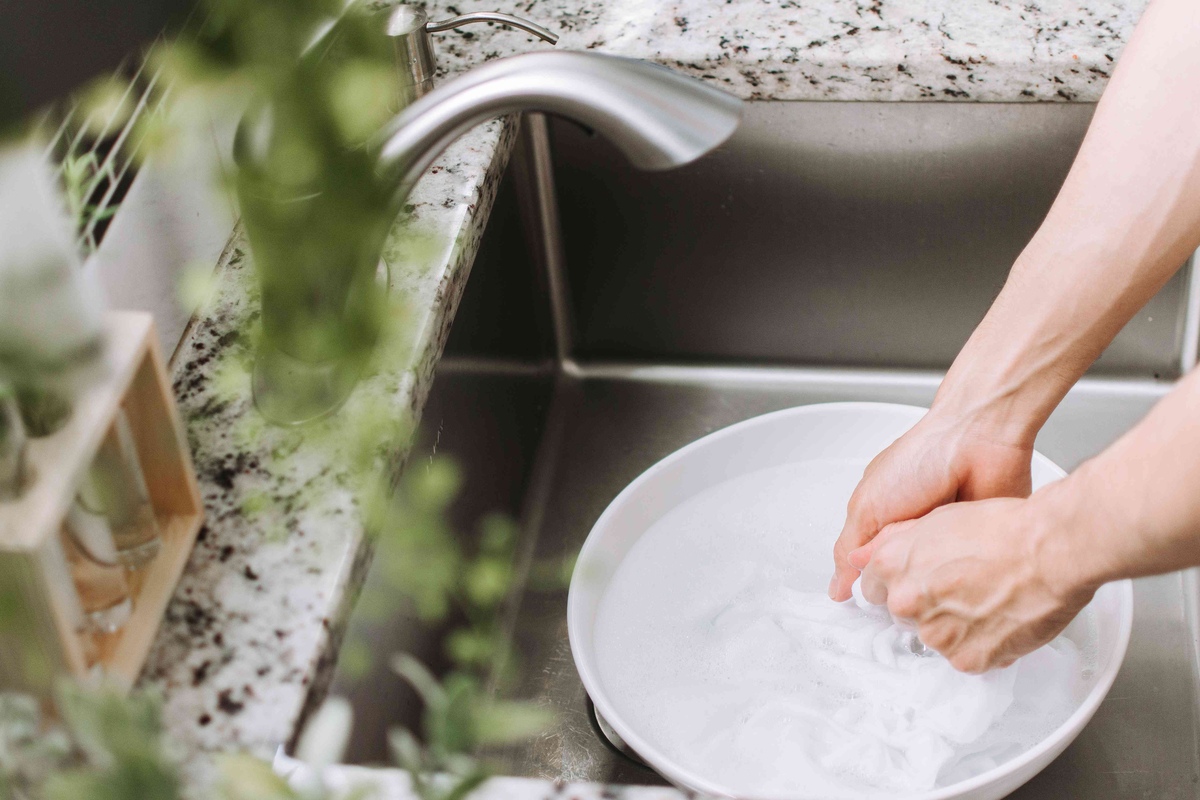
If the spray arms are particularly dirty or clogged, you can soak them in a mixture of warm water and vinegar to dissolve any stubborn residue. Fill a basin or sink with equal parts water and white vinegar, and let the spray arms soak for about 15-20 minutes. This will help break down any mineral deposits and remove any remaining debris.
After soaking, rinse the spray arms thoroughly under warm water to remove any vinegar solution and loosened debris. Use a soft brush to gently scrub away any remaining grime.
Once cleaned, reattach the spray arms back into their original positions in the dishwasher. Ensure that they are securely fitted and rotate freely.
With the spray arms cleaned and back in place, you are now ready to move on to the next step: cleaning the interior of the dishwasher.
Read more: How to Use a Dish Washer
Step 4: Cleaning the Interior
Now that you have cleaned the filter and spray arms, it’s time to clean the interior of the dishwasher. This step will focus on removing any remaining dirt, grease, and mineral deposits from the walls, racks, and door of the dishwasher.
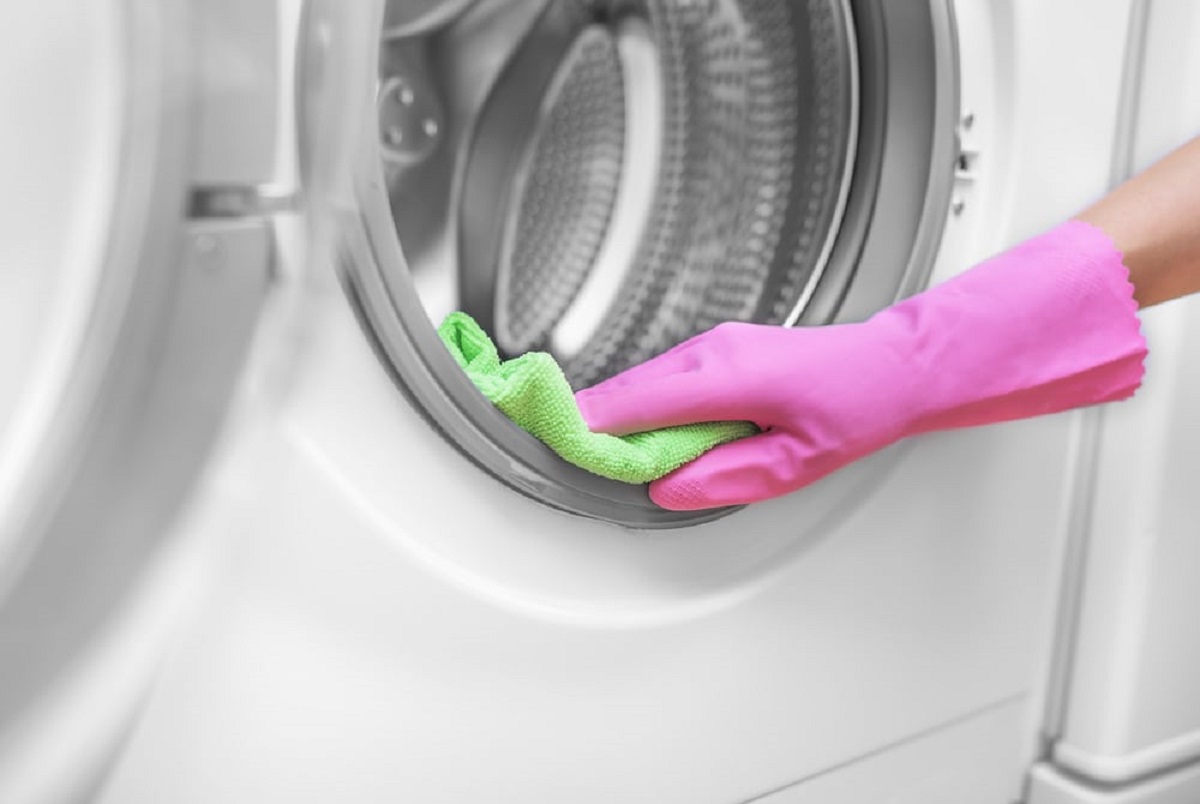
Start by inspecting the interior for any visible debris or food particles. Use a damp microfiber cloth or sponge to wipe down the walls, racks, and any other surfaces inside the dishwasher. Pay close attention to corners, crevices, and hard-to-reach areas where dirt and grime may accumulate.
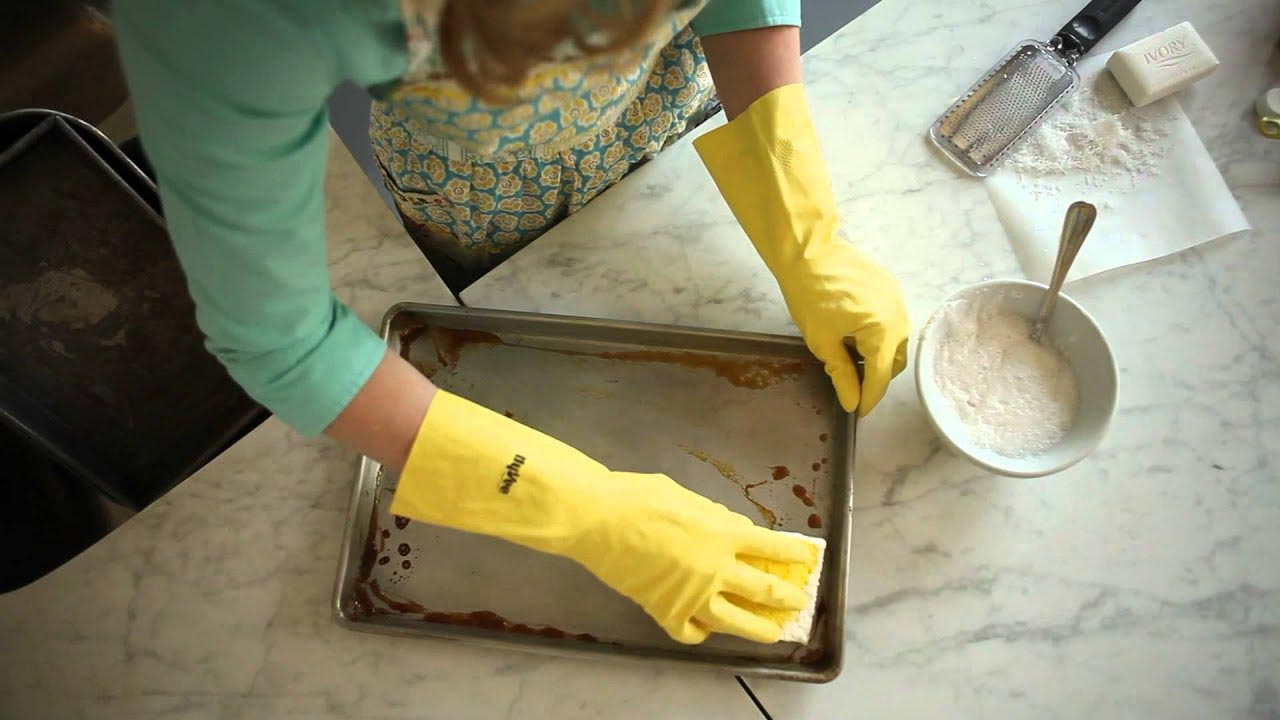
If you notice any stubborn stains or build-up, you can create a paste using baking soda and water. Apply the paste to the affected areas and let it sit for a few minutes before scrubbing gently with a soft brush or sponge. The abrasive properties of the baking soda will help remove stubborn stains without damaging the dishwasher’s interior.
For extra freshness and to eliminate any lingering odors, you can also wipe the interior of the dishwasher with a cloth dampened with lemon juice or place a cut lemon on the top rack during an empty cycle.
Once you have thoroughly cleaned the interior of the dishwasher, it’s time to move on to the next step: cleaning the door.
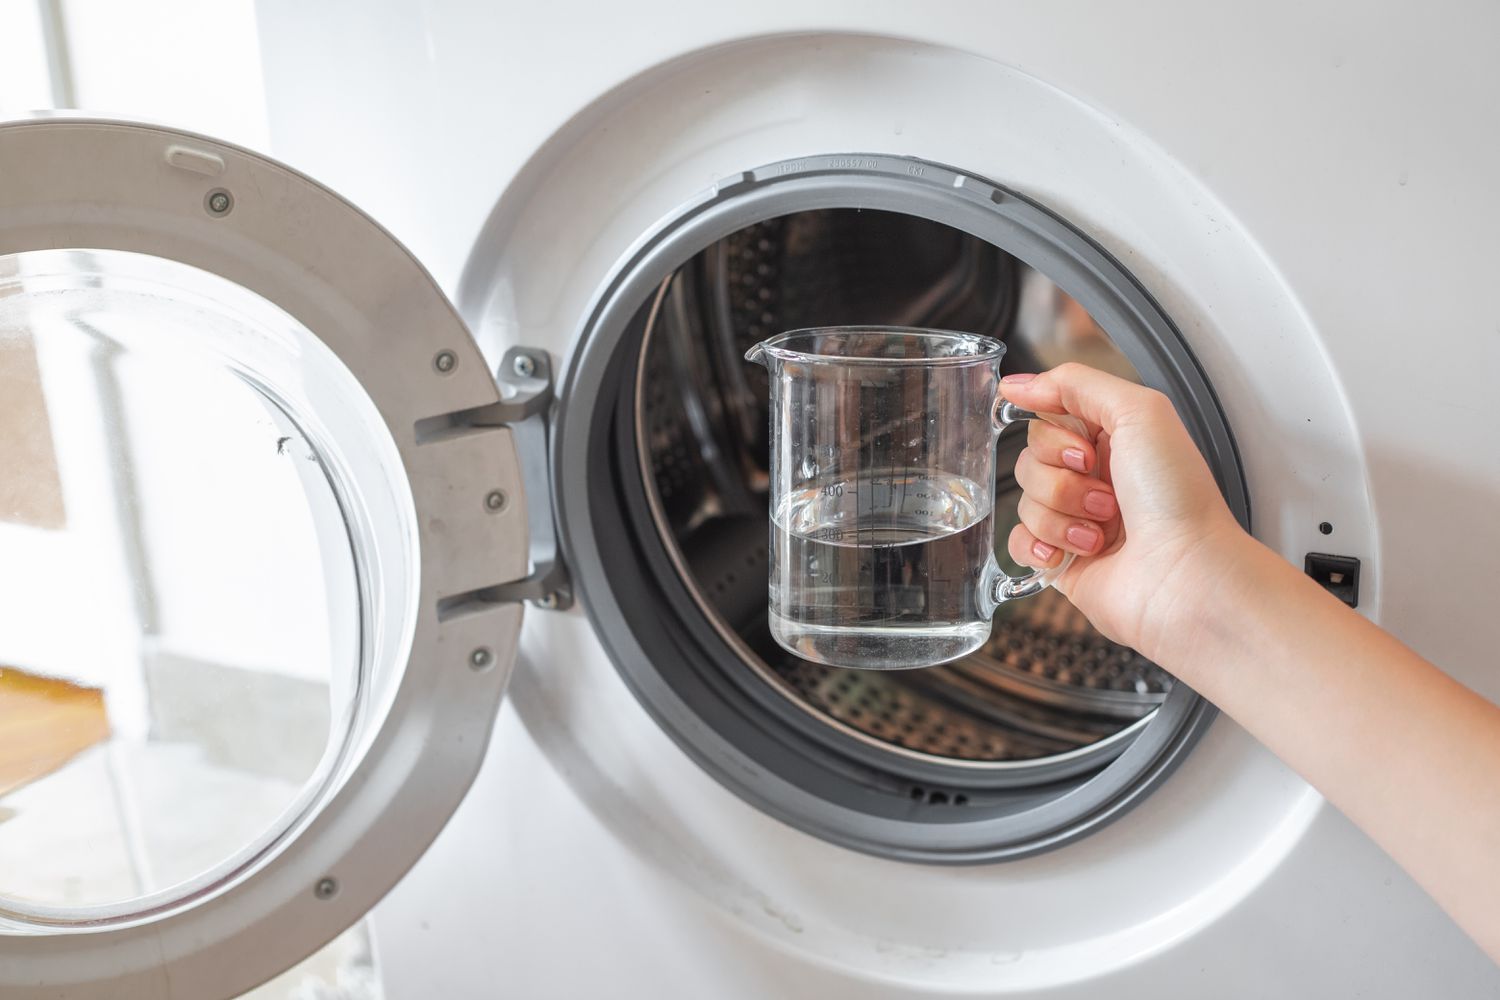
Run a cycle with a cup of white vinegar to remove mineral buildup and odors. Then, sprinkle baking soda on the bottom and run another cycle for a fresh and clean dishwasher.
Step 5: Cleaning the Door
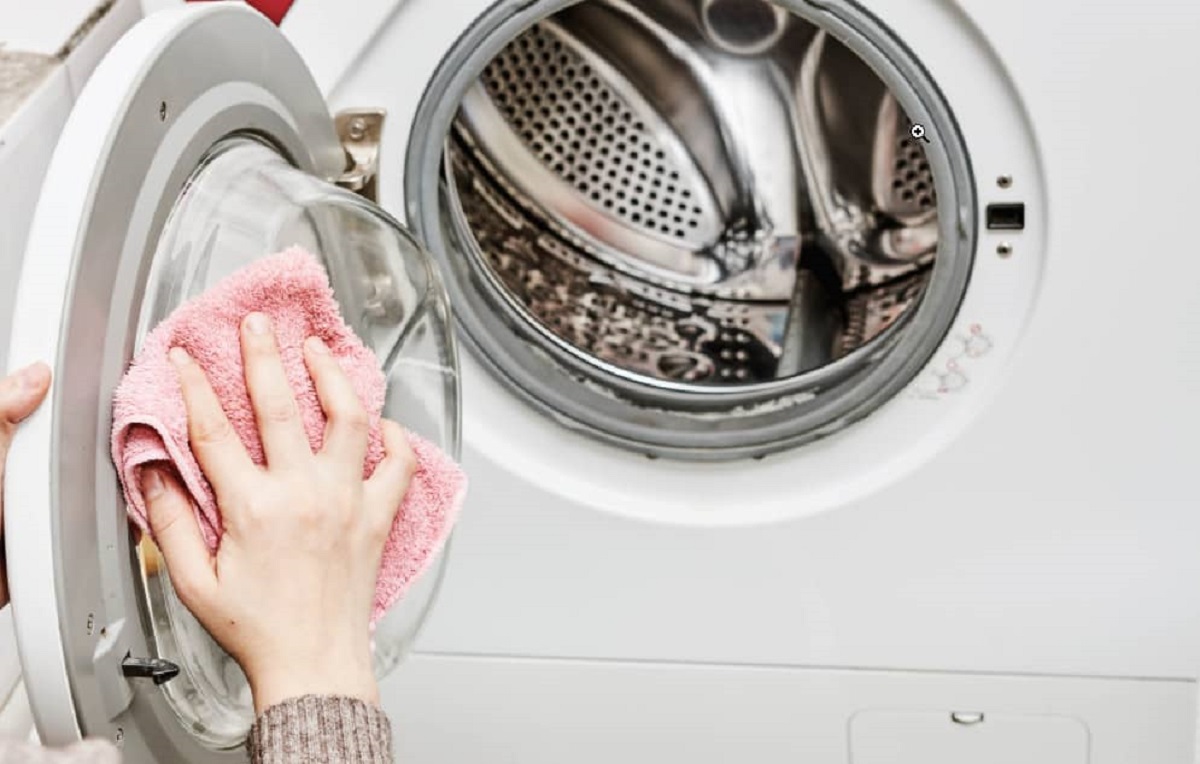
The door of the dishwasher is often overlooked when it comes to cleaning, but it can accumulate dirt, grime, and food residue just like the rest of the appliance. Cleaning the door not only improves the overall appearance of your dishwasher but also helps maintain its performance.
To start, mix a solution of warm water and dish soap or dishwasher cleaner in a bowl. Dip a microfiber cloth or sponge in the soapy solution and use it to wipe down the exterior surfaces of the dishwasher door.
Pay close attention to the edges, handles, and any grooves or crevices where dirt may accumulate. Use a soft brush or toothbrush to clean any hard-to-reach areas, ensuring a thorough cleaning.
If there are any stubborn stains or residue on the door, you can create a paste using baking soda and water. Apply the paste to the affected areas, and let it sit for a few minutes before scrubbing gently with a soft brush or sponge.
Once you have cleaned the exterior surfaces of the dishwasher door, make sure to wipe them dry with a clean cloth to prevent streaks or water spots.
With the door cleaned, it’s time to move on to the next step: cleaning the gasket.
Step 6: Cleaning the Gasket
The gasket, also known as the door seal, is a rubber or silicone strip that creates a watertight seal when the dishwasher door is closed. Over time, the gasket can accumulate dirt, food particles, and residue, which can compromise its effectiveness and lead to leaks or inefficient sealing.
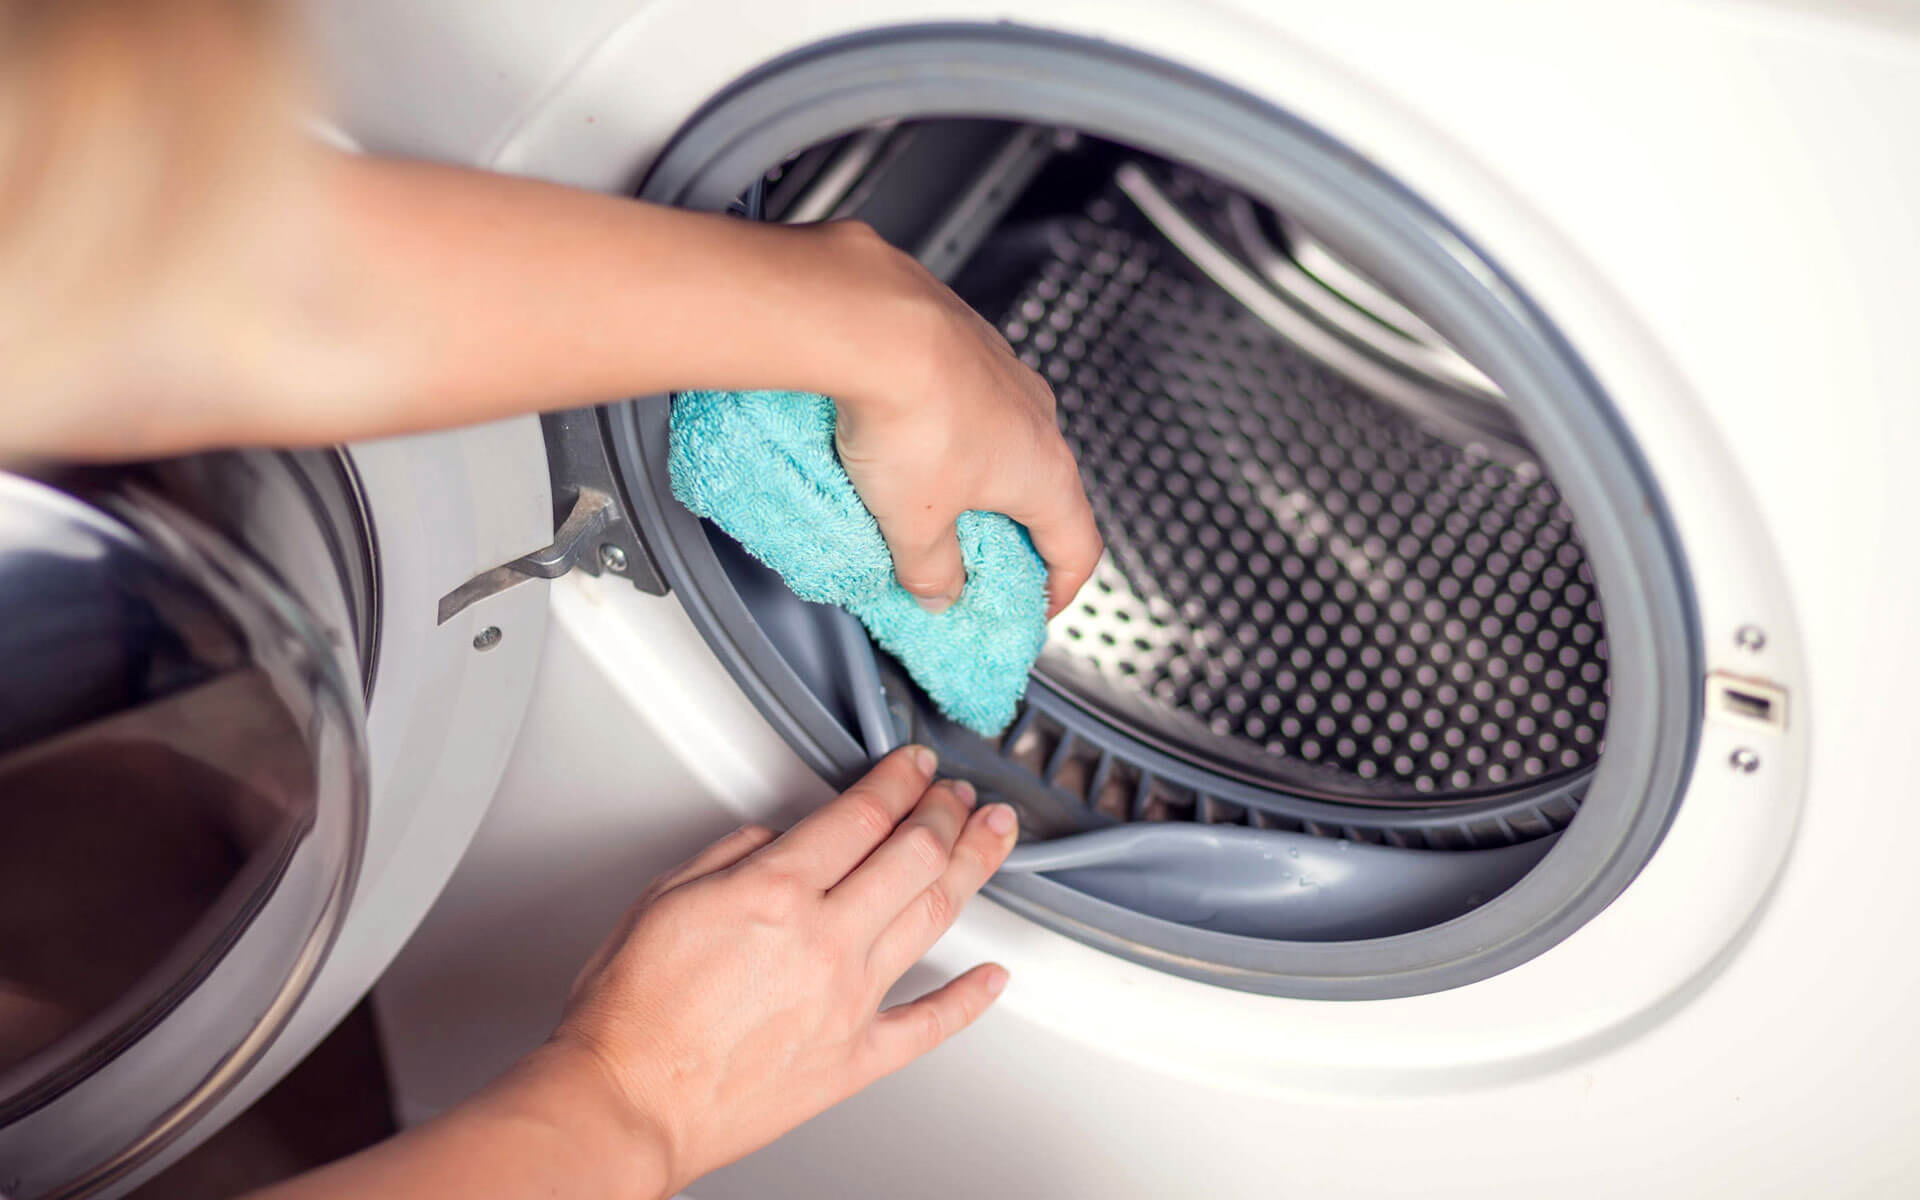
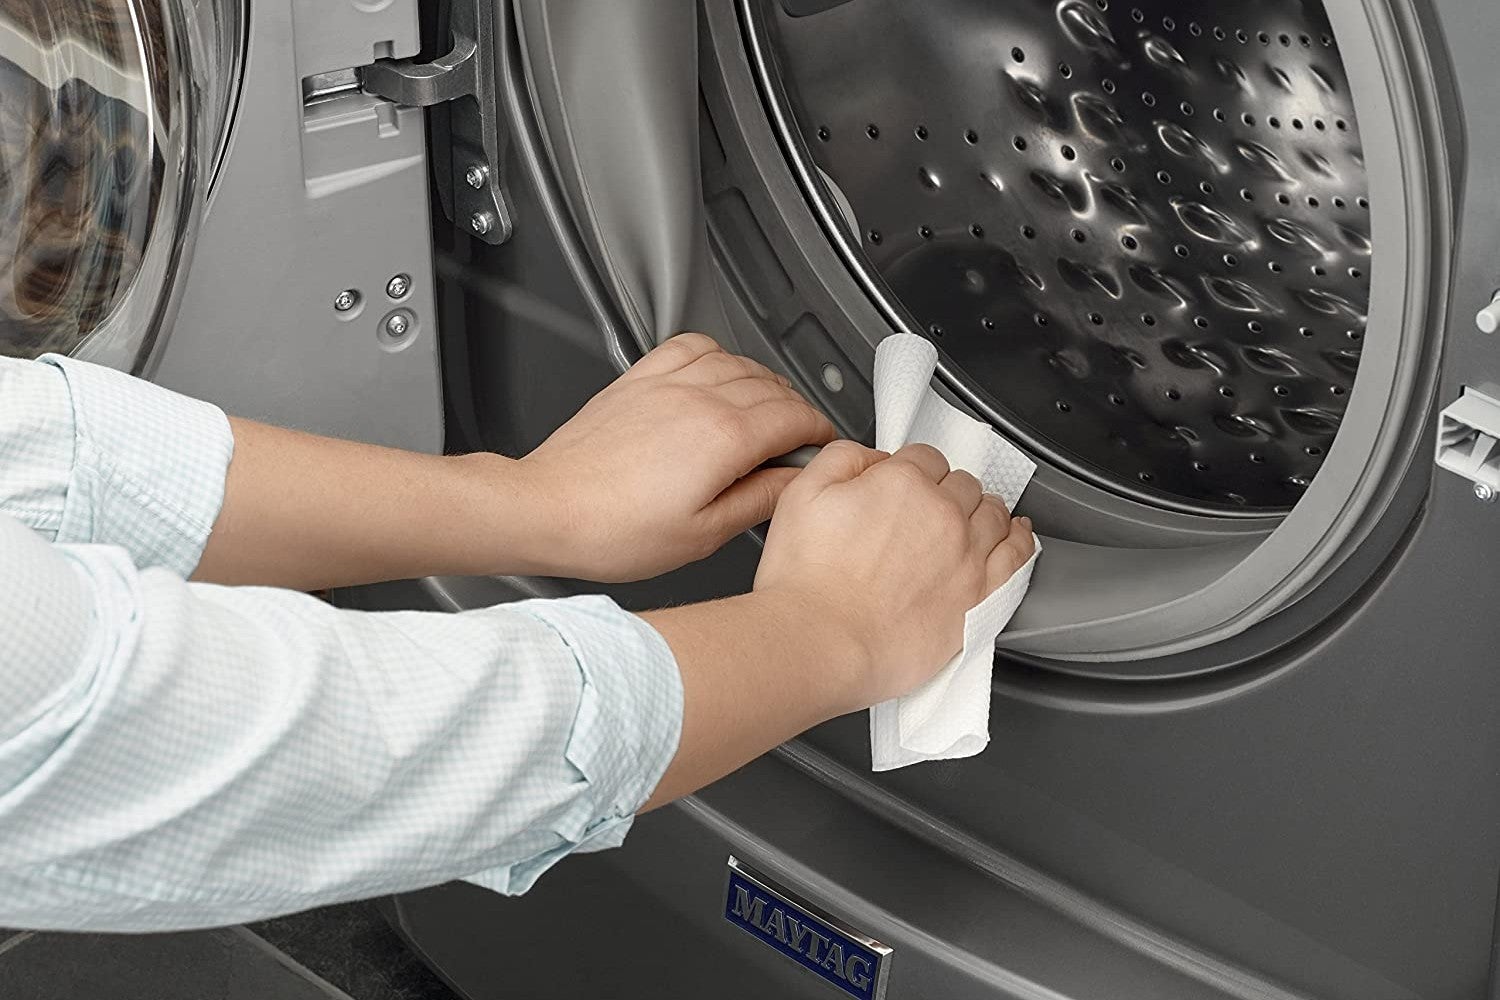
To clean the gasket, start by inspecting it for any visible debris or build-up. Use a damp cloth or sponge to wipe down the gasket, paying close attention to the folds and grooves where dirt may accumulate.
If there are any stubborn stains or residue on the gasket, you can create a solution of equal parts water and vinegar. Dip a cloth or sponge in the vinegar solution and gently scrub the gasket to remove the build-up. Be careful not to use excessive force or sharp objects that could damage the gasket.
Once you have cleaned the gasket, rinse it thoroughly with clean water to remove any vinegar solution or loosened debris. Use a dry cloth to wipe it dry, ensuring that it is completely free of moisture.
Inspect the gasket for any signs of wear or damage, such as cracks or tears. If you notice any issues, it may be necessary to replace the gasket to ensure proper sealing and prevent leaks.
With the gasket cleaned and in good condition, it’s time to move on to the next step: cleaning the exterior of the dishwasher.
Step 7: Cleaning the Exterior
Now that you have tackled the interior of the dishwasher, it’s time to focus on cleaning the exterior. The exterior surfaces of the dishwasher can accumulate fingerprints, stains, and grease over time, making it important to give them some attention for a complete cleaning experience.
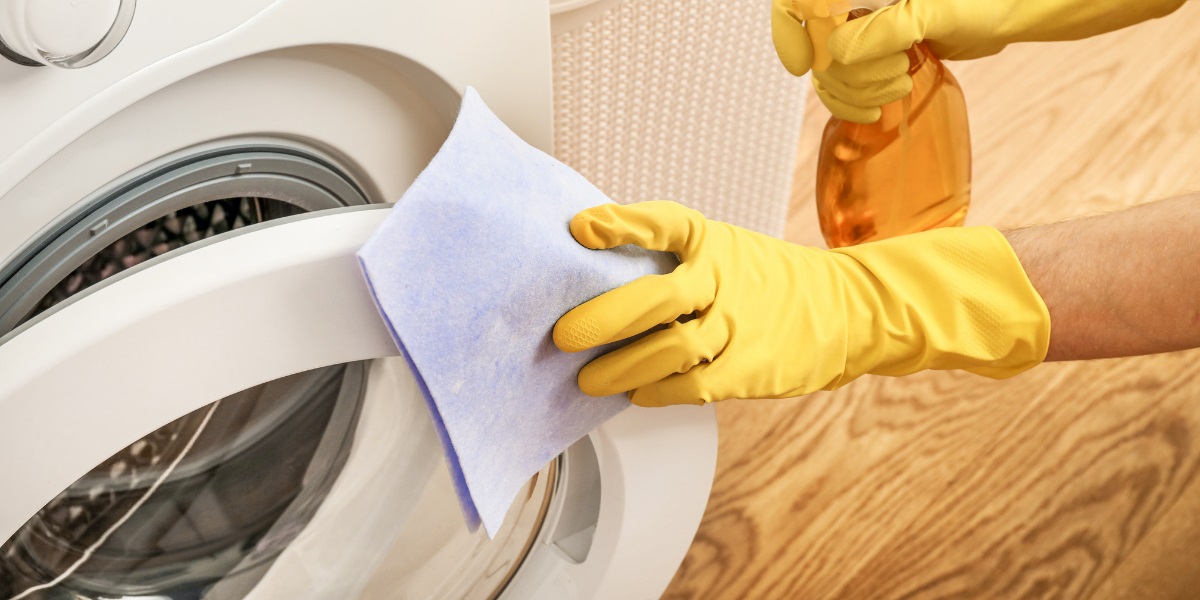
Start by wiping down the exterior surfaces of the dishwasher with a damp cloth or sponge. Use a mild dish soap or all-purpose cleaner to remove any grease or stains. Pay special attention to areas that are frequently touched, such as the control panel and the handle.
If you notice any stubborn stains or residue on the exterior of the dishwasher, you can create a paste using baking soda and water. Apply the paste to the affected areas, and let it sit for a few minutes before scrubbing gently with a soft brush or sponge.
For stainless steel dishwasher exteriors, use a stainless steel cleaner or a mixture of vinegar and water to restore their shine. Apply the cleaner or vinegar solution to a soft cloth and gently wipe the surfaces in the direction of the grain for best results.
Once you have cleaned the exterior surfaces of the dishwasher, make sure to wipe them dry with a clean cloth to prevent streaks or water spots.
With the exterior cleaned and shining, it’s time to move on to the next step: running an empty cycle with vinegar.
Read more: How To Clean Glass Baking Dish
Step 8: Running an Empty Cycle with Vinegar
Running an empty cycle with vinegar is a great way to deep-clean and deodorize your dishwasher. Vinegar helps break down mineral deposits, remove grease and grime, and eliminate any unpleasant odors that may have built up over time.
To start, remove any dishes or utensils from the dishwasher and ensure that the dishwasher is empty.
Next, pour one cup of white vinegar into a dishwasher-safe bowl or measuring cup. Place the vinegar-filled container on the top rack of the dishwasher.
Close the dishwasher door and select a hot water cycle. If your dishwasher has an option for adding a rinse aid, add a small amount to the dispenser.
Start the dishwasher and let it run through the complete cycle, including the prewash, main wash, and rinse cycles. The hot water mixed with the vinegar will help remove any remaining residue and sanitize the dishwasher.
Once the cycle is complete, open the dishwasher door and let it air out for a few minutes to dissipate any remaining vinegar smell.
With an empty cycle running successfully with vinegar, it’s time to move on to the final step: running a rinse cycle.
Step 9: Running a Final Rinse Cycle
After running an empty cycle with vinegar, it’s important to follow up with a final rinse cycle to ensure that any remaining vinegar or residue is completely removed from the dishwasher.
Start by checking that the dishwasher is still empty and no dishes or utensils are present.
Select a hot water cycle or a sanitize cycle if your dishwasher has that option.
Start the rinse cycle and let it run through its complete duration. This will help flush out any lingering vinegar and ensure that your dishwasher is clean and ready for use.
Once the rinse cycle is complete, open the dishwasher door and allow it to air dry. This will help prevent any moisture or humidity from lingering inside the dishwasher, reducing the risk of mold or mildew growth.
Once the dishwasher is completely dry, you can confidently put away the dishes and utensils and start using your freshly cleaned and sanitized dishwasher.
To maintain a clean dishwasher, it is recommended to follow this cleaning process at least once every few months or as needed, depending on the frequency of use and the level of residue and build-up.
Congratulations! You have successfully completed the steps to clean your dishwasher, ensuring it is in optimal condition for effective dishwashing and extending its lifespan.
By following these steps and incorporating regular dishwasher maintenance into your cleaning routine, you can enjoy sparkling clean dishes and a hygienic dishwasher for years to come.
Remember to refer back to this guide whenever you need to clean your dishwasher or share these tips with others who may find them helpful.
Happy dishwashing!
Conclusion
Cleaning your dishwasher is an essential task that often gets overlooked. By following the step-by-step guide provided in this article, you can ensure that your dishwasher remains in optimal condition, providing you with sparkling clean dishes every time.
From emptying the dishwasher and removing and cleaning the filter to cleaning the spray arms, interior, door, gasket, and exterior, each step plays a crucial role in maintaining the efficiency and longevity of your dishwasher.
Running an empty cycle with vinegar helps to deep-clean and deodorize the dishwasher, while a final rinse cycle ensures that any residue or vinegar is completely flushed out.
Regular maintenance of your dishwasher is key to preventing clogs, unpleasant odors, and the accumulation of dirt and debris. By incorporating these cleaning steps into your routine every few months or as needed, you can enjoy a clean, sanitary, and efficient dishwasher.
Remember to refer back to this guide whenever you need to clean your dishwasher. Feel free to share these tips with family and friends to help them achieve optimal dishwasher cleanliness as well.
So, why wait? Take the time to clean your dishwasher today and enjoy the benefits of a spotless and reliable appliance.
Happy dishwashing!
Frequently Asked Questions about How To Clean A Dish Washer
Was this page helpful?
At Storables.com, we guarantee accurate and reliable information. Our content, validated by Expert Board Contributors, is crafted following stringent Editorial Policies. We're committed to providing you with well-researched, expert-backed insights for all your informational needs.


0 thoughts on “How To Clean A Dish Washer”