Articles
How To Start A Kitchenaid Dishwasher
Modified: October 20, 2024
Learn the essential steps and tips to start your Kitchenaid dishwasher with our comprehensive articles. Get your dishes cleaned efficiently and effortlessly.
(Many of the links in this article redirect to a specific reviewed product. Your purchase of these products through affiliate links helps to generate commission for Storables.com, at no extra cost. Learn more)
Introduction
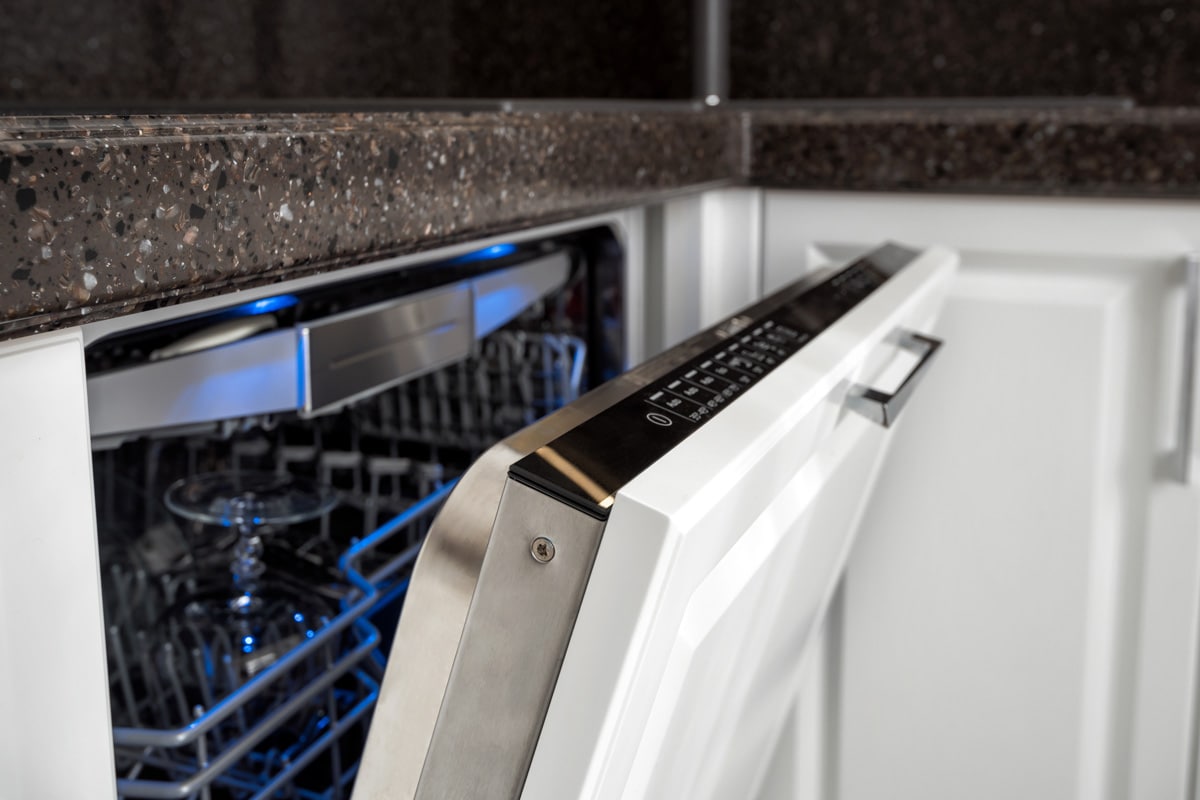
Welcome to the ultimate guide on how to start a Kitchenaid dishwasher! Whether you’ve just purchased a brand new dishwasher or you’re a first-time user, this article will provide you with step-by-step instructions to help you get started. Kitchenaid dishwashers are known for their reliability and efficiency, and with a little guidance, you’ll be able to use yours to its full potential.
Doing dishes by hand can be time-consuming and tedious, but with a dishwasher, you can save precious time and energy. Plus, using a dishwasher is more hygienic as it ensures thorough cleaning and sanitization of your dishes. So, let’s not waste any more time and dive right into the steps to get your Kitchenaid dishwasher up and running!
Key Takeaways:
- Say goodbye to tedious dishwashing! Follow these steps to start your Kitchenaid dishwasher for efficient, hygienic, and time-saving dish cleaning.
- Ensure a hassle-free dishwasher experience by gathering supplies, proper installation, detergent usage, strategic loading, and selecting the right wash cycle. Enjoy sparkling clean dishes with ease!
Read more: How To Clean Filter On Kitchenaid Dishwasher
Step 1: Gather Supplies
Before starting your Kitchenaid dishwasher, it’s essential to gather all the necessary supplies. Here’s a checklist of items you’ll need:
- Dishwasher detergent
- Dishwasher rinse aid (optional)
- Dirty dishes
- Dish racks and utensil holders (if required)
- A soft sponge or brush for pre-washing
Having all your supplies ready will ensure a smooth and hassle-free dishwasher experience. It’s highly recommended to use dishwasher-specific detergents as they are designed to work effectively with the machine and deliver optimal cleaning results. Dishwasher rinse aid can also be used to improve drying performance and reduce water spots on your dishes.
Make sure to check the capacity and specific loading instructions of your Kitchenaid dishwasher model. This will help you determine the amount of dishes that can fit and the proper arrangement inside the dishwasher.
Once you have all the supplies ready, it’s time to move on to the next step: making sure your dishwasher is installed properly.
Step 2: Make Sure the Dishwasher is Installed Properly
Before you start using your Kitchenaid dishwasher, it’s essential to ensure that it is properly installed. Here are a few key points to consider:
- Check the water supply: Verify that the dishwasher is connected to a reliable source of hot water. The water temperature should be at least 120°F (49°C) for effective cleaning.
- Verify the electrical connection: Ensure that the dishwasher is safely connected to an appropriate electrical outlet. Follow the manufacturer’s instructions to avoid any electrical hazards.
- Level the dishwasher: Use a carpenter’s level to make sure that the dishwasher is level and stable. This will help prevent any leaks or irregularities during operation.
- Inspect the drainage system: Check the dishwasher’s drain hose to ensure that it is properly connected to a drainpipe or a garbage disposal unit. It is crucial to ensure efficient water drainage.
- Test the dishwasher: Before loading any dishes, run a quick test cycle to make sure that the dishwasher is functioning correctly. Pay attention to any unusual noises or leaks during the test.
If you notice any issues during the installation process, it’s essential to consult the user manual or contact a professional for assistance. Proper installation is crucial not only for the dishwasher’s performance but also for your safety.
Once you’ve confirmed that the dishwasher is installed correctly, it’s time to move on to the next step: adding detergent to the dishwasher.
Step 3: Add Detergent to the Dishwasher
Now that your Kitchenaid dishwasher is properly installed, it’s time to add detergent. Follow these steps to ensure proper detergent usage:
- Locate the detergent dispenser: The detergent dispenser is usually located on the inside of the dishwasher door. It may be a flip-open compartment or a sliding drawer.
- Choose the right detergent: Select a high-quality dishwasher detergent that is specifically designed for use in automatic dishwashers. Avoid hand dishwashing liquids or other cleaning agents, as they may cause excessive suds or damage to your dishwasher.
- Measure the detergent: Follow the manufacturer’s instructions on the detergent packaging to determine the appropriate amount. In general, using too much detergent can lead to residue buildup, while using too little may result in inefficient cleaning.
- Add the detergent: Pour the measured detergent into the dispenser compartment. Be careful not to overfill it. Some dishwasher models have a separate compartment for pre-wash detergent if needed.
It’s worth noting that if you’re using dishwasher pods or tablets, simply place the pod in the main detergent compartment or in a designated chamber if your dishwasher has one. Avoid placing the pod in the utensil holder or cutlery basket, as it may not dissolve properly.
After adding the detergent, close the detergent dispenser securely. Ensure there are no obstructions preventing the compartment from closing properly. Obstructions can interfere with the detergent’s release during the wash cycle.
Now that you’ve added the detergent, it’s time to move on to the next step: loading the dishwasher with dirty dishes.
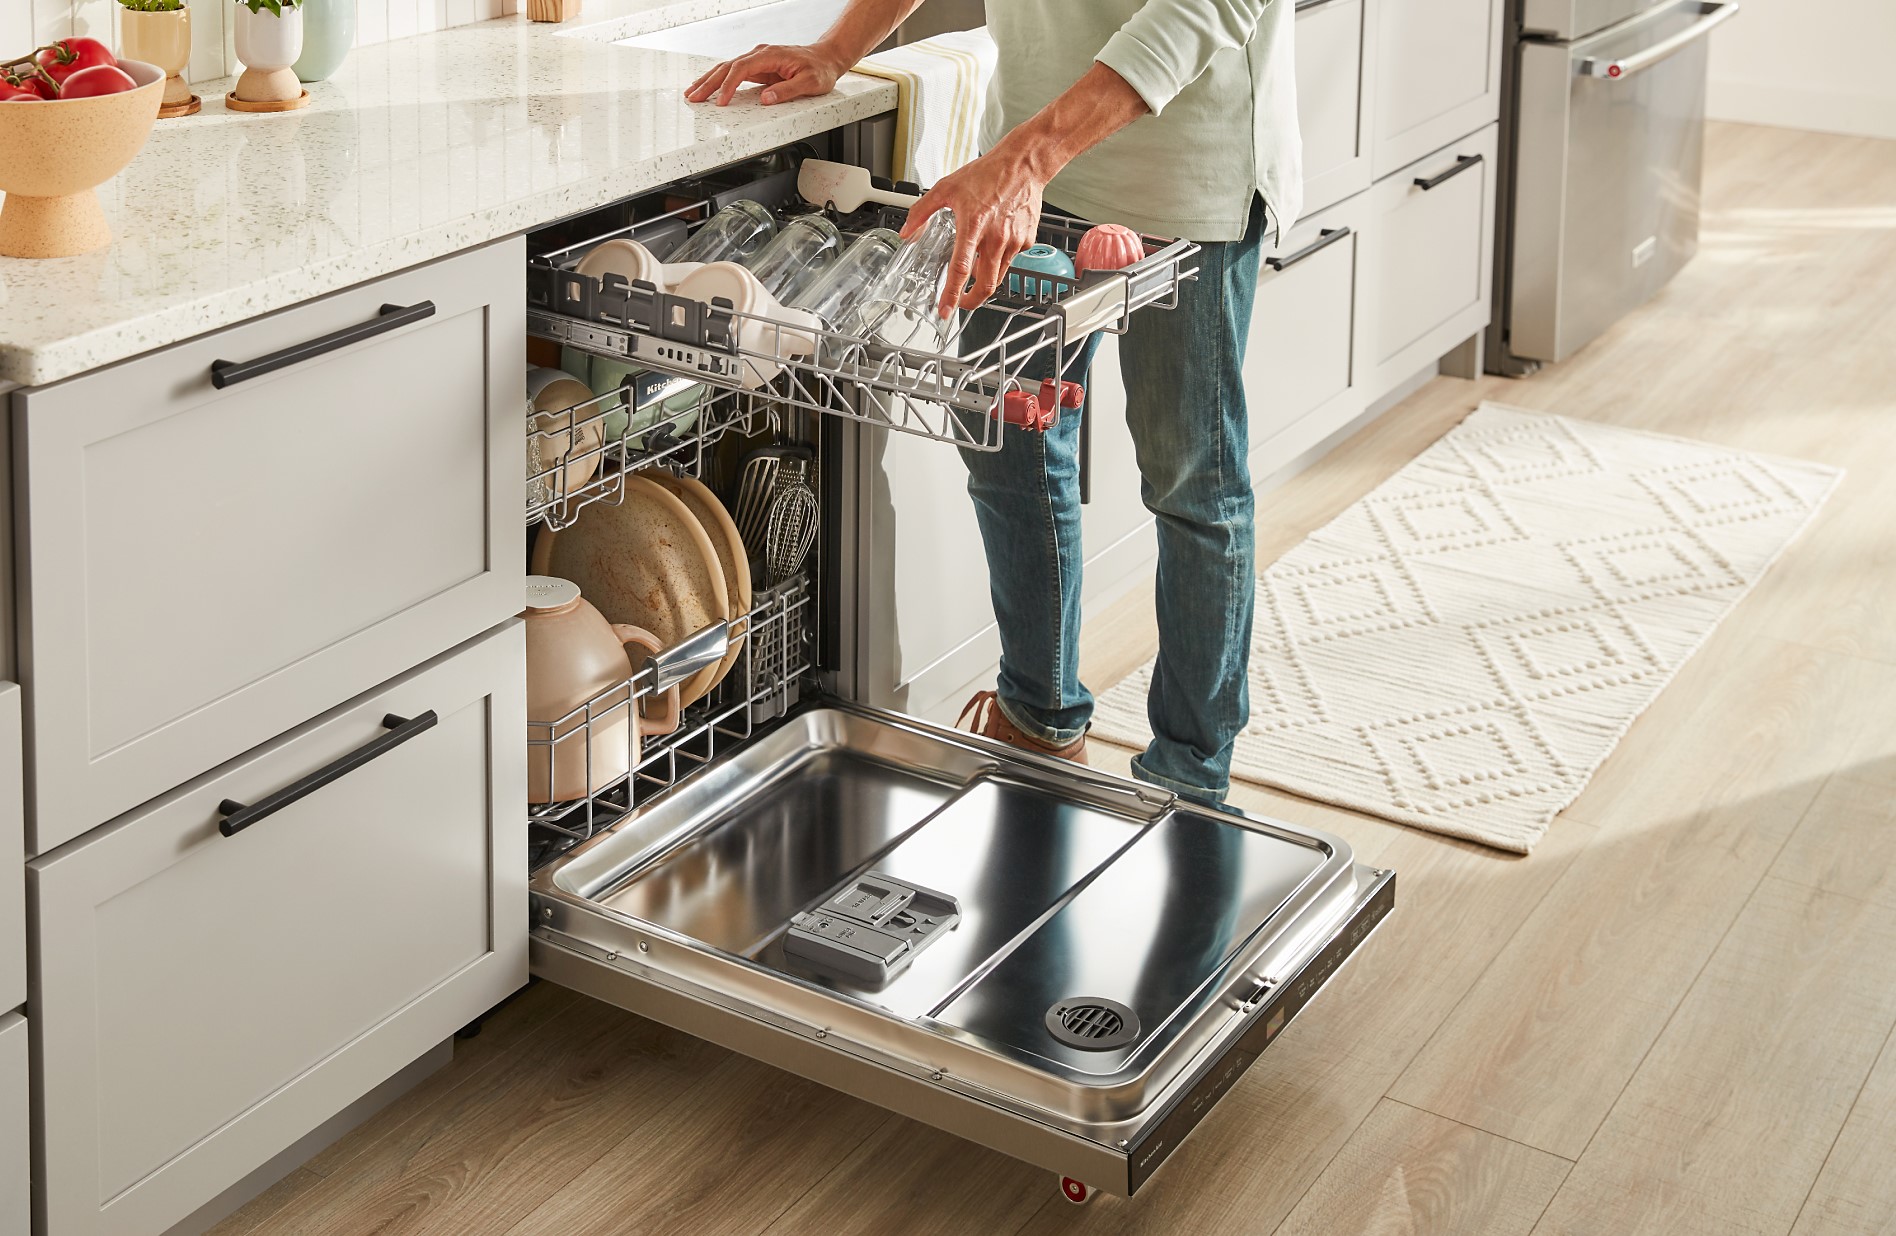
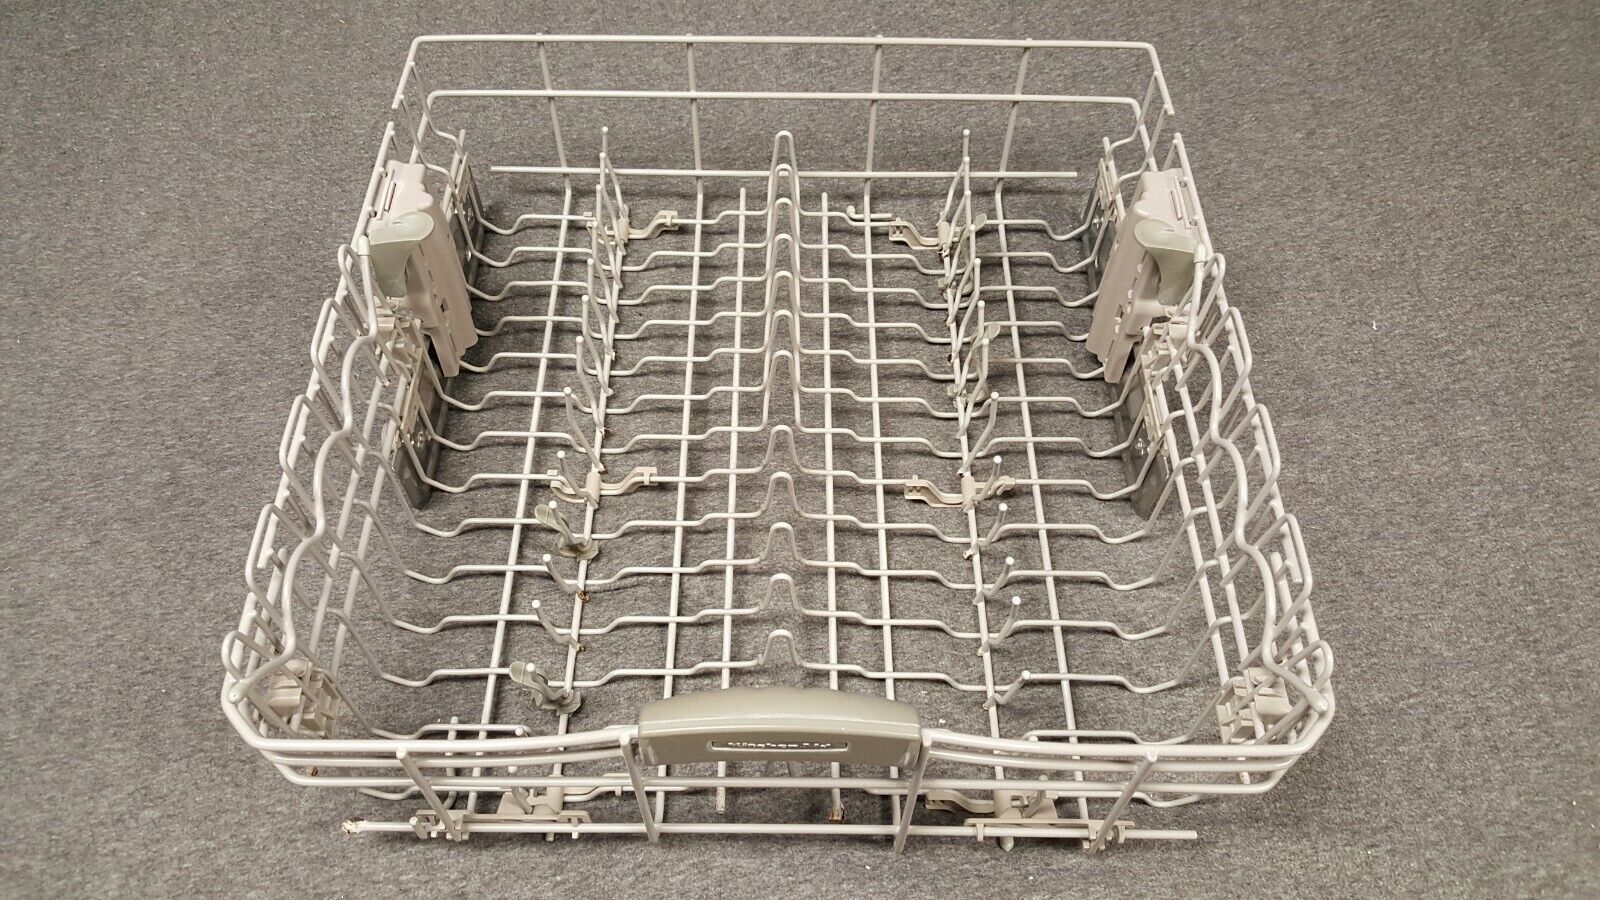
Step 4: Load the Dishwasher
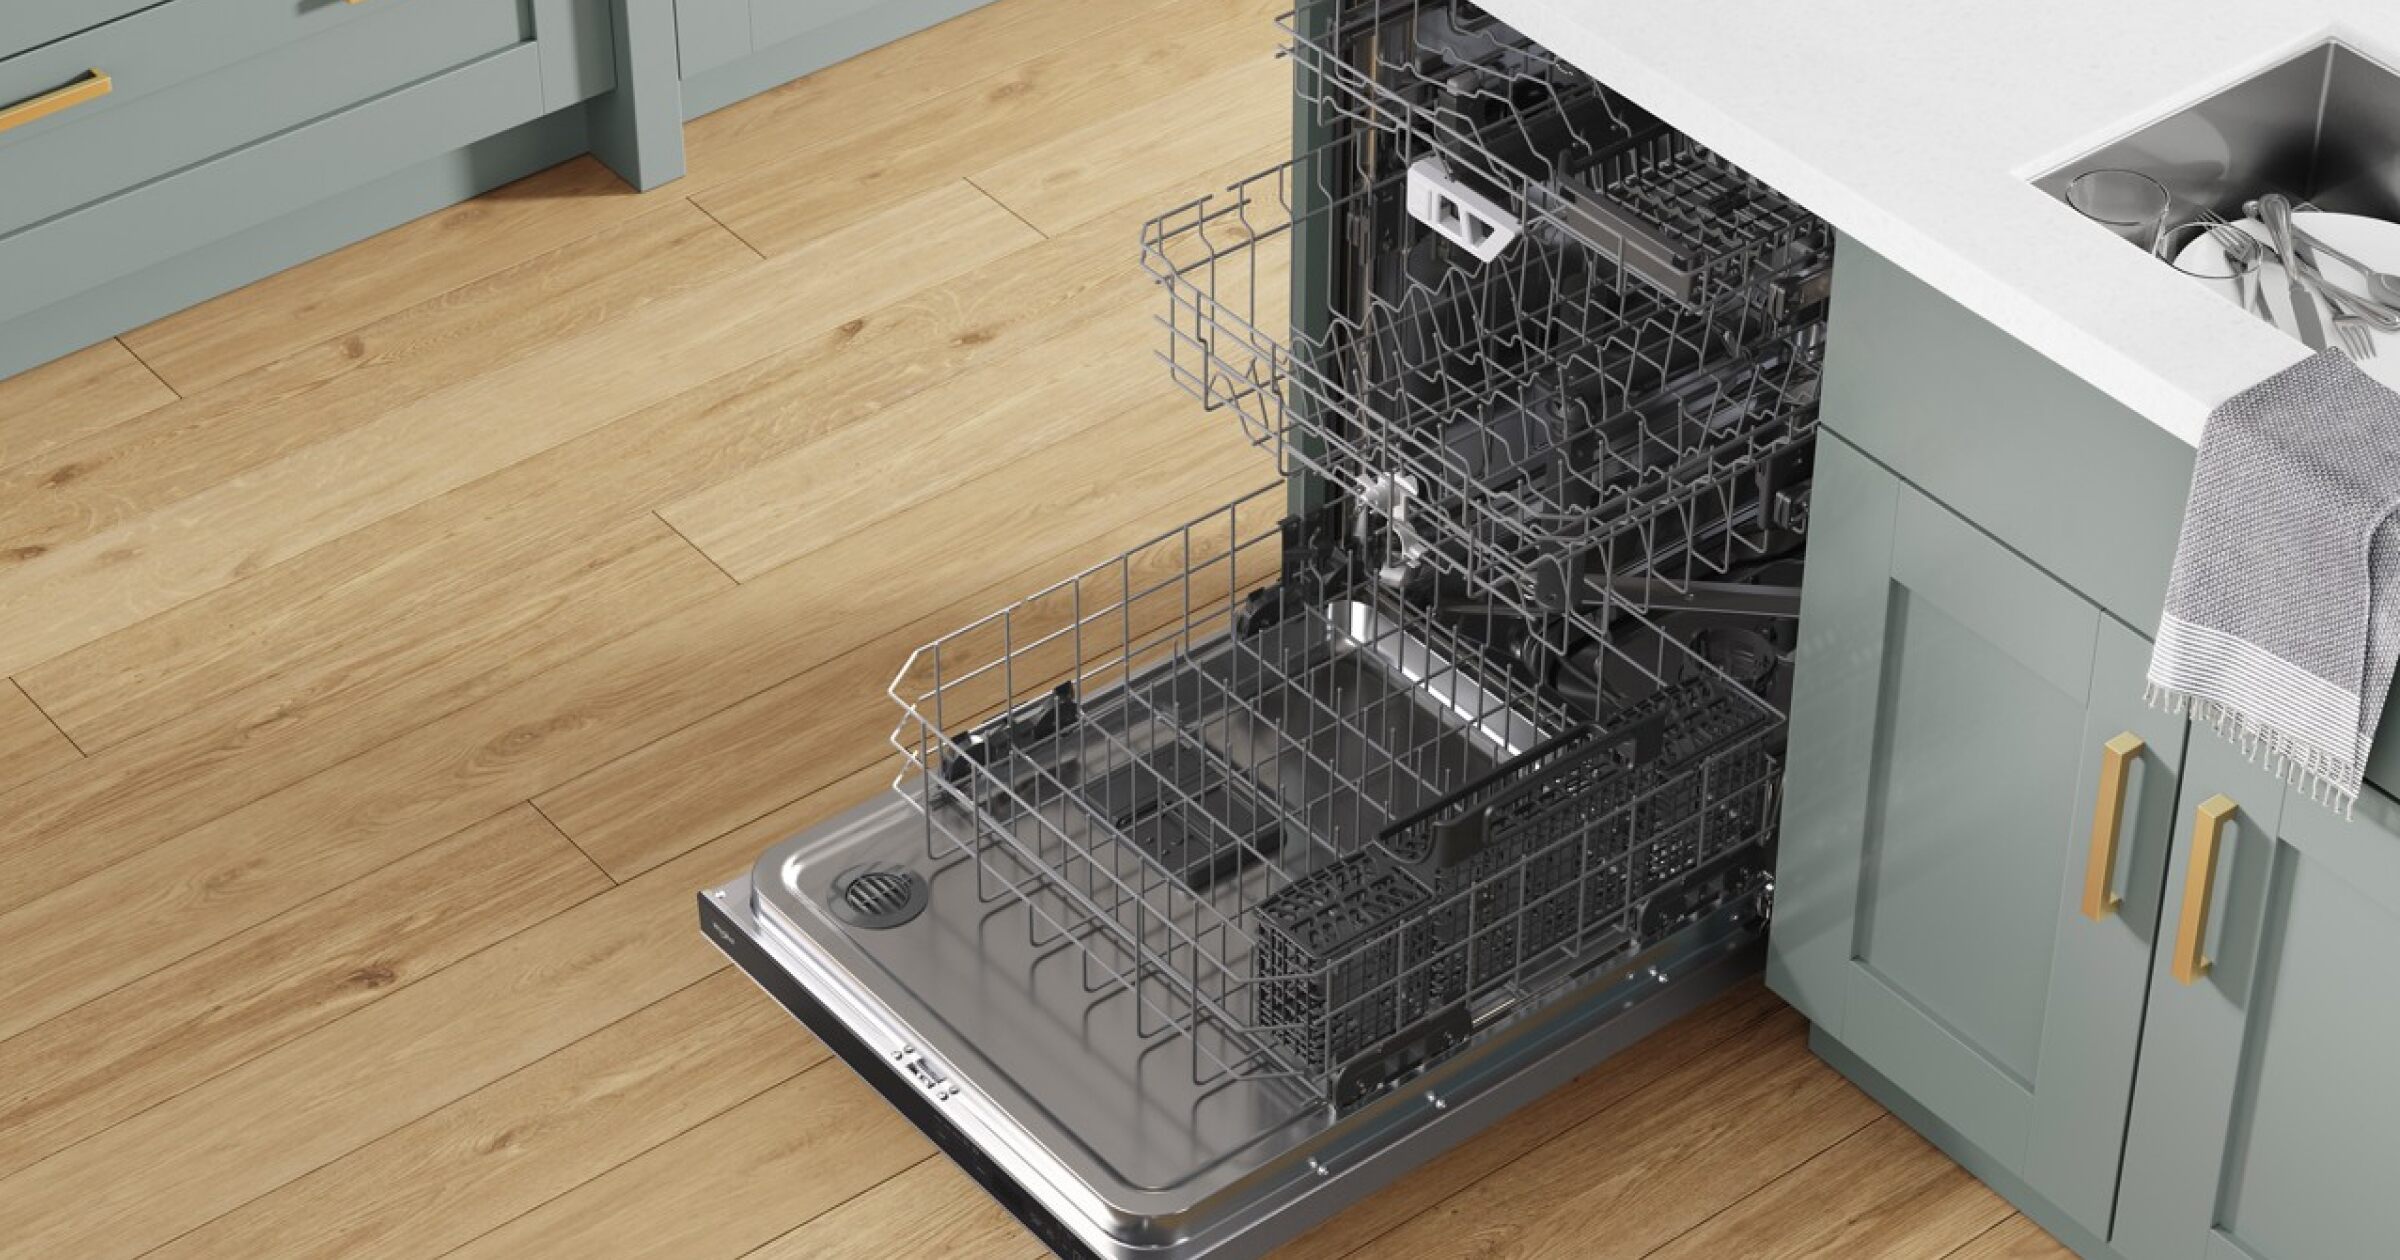
Properly loading your Kitchenaid dishwasher is crucial for ensuring efficient and effective cleaning. Follow these guidelines to load your dishwasher effectively:
- Scrape off excess food: Remove larger food particles from your dishes and utensils before loading them into the dishwasher. This helps prevent clogs and ensures optimal cleaning.
- Pre-rinse if necessary: While most modern dishwashers can handle lightly soiled dishes, heavily soiled items may require pre-rinsing. Check your dishwasher’s user manual for specific guidelines on pre-rinsing.
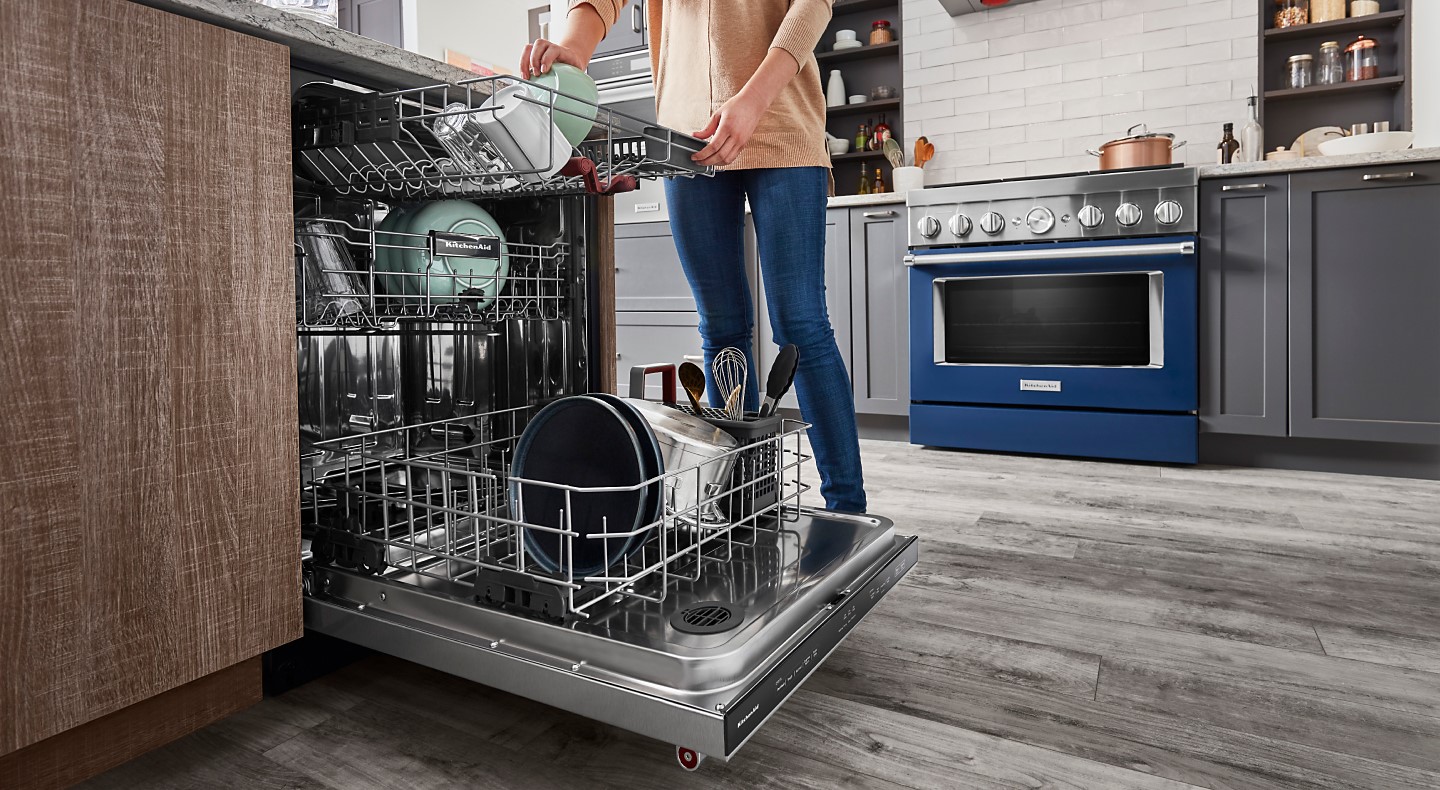
- Load larger items first: Place larger items, such as pots, pans, and baking sheets, in the bottom rack of the dishwasher. Make sure these items do not obstruct the spray arms or prevent the detergent from dissolving properly.
- Arrange dishes strategically: Place plates, bowls, and larger utensils in the bottom rack, ensuring they are evenly spaced and facing towards the center for optimal water circulation.
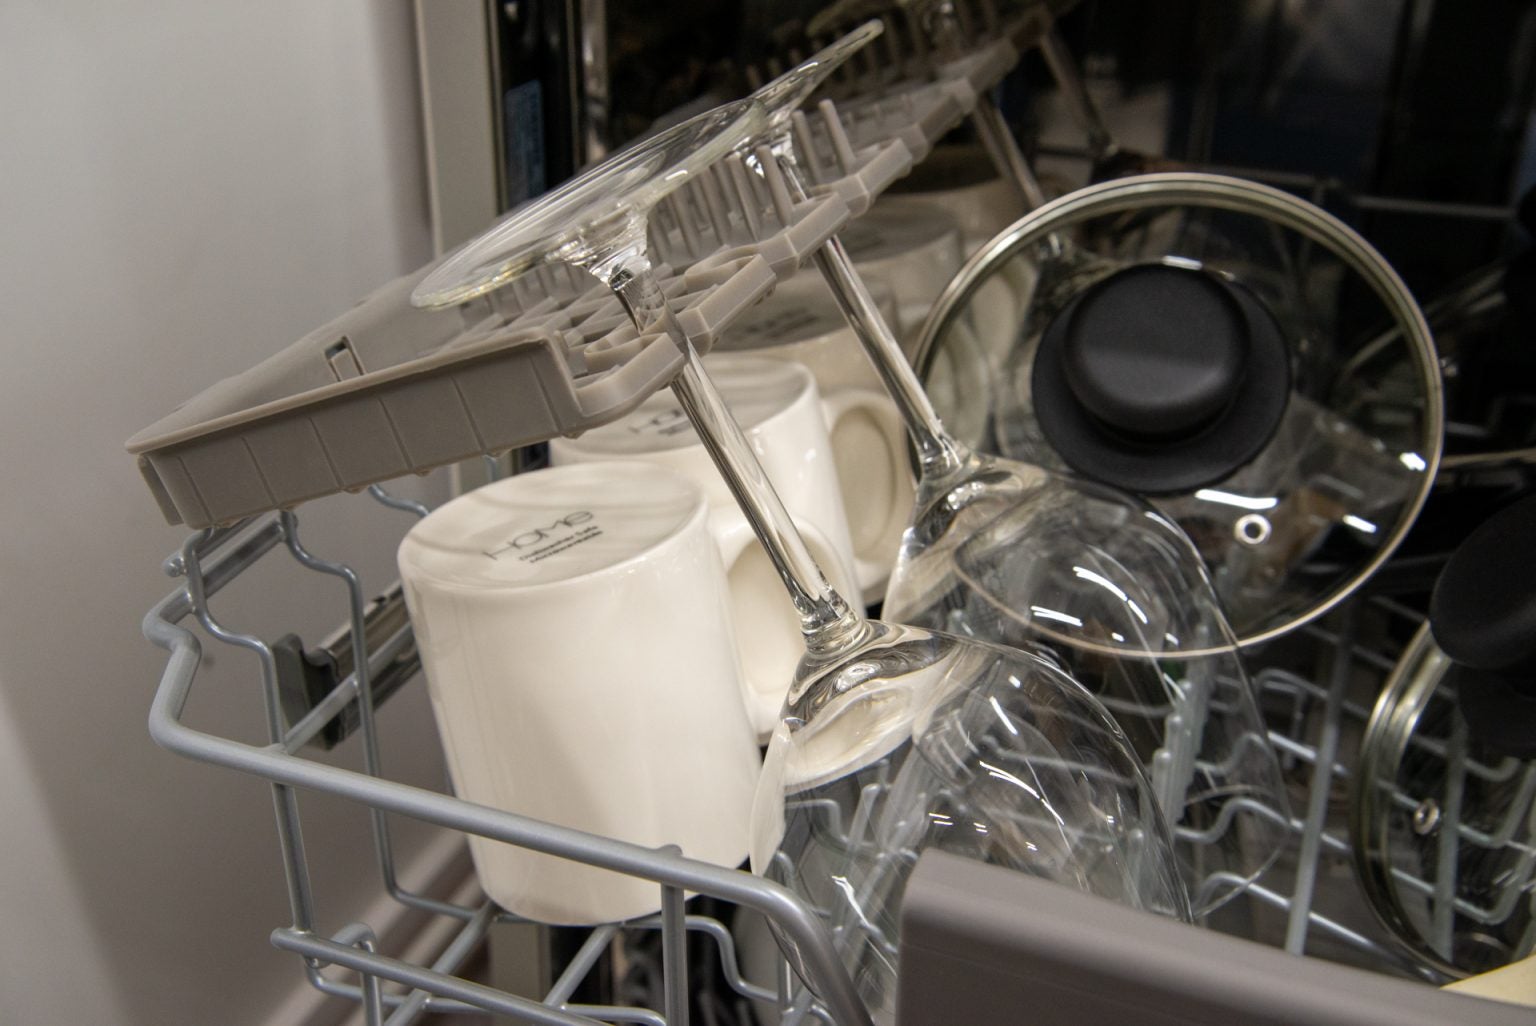
- Load glasses and cups securely: Place glasses, cups, and mugs in the top rack, angling them slightly to prevent water from collecting. Avoid overcrowding to allow for proper water flow.
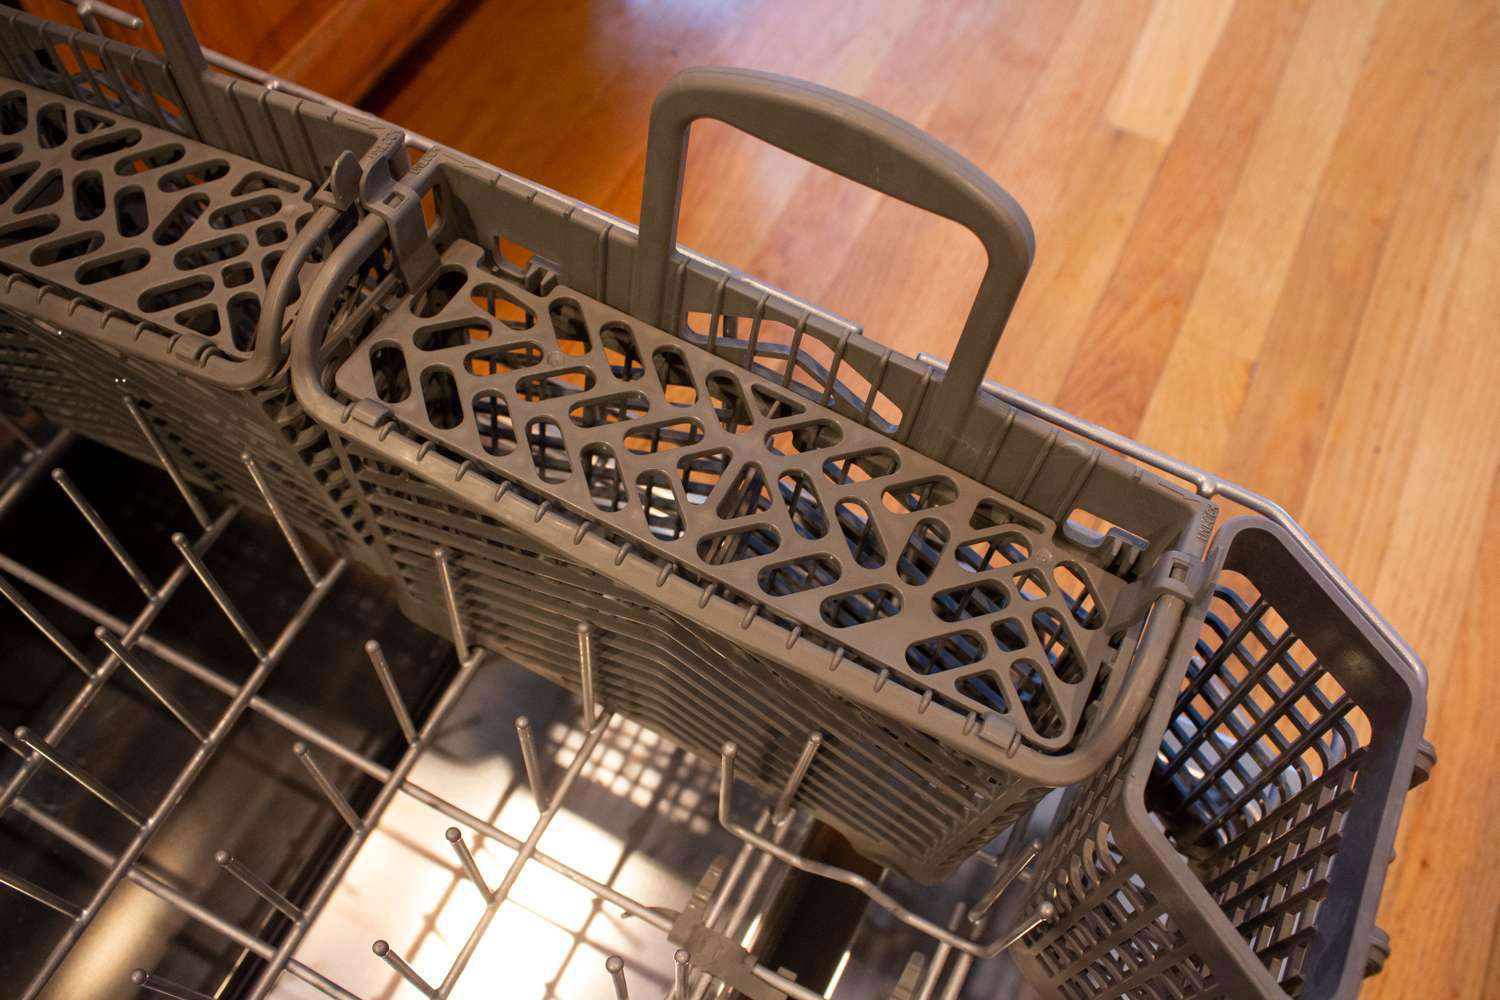
- Arrange utensils properly: Place utensils in the designated cutlery basket or utensil holder, ensuring that similar items are grouped together for easy unloading. Avoid nesting utensils to ensure thorough cleaning.
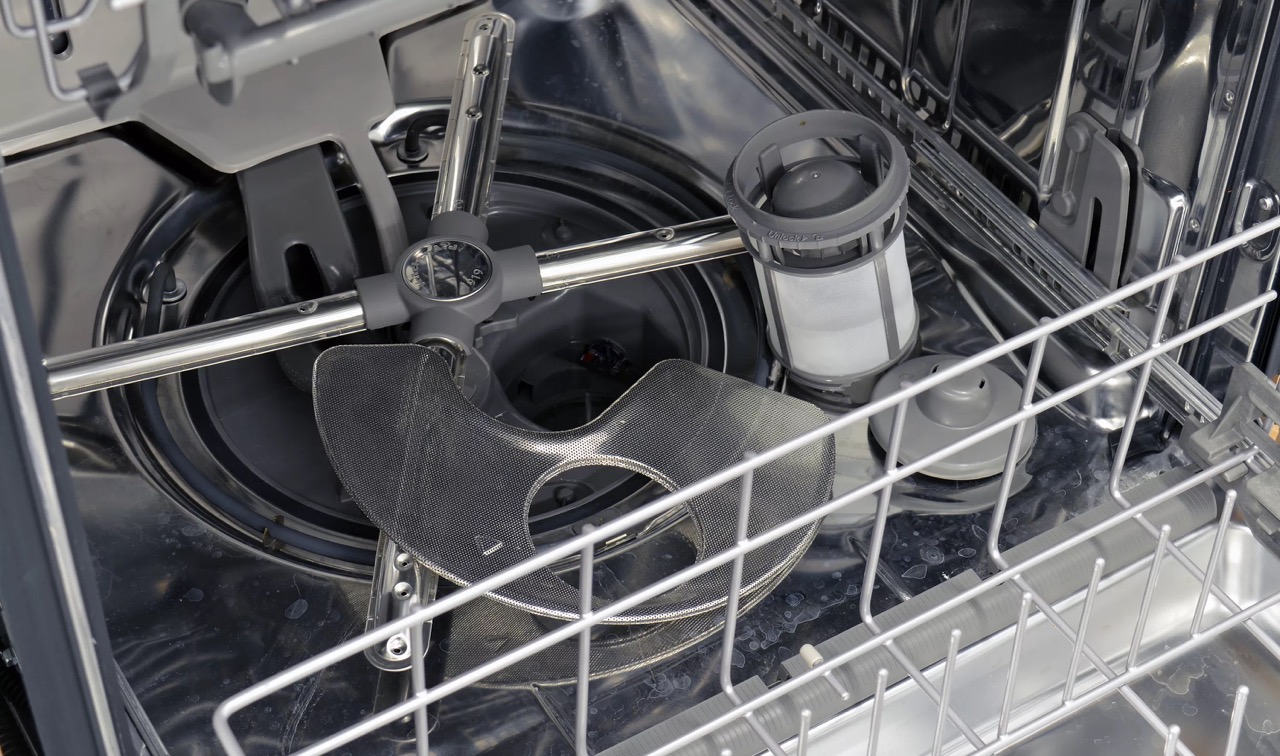
- Avoid blocking the spray arms: Ensure that no dishes or utensils are obstructing the spray arms, as this can lead to inefficient cleaning. Check for any items that may prevent the spray arms from rotating freely.
Remember, proper loading will not only ensure clean dishes but also help prevent damage to your dishwasher and dishes. Once you’ve loaded the dishwasher, it’s time to move on to the next step: selecting the desired wash cycle.
Make sure the dishwasher door is securely latched before starting a cycle. Also, run the hot water in the sink before starting the dishwasher for better cleaning results.
Read more: How To Start A Bosch Dishwasher
Step 5: Select the Desired Wash Cycle
Choosing the right wash cycle for your needs is an important step in starting your Kitchenaid dishwasher. Follow these steps to select the desired wash cycle:
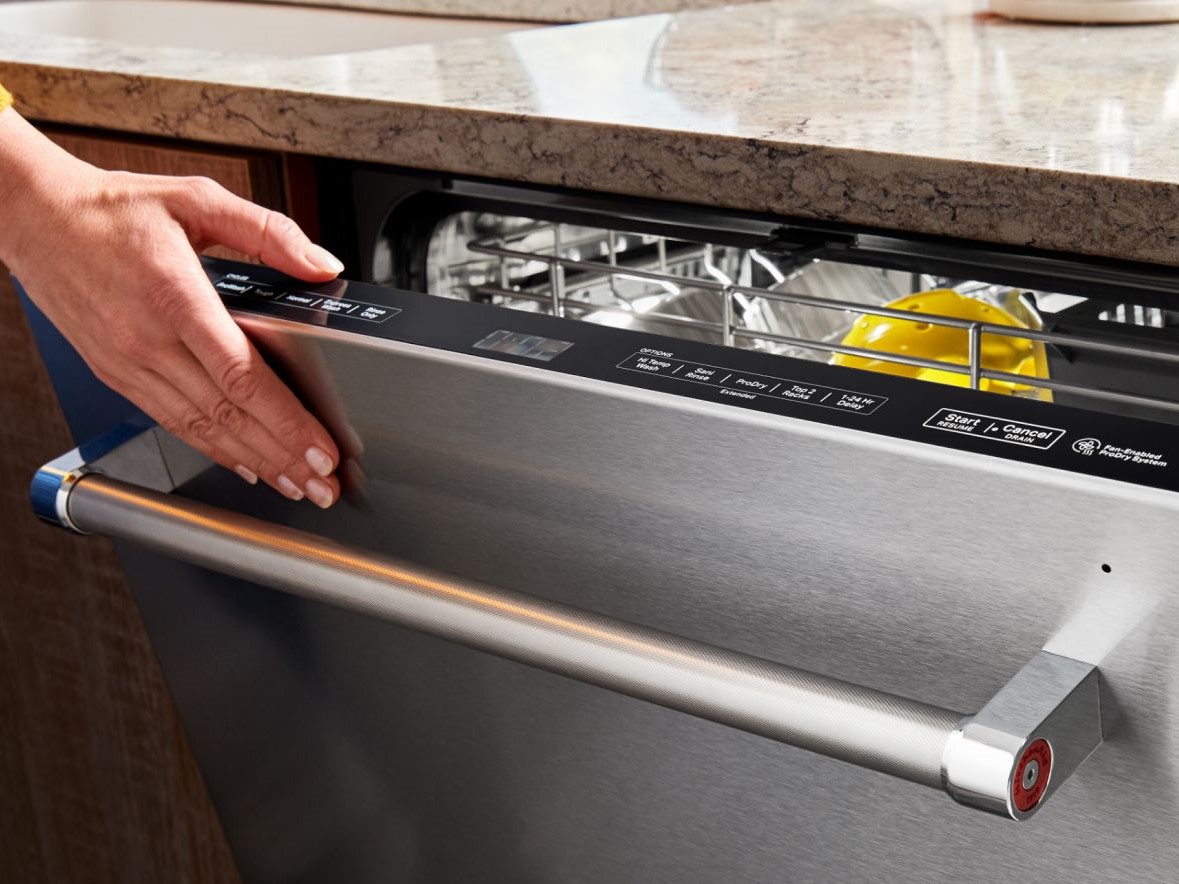
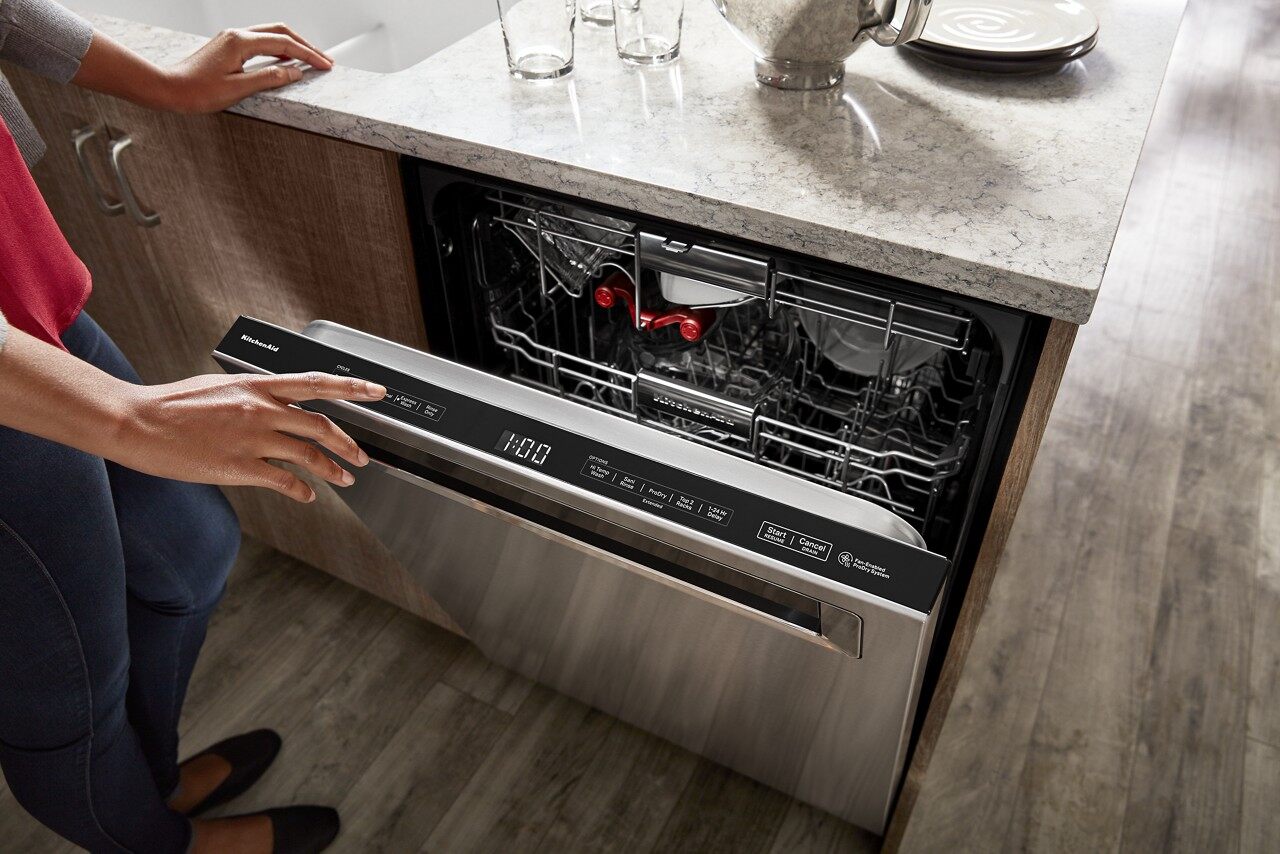
- Refer to the dishwasher’s control panel: Look for the control panel on the front of your dishwasher. It will have buttons or a digital display that allows you to select different wash cycles.
- Familiarize yourself with the wash cycle options: Each Kitchenaid dishwasher model may offer different wash cycle options to accommodate the varying levels of cleaning needed for different types of dishes and loads. Common wash cycles may include Normal, Quick Wash, Heavy Duty, Eco, and Rinse Only.
- Consider load size and soil level: Take into account the number of dishes you have loaded and their level of soil. If you have a smaller load with lightly soiled dishes, you may opt for a shorter or eco-friendly cycle. For heavily soiled items, a longer or heavy-duty cycle might be more appropriate.
- Select the desired wash cycle: Press the corresponding button or use the control panel’s arrows to navigate and select the appropriate wash cycle. The selected option may illuminate or be displayed on the digital screen.
- Choose additional settings if needed: Some dishwashers offer additional settings such as sanitize, delay start, or extra rinse. Review the user manual to understand these options and customize the dishwasher’s operation according to your preferences.
By selecting the right wash cycle, you can ensure that your dishes come out clean and sparkling. Once you have chosen the wash cycle, it’s time to move on to the next step: starting the dishwasher.
Step 6: Start the Dishwasher
Now that you have loaded the dishwasher and selected the desired wash cycle, it’s time to start the cleaning process. Follow these steps to start your Kitchenaid dishwasher:
- Close the dishwasher door: Ensure that the dishwasher door is securely closed. The dishwasher will not start if the door is ajar or not closed properly.
- Double-check settings: Before starting the dishwasher, quickly review the selected wash cycle and any additional settings you have chosen. This ensures that everything is set according to your preferences.
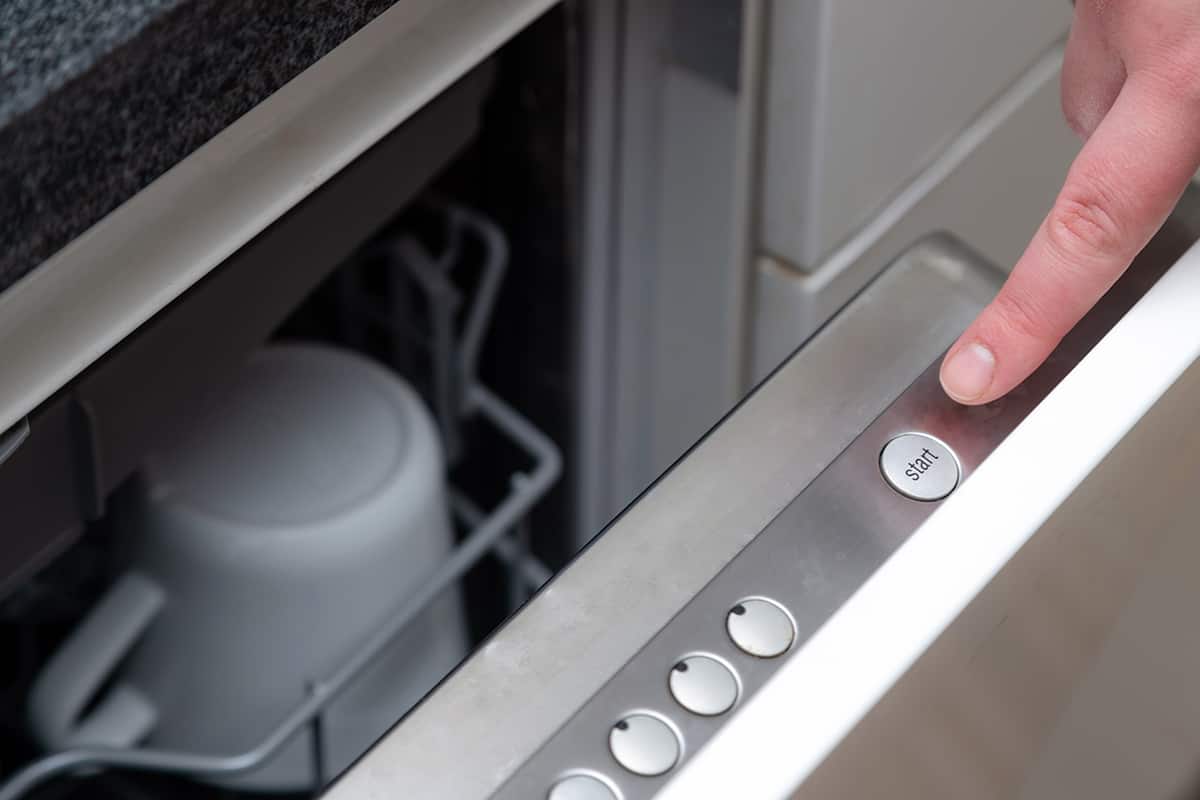
- Press the start button: Locate the start button on the control panel and press it to initiate the wash cycle. Depending on your dishwasher model, the start button may be labeled with an arrow symbol or simply say “start.”
- Listen for the dishwasher’s operation: Once the dishwasher starts, you will hear the sound of water spraying and the dishwasher’s motor running. This indicates that the wash cycle has begun.
- Leave the dishwasher undisturbed: It’s important to avoid opening the dishwasher during the wash cycle as it can interrupt the cleaning process and impact the results. Trust the dishwasher to do its job.
Some dishwashers may have a delay start feature that allows you to set a specific time for the dishwasher to start the cycle. If your dishwasher has this option, follow the manufacturer’s instructions to program the delay start feature to meet your scheduling needs.
Now that you have started the dishwasher, it’s time to move on to the next step: monitoring the dishwasher’s progress.
Step 7: Monitor the Dishwasher’s Progress
After starting the wash cycle, it’s important to monitor the progress of your Kitchenaid dishwasher to ensure everything is running smoothly. Here’s what you can do:
- Listen for any unusual sounds: While dishwashers do make some noise during operation, be alert for any new or loud noises that could indicate a problem. Unusual sounds like grinding, scraping, or banging could be a sign of a malfunction.
- Observe the water level and spray arms: Check that the dishwasher is filling with water and that the spray arms are rotating freely. This ensures that the dishes are being cleaned properly.
- Watch for any leaks: Keep an eye out for any water leaking from the dishwasher. If you notice any leaks, stop the dishwasher immediately and investigate the cause. Leaks can damage your kitchen flooring or cabinets if left unresolved.
- Monitor the time: Take note of the duration of the wash cycle. Most dishwashers have an estimated completion time displayed on the control panel. This will give you an idea of how long the cycle will take.
It’s important to note that the duration of the wash cycle can vary depending on the selected cycle and dishwasher model. Some cycles can last anywhere from 30 minutes to over two hours. Be patient and allow the dishwasher to complete the cycle uninterrupted.
If you encounter any issues or concerns during the wash cycle, consult the user manual or contact the manufacturer’s customer support for assistance. They can provide guidance on troubleshooting and resolving common problems.
Finally, once the dishwasher has completed its cycle, it’s time to move on to the final step: unloading the dishwasher.
Step 8: Unload the Dishwasher When Finished
Congratulations! Your Kitchenaid dishwasher has successfully completed the wash cycle, and now it’s time to unload the clean dishes. Follow these steps to safely and efficiently unload your dishwasher:
- Wait for the dishwasher to cool down: Allow the dishwasher to cool down for a few minutes after the cycle has completed. The dishes and the interior of the dishwasher can be hot immediately after the cycle, so exercise caution.
- Start with the top rack: Begin by unloading the top rack of the dishwasher. Remove any glasses, cups, or mugs first. Place them right-side up on a clean, dry surface.
- Proceed to the bottom rack: Next, move on to unloading the bottom rack, which typically contains plates, bowls, and larger utensils. Carefully remove these items and place them in the designated storage area.
- Empty the cutlery basket or utensil holder: Take out the cutlery basket or utensil holder and carefully unload the clean utensils. Sort them properly and place them in their respective storage locations.
- Inspect your dishes: Before putting away the dishes, quickly inspect them to ensure they are clean and free from any leftover food particles or residue. If you notice any dishes that are not clean, you can hand wash them or run them through another wash cycle.
As you empty the dishwasher, it’s also a good opportunity to check and clean the dishwasher’s interior. Wipe down the interior walls, racks, and spray arms with a dry cloth or sponge to remove any leftover debris or water spots.
Lastly, take a moment to appreciate the convenience and time saved by using a dishwasher. By following these steps, you can maintain the cleanliness and longevity of your Kitchenaid dishwasher.
With the dishes unloaded and the dishwasher ready for the next use, you have successfully completed all the steps in starting and using your Kitchenaid dishwasher. Now you can enjoy the convenience and efficiency of a sparkling clean kitchen!
Read more: How To Start Frigidaire Dishwasher
Conclusion
Congratulations! You have now become an expert in starting and using your Kitchenaid dishwasher. By following the step-by-step guide provided in this article, you can confidently load your dishwasher, select the appropriate wash cycle, and enjoy clean and sanitized dishes with minimal effort.
A Kitchenaid dishwasher not only saves you time and energy but also ensures thorough cleaning and hygienic results. Remember to gather all the necessary supplies, properly install the dishwasher, add the recommended detergent, load the dishes strategically, and select the desired wash cycle.
Throughout the dishwasher cycle, it’s important to monitor the dishwasher’s progress and address any concerns such as unusual sounds or leaks. Safety should always be a priority when operating any kitchen appliance.
Once the dishwasher has completed its cycle, it’s time to safely unload the clean dishes and inspect them for cleanliness. A clean dishwasher interior is also important, so take a moment to wipe down the walls and surfaces.
With your Kitchenaid dishwasher properly used and maintained, you can enjoy the convenience of sparkling clean dishes, allowing you to spend more time doing the things you love.
We hope this guide has been helpful in guiding you through the process of starting and using your Kitchenaid dishwasher. Cheers to a clean and efficient kitchen!
Frequently Asked Questions about How To Start A Kitchenaid Dishwasher
Was this page helpful?
At Storables.com, we guarantee accurate and reliable information. Our content, validated by Expert Board Contributors, is crafted following stringent Editorial Policies. We're committed to providing you with well-researched, expert-backed insights for all your informational needs.
0 thoughts on “How To Start A Kitchenaid Dishwasher”