Home>Furniture>Outdoor Furniture>How To Clean Patio Stone
Outdoor Furniture
How To Clean Patio Stone
Modified: August 24, 2024
Learn how to effectively clean your patio stone and keep your outdoor furniture looking its best. Protect and maintain your investment with our expert tips and techniques.
(Many of the links in this article redirect to a specific reviewed product. Your purchase of these products through affiliate links helps to generate commission for Storables.com, at no extra cost. Learn more)
Introduction
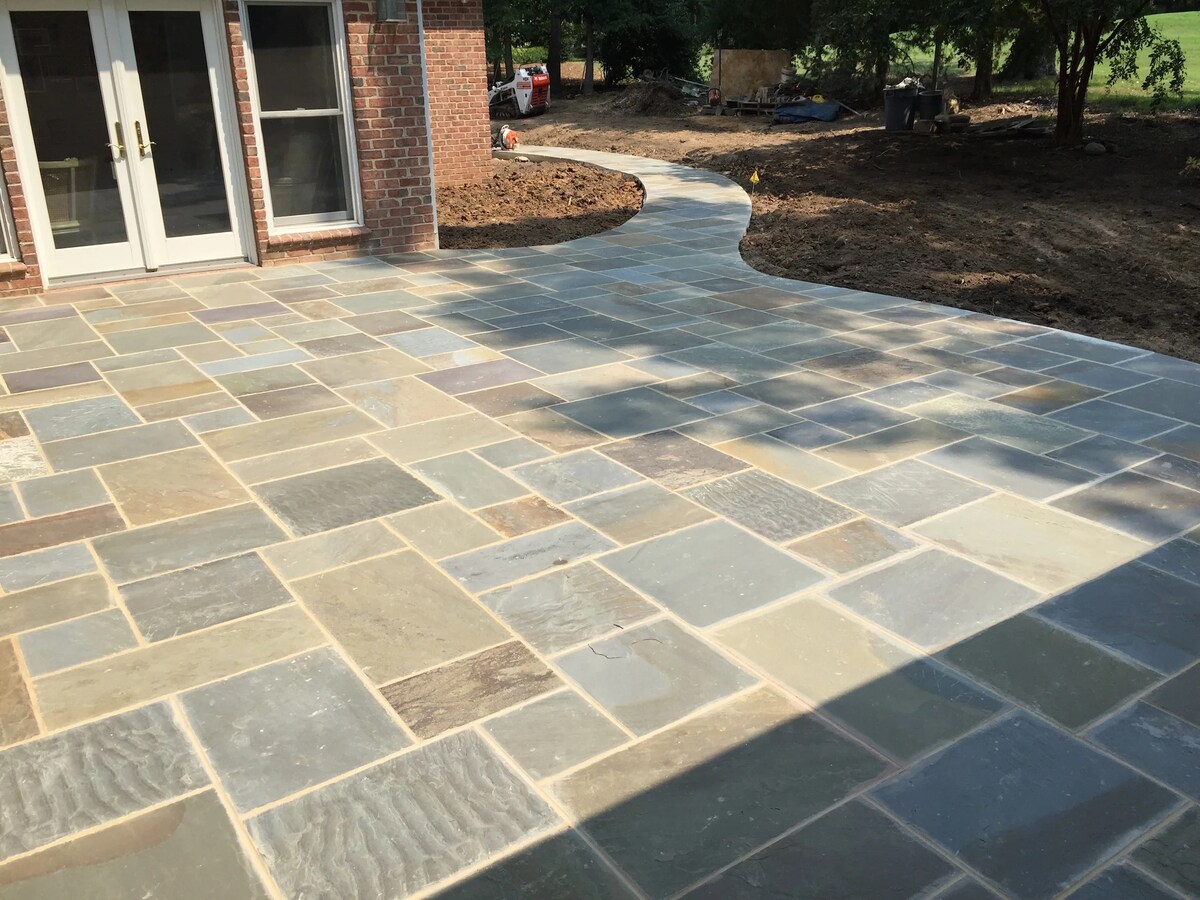
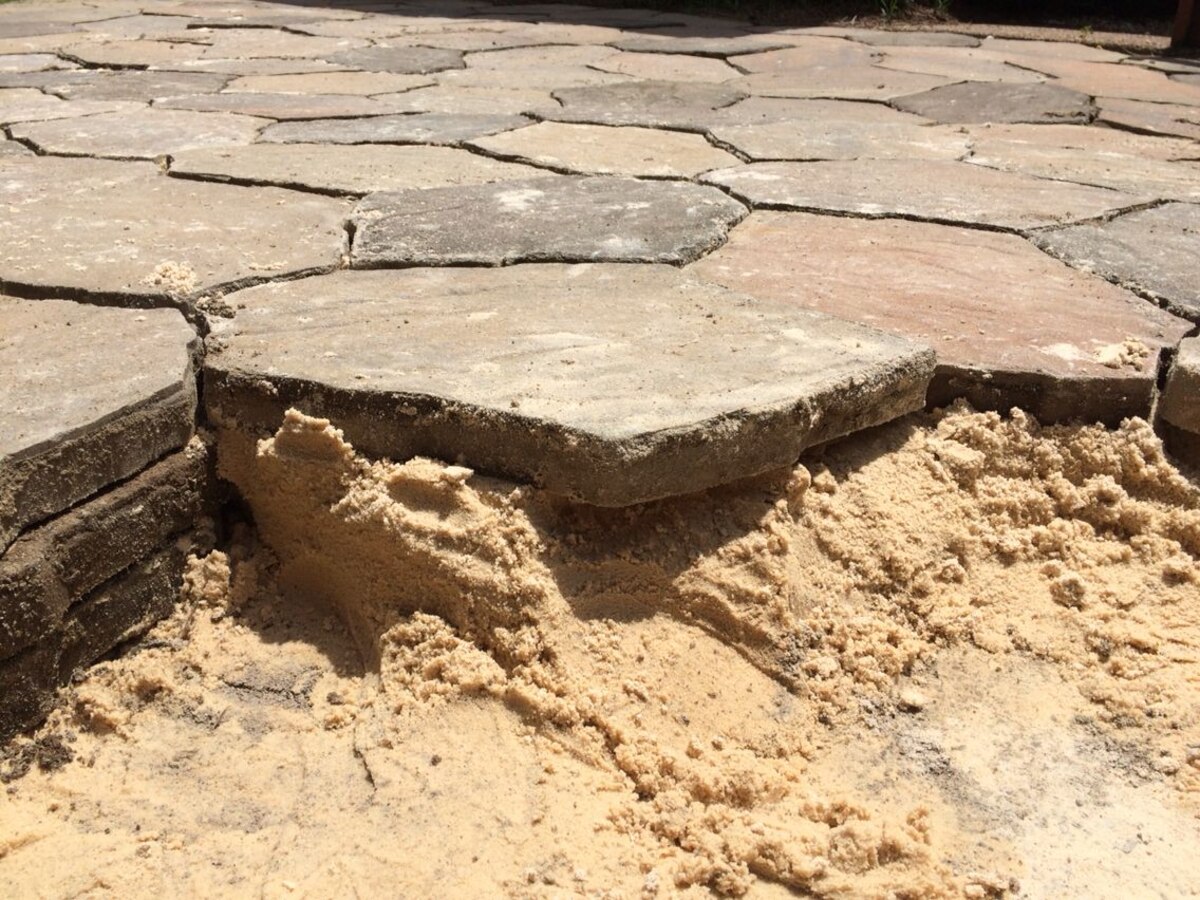
Having a beautiful patio with stone flooring adds a touch of elegance and sophistication to any outdoor space. However, over time, patio stones can become dirty and stained, detracting from their natural beauty. Cleaning patio stone is an essential maintenance task that helps to prolong its lifespan and keep it looking its best.
In this article, we will guide you through the step-by-step process of cleaning patio stone. By following these instructions and using the right materials, you can restore the natural beauty of your outdoor space and enjoy your patio for years to come.
Before diving into the cleaning process, it’s important to gather all the materials you’ll need:
- A stiff-bristle brush or broom
- A garden hose with a nozzle or a pressure washer
- A bucket
- A mild detergent or stone cleaner
- Safety goggles
- Protective gloves
Now, let’s get started with step number one.
Key Takeaways:
- Cleaning patio stone is essential to maintain its beauty and longevity. Gather materials, remove debris, prepare a cleaning solution, scrub, rinse, dry, and optionally apply a sealant for a sparkling outdoor space.
- To clean patio stone, gather materials like a brush, hose, detergent, goggles, and gloves. Follow steps to remove debris, apply a cleaning solution, scrub, rinse, dry, and optionally apply a sealant for best results.
Read more: How To Make A Stone Patio
Materials Needed
Before you begin cleaning your patio stone, make sure you have all the necessary materials on hand. Having the right tools and supplies will make the process easier and more efficient. Here’s a list of the materials you’ll need:
- A stiff-bristle brush or broom: This will be used to remove any loose debris, such as dirt, leaves, or twigs, from the surface of the patio stone. Opt for a brush with stiff bristles to effectively sweep away the debris.
- A garden hose with a nozzle or a pressure washer: You’ll need a source of water to rinse the patio stone after cleaning. A garden hose with a nozzle attachment works well for most patio stone cleaning tasks. If you have a large area to clean or if your patio stone is heavily soiled, a pressure washer can provide a more thorough cleaning.
- A bucket: This will be used to mix the cleaning solution. Choose a bucket that is large enough to hold the necessary amount of water and detergent.
- A mild detergent or stone cleaner: You’ll need a cleaning solution to effectively remove stains and grime from the patio stone. Avoid using harsh chemicals or ammonia-based cleaners, as they can damage the stone surface. Look for a mild detergent specifically designed for use on stone surfaces, or opt for a commercial stone cleaner.
- Safety goggles: It’s essential to protect your eyes from any splashes or debris during the cleaning process. Safety goggles will help prevent any accidents or injuries.
- Protective gloves: To protect your hands from the cleaning solution and potential skin irritation, wear a pair of protective gloves while cleaning your patio stone.
Once you have gathered all the necessary materials, you’re ready to proceed to the next step—removing debris from the surface of the patio stone.
Step 1: Remove Debris from the Surface
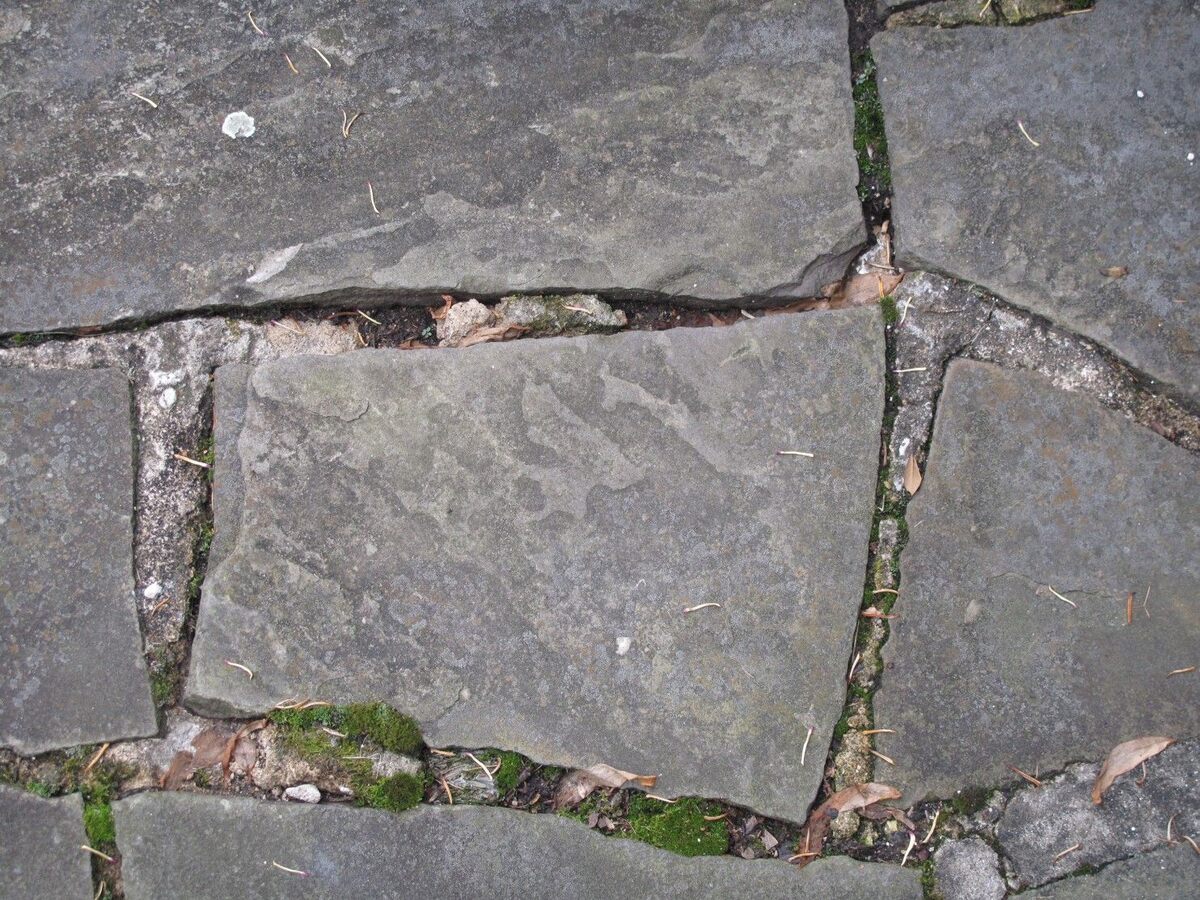
Before you begin the cleaning process, it’s important to remove any loose debris from the surface of the patio stone. Dirt, leaves, twigs, and other debris can accumulate over time and hinder the effectiveness of the cleaning solution. Here’s how you can easily remove the debris:
- Start by using a stiff-bristle brush or broom to sweep away any loose debris from the patio stone surface. Work in small sections and ensure you cover the entire area.
- Pay extra attention to gaps between the stones or in the crevices where debris can get trapped. Use the bristles of the brush to dislodge any stubborn dirt or debris.
- Once you have removed as much loose debris as possible, collect it and dispose of it properly. You can either use a dustpan to gather the debris or simply sweep it into a trash bag.
By removing the debris, you create a clean surface for the cleaning solution to effectively penetrate and do its job. It also prevents any dirt or debris from spreading and further soiling the stone during the cleaning process.
With the debris removed, you’re now ready to move on to the next step—preparing a cleaning solution that will effectively remove stains and grime from your patio stone.
Step 2: Prepare a Cleaning Solution
Now that you have removed the debris from the surface of your patio stone, it’s time to prepare a cleaning solution. The type of solution you use will depend on the level of dirt and stains on your patio stone, as well as the type of stone itself. Here’s how you can create an effective cleaning solution:
- Fill a bucket with warm water. The amount of water you need will depend on the size of the patio stone area you’re cleaning. Start with a moderate amount of water and add more if necessary.
- Add a mild detergent or stone cleaner to the warm water. Follow the instructions on the packaging to determine the appropriate amount to use. Be cautious not to use an excessive amount, as this can leave a residue on the patio stone.
- Gently stir the water and cleaning solution to ensure the detergent or cleaner is well mixed. You want to create a soapy solution that will effectively break down dirt and grime without damaging the stone surface.
If you prefer using natural cleaning solutions and want to avoid using chemical-based detergents or cleaners, you can substitute the mild detergent with a mixture of equal parts water and white vinegar. Vinegar is a natural disinfectant and can help remove stains from the patio stone.
Once you have prepared the cleaning solution, proceed to the next step—applying it to the patio stone.
Step 3: Apply the Cleaning Solution
With the cleaning solution prepared, it’s time to apply it to the surface of your patio stone. This will help break down stains, grime, and any remaining dirt. Follow these steps to effectively apply the cleaning solution:
- Start by pouring the cleaning solution onto a small section of the patio stone. Begin with an area that is easily accessible and visible so you can gauge the effectiveness of the solution.
- Use a scrub brush or a soft-bristle brush to spread the cleaning solution evenly over the surface of the patio stone. Working in a circular motion will help ensure that the solution reaches all areas and effectively breaks down stains and grime.
- Paying extra attention to stained or dirty areas, scrub gently to allow the cleaning solution to penetrate the stone and lift any deep-seated dirt or stains. If necessary, you can let the solution sit on the surface for a few minutes before scrubbing.
- Continue applying the cleaning solution and scrubbing small sections at a time until you have covered the entire patio stone area. This will ensure a thorough cleaning and consistent results.
Remember to wear protective gloves and safety goggles while working with the cleaning solution to minimize any potential skin irritation or eye irritation. Ensure proper ventilation in the area to avoid inhaling any strong fumes from the solution.
After applying the cleaning solution to the patio stone, it’s time to move on to the next step—scrubbing the surface to remove any stubborn stains and grime.
To clean patio stone, mix water and mild dish soap, then scrub the stone with a stiff brush. Rinse with water and let it air dry. Avoid using harsh chemicals or pressure washers to prevent damage.
Read more: How To Grout Patio Stones
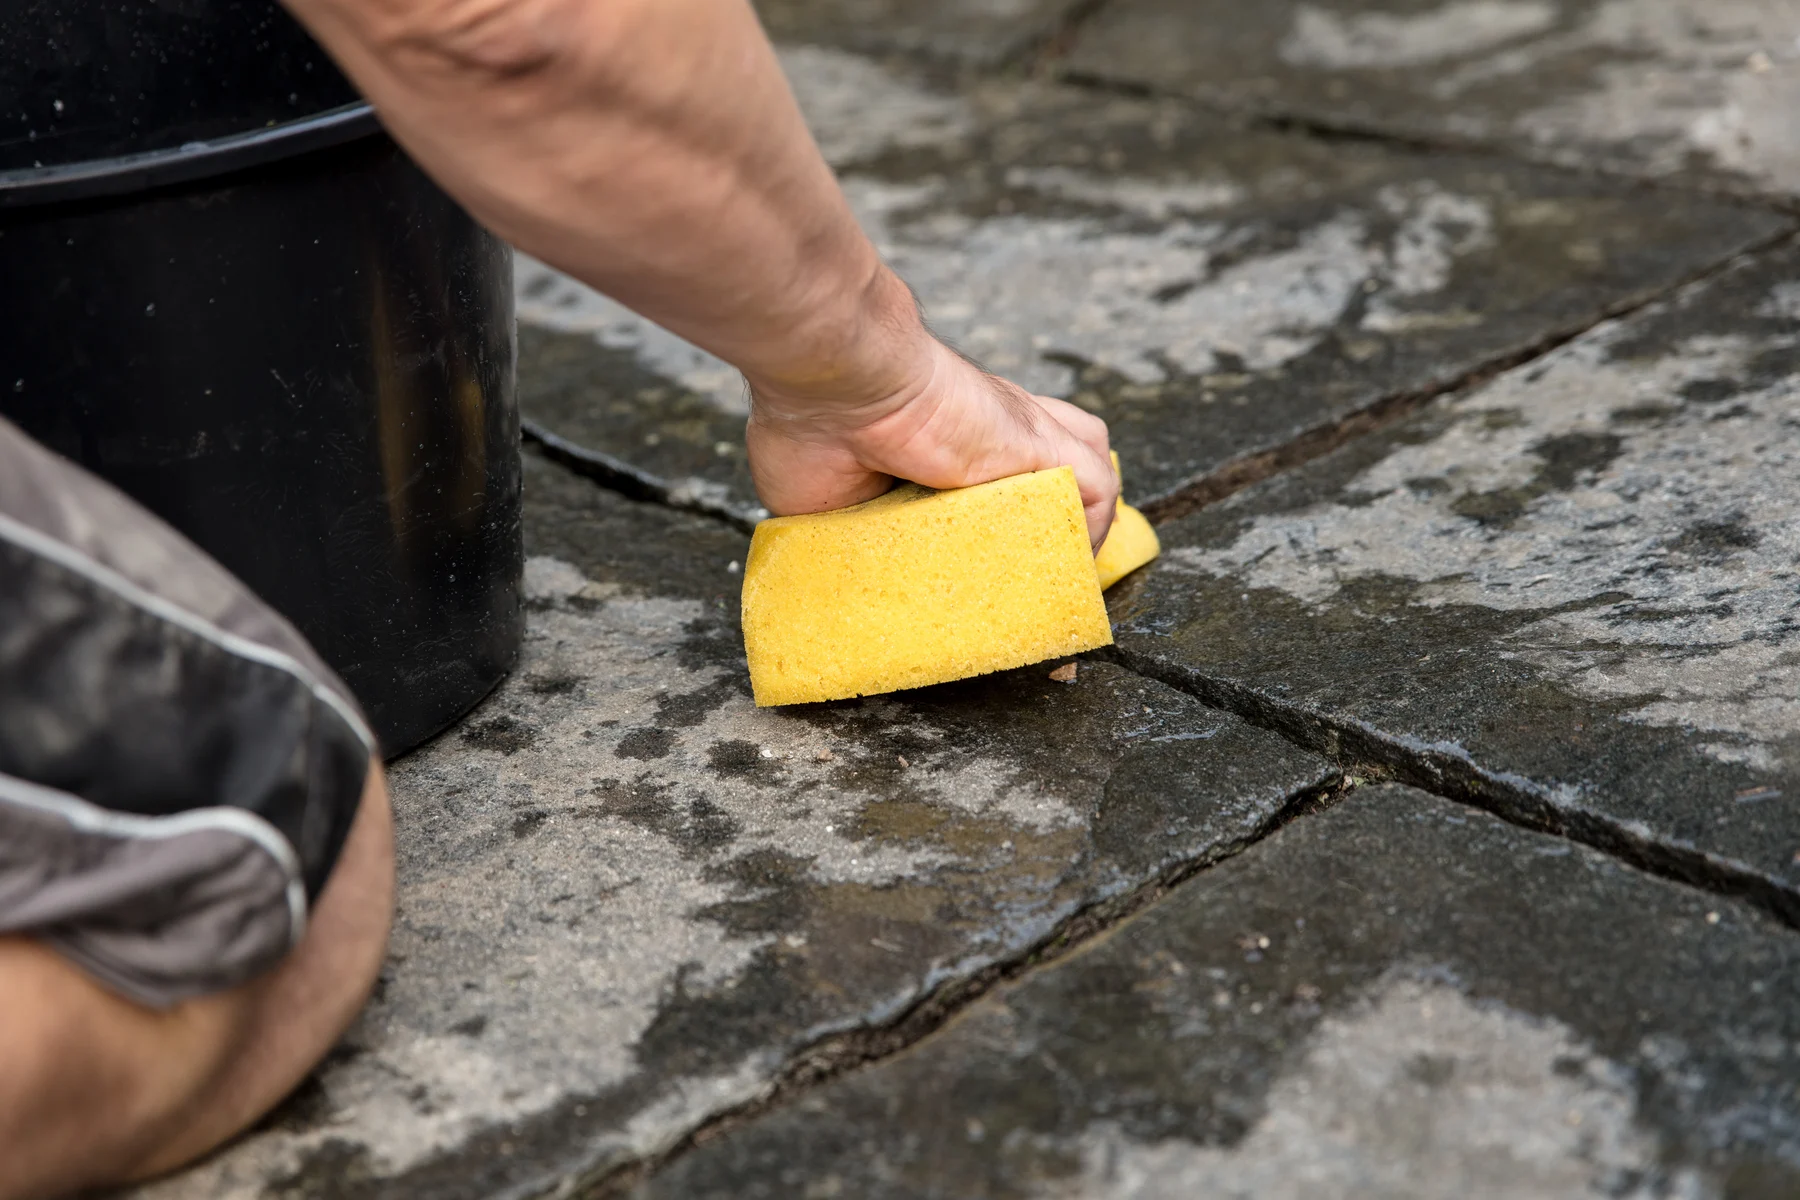
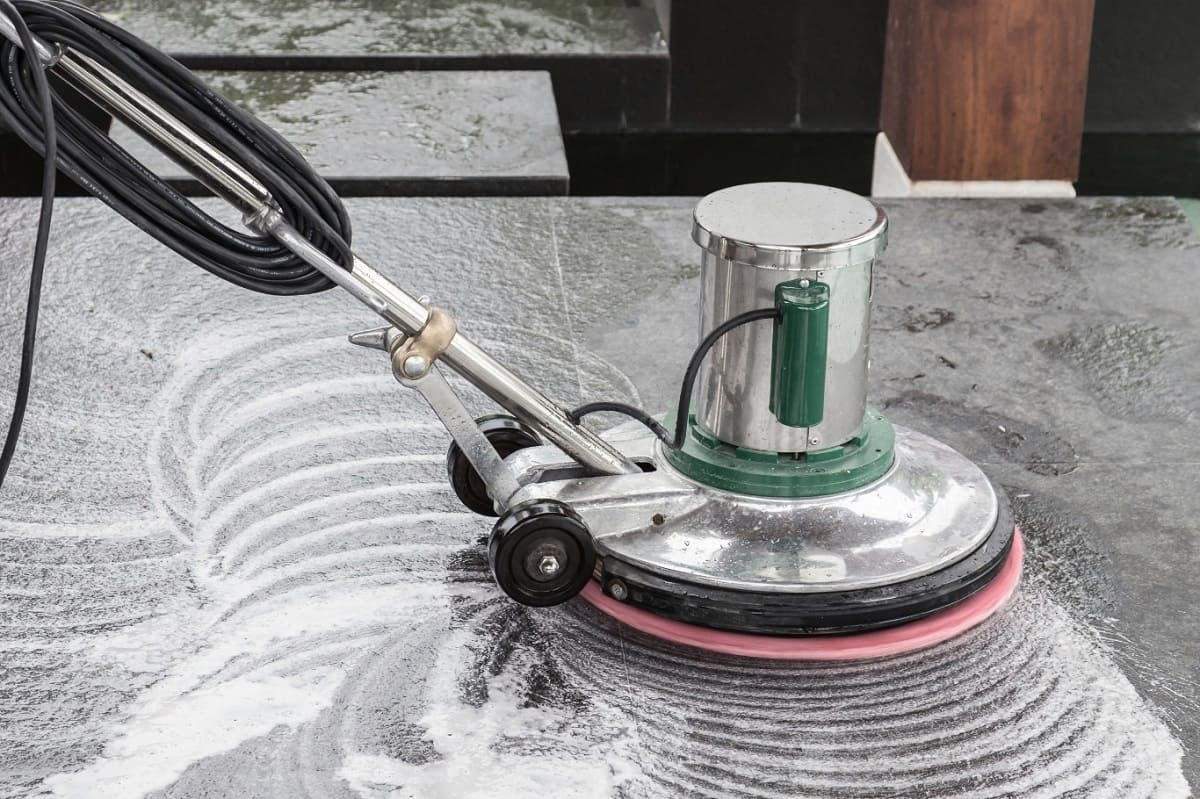
Step 4: Scrub the Patio Stone
Now that you have applied the cleaning solution to the patio stone, it’s time to scrub the surface to remove any stubborn stains and grime. Scrubbing will help break down and lift the dirt and stains that the cleaning solution has loosened. Follow these steps to effectively scrub your patio stone:
- Using a stiff-bristle brush or a scrub brush, begin scrubbing the surface of the patio stone in a circular motion. Apply gentle pressure to avoid damaging the stone.
- Focus on areas with visible stains or heavy dirt buildup. Spend extra time and effort scrubbing these areas to ensure a thorough clean.
- Pay attention to the edges and corners of the patio stone, as they tend to accumulate more dirt and grime. Use the bristles of the brush or a smaller brush to reach these areas and scrub them thoroughly.
- If you encounter any stubborn stains or marks that are not lifting with gentle scrubbing, you can apply a bit more pressure or use a soft cloth or sponge to help remove them. Be careful not to use any abrasive materials that could scratch the surface of the stone.
- Continue scrubbing the entire surface of the patio stone, moving in small sections, until you have covered the entire area.
While scrubbing, periodically rinse the brush or rinse the stone surface with water to remove any dirt or debris that may have accumulated on the brush or the stone itself. This will help maintain the effectiveness of the scrubbing process.
Once you are satisfied with the scrubbing process and the patio stone appears clean, it’s time to move on to the next step—rinsing the patio stone to remove any residual cleaning solution and dirt.
Step 5: Rinse the Patio Stone
After scrubbing the patio stone to remove dirt, grime, and stains, it’s important to thoroughly rinse the surface to remove any residual cleaning solution and dirt. Rinsing will help restore the natural appearance of the stone and ensure that no residue is left behind. Follow these steps to properly rinse your patio stone:
- Using a garden hose with a nozzle attachment or a pressure washer, begin rinsing the patio stone surface. Start from the highest point and work your way down to ensure that any dirt or debris is effectively washed away.
- Adjust the water pressure to a moderate setting. Avoid using excessive pressure, as it can damage the stone surface or force water into areas where it shouldn’t go.
- Ensure that you cover the entire surface of the patio stone, including the gaps between the stones and any hard-to-reach areas. Move the nozzle back and forth to ensure thorough rinsing.
- Pay close attention to stained or heavily soiled areas, as they may require extra rinsing to completely remove any residue or remaining dirt.
- Continue rinsing until the water runs clear and there are no visible traces of the cleaning solution or dirt. This may require multiple passes with the water, especially if your patio stone was heavily soiled.
While rinsing, be mindful of surrounding plants or sensitive areas. Direct the water flow away from delicate plants or areas where water pooling could cause damage.
Once you have thoroughly rinsed the patio stone, it’s time to proceed to the next step—allowing the stone to dry naturally in order to preserve its appearance and prevent any issues with moisture accumulation.
Step 6: Allow the Stone to Dry
After rinsing the patio stone, it’s crucial to allow it to dry completely. Allowing the stone to air dry naturally will help prevent water spots and ensure a clean and polished appearance. Follow these steps to properly dry your patio stone:
- Turn off the garden hose or pressure washer and allow any excess water to drain away.
- Avoid walking on the wet patio stone to prevent leaving footprints or smudges. If necessary, place signs or barriers to keep others from stepping onto the wet surface.
- Depending on the weather conditions and the amount of sunlight the area receives, the patio stone can take several hours or even a full day to dry completely. Be patient and allow the stone ample time to air dry.
- Keep an eye out for any remaining moisture or water spots. If you notice any, use a clean, dry cloth to gently blot or wipe away the moisture.
- If you’re in a rush or need to use the patio sooner, you can speed up the drying process by using a leaf blower or a fan. Direct the airflow across the surface of the stone to help evaporate any remaining moisture.
It’s important to note that sealing your patio stone after it has dried can help protect it from future stains and prolong its lifespan. However, this step is optional and depends on personal preference and the type of stone you have. If you choose to seal your patio stone, make sure to follow the manufacturer’s instructions and allow the stone to fully dry beforehand.
With the patio stone completely dry, you’re now ready for the final optional step—applying a sealant to protect and enhance the stone’s appearance.
Step 7: Apply a Sealant (Optional)
Applying a sealant to your patio stone is an optional step, but it can provide added protection and enhance the appearance of the stone. A sealant acts as a barrier, helping to prevent stains, moisture penetration, and the growth of algae or mold. If you decide to apply a sealant, follow these steps:
- Ensure that the patio stone is completely dry before applying the sealant. Any moisture on the surface can interfere with the sealant’s effectiveness.
- Choose a high-quality stone sealant that is specifically designed for the type of stone you have. Read the instructions on the sealant product carefully to ensure proper application.
- Apply the sealant using a sprayer or brush, following the manufacturer’s instructions. Begin at one end of the patio and work your way towards the other end, applying an even and thin coat of sealant.
- Make sure to cover the entire surface of the stone, including the gaps between the stones and any hard-to-reach areas.
- Allow the first coat of sealant to dry according to the manufacturer’s instructions. This typically takes a few hours, but it can vary depending on the specific product.
- If recommended by the manufacturer, apply a second coat of sealant for added protection. Follow the same application process as before and ensure proper drying time between coats.
- After applying the sealant, allow it to cure completely before stepping on the patio stone or placing any furniture or objects on it. This curing period can take up to 48 hours, so be patient and avoid any premature use.
Remember to clean and reapply the sealant periodically, as recommended by the manufacturer, to maintain the protective barrier and keep your patio stone looking its best.
With the optional sealant applied (or skipped, if you prefer), your patio stone is now clean, dry, and ready for you to enjoy. Sit back, relax, and take pleasure in your beautifully restored outdoor space!
Read more: How Much Is A Stone Patio
Conclusion
Cleaning your patio stone is an essential task that helps maintain its beauty and prolong its lifespan. By following the step-by-step process outlined in this guide, you can effectively remove dirt, grime, and stains from your patio stone, restoring its natural charm. Remember to gather all the necessary materials, including a stiff-bristle brush, a garden hose or pressure washer, a bucket, a mild detergent or stone cleaner, safety goggles, and protective gloves before starting the cleaning process.
Begin by removing debris from the surface of the patio stone using a brush or broom, then prepare a cleaning solution by mixing warm water with a mild detergent or stone cleaner. Apply the solution to the stone surface and scrub gently to break down stains and grime. Rinse the patio stone thoroughly with a garden hose or pressure washer to remove the cleaning solution and dirt. Allow the stone to dry naturally, and if desired, apply a sealant for added protection and enhancement.
Remember to take proper safety precautions, such as wearing protective goggles and gloves, and be mindful of the type of stone you have to choose appropriate cleaning products and techniques. Regular maintenance, including cleaning and sealing as needed, will help keep your patio stone looking beautiful for years to come.
So, roll up your sleeves, gather your materials, and give your patio stone the attention it deserves. Enjoy the satisfaction of a sparkling clean outdoor space, where you can relax, entertain, and make lasting memories.
Frequently Asked Questions about How To Clean Patio Stone
Was this page helpful?
At Storables.com, we guarantee accurate and reliable information. Our content, validated by Expert Board Contributors, is crafted following stringent Editorial Policies. We're committed to providing you with well-researched, expert-backed insights for all your informational needs.


0 thoughts on “How To Clean Patio Stone”