Articles
How To Repair Stone Walkway
Modified: October 20, 2024
Learn how to repair your stone walkway with these helpful articles. Find step-by-step instructions and tips to maintain a beautiful and functional path.
(Many of the links in this article redirect to a specific reviewed product. Your purchase of these products through affiliate links helps to generate commission for Storables.com, at no extra cost. Learn more)
Introduction
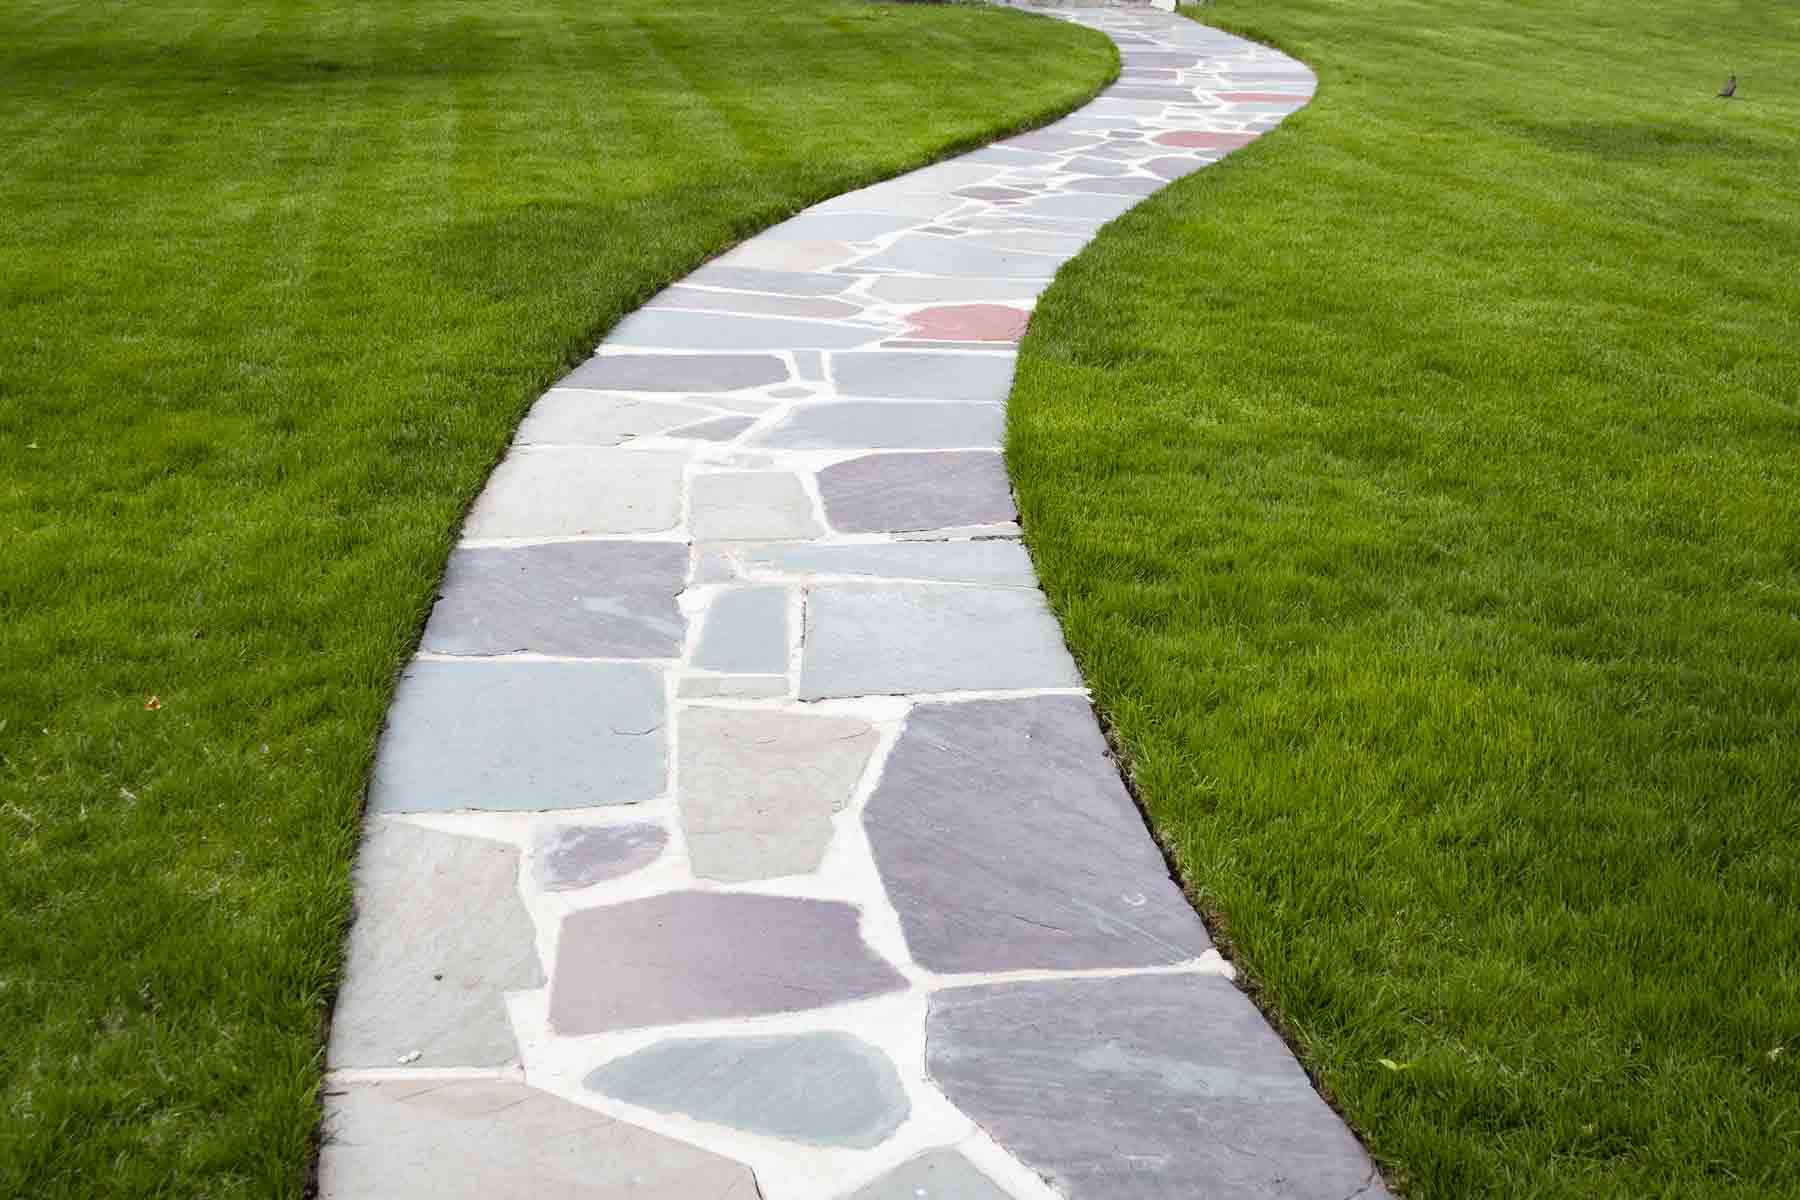
Having a beautiful stone walkway can greatly enhance the curb appeal of your home. However, over time, wear and tear, harsh weather conditions, and other factors can cause damage to the stones, resulting in a less attractive and potentially hazardous pathway. If your stone walkway is in need of repair, don’t worry! With the right tools, materials, and a little bit of know-how, you can restore your walkway to its former glory.
In this article, we will guide you through the process of repairing a stone walkway step by step. You’ll learn how to assess the damage, gather the necessary tools and materials, clean the walkway, remove loose or damaged stones, replace the damaged stones, reset sunken stones, fill in gaps between stones, and seal and finish the repaired walkway. By following these instructions, you’ll be able to complete the repair job efficiently and effectively.
Before we dive into the details, it’s important to note that the complexity and extent of the repair will depend on the severity of the damage. Minor cracks, loose stones, or small gaps can usually be fixed with simple DIY techniques. However, if your walkway has extensive damage or requires major reconstruction, it may be best to consult a professional.
Now, let’s roll up our sleeves and get started on repairing your stone walkway!
Key Takeaways:
- Revive your stone walkway with DIY repair techniques, from assessing damage to sealing and finishing. Enjoy a beautiful and safe pathway with professional-looking results.
- Ensure a safe and welcoming entrance with a well-maintained stone walkway. Follow step-by-step instructions for DIY repair and enjoy the satisfaction of a restored pathway.
Read more: How To Lay Stone Walkway
Assessing the Damage
The first step in repairing your stone walkway is to assess the extent of the damage. Take a close look at the entire walkway and identify any issues that need to be addressed. Common types of damage include cracked or broken stones, loose stones, sunken areas, and gaps between stones.
Walk the entire length of the pathway, paying attention to any uneven areas or tripping hazards. Look for any stones that are visibly cracked, chipped, or completely broken. These stones may need to be replaced entirely.
Next, check for loose stones that are no longer securely in place. These stones can be a safety hazard and may require resetting or replacing.
Another issue to look out for is sunken areas in the walkway. This can occur due to shifting soil or erosion, causing stones to sink lower than the surrounding ones. Sunken stones can be uneven and may need to be lifted and reset to ensure a level walking surface.
Finally, inspect the gaps between the stones. Over time, these gaps can widen or become filled with debris, compromising the stability and aesthetics of the pathway. Identifying and addressing these gaps will be an important part of the repair process.
By thoroughly assessing the damage, you’ll have a clear understanding of what needs to be repaired or replaced. This will help you plan and gather the necessary tools and materials for the job. Remember to document the areas of damage to ensure you address all the issues.
Gathering the Necessary Tools and Materials
Before you begin repairing your stone walkway, it’s important to gather all the necessary tools and materials. Having everything ready will make the repair process more efficient and ensure you have what you need to complete the job.
Here’s a list of the essential tools and materials you’ll need:
- Mallet or hammer – for loosening and resetting stones
- Cold chisel – for removing damaged stones
- Safety goggles – to protect your eyes during the repair process
- Gloves – to protect your hands from sharp edges
- Trowel – for filling in gaps and leveling stones
- Dust mask – to protect against dust when cleaning the walkway
- Broom or brush – for cleaning debris from the walkway
- Level – to ensure the stones are properly aligned and level
- Pry bar – for lifting and resetting sunken stones
- Jointing sand or mortar – for filling gaps between stones
- Replacement stones – if any damaged stones need to be replaced
- Sealer – to protect the repaired walkway from water damage and stains
Make sure to have these tools and materials readily available before you start the repair process. This will save you time and allow for a smooth workflow.
Additionally, if your walkway has a complex design or requires specialized equipment, you may need to consult with a professional or rental service to acquire the necessary tools.
By gathering the right tools and materials upfront, you’ll be well-prepared to tackle the repair and achieve professional-looking results.
Cleaning the Walkway
Before you can begin repairing your stone walkway, it’s important to thoroughly clean the surface. Cleaning will remove dirt, debris, and any loose particles that may interfere with the repair process.
Start by sweeping the entire walkway with a broom or brush to remove loose dirt and debris. Pay close attention to the gaps between the stones, as these can often accumulate leaves, twigs, and other small debris.
Once the loose debris is removed, you can proceed with a deeper cleaning. Fill a bucket with warm water and add a mild detergent or stone cleaner. Use a scrub brush or a stiff-bristle brush to scrub the surface of the stones, paying attention to any areas with stubborn stains or moss growth.
If moss or other organic growth is present on the stones, you may need to use a solution of water and bleach or vinegar to remove it. Apply the solution to the affected areas and let it sit for a few minutes before scrubbing away the moss or stains.
After scrubbing the stones, thoroughly rinse the walkway with clean water to remove all traces of cleaner or bleach. Be sure to rinse the gaps between the stones as well to remove any remaining debris.
Once the walkway is clean, allow it to dry completely before proceeding with the repair process. This will ensure that the stones are ready for any necessary repairs or replacements.
By cleaning the walkway before starting the repair, you’ll have a clean and fresh surface to work on, resulting in better adhesion and a more successful repair.
Removing Loose or Damaged Stones
After assessing the damage and cleaning the walkway, the next step in the repair process is to remove any loose or damaged stones. This will create a stable foundation for the repair and prevent further damage.
Start by examining the stones on the walkway and identifying the ones that are loose or damaged. Gently tap on each stone with a mallet or hammer to determine if it moves or feels unstable. If a stone is loose, it should be removed and reset.
To remove a loose stone, use a pry bar or a cold chisel to gently lift and loosen it from the surrounding stones. Take care not to damage the adjacent stones or the walkway itself. Once the loose stone is lifted, clean out any debris or old mortar from the cavity beneath it.
If a stone is damaged beyond repair, such as being severely cracked or broken, it should be completely removed from the walkway. Use a cold chisel and a hammer to carefully break the stone into smaller pieces and remove them from the walkway. Again, make sure to clean out any debris or old mortar from the cavity.
After removing the loose or damaged stones, inspect the area to ensure the foundation is sound and level. If necessary, use a trowel to even out the surface and remove any remaining debris.
Remember to keep track of the stones you remove, as you may need to find suitable replacements to fill the gaps. If the damaged stones are irreparable, you can also consider purchasing new stones that match the color and style of the existing ones.
By removing the loose or damaged stones, you’ll create a solid and stable base for the repair. This will ensure that the repaired walkway is structurally sound and ready for the next steps in the process.
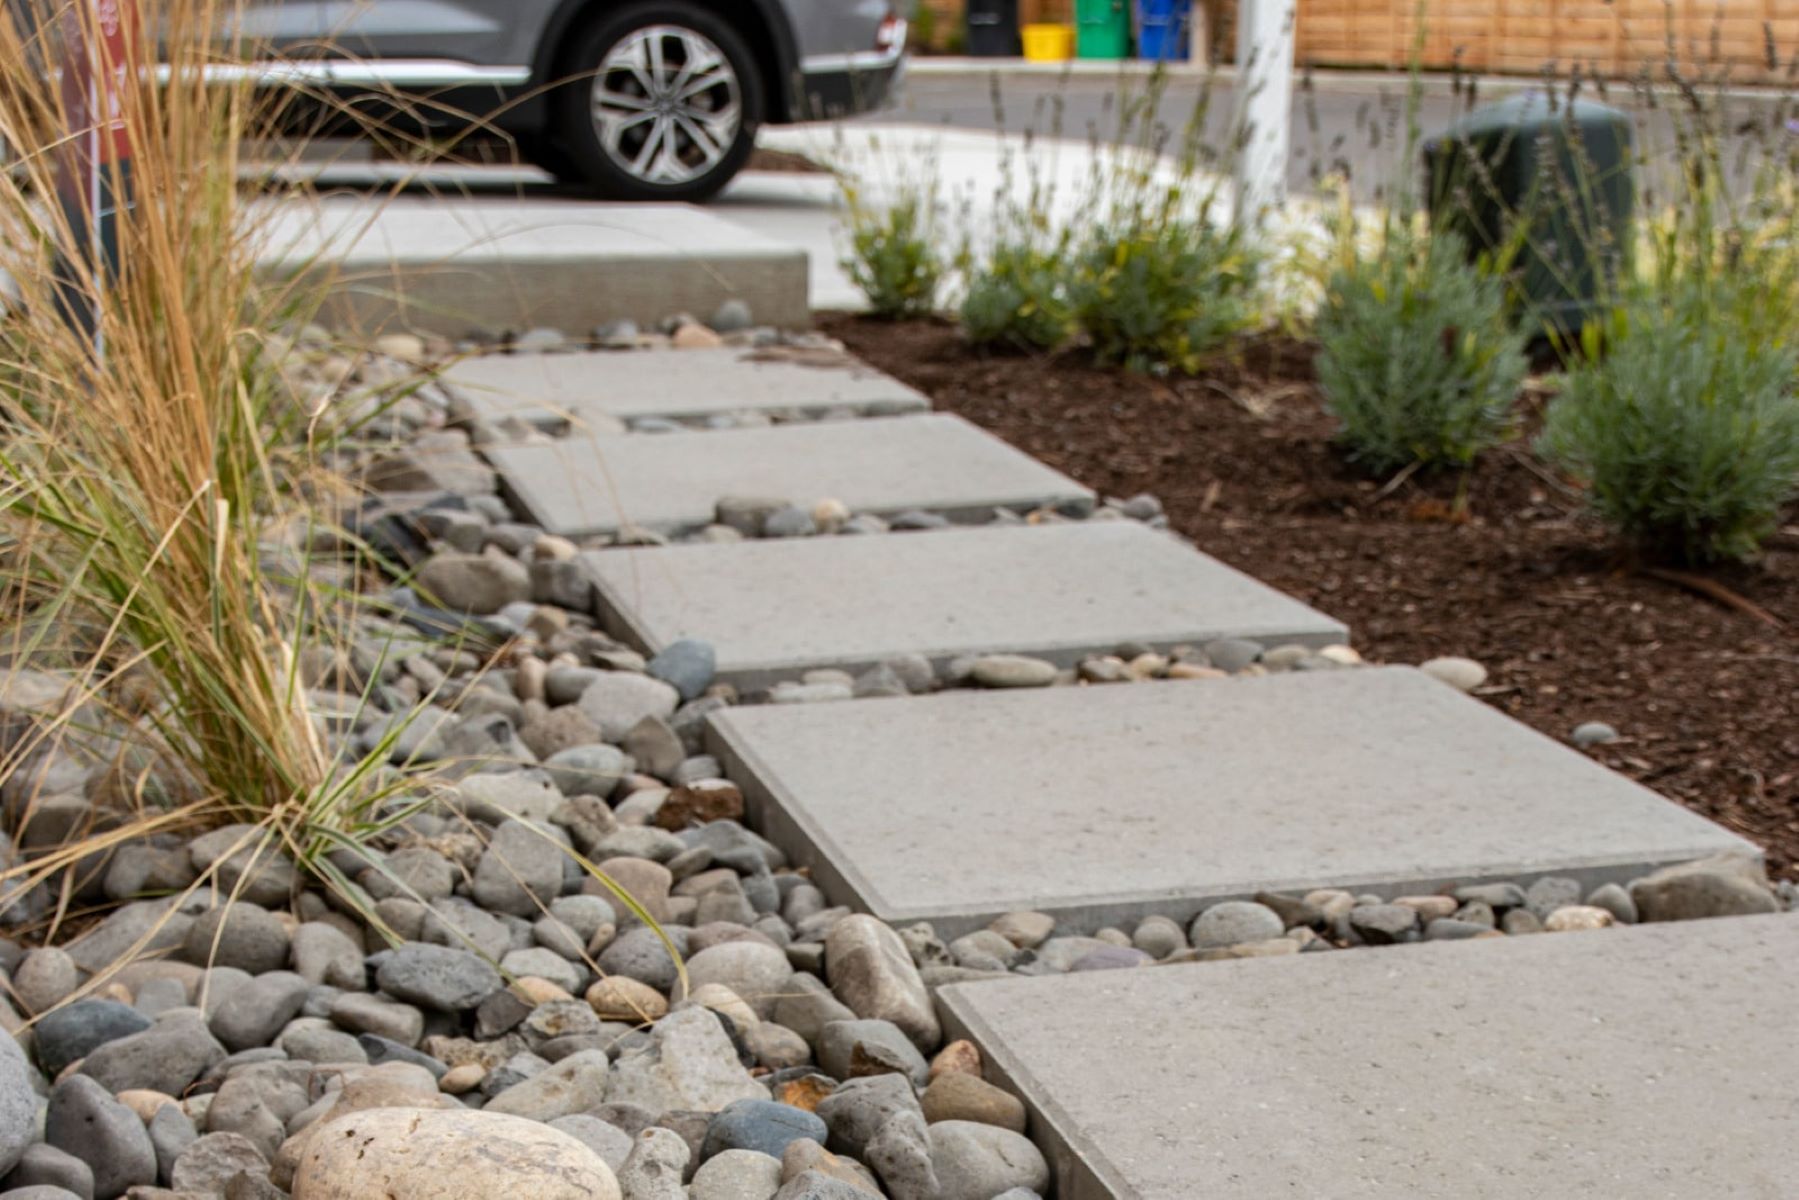
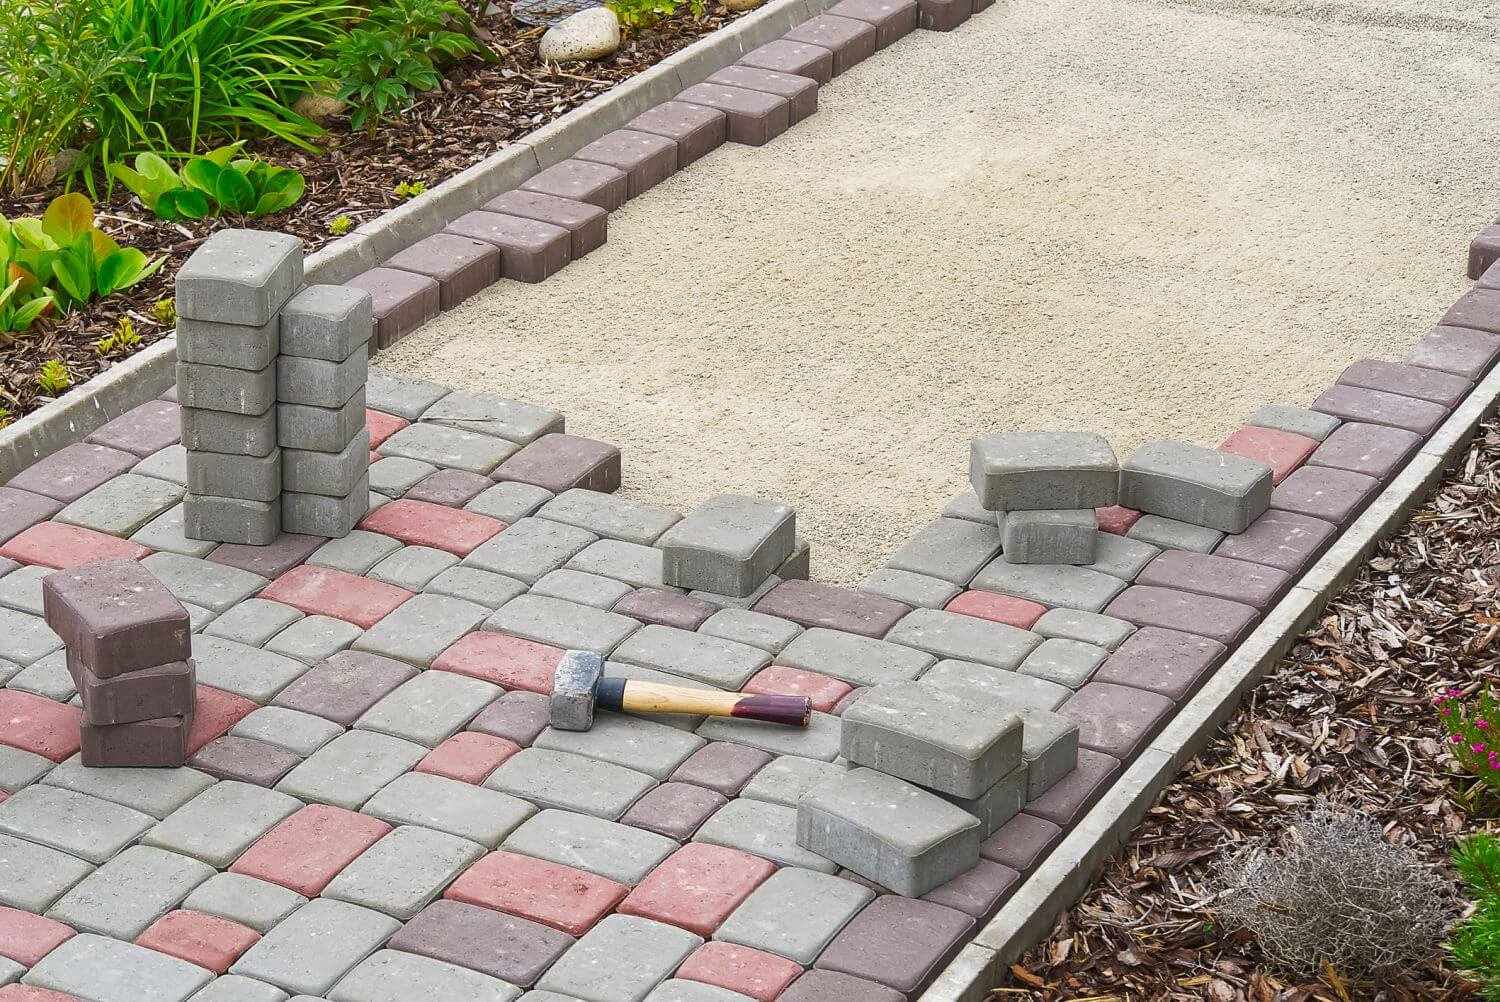
To repair a stone walkway, remove damaged stones, level the ground, and replace with new stones. Use a mallet to ensure stones are secure and level. Fill gaps with sand or mortar for stability.
Read more: How To Build A Walkway With Stepping Stones
Replacing Damaged Stones
Once you have removed the loose or damaged stones from your walkway, the next step is to replace them with new or matching stones. This will restore the aesthetic appeal and structural integrity of your pathway.
If you have the damaged stones that were removed, inspect them to determine if they can be repaired or salvaged. Small cracks or chips can often be fixed using stone adhesive or epoxy. Follow the manufacturer’s instructions to apply the adhesive and carefully realign and bond the pieces back together.
If the damaged stones are beyond repair or if you don’t have the original stones, it’s essential to find replacements that closely match the existing ones in terms of size, shape, and color. This will ensure a seamless look once the repair is complete.
Visit a local stone supplier or home improvement store to find suitable replacement stones. If possible, bring a sample or a photo of the existing stones to help with matching. Alternatively, you can search online for stone suppliers or contact a professional stonemason for assistance.
Carefully place the replacement stones into the cavities left by the removed stones. Ensure that they fit snugly and align with the surrounding stones. Use a mallet or hammer to gently tap the stones into place, making sure they are level with the rest of the walkway.
If necessary, adjust the depth or position of the replacement stones by adding or removing a thin layer of jointing sand or mortar underneath. This will help achieve a level surface and prevent any rocking or instability.
Continue replacing the damaged stones until all the gaps are filled and the walkway looks uniform and sturdy. Take your time to ensure proper alignment and fit for each stone.
Once all the replacement stones are in place, allow them to settle for a day or two before proceeding with the next steps of the repair process. This will ensure that the stones have properly bonded and are ready for the final adjustments.
By carefully replacing the damaged stones, you’ll restore the beauty and functionality of your walkway, leaving it as good as new.
Resetting Sunken Stones
If you notice sunken stones in your walkway, it’s important to reset them to create a level and safe walking surface. Sunken stones can be a tripping hazard and can cause further damage if left unaddressed.
To reset sunken stones, start by carefully lifting them using a pry bar or a mallet and chisel. Take caution not to damage the surrounding stones or the walkway while doing this.
Once the sunken stone is lifted, inspect the cavity underneath it for any debris or unevenness. Use a trowel to remove any debris and ensure the area is level and clean.
Next, apply a layer of jointing sand or mortar to the cavity, filling it to the appropriate level. Use the edge of the trowel to smooth out the surface and create a uniform base for the stone.
Place the sunken stone back into its original position, ensuring it aligns with the surrounding stones and sits level with the rest of the walkway. Gently tap the stone with a mallet or hammer to secure it in place.
Check the alignment and stability of the stone using a level. Adjust the depth or position of the stone by adding or removing jointing sand or mortar as needed.
Continue resetting any other sunken stones using the same process, paying attention to maintain a level and even surface throughout the walkway.
After all the sunken stones have been properly reset, allow the jointing sand or mortar to fully dry and cure according to the manufacturer’s instructions. This will ensure a solid and stable foundation for the repaired walkway.
By resetting sunken stones, you’ll create a level and safe walkway, reducing the risk of accidents and prolonging the lifespan of your stone pathway.
Filling in Gaps Between Stones
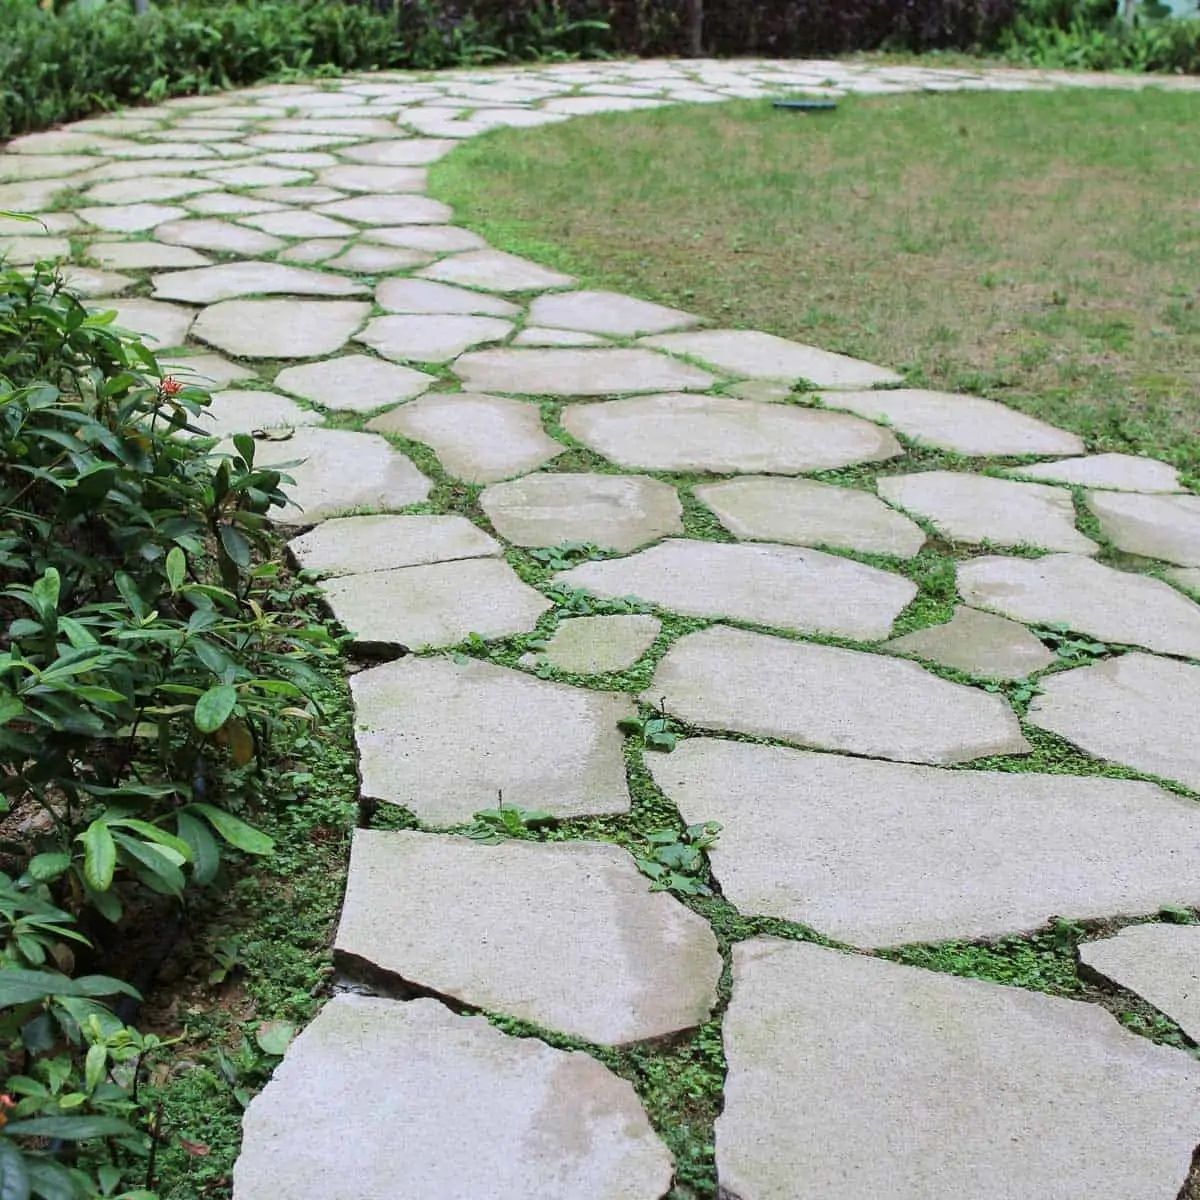
One common issue with stone walkways is the presence of gaps between the stones. These gaps not only compromise the appearance of the walkway but can also lead to weed growth, erosion, and instability. Filling in these gaps is an important step in the repair process.
Start by inspecting the gaps between the stones. If they are relatively narrow and uniform, you can use jointing sand to fill them. Jointing sand is a fine sand specifically designed for filling gaps between pavers or stones.
Before filling the gaps, make sure the walkway is clean and free from debris. Use a broom or brush to remove any loose dirt or particles that may interfere with the filling process.
Once the walkway is clean, spread the jointing sand over the surface, making sure it reaches all the gaps. Use a broom or brush to sweep the sand into the gaps, ensuring it fills them completely.
Once the gaps are filled, use a tamper or the flat side of a trowel to compact the sand and set it firmly in place. This will prevent it from shifting or washing away with rain or foot traffic.
After compacting the sand, sweep off any excess that may be on the surface of the stones. Use a gentle water spray to mist the surface, helping to activate the sand and initiate the curing process.
Allow the jointing sand to dry and cure according to the manufacturer’s instructions. Usually, this takes a couple of days. Avoid walking on the filled areas during the curing process to ensure a proper and long-lasting result.
If the gaps between the stones are wider or irregular, you may need to use a mortar mix instead of jointing sand. Prepare the mortar mix according to the manufacturer’s instructions, making sure it has the right consistency.
Using a trowel, carefully fill the wider gaps with the mortar mix, ensuring it is level with the surface of the stones. Smooth it out using the flat side of the trowel, matching the texture of the surrounding stones as closely as possible.
Allow the mortar to dry and cure as per the manufacturer’s instructions. This may take a few days. Keep foot traffic off the repaired areas to allow the mortar to set properly and achieve maximum strength.
By filling in the gaps between the stones, you’ll improve the appearance and stability of your walkway, creating an even and cohesive surface.
Sealing and Finishing the Repaired Walkway
After completing the necessary repairs to your stone walkway, it’s important to seal and finish the surface to protect it from further damage and enhance its overall appearance. Sealing the walkway will help repel water, prevent stains, and inhibit the growth of weeds and moss.
Before you start the sealing process, make sure the walkway is completely clean and dry. Any debris or moisture on the surface can interfere with the effectiveness of the sealant.
Choose a high-quality stone sealer that is appropriate for the type of stone used in your walkway. This will help retain the natural look of the stone while offering protection. Follow the manufacturer’s instructions for application.
Using a brush or roller, apply the sealer evenly over the entire surface of the walkway. Pay special attention to the repaired areas, making sure they are thoroughly coated. Allow the sealer to penetrate and dry according to the manufacturer’s instructions.
Once the sealer has dried, inspect the surface for any residual residue or streaks. Use a clean cloth or sponge to buff away any excess sealer and achieve a smooth and uniform finish.
In addition to sealing, you may consider applying a finishing touch to enhance the appearance and longevity of your walkway. This can be done by using a stone enhancer or color enhancer, which will bring out the natural colors and textures of the stones.
Apply the stone enhancer according to the manufacturer’s instructions, ensuring even coverage. Allow it to penetrate and dry completely before allowing foot traffic on the walkway.
Regularly inspect your sealed and finished walkway for signs of wear and tear. Depending on the type of sealant used, it may need to be reapplied every few years or so. Follow the specific recommendations of the sealant manufacturer to maintain the optimal protection and appearance of your walkway.
By sealing and finishing your repaired walkway, you’ll not only prolong its lifespan but also enhance its aesthetic appeal, creating a beautiful and durable feature in your outdoor space.
Read also: 8 Unbelievable Stone Walkway For 2025
Conclusion
Repairing a stone walkway may seem like a daunting task, but with the right knowledge, tools, and materials, it can be a manageable DIY project. By assessing the damage, gathering the necessary tools and materials, cleaning the walkway, removing loose or damaged stones, replacing them, resetting sunken stones, filling in gaps, and sealing and finishing the walkway, you can restore its beauty and functionality.
Throughout this article, we’ve provided step-by-step instructions to guide you through the repair process. Remember to take your time, pay attention to detail, and prioritize safety when working on your walkway.
It’s important to note that the severity of the damage and the complexity of the repair may vary from one walkway to another. In some cases, it may be necessary to seek professional assistance for major repairs or reconstruction. If you feel unsure about tackling the repair on your own, don’t hesitate to consult a professional stonemason who can offer expert advice and services.
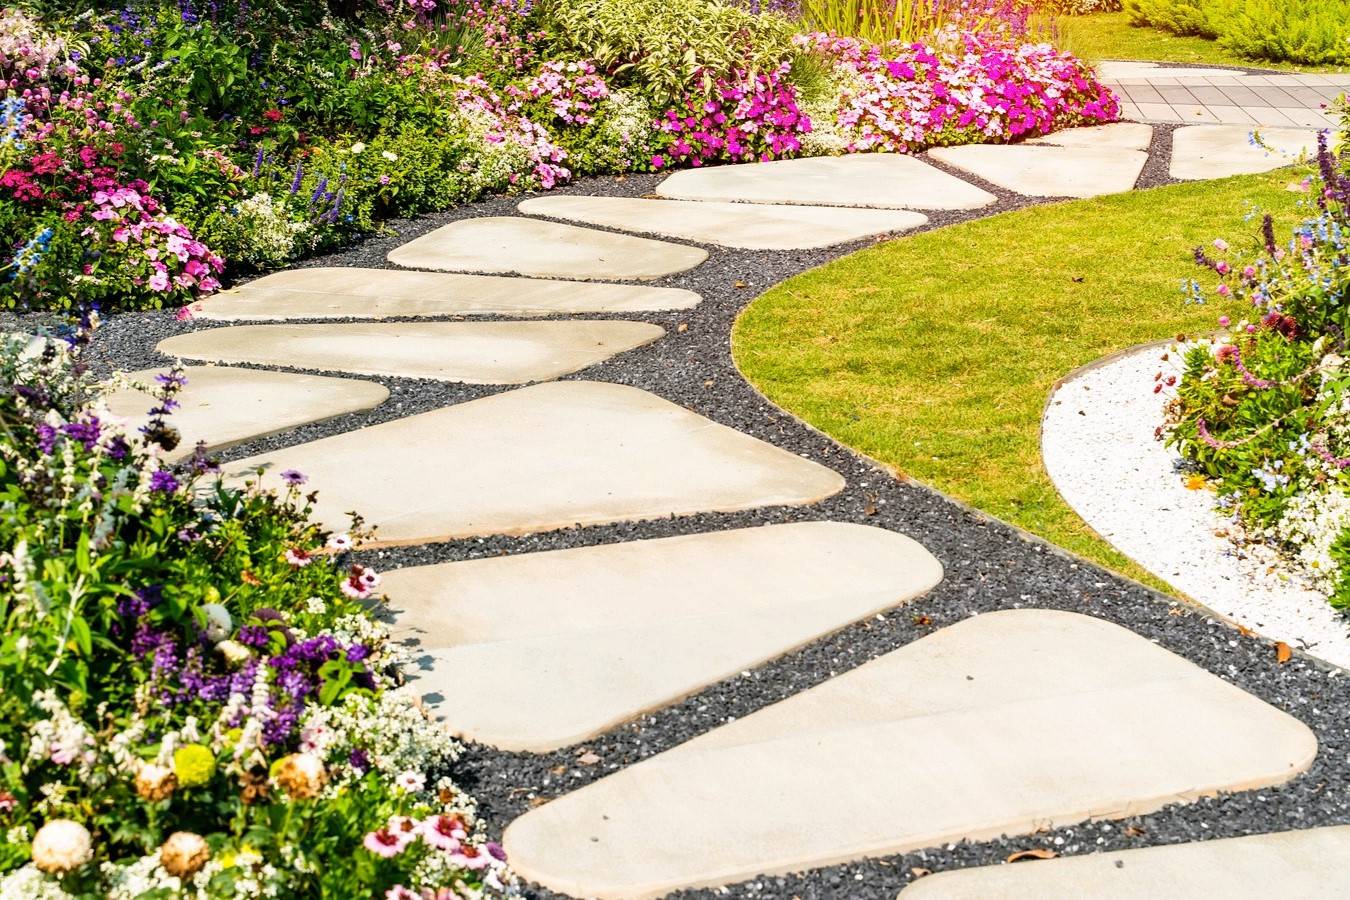
By repairing your stone walkway, you not only improve its appearance but also ensure a safe and functional outdoor space for you and your family. A well-maintained walkway not only adds value to your property but also creates a welcoming entrance that sets a positive first impression.
Regular maintenance and cleaning are also essential to prevent future damage to your walkway. Keep an eye out for any signs of wear, tripping hazards, or gaps, and address them promptly to avoid costly repairs in the future.
Remember, a well-cared-for stone walkway can stand the test of time, providing a beautiful and durable pathway for years to come. So, roll up your sleeves, follow the steps outlined in this article, and enjoy the satisfaction of a restored stone walkway that you can be proud of.
Frequently Asked Questions about How To Repair Stone Walkway
Was this page helpful?
At Storables.com, we guarantee accurate and reliable information. Our content, validated by Expert Board Contributors, is crafted following stringent Editorial Policies. We're committed to providing you with well-researched, expert-backed insights for all your informational needs.
0 thoughts on “How To Repair Stone Walkway”