Home>Renovation & DIY>Home Renovation Guides>How To Clean A Stone Backsplash
Home Renovation Guides
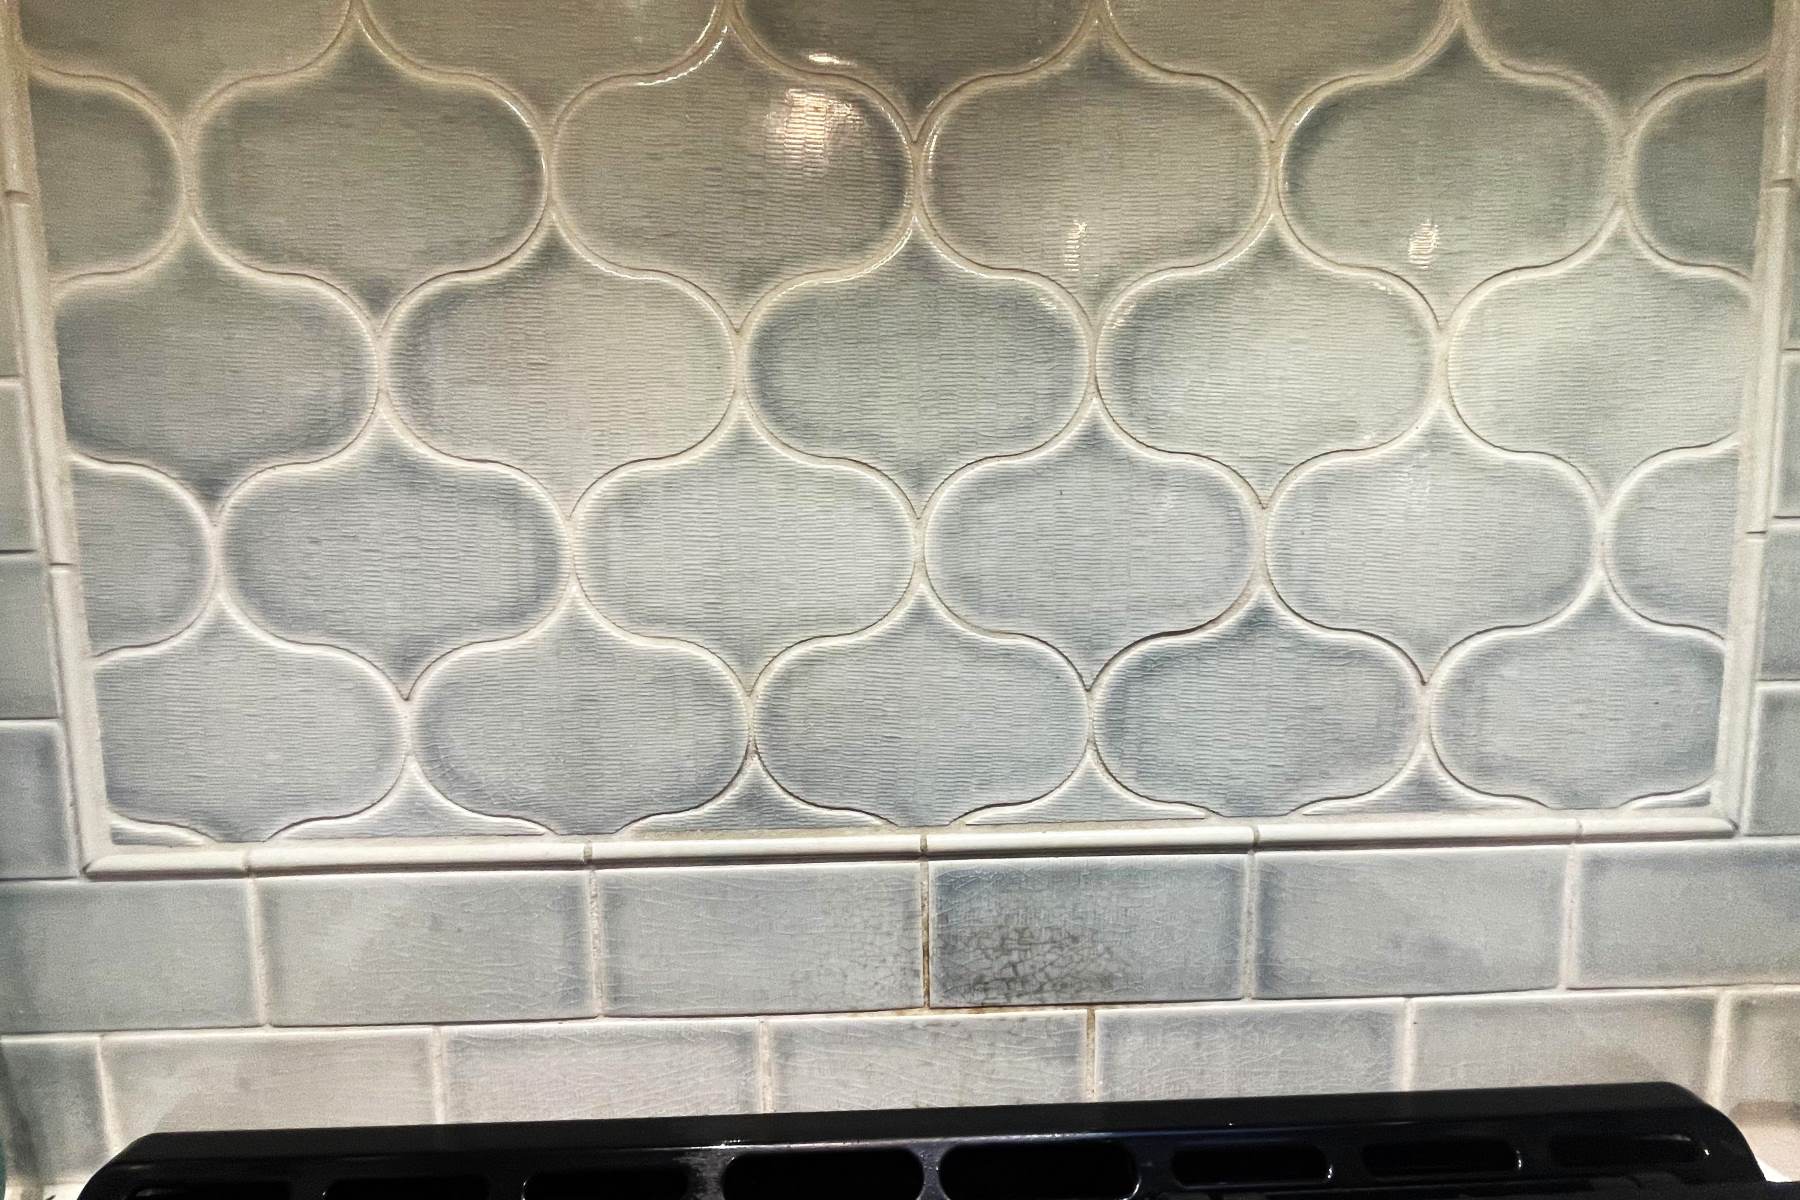
How To Clean A Stone Backsplash
Modified: February 18, 2024
Learn how to effectively clean and maintain a stone backsplash with our comprehensive home renovation guide. Keep your kitchen looking pristine and beautiful.
(Many of the links in this article redirect to a specific reviewed product. Your purchase of these products through affiliate links helps to generate commission for Storables.com, at no extra cost. Learn more)
Introduction
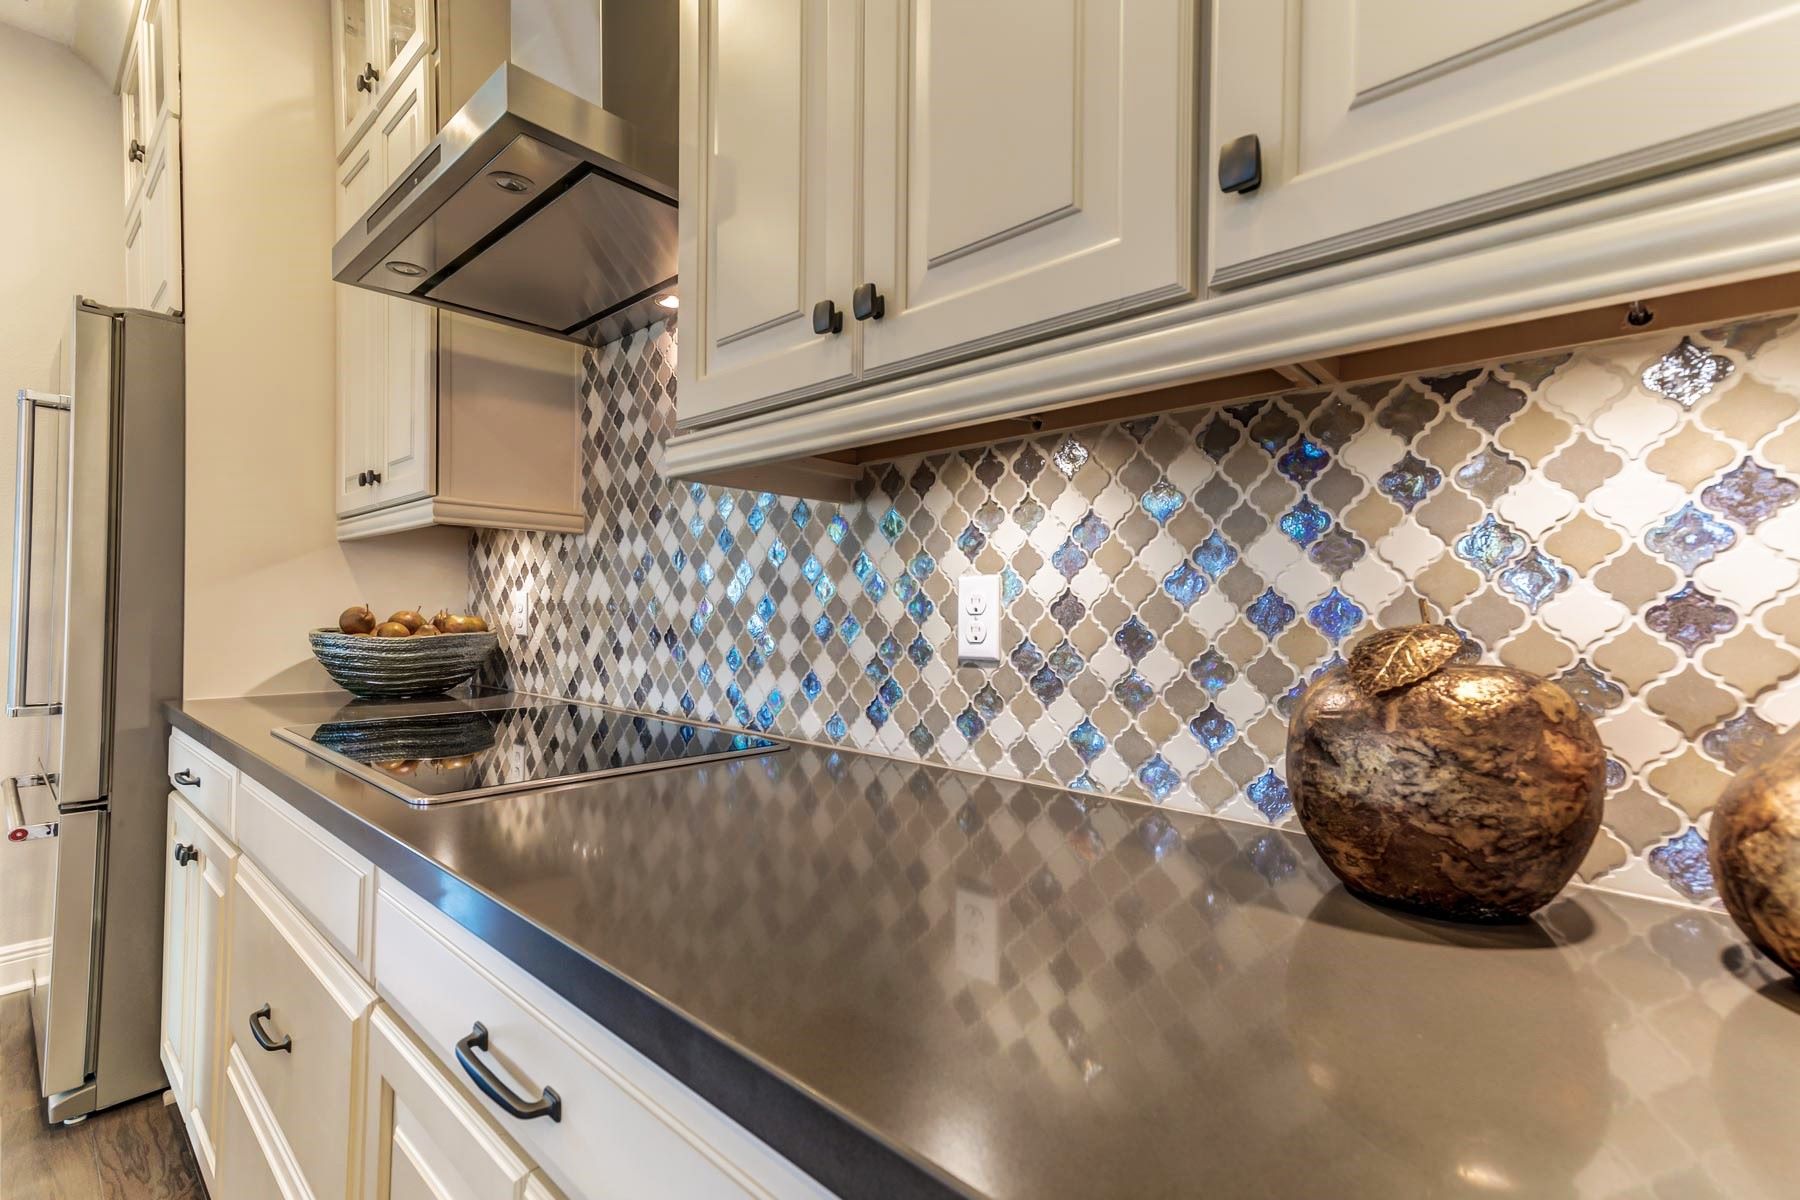
Cleaning a stone backsplash can rejuvenate the aesthetic appeal of your kitchen or bathroom, bringing out the natural beauty of the stone. Whether your backsplash is made of marble, granite, slate, or any other type of stone, regular cleaning is essential to maintain its luster and longevity. Over time, dirt, grease, and grime can accumulate on the surface, dulling its appearance and compromising its elegance. However, with the right techniques and a little effort, you can restore your stone backsplash to its former glory.
In this comprehensive guide, we will walk you through the step-by-step process of cleaning a stone backsplash effectively and safely. From gathering the necessary supplies to applying the appropriate cleaning methods, you will learn how to tackle stubborn stains and maintain the pristine condition of your stone surface. Whether you are a seasoned homeowner or a first-time DIY enthusiast, this guide will equip you with the knowledge and confidence to achieve professional-quality results.
By following these expert tips and techniques, you can ensure that your stone backsplash remains a stunning focal point in your home. So, roll up your sleeves, gather your supplies, and let's dive into the art of cleaning and preserving the timeless allure of a stone backsplash.
Key Takeaways:
- Cleaning a stone backsplash requires gentle tools and a mild cleaner to preserve its natural beauty. Thoroughly removing debris and applying a gentle cleaner can restore the stone to its former glory.
- Sealing porous stones like marble is essential to protect against stains and spills. Regular maintenance ensures the timeless elegance of a stone backsplash endures for years to come.
Read more: How To Grout Stone Backsplash
Step 1: Gather Your Supplies
Before embarking on the task of cleaning your stone backsplash, it's essential to gather the necessary supplies to ensure a thorough and effective cleaning process. Here's what you'll need:
1. Soft-bristled brush or microfiber cloth:
To remove loose debris and dirt from the surface of the stone backsplash without causing any scratches or damage.
2. Mild dish soap or stone cleaner:
Choose a gentle, pH-neutral cleaner specifically formulated for cleaning stone surfaces. Avoid using harsh chemicals or acidic cleaners, as they can erode the stone and diminish its natural beauty.
3. Warm water:
For diluting the cleaning solution and rinsing the stone surface.
Read more: How To Clean A Backsplash
4. Bucket or spray bottle:
To mix and apply the cleaning solution onto the stone backsplash.
5. Clean, lint-free cloth or sponge:
For wiping and drying the stone surface after cleaning.
6. Stone sealer (optional):
If your stone backsplash requires sealing, ensure you have the appropriate stone sealer on hand. This will help protect the stone from stains and spills, preserving its pristine appearance.
7. Protective gloves:
To shield your hands from the cleaning solution and potential debris during the cleaning process.
Read more: How To Clean Backsplash Grout
8. Step ladder or sturdy stool:
If your stone backsplash extends to a height that requires additional reach, a step ladder or stool will facilitate safe and convenient access for cleaning.
9. Protective eyewear:
As a precautionary measure, especially when using a brush to dislodge debris, protective eyewear can prevent any particles from entering your eyes.
By assembling these supplies, you'll be well-prepared to tackle the cleaning process with confidence and efficiency. With the right tools at your disposal, you can ensure that your stone backsplash receives the care and attention it deserves, preserving its timeless elegance for years to come.
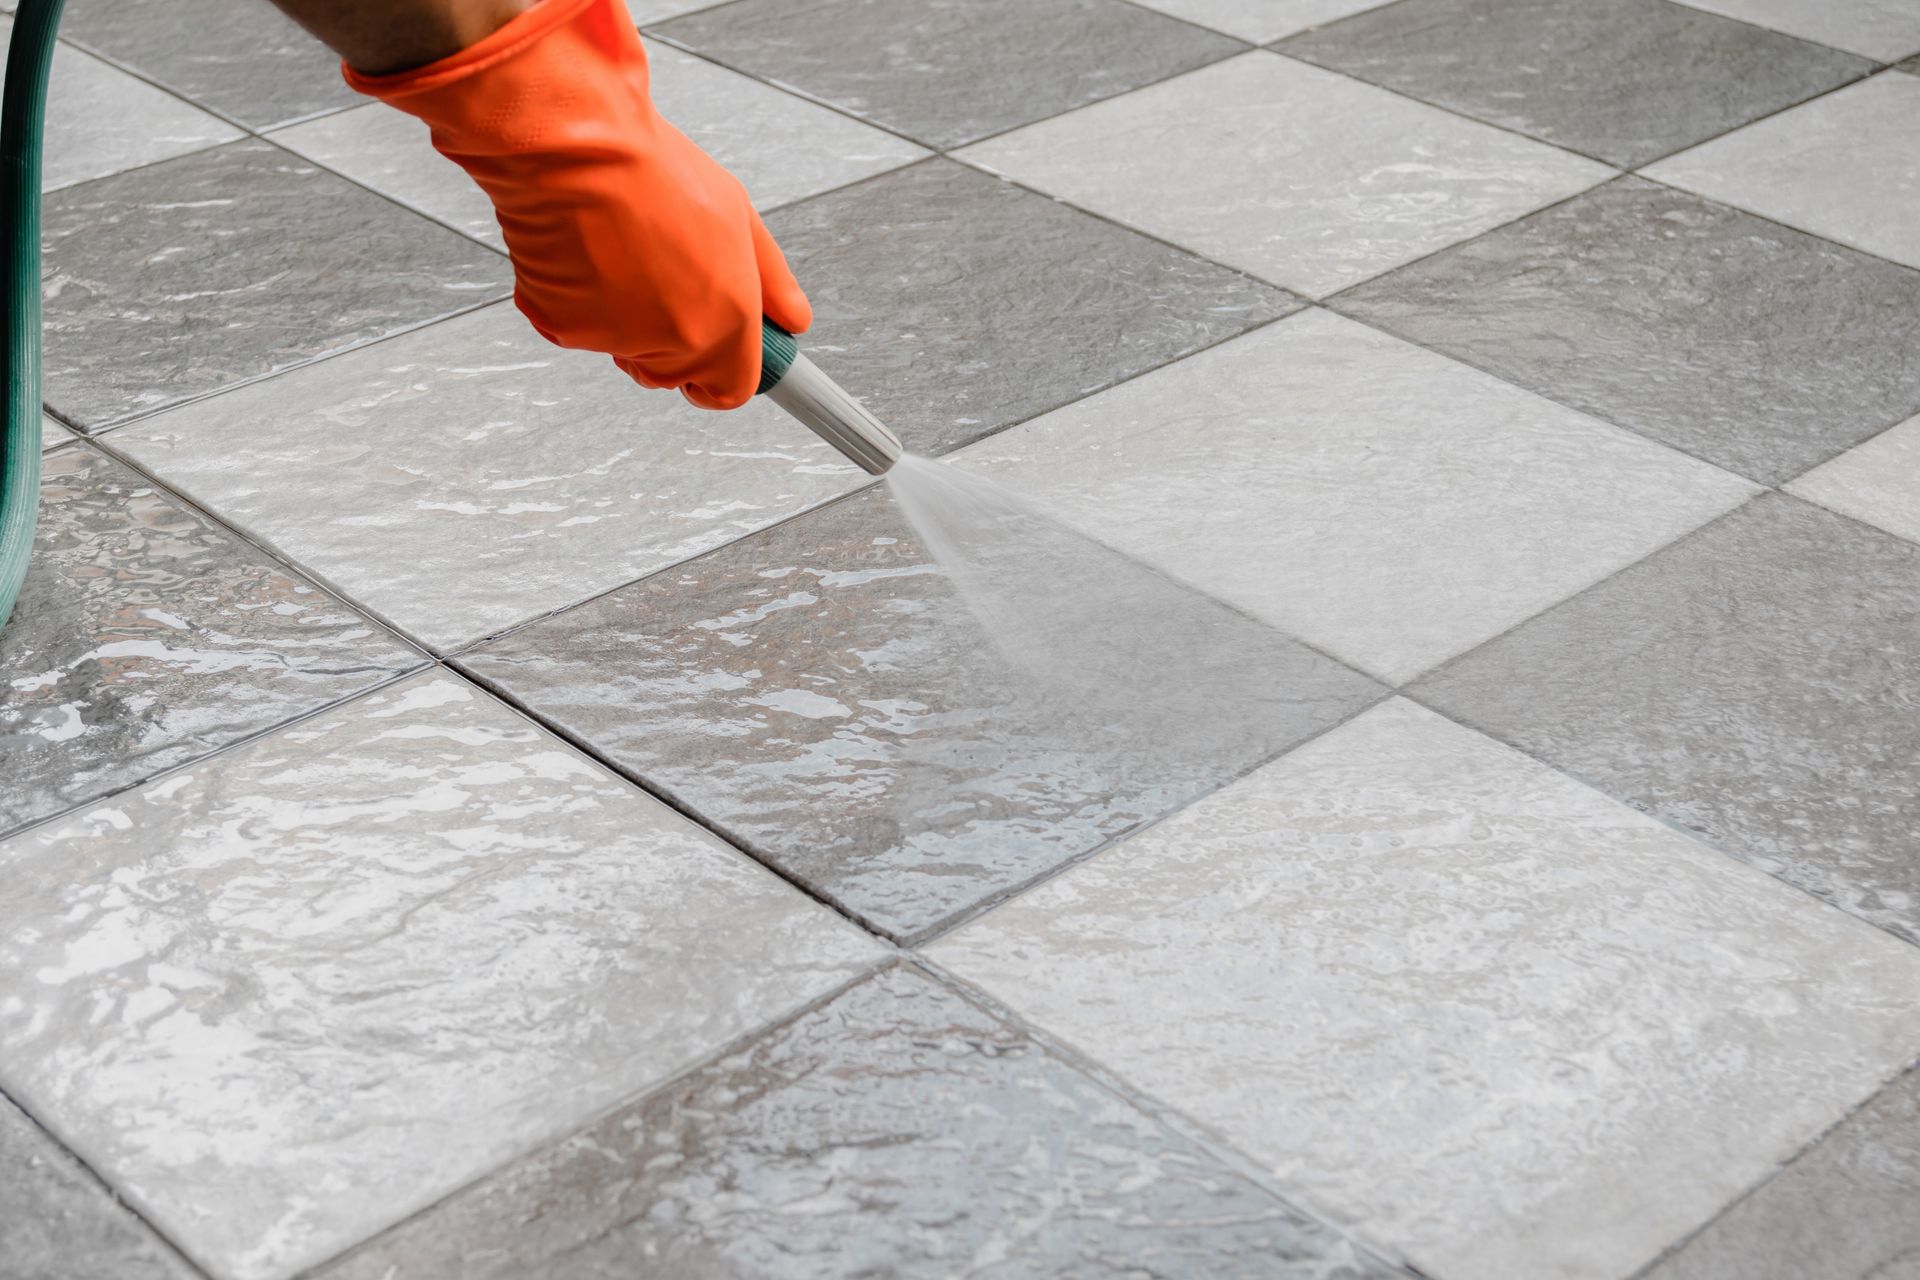
Step 2: Remove Loose Debris
Before delving into the cleaning process, it's crucial to eliminate any loose debris and dirt that may have accumulated on the surface of your stone backsplash. This initial step sets the stage for a more effective and thorough cleaning, ensuring that the subsequent cleaning solutions can penetrate the stone surface without interference from surface-level grime.
To begin, equip yourself with a soft-bristled brush or a microfiber cloth, both of which are gentle enough to avoid scratching or damaging the stone. Starting from the top of the backsplash, gently brush or wipe away any loose dirt, dust, or food particles. Work your way systematically across the entire surface, paying particular attention to crevices and grout lines where debris tends to accumulate.
For textured or uneven stone surfaces, a soft-bristled brush is especially effective in dislodging debris from the nooks and crannies without causing abrasions. Alternatively, a microfiber cloth can be used to gently wipe away loose debris, ensuring that the natural contours and texture of the stone are preserved.
It's important to approach this step with patience and attention to detail, as thorough removal of loose debris sets the foundation for a successful cleaning process. By taking the time to meticulously clear the surface of any accumulated dirt and grime, you pave the way for the subsequent cleaning solutions to work more effectively, resulting in a beautifully restored stone backsplash.
Once you have diligently removed the loose debris, take a moment to inspect the surface and ensure that no residual dirt remains. This preparatory step not only enhances the overall cleanliness of the stone backsplash but also sets the stage for a more efficient and effective application of the subsequent cleaning solutions.
By meticulously clearing the surface of any accumulated dirt and grime, you pave the way for the subsequent cleaning solutions to work more effectively, resulting in a beautifully restored stone backsplash.
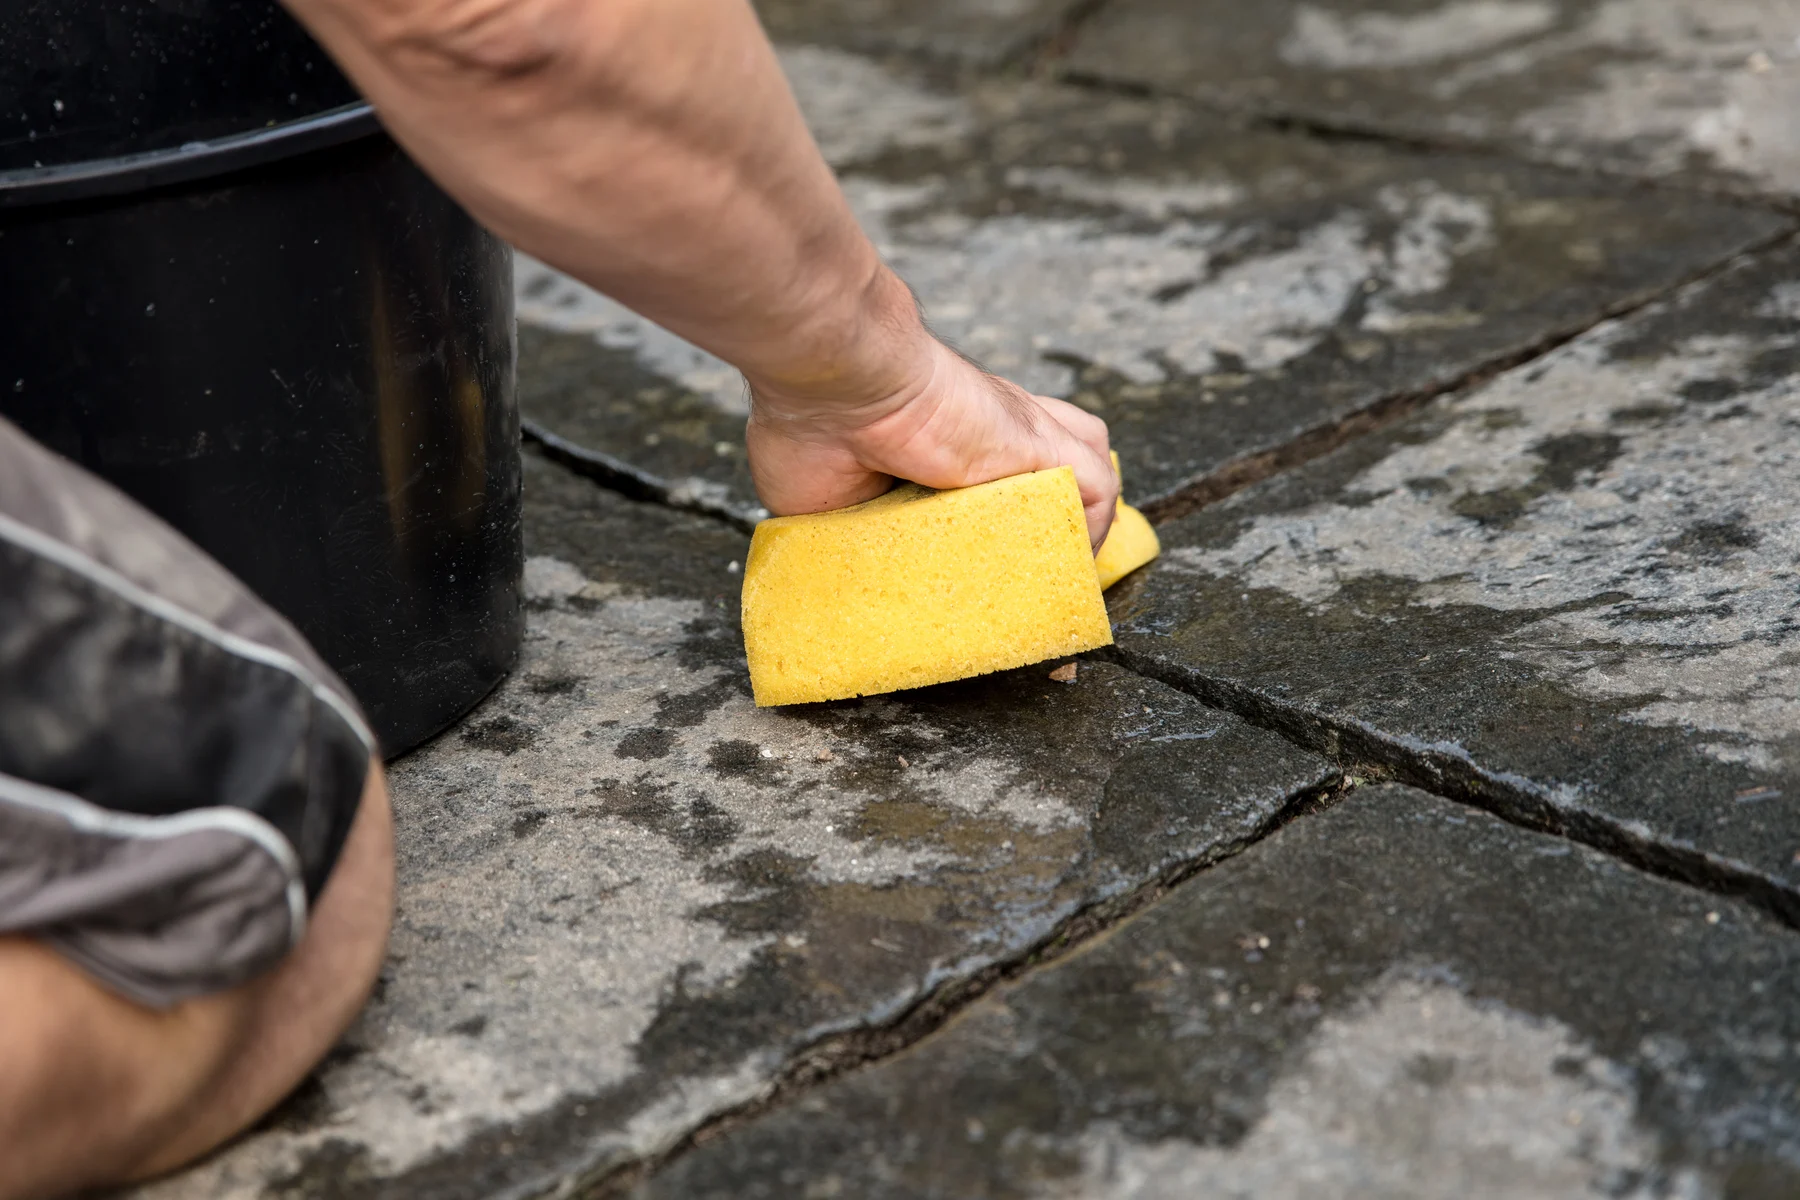
Step 3: Clean with a Gentle Cleaner
With the loose debris removed, it's time to proceed to the pivotal step of cleaning your stone backsplash with a gentle cleaner. This step is crucial for lifting stubborn stains, grease, and grime from the surface while preserving the natural beauty and integrity of the stone. When selecting a cleaner, opt for a mild dish soap or a specialized stone cleaner specifically formulated for the delicate nature of stone surfaces. It's imperative to avoid harsh chemicals and acidic cleaners, as they can compromise the appearance and structural integrity of the stone.
To begin, prepare a cleaning solution by diluting the mild dish soap or stone cleaner in warm water. The recommended ratio is approximately one tablespoon of cleaner per gallon of water. This gentle solution strikes the perfect balance, effectively lifting dirt and stains without posing any risk to the stone.
Once the cleaning solution is prepared, apply it to the stone backsplash using a clean, lint-free cloth or sponge. Work methodically, starting from the top and progressing downward, ensuring that the entire surface is treated uniformly. For textured or uneven stone surfaces, a soft-bristled brush can be used to gently agitate the cleaning solution, targeting areas where dirt and grime may be more entrenched.
As you apply the cleaner, pay special attention to any visible stains or discolorations, gently working the solution into these areas to facilitate effective stain removal. It's important to approach this step with a gentle touch, allowing the cleaning solution to penetrate and lift the stains without aggressive scrubbing, which could potentially damage the stone.
After applying the cleaning solution, allow it to dwell on the surface for a few minutes to effectively loosen and lift the dirt and stains. This dwell time is instrumental in maximizing the cleaning solution's efficacy, particularly when dealing with stubborn or ingrained stains.
Following the dwell time, thoroughly rinse the stone backsplash with clean water to remove the cleaning solution and any loosened debris. Ensure that all traces of the cleaner are completely rinsed away, leaving the stone surface fresh and free of residue.
By cleaning your stone backsplash with a gentle, yet effective cleaner, you can effectively lift dirt, stains, and grime while safeguarding the natural allure of the stone. This meticulous cleaning process sets the stage for a beautifully restored stone backsplash, showcasing its inherent elegance and timeless appeal.
Read more: How To Clean A Stone Floor
Step 4: Rinse and Dry
After cleaning the stone backsplash with a gentle cleaner, the next crucial step is to thoroughly rinse and dry the surface. This step is essential for removing any residual cleaning solution, dirt, or debris, ensuring that the stone is left immaculately clean and free of any streaks or water spots.
Begin by rinsing the stone backsplash with clean water, using a sponge or lint-free cloth to gently wipe away the cleaning solution and any loosened dirt. It's important to be thorough in this rinsing process, ensuring that all traces of the cleaner are completely removed from the surface. Pay particular attention to textured or uneven areas where residue may be more likely to accumulate.
As you rinse the stone surface, periodically wring out the sponge or cloth to prevent spreading the rinsed dirt and cleaning solution back onto the surface. This meticulous rinsing process sets the stage for the subsequent drying phase, ensuring that the stone is left pristine and free of any lingering residue.
Once the rinsing process is complete, it's time to dry the stone backsplash thoroughly. Use a clean, dry lint-free cloth to gently pat and wipe the surface, removing any remaining moisture. It's important to avoid air-drying the stone, as this can lead to water spots and streaks, detracting from the pristine appearance of the backsplash.
For textured or uneven stone surfaces, a soft-bristled brush can be used to gently remove excess water from crevices and grout lines, ensuring that the entire surface is effectively dried. This meticulous drying process is instrumental in achieving a streak-free and immaculately clean stone backsplash.
As you dry the stone surface, take a moment to inspect the entire backsplash, ensuring that no streaks or water spots remain. This final inspection allows you to address any areas that may require additional drying, ensuring that the stone is left in a flawless and glistening state.
By diligently rinsing and drying the stone backsplash, you can ensure that it retains its natural beauty and luster. This meticulous process sets the stage for a beautifully restored stone surface, free of any residual cleaning solution or moisture, allowing its timeless elegance to shine through.
Step 5: Seal the Stone (if necessary)
Sealing the stone backsplash is a crucial step in preserving its pristine condition and safeguarding it against stains and spills. Not all types of stone require sealing, but for porous stones such as marble, limestone, and travertine, applying a high-quality stone sealer is essential to enhance their resistance to moisture and staining agents.
Before proceeding with the sealing process, it's important to ensure that the stone backsplash is thoroughly clean and completely dry. Any residual dirt, debris, or moisture on the surface can compromise the effectiveness of the sealer, potentially leading to uneven coverage and reduced protection.
When selecting a stone sealer, opt for a product specifically formulated for the type of stone used in your backsplash. It's advisable to conduct a spot test in an inconspicuous area to assess the sealer's compatibility and the resulting appearance on the stone.
To apply the sealer, pour a small amount onto the stone surface and use a clean, lint-free cloth or applicator brush to spread it evenly. Work in manageable sections, ensuring that the sealer is uniformly distributed across the entire backsplash. Allow the sealer to penetrate the stone for the duration specified by the manufacturer, typically around 10 to 15 minutes.
After the dwell time, gently wipe away any excess sealer from the surface using a clean cloth, ensuring that no streaks or residue remain. It's crucial to follow the manufacturer's guidelines regarding ventilation and curing time to allow the sealer to fully bond with the stone and achieve optimal protection.
Once the sealing process is complete, allow the stone backsplash to cure for the recommended period before resuming regular use and cleaning. Properly sealed, the stone surface will exhibit enhanced resistance to liquid penetration and staining, preserving its natural beauty and facilitating easier maintenance.
By sealing the stone backsplash when necessary, you can fortify its defenses against potential damage, ensuring that it remains a stunning and enduring feature in your home. This proactive measure not only enhances the longevity of the stone but also simplifies its upkeep, allowing you to enjoy its timeless elegance with peace of mind.
Conclusion
In conclusion, cleaning and maintaining a stone backsplash is a rewarding endeavor that not only revitalizes the aesthetic appeal of your kitchen or bathroom but also preserves the timeless allure of the stone itself. By following the comprehensive steps outlined in this guide, you have gained valuable insights into the art of caring for your stone backsplash with expertise and precision.
From the initial task of gathering the essential supplies to the meticulous process of removing loose debris and applying a gentle cleaner, each step is instrumental in achieving a beautifully restored stone surface. The attention to detail and the use of appropriate tools and techniques ensure that your stone backsplash receives the care and maintenance it deserves, allowing its natural beauty to shine through.
Furthermore, the optional but highly beneficial step of sealing the stone, when necessary, serves as a proactive measure to fortify its defenses against stains and spills, enhancing its longevity and ease of maintenance. By embracing this comprehensive approach to cleaning and preserving your stone backsplash, you are not only enhancing the visual appeal of your home but also investing in the lasting beauty of the stone itself.
As you stand back and admire the glistening, rejuvenated surface of your stone backsplash, take pride in the knowledge that your efforts have contributed to the preservation of a timeless and elegant feature in your home. The luster and allure of the stone, once obscured by dirt and grime, now radiate with renewed brilliance, enriching the ambiance of your living space.
Moving forward, regular maintenance and periodic cleaning will be essential to uphold the pristine condition of your stone backsplash. By integrating these practices into your home care routine, you can ensure that the natural beauty and elegance of the stone endure for years to come, captivating all who behold it.
In essence, the process of cleaning and maintaining a stone backsplash transcends mere upkeep; it is a testament to your commitment to preserving the enduring charm and sophistication of your living environment. As you savor the captivating presence of your revitalized stone backsplash, take pride in the knowledge that your dedication has contributed to the timeless allure of your home.
Frequently Asked Questions about How To Clean A Stone Backsplash
Was this page helpful?
At Storables.com, we guarantee accurate and reliable information. Our content, validated by Expert Board Contributors, is crafted following stringent Editorial Policies. We're committed to providing you with well-researched, expert-backed insights for all your informational needs.


0 thoughts on “How To Clean A Stone Backsplash”