Articles
How To Install Hardwood Floors
Modified: January 8, 2024
Learn how to install hardwood floors with these informative articles. Follow our step-by-step guides to ensure a flawless installation process.
(Many of the links in this article redirect to a specific reviewed product. Your purchase of these products through affiliate links helps to generate commission for Storables.com, at no extra cost. Learn more)
Introduction
Welcome to this comprehensive guide on how to install hardwood floors. Hardwood floors add warmth, elegance, and value to any home, and with proper installation, they can last for decades. Whether you’re a seasoned DIY enthusiast or a beginner looking to take on a new project, this step-by-step guide will walk you through the process of installing hardwood floors like a pro.
Before we dive into the details, let’s cover the basics. Hardwood flooring refers to real wood boards that are typically made from oak, maple, cherry, or other hardwood species. The planks come in varying lengths, widths, and thicknesses, allowing for versatility in design and customization. Installing hardwood floors involves preparing the subfloor, selecting the right type of hardwood, acclimating the flooring, fitting the boards, and finishing the surface to achieve a flawless look.
While the idea of installing hardwood floors might seem intimidating, with the right tools, materials, and guidance, it can be a rewarding and enjoyable experience. So, let’s get started on this exciting journey of transforming your space with beautiful hardwood floors.
Key Takeaways:
- Properly preparing the subfloor, acclimating the hardwood flooring, and installing the first row are crucial steps in achieving a successful and professional hardwood floor installation.
- Sanding, finishing, and implementing regular maintenance practices are essential for preserving the beauty and longevity of hardwood floors, ensuring they remain a timeless and valuable addition to any home.
Read more: How To Install Hardwood Floors
Tools and Materials Needed
Before you begin installing hardwood floors, it’s crucial to gather all the necessary tools and materials. Here is a comprehensive list to ensure you have everything you need:
Tools:
- Measuring tape
- Pencil
- Chalk line
- Square
- Tapping block
- Pry bar
- Miter saw
- Jigsaw
- Table saw or circular saw
- Nail gun or hammer
- Flooring stapler or flooring nailer
- Drill with countersink bit
- Sanding machine
- Vacuum cleaner
- Painter’s tape
- Ear protection
- Safety goggles
- Knee pads
Materials:
- Hardwood flooring boards
- Underlayment
- Moisture barrier
- Finishing nails or staples
- Adhesive or glue
- Wood filler
- Flooring adhesive remover (if applicable)
- Sanding pads or discs
- Stain or finish
- Applicator brush or roller
- Baseboards and trim
Make sure to choose high-quality materials for the best results. When selecting hardwood flooring, consider the type of wood, its durability, finish options, and the overall aesthetic you want to achieve. Additionally, don’t forget to check the manufacturer’s recommendations for specific installation instructions and any additional tools or materials they may suggest.
Having all the necessary tools and materials at hand will help streamline the installation process and ensure a successful outcome. Now that you’re equipped let’s move on to preparing the subfloor before installing the hardwood floors.
Preparing the Subfloor
Before you can start installing hardwood floors, it’s vital to prepare the subfloor to ensure a sturdy and level surface. Here are the steps involved in preparing the subfloor:
- Clean the subfloor: Remove any debris, dust, or old flooring material from the subfloor. Sweep or vacuum the area thoroughly to ensure a clean surface.
- Inspect for moisture: Check the moisture levels of the subfloor using a moisture meter. Ideally, the subfloor’s moisture content should be within the acceptable range specified by the hardwood flooring manufacturer. If the moisture levels are too high, consider using a moisture barrier or addressing any underlying moisture issues before proceeding.
- Repair any damage: Inspect the subfloor for any damage such as squeaks, loose boards, or protruding nails. Repair any issues by reinforcing loose boards, securing squeaky areas, and removing or hammering in any protruding nails or staples.
- Level the subfloor: Use a leveling compound to even out any uneven areas on the subfloor. Follow the manufacturer’s instructions for mixing and applying the compound, and ensure it is completely dry and cured before proceeding.
- Install underlayment: Depending on the type of hardwood flooring you’re installing, you may need to add an underlayment for added cushioning, moisture protection, or sound insulation. Check the manufacturer’s recommendations and install the underlayment according to their instructions.
- Check for squeaks: Walk around the subfloor to identify any squeaky areas. Use a screwdriver or flooring nail to secure the subfloor to the joists and eliminate any squeaks. Take care not to over-tighten, as it can cause damage to the subfloor.
Preparing the subfloor is an essential step that sets the foundation for a successful hardwood floor installation. A clean, level, and secure subfloor ensures that your hardwood floors will have an even and stable base to adhere to. Once the subfloor preparation is complete, you’re ready to move on to choosing the right hardwood flooring for your project.
Choosing the Right Hardwood Flooring
When it comes to choosing hardwood flooring for your project, there are a few factors to consider to ensure you make the right choice. Here are some key considerations to keep in mind:
1. Wood Species:
There are numerous wood species available for hardwood flooring, each with its unique characteristics. Common options include oak, maple, cherry, walnut, and hickory. Consider factors such as durability, color variation, and grain patterns to choose a species that suits your preferences and complements your overall interior design.
2. Solid vs. Engineered Hardwood:
You’ll need to decide between solid hardwood and engineered hardwood. Solid hardwood is made from a single piece of wood and offers longevity, as it can be sanded and refinished multiple times. Engineered hardwood consists of a thin layer of real wood on top of plywood, making it more resistant to moisture and suitable for areas with fluctuating humidity levels.
3. Width and Thickness:
The width and thickness of the hardwood planks can impact the overall aesthetics of the flooring. Thicker planks offer more stability and can help reduce the occurrence of warping or cupping. Wider planks can create a more expansive and visually appealing look, while narrower planks can provide a traditional or rustic appearance.
4. Finish and Texture:
Consider the finish options available for the hardwood flooring. You can choose between pre-finished boards, which are ready to install with a factory-applied finish, or unfinished boards that require on-site staining and finishing. Additionally, consider the texture of the flooring, whether you prefer smooth, wire-brushed, hand-scraped, or distressed surfaces.
5. Budget and Maintenance:
Take into account your budget, including the cost of the flooring materials, installation, and long-term maintenance. Some wood species and finishes may be more expensive than others. Additionally, consider the maintenance requirements of different hardwood flooring options, as some may require regular refinishing or special care.
By carefully considering these factors, you can choose hardwood flooring that meets your aesthetic preferences, lifestyle needs, and budget. Remember to consult with experts or flooring professionals to gain insights and recommendations based on the specific requirements of your space and installation project.
With the right hardwood flooring chosen, the next step is to acclimate the flooring to its new environment before installation.
Acclimating the Hardwood Flooring
Acclimating hardwood flooring is a crucial step that ensures the stability and longevity of the flooring once installed. Acclimation refers to allowing the hardwood planks to adjust to the humidity and temperature of their new environment. Here’s how to properly acclimate hardwood flooring:
1. Read the Manufacturer’s Guidelines:
Check the manufacturer’s instructions or guidelines that come with the hardwood flooring. They will provide specific information on the acclimation period required for the specific type of hardwood you’ve chosen.
2. Store the Flooring in the Installation Area:
Bring the hardwood flooring into the room where it will be installed, and allow it to adjust to the temperature and humidity conditions of that space. This process typically takes around 2 to 3 days but can vary based on the manufacturer’s recommendations and the climate in your area.
3. Leave Proper Space for Air Circulation:
Stack the hardwood planks in small piles, leaving enough space between each pile for air circulation. This allows the air to flow over and around the boards, helping them acclimate evenly.
4. Maintain Ideal Conditions:
During the acclimation period, it’s important to maintain the ideal conditions in the room. The temperature should be set to the average living temperature of your home, typically between 60°F to 80°F (15°C to 27°C). The humidity levels should also be consistent with the normal range of your living environment, usually between 35% to 55%.
5. Monitor Moisture Levels:
Use a moisture meter to regularly check the moisture levels of both the subfloor and the acclimating hardwood flooring. The readings should stabilize and match the manufacturer’s specifications before installation. It’s important to note that the moisture content of the hardwood flooring should be within 2% of the subfloor’s moisture content to prevent any issues in the future.
Properly acclimating the hardwood flooring allows the planks to adjust to the conditions of the installation area, reducing the risk of warping, shrinking, or expanding after installation. This step ensures a more stable and durable floor for years to come.
Now that you’ve acclimated the hardwood flooring, it’s time to move on to the installation process. In the next section, we’ll guide you through installing the first row of flooring.
Read more: How To Install Engineered Hardwood Floor
Installing the First Row of Flooring
Installing the first row of hardwood flooring is a critical step that sets the foundation for the rest of the installation. Follow these steps to ensure a smooth and precise installation:
1. Prepare the Subfloor:
Ensure the subfloor is clean, flat, and ready for installation. Remove any debris or obstacles that may interfere with the installation process.
2. Measure and Mark:
Measure the width of the room and determine the center point. Starting from the center, use a chalk line or straightedge to create a reference line across the room parallel to the longest wall.
3. Install the Underlayment:
If using an underlayment, follow the manufacturer’s instructions to install it along the reference line. Secure the underlayment using the appropriate fasteners recommended by the manufacturer.
4. Lay the First Row:
Place the first row of hardwood planks along the reference line, with the groove side facing the wall. Use spacers between the planks and the wall, maintaining a gap of approximately 1/2 inch for expansion. This gap will later be covered by baseboards or trim.
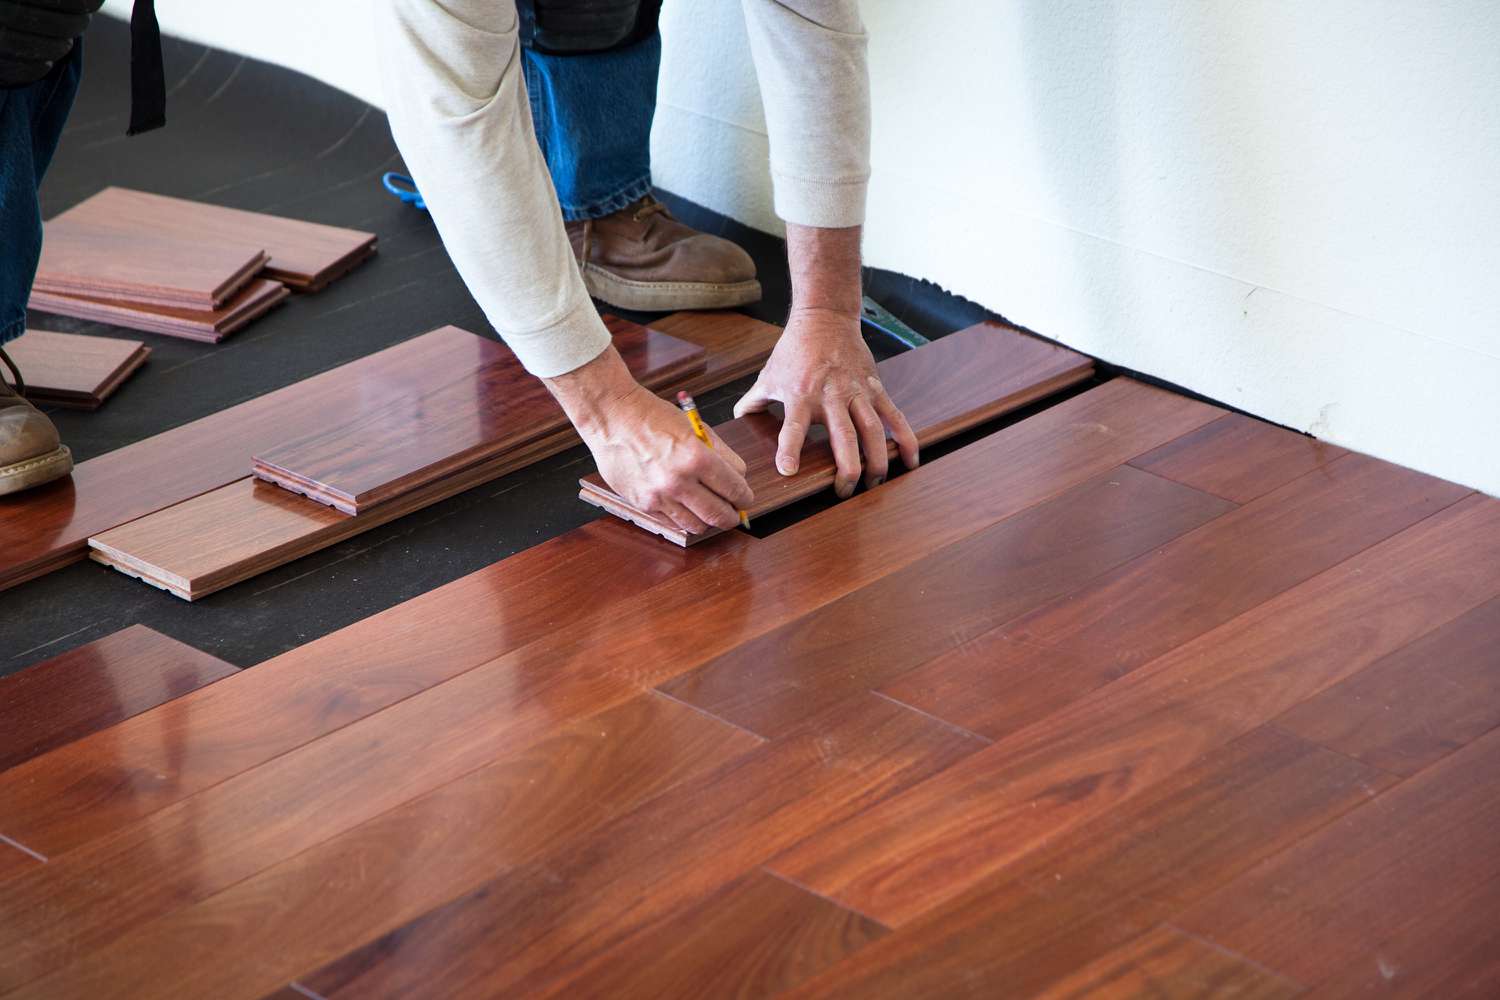
5. Cut the Last Piece of the First Row:
Measure and mark the length needed for the last plank of the first row, ensuring that it fits seamlessly against the wall. Use a miter saw or circular saw to make the cut, ensuring a precise and clean edge.
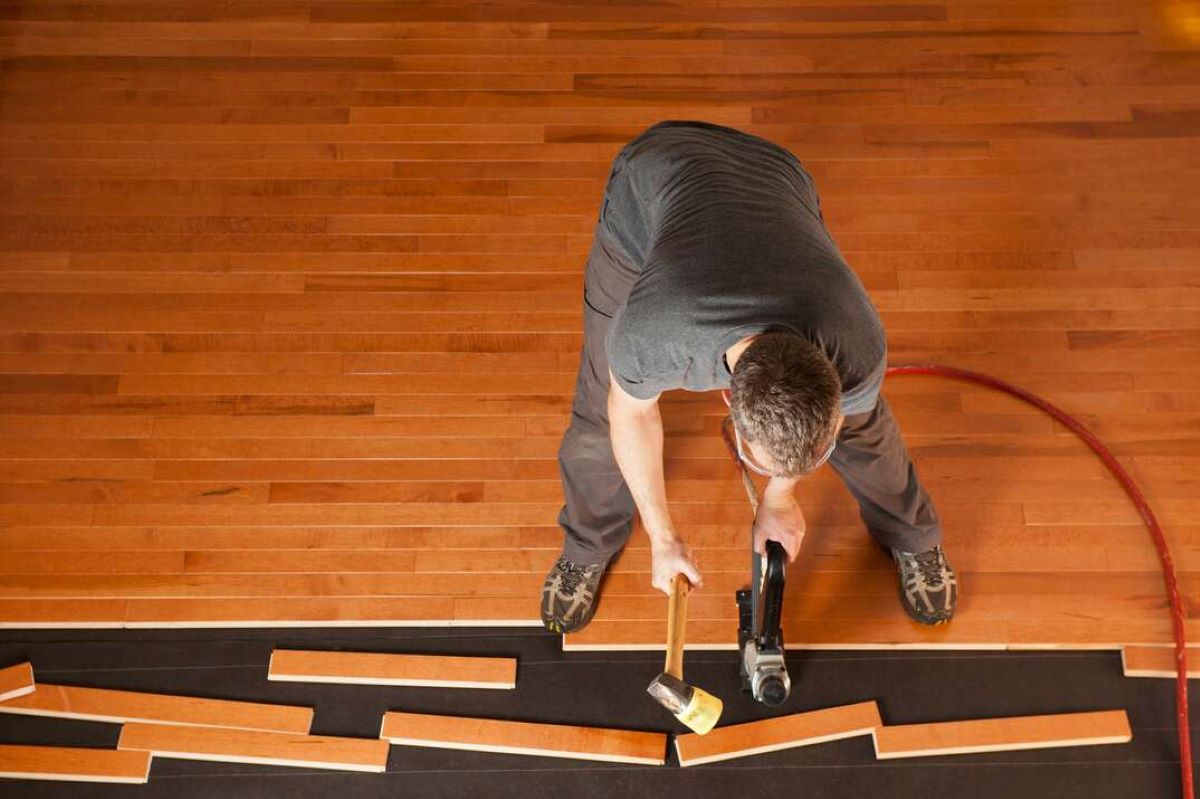
6. Install the First Row:
Apply an appropriate flooring adhesive or use a pneumatic nailer to secure the first row of planks to the subfloor. Follow the manufacturer’s guidelines for the recommended method of installation. Use glue or nails depending on the type of hardwood flooring you are installing.
7. Check for Level and Straightness:
Use a level and a straightedge to ensure the first row is level and aligned with the reference line. Any slight variation could affect the overall look and alignment of the entire flooring installation.
Once the first row is installed securely, you can proceed to lay the subsequent rows of hardwood flooring, ensuring a tight fit and staggered joints. Remember to leave expansion gaps at the end of each row and maintain a consistent spacing between the boards.
The installation process requires care, precision, and attention to detail. By correctly laying the first row of flooring, you’ll establish a solid foundation and set the stage for a seamless installation. In the following section, we’ll guide you through installing the remaining rows of hardwood flooring.
Before installing hardwood floors, make sure the subfloor is clean, level, and dry. Use a moisture barrier if necessary to prevent warping.
Installing the Remaining Rows
With the first row of hardwood flooring installed, you’re ready to proceed with installing the remaining rows. Follow these steps to ensure a smooth and professional installation:
1. Stagger the Joints:
To create an aesthetically pleasing and structurally sound floor, it’s important to stagger the end joints between adjacent rows. This helps to distribute weight and minimize any visible pattern. The general rule is to avoid aligning joints more closely than every third row.
2. Apply Adhesive (if necessary):
If you’re using an adhesive to secure the hardwood flooring, apply a thin and even layer on the subfloor before installing each row. Follow the manufacturer’s instructions for the recommended adhesive and application method.
3. Install the Next Rows:
Starting from the side of the room where the first row was installed, lay the next row of hardwood planks against the previous row at a slight angle. Use a tapping block and a mallet to gently tap the board into place, ensuring a tight fit with the previous row.
4. Use the Pull Bar:
As you install each row, you may encounter areas where you don’t have enough space to use the tapping block. In these instances, use a pull bar to pull the row snugly against the previous row. This will ensure a tight fit without causing any damage to the boards.
5. Cut and Fit the Last Plank of Each Row:
Measure and mark the length needed for the last plank of each row, leaving an appropriate expansion gap from the wall. Use a miter saw or circular saw to make the cuts, ensuring they are precise and fit well against the wall.
6. Maintain Consistent Spacing:
Throughout the installation process, make sure to maintain a consistent spacing between the boards. Use spacers to ensure uniform expansion gaps between the walls and the boards. This spacing is crucial to accommodate for natural expansion and contraction of the hardwood flooring.
7. Check for Levelness and Straightness:
Regularly check for levelness and straightness as you install each row. Use a level and a straightedge to ensure the boards are properly aligned and maintain a consistent and level surface.
Continue installing the remaining rows of hardwood flooring following these steps. Take your time, and pay attention to detail to ensure a professional-looking installation. Once all the rows are in place, you can move on to cutting and fitting the boards as necessary.
In the next section, we’ll guide you through the process of cutting and fitting hardwood boards for a precise and seamless look.
Cutting and Fitting the Boards
When installing hardwood flooring, it’s common to encounter areas where you need to cut and fit the boards to accommodate corners, doorways, or irregularities in the room. Here’s a step-by-step guide on cutting and fitting hardwood boards:
1. Measure and Mark:
Measure the space where a board needs to be cut, accounting for any necessary expansion gaps. Mark the measurements on the board using a pencil or chalk.
2. Use the Proper Tools:
Depending on the cut required, you’ll need to use either a miter saw, circular saw, or jigsaw. Ensure that you have the appropriate blade for the type of cut you’re making. Follow the manufacturer’s instructions and practice safety precautions when using power tools.
3. Make Straight Cuts:
For straight cuts along the length of the hardwood boards, a miter saw or circular saw is typically used. Set the saw to the correct angle and depth, align the mark with the saw blade, and carefully make the cut.
4. Cut Notches and Curves:
For notches and curves, such as around doorways or irregular shapes, you’ll need to use a jigsaw. Drill a starter hole near the edge of the area to be cut, insert the jigsaw blade into the hole, and carefully follow the marked line as you make the cut.
5. Test the Fit:
Once you’ve made the necessary cuts, test the fit of the board in the space where it’s needed. Make any additional adjustments if needed to ensure a snug and seamless fit.
6. Secure the Cut Boards:
Apply adhesive or use a pneumatic nailer to secure the cut boards in place. Follow the manufacturer’s guidelines for the recommended method of installation.
7. Repeat the Process:
Continue measuring, marking, cutting, and fitting boards as you progress through the installation. Take your time to ensure accurate cuts and precise fits for a professional-looking installation.
Remember to handle power tools with caution and wear appropriate safety gear such as safety goggles and ear protection. Take frequent breaks to rest your hands and minimize fatigue, ensuring the accuracy of your cuts.
Once you have all the boards cut and fitted, you can move on to installing the baseboards and trim to complete the look of your hardwood flooring installation.
Installing Baseboards and Trim
Installing baseboards and trim is the final step in completing the installation of hardwood floors. Baseboards and trim not only enhance the overall aesthetic appeal of the flooring but also help cover the expansion gaps and provide a finished look. Here’s how to install baseboards and trim:
1. Measure and Cut:
Measure the length needed for each baseboard and trim piece, taking into account any corners or angles. Use a miter saw or a coping saw to make precise cuts at the appropriate angles for inside and outside corners.
2. Pre-paint or Stain (Optional):
If desired, pre-paint or stain the baseboards and trim before installation. This allows for easier application and ensures a smooth and consistent finish. Allow sufficient drying time before handling.
3. Attach Baseboards:
Start with the longest wall and use a level to ensure the baseboards are straight. Apply a thin bead of adhesive along the backside of the baseboard and secure it to the wall using finishing nails or a nail gun. Repeat this process for each baseboard, ensuring a snug and secure fit.
4. Install Trim:
Attach trim pieces, such as shoe molding or quarter-round, to cover the expansion gap between the baseboard and the hardwood flooring. Use finishing nails or a nail gun to secure them to the baseboard and the subfloor, following the contour of the floor. If necessary, use a miter saw or coping saw to achieve precise cuts for the trim.
5. Fill Nail Holes and Gaps:
Once all the baseboards and trim are installed, fill any nail holes or gaps with wood filler. Allow the filler to dry completely, then sand it down until smooth. Wipe away any excess dust before proceeding.
6. Touch up Paint or Stain:
If the baseboards and trim were pre-painted or stained, touch up any areas that may have been affected during the installation process. Use a small brush or applicator to blend the touch-up paint or stain with the rest of the surface.
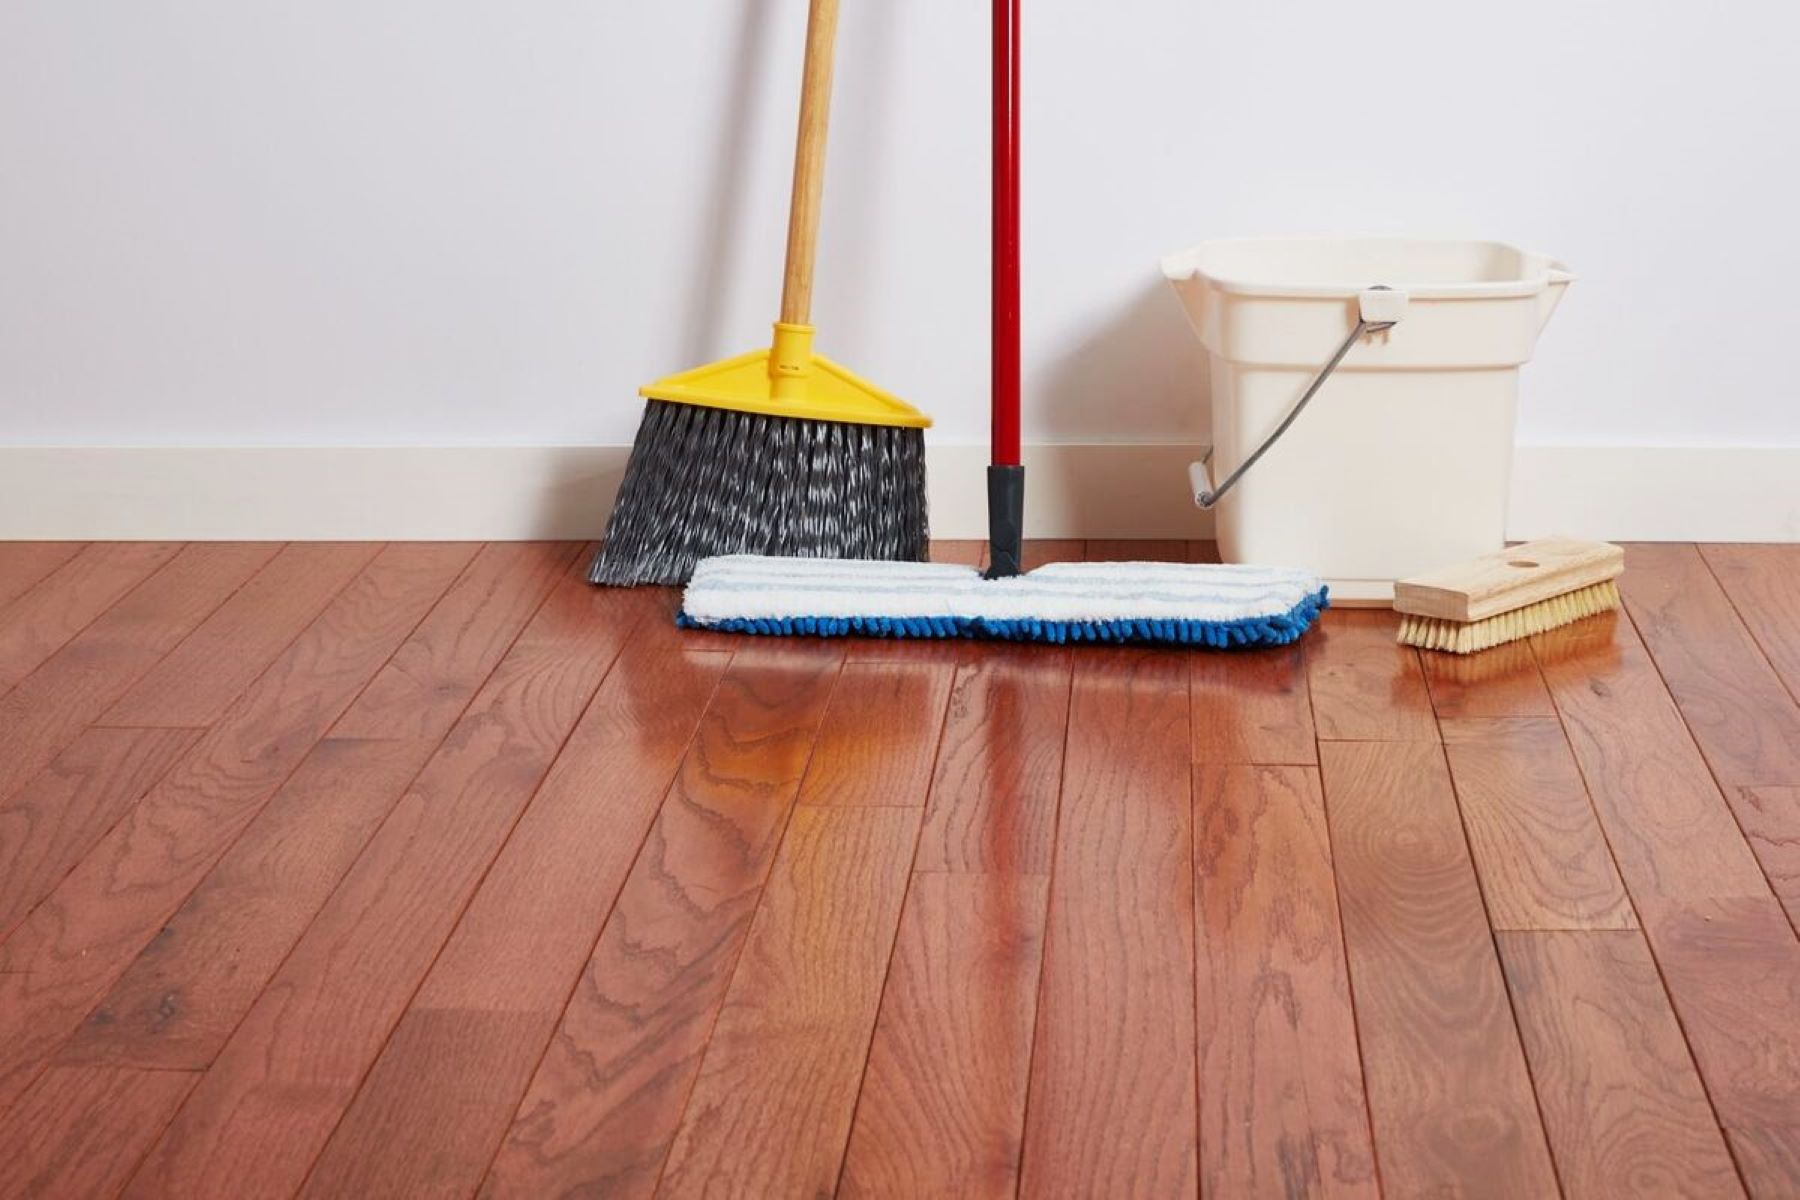
7. Clean the Floor:
After installation, thoroughly clean the hardwood flooring to remove any dust or debris that may have accumulated during the installation process. Use a vacuum cleaner or a soft-bristled broom to ensure a clean and polished finish.
Installing baseboards and trim provides the final touch to your hardwood flooring installation, giving it a polished and professional look. With the baseboards and trim in place, your new hardwood floors are now ready for the next step: sanding and finishing.
Sanding and Finishing the Hardwood Floors
Sanding and finishing the hardwood floors is a crucial step that enhances their durability, appearance, and overall longevity. It involves smoothing the surface, removing imperfections, and applying a protective finish. Here’s a step-by-step guide on sanding and finishing hardwood floors:
1. Prep the Area:
Clear the room of all furniture, rugs, and debris. Close off the area to prevent dust from spreading to other parts of the house. Cover any vents or openings to minimize dust infiltration.
2. Start with Coarse Grit Sandpaper:
Begin the sanding process with a coarse grit sandpaper, such as 36 or 40 grit. Use a drum sander or a floor buffer with a sanding screen attached. Sand the entire floor in the direction of the wood grain, overlapping each pass to ensure even sanding. Take care not to linger in one spot for too long to avoid creating indentations.
3. Sand Edges and Corners:
Use an edge sander to sand the areas that the drum sander couldn’t reach, such as close to walls, corners, and edges. For tight corners and edges, hand sand using a sanding block wrapped with sandpaper.
4. Progress to Medium and Fine Grits:
After sanding with the coarse grit, progress to medium grit sandpaper, such as 60 or 80 grit, and then to fine grit sandpaper, such as 100 or 120 grit. Repeat the sanding process, gradually refining the surface until it is smooth and free of visible scratches or marks. Remember to sand in the direction of the wood grain.
5. Remove Dust:
Thoroughly vacuum and sweep the sanded surface to remove all dust. Use a damp cloth to wipe the surface, ensuring that no loose particles remain. Allow the floor to dry completely before moving on to the next step.
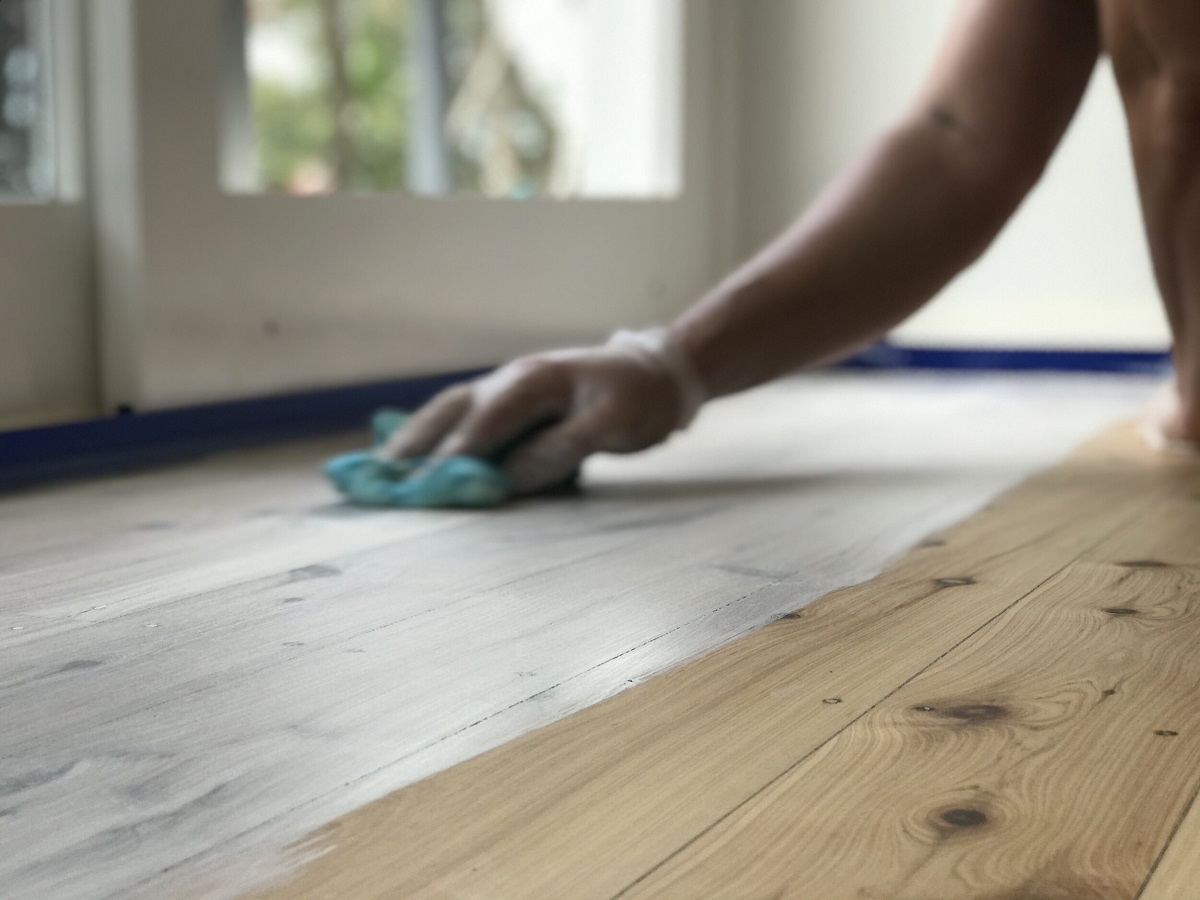
6. Apply Wood Finish:
Choose the appropriate wood finish, such as polyurethane, oil-based, or water-based, based on your preferences and the manufacturer’s recommendations. Apply the finish using a brush or roller, working in small sections. Follow the manufacturer’s guidelines regarding drying time and the number of coats needed for optimal protection and appearance.
7. Allow for Drying and Curing:
Give the floors ample time to dry and cure. Follow the manufacturer’s instructions for the specific drying and curing times of the chosen finish. Avoid walking on the floors or placing furniture on them until they have fully cured to avoid any damage to the finish.
By properly sanding and finishing the hardwood floors, you’ll achieve a smooth, sleek surface that enhances the natural beauty of the wood and provides long-lasting protection against daily wear and tear.
Once the floors are fully dried and cured, you can complete the installation process by performing final steps and implementing proper maintenance practices for your newly installed hardwood floors.
Final Steps and Maintenance Tips
Congratulations on successfully installing and finishing your hardwood floors! To ensure they remain beautiful and durable for years to come, here are some final steps and maintenance tips to follow:
1. Perform a Visual Inspection:
Once the floors are fully dried and cured, perform a thorough visual inspection. Check for any imperfections, scratches, or areas that may require touch-ups or additional attention.
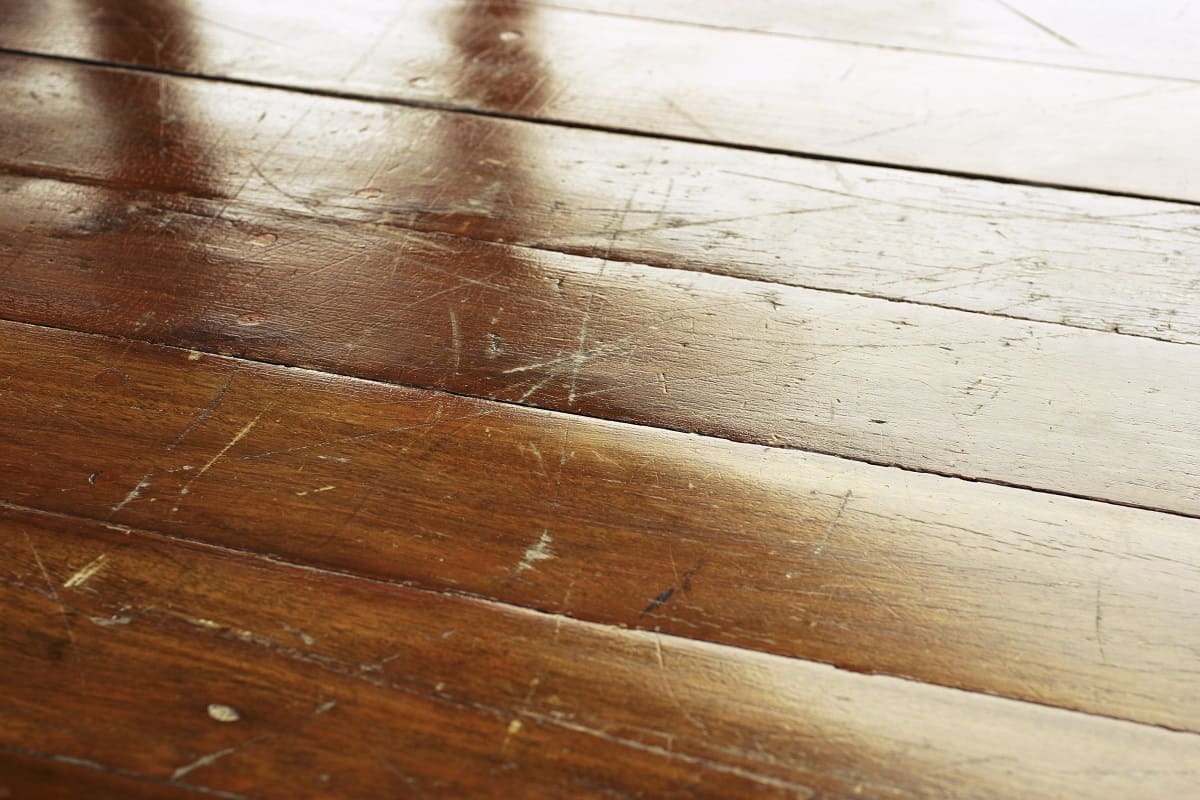
2. Install Furniture Pads:
Protect your hardwood floors from furniture damage by installing furniture pads or felt glides on the bottom of chairs, tables, and other heavy furniture. This will prevent scratches and reduce the risk of gouging or indentations.
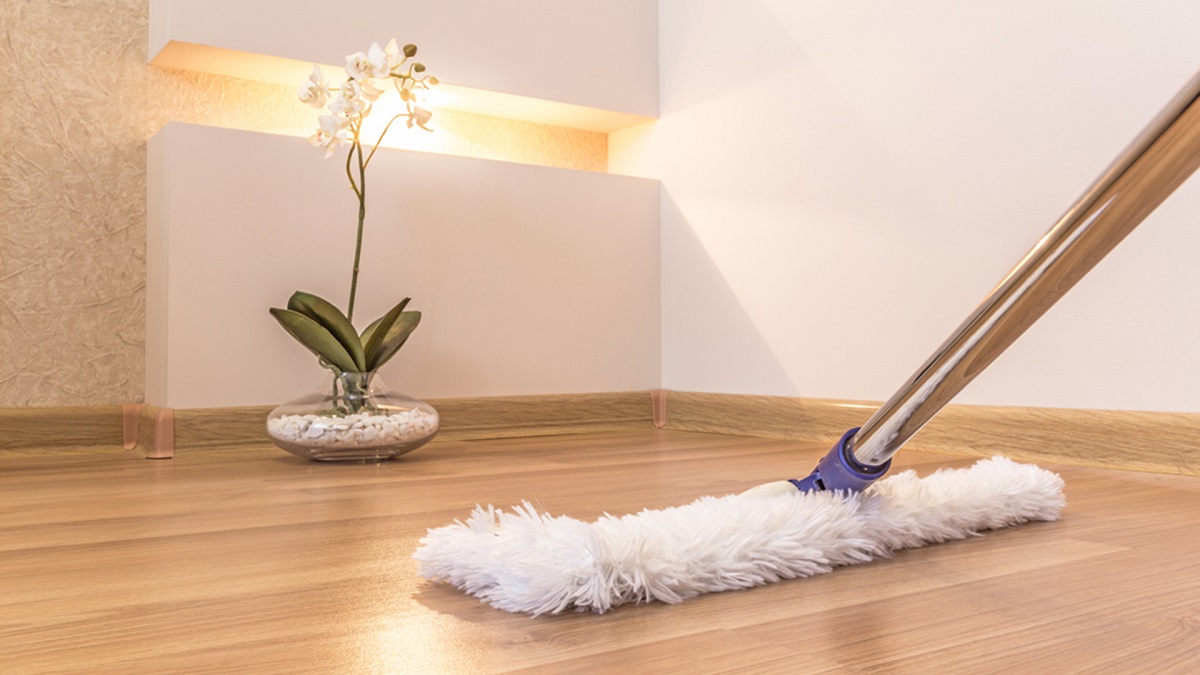
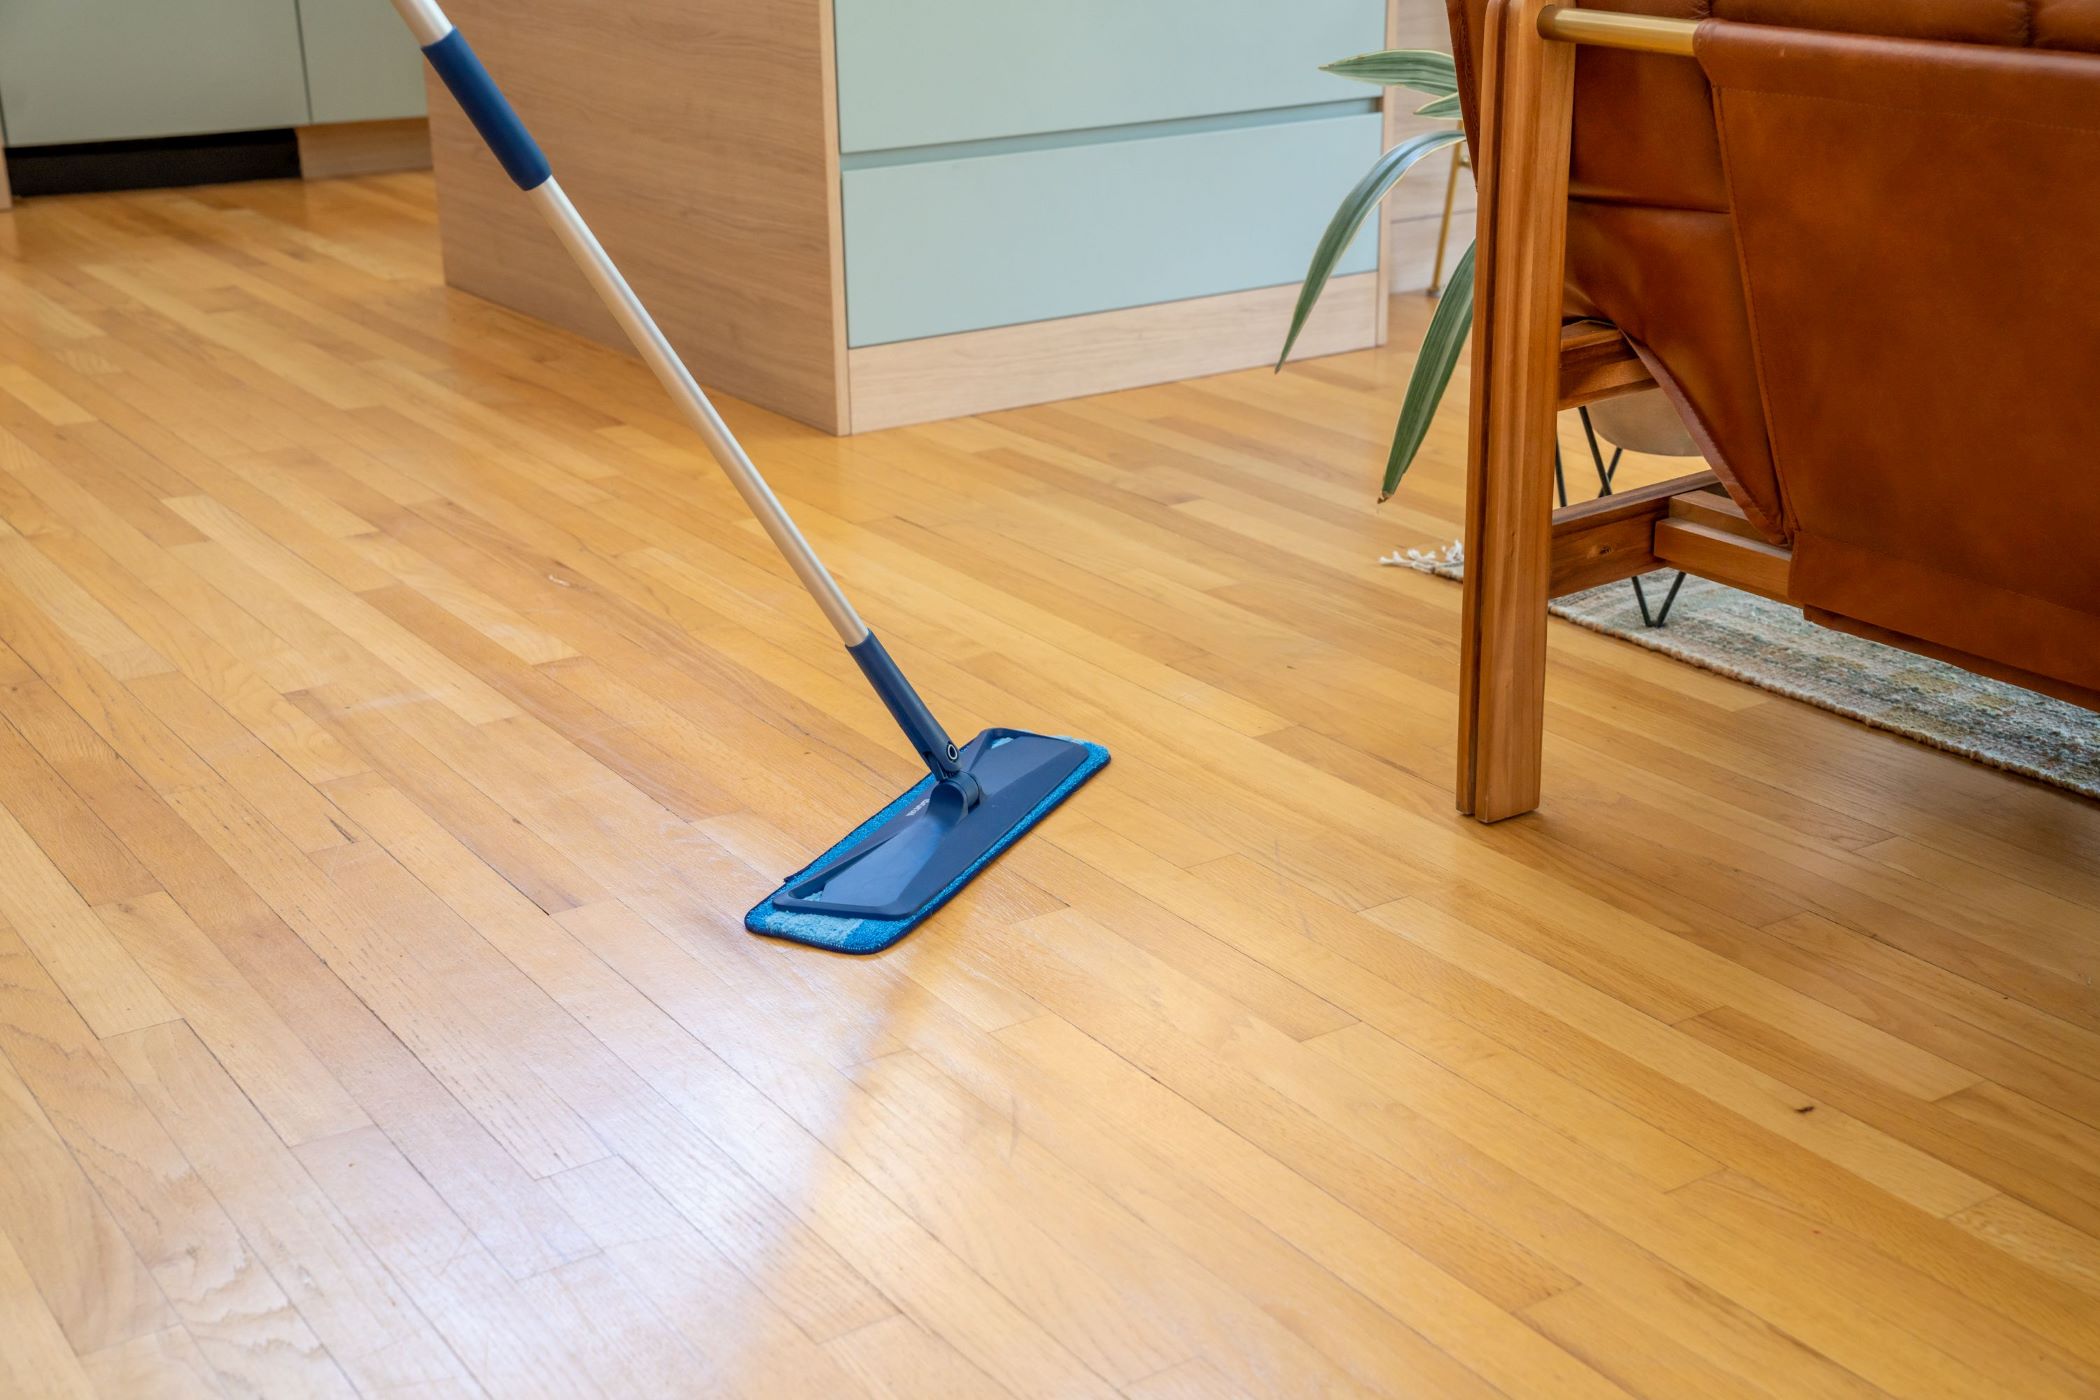
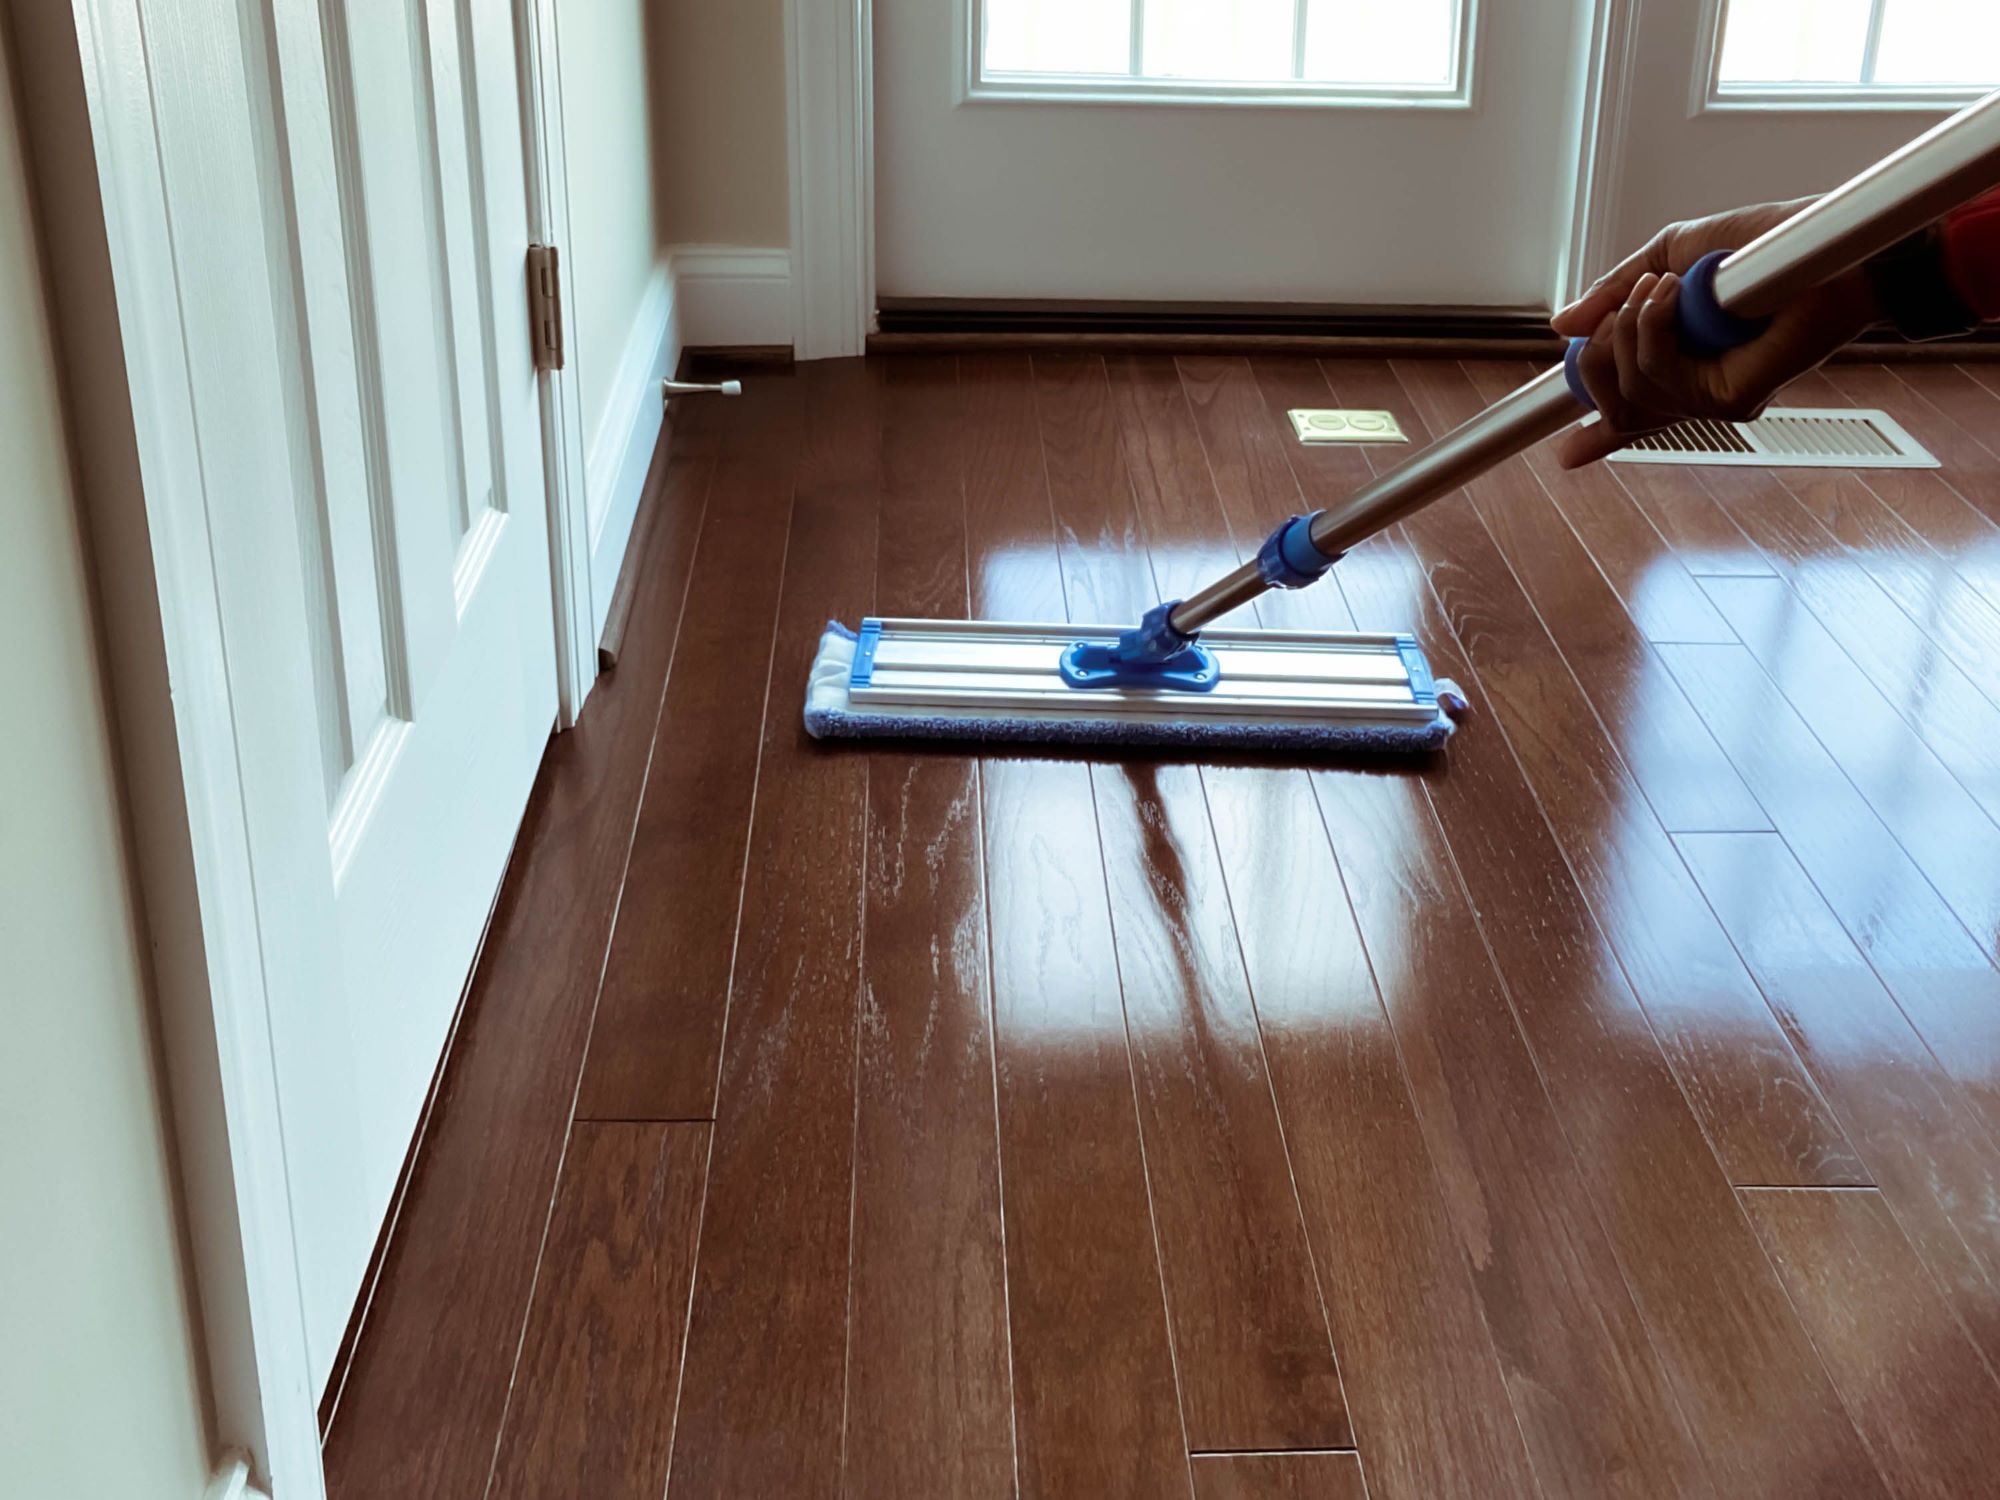
3. Implement Regular Cleaning:
Regular cleaning is essential to maintain the beauty of your hardwood floors. Use a soft-bristle broom or a vacuum cleaner with a hardwood floor attachment to remove dust, dirt, and debris. Avoid using abrasive cleaners, harsh chemicals, or excessive water that can damage the finish or penetrate the wood.
4. Clean Spills Immediately:
Accidents happen, so it’s important to clean up spills promptly. Use a slightly damp cloth or paper towel to blot spills and avoid excessive moisture. Wipe the area dry afterward to prevent water damage or staining.
5. Avoid Excessive Moisture:
Wood is naturally susceptible to moisture, so it’s crucial to avoid excessive exposure. Use mats or rugs near entryways, particularly during rainy or snowy seasons, to prevent tracked-in moisture. Wipe up any spills or moisture immediately to prevent warping or cupping of the boards.
6. Maintain Humidity Levels:
Wood expands and contracts with changes in humidity, so maintain consistent humidity levels in your home. Use a humidifier in dry climates or during the winter months to prevent the wood from drying out. Similarly, use a dehumidifier in humid environments to minimize excessive moisture.
7. Schedule Regular Maintenance:
Periodically inspect and maintain your hardwood floors. This can include reapplying finish or touch-ups in high-traffic areas or where there may be wear and tear. Consult with a professional or flooring specialist for guidance on proper maintenance practices based on your specific hardwood flooring.
By following these final steps and maintenance tips, you’ll ensure that your hardwood floors remain in excellent condition for many years to come. With proper care, your beautiful hardwood floors will continue to add warmth, elegance, and value to your home.
Thank you for using this comprehensive guide on how to install hardwood floors. Enjoy your new flooring and the beauty it brings to your living space!
Conclusion
Congratulations! You’ve reached the end of this comprehensive guide on how to install hardwood floors. By following the step-by-step instructions provided, you have acquired the knowledge and skills necessary to undertake this rewarding project and transform your space with the timeless beauty of hardwood flooring.
We began by discussing the tools and materials you will need, ensuring that you’re well-prepared to tackle the installation. Then, we delved into the crucial steps of preparing the subfloor, selecting the right hardwood flooring, acclimating the materials, and installing the first row.
We then guided you through the process of installing the remaining rows, cutting and fitting the boards, and installing baseboards and trim to achieve a polished and professional look. Finally, we covered the essential steps of sanding and finishing the hardwood floors, providing the finishing touch that enhances their durability and appearance.
Remember, proper maintenance is key to preserving the beauty and longevity of your hardwood floors. By implementing regular cleaning routines, protecting the floors from furniture damage, and maintaining consistent humidity levels in your home, you can enjoy the benefits of your hardwood flooring for years to come.
Should you have any specific concerns or unique requirements during your hardwood floor installation, it’s always a good idea to consult with professionals or flooring experts who can provide guidance and support tailored to your specific needs.
Thank you for embarking on this journey with us. We hope that this guide has empowered you with the necessary knowledge and skills to install hardwood floors and create a stunning foundation for your living space. Enjoy the beauty and warmth that hardwood flooring brings to your home!
Frequently Asked Questions about How To Install Hardwood Floors
Was this page helpful?
At Storables.com, we guarantee accurate and reliable information. Our content, validated by Expert Board Contributors, is crafted following stringent Editorial Policies. We're committed to providing you with well-researched, expert-backed insights for all your informational needs.


0 thoughts on “How To Install Hardwood Floors”