Home>Storage Ideas>Living Room Storage>How To Clean Hardwood Floors For A Polished Look
Living Room Storage
How To Clean Hardwood Floors For A Polished Look
Modified: March 24, 2024
Discover the best methods for cleaning hardwood floors in your living room. Achieve a polished look with effective tips and techniques for maintaining your flooring. Find stylish storage solutions for your living room.
(Many of the links in this article redirect to a specific reviewed product. Your purchase of these products through affiliate links helps to generate commission for Storables.com, at no extra cost. Learn more)
Introduction
Hardwood floors are not only beautiful but also add a touch of elegance to any living space. However, to maintain their shine and extend their lifespan, regular cleaning is essential. Cleaning hardwood floors may seem like a daunting task, but with the right approach and supplies, you can easily achieve a polished look.
In this article, we will guide you through the process of cleaning hardwood floors step by step. We will cover everything from choosing the right cleaning products to applying a hardwood floor polish. By following our tips and incorporating them into your cleaning routine, you can keep your hardwood floors looking pristine and ensure their longevity.
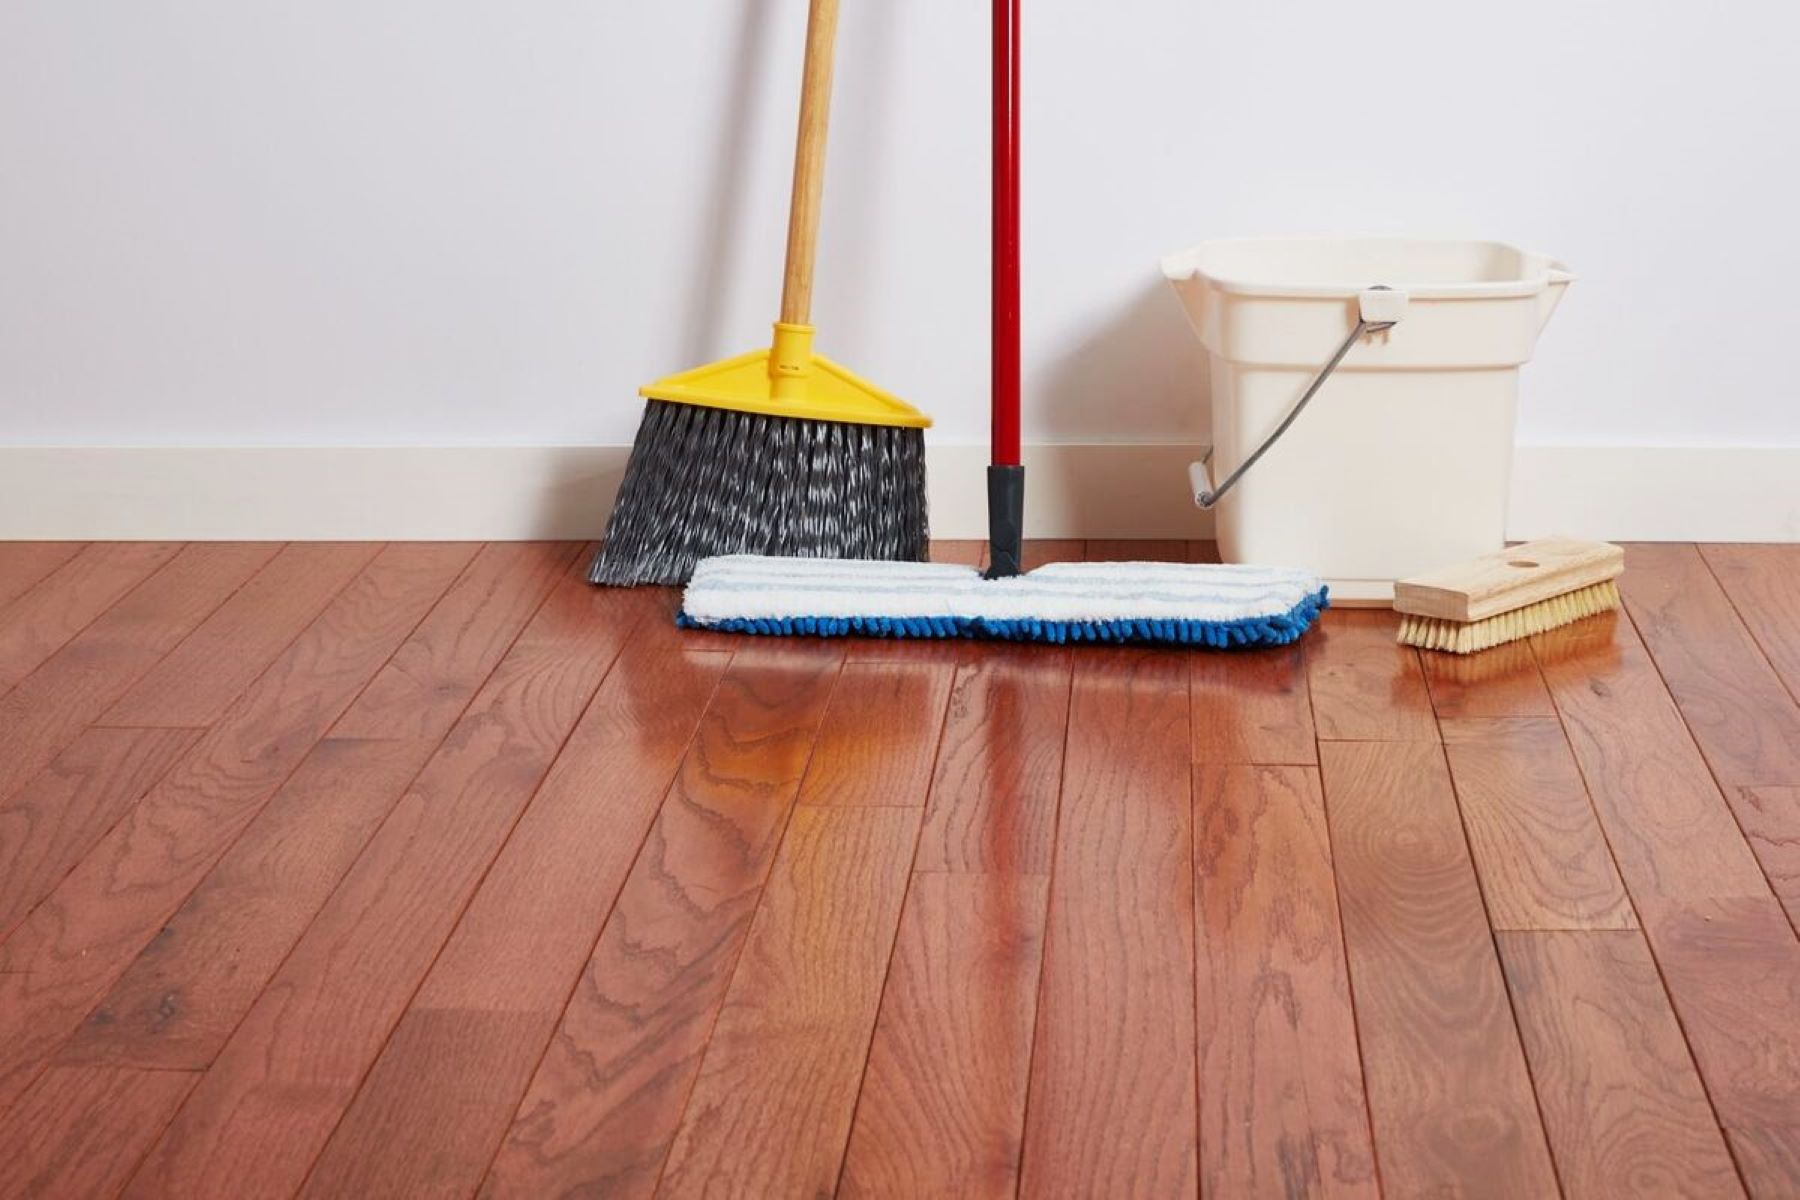
Before we dive into the details, let’s first gather the supplies you’ll need:
- Broom or vacuum cleaner with a soft brush attachment
- Microfiber mop
- Mild hardwood floor cleaner
- Bucket
- Warm water
- Soft cloth or mop pads for drying
- Hardwood floor polish (optional)
Now that you have everything you need, let’s get started with the first step of cleaning your hardwood floors: sweeping or vacuuming.
Key Takeaways:
- Regularly sweep or vacuum your hardwood floors to prevent scratching and maintain a clean base for the cleaning process. Choose a mild hardwood floor cleaner and mix the solution carefully to avoid excess water and potential damage to the wood.
- Address stubborn stains promptly with appropriate cleaning methods to maintain the pristine look of your hardwood floors. Incorporate daily maintenance tips such as wiping up spills immediately and using furniture pads to protect the floors from wear and tear.
Read more: How To Clean A Hardwood Floor
Supplies Needed
Before you begin cleaning your hardwood floors, make sure you have the following supplies on hand:
- Broom or Vacuum cleaner with a soft brush attachment: This is essential for removing loose dirt, dust, and debris from the surface of your hardwood floors. Choose a broom with soft bristles or use a vacuum cleaner with a soft brush attachment to prevent scratching the surface.
- Microfiber mop: A microfiber mop is ideal for cleaning hardwood floors as it is gentle and effective in picking up dirt and stains without causing any damage. Look for a mop with a washable and reusable microfiber pad.
- Mild hardwood floor cleaner: It is important to choose a cleaner specifically formulated for hardwood floors. Avoid using harsh chemicals or abrasive cleaners, as they can dull the finish and cause discoloration. Opt for a mild cleaner that is safe and gentle for your floors.
- Bucket: A bucket is necessary for mixing the cleaning solution and for rinsing the mop. Make sure the bucket is clean and free from any residues that may transfer onto your floors.
- Warm water: Warm water is typically used for diluting the cleaning solution and dampening the mop. Avoid using hot water as it can damage the finish of your hardwood floors.
- Soft cloth or mop pads for drying: After mopping, it is important to dry your hardwood floors thoroughly to prevent water damage. Use a soft cloth or mop pads specifically designed for hardwood floors to absorb any remaining moisture.
- Hardwood floor polish (optional): If you want to give your hardwood floors an extra shine and protection, you can use a hardwood floor polish. Look for a polish that is specifically designed for your type of flooring and follow the manufacturer’s instructions for application.
Having these supplies on hand before you start cleaning will ensure that you have everything you need to effectively and safely clean your hardwood floors.
Sweep or Vacuum the Floor
The first step in cleaning your hardwood floors is to remove loose dirt, dust, and debris. You can choose to either sweep or vacuum the floor, depending on your preference and the tools you have available.
If you prefer to sweep, use a broom with soft bristles to gently sweep the floor in long, sweeping motions. Start from one side of the room and work your way towards the other side. Be sure to reach into corners and along baseboards to remove any hidden dirt. Avoid using a broom with stiff bristles, as they can potentially scratch the floor surface.
If you prefer to use a vacuum cleaner, make sure to use a soft brush attachment specifically designed for hardwood floors. This attachment will prevent any scratching or damage to the surface. Slowly move the vacuum across the floor, overlapping each pass to ensure thorough cleaning. Pay attention to the edges and corners of the room, as these areas tend to accumulate more dirt and debris.
It is important to note that if your vacuum cleaner has a beater bar or rotating brush, it is recommended to turn it off or switch to a bare floor setting. The bristles of the beater bar can potentially scratch the hardwood surface.
By regularly sweeping or vacuuming your hardwood floors, you can prevent dirt and dust from scratching the surface and maintain a clean base for the next steps of the cleaning process.
Choose the Right Cleaner
Choosing the right cleaner is crucial for effectively cleaning your hardwood floors without causing any damage. It’s important to select a cleaner that is specifically formulated for use on hardwood surfaces. Avoid using generic or abrasive household cleaners, as they can strip the finish and leave your floors looking dull and lackluster.
When choosing a hardwood floor cleaner, look for a pH-neutral or mild formula that is designed to gently lift dirt and grime without leaving behind a residue. These types of cleaners are safe for use on most hardwood surfaces and won’t cause any discoloration or damage to the finish.
Additionally, consider the type of finish on your hardwood floors. If you have a waxed or oiled finish, be sure to choose a cleaner that is specifically formulated for waxed or oiled surfaces. Using the wrong cleaner can compromise the finish and make it more difficult to maintain the desired shine and appearance.
It’s also worth noting that some hardwood floor manufacturers may recommend specific cleaning products for their flooring. Check the manufacturer’s guidelines or website for any specific recommendations or considerations.
If you are unsure about which cleaner to use, you can always test it on a small, inconspicuous area of your hardwood floors before applying it to the entire surface. This will help you determine if the cleaner is suitable for your floors and whether it has any adverse effects.
By choosing the right cleaner for your hardwood floors, you can ensure that they are properly cleaned without causing any harm or compromising their appearance.
Mix the Cleaning Solution
Once you have chosen the right cleaner for your hardwood floors, it’s time to mix the cleaning solution. Most hardwood floor cleaners come in concentrated forms that need to be diluted with water.
Start by filling a bucket with warm water. Read the instructions on the cleaner’s label to determine the appropriate ratio of cleaner to water. Typically, it is recommended to use about 1/4 cup of cleaner for every gallon of water, but this may vary depending on the brand and specific product.
Pour the recommended amount of cleaner into the bucket of warm water, and gently stir the solution to ensure that the cleaner is thoroughly mixed. Be careful not to create excessive suds, as this can make it more challenging to rinse the floor later.
It’s essential to follow the manufacturer’s instructions when diluting the cleaning solution. Using too much cleaner can leave a residue on your hardwood floors, while using too little may not effectively clean the surface.
If you prefer using eco-friendly cleaning solutions, you can make your own hardwood floor cleaner by diluting vinegar with water. Mix equal parts of distilled white vinegar and warm water in a spray bottle. However, it’s important to note that vinegar is not suitable for all types of hardwood floors, so it’s best to check with the manufacturer or test it on a small area first.
Having a properly mixed cleaning solution will ensure that your hardwood floors are effectively cleaned and ready for the next step in the cleaning process.
Read more: How To Clean Area Rug On Hardwood Floor
Test the Cleaner on a Small Area
Before applying the cleaning solution to your entire hardwood floor, it is always a good idea to test it on a small, inconspicuous area first. This helps to ensure that the cleaner is safe for your specific type of hardwood and finish, and that it does not cause any adverse reactions.
Choose a small area, such as a corner or an area under furniture, to conduct the test. Dilute the cleaner according to the manufacturer’s instructions and apply a small amount to the designated spot. Use a clean cloth or mop to gently scrub the area and observe the results.
Pay close attention to any changes in the color or texture of the wood, or if there are any signs of damage or discoloration. If the cleaner seems to be causing any negative effects, such as leaving a residue or stripping the finish, discontinue use immediately.
If the test area shows no adverse effects and the cleaner effectively removes dirt and grime, you can proceed with confidence to clean the rest of your hardwood floors using the same cleaning solution.
Remember, different hardwood floor types and finishes may react differently to cleaning products, so it’s important to conduct this test to ensure the safety and integrity of your floors.
By testing the cleaner on a small area first, you can avoid any potential damage or unwanted outcomes and move forward with peace of mind as you clean your beautiful hardwood floors.
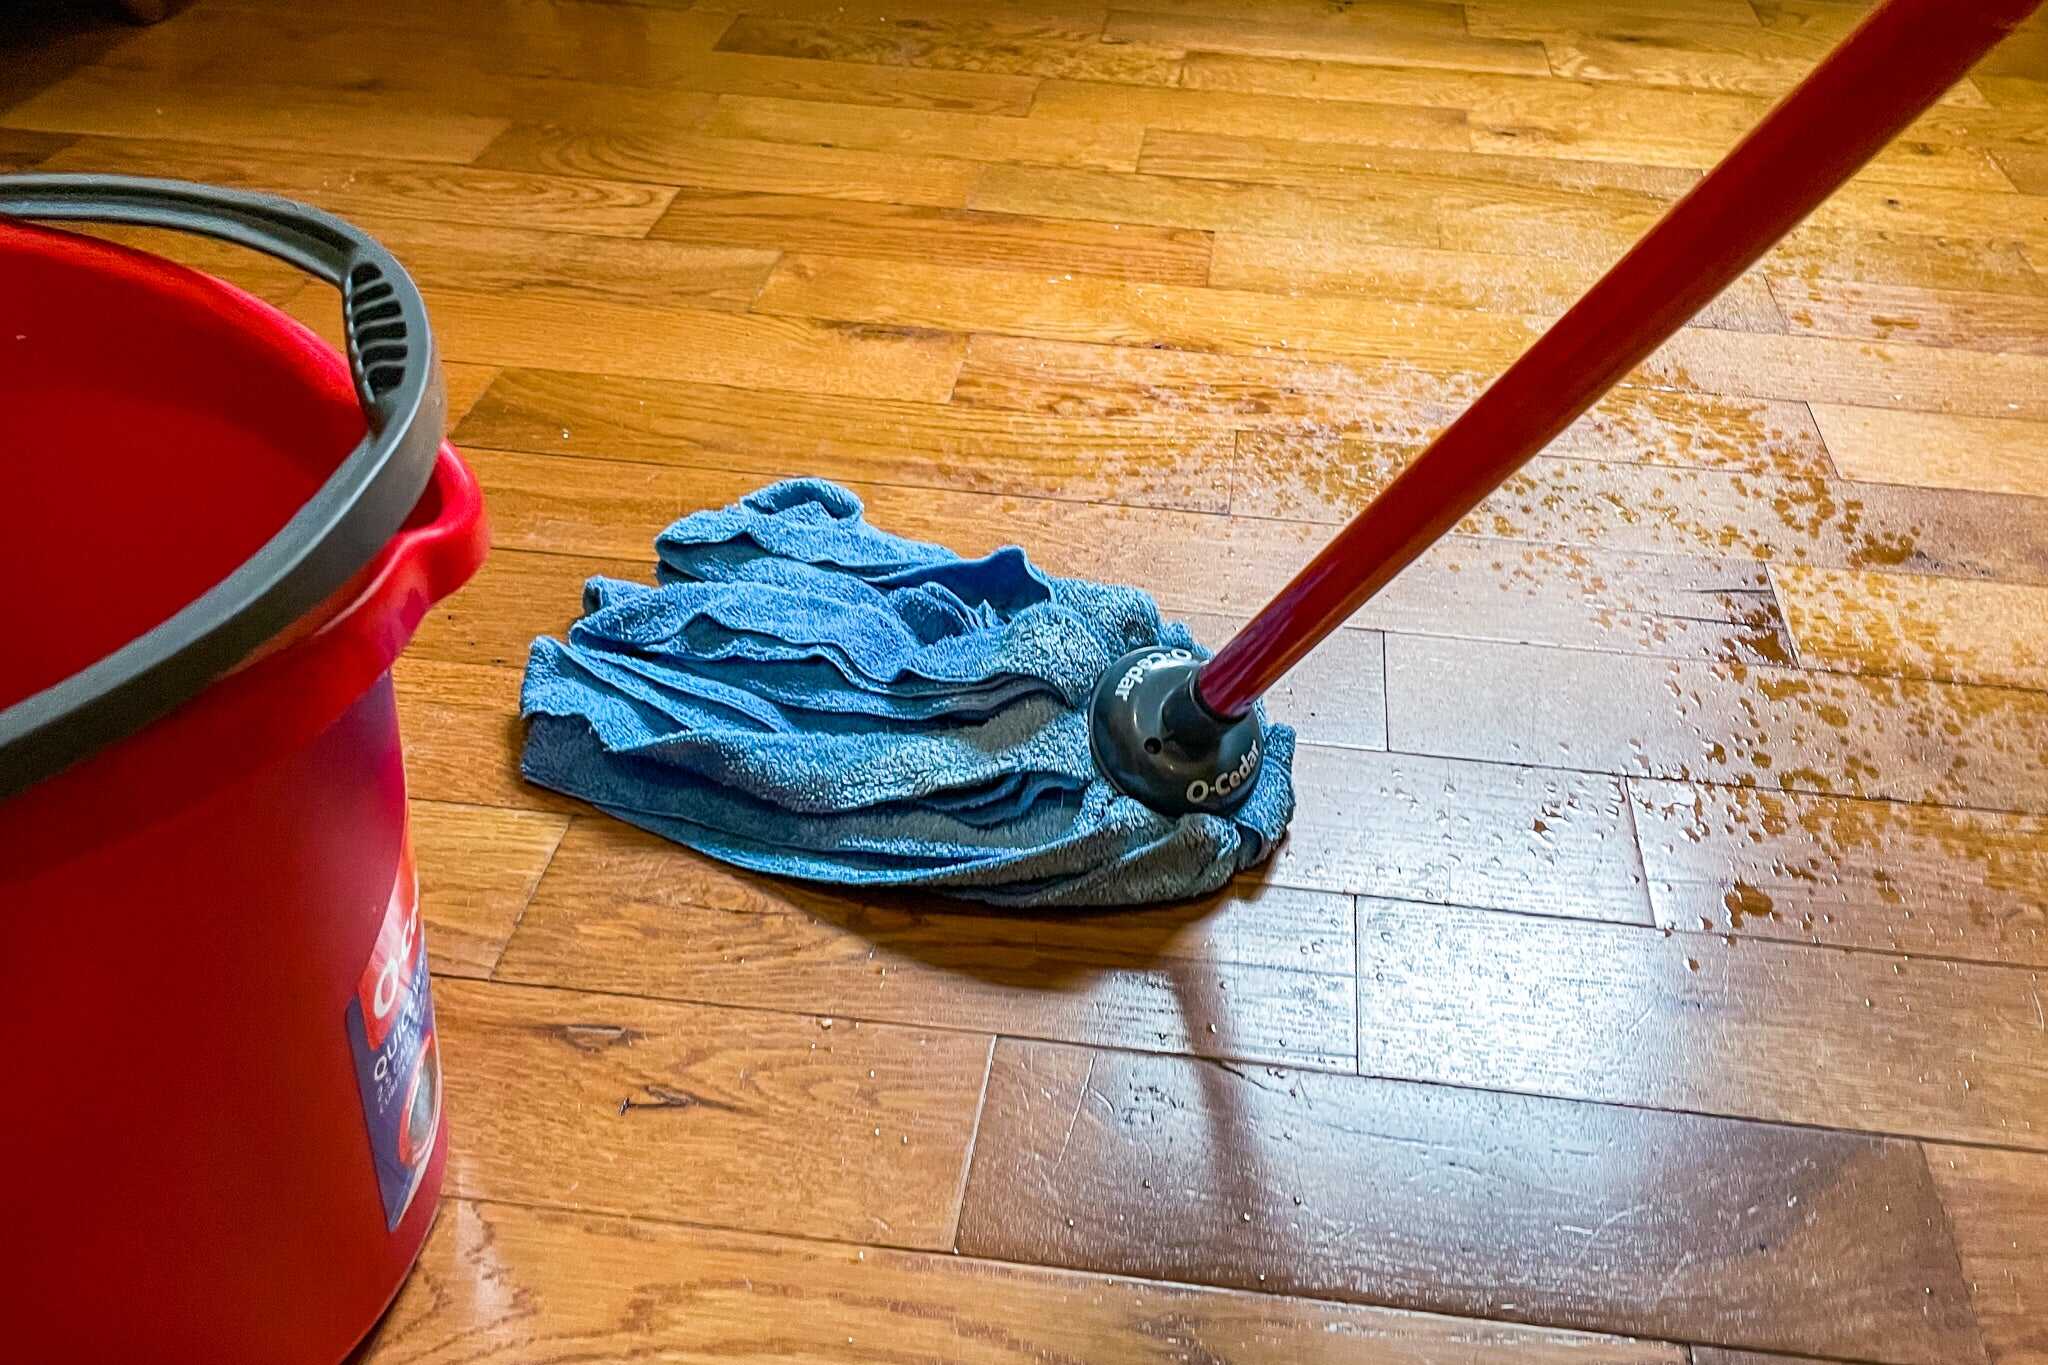
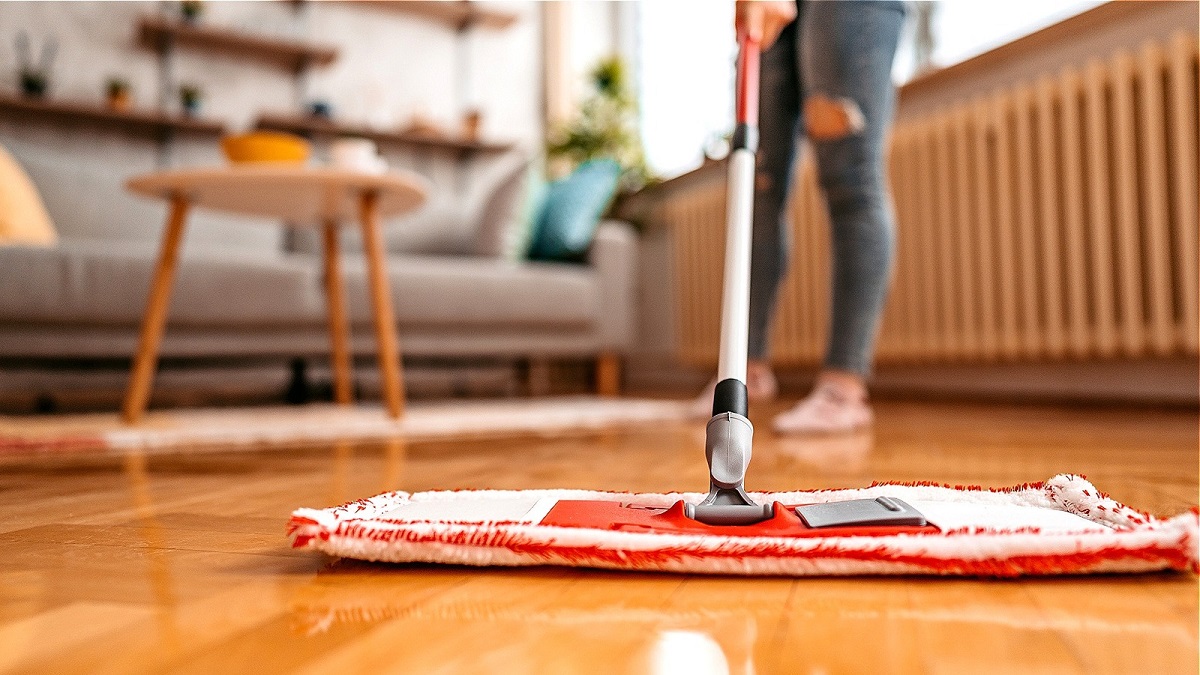
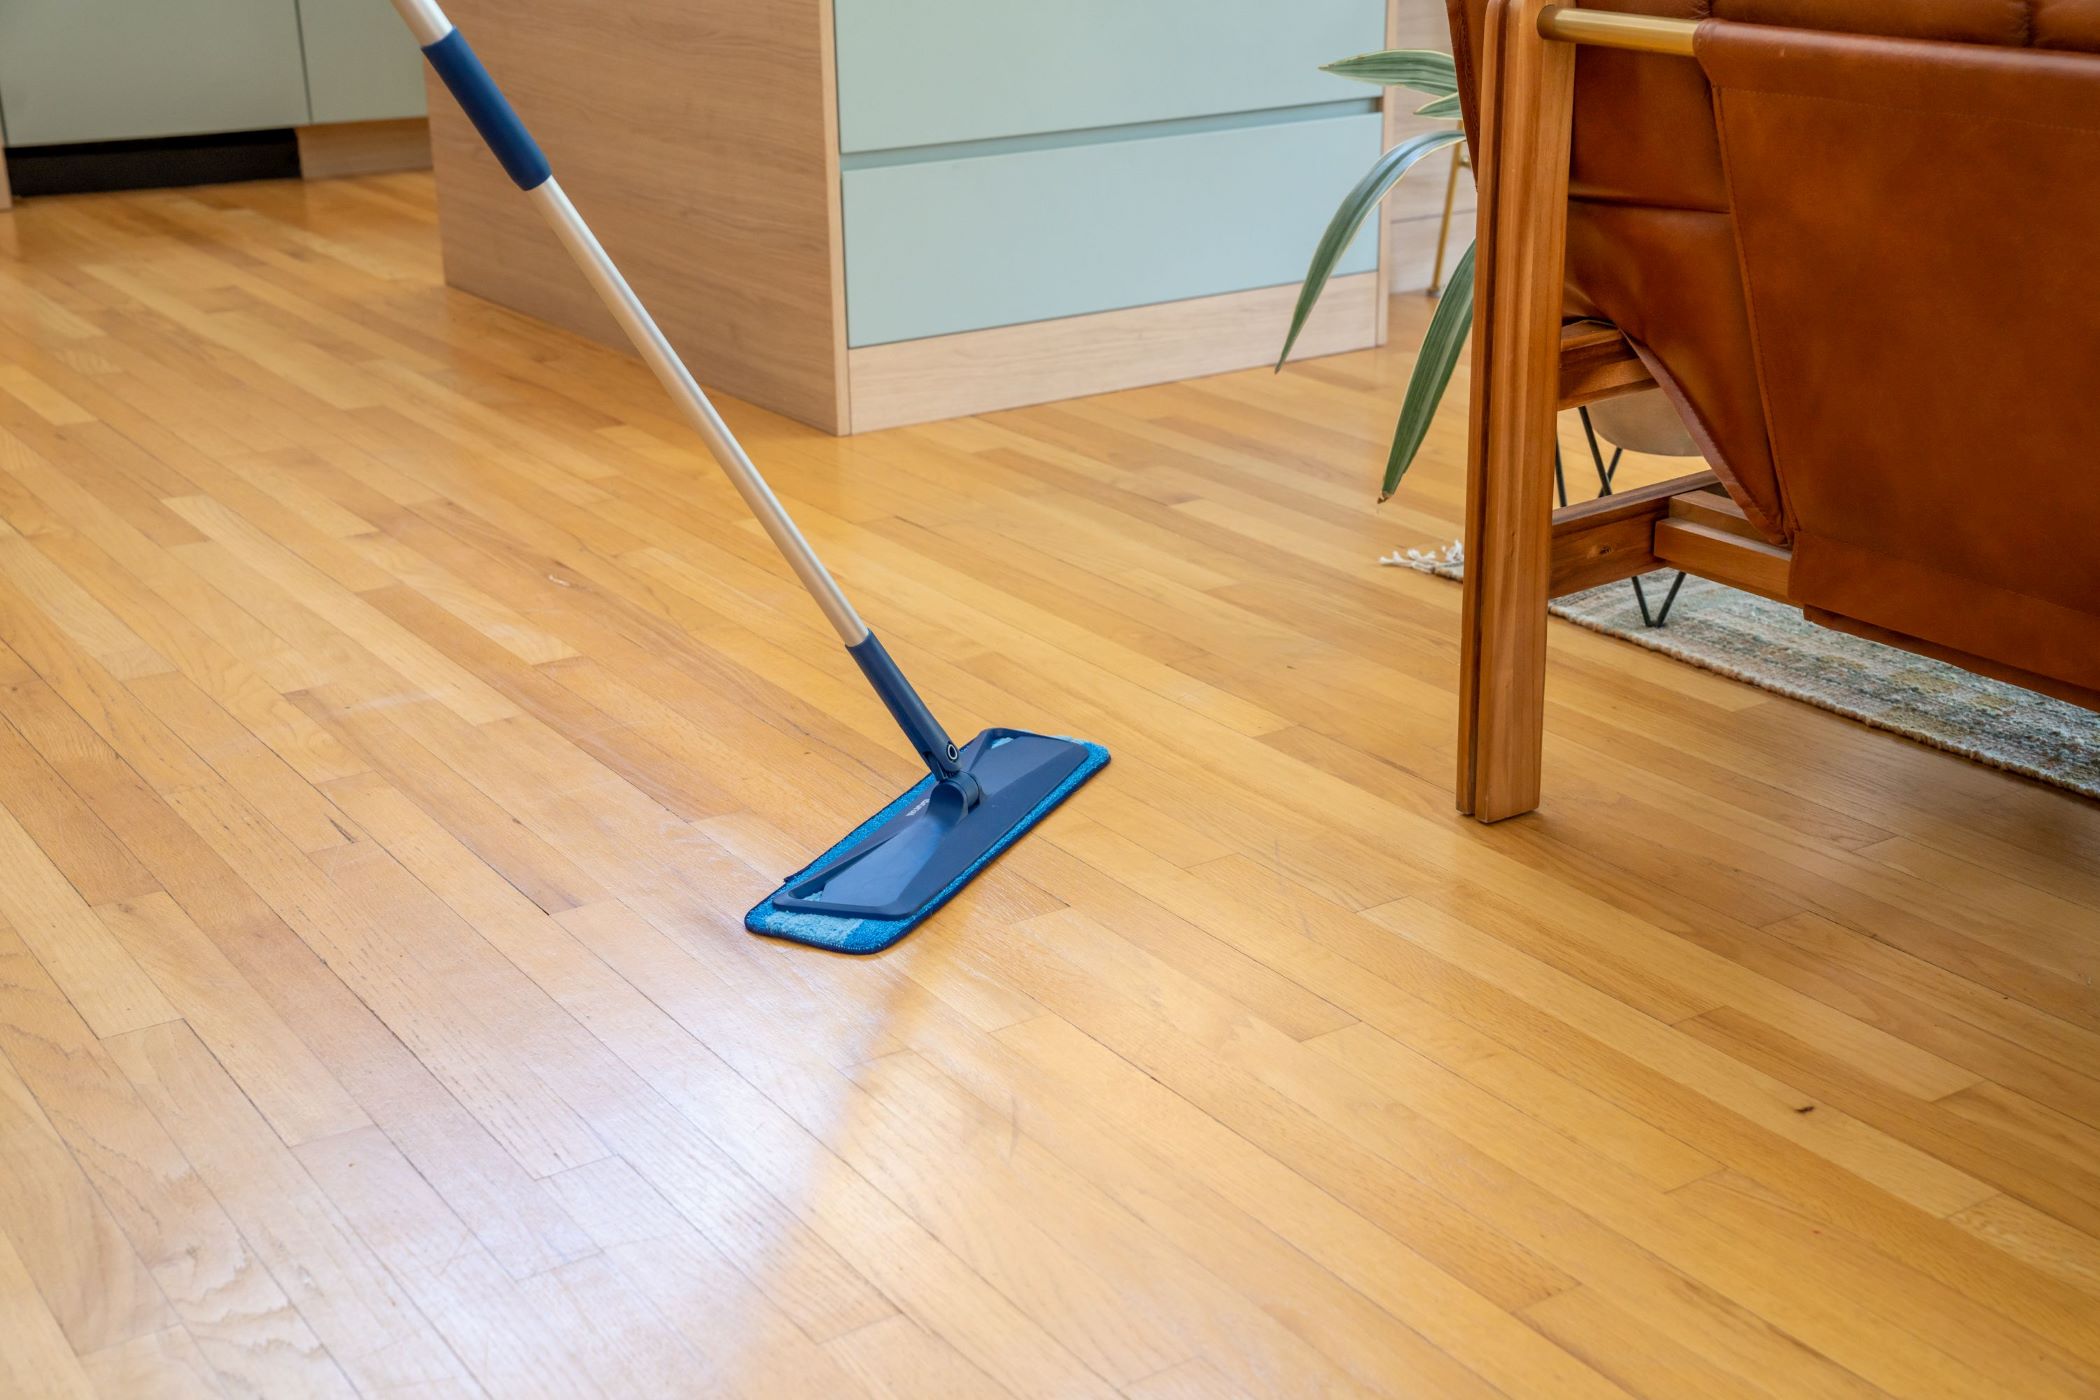
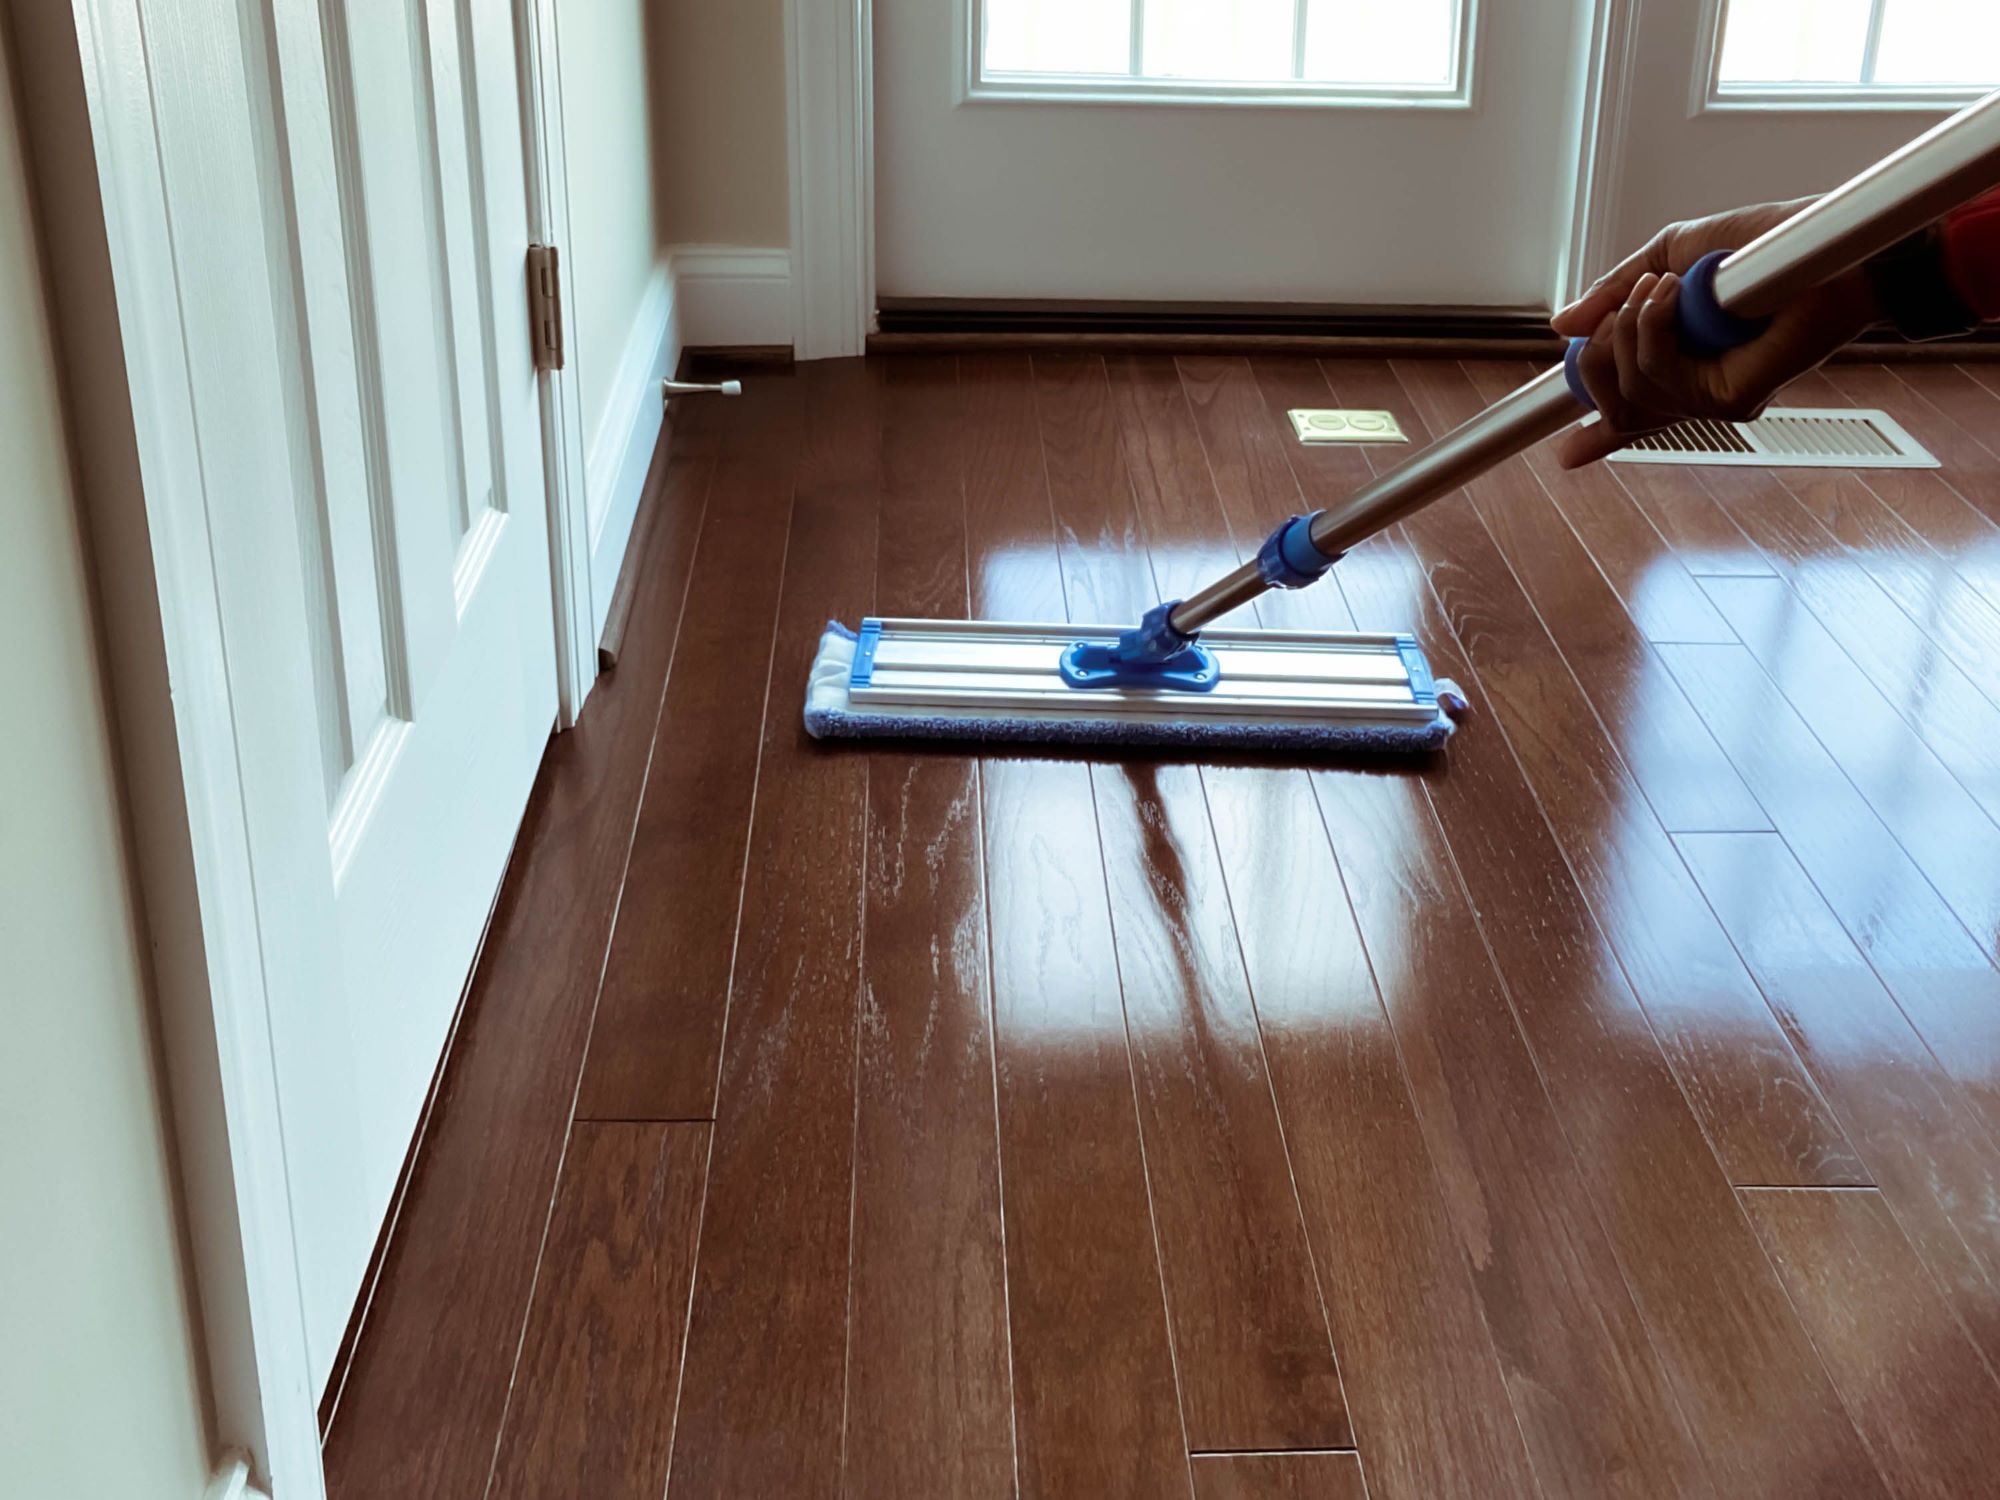
Mop the Floor
Now that you have tested the cleaner and are confident in its safety and effectiveness, it’s time to mop your hardwood floors. Mopping helps to remove dirt, grime, and stains that may have built up on the surface.
Start by dipping your microfiber mop into the bucket of diluted cleaning solution. Wring out any excess liquid, ensuring that the mop is damp but not dripping wet. Excess water can damage the wood and cause warping or swelling.
Begin mopping the floor, working in small sections at a time. Use gentle back-and-forth motions, following the grain of the wood, to effectively lift dirt and grime from the surface. Avoid applying too much pressure, as this can potentially scratch the wood.
If you encounter stubborn stains or areas that require additional attention, allow the mop to sit on the spot for a few minutes, giving the cleaning solution time to penetrate and break down the stain. Then, gently scrub the area with the mop or use a soft-bristled brush if necessary.
As you mop, periodically rinse the mop in the bucket of cleaning solution and wring out excess water. This will ensure that you are working with a clean mop and avoid spreading dirt or residue from one area to another.
Continue mopping the floor, section by section, until you have covered the entire surface. Take your time and be thorough, paying attention to corners, edges, and any hard-to-reach areas.
Remember to always mop with the grain of the wood and overlap each stroke to ensure even coverage and cleaning. This will help to achieve a polished look and maintain the natural beauty of your hardwood floors.
Once you have finished mopping, allow the floors to air dry or use a soft cloth or mop pads to gently dry the surface. Avoid walking on the damp floors until they are completely dry to prevent any potential slips or accidents.
Mopping your hardwood floors regularly will help keep them clean and free from dirt and grime, ensuring that they maintain their natural beauty for years to come.
Use a microfiber mop or cloth to gently sweep the floor and remove any dust or debris. Then, use a hardwood floor cleaner recommended by the manufacturer to mop the floor, following the grain of the wood. Finally, buff the floor with a dry microfiber cloth for a polished look.
Pay Attention to Stubborn Stains
While regular mopping can effectively remove most dirt and stains from your hardwood floors, there may be some stubborn stains that require extra attention. It’s important to address these stains promptly to prevent them from setting into the wood.
Here are some tips to tackle stubborn stains on your hardwood floors:
- Identify the stain: Determine the type of stain you’re dealing with to choose the appropriate cleaning method. Common types of stains on hardwood floors include food, grease, pet urine, ink, and water spots.
- Spot cleaning: Create a solution specifically designed to tackle the type of stain you’re dealing with. For example, for food stains, mix a gentle detergent with warm water. For grease stains, use a mild degreaser. Always use a soft cloth or sponge to apply the cleaning solution to the stain and gently scrub in a circular motion.
- Patience is key: Stubborn stains may require some time and effort to completely remove. Allow the cleaning solution to sit on the stain for a few minutes to help break it down.
- Gentle scrubbing: Use a soft-bristled brush or an old toothbrush to gently scrub the stain if it persists. Avoid using abrasive brushes or pads that can scratch the wood surface.
- Rinse thoroughly: After successfully removing the stain, rinse the area with clean water to remove any residue from the cleaning solution. Immediately dry the area with a soft cloth to prevent water damage.
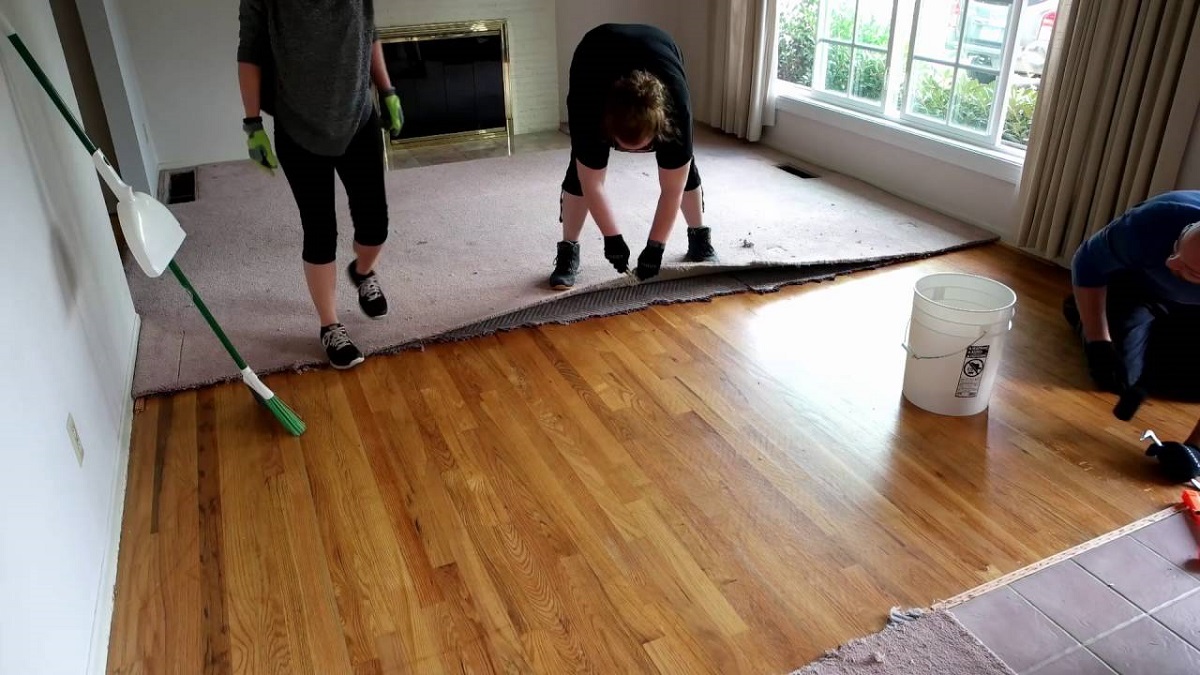
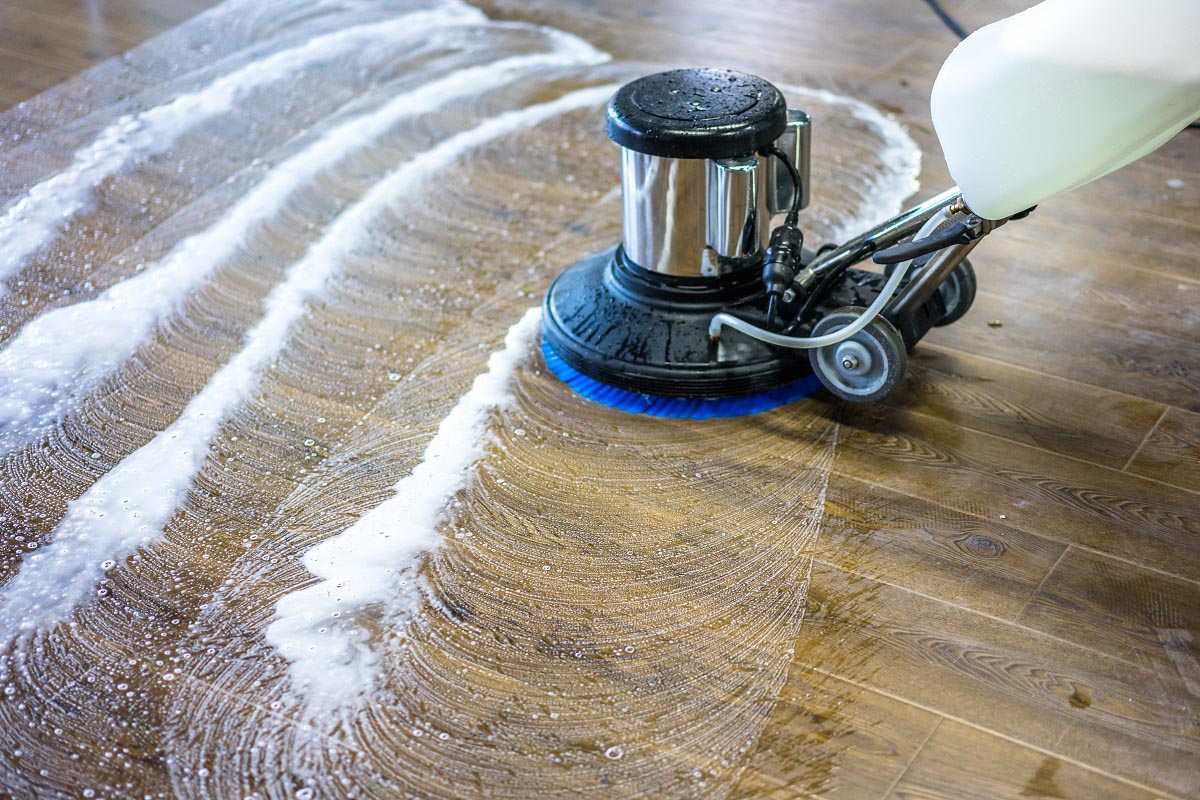
- Consider sanding and refinishing: For stubborn or deep stains that cannot be removed with spot cleaning, you may need to consider sanding and refinishing the affected area of the hardwood floor. This should be done by a professional to ensure proper technique and prevent further damage.
It’s crucial to take care when treating stubborn stains on hardwood floors. Always test any cleaning solution or technique on a small, inconspicuous area first to ensure that it does not cause any damage or discoloration.
By giving proper attention to stubborn stains and addressing them in a timely manner, you can maintain the pristine look of your hardwood floors and keep them looking their best.
Avoid Excess Water
When it comes to cleaning hardwood floors, excess water is the enemy. Hardwood is a natural material that is sensitive to moisture, and excessive water can cause a range of problems, including warping, swelling, and damage to the finish. To ensure the longevity and beauty of your hardwood floors, it’s crucial to avoid using excessive amounts of water during the cleaning process.
Here are some tips to help you avoid excess water when cleaning your hardwood floors:
- Wring out your mop: Before you start mopping, make sure to wring out your mop thoroughly. The mop should be damp, not dripping wet.
- Mist or spray the cleaner: Instead of pouring the cleaning solution directly onto the floor, consider misting or spraying it onto the surface. This allows you to control the amount of cleaner used and prevents excessive wetness.
- Work in small sections: Divide your floor into smaller sections and focus on cleaning one section at a time. This approach allows you to control the amount of moisture used on each area.
- Avoid leaving pools of water: While mopping, be cautious not to leave pools of water sitting on the surface of your hardwood floors. Use your mop or a clean cloth to absorb any excess moisture immediately.
- Use microfiber or absorbent materials: Opt for a microfiber mop or cloth that is highly absorbent. Microfiber is specifically designed to trap and absorb moisture effectively, minimizing the risk of excess water on your floors.
- Choose the right mop: Avoid using string mops or sponge mops as they tend to retain more water. Instead, select a microfiber mop that allows for better control and absorption.
By following these tips, you can minimize the risk of excess water and protect your hardwood floors from damage. Remember, moisture and hardwood floors don’t mix well, so it’s crucial to be mindful of the amount of water you use during the cleaning process.
Dry the Floor Thoroughly
After cleaning your hardwood floors, it’s important to dry them thoroughly to prevent any potential water damage. Excess moisture left on the surface can seep into the wood and cause warping, swelling, or discoloration. To ensure a complete and effective drying process, follow these steps:
- Use a soft cloth or mop pads: After mopping, take a soft, clean cloth or use mop pads specifically designed for hardwood floors to dry the surface. These materials are absorbent and help to remove any remaining moisture.
- Blot dry any wet spots: If you notice any wet spots or puddles of water, blot them dry immediately using a clean cloth or paper towel. This will prevent the water from soaking into the wood.
- Avoid walking on wet floors: To prevent slipping and potential damage, avoid walking on the hardwood floors while they are still damp. Wait until they are completely dry before resuming regular foot traffic.
- Open windows and use fans: If possible, open windows or doors to increase air circulation in the room. You can also use fans to help speed up the drying process.
- Check for moisture: Before moving any furniture or rugs back onto the floor, check for any remaining moisture. If you notice any damp spots, continue drying until the area is completely dry.
It’s essential to be patient and thorough when drying your hardwood floors, as rushing this step could lead to long-term damage. By taking the time to dry the floor completely, you’ll maintain the integrity of the wood and prevent any potential issues.
Remember, moisture is the enemy of hardwood floors, so always ensure they are dry before resuming normal activities on them.
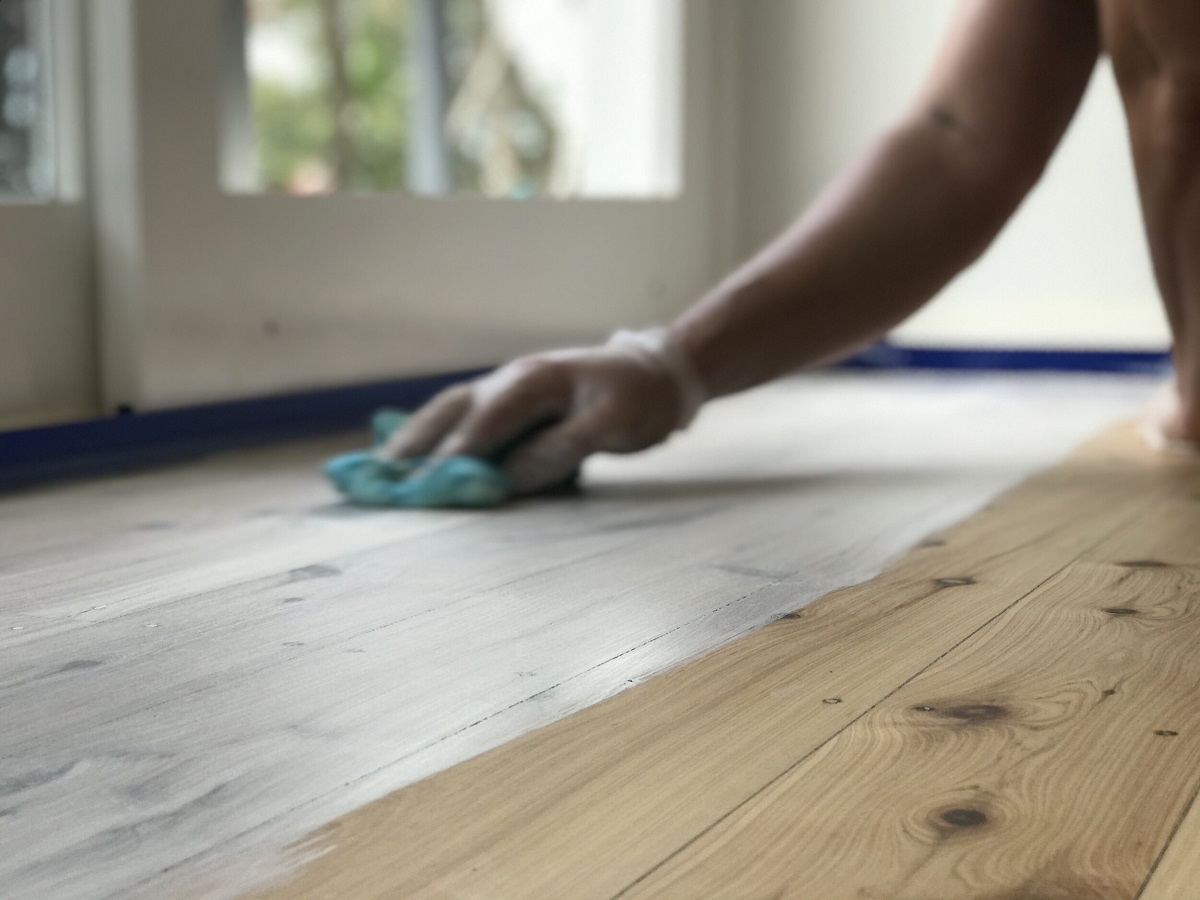
Apply a Hardwood Floor Polish
If you want to enhance the shine and protection of your hardwood floors, applying a hardwood floor polish can be an excellent addition to your cleaning routine. A hardwood floor polish creates a protective layer on the surface of the wood, giving it a polished and renewed appearance. Here’s how to apply a hardwood floor polish:
- Clean the floor: Before applying the polish, ensure that your hardwood floors are clean and free from any dirt or debris. Follow the previous steps outlined in this article to sweep, vacuum, and mop the floors.
- Choose the right polish: Select a hardwood floor polish that is compatible with your flooring type and finish. There are different types of polishes available, such as water-based or oil-based polishes. Read the label and follow the manufacturer’s instructions for best results.
- Prepare the area: Remove any furniture or rugs from the area you are planning to polish. This will allow you to have an unobstructed and even application of the polish.
- Apply the polish: Pour a small amount of the hardwood floor polish onto a clean, dry cloth or mop pad. Spread the polish evenly across the floor, working in small sections. Follow the instructions on the packaging to determine whether the polish should be applied in straight lines or in a circular motion.
- Allow time to dry: After applying the polish, allow it to dry according to the manufacturer’s instructions. Typically, it may take a few hours or overnight for the polish to completely dry and cure. Avoid walking on the floor until it is dry to prevent any smudging or damage to the newly applied polish.
- Continue regular maintenance: Regularly clean and maintain your hardwood floors as usual, using the methods outlined in this article. Periodically (usually every few months), you can reapply the hardwood floor polish to keep the floors looking their best.
Applying a hardwood floor polish not only enhances the appearance of your floors but also helps to protect them from scratches, stains, and everyday wear and tear. It provides an extra layer of defense against dirt and grime, making it easier to clean and maintain your hardwood floors over time.
Remember to always follow the manufacturer’s instructions and recommendations when applying a hardwood floor polish to ensure optimal results and longevity.
Daily Maintenance Tips
To keep your hardwood floors looking their best and prolong their lifespan, it’s important to incorporate daily maintenance into your routine. By following these simple tips, you can effectively care for your hardwood floors on a daily basis:
- Sweep or vacuum regularly: Remove loose dirt, dust, and debris by sweeping or vacuuming your hardwood floors on a daily basis. Use a soft-bristled broom or a vacuum cleaner with a soft brush attachment to prevent scratching the surface.
- Wipe up spills immediately: Accidents happen, but it’s crucial to clean up spills promptly to prevent them from seeping into the wood. Use a soft cloth or paper towel to blot and absorb the spill, and then clean the area with a mild, hardwood floor-friendly cleaner.
- Avoid wearing high heels or cleats: High heels and cleats can cause significant damage to hardwood floors, as the sharp edges can leave marks or indentations. Encourage family members and guests to remove their shoes or wear soft-soled slippers when walking on the hardwood floors.
- Use furniture pads: Place felt or rubber pads on the bottom of furniture legs to prevent scratches or dents when moving or rearranging furniture. These pads also help to distribute the weight evenly and protect the flooring beneath.
- Use rugs and mats: Place area rugs or mats in high traffic areas, such as entryways and hallways, to protect the hardwood floors from excessive wear and tear. Make sure the rugs have a non-slip backing to prevent slips and falls.
- Avoid excessive sunlight: Prolonged exposure to direct sunlight can cause fading and discoloration of hardwood floors. Use curtains, blinds, or UV-blocking window films to protect your floors from harmful UV rays.
- Trim pet nails: Keep your pets’ nails trimmed to prevent scratches on the hardwood floors. Additionally, place mats or pet-friendly rugs near pet bowls to catch any spills or messes.
- Regularly dust and damp mop: Dust your hardwood floors frequently with a microfiber cloth or a dust mop to remove fine particles. For a deeper clean, use a damp mop with a mild hardwood floor cleaner. Ensure the mop is wrung out thoroughly to avoid excess moisture.
By incorporating these daily maintenance tips into your routine, you can protect and preserve the beauty of your hardwood floors for years to come. Consistent care and attention will minimize the need for extensive cleaning or repairs in the future.
Conclusion
Cleaning and maintaining your hardwood floors doesn’t have to be a daunting task. With the right supplies, techniques, and ongoing care, you can keep your floors looking polished and beautiful for years to come. Here’s a recap of the key points to remember from this article:
- Gather the necessary supplies, including a broom or vacuum, microfiber mop, mild hardwood floor cleaner, bucket, warm water, soft cloth or mop pads for drying, and optional hardwood floor polish.
- Sweep or vacuum the floor regularly to remove loose dirt, dust, and debris, and to prevent scratching the surface.
- Choose a hardwood floor cleaner that is specifically formulated for your floor type and avoid using harsh or abrasive cleaners.
- Mix the cleaning solution according to the manufacturer’s instructions and test it on a small area to ensure it’s safe for your floors.
- Mop the floor using a damp microfiber mop, working in small sections and following the grain of the wood.
- Pay attention to stubborn stains and use appropriate cleaning methods to remove them.
- Avoid using excessive amounts of water to prevent damage to the wood.
- Dry the floor thoroughly after cleaning to prevent warping or swelling.
- Consider applying a hardwood floor polish to enhance the shine and protection of your floors.
- Incorporate daily maintenance tips such as regular sweeping, wiping up spills immediately, using furniture pads and rugs, and avoiding excessive sunlight.
By following these steps and implementing these tips, you can maintain the beauty and longevity of your hardwood floors. Remember to always check the manufacturer’s guidelines and recommendations for your specific type of hardwood flooring.
With proper care and regular maintenance, your hardwood floors will continue to add elegance and charm to your living space, and provide a warm and inviting atmosphere for years to come.
Frequently Asked Questions about How To Clean Hardwood Floors For A Polished Look
Was this page helpful?
At Storables.com, we guarantee accurate and reliable information. Our content, validated by Expert Board Contributors, is crafted following stringent Editorial Policies. We're committed to providing you with well-researched, expert-backed insights for all your informational needs.


0 thoughts on “How To Clean Hardwood Floors For A Polished Look”