
Articles
How To Refinish A Hardwood Floor
Modified: August 31, 2024
Learn the step-by-step process of refinishing hardwood floors with our informative articles. Achieve a beautiful, renewed floor with expert guidance and tips.
(Many of the links in this article redirect to a specific reviewed product. Your purchase of these products through affiliate links helps to generate commission for Storables.com, at no extra cost. Learn more)
Introduction
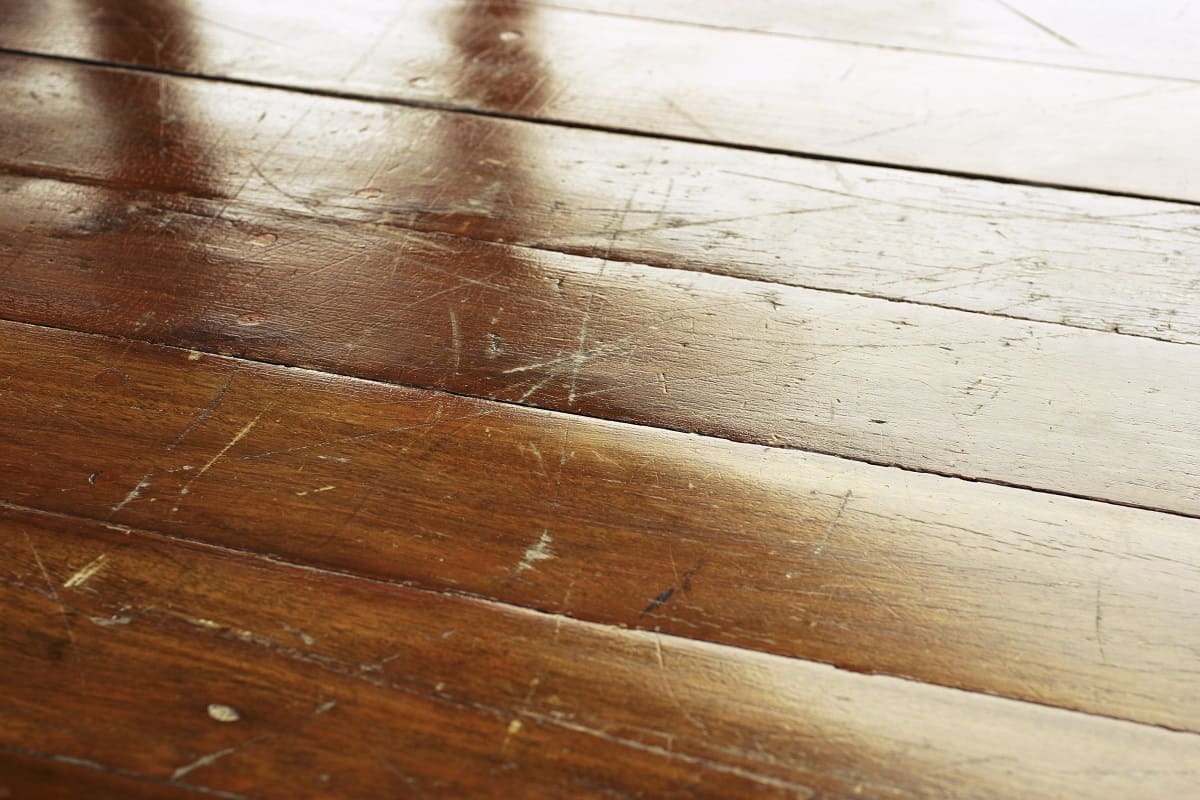
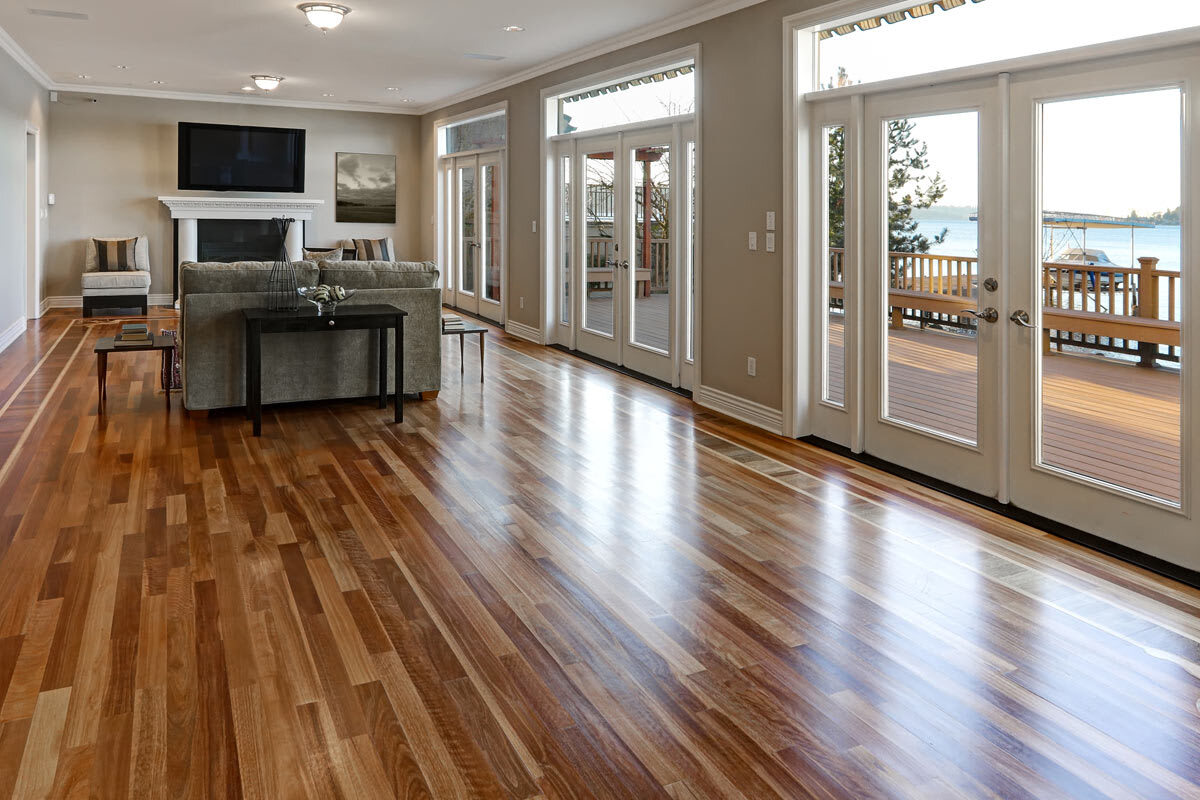
Welcome to the comprehensive guide on how to refinish a hardwood floor. Over time, hardwood floors tend to show signs of wear and tear, such as scratches, stains, and a dull appearance. Refinishing your hardwood floor not only restores its natural beauty but also adds value to your home. While the process may seem intimidating, with the right tools and techniques, you can achieve professional-looking results.
In this article, we will take you through the step-by-step process of refinishing a hardwood floor. From preparing the floor to applying the final protective finish, we will cover every aspect of the process. So let’s get started and give your hardwood floor a new lease of life!
Key Takeaways:
- Transform worn-out hardwood floors into stunning centerpieces by following thorough preparation, skillful sanding, precise staining, and protective finish application.
- Enjoy the warmth and value of beautifully refinished hardwood floors with regular maintenance and professional assistance for complex repairs.
Read more: DIY Guide To Refinishing Hardwood Floors
Preparing the Floor for Refinishing
Before you begin the refinishing process, it is crucial to properly prepare the floor. This step ensures that the refinishing materials adhere well and the end result is smooth and flawless.
Follow these steps to prepare your hardwood floor:
- Clear the area: Remove all furniture, rugs, and any other objects from the room. This will allow you to have a clear working space and prevent any damage to your belongings.
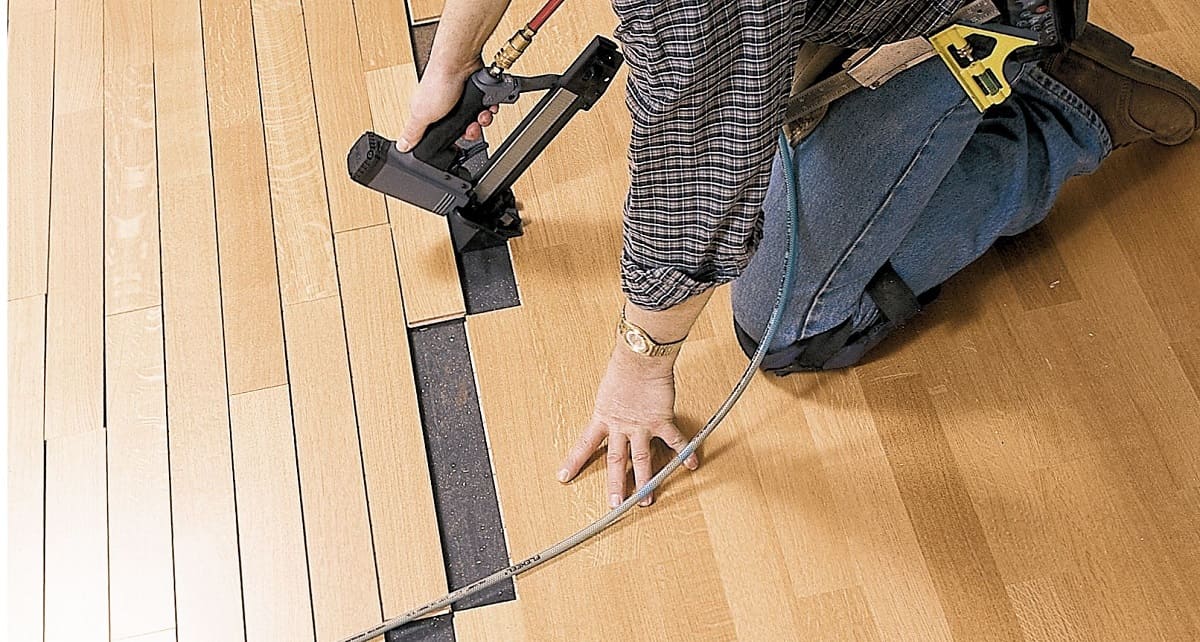
- Inspect the floor: Carefully assess the condition of the floor. Look for any loose boards, protruding nails, or significant damages. Address these issues before proceeding with the refinishing process.
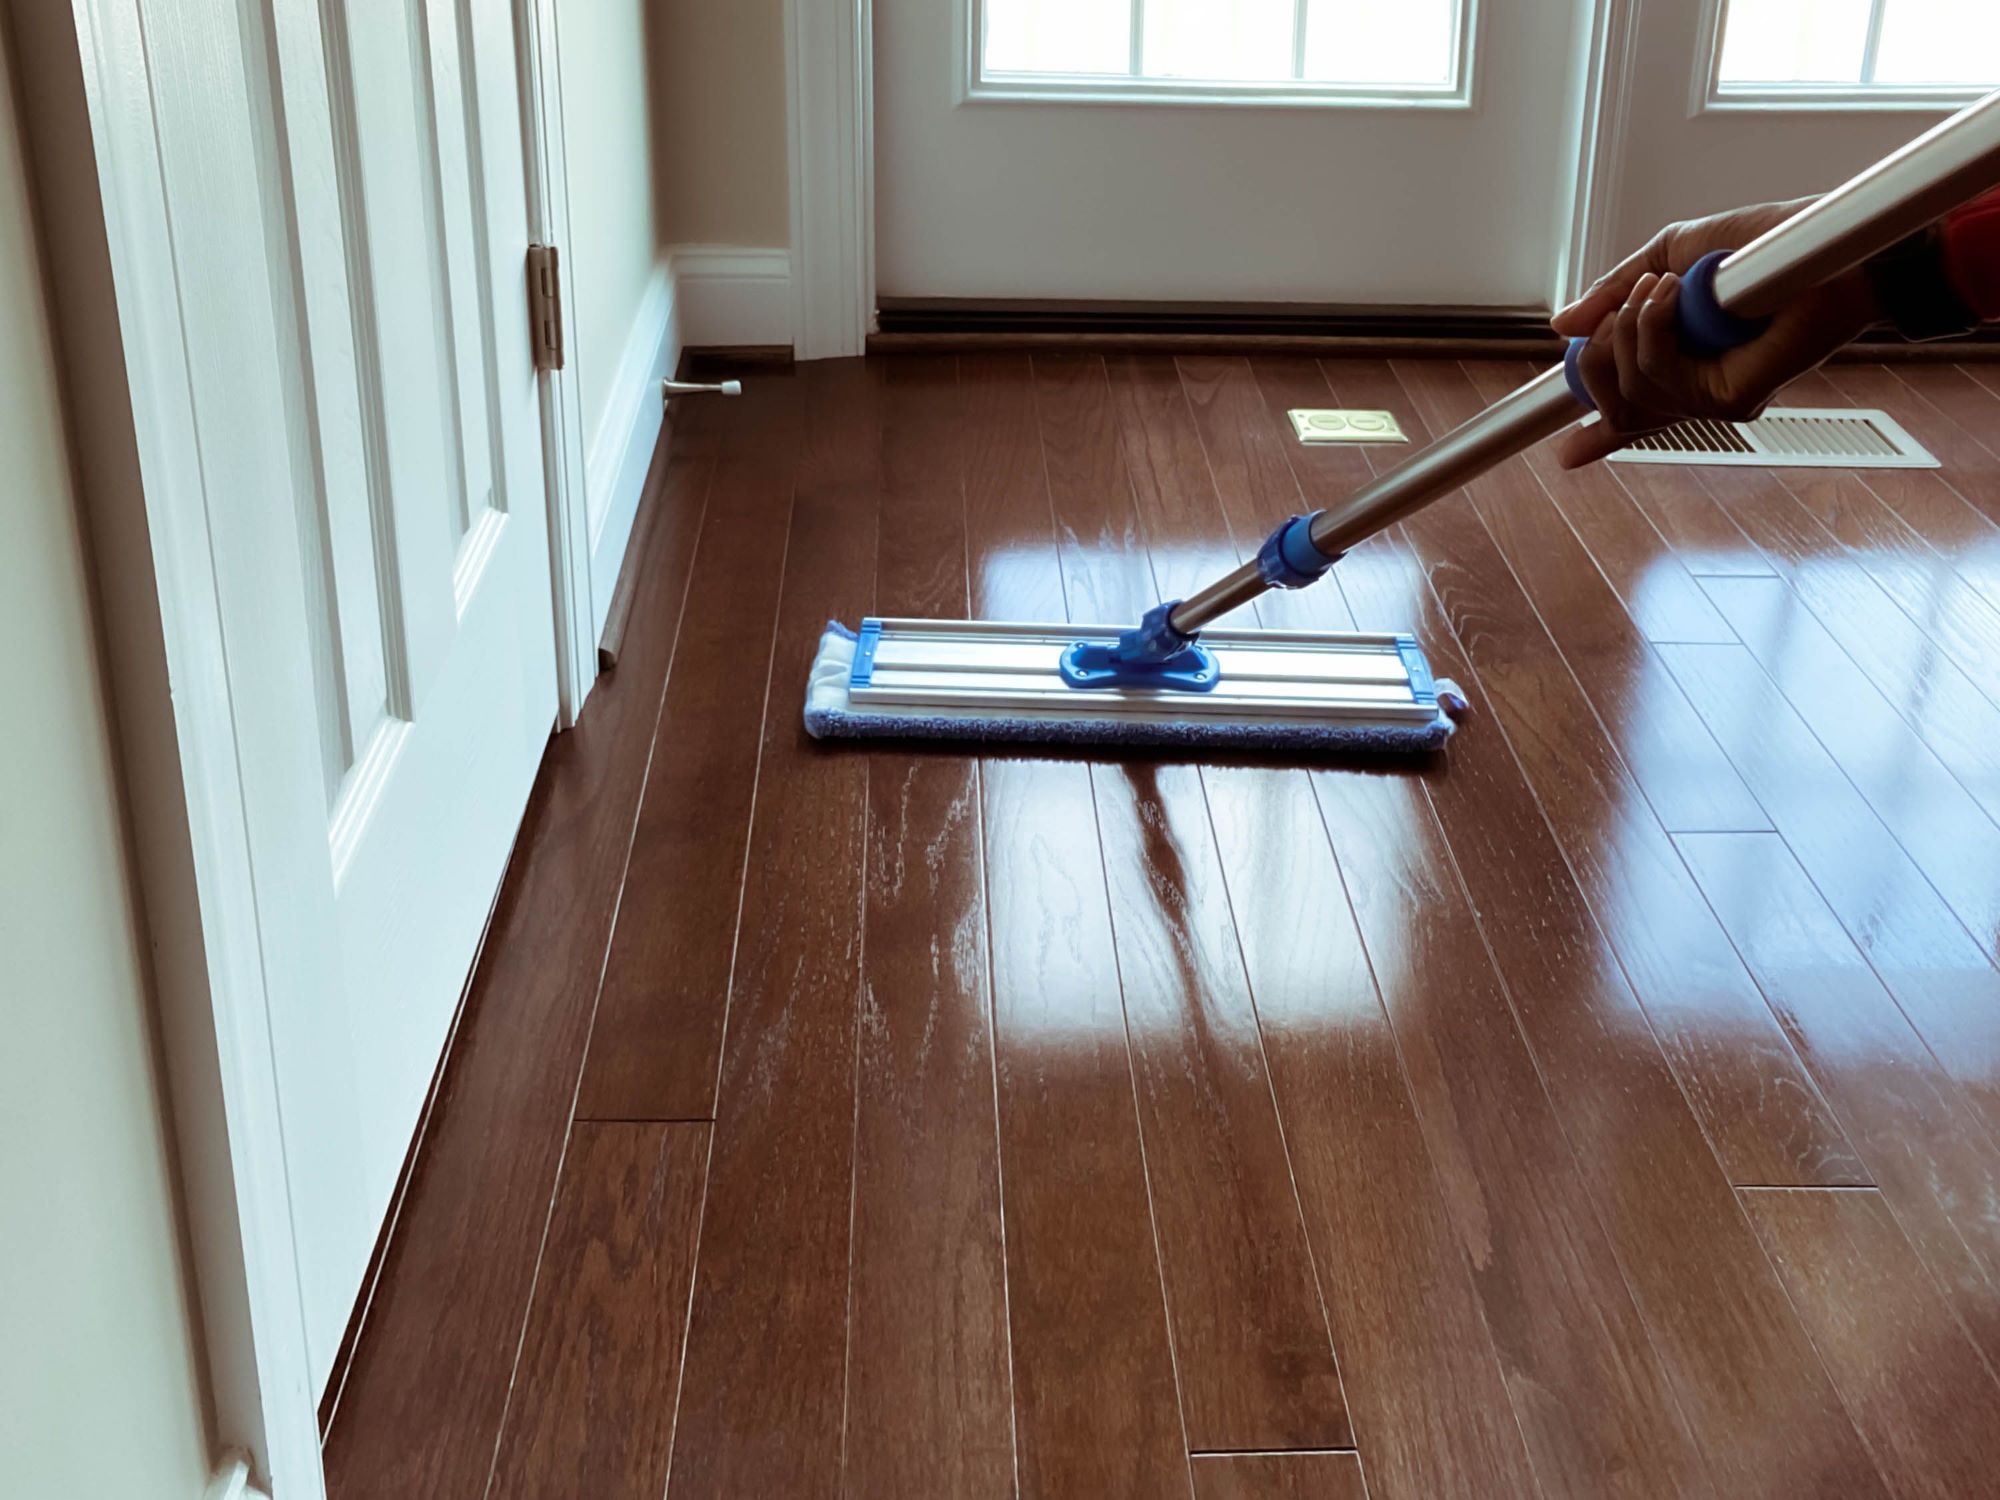
- Clean the floor: Thoroughly clean the floor to remove any dirt, dust, or debris. Sweep or vacuum the floor, and then use a mop or damp cloth to wipe away any remaining residue. Ensure that the surface is completely dry before moving on to the next step.
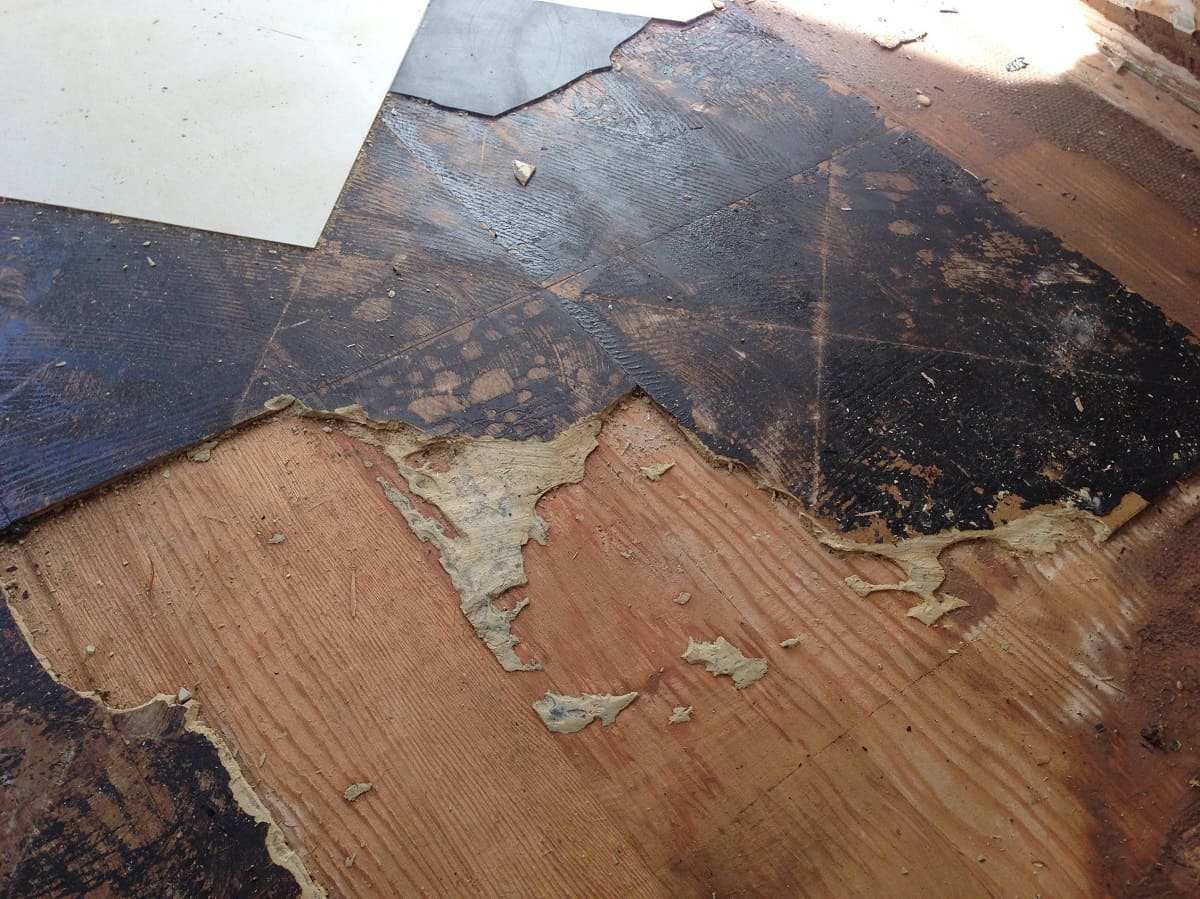
- Remove any old finish: If your hardwood floor has an existing finish, you will need to remove it before refinishing. This can be done by sanding the floor using a floor sander or by applying a chemical stripper. Follow the manufacturer’s instructions and take necessary precautions when using chemicals.
- Repair and fill gaps: Inspect the floor for any gaps or cracks between the boards. Use wood filler to fill in these gaps and smooth out the surface. Allow the filler to dry completely before moving on to the next step.
By properly preparing the floor, you create a clean and smooth surface to ensure the best possible results during the refinishing process. This step sets the foundation for a beautifully restored hardwood floor.
Sanding the Hardwood Floor
Once the floor has been properly prepared, the next step in refinishing a hardwood floor is sanding. Sanding removes the old finish, smooths out imperfections, and prepares the surface for staining and sealing.
Here is a step-by-step guide on how to sand a hardwood floor:
- Select the appropriate sandpaper: Choose the right grit sandpaper for your specific project. Coarse grits, such as 36 or 60, are used to remove the old finish and deep scratches. Medium grits, like 80 or 100, are used for general sanding, while fine grits, such as 120 or 150, are used for final smoothing.
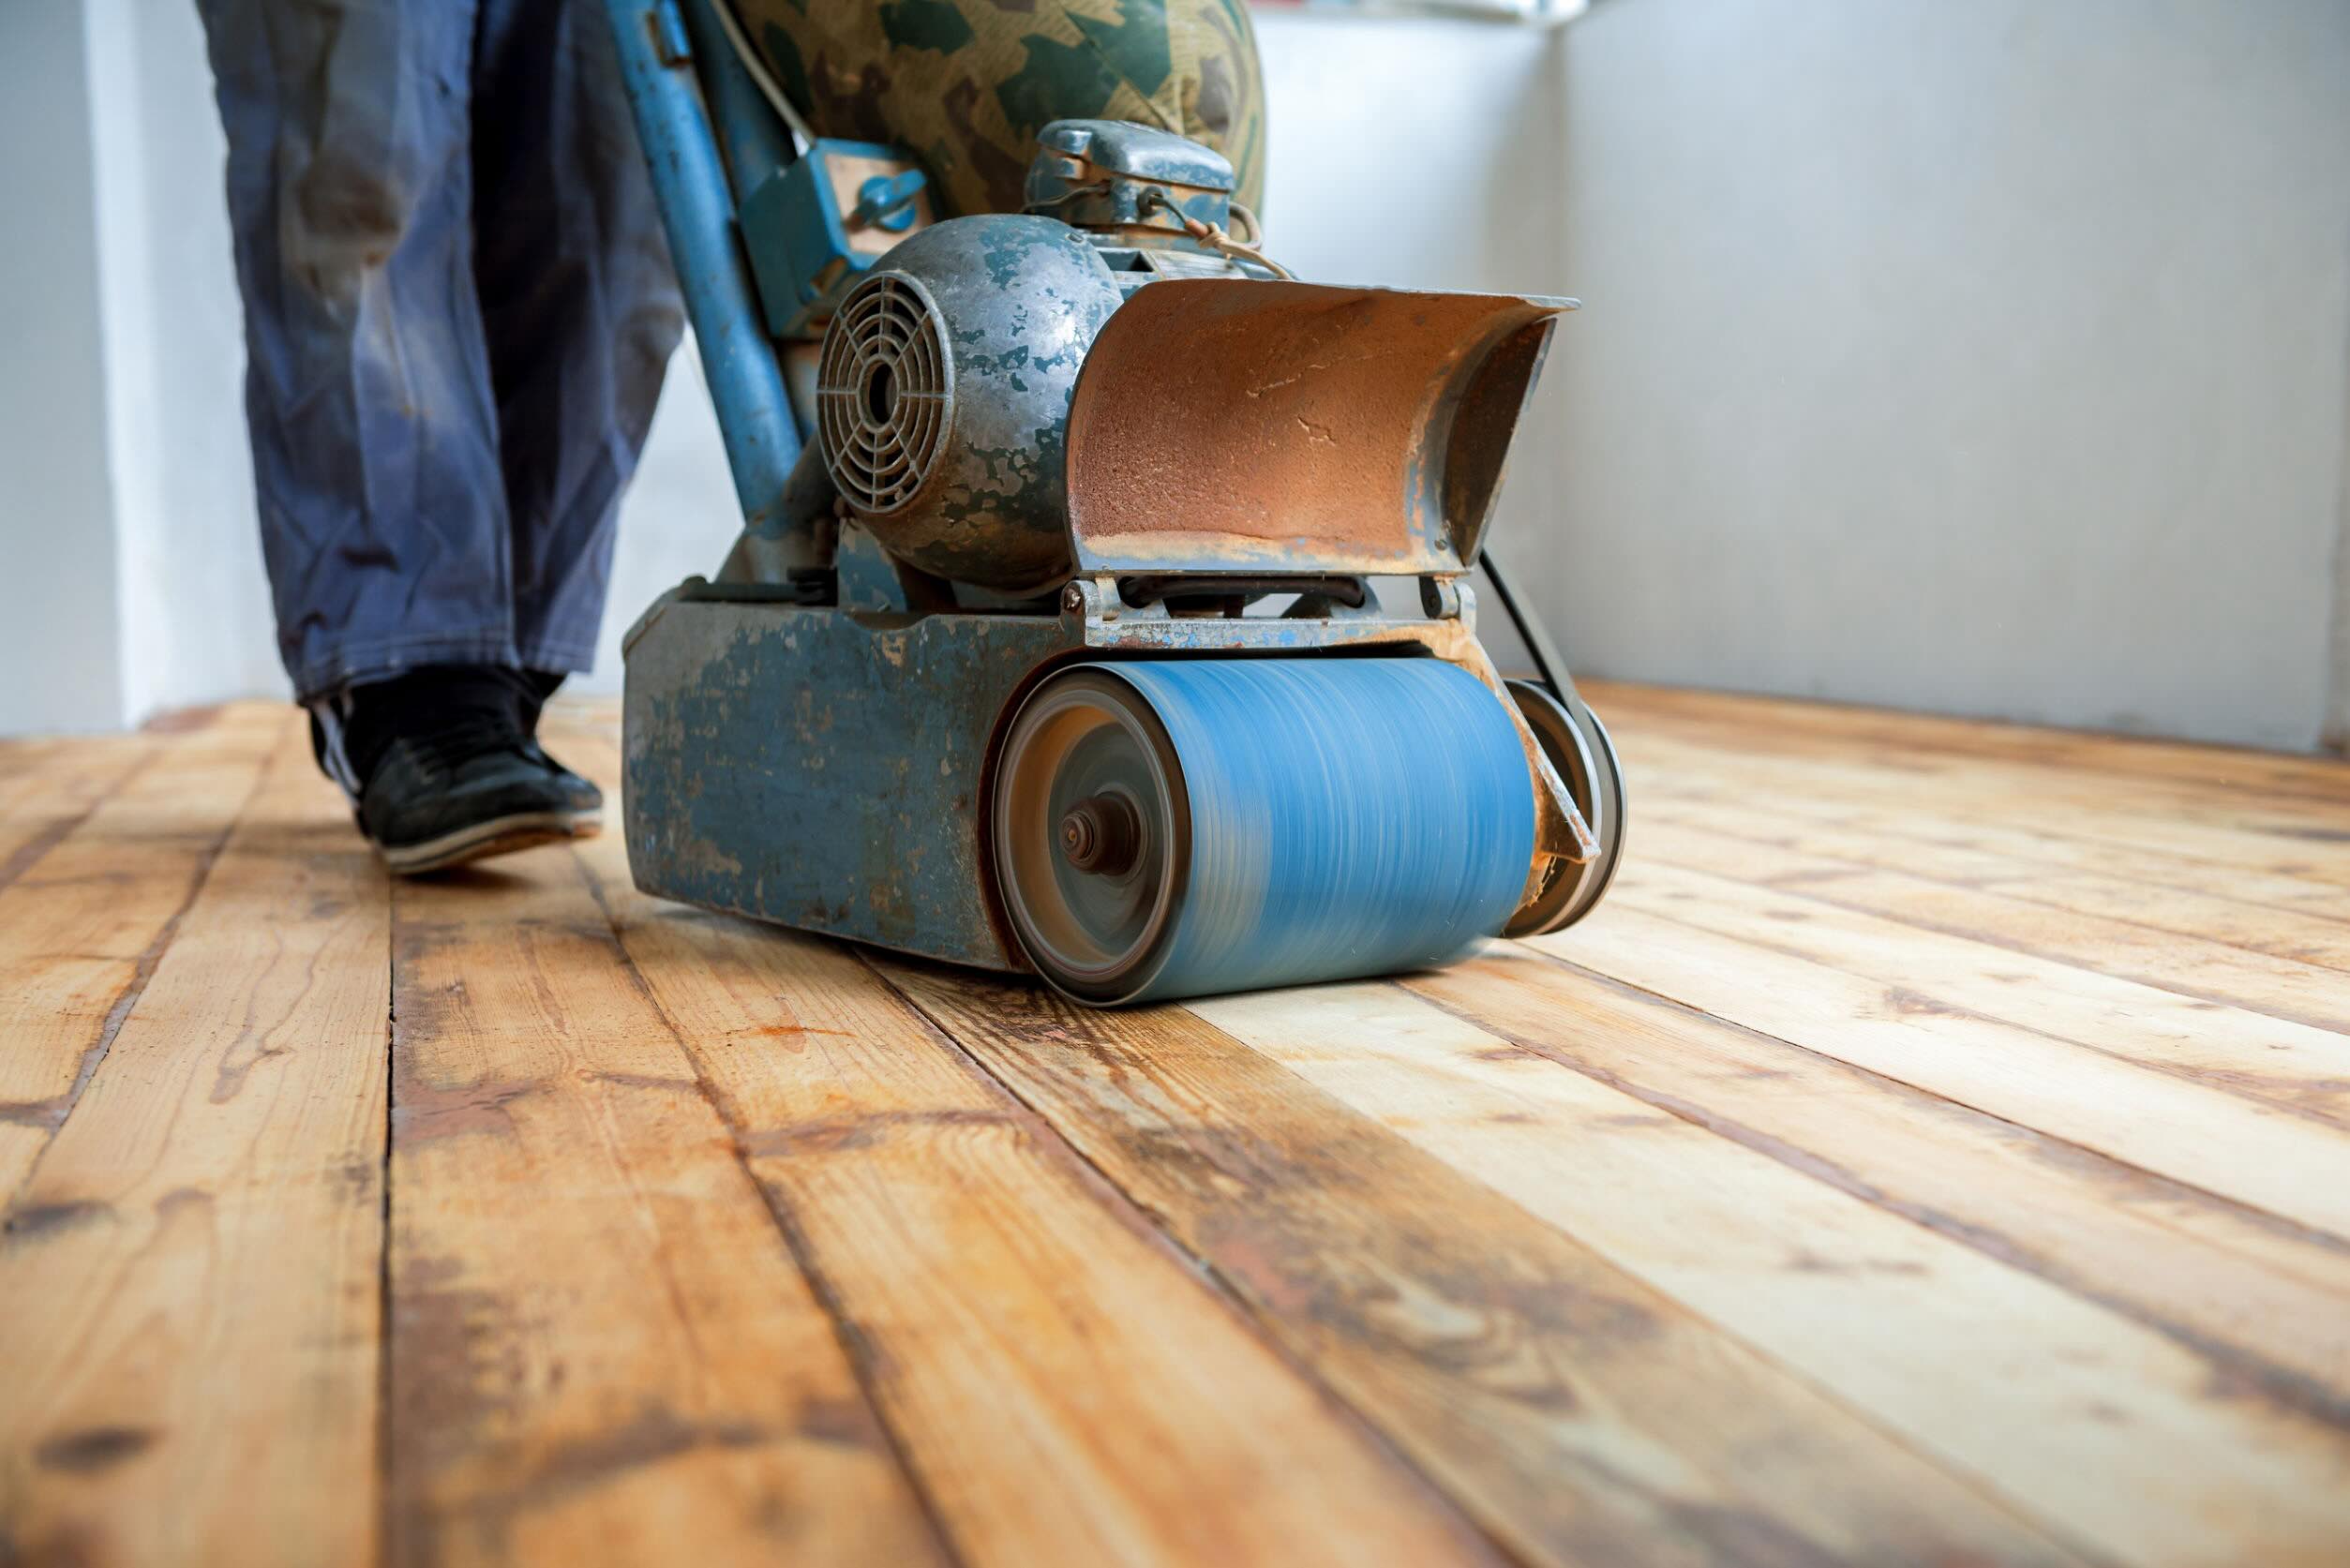
- Start with the drum sander: Begin sanding the floor with a drum sander, starting from one corner of the room. Move the sander in a smooth and steady motion, going with the grain of the wood. Be sure to overlap each pass to avoid creating visible lines. Repeat the process until the entire floor has been sanded.
- Use an edger: Once you have finished the main floor with the drum sander, use an edger to sand the edges of the room and any areas that the drum sander couldn’t reach. Take your time and be careful not to damage the baseboards or walls.
- Hand sanding for corners and stairs: For corners, stairs, and other hard-to-reach areas, you will need to hand sand using a sanding block or a small orbital sander. This ensures that every part of the floor is sanded evenly.
- Progressive sanding: After completing the initial sanding, switch to a finer grit sandpaper and repeat the process. This progressive sanding helps to achieve a smoother and more refined surface.
- Inspect the sanded floor: Once you have finished sanding, inspect the floor for any imperfections or spots that need further sanding. Sand those areas again until you achieve a consistent and uniform surface.
Sanding the hardwood floor is a crucial step in the refinishing process. It not only removes the old finish but also creates a smooth and even surface for the next steps of staining and sealing.
Staining the Hardwood Floor
After sanding, the next step in refinishing a hardwood floor is staining. Staining adds color and enhances the natural beauty of the wood, allowing you to achieve the desired look for your floor.
Follow these steps to effectively stain your hardwood floor:
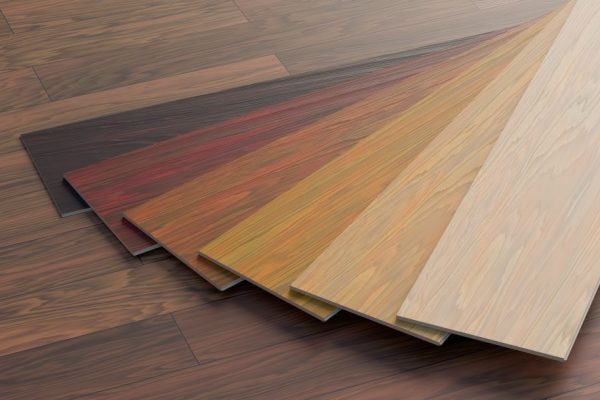
- Choose the right stain: Select a stain that complements the style and ambiance you want to create. Consider factors such as the wood species, the desired color intensity, and the overall aesthetic of the room.
- Prepare the floor: Before applying the stain, ensure that the floor is clean and free of any dust or debris from the sanding process. Vacuum or sweep the floor and wipe it down with a damp cloth to remove any remaining particles. Allow the surface to dry completely.
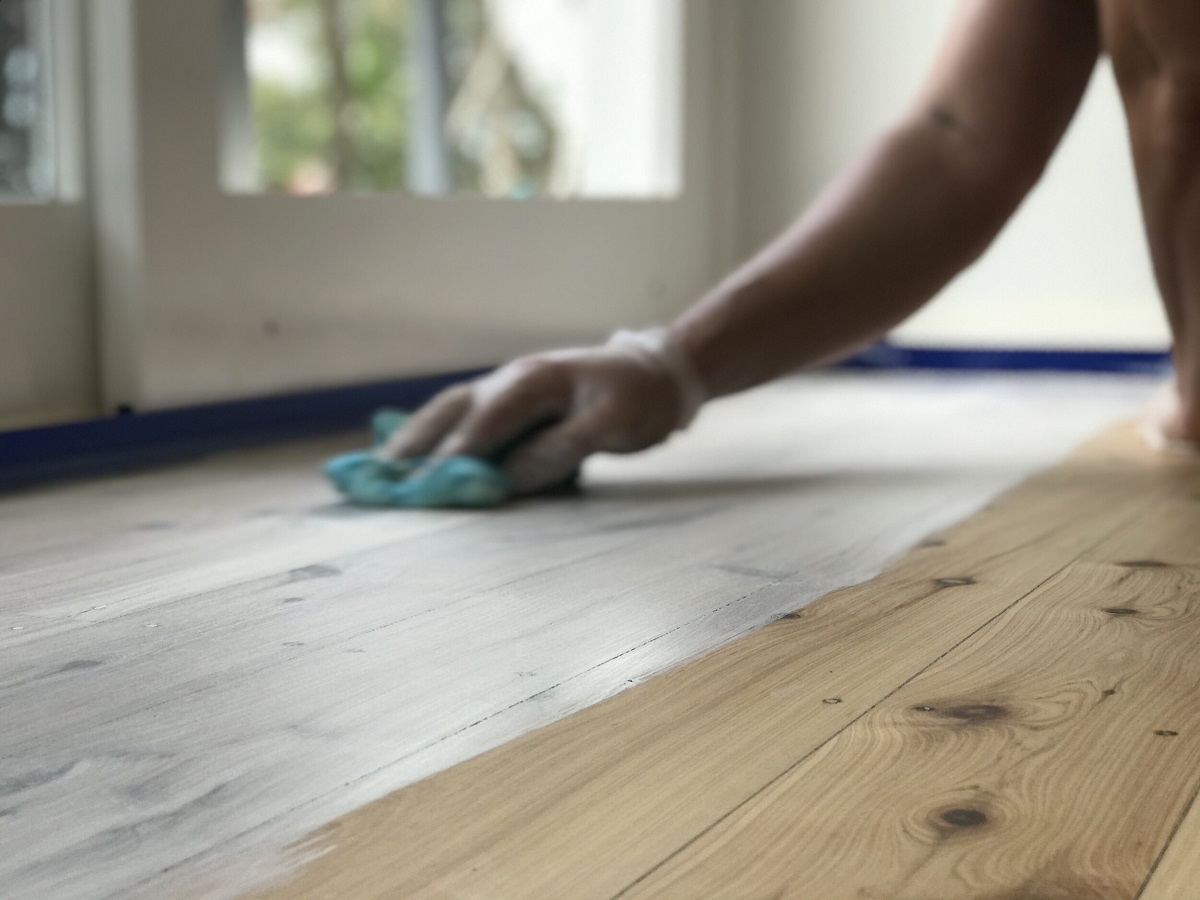
- Apply the stain: Following the manufacturer’s instructions, apply the stain using a brush, lambswool applicator, or lint-free cloth. Start from one corner of the room and work your way towards the exit to avoid stepping on the freshly stained areas. Apply the stain evenly, going with the grain of the wood, and make sure to blend the strokes for a consistent appearance.
- Allow for proper drying time: The stain will need time to dry and penetrate the wood. Follow the recommended drying time provided by the manufacturer. Avoid walking on the stained floor or placing any furniture on it until it is completely dry.
- Inspect and make adjustments: Once the floor is dry, inspect the color to ensure it is as desired. If you prefer a deeper or darker color, you may choose to apply another coat of stain. Allow sufficient drying time between coats.
- Seal the stained floor: To protect the stained surface and enhance its durability, apply a clear protective sealant. This will also add a beautiful sheen to the floor. Follow the manufacturer’s instructions for application and drying time.
Staining your hardwood floor allows you to customize its appearance, adding warmth and character to your space. Take your time during this step to achieve a color that truly enhances the beauty of your hardwood floors.
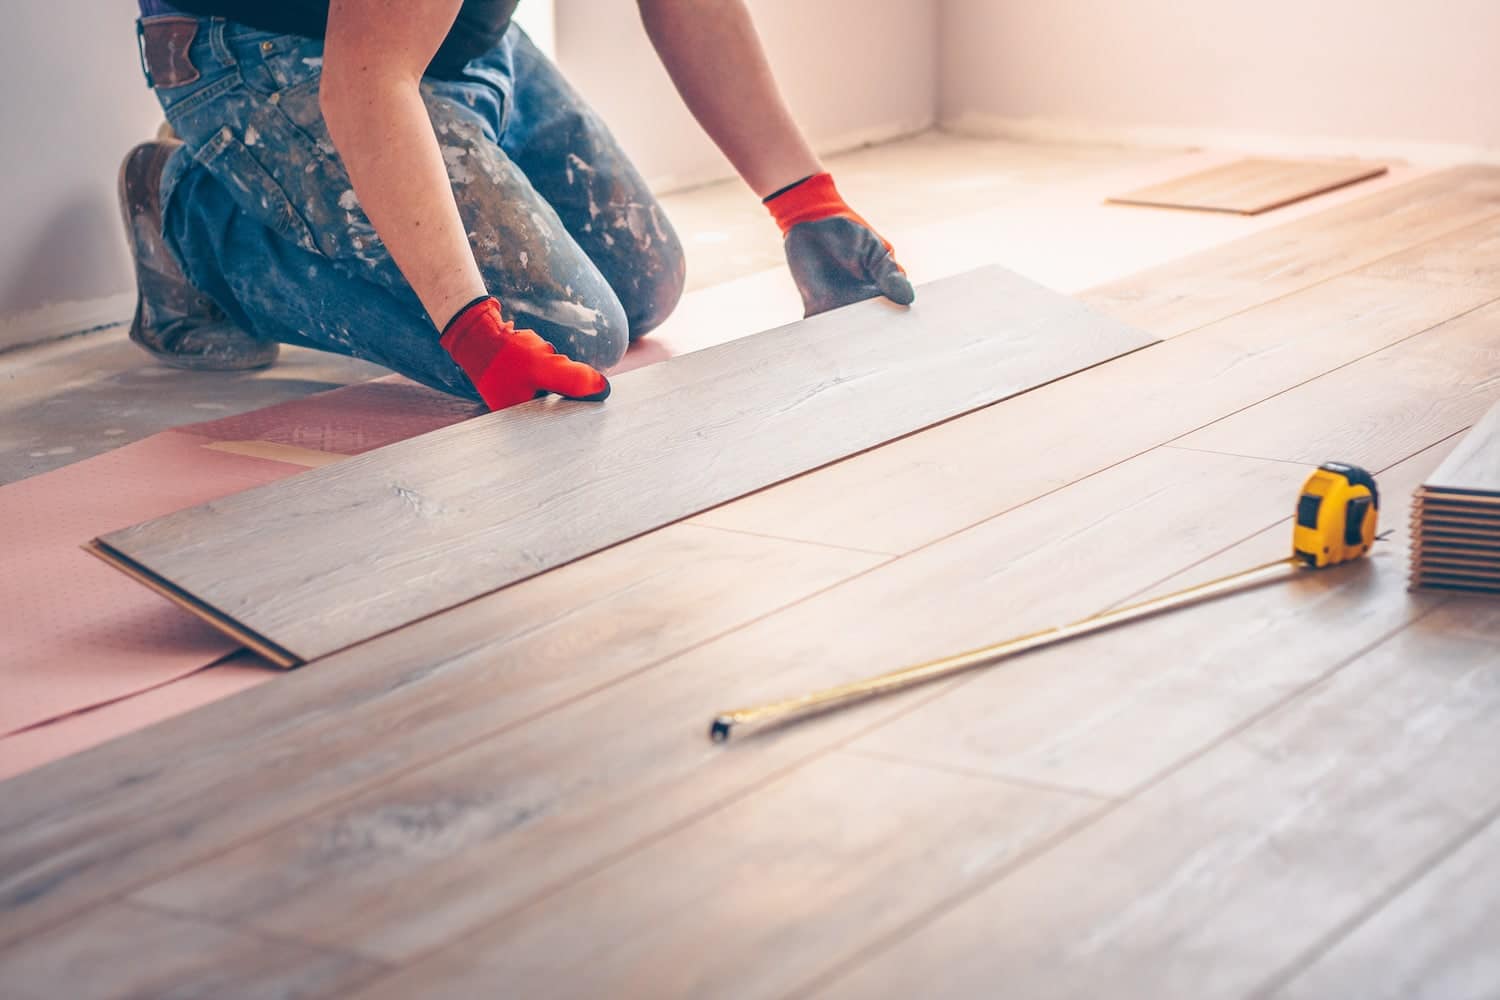
Before refinishing a hardwood floor, make sure to thoroughly clean and sand the surface to remove any existing finish or imperfections. This will ensure a smooth and even application of the new finish.
Applying Protective Finish
The final step in refinishing a hardwood floor is applying a protective finish. This finish not only adds a layer of protection to the wood but also enhances its natural beauty, providing a long-lasting and durable surface.
Here are the steps to effectively apply a protective finish to your hardwood floor:
- Choose the right finish: There are various types of finishes available, such as polyurethane, varnish, or oil-based finishes. Consider factors such as durability, sheen level, and ease of application when selecting the finish that best suits your needs.
- Prepare the floor: Ensure that the floor is clean and free from dust or debris. Vacuum or sweep the floor thoroughly, and wipe it down with a damp cloth to remove any remaining particles. Allow the surface to dry completely before applying the finish.
- Stir the finish: Stir the finish well to ensure that any settled particles are thoroughly mixed. Avoid shaking the can vigorously as it may introduce air bubbles into the finish.
- Apply the finish: Use a brush, lambswool applicator, or roller to apply the finish. Start from one corner of the room and work your way towards the exit, following the grain of the wood. Ensure even coverage and avoid applying too much finish in one area.
- Allow for drying time between coats: If multiple coats are required, allow each coat to dry completely before applying the next one. Follow the manufacturer’s instructions for drying time, which typically ranges from a few hours to overnight.
- Lightly sand between coats: After each coat has dried, lightly sand the surface with fine-grit sandpaper to remove any imperfections and create a smooth surface for the next coat. Remember to clean the floor thoroughly after sanding before applying the next coat of finish.
- Apply the final coat: Once you have achieved the desired number of coats, apply the final coat of finish and allow it to dry completely. This coat will provide the ultimate protection and finish to your hardwood floor.
By applying a protective finish, you prolong the lifespan of your hardwood floor and keep it looking beautiful for years to come. The finish acts as a barrier against everyday wear and tear, spills, and UV damage.
Read more: DIY Guide: Refinishing Hardwood Floors
Final Touches and Maintenance Tips
After completing the refinishing process, there are a few final touches you can add to further enhance the appearance of your hardwood floor. Additionally, following proper maintenance practices can ensure the longevity of your newly refinished floor. Here are some final touches and maintenance tips:
- Replace baseboards: Consider replacing or updating the baseboards to match the freshly refinished floor. This will provide a clean and finished look to the entire space.
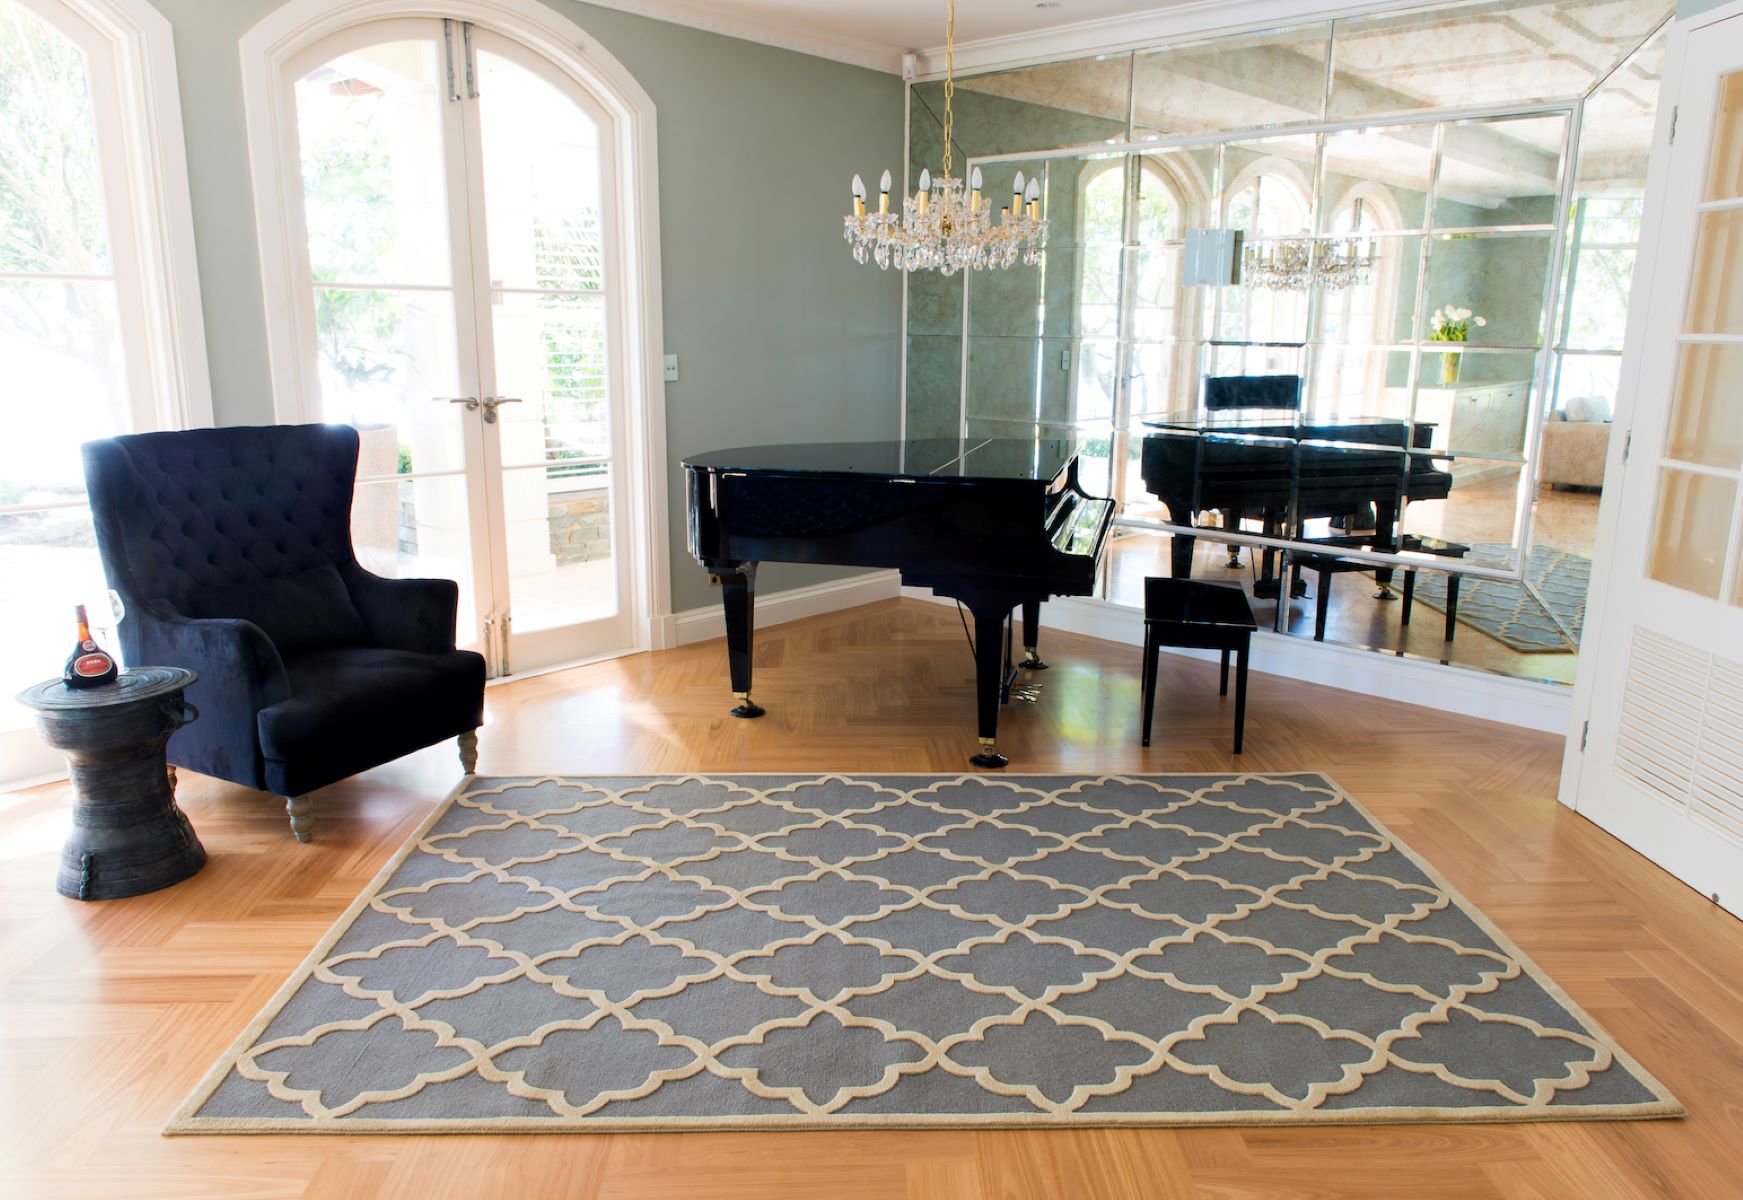
- Add rugs or mats: Place rugs or mats at entrances and high-traffic areas to protect the refinished floor from dirt, debris, and scratches. Use non-slip pads or rug grippers underneath to prevent slippage.
- Use furniture protectors: Attach felt pads or furniture glides to the bottom of furniture legs to prevent them from scratching or damaging the floor when moved.
- Regularly clean the floor: Maintain the beauty of your refinished floor by regularly sweeping or vacuuming with a soft-bristle attachment to remove dust and dirt. Avoid using wet mops or excessive amounts of water, as this can damage the finish.
- Wipe up spills promptly: Immediately clean up any spills or liquid accidents on your hardwood floor to prevent staining or warping. Use a slightly damp cloth to blot the area, and then dry it thoroughly.
- Avoid wearing high heels or shoes with cleats: High heels and shoes with sharp, pointed heels can cause dents or scratches on the floor. Encourage guests to remove their shoes or provide mats near entrances where shoes can be left.
- Perform periodic maintenance: Over time, your refinished floor may start to show signs of wear. Perform periodic maintenance such as buffing and recoating to rejuvenate the surface and restore its shine.
- Seek professional help if needed: If you encounter any significant damages or issues with your refinished floor, it is best to consult a professional to properly address them. They have the expertise and tools to handle complex repairs.
By implementing these final touches and following proper maintenance practices, you can enjoy the beauty and durability of your refinished hardwood floor for many years to come. A well-maintained floor adds value to your home and provides an inviting atmosphere throughout.
Conclusion
Congratulations, you have successfully learned how to refinish a hardwood floor! By following the step-by-step guide provided in this article, you can transform your worn-out hardwood floor into a stunning centerpiece in your home.
Remember, the key to a successful refinishing project lies in thorough preparation, careful sanding, skillful staining, and precise application of a protective finish. Taking the time to properly prepare the floor, choose the right products, and follow the recommended techniques will ensure outstanding results.
Refinishing a hardwood floor is not only a rewarding home improvement project but also an investment in the beauty and value of your home. A well-maintained and beautifully refinished floor can create a warm and inviting atmosphere in any room, leaving a lasting impression on your family and guests.
As you continue to enjoy your refinished hardwood floor, remember to take proper care of it by following the maintenance tips provided. Regular cleaning, prompt spill cleanup, and periodic maintenance will help preserve the appearance and longevity of your newly refinished floor.
Should you ever need assistance or encounter significant issues with your hardwood floor, it is always best to consult a professional. They have the knowledge and expertise to handle complex repairs and ensure that your floor remains in top condition.
Thank you for joining us on this refinishing journey. We hope you find immense joy in your beautifully refinished hardwood floor for years to come!
Frequently Asked Questions about How To Refinish A Hardwood Floor
Was this page helpful?
At Storables.com, we guarantee accurate and reliable information. Our content, validated by Expert Board Contributors, is crafted following stringent Editorial Policies. We're committed to providing you with well-researched, expert-backed insights for all your informational needs.


0 thoughts on “How To Refinish A Hardwood Floor”