Home>Articles>How To Clean A Hardwood Floor After Removing The Carpet
Articles
How To Clean A Hardwood Floor After Removing The Carpet
Modified: February 23, 2024
Discover effective methods to clean hardwood floors after removing the carpet in this informative article. Improve the lifespan and appearance of your flooring with expert tips.
(Many of the links in this article redirect to a specific reviewed product. Your purchase of these products through affiliate links helps to generate commission for Storables.com, at no extra cost. Learn more)
Introduction
When you remove carpeting from a hardwood floor, you may discover a hidden treasure waiting to be restored to its original beauty. However, before you can fully appreciate the natural elegance of the hardwood, it’s important to clean and revive its surface. Cleaning a hardwood floor after removing the carpet requires careful attention to ensure that all residue and dirt are effectively removed without causing any damage.
In this article, we will guide you through the steps to successfully clean a hardwood floor after removing the carpet. We will provide you with helpful tips and techniques to ensure that your hardwood floor retains its shine and longevity. So, without further ado, let’s dive into the process!
Key Takeaways:
- Uncover the hidden beauty of your hardwood floor by following these steps to effectively clean and revive its natural elegance after removing the carpet. From gathering supplies to applying a protective finish, ensure your floor retains its shine and longevity.
- Take a careful and thorough approach to cleaning your hardwood floor after removing the carpet, from removing residue and adhesive to deep cleaning and applying a protective finish. Enjoy the revitalized natural beauty and warmth of your hardwood floor for years to come.
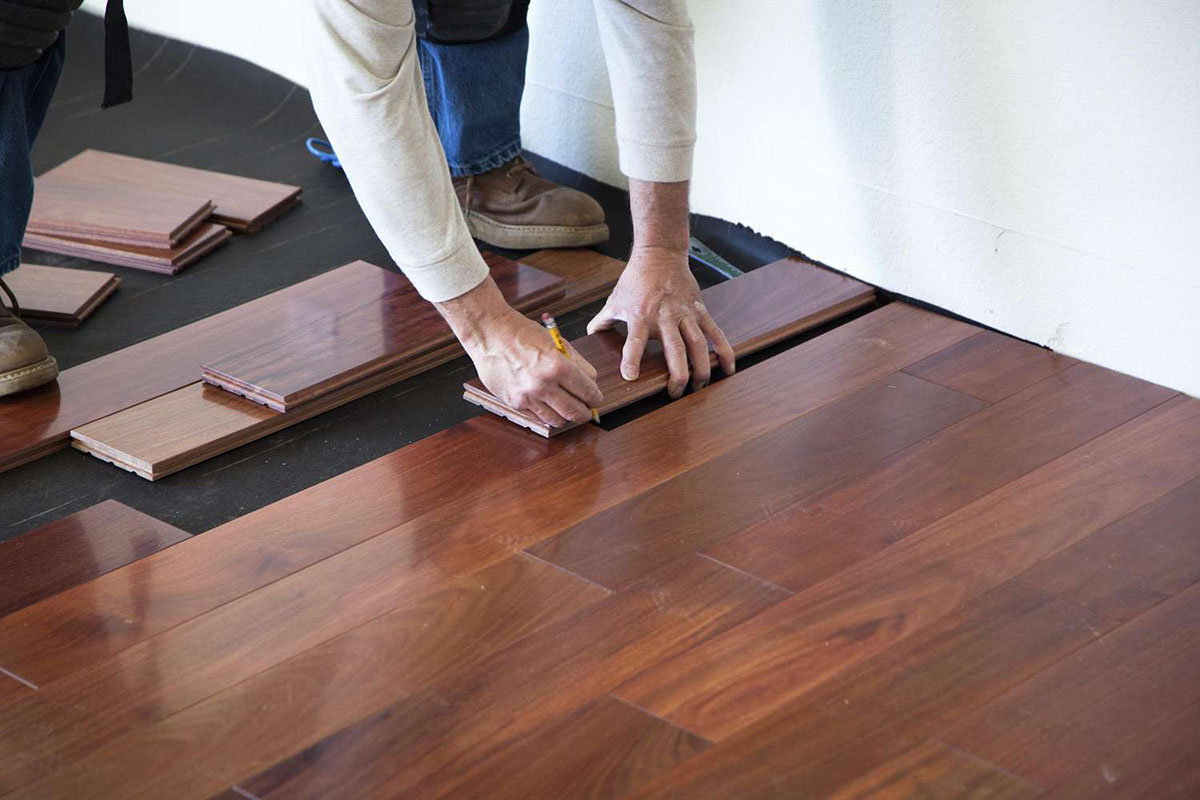
Step 1: Gather the Necessary Supplies
Before you begin cleaning your hardwood floor, it is essential to gather all the necessary supplies. Having everything at hand will make the process more efficient and ensure that you have everything you need throughout the cleaning process. Here are the supplies you will need:
- Broom or vacuum cleaner: You will need a broom with soft bristles or a vacuum cleaner with a floor attachment to remove loose dirt and debris from the surface of the hardwood floor.
- Mild hardwood floor cleaner: Look for a specially formulated hardwood floor cleaner that won’t leave residue or cause damage to the wood. Avoid using harsh chemicals or abrasive cleaners that can strip away the finish or dull the surface.
- Microfiber mop or cloth: A microfiber mop or cloth is ideal for cleaning hardwood floors as it effectively collects dirt without scratching or leaving streaks behind.
- Bucket: Use a bucket to hold water and the hardwood floor cleaner solution.
- Soft-bristle brush or scrub brush: You may need a soft-bristle brush or scrub brush to gently remove stubborn stains or residue from the floor.
- Old towels or rags: Keep a few old towels or rags nearby to wipe up any spills or excess moisture during the cleaning process.
- Protective gloves: It is always a good idea to wear protective gloves to keep your hands safe from any potential chemicals in the cleaning solution.
- Furniture pads: If you have furniture in the room, consider using furniture pads to protect the floor from scratches when you move the furniture around during the cleaning process.
Once you have gathered all the necessary supplies, you are ready to move on to the next step.
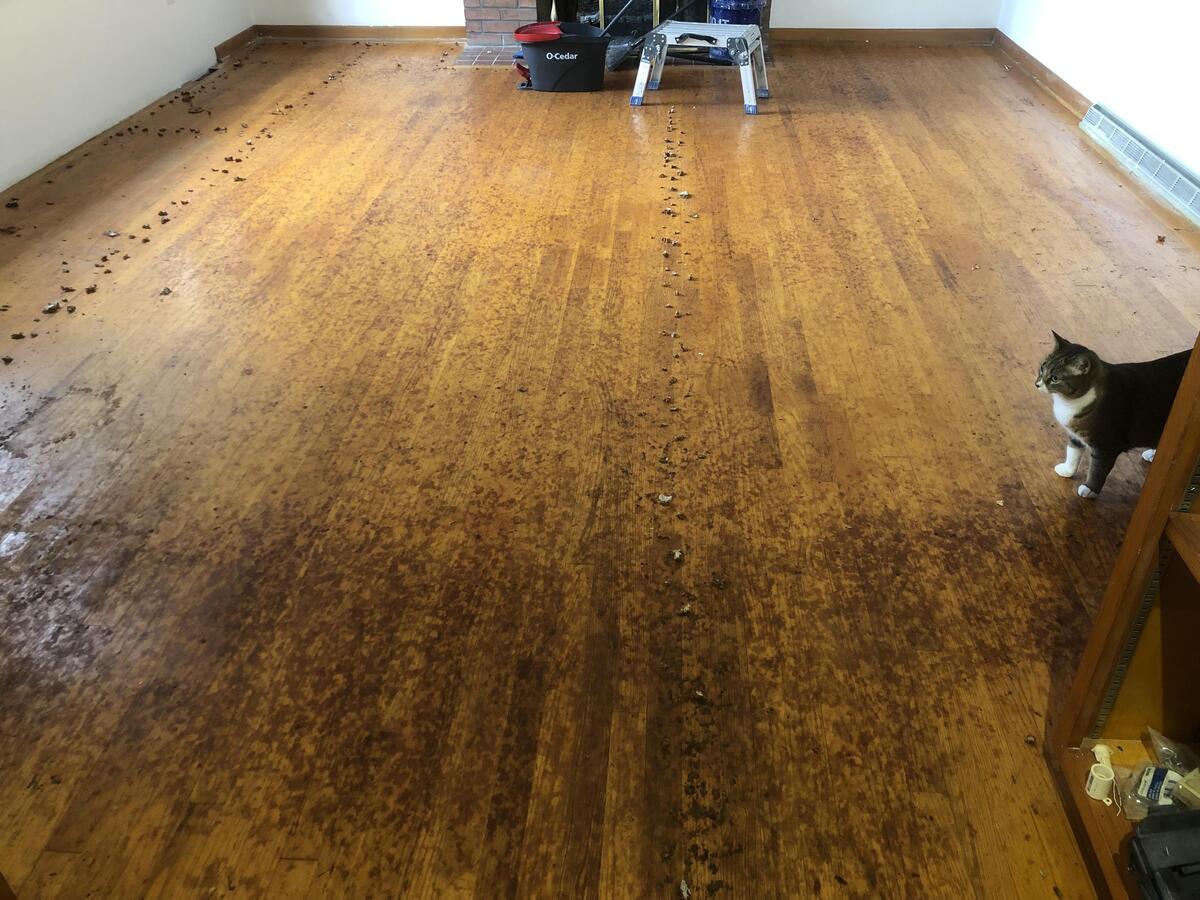
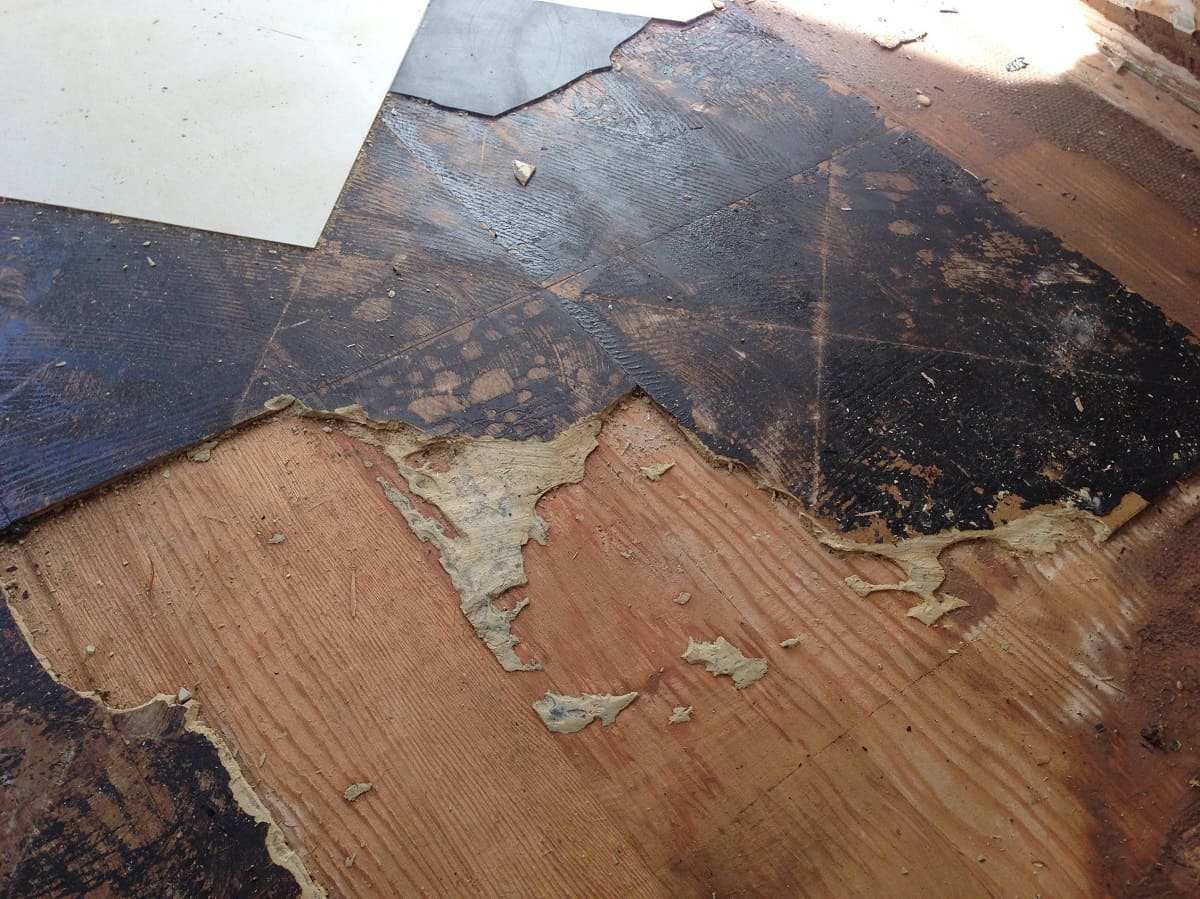
Step 2: Remove any Residue or Adhesive
After removing the carpet from your hardwood floor, there may be residual glue, adhesive, or carpet fibers left behind. It’s important to remove these remnants before proceeding with the cleaning process. Follow these steps to effectively eliminate any residue:
- Start by inspecting the floor for any adhesive or glue spots. You can use a plastic putty knife or a scraper to gently scrape off any visible adhesive. Be cautious not to scratch or damage the hardwood surface in the process.
- If there are stubborn residue spots, you can use a hardwood-safe adhesive remover. Apply the adhesive remover to a clean cloth and gently rub the affected area until the residue starts to dissolve. Make sure to follow the instructions provided by the manufacturer.
- For any carpet fibers that may have stuck to the floor, you can use a damp cloth or a soft-bristle brush to gently scrub the area. Ensure that the cloth or brush is slightly damp – avoid soaking it as excessive moisture can be harmful to the hardwood.
- If there are any sticky spots remaining, you can sprinkle baking soda onto them and let it sit for a few minutes. Then, use a damp cloth or sponge to gently scrub the area. The baking soda will help to loosen the sticky residue.
Take your time during this step to ensure that you remove all adhesive and residue. Any leftover residue can interfere with the cleaning process and potentially damage the hardwood floor. Once you have eliminated all remnants, you are ready to move on to the next step.
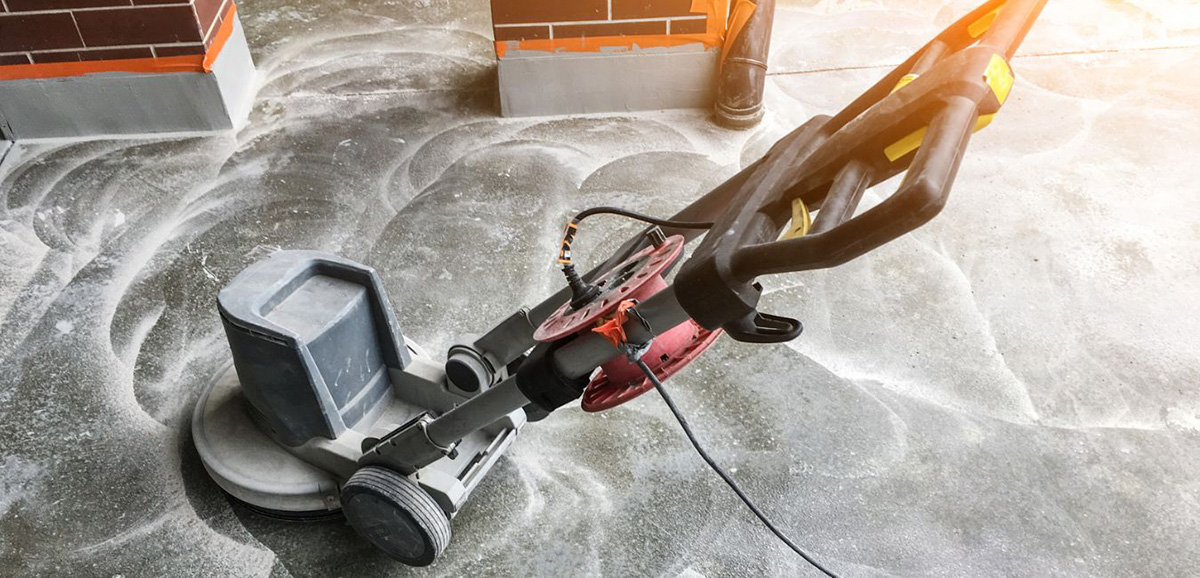
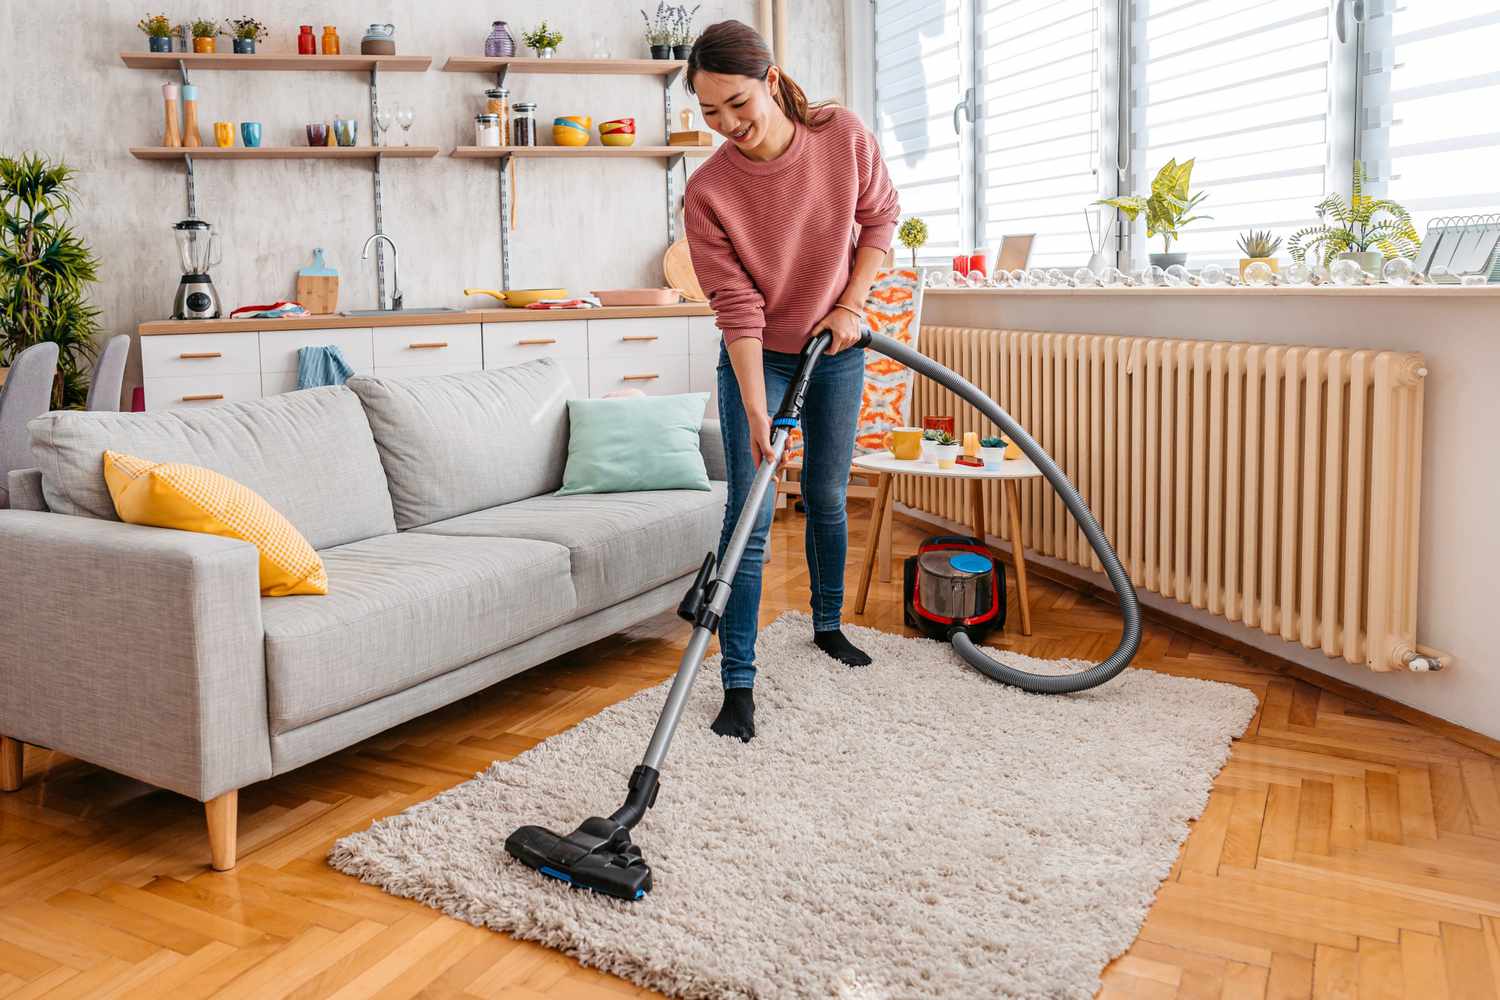
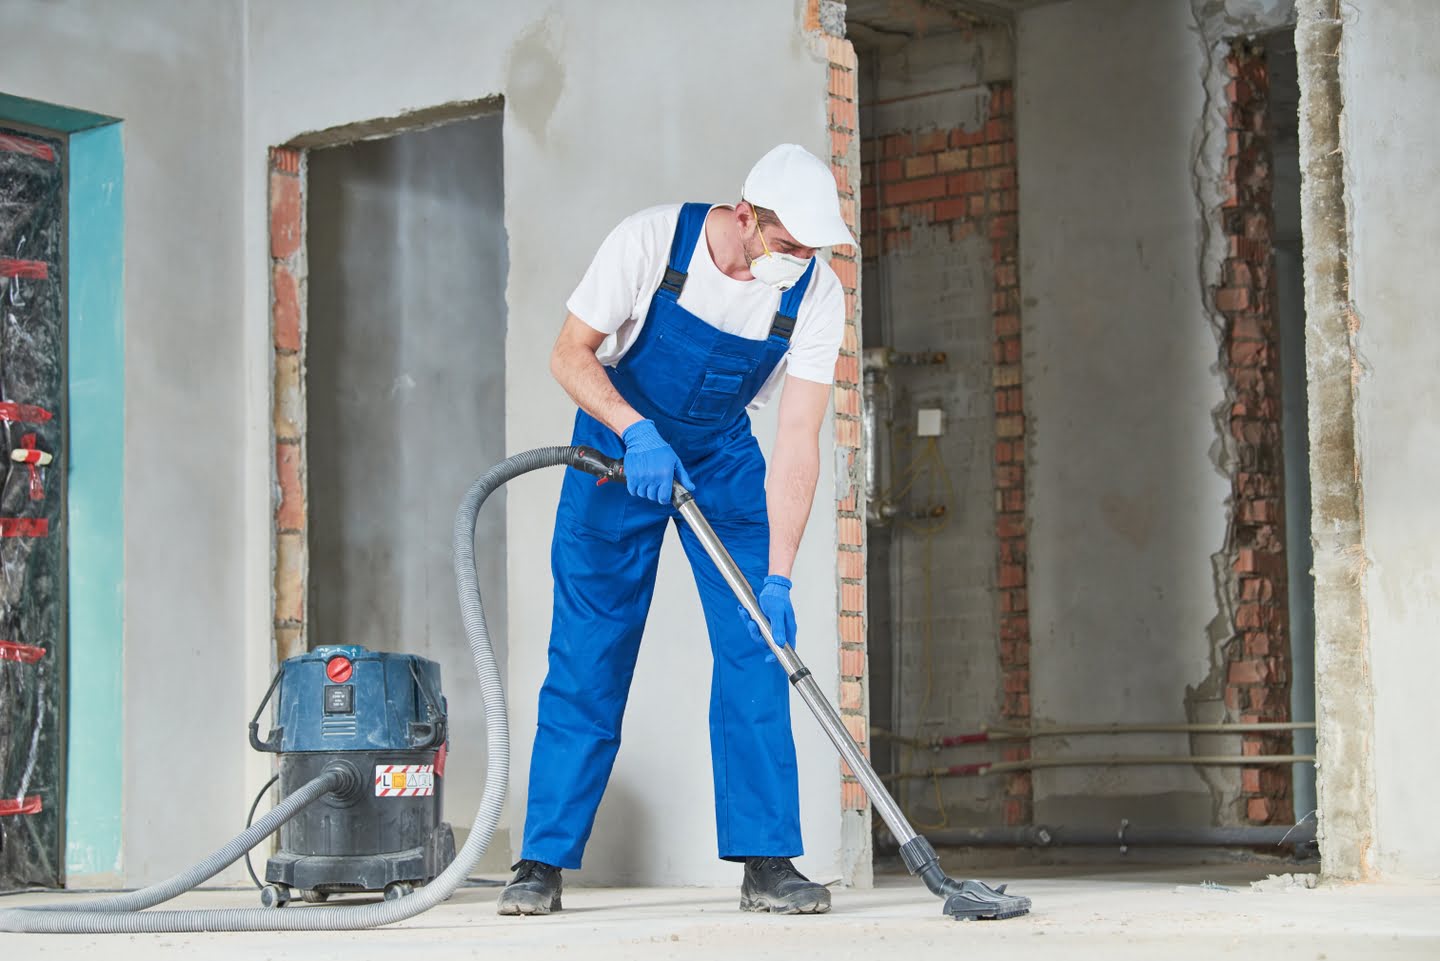
Step 3: Vacuum the Floor
Once you have removed any residue or adhesive from the hardwood floor, it’s time to prepare the surface for a deeper clean. Vacuuming the floor will help eliminate loose dirt, dust, and debris that may have accumulated. Follow these steps to effectively vacuum your hardwood floor:
- Start by attaching a floor attachment or a soft brush attachment to your vacuum cleaner. This will help prevent any scratching or damage to the floor.
- Before you begin vacuuming, ensure that the bristles are clean and free from any debris that could potentially scratch the surface.
- Turn on the vacuum cleaner and gently move it across the floor, covering the entire surface. Make sure to reach into corners and along the baseboards where dust and dirt tend to accumulate.
- Avoid using a vacuum cleaner with a beater bar as it can cause unnecessary friction and potentially damage the hardwood floor. Stick to a floor attachment or a soft brush attachment for optimal results.
- If you prefer not to use a vacuum cleaner, you can also use a soft-bristle broom to sweep away dirt and dust. Sweep in the direction of the wood grain to prevent scratching.
Vacuuming or sweeping the floor is an essential step to remove loose debris and prepare the hardwood surface for a deeper clean. Once you have effectively vacuumed the entire floor, you are ready to move on to the next step.
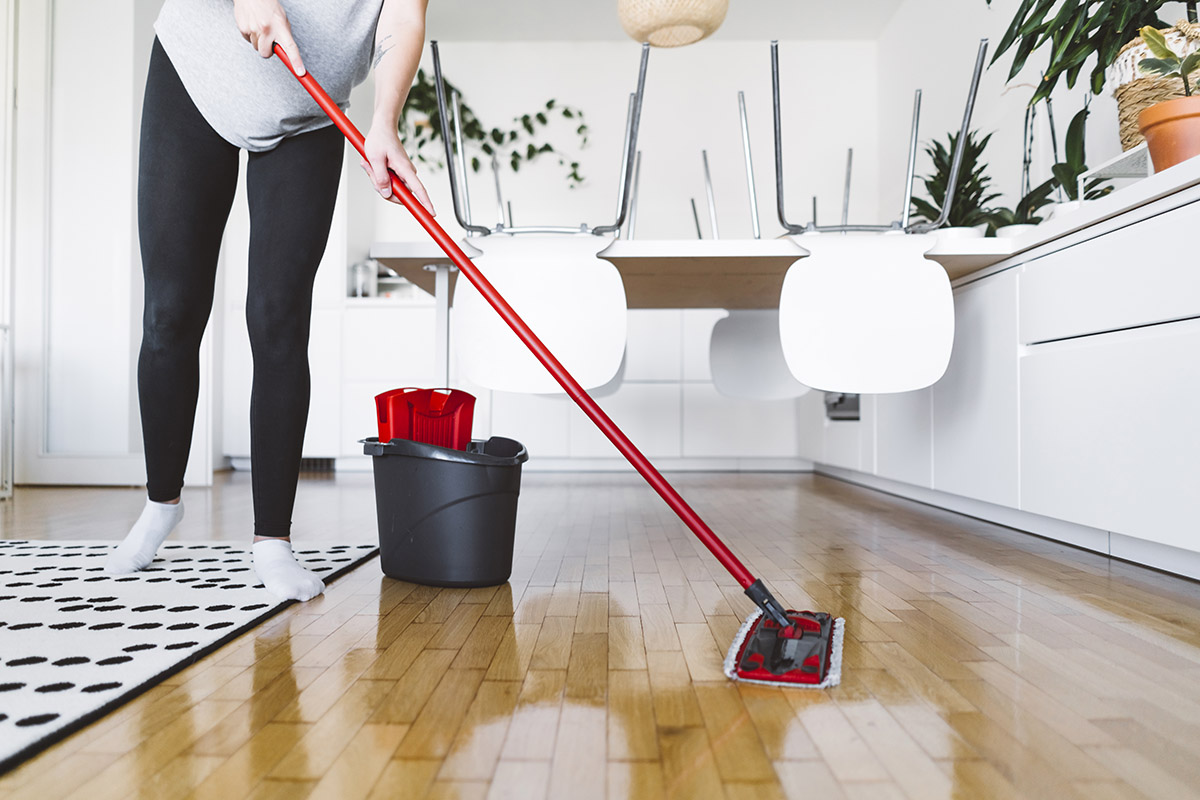
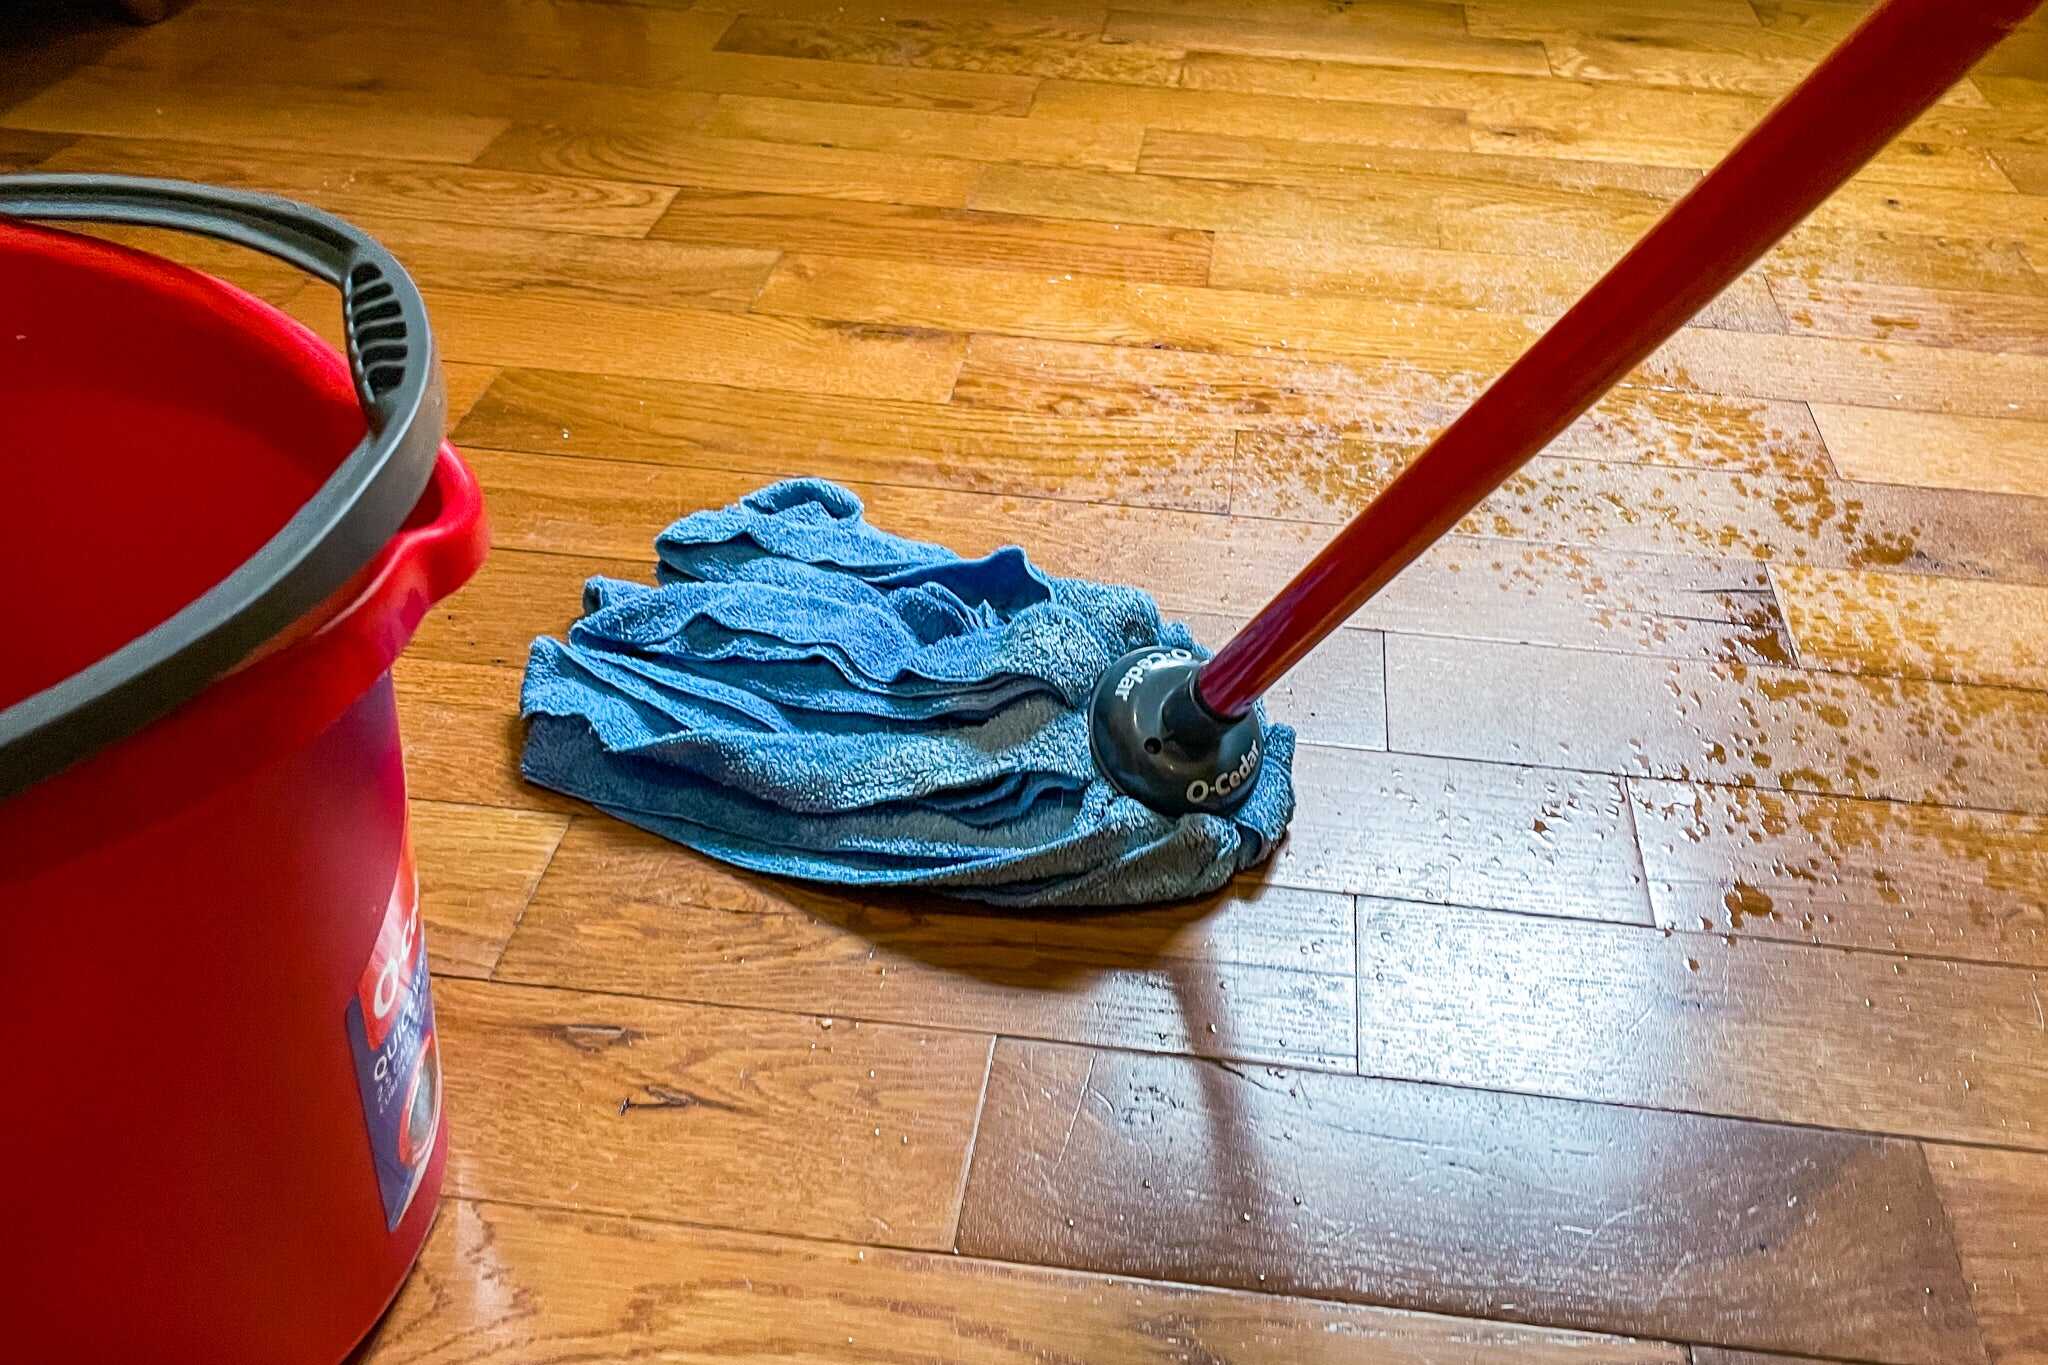
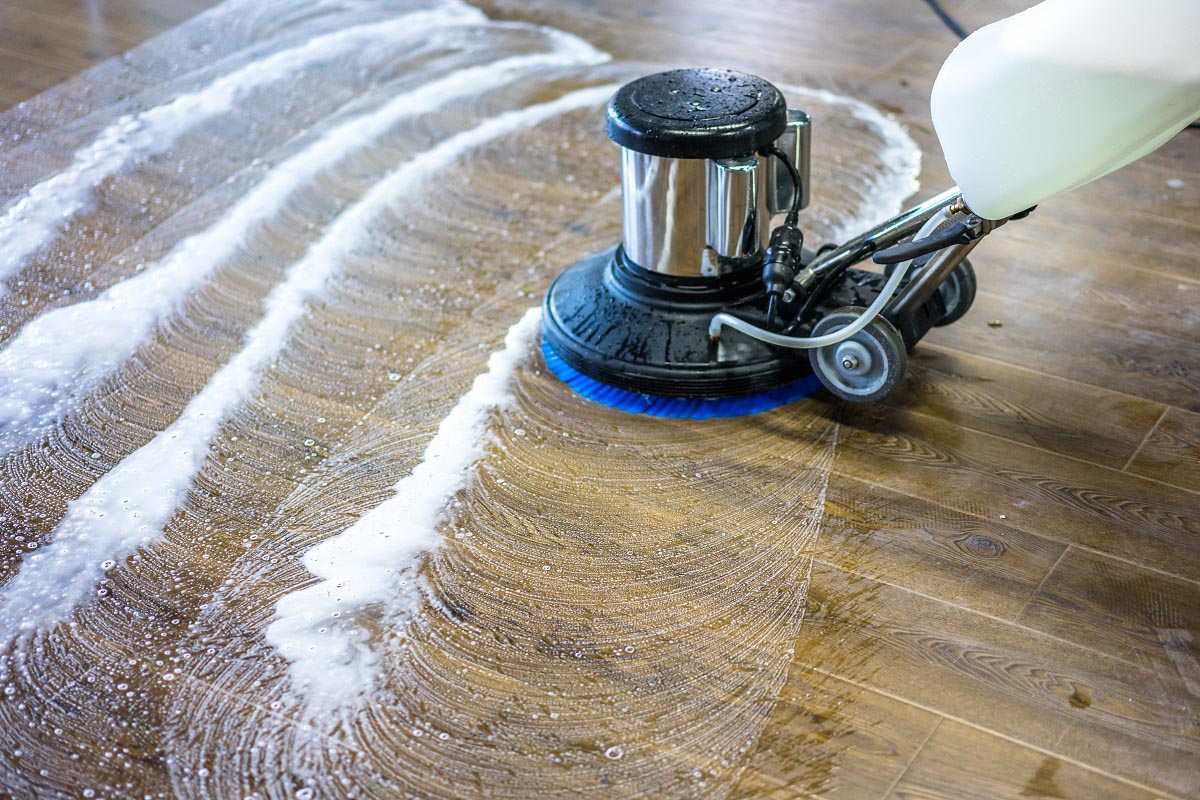
Step 4: Deep Clean the Hardwood Floor
With the surface prepared and loose debris removed, it’s time to deep clean your hardwood floor. This step will help eliminate any stains, dirt, or grime that may have accumulated over time. Follow these steps to effectively deep clean your hardwood floor:
- Prepare the cleaning solution by mixing the hardwood floor cleaner with warm water in a bucket. Follow the instructions provided on the cleaner’s packaging for the correct dilution ratio.
- Dip a microfiber mop or cloth into the cleaning solution, making sure that it is damp and not soaking wet. Excessive moisture can be harmful to hardwood floors.
- Starting from one corner of the room, begin mopping the floor in a gentle side-to-side motion, following the wood grain. Avoid using excessive force or pressure, as this can cause damage to the floor’s finish.
- Continue mopping the floor, periodically rinsing the mop or cloth in the cleaning solution to keep it effective. Make sure to change the cleaning solution if it becomes too dirty or cloudy.
- If you encounter stubborn stains or spots, you can use a soft-bristle brush or scrub brush to gently agitate the area. Make sure to apply light pressure to avoid scratching the surface.
- Work your way across the entire floor, paying attention to high-traffic areas or spots that require extra attention.
- Avoid using excessive water during the cleaning process, as it can seep into the wood and cause damage. Wring out the mop or cloth thoroughly and ensure that it is only damp.
- If necessary, you can use a slightly damp cloth or sponge to wipe down baseboards or other areas near the floor that may have accumulated dirt or cleaning solution.
Deep cleaning your hardwood floor will help restore its natural beauty and remove any stubborn stains or dirt. Take your time during this step to ensure a thorough clean. Once you have finished deep cleaning, you can proceed to the next step.
Use a vacuum with a soft brush attachment to remove any loose debris. Then, use a hardwood floor cleaner and a damp mop to thoroughly clean the floor. Be sure to dry the floor completely to prevent any water damage.
Step 5: Rinse the Floor
After deep cleaning the hardwood floor, it’s important to rinse off any residual cleaning solution. Rinsing will help remove any remaining dirt or cleaner residue, leaving the floor refreshed and ready for the next step. Follow these steps to effectively rinse your hardwood floor:
- Fill a clean bucket with warm water.
- Dip a clean microfiber mop or cloth into the water, wring it out, and make sure it is damp but not soaking wet.
- Starting from one corner of the room, mop the floor in the same gentle side-to-side motion as in the deep cleaning step.
- Rinse the mop or cloth frequently in the water to ensure that you are using clean water to rinse the floor.
- Continue rinsing the floor, working your way across the entire floor, ensuring that you cover all areas.
- Pay close attention to high-traffic areas or spots that may have accumulated more cleaning solution during the deep cleaning process.
- Be cautious not to oversaturate the floor with water, as excessive moisture can damage the wood. Wring out the mop or cloth thoroughly to ensure it is only damp.
- If necessary, you can use a slightly damp cloth to wipe down baseboards or other areas near the floor that may have accumulated water during the rinsing process.
Rinsing the floor is an essential step to remove any cleaning residue and leave your hardwood floor clean and refreshed. Take your time during this step to ensure that you rinse off all cleaning solution. Once you have thoroughly rinsed the floor, you can proceed to the next step.
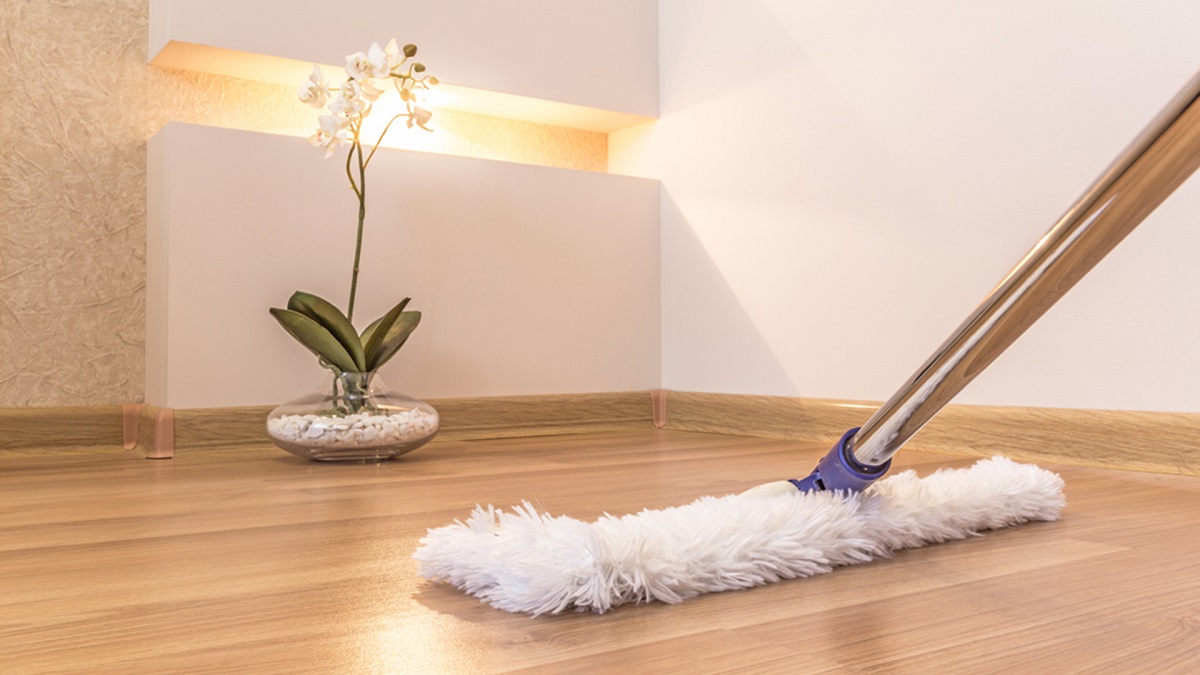
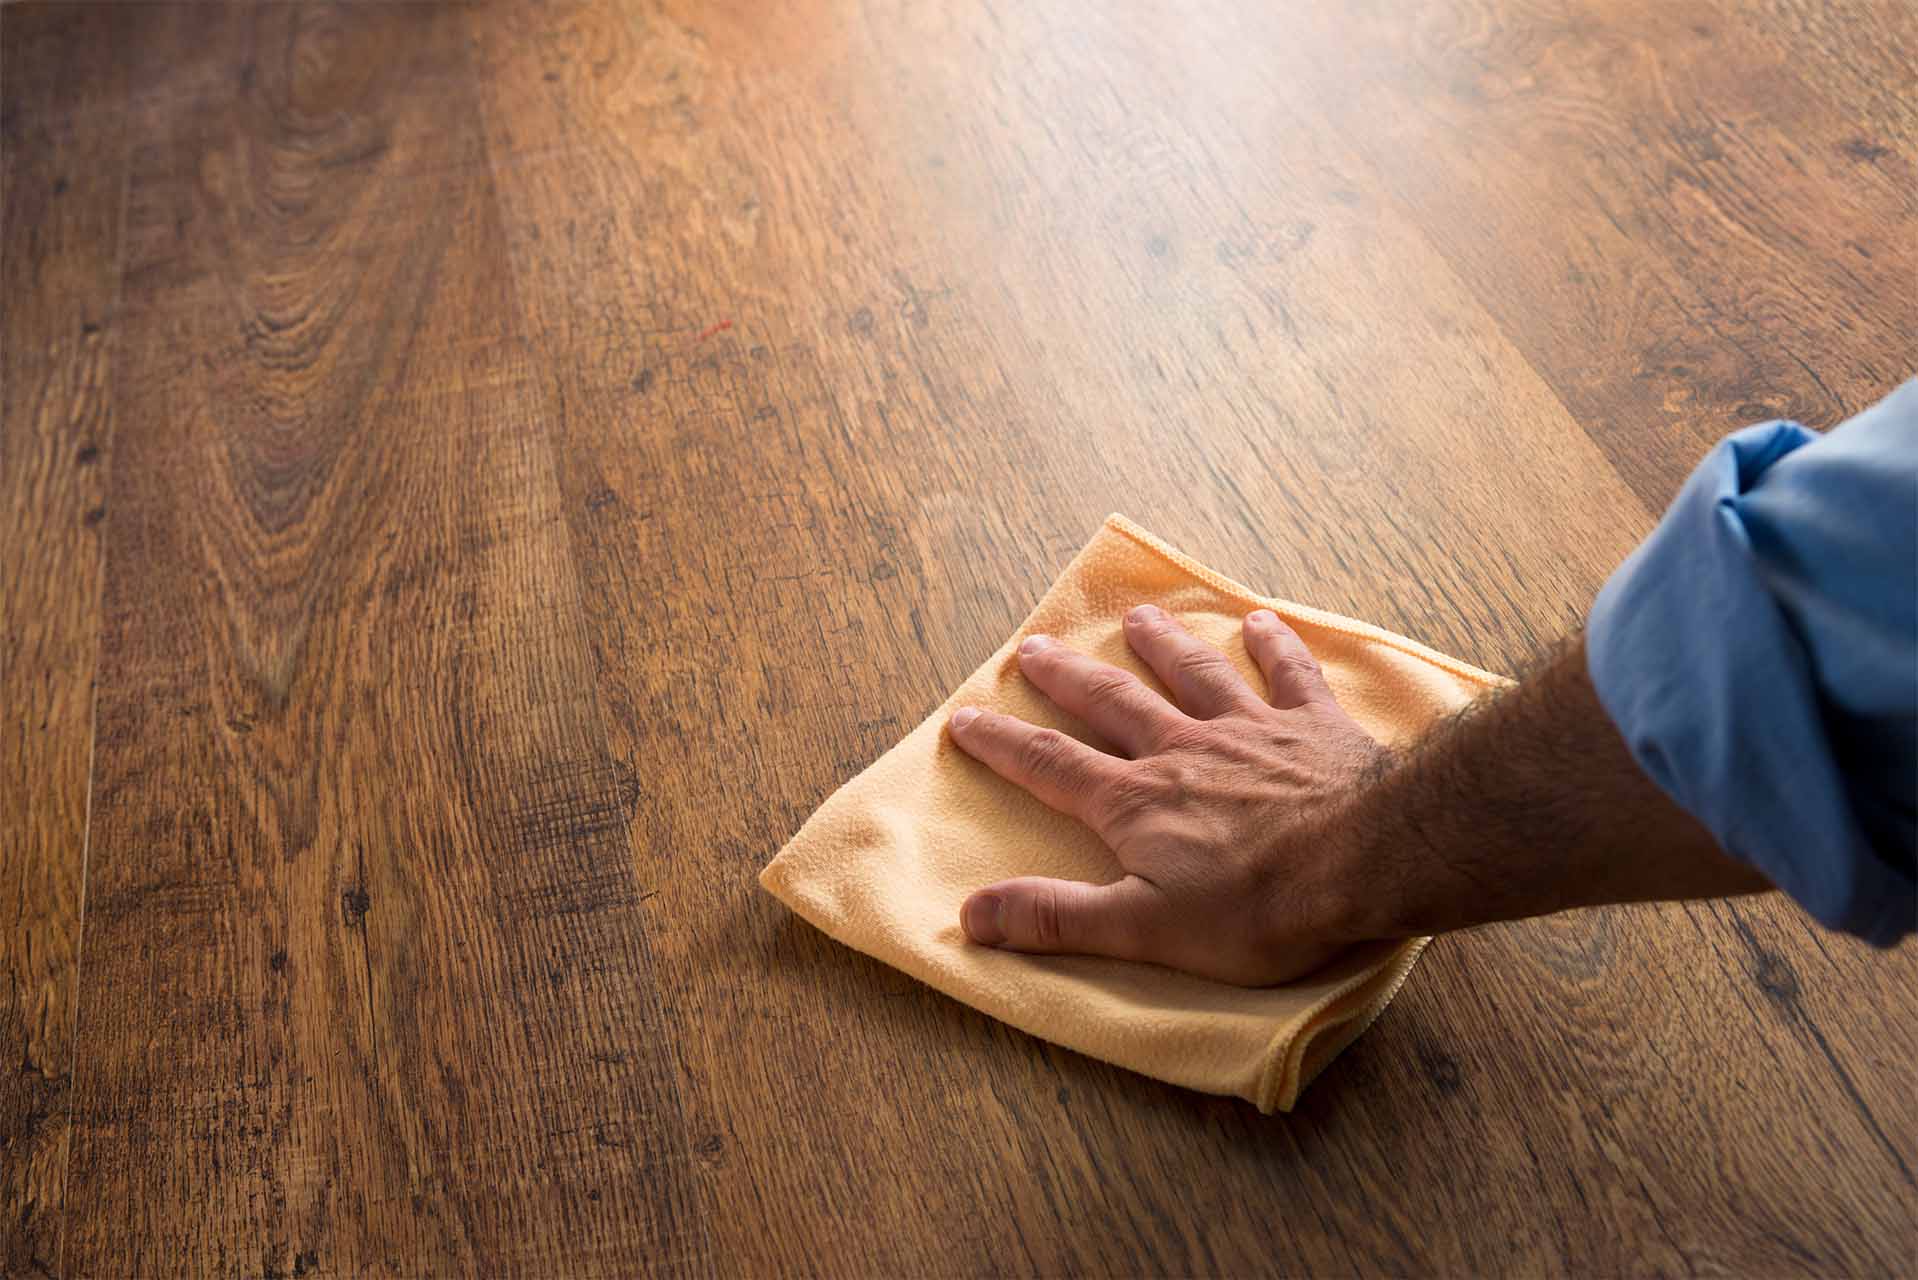
Step 6: Dry the Floor
After rinsing the hardwood floor, it’s crucial to dry it properly to prevent any water damage or moisture-related issues. Follow these steps to effectively dry your hardwood floor:
- Start by using a clean, dry microfiber mop or cloth to absorb any excess water on the floor.
- Gently mop the floor in a back-and-forth motion, ensuring you cover all areas and corners.
- If there are any wet spots or puddles, use a dry towel or cloth to blot them dry immediately. Standing water on hardwood floors can cause damage if not removed promptly.
- If the room has good ventilation, you can open windows or doors to help facilitate the drying process. Air circulation will aid in faster evaporation of any remaining moisture.
- Avoid using fans directly on the floor, as they can create excessive airflow and potentially damage the wood.
- Allow the floor to air dry naturally for an appropriate amount of time. The drying time may vary depending on various factors such as humidity levels, temperature, and the amount of water used during the cleaning process.
- To check if the floor is completely dry, place a dry paper towel or cloth on the surface and leave it for a few minutes. If there is no moisture transfer to the towel or cloth, the floor is dry.
- Once the floor is completely dry, you can proceed to the final step of applying a protective finish, if desired.
Properly drying the hardwood floor is vital to avoid any moisture-related damage. Take your time during this step and ensure that the floor is thoroughly dry before moving on. Once the floor is dry, you can move on to the next step of applying a protective finish if desired.
Step 7: Apply a Protective Finish
Applying a protective finish is an optional but recommended step to safeguard your hardwood floor and enhance its longevity. A protective finish can help seal the wood, protect it from potential damage, and give it a beautiful luster. Follow these steps to effectively apply a protective finish to your hardwood floor:
- Choose the appropriate finish: There are various types of finishes available, such as polyurethane, wax, or oil-based finishes. Consider the needs of your hardwood floor and select a finish that is compatible with the wood species and suits your desired level of sheen.
- Ensure the floor is clean and dry: Before applying the finish, make sure the floor is free from any dust, dirt, or moisture. If needed, lightly clean the floor using a dry microfiber cloth or mop.
- Read and follow the instructions: Different finishes come with different application methods and drying times. Read the instructions provided by the manufacturer carefully and follow the recommended guidelines.
- Apply the finish evenly: Start from one corner of the room and use a clean, dry mop or applicator to apply the finish in thin, even coats, following the wood grain. Avoid applying too much finish at once, as it can lead to excessive buildup or uneven drying.
- Allow proper drying time: Each finish has a specific drying time, so be patient and allow the recommended time for the finish to dry between coats. Ensure the room is well-ventilated to aid in the drying process.
- Apply multiple coats if necessary: Depending on the type of finish and the desired level of protection, you may need to apply multiple coats. Allow each coat to dry properly before applying the next one.
- Dispose of materials properly: Once you have finished applying the finish, dispose of any used materials, such as brushes or applicators, according to the manufacturer’s guidelines. Some finishes may require specific disposal methods due to their chemical composition.
- Allow the finish to cure: After the final coat, allow the finish to cure for the recommended time before placing any furniture or rugs on the floor. This will ensure that the finish has fully hardened and will provide optimal protection.
Applying a protective finish can help maintain the beauty and integrity of your hardwood floor. Consider the specific needs of your floor and choose a finish that suits your preferences. Take your time during the application process to ensure an even coat and proper drying. Once the finish has cured, you can enjoy your revitalized and protected hardwood floor.
Conclusion
Cleaning a hardwood floor after removing the carpet requires attention to detail and a careful approach to ensure the surface is properly cleaned and protected. By following the steps outlined in this guide, you can effectively clean your hardwood floor, revealing its natural beauty and restoring its luster.
Starting with gathering the necessary supplies, you can ensure that you have everything you need to clean the floor efficiently. Removing any residue or adhesive left behind by the carpet is crucial to prepare the surface for a deep clean. Vacuuming the floor helps eliminate loose dirt and debris, creating a clean canvas for the next steps.
The deep cleaning process involves using a suitable hardwood floor cleaner and a damp mop or cloth to thoroughly clean the floor, paying special attention to stubborn stains or high-traffic areas. Rinsing the floor afterwards removes any cleaning solution residue, leaving your hardwood floor refreshed. It is important to properly dry the floor to prevent water damage, using a combination of mopping, blotting, and allowing the floor to air dry.
Applying a protective finish is the final step, offering an additional layer of protection and enhancing the appearance of your hardwood floor. Selecting the appropriate finish, carefully following the instructions, and applying multiple coats if necessary will ensure optimal results.
Remember that the specific needs of your hardwood floor may vary, so always refer to the manufacturer’s guidelines and recommendations. By following these steps, you can confidently clean and maintain the beauty of your hardwood floor after removing the carpet.
With a clean and revitalized hardwood floor, you can now enjoy the natural elegance and warmth that it brings to your home for years to come.
Frequently Asked Questions about How To Clean A Hardwood Floor After Removing The Carpet
Was this page helpful?
At Storables.com, we guarantee accurate and reliable information. Our content, validated by Expert Board Contributors, is crafted following stringent Editorial Policies. We're committed to providing you with well-researched, expert-backed insights for all your informational needs.