Articles
How To Clean Chimney Filter
Modified: October 20, 2024
Learn the best tips and techniques for cleaning your chimney filter with our comprehensive articles. Keep your fireplace clean and efficient for a cozy home.
(Many of the links in this article redirect to a specific reviewed product. Your purchase of these products through affiliate links helps to generate commission for Storables.com, at no extra cost. Learn more)
Introduction
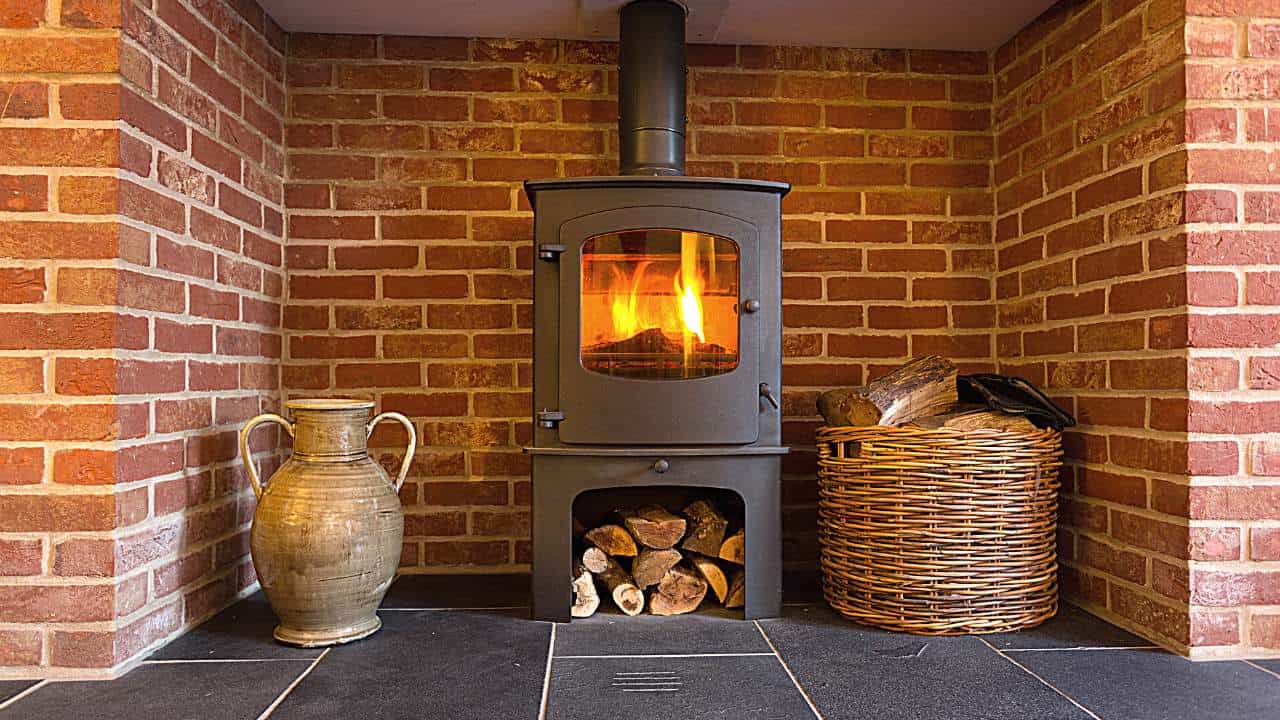
Keeping your chimney filter clean is crucial for maintaining the efficiency and safety of your fireplace. Over time, the filter can accumulate dirt, debris, and soot, which can restrict airflow and lead to poor combustion. This not only reduces the heating efficiency but also increases the risk of chimney fires.
In this article, we will guide you through the process of cleaning your chimney filter. We will explain the importance of maintaining a clean filter and provide step-by-step instructions to help you safely and effectively clean it.
Understanding how the chimney filter works and the proper cleaning techniques will not only improve the performance of your fireplace but also prolong its lifespan. So, let’s dive in and learn how to clean your chimney filter!
Key Takeaways:
- Regularly cleaning and maintaining your chimney filter is crucial for ensuring the efficiency, safety, and longevity of your fireplace system. Prioritize safety, gather the necessary tools, and follow the step-by-step instructions for optimal results.
- Establish a routine maintenance schedule, monitor for creosote buildup, and consider professional chimney inspections to prevent fires and maintain optimal performance. By prioritizing safety and regular maintenance, you can enjoy a clean and well-functioning fireplace for years to come.
Read more: How To Clean A Chimney Yourself
Understanding the Chimney Filter
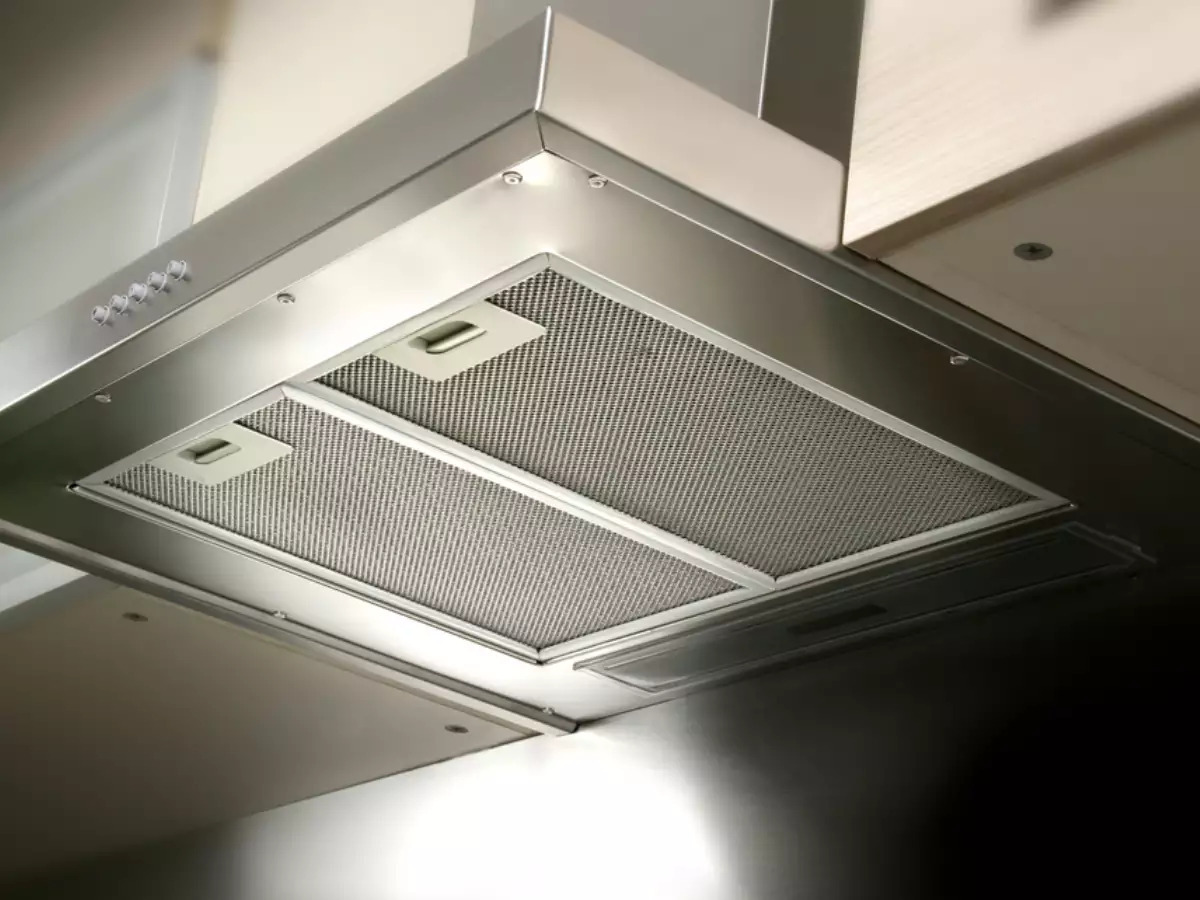
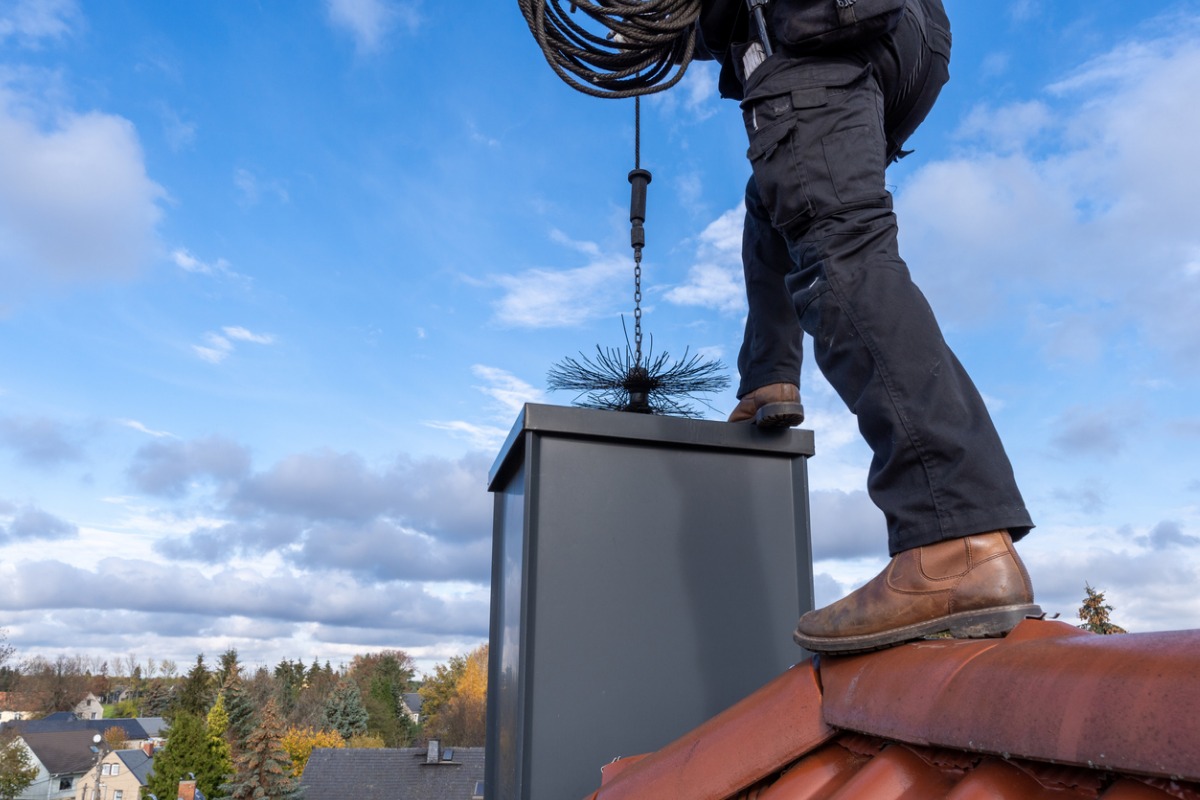
The chimney filter, also known as the chimney cap or spark arrestor, is a vital component of your fireplace system. Its primary function is to prevent debris, animals, and sparks from entering the chimney while allowing the smoke and gases to safely exit.
Chimney filters come in various materials, including stainless steel, copper, and aluminum. They are designed with fine mesh or wire grids to trap particles such as soot, ash, and small twigs. The size of the mesh or grid is important as it determines the level of filtration and affects the overall airflow.
The filter is typically located at the top of the chimney, attached to the chimney crown or flue liner. Its position helps to shield the chimney from rain, snow, and other weather elements, preventing them from entering the flue and causing damage.
A clean and properly functioning chimney filter is essential for several reasons. Firstly, it prevents the buildup of creosote, a highly flammable substance that can lead to chimney fires if not removed. Secondly, it prevents the migration of animals such as birds and squirrels, which can nest in the chimney and obstruct airflow. Lastly, it ensures adequate ventilation, which improves combustion efficiency and reduces the risk of carbon monoxide build-up.
Now that we have a better understanding of the chimney filter, let’s move on to the next section, where we will discuss the safety precautions you should take before cleaning the filter.
Safety Precautions
Before diving into the process of cleaning your chimney filter, it is crucial to prioritize safety. Working with fireplaces and chimneys can be hazardous, so it is important to follow these safety precautions:
- Wear appropriate protective gear, including gloves, safety glasses, and a dust mask, to protect yourself from debris and soot.
- Ensure that the fireplace is completely extinguished and cool before attempting to clean the chimney filter. This will minimize the risk of burns or accidental fires.
- Place drop cloths or tarps around the fireplace area to protect your flooring or furniture from any debris that may fall during the cleaning process.
- Use a sturdy ladder or scaffolding to safely access the chimney top. Ensure that it is securely positioned and that someone is aware of your presence while you work.
- Consider having a second person with you to provide assistance or in case of an emergency.
- If you are not comfortable or experienced with chimney maintenance, it is advisable to hire a professional chimney sweep to ensure proper cleaning and inspections.
Remember, chimney cleaning can be a dirty and dusty process, so always prioritize safety and take the necessary precautions to protect yourself and your surroundings.
Now that we have covered safety precautions, let’s move on to the next section, which outlines the tools and materials you will need for cleaning the chimney filter.
Tools and Materials Needed
Before you start cleaning your chimney filter, gather the following tools and materials to ensure a smooth and efficient process:
- Protective gear: Gloves, safety glasses, and a dust mask to shield yourself from debris and soot.
- Ladder or scaffolding: A sturdy and secure ladder or scaffolding to safely access the chimney top.
- Brushes: Chimney brushes with flexible rods of appropriate size to fit the dimensions of your chimney. Ensure that the brushes have stiff bristles to effectively scrub away debris.
- Vacuum cleaner with a brush attachment: This will help in cleaning the filter, chimney, and surrounding areas.
- Drop cloths or tarps: To protect your flooring or furniture from any debris.
- Bucket or trash bag: To collect the debris and soot removed from the filter.
- Cleaning solution: A mild dish detergent or a specialized chimney cleaning solution to effectively remove soot and buildup in the filter.
- Water source: A hose or bucket of water to rinse the filter.
- Towels or rags: For drying the clean filter before reinstallation.
Having these tools and materials ready before you start the cleaning process will save you time and ensure that you have everything you need for a successful cleaning session. Now that you are prepared, let’s move on to the step-by-step instructions for cleaning your chimney filter.
Step 1: Preparation
Before you can start cleaning the chimney filter, it is essential to prepare the area and ensure that you have all the necessary tools and materials at hand. Follow these steps for proper preparation:
- Gather your tools and materials: As mentioned earlier, make sure you have all the required tools and materials ready. This includes protective gear, brushes, vacuum cleaner, drop cloths, bucket or trash bag, cleaning solution, water source, and towels or rags.
- Open windows and doors: To improve ventilation and minimize the spread of dust and debris, open windows and doors in the area around the fireplace.
- Clear the surroundings: Remove any furniture, decorations, or other items near the fireplace and the chimney area. This will prevent them from getting dirty or accidentally knocked over during the cleaning process.
- Protect the flooring: Lay down drop cloths or tarps to protect the floor from any debris that may fall during the cleaning process. Ensure that the drop cloths cover a wide enough area to catch any potential debris.
- Put on your protective gear: Wear gloves, safety glasses, and a dust mask to protect yourself from debris and soot. This will prevent skin irritation, eye injuries, and inhaling harmful particles.
- Alert other household members: Let others in your household know that you will be cleaning the chimney filter, so they are aware and can avoid accessing the area while you are working.
- Ensure the fireplace is cool: Before starting the cleaning process, make sure that the fireplace is completely extinguished and cool. This will prevent any accidental burns or fires.
By following these preparation steps, you will create a safe and organized environment to clean your chimney filter effectively. Once you have completed the preparation, you are ready to move on to the next step: removing the filter.
Read more: How To Start A Chimney Cleaning Business
Step 2: Removing the Filter
Now that you have prepared the area and have all the necessary tools and materials, it’s time to remove the chimney filter. Follow these step-by-step instructions:
- Access the chimney top: Use a secure ladder or scaffolding to reach the top of the chimney. Make sure that the ladder or scaffolding is stable and that someone is aware of your presence.
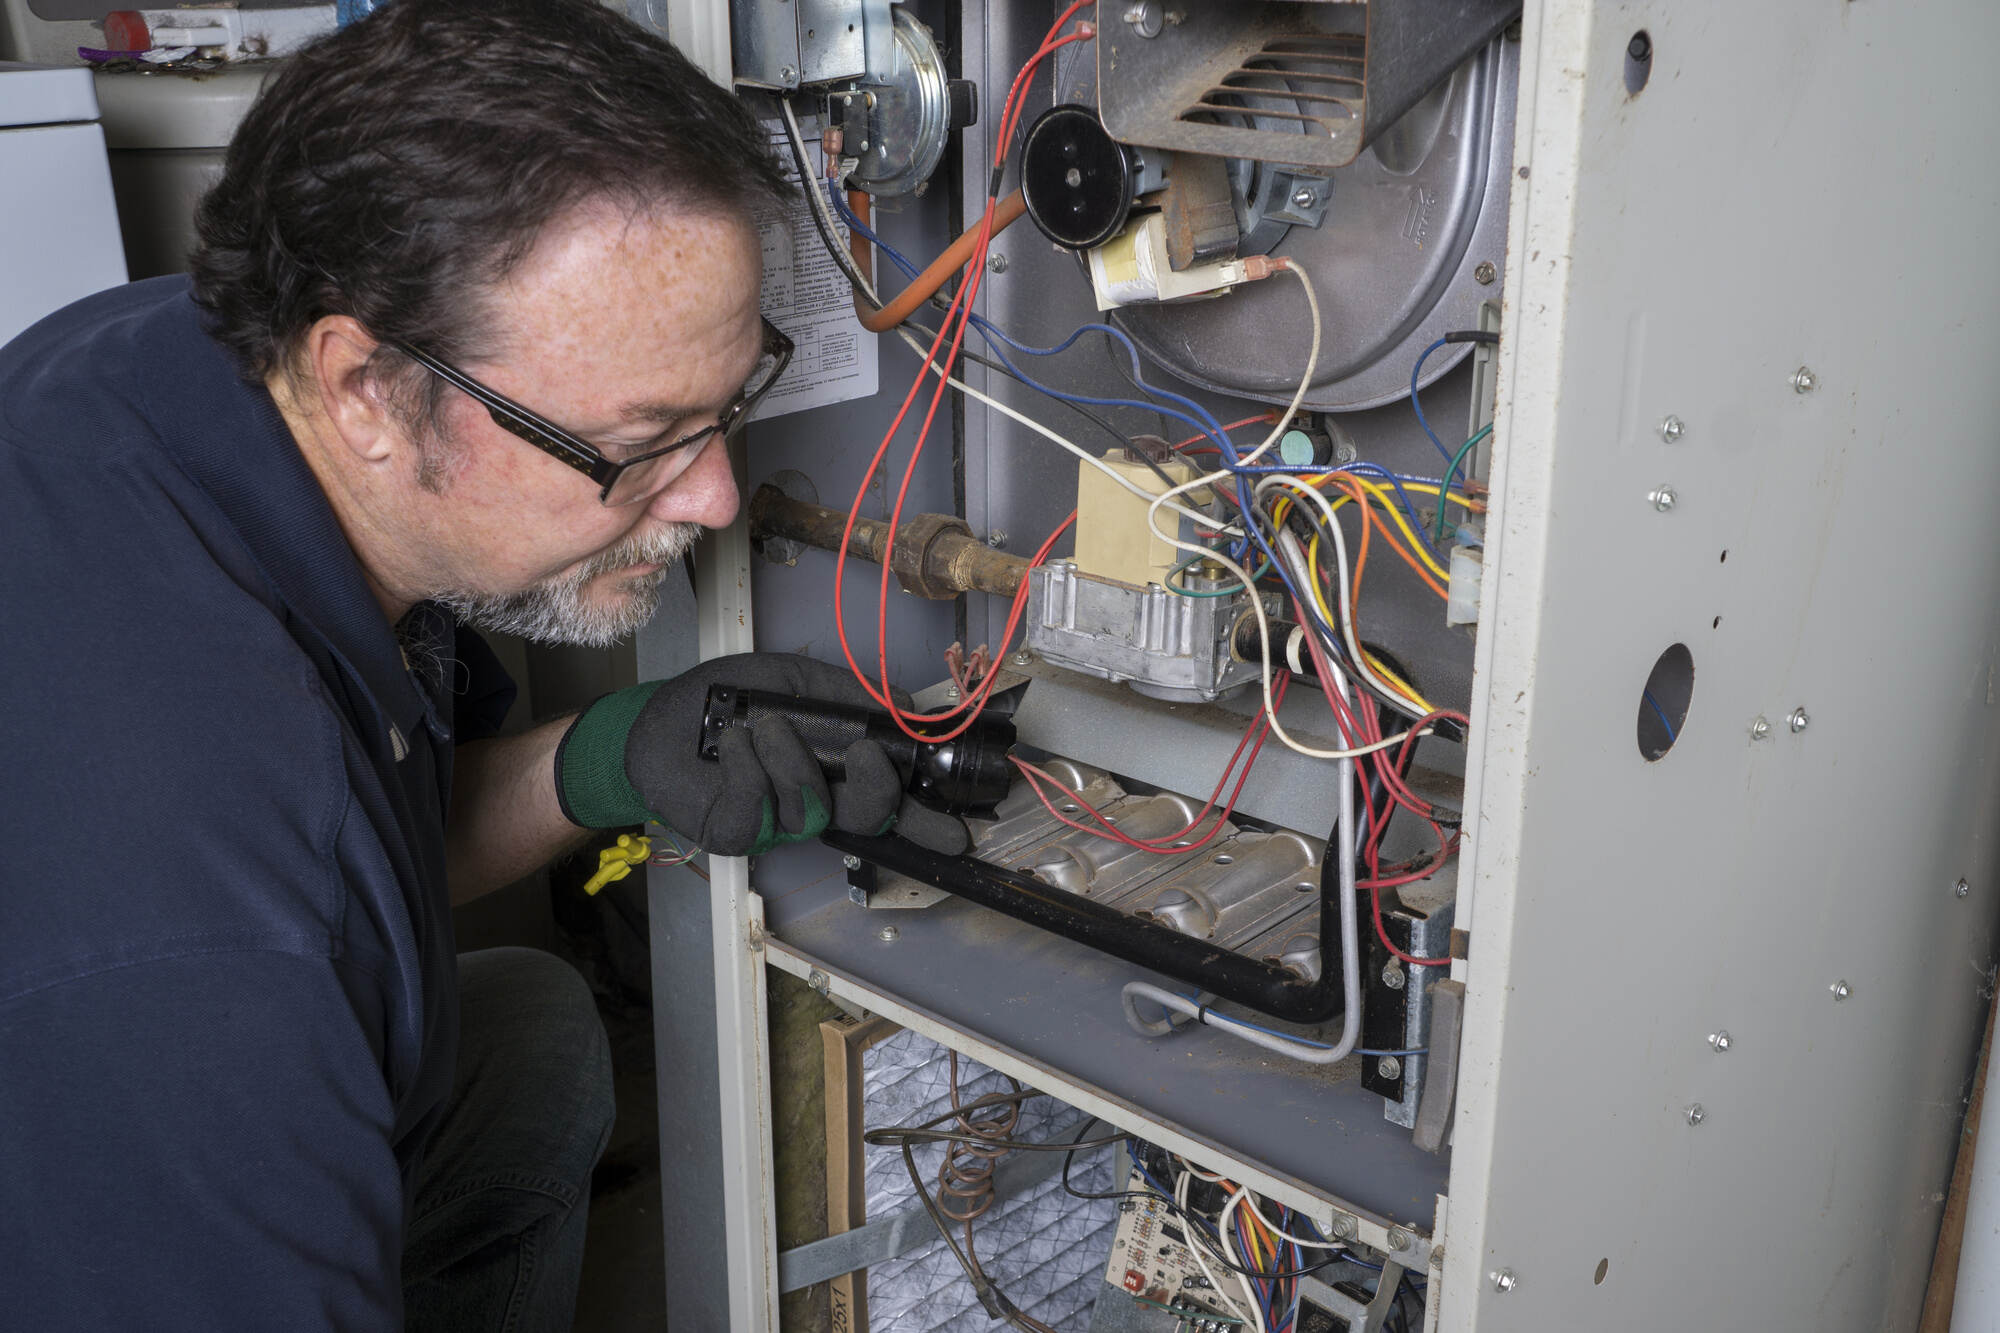
- Inspect the filter: Before removing the filter, visually inspect it for any signs of damage or deterioration. If you notice any significant damage, it may be necessary to replace the filter altogether.
- Detach the filter from the chimney: Depending on the type of chimney filter you have, there may be screws or bolts securing it to the chimney crown or flue liner. Use the appropriate tools to loosen and remove these fasteners, allowing you to detach the filter.
- Handle the filter with care: Once you have detached the filter, carefully lift it off the chimney. Be mindful of its weight and ensure a firm grip to avoid dropping it or accidentally knocking it against the chimney.
- Inspect the chimney opening: While holding the filter, take a moment to inspect the chimney opening for any debris or obstructions. Use a flashlight if necessary to get a clear view inside the chimney.
- Place the filter in a safe location: Set the filter aside in a safe location away from the immediate work area. This will prevent it from getting damaged or dirty during the cleaning process.
By carefully following these steps, you will successfully remove the chimney filter from the chimney. Now that the filter is detached, it’s time to move on to the next step: cleaning it.
Regularly clean your chimney filter by removing any built-up debris and soot. Use a chimney brush to scrub away any stubborn residue, and consider hiring a professional for a thorough cleaning at least once a year.
Step 3: Cleaning the Filter
With the chimney filter removed, it’s time to clean it thoroughly to remove the accumulated dirt and debris. Follow these step-by-step instructions to clean the filter effectively:
- Inspect the filter: Take a closer look at the filter to assess the extent of dirt and buildup. If the filter is heavily clogged or if there are stubborn stains, it may require more intensive cleaning methods, such as soaking or using a specialized chimney cleaning solution.
- Brush away loose debris: Using a chimney brush or a stiff-bristled brush, gently scrub the filter to remove any loose debris. Work in a circular motion, applying light pressure to dislodge the dirt from the mesh or wire grid.
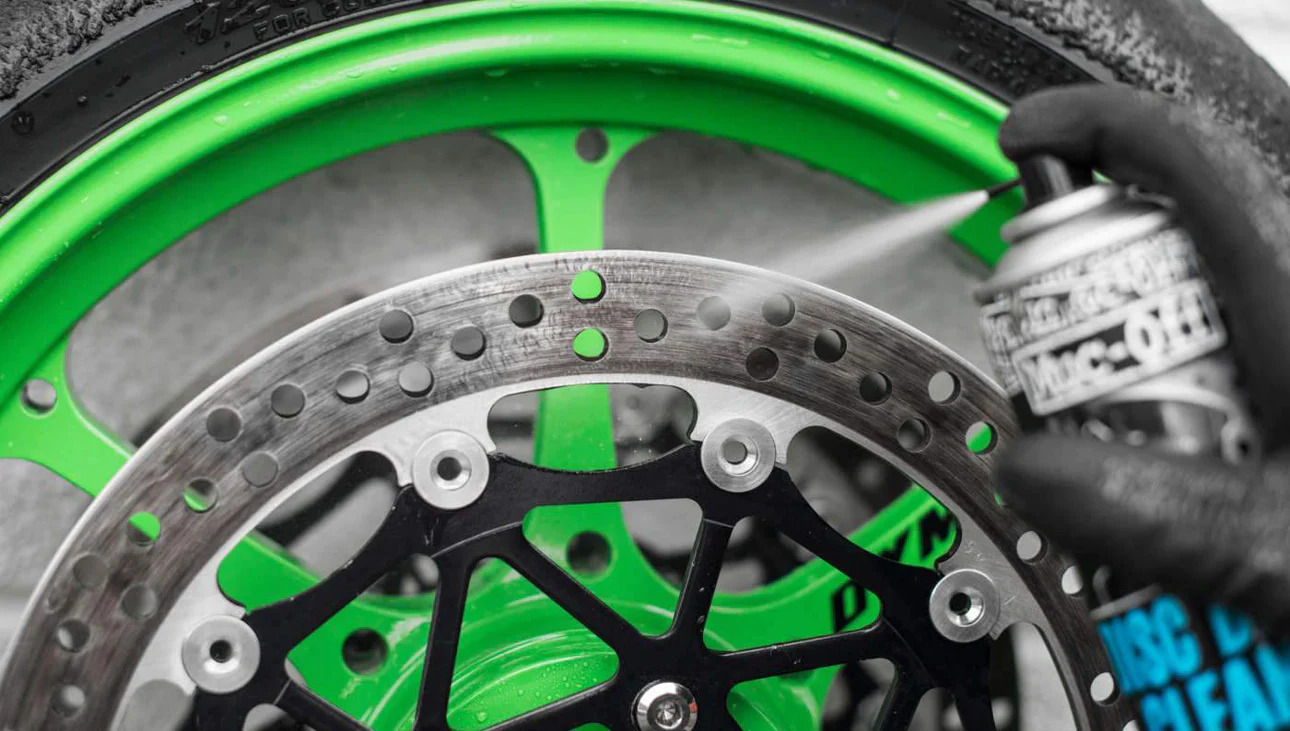
- Apply a cleaning solution: Depending on the level of dirt and stains on the filter, you may choose to use a mild dish detergent mixed with warm water or a specialized chimney cleaning solution. Apply the cleaning solution to the filter, focusing on the areas with stubborn stains or buildup.
- Scrub the filter: Using the brush, scrub the filter thoroughly, ensuring that the cleaning solution reaches all the nooks and crannies. Pay attention to the areas where the dirt is most concentrated. For stubborn stains, you may need to scrub a bit harder, but be cautious not to damage the filter.
- Rinse the filter: Once you have scrubbed the filter, rinse it thoroughly with clean water. You can use a hose or a bucket of water for this purpose. Make sure to remove all traces of the cleaning solution and dirt.
- Repeat if necessary: If the filter is still not entirely clean after rinsing, you may need to repeat the cleaning process. This is especially important if there are stubborn stains or heavy buildup.
By following these steps, you will be able to effectively clean the chimney filter and remove the accumulated dirt and debris. After cleaning, it’s time to move on to the next step: drying the filter.
Step 4: Drying the Filter
Once you have cleaned the chimney filter, it’s important to thoroughly dry it before reinstallation. Follow these steps to ensure proper drying:
- Shake off excess water: Gently shake the filter to remove any excess water. This will help speed up the drying process.
- Pat dry with towels or rags: Use clean towels or rags to pat dry the filter. Press the towels against the mesh or wire grid to absorb the remaining moisture.
- Allow for air drying: Find a well-ventilated area with good airflow and set the filter out to air dry completely. Avoid placing it under direct sunlight or near a heat source to prevent damage to the filter material.
- Check for complete dryness: After a few hours, check the filter for any signs of moisture. Ensure that it is completely dry to the touch before moving on to the next step.
- Inspect for any damage: While the filter is drying, take the opportunity to inspect it for any signs of damage or deterioration. Look for loose wires, tears in the mesh, or weakened areas. If you notice any significant damage, consider replacing the filter.
Properly drying the chimney filter is crucial to prevent mold growth and maintain its effectiveness. Once you have ensured that the filter is completely dry and in good condition, you are ready to proceed to the next step: reinstalling the filter.
Step 5: Reinstalling the Filter
After the chimney filter has been thoroughly cleaned and dried, it’s time to reinstall it. Follow these steps to ensure proper reinstallation:
- Position the filter correctly: Determine the correct orientation of the filter before reinstalling it. Ensure that the mesh or wire grid is facing outward, allowing for proper airflow and debris filtration.
- Align the filter with the chimney opening: Carefully position the filter over the chimney opening, ensuring that it aligns properly with the chimney crown or flue liner. Take your time to make sure it is centered and sits securely in place.
- Secure the filter: Depending on the type of filter, secure it to the chimney crown or flue liner using screws or bolts. Tighten them securely, but be cautious not to overtighten and damage the filter or the chimney surface.
- Double-check the installation: Give the filter a gentle shake or tug to ensure that it is securely attached and doesn’t move or wobble. This will help prevent any potential gaps or openings where debris or animals could enter.
- Inspect the surrounding area: After the filter is reinstalled, take a moment to inspect the chimney opening and the immediate area for any loose debris or signs of damage. Remove any debris and clean the surrounding area if necessary.
By following these steps, you will successfully reinstall the chimney filter, ensuring that it is properly secured and in the correct position. With the filter back in place, it’s time to move on to the last step: conducting a final check and learning some maintenance tips.
Read more: How Much Does It Cost To Clean A Chimney
Step 6: Final Check and Maintenance Tips
Before considering your chimney filter cleaning task complete, perform a final check and take note of some essential maintenance tips. Follow these steps:
- Inspect the filter installation: Once the filter is reinstalled, visually inspect it to ensure that it is securely in place and properly aligned with the chimney opening. Double-check for any gaps or openings that may allow debris or animals to enter.
- Test the airflow: Light a small piece of newspaper or kindling and hold it near the filter. Observe the direction of the smoke. It should flow up and out of the chimney freely, indicating good airflow. If the smoke is not flowing upwards or appears to be stagnant, there may be an issue with the filter or the chimney itself. Consult a professional for further inspection.
- Set up regular maintenance schedule: Establish a routine maintenance schedule for cleaning the chimney filter. This will depend on your usage and the type of fuel you burn in your fireplace. Consult a chimney expert or refer to the manufacturer’s recommendations to determine the appropriate cleaning frequency.
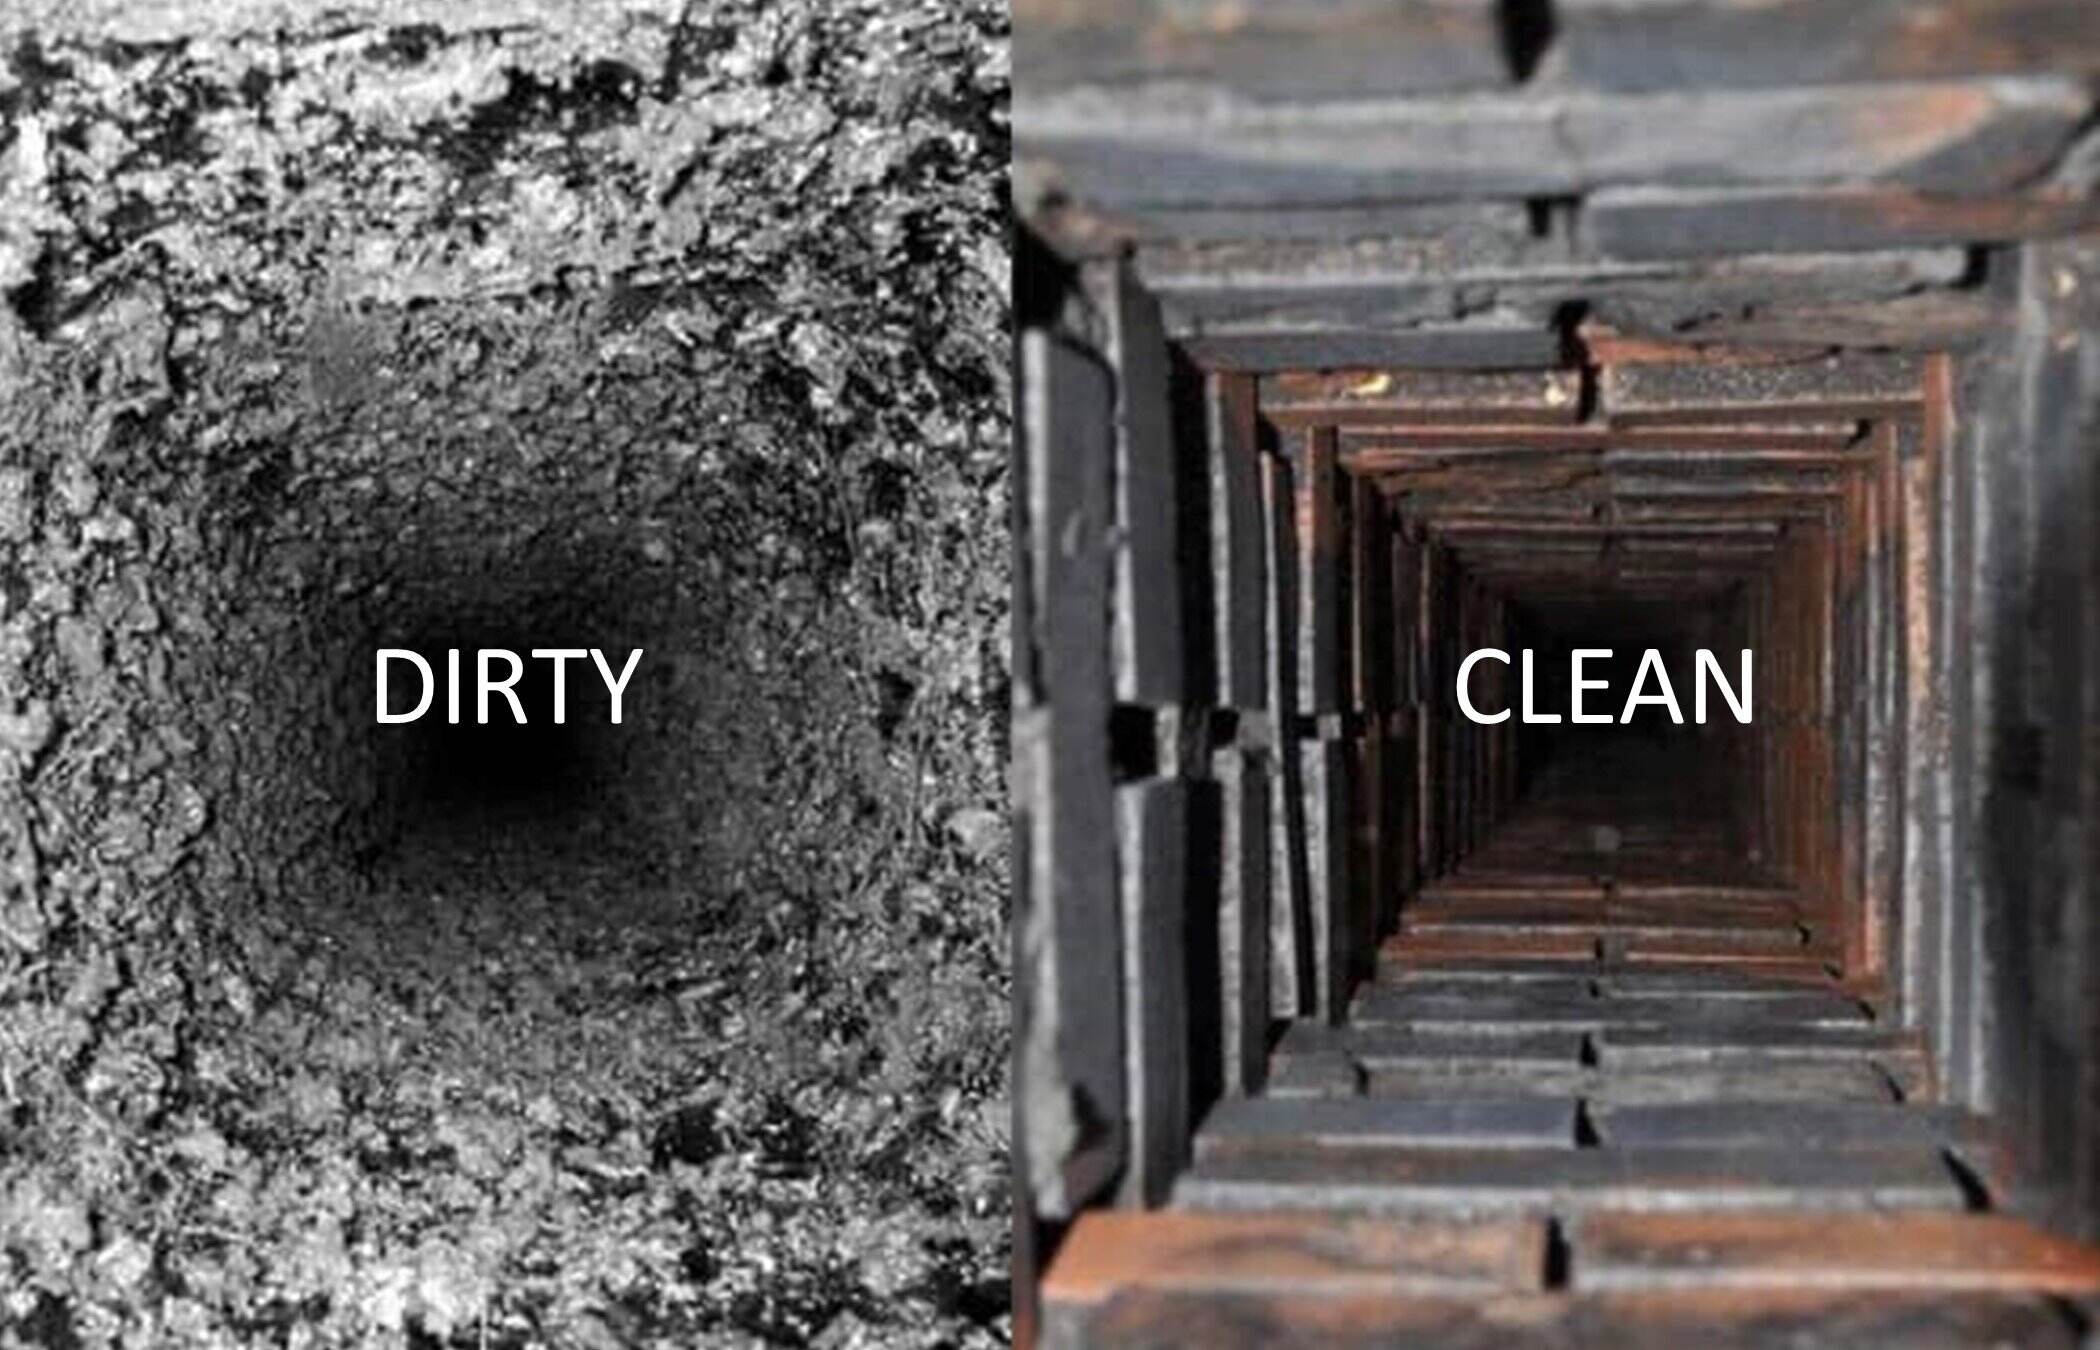
- Monitor for signs of creosote buildup: Regularly check the filter and the chimney for signs of creosote buildup. Creosote is a highly combustible substance that forms when wood burns, and it can lead to chimney fires if not properly managed. If you notice a thick buildup of creosote, it’s recommended to consult a professional chimney sweep for thorough cleaning.
- Keep the surrounding area clean: Regularly clean the area around the fireplace and the chimney to prevent debris, leaves, and twigs from entering the filter. This will help maintain proper airflow and prevent potential blockages.
- Consider professional chimney inspections: Along with regular filter cleaning, it’s advisable to schedule professional chimney inspections at least once a year. A certified chimney sweep can thoroughly inspect the chimney, identify any potential issues, and provide necessary maintenance or repairs.
By performing these final checks and following the maintenance tips, you will ensure the long-term efficiency and safety of your chimney and the filter. Regular maintenance and cleaning will help prevent chimney fires, improve airflow, and extend the lifespan of your fireplace system.
With the completion of these steps, congratulations! You have successfully cleaned and maintained your chimney filter. Enjoy the warmth and peace of mind that comes with a clean and well-maintained fireplace.
Conclusion
Cleaning the chimney filter is a critical task that should be a part of your regular fireplace maintenance routine. By following the step-by-step instructions outlined in this article and taking necessary safety precautions, you can ensure the efficiency and safety of your fireplace system.
Understanding the function of the chimney filter, gathering the needed tools and materials, and properly preparing the area are crucial initial steps. Removing the filter and cleaning it thoroughly is essential to remove accumulated dirt, debris, and soot. Proper drying and reinstallation of the filter are equally important to maintain its effectiveness.
Regular maintenance of the chimney filter, along with professional inspections, will help prevent chimney fires, improve airflow, and extend the lifespan of your fireplace system. By monitoring for signs of creosote buildup and keeping the surrounding area clean, you can maintain optimal performance and ensure the safety of your home and family.
Remember to always prioritize safety throughout the cleaning process, wear the appropriate protective gear, and consider seeking professional help if you are unsure or uncomfortable performing the task yourself. Regular chimney maintenance is essential for a well-functioning and safe fireplace.
So, whether you enjoy cozy evenings by the fire during the winter or use your fireplace year-round, make cleaning and maintaining your chimney filter a top priority. By doing so, you can maximize the efficiency, safety, and enjoyment of your fireplace for years to come.
Frequently Asked Questions about How To Clean Chimney Filter
Was this page helpful?
At Storables.com, we guarantee accurate and reliable information. Our content, validated by Expert Board Contributors, is crafted following stringent Editorial Policies. We're committed to providing you with well-researched, expert-backed insights for all your informational needs.
0 thoughts on “How To Clean Chimney Filter”