Articles
How To Clean The Chimney
Modified: February 24, 2024
Learn effective techniques and methods for cleaning chimneys in our informative articles. Ensure a safe and efficient chimney with our expert tips and advice.
(Many of the links in this article redirect to a specific reviewed product. Your purchase of these products through affiliate links helps to generate commission for Storables.com, at no extra cost. Learn more)
Introduction
Welcome to our comprehensive guide on how to clean the chimney. Chimney maintenance is an essential task every homeowner should consider to ensure the safety and efficiency of their fireplace or wood-burning stove. Cleaning the chimney removes hazardous creosote buildup, clears obstructions, and helps prevent chimney fires. It is crucial to approach chimney cleaning with proper tools, equipment, and safety measures.
In this article, we will provide you with step-by-step instructions on how to clean your chimney effectively. We will cover everything from understanding chimney maintenance to inspecting the chimney structure and reassembling the components. Whether you’re a seasoned homeowner or a first-time chimney cleaner, this guide will equip you with the necessary knowledge to maintain your chimney and keep your home safe.
Before we begin, it’s important to note that chimney cleaning can be a challenging task and may require professional assistance if you are not confident or comfortable doing it yourself. Always prioritize your safety and consult a qualified chimney sweep if needed.
Now, let’s dive into the world of chimney maintenance and discover how to clean the chimney to ensure optimal functionality and safety.
Key Takeaways:
- Regular chimney maintenance is crucial for safety, efficiency, and longevity. Proper cleaning, inspection, and reassembly ensure a safer and more enjoyable fireplace or wood-burning stove experience.
- Prioritize safety and use proper tools for chimney cleaning. If unsure, consult a professional chimney sweep to maintain a clean, safe, and efficient chimney.
Read more: How To Clean A Brick Chimney
Understanding Chimney Maintenance
Before we delve into the process of cleaning your chimney, it’s crucial to have a basic understanding of chimney maintenance. Regular chimney maintenance is essential for several reasons:
- Safety: A clean and well-maintained chimney reduces the risk of chimney fires and carbon monoxide leaks. Creosote buildup, a highly flammable substance, can accumulate inside the chimney over time, posing a fire hazard. Additionally, a blocked or malfunctioning chimney can cause dangerous carbon monoxide gases to enter your home.
- Efficiency: A clean chimney allows for proper airflow, which improves the efficiency of your fireplace or wood-burning stove. When the chimney is clogged with debris, smoke may not exit efficiently, leading to poor combustion and decreased heating efficiency.
- Prolonged Lifespan: Routine maintenance helps extend the lifespan of your chimney. By inspecting and addressing any issues promptly, you can prevent small problems from escalating into larger, more expensive repairs.
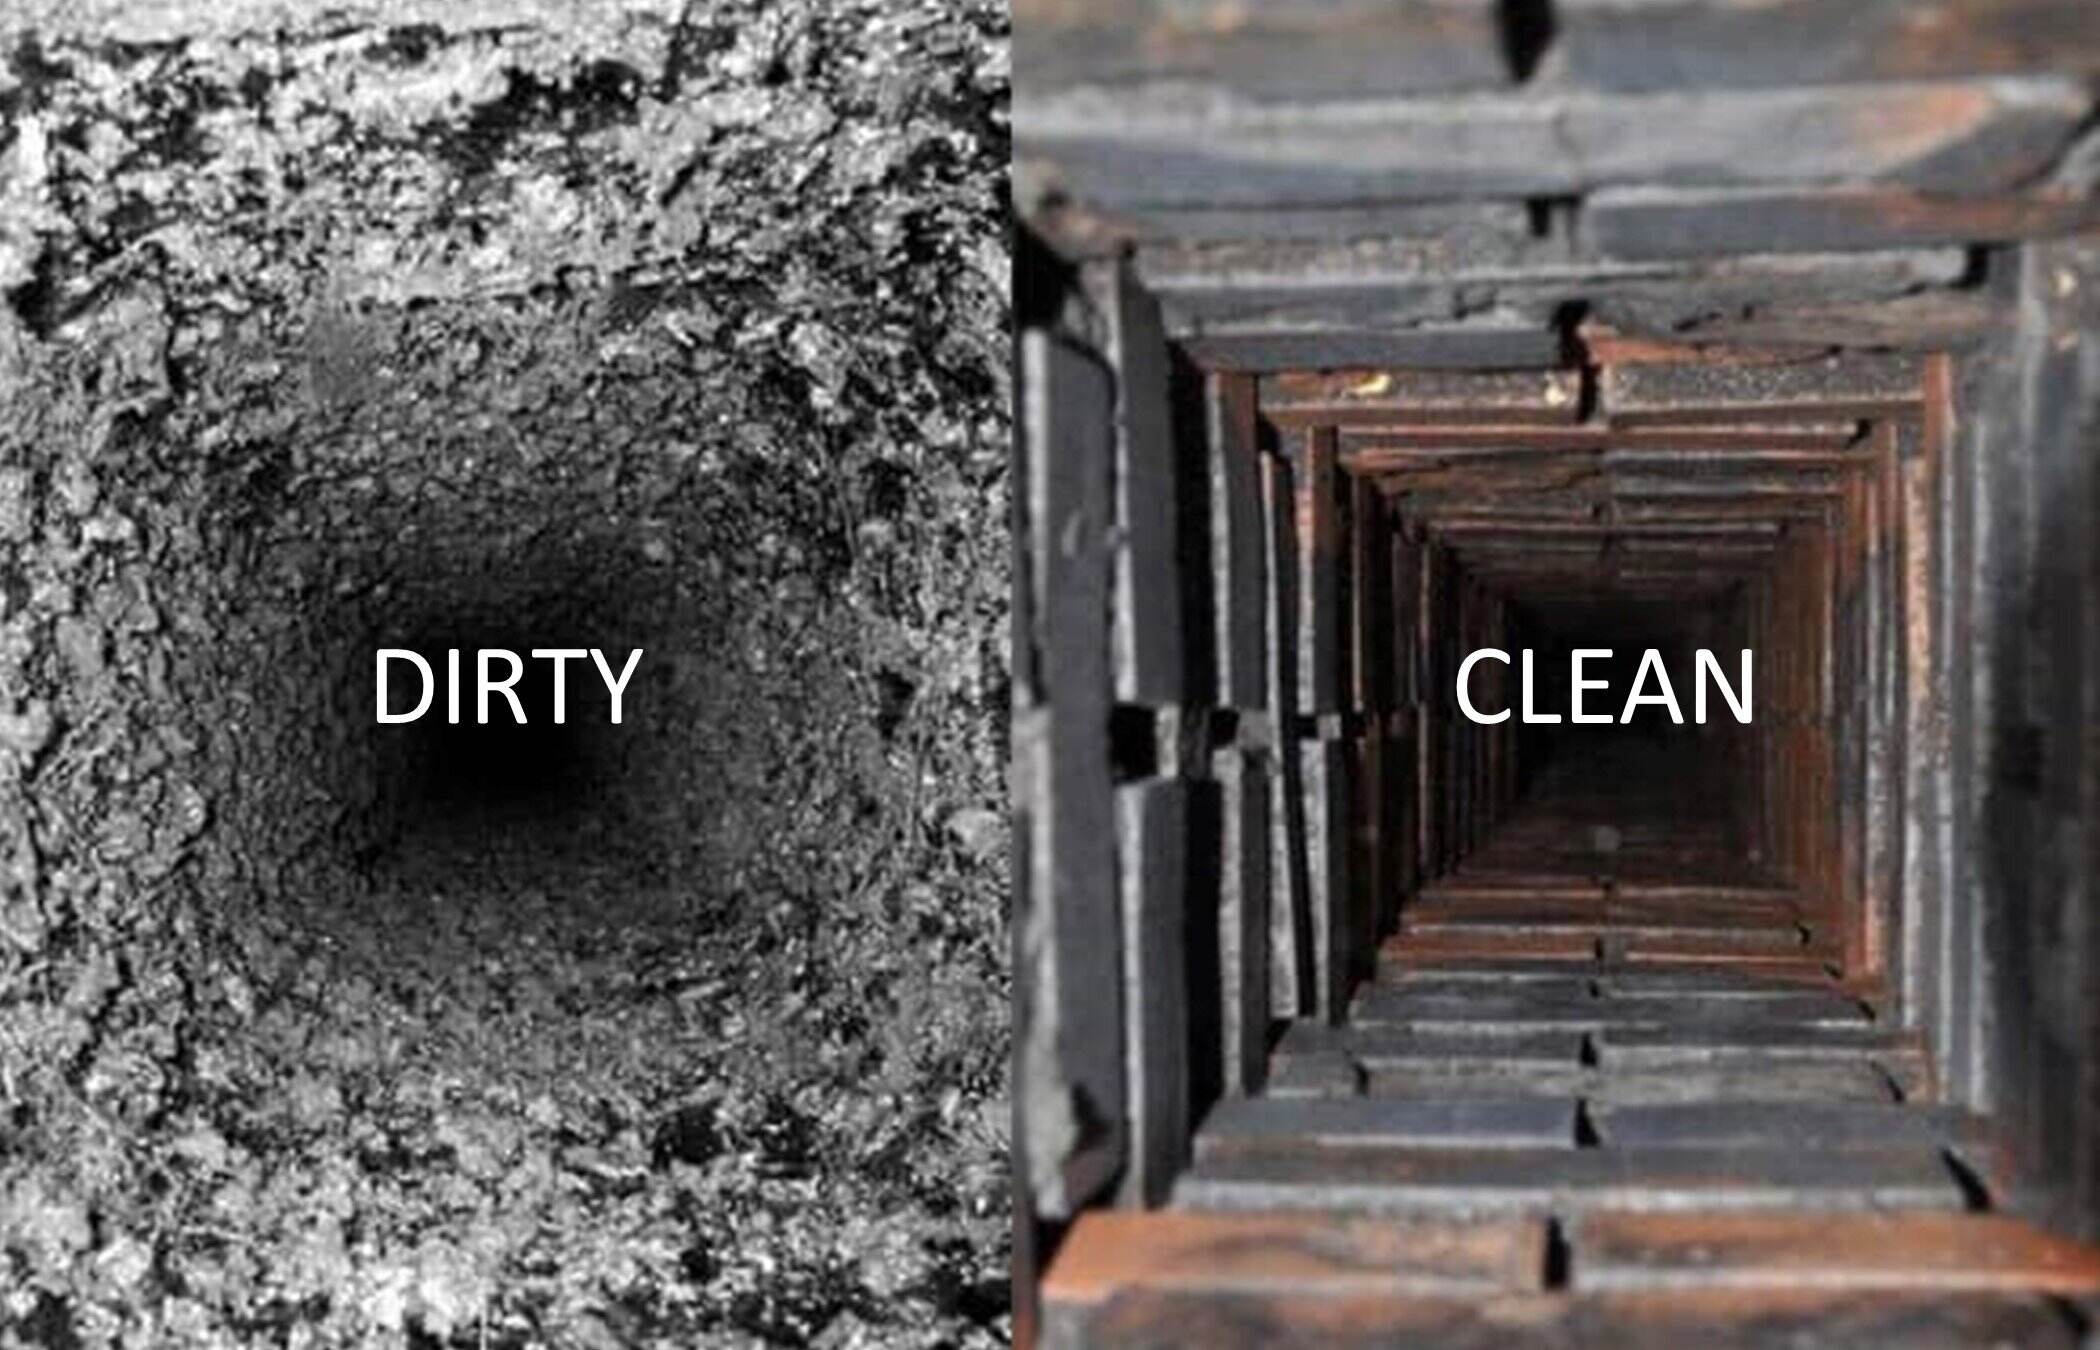
Chimney cleaning is the process of removing creosote buildup, debris, and obstructions from the chimney flue, cap, and damper. Creosote is a sticky, flammable substance that forms when wood is burned. It can accumulate on the walls of the chimney and, if left unaddressed, can increase the risk of a chimney fire.
In addition to creosote, chimneys can also become clogged with leaves, twigs, bird nests, or other debris. These obstructions can block the airflow and prevent smoke from exiting the chimney properly. Regular chimney cleaning ensures that these obstructions are removed, allowing for efficient ventilation.
Proper chimney maintenance also involves periodic inspections to identify any structural issues. Cracks, loose bricks, or damaged chimney liners can compromise the integrity of the chimney. By detecting these issues early on, you can prevent further damage and ensure the safety of your home.
Now that we have a clear understanding of why chimney maintenance is important, let’s move on to the tools and equipment needed for the cleaning process.
Tools and Equipment Needed
Before you start cleaning your chimney, it’s important to gather all the necessary tools and equipment. Having the right tools will ensure that you can effectively clean the chimney and minimize any potential risks. Here are the essential tools and equipment you’ll need:
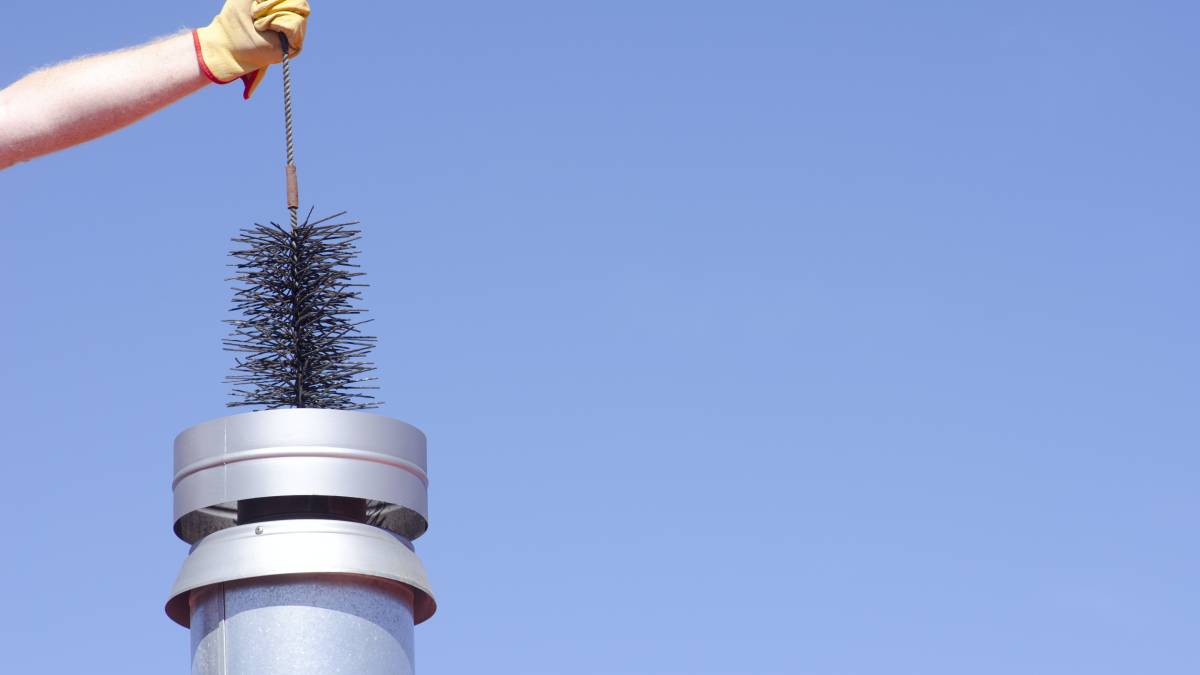
- Chimney brush: A chimney brush is a crucial tool for removing creosote buildup from the chimney walls. Choose a brush size that matches the diameter of your chimney flue.
- Chimney rods: Chimney rods are flexible rods that connect to the chimney brush. These rods help you extend the reach of the brush to thoroughly clean the entire length of the chimney.
- Drop cloth or tarp: Chimney cleaning can be a messy job, so it’s important to protect the area around the fireplace or wood-burning stove. Use a drop cloth or tarp to cover the floor and furniture.
- Protective clothing: Wear protective clothing, including long sleeves, gloves, and goggles, to protect yourself from soot, creosote, and debris.
- Ladder: Depending on the height of your chimney, you may need a sturdy ladder to access the chimney top safely.
- Dust mask: A dust mask is essential for protecting your respiratory system from inhaling soot, creosote, or other airborne particles.
- Flashlight: A flashlight will help you inspect the interior of the chimney more easily, especially for detecting any obstructions or damage.
- Broom and dustpan: After cleaning the chimney, you’ll need a broom and dustpan to clean up any debris that may have fallen during the cleaning process.
Ensure that all your tools and equipment are in good working condition before you begin. Replace any worn-out brushes or damaged equipment to ensure the best results.
Once you have gathered all the necessary tools and equipment, it’s time to prepare the area before starting the chimney cleaning process. We’ll cover this in the next section.
Preparing the Area
Before you start cleaning your chimney, it’s important to take some precautions and prepare the area to ensure a safe and efficient cleaning process. Here are the steps to follow when preparing the area:
- Close off the fireplace or wood-burning stove: Make sure the damper or stove vents are closed to prevent any debris from falling into the living space during the cleaning process.
- Protect the surrounding area: Place a drop cloth or tarp around the fireplace or wood-burning stove to protect the floor and furniture from any soot, debris, or cleaning solutions that may fall during the cleaning process.
- Remove any combustible materials: Clear the area around the fireplace or wood-burning stove of any combustible materials, such as rugs, curtains, or furniture. This will minimize the risk of accidental fires.
- Open windows or doors for ventilation: Opening windows or doors will provide proper ventilation and help eliminate any fumes or odors that may occur during the cleaning process.
- Secure the ladder: If you need to access the chimney top, ensure that the ladder is stable and securely positioned. Check for any loose or damaged rungs before climbing.
- Inform family members or occupants: Let the other occupants of the house know that you’ll be cleaning the chimney, and advise them to avoid using the fireplace or wood-burning stove during the process to prevent any accidents.
By taking these preparatory steps, you’ll create a safe and well-organized workspace for chimney cleaning. These precautions will help protect your home, belongings, and everyone in the vicinity while ensuring a smoother and more efficient cleaning process.
Now that you’ve prepared the area, it’s time to move on to the next step: removing creosote buildup from the chimney walls. We’ll explore this process in detail in the following section.
Removing Creosote Buildup
One of the primary goals of chimney cleaning is to remove any creosote buildup from the chimney walls. Creosote is a highly flammable substance that is produced when wood is burned. Over time, it can accumulate on the interior walls of the chimney, presenting a significant fire hazard. Here are the steps to effectively remove creosote buildup:
- Put on protective gear: Before you begin, ensure that you are wearing protective clothing, including gloves, goggles, and a dust mask.
- Attach the chimney brush to the rods: Connect the chimney brush to the chimney rods securely, ensuring that it is tightly fastened.
- Climb the ladder: If necessary, safely climb the ladder to access the chimney top. Take caution and maintain proper balance.
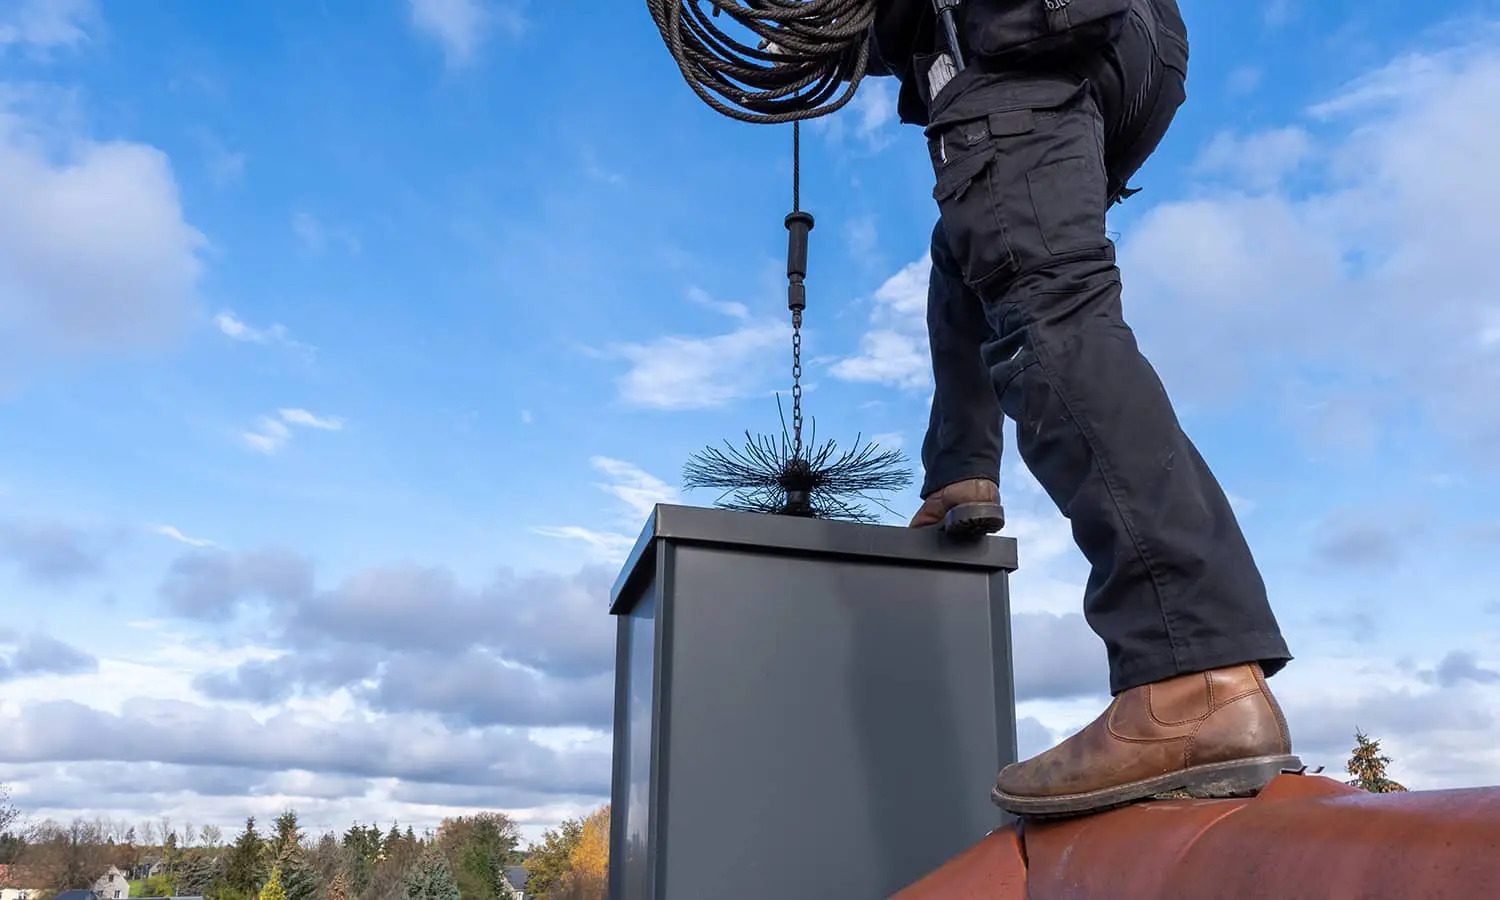
- Insert the brush into the chimney: Insert the brush into the chimney flue, being careful not to damage the liner or chimney walls. Push the brush up and down to dislodge any creosote buildup.
- Scrub the chimney walls: Use a firm and steady motion to scrub the chimney walls thoroughly. Pay attention to any areas with excessive creosote buildup.
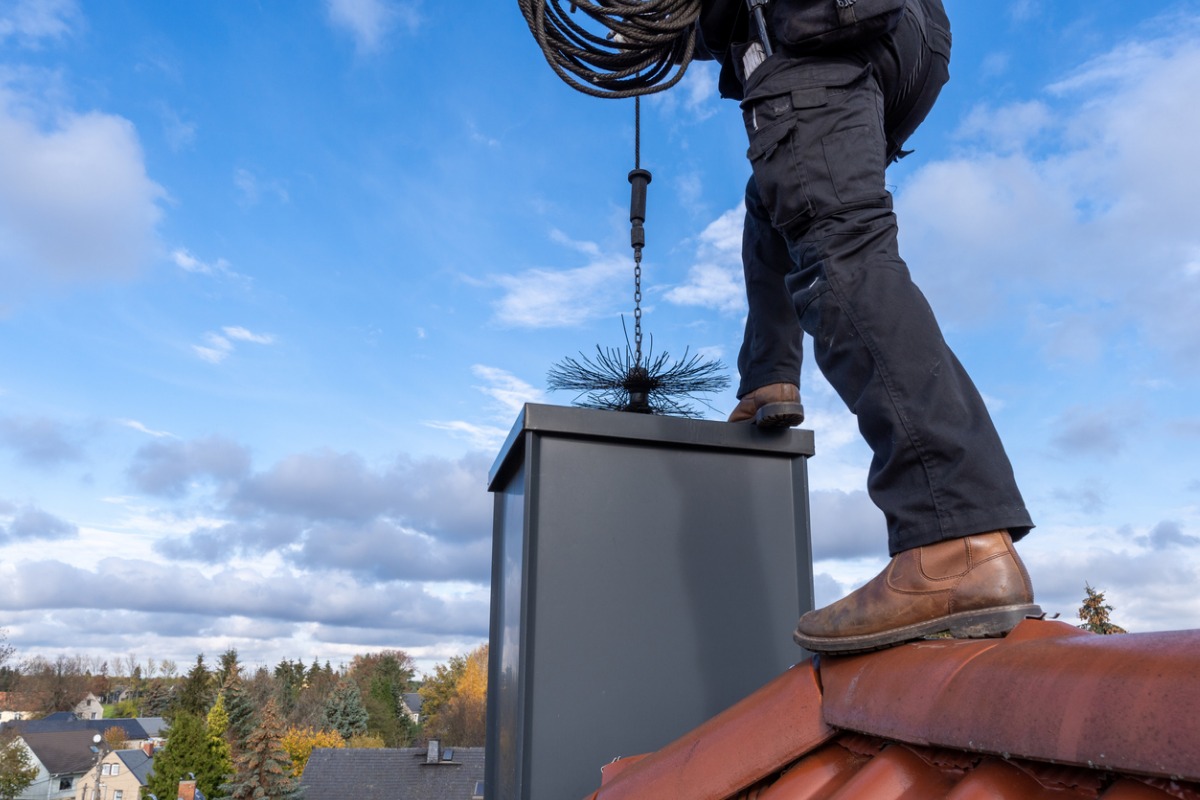
- Extend the reach with additional rods: If needed, attach additional rods to the chimney brush to reach the entire length of the chimney. Ensure that each rod is securely fastened.
- Continue brushing and sweeping: Extend the brush and sweep the entire length of the chimney flue, making several passes to remove all the creosote buildup.
- Inspect the brush and chimney: Periodically check the chimney brush to see if it needs cleaning or if it is wearing down. Inspect the chimney walls to ensure that the creosote buildup is being effectively removed.
During the creosote removal process, it’s common for soot and debris to fall into the fireplace or wood-burning stove. Use a drop cloth or tarp to collect any falling debris and make cleanup easier afterward.
Remember, the chimney brush is an essential tool for removing creosote buildup. Make sure to choose a brush size that matches the diameter of your chimney flue for optimal results.
Once you have thoroughly removed the creosote buildup, it’s time to move on to cleaning the chimney flue. We’ll discuss this step in the next section.
Read more: How To Clean A Chimney Yourself
Cleaning the Chimney Flue
Once you have successfully removed the creosote buildup from the chimney walls, the next step is to clean the chimney flue. The chimney flue is the passageway where smoke and gases from the fireplace or wood-burning stove exit the chimney. Cleaning the chimney flue ensures proper airflow and ventilation. Here’s how to clean the chimney flue:
- Disconnect the chimney brush: Remove the chimney brush from the rods and set it aside.
- Inspect the chimney flue: Use a flashlight to inspect the chimney flue for any remaining creosote or debris. Look for any signs of damage or obstructions.
- Use a vacuum or brush extension: Attach a vacuum cleaner or a brush extension to the rods to reach the chimney flue. This will help to remove any loose debris that may still be present.
- Sweep the chimney flue: Insert the vacuum or brush extension into the chimney flue and gently sweep the entire length. Move in an up-and-down motion to dislodge any remaining debris.
- Inspect again: After cleaning, inspect the chimney flue once more to ensure it is free from any debris or blockages.
Remember to exercise caution and be gentle when cleaning the chimney flue to avoid damaging the flue liner or chimney walls. If you encounter any stubborn or hard-to-remove deposits, it is advisable to consult a professional chimney sweep.
Cleaning the chimney flue is a critical step in maintaining optimal airflow and ventilation. By ensuring a clean and unobstructed flue, you can improve the efficiency and safety of your fireplace or wood-burning stove.
With the chimney flue cleaned, it’s time to move on to cleaning the chimney cap and damper, which we’ll cover in the next section.
Regularly inspect and clean your chimney to prevent the buildup of creosote, which can lead to chimney fires. Hire a professional chimney sweep if needed.
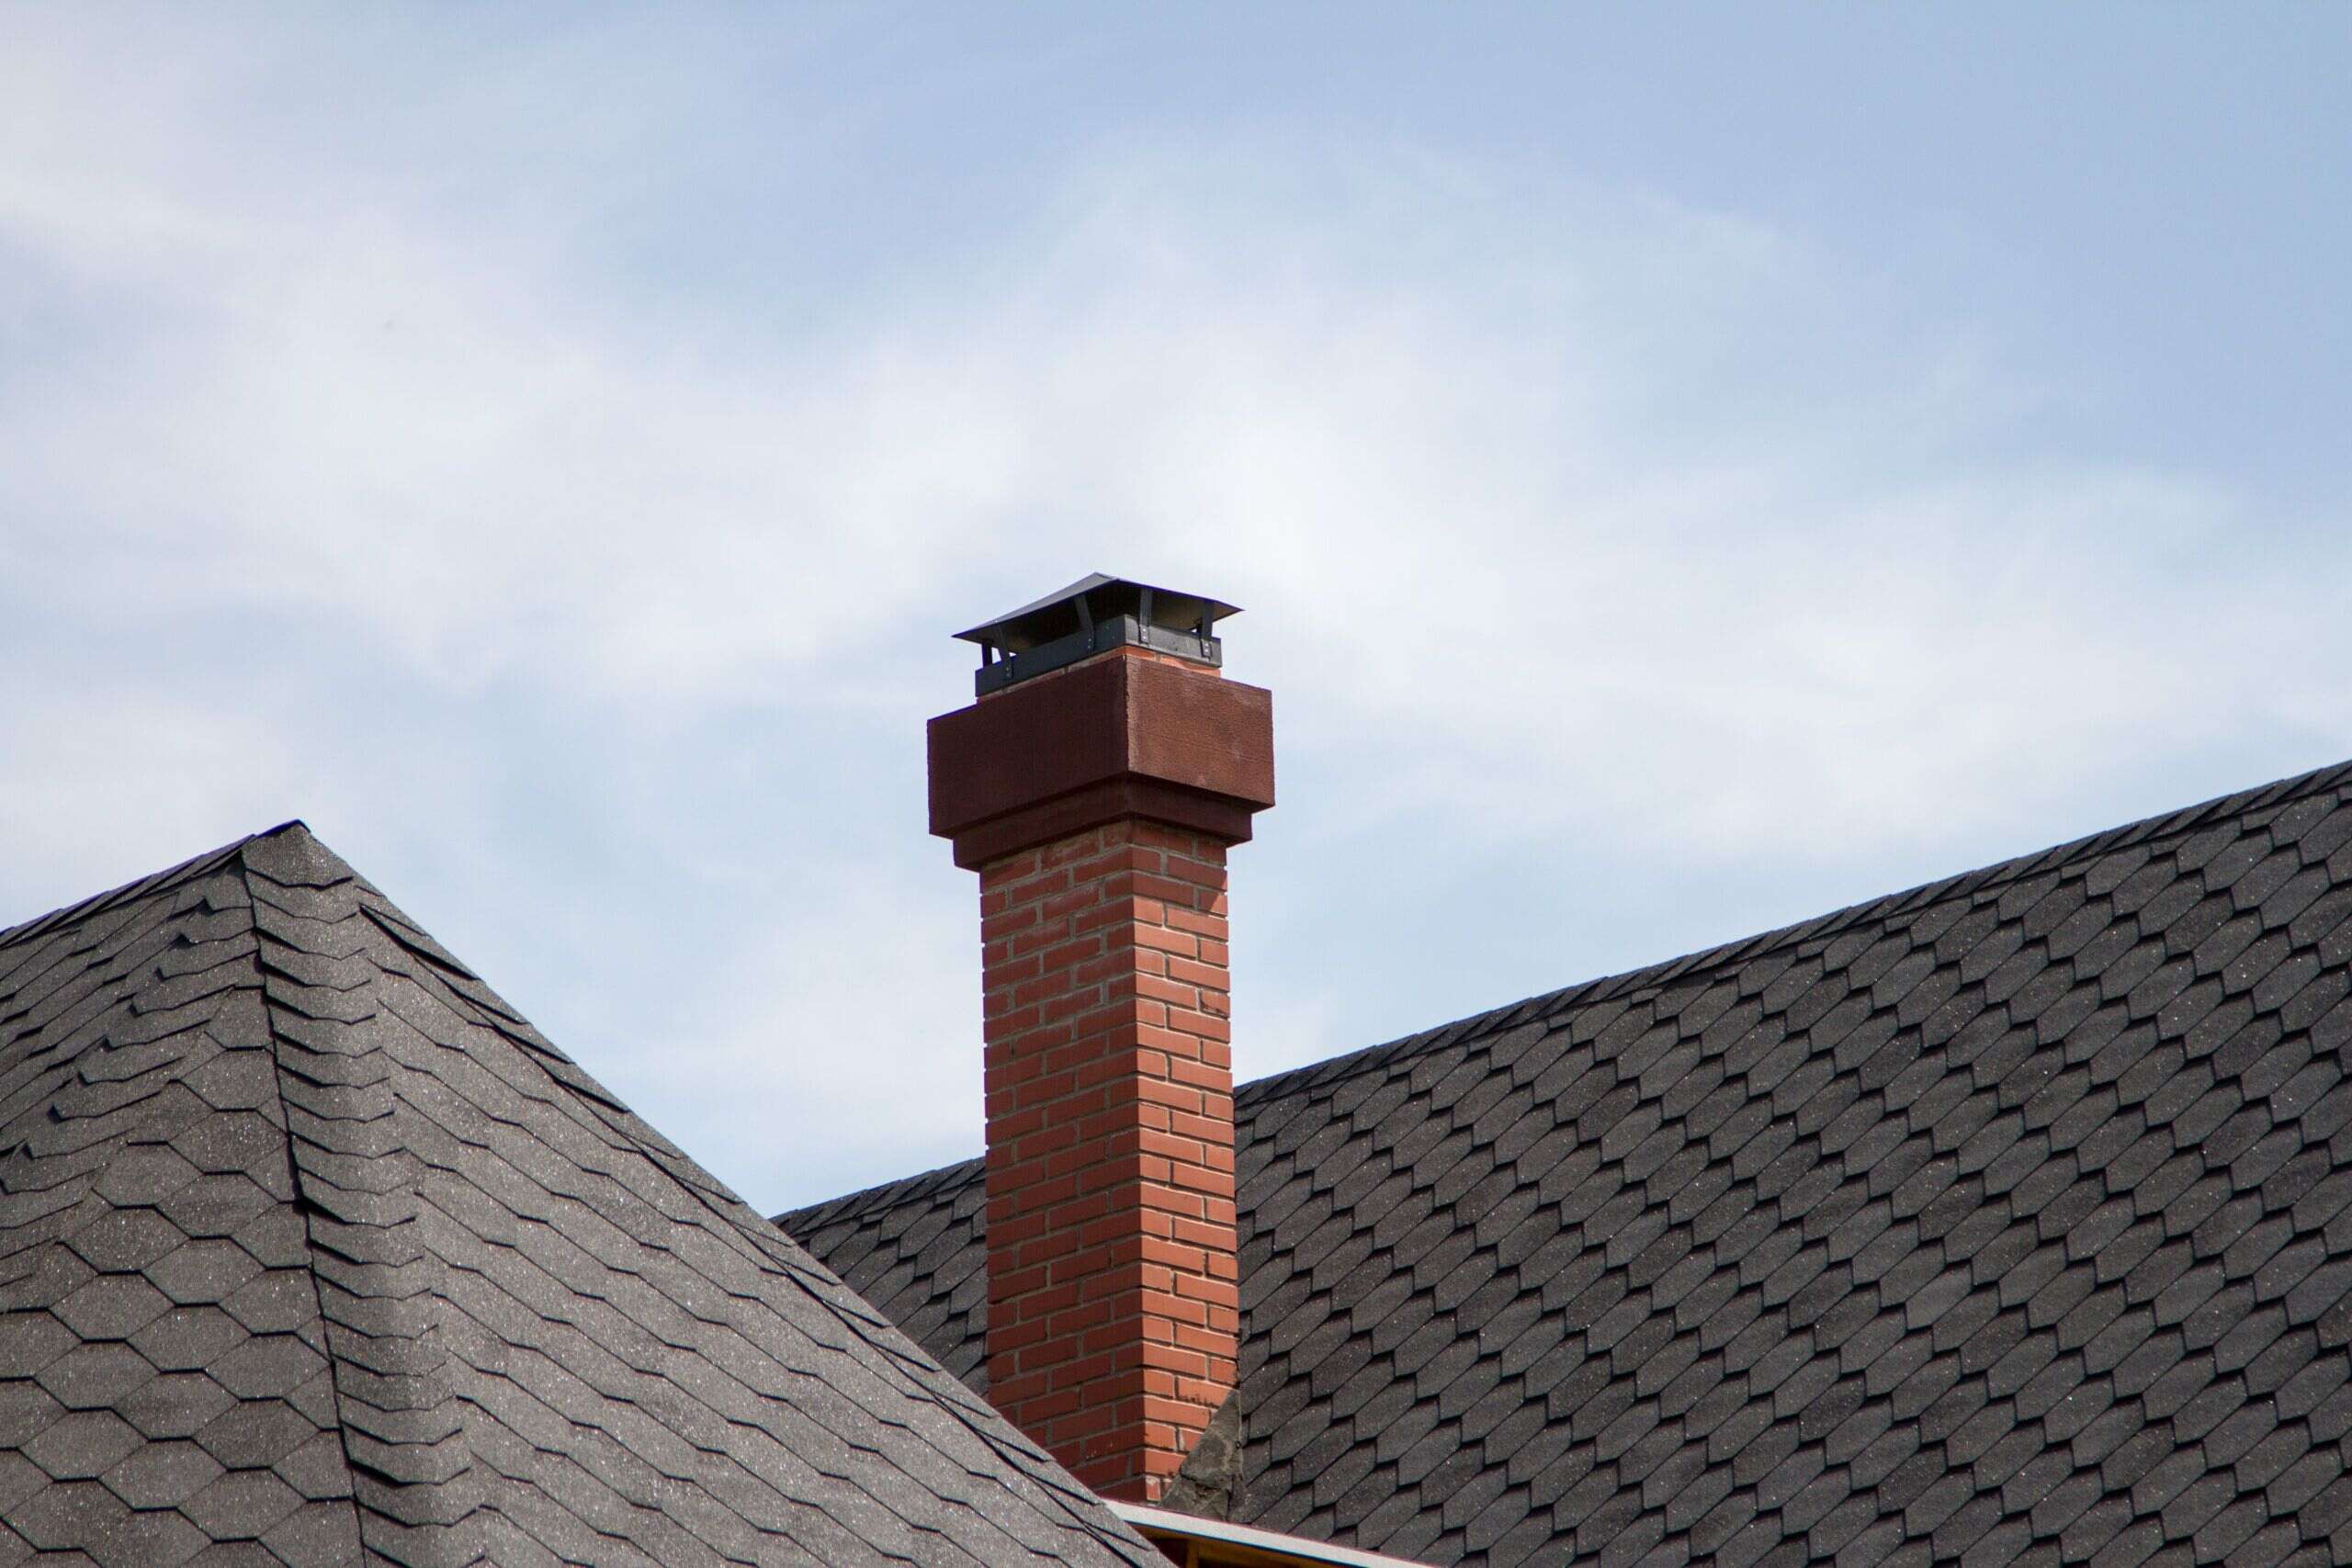
Cleaning the Chimney Cap and Damper
As you continue your chimney cleaning process, it’s important not to overlook the chimney cap and damper. These components play a crucial role in the functionality and safety of your chimney. Here’s how to clean the chimney cap and damper:
- Inspect the chimney cap: Examine the chimney cap for any debris or obstructions. Remove any leaves, twigs, or other debris that may have accumulated on the cap.
- Scrub the chimney cap: Use a stiff brush or a cloth to scrub the chimney cap and remove any dirt or residue. Pay attention to the screen or mesh on the cap, ensuring it is free from any blockages.
- Clean the damper: Open the damper and inspect it for any buildup or debris. Wipe it clean with a cloth or, if necessary, use a brush to remove stubborn dirt.
- Check the damper function: Ensure that the damper is functioning properly by opening and closing it. If it is stiff or not sealing tightly, consider lubricating or adjusting it as needed.
- Inspect for any damage: While cleaning, carefully examine the chimney cap and damper for any signs of damage, such as cracks or rust. If you notice any significant issues, it may be necessary to repair or replace these components.
Cleaning the chimney cap and damper helps ensure proper ventilation and prevents the entry of debris, animals, or precipitation into the chimney. A well-maintained chimney cap and fully functional damper contribute to the overall safety and efficiency of your chimney system.
With the chimney cap and damper cleaned, it’s important to check for any obstructions that may be lurking inside the chimney. We’ll explore this in the next section.
Checking for Obstructions
As part of your chimney cleaning process, it’s crucial to check for any obstructions that may be present in the chimney. Obstructions can impede proper airflow and ventilation, increasing the risk of smoke backup, inefficient combustion, or even carbon monoxide leaks. Here’s how to check for obstructions:
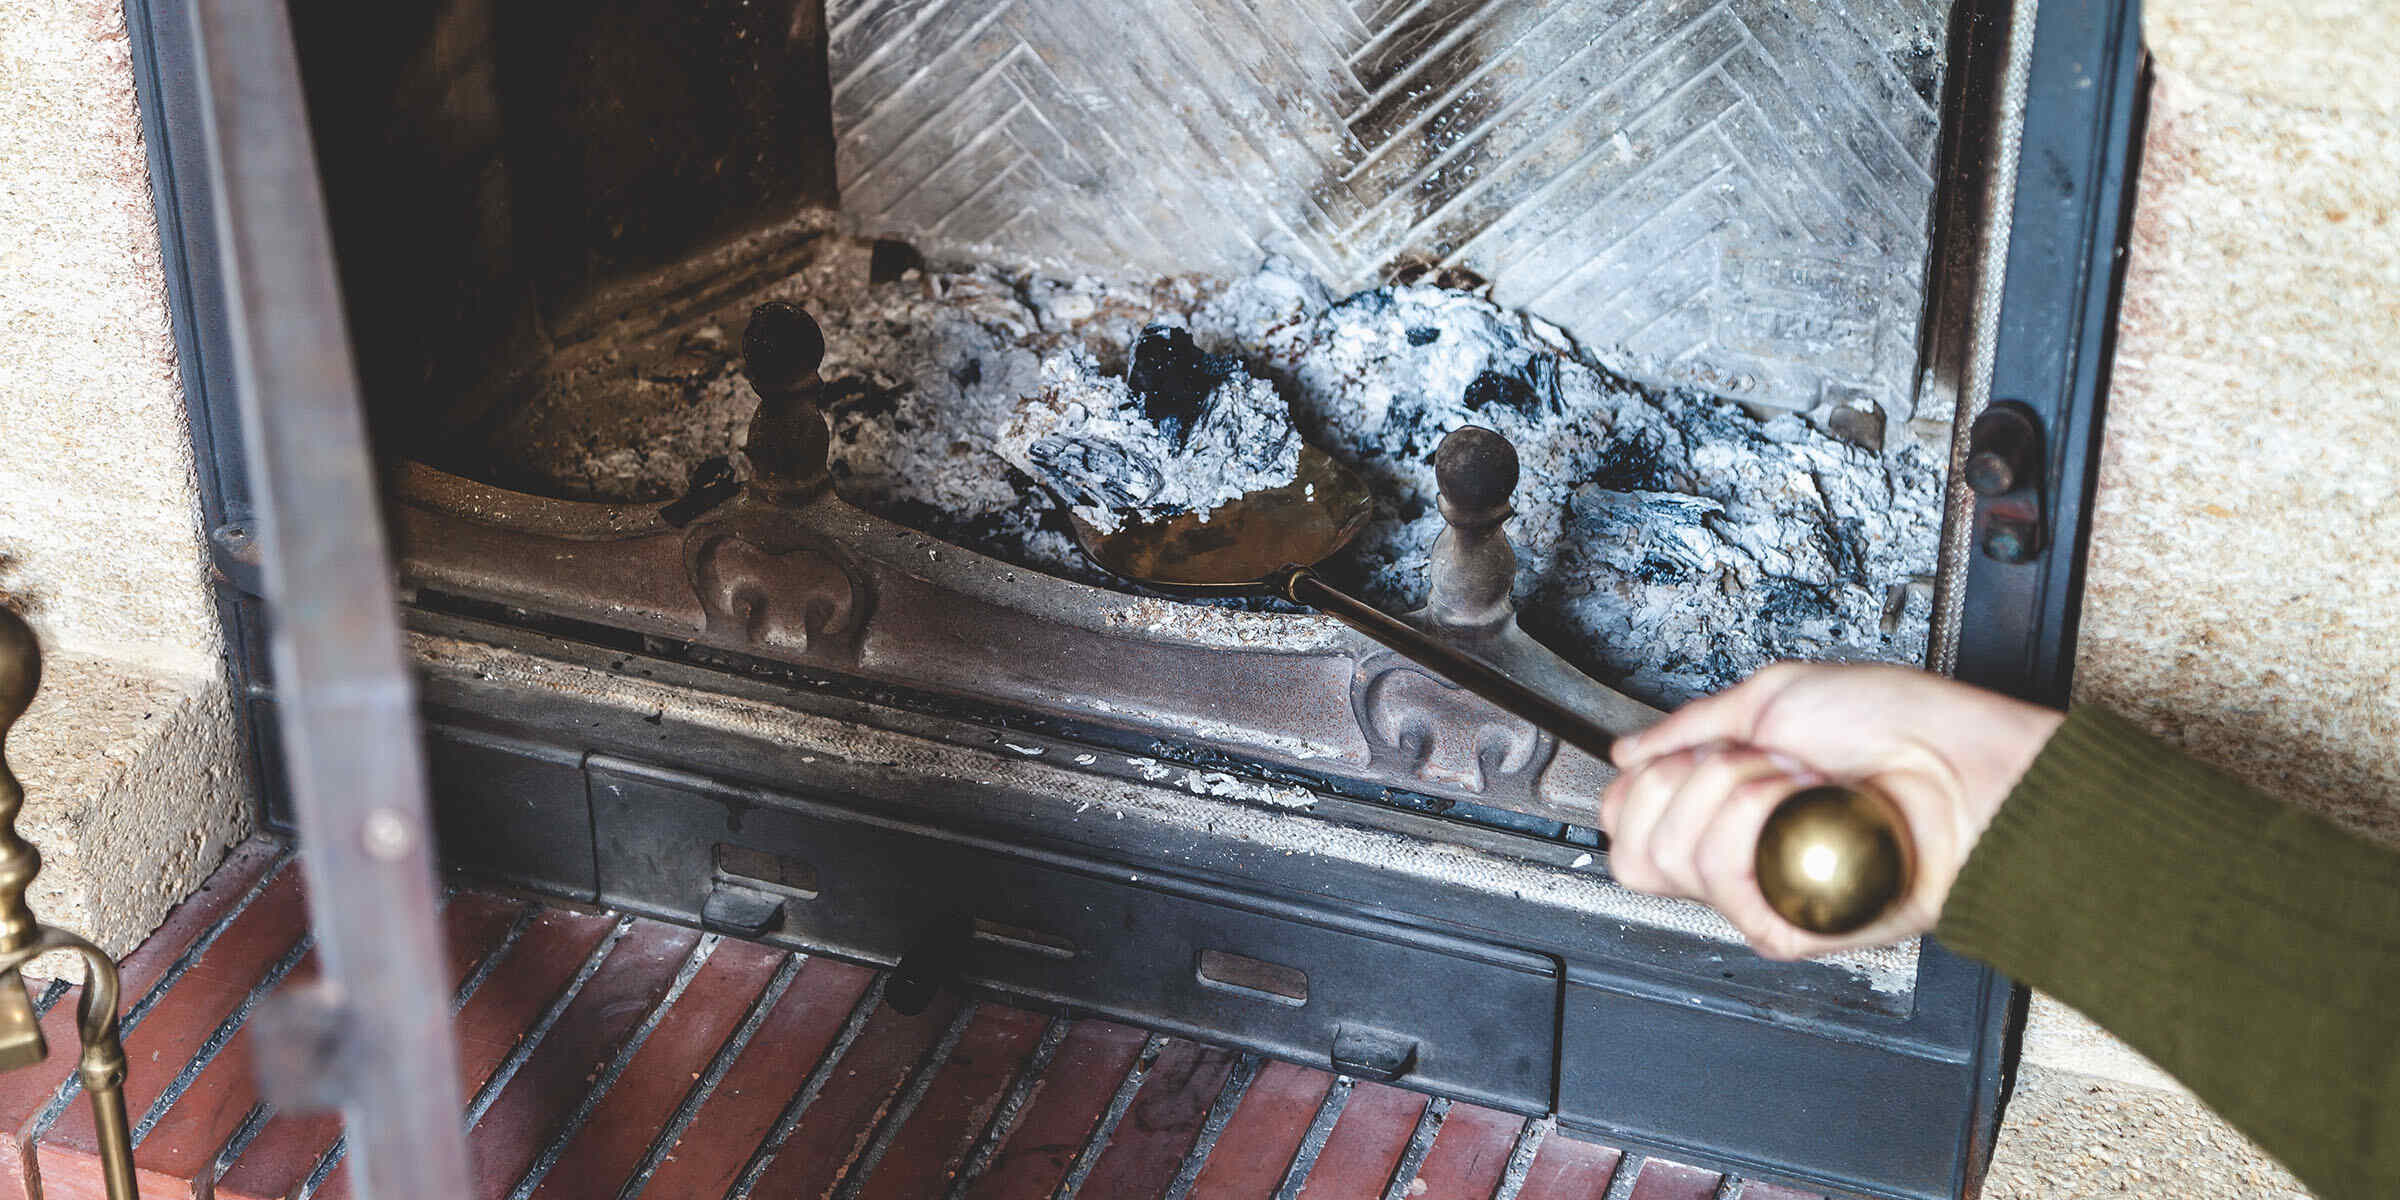
- Inspect the chimney from the bottom: Look inside the fireplace or wood-burning stove to check for any visible debris or obstructions at the base of the chimney. Remove any debris you find using a brush or vacuum.
- Clue-in to the telltale signs: Look for indicators of potential chimney blockages, such as excessive smoke, a strong odor, or poor airflow when using the fireplace or wood-burning stove. These signs may suggest the presence of an obstruction.
- Use a chimney camera or mirror: For a more thorough inspection, consider using a chimney camera or a mirror attached to an extendable pole. Insert the camera or mirror into the chimney and check for any blockages, such as bird nests or excessive debris.
- Remove any obstructions: If you discover any obstructions, take appropriate measures to remove them. For small debris, you can use a brush or vacuum to clear the chimney. However, it is recommended to consult a professional chimney sweep for larger or more stubborn obstructions.
It’s important not to ignore potential obstructions in the chimney, as they can lead to hazardous conditions and hinder the proper functioning of your fireplace or wood-burning stove. Regularly checking for and removing obstructions will help maintain the safety and efficiency of your chimney.
With the chimney inspected and cleared of any obstructions, the next step is to inspect the overall structure of the chimney. We’ll cover this in the following section.
Inspecting the Chimney Structure
Once you have completed the cleaning and obstruction removal process, it’s important to inspect the overall structure of your chimney. A thorough inspection helps identify any potential issues or damage that may require attention. Here’s how to inspect the chimney structure:
- Examine the exterior: Start by examining the exterior of the chimney. Look for any cracks, gaps, or signs of deterioration in the chimney bricks or mortar. Pay attention to the chimney crown and ensure it is intact and in good condition.
- Inspect the chimney cap: Take a closer look at the chimney cap and check for any signs of damage or wear. Make sure it is securely attached and functioning as intended.
- Check the chimney flashing: Examine the flashing around the chimney to ensure it is properly sealed and free from any damage or deterioration. Damaged flashing can lead to water leaks and moisture-related issues.
- Evaluate the chimney liner: If your chimney has a liner, inspect it for any cracks, chips, or damage. The liner plays a vital role in protecting the chimney structure and ensuring proper draft and ventilation.
- Look for signs of moisture: Moisture can be damaging to the chimney structure. Look for any signs of water stains, mildew, or discoloration on the chimney walls, as this may indicate a moisture problem.
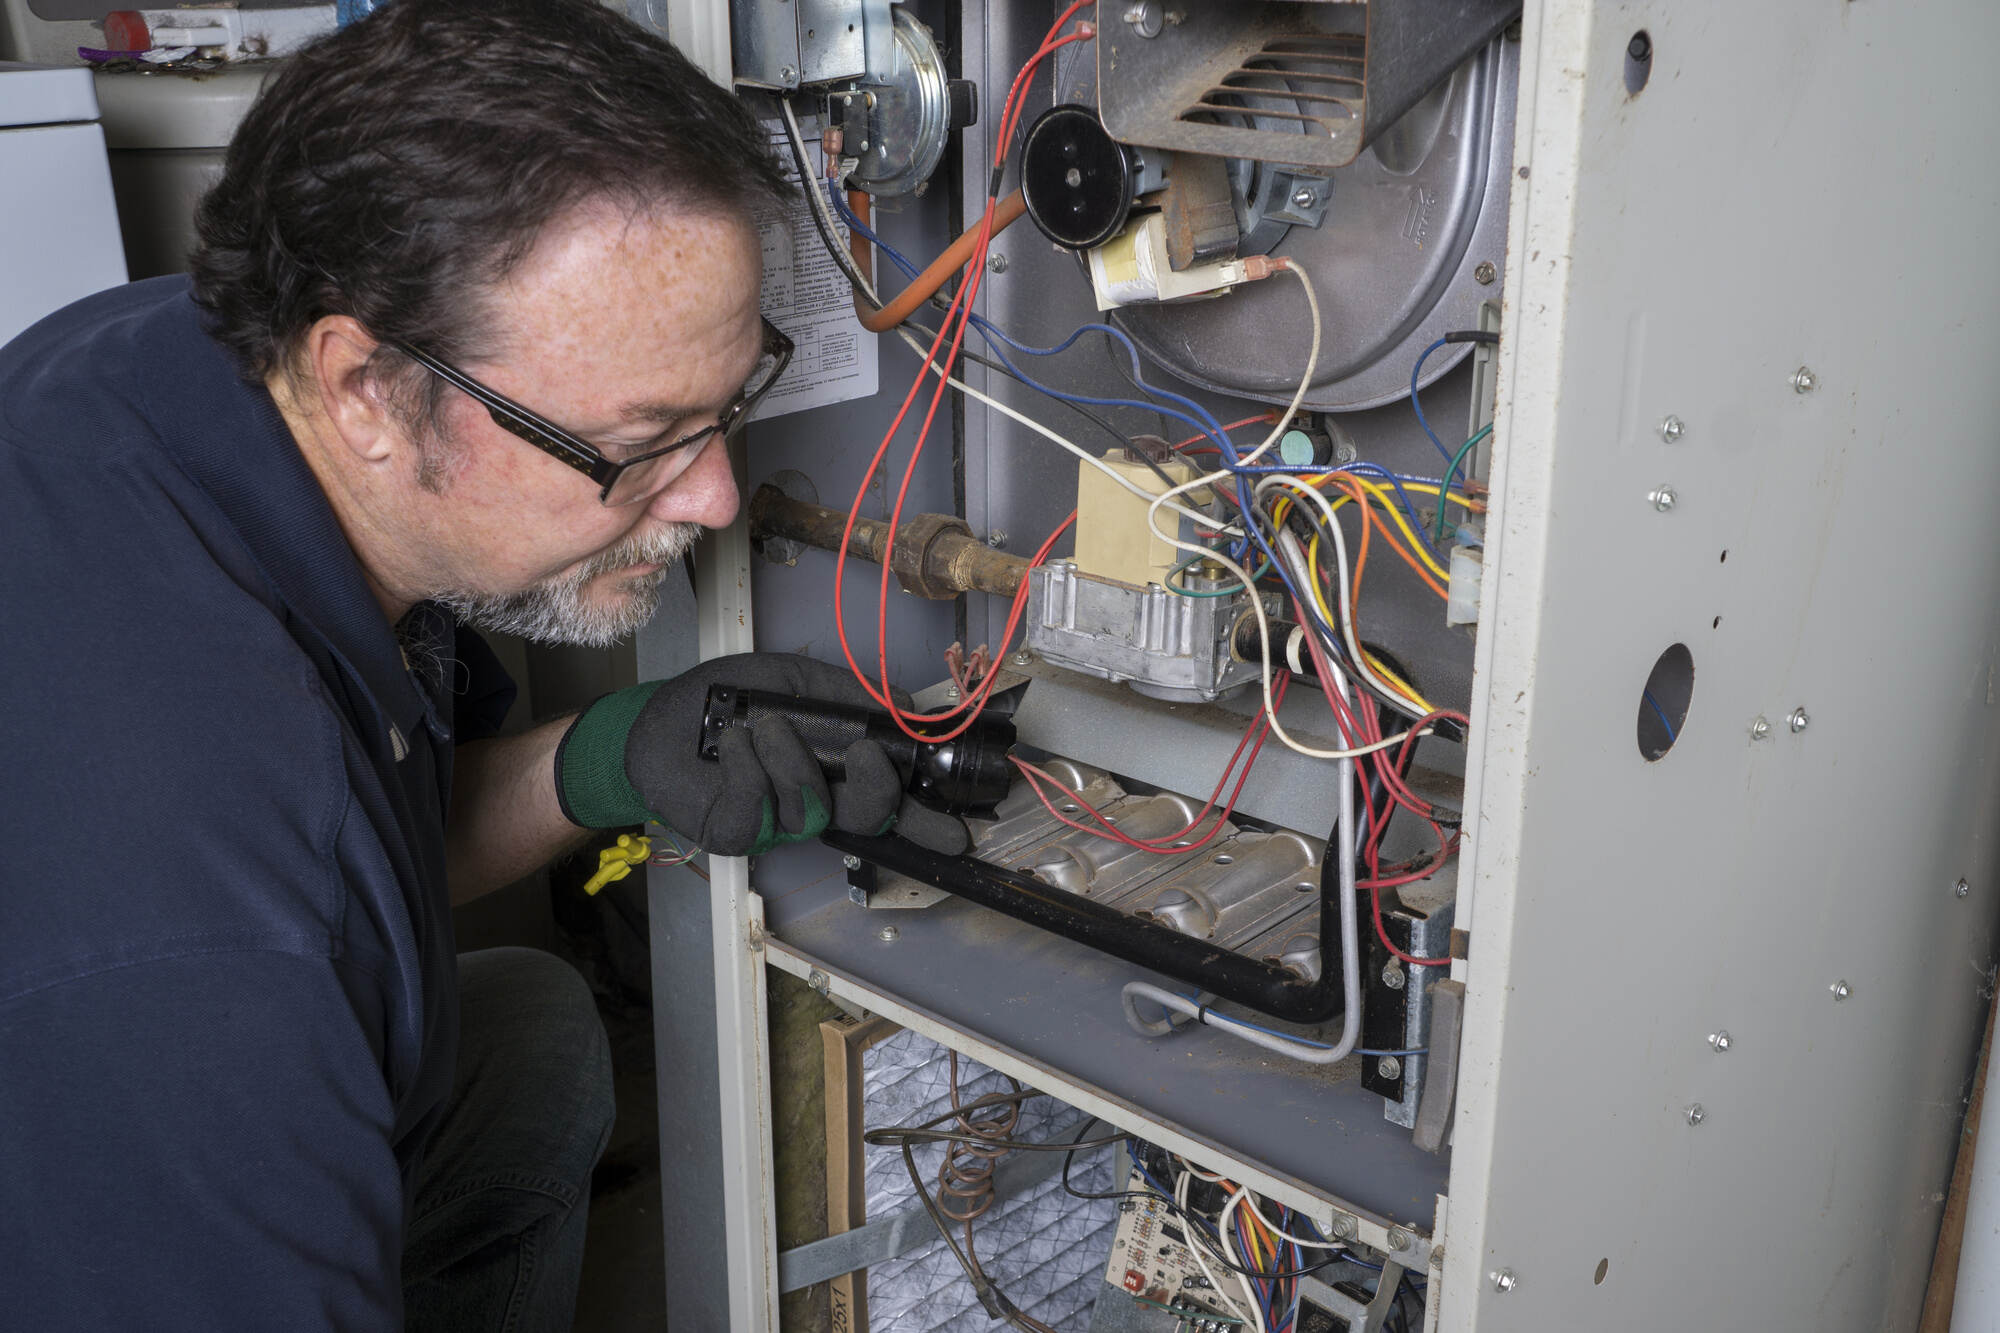
- Inspect the interior: With a flashlight, carefully inspect the interior of the chimney for any visible damage, such as cracks, loose bricks, or deteriorating mortar. If you notice any significant issues, it is advisable to consult a professional chimney sweep or a qualified mason for further evaluation.
Regularly inspecting the chimney structure helps catch potential problems early on and prevents them from escalating into more extensive and expensive repairs. If you are unsure about conducting the inspection yourself, hiring a professional chimney inspector is highly recommended.
Now that you have completed the inspection, it’s time to reassemble the chimney components and ensure everything is in place. We’ll cover this in the next section.
Read more: How To Clean Chimney Filter
Reassembling the Chimney Components
After thoroughly cleaning and inspecting the chimney, it’s time to reassemble the various components. Proper reassembly ensures that the chimney functions optimally and reduces the risk of any issues. Here’s how to reassemble the chimney components:
- Replace the chimney cap: If you removed the chimney cap during the cleaning process, securely place it back on top of the chimney. Ensure it is properly aligned and fastened according to the manufacturer’s instructions.
- Close the damper: If you opened the damper during the cleaning process, ensure it is closed before using the fireplace or wood-burning stove. A closed damper prevents drafts and heat loss when the fireplace is not in use.
- Reattach any removed components: If you had to remove any components, such as the damper or chimney brush, during the cleaning process, reattach them securely. Double-check that all bolts, screws, or fasteners are tightened appropriately.
- Clear the fireplace or wood-burning stove: Remove any drop cloths or tarps from the surrounding area, ensuring there is no debris or cleaning solutions remaining.
- Dispose of debris: Properly dispose of any debris or ash collected during the cleaning process. Place it in a designated container or bag and follow local regulations for disposal.
It’s important to ensure that all components are reassembled correctly to maintain the efficiency and safety of your chimney. Double-check all connections and make sure everything is in place before using the fireplace or wood-burning stove.
With the chimney components successfully reassembled, it’s crucial to review some safety precautions and tips before your next use. We’ll cover these in the next section.
Safety Precautions and Tips
Ensuring your safety and the safety of your home is of utmost importance when it comes to chimney cleaning. Here are some essential safety precautions and tips to keep in mind:
- Protective gear: Always wear proper protective gear, including gloves, goggles, and a dust mask, when cleaning the chimney. This will help protect you from soot, creosote, and debris.
- Fireplace or stove cooling: Before you begin cleaning, ensure that the fireplace or wood-burning stove has completely cooled down. Cleaning a hot chimney can be dangerous and may lead to burns or injuries.
- Use sturdy equipment: Make sure all the tools, brushes, and rods used for chimney cleaning are in good condition and made of sturdy materials. This will ensure their effectiveness and reduce the risk of accidents.
- Avoid overextending: When using chimney rods or extensions, avoid overextending your reach. Use caution and maintain your balance to prevent falls or injuries.
- Proper ladder placement: If you need to use a ladder to access the chimney, ensure it is properly positioned and stable. Use a ladder designed for the specific purpose of chimney access, and follow ladder safety guidelines.
- Practice proper disposal: Dispose of debris, creosote, and ash in accordance with local regulations. Store them in a designated container and keep them away from flammable materials or heat sources.
- Regular chimney inspections: Schedule regular professional chimney inspections, at least once a year, to ensure the structural integrity and safety of your chimney. Professionals have the expertise to identify potential issues that may be overlooked during regular cleaning.
- Know your limits: If you are unsure or uncomfortable with performing chimney cleaning yourself, it’s best to seek the assistance of a professional chimney sweep. They have the necessary experience and tools to safely and effectively clean your chimney.
Remember, maintaining a clean and well-maintained chimney is not only essential for safety but also for the efficient operation of your fireplace or wood-burning stove. By following these safety precautions and tips, you can confidently maintain your chimney while reducing the risk of accidents or damage.
With that, you have completed the chimney cleaning process, ensuring a safer, more efficient, and enjoyable fireplace or wood-burning stove experience.
Stay warm, stay safe!
Conclusion
Cleaning the chimney is an important part of home maintenance that ensures the safety, efficiency, and longevity of your fireplace or wood-burning stove. Regular cleaning and maintenance help remove hazardous creosote buildup, clear obstructions, and identify any potential issues with the chimney structure.
In this comprehensive guide, we have walked you through the step-by-step process of cleaning your chimney. We started by understanding the importance of chimney maintenance, including the reasons for keeping your chimney clean and the benefits it brings, such as improved safety, efficiency, and prolonged lifespan.
We then discussed the tools and equipment needed for chimney cleaning, emphasizing the importance of having the right gear to ensure a successful cleaning process. Preparing the area was highlighted as a crucial step to protect your home and belongings during the cleaning process.
We then covered each stage of the chimney cleaning process, from removing creosote buildup and cleaning the chimney flue to addressing the chimney cap and damper, checking for obstructions, and inspecting the overall chimney structure. Each step was outlined to guide you through the proper methods and techniques for a thorough cleaning.
Additionally, we provided crucial safety precautions and tips to keep in mind while undertaking chimney cleaning, emphasizing the use of protective gear, proper equipment, and the importance of professional inspections when necessary.
By following the tips and techniques outlined in this guide, you can confidently maintain your chimney’s cleanliness, functionality, and safety. However, if you feel uncertain or uncomfortable performing chimney cleaning yourself, it is advisable to consult a professional chimney sweep to ensure the job is done properly.
Remember, the well-being of your home and the safety of your loved ones depend on a well-maintained chimney. So, don’t delay – schedule regular chimney cleanings and inspections to ensure continued enjoyment of your fireplace or wood-burning stove.
Stay warm, stay safe, and enjoy the cozy ambiance your clean chimney provides!
Frequently Asked Questions about How To Clean The Chimney
Was this page helpful?
At Storables.com, we guarantee accurate and reliable information. Our content, validated by Expert Board Contributors, is crafted following stringent Editorial Policies. We're committed to providing you with well-researched, expert-backed insights for all your informational needs.


0 thoughts on “How To Clean The Chimney”