
Articles
How To Clean A Wood Stove Chimney
Modified: December 7, 2023
Learn the step-by-step process of cleaning a wood stove chimney with our informative articles. Keep your chimney in top condition to ensure optimal performance and safety.
(Many of the links in this article redirect to a specific reviewed product. Your purchase of these products through affiliate links helps to generate commission for Storables.com, at no extra cost. Learn more)
Introduction
Welcome to this comprehensive guide on how to clean a wood stove chimney. Regular maintenance and cleaning of your wood stove chimney are essential to ensure its efficiency and safety. Over time, creosote, soot, and debris can accumulate in the chimney, hindering proper airflow and increasing the risk of chimney fires.
In this article, we will take you through a step-by-step process to clean your wood stove chimney effectively. But before we dive into the cleaning process, it’s important to emphasize the importance of safety precautions.
While cleaning a wood stove chimney, you will be dealing with hazardous materials and working at heights. It is highly recommended to use protective gear such as gloves, safety goggles, and a dust mask. Additionally, make sure to follow proper ladder safety guidelines and have someone with you for assistance.
Now that we’ve highlighted the significance of safety, let’s gather the necessary tools and materials before we begin cleaning.
Key Takeaways:
- Regular maintenance and cleaning of your wood stove chimney is essential for safety and efficiency. Follow the step-by-step guide to ensure a clean, safe, and functional wood stove chimney.
- Prioritize safety precautions, gather necessary tools, and follow the detailed process to effectively clean and maintain your wood stove chimney. Enjoy a cozy ambiance while ensuring safety and optimal performance.
Read more: How To Install A Wood Burner With A Chimney
Safety Precautions
Prior to cleaning your wood stove chimney, it is crucial to take certain safety precautions to protect yourself and minimize potential risks. Here are some important safety tips to keep in mind:
- Wear protective gear: Before starting the cleaning process, ensure that you are equipped with necessary safety gear. This includes gloves to protect your hands, safety goggles to shield your eyes from debris, and a dust mask to prevent inhalation of harmful particles.
- Work in a well-ventilated area: Open windows or doors to allow for proper ventilation while cleaning the chimney. This will help minimize exposure to dust and fumes.
- Use a sturdy ladder: If you need to access the roof to clean the chimney cap, make sure you have a stable and properly positioned ladder. Always have someone present to assist you while on the ladder to prevent accidents.
- Clear the area around the wood stove: Before you begin cleaning, remove any combustible materials, such as flammable liquids or objects, from the immediate vicinity of the wood stove. This will help prevent any accidental fires or damage during the cleaning process.
- Let the stove cool down: Do not attempt to clean the chimney immediately after using the wood stove. Allow sufficient time for the stove to cool down completely to avoid burns or accidental contact with hot surfaces.
- Disconnect power sources: If your wood stove is equipped with electrical connections, such as a blower or thermostat, make sure to disconnect the power source before starting the cleaning process. This will prevent any electrical accidents.
- Keep a fire extinguisher nearby: In case of any unforeseen accidents or emergencies, it is essential to have a fire extinguisher readily available. Ensure that it is in good working condition and easily accessible.
By following these safety precautions, you can minimize the risks associated with cleaning a wood stove chimney and ensure a safe and productive cleaning process. Now that you are aware of the safety measures, let’s move on to the tools and materials you will need for the cleaning process.
Tools and Materials Needed
Before you start cleaning your wood stove chimney, it is essential to gather the necessary tools and materials. Having these items on hand will make the cleaning process much easier and more efficient. Here is a list of what you will need:
- Chimney brush: Invest in a high-quality chimney brush that is the appropriate size for your chimney. The brush should have stiff bristles to effectively remove creosote and soot buildup.
- Extension rods: Depending on the height of your chimney, you may require extension rods to reach the entire length. Ensure that the extension rods are compatible with your chimney brush.
- Bucket or drop cloth: Place a bucket or a drop cloth beneath the chimney opening to catch any falling debris or soot during the cleaning process.
- Flashlight: A flashlight will help you get a clear view of the inside of the chimney, enabling you to identify any obstructions or damages.
- Shop vacuum: A shop vacuum with a hose attachment will come in handy for cleaning up loose debris and ash in and around the wood stove.
- Gloves and safety goggles: Protect your hands with sturdy gloves and wear safety goggles to shield your eyes from debris and harmful particles.
- Dust mask: A dust mask is essential to prevent inhalation of dust and soot particles while cleaning the chimney.
- Ladder: If you need to access the roof to clean the chimney cap, you will require a sturdy ladder. Ensure that the ladder is securely positioned and always have someone present to assist you.
- Cleaning solution (optional): You may choose to use a specialized chimney cleaning solution to help loosen stubborn creosote and soot deposits. Be sure to follow the manufacturer’s instructions when using any chemical cleaning products.
- Brush or cloth: Keep a brush or cloth handy for wiping down the exterior surfaces of the wood stove and chimney after cleaning.
Gather all these tools and materials before you begin the cleaning process to ensure a smooth and efficient experience. With everything prepared, you are now ready to move on to the step-by-step process of cleaning your wood stove chimney.
Step 1: Preparing the Wood Stove
Before you start cleaning your wood stove chimney, it is important to properly prepare the wood stove itself. Here are the steps you should follow:
- Turn off and cool down the wood stove: Ensure that your wood stove is completely turned off and has cooled down before you begin the cleaning process. This will prevent any accidental burns and ensure your safety.
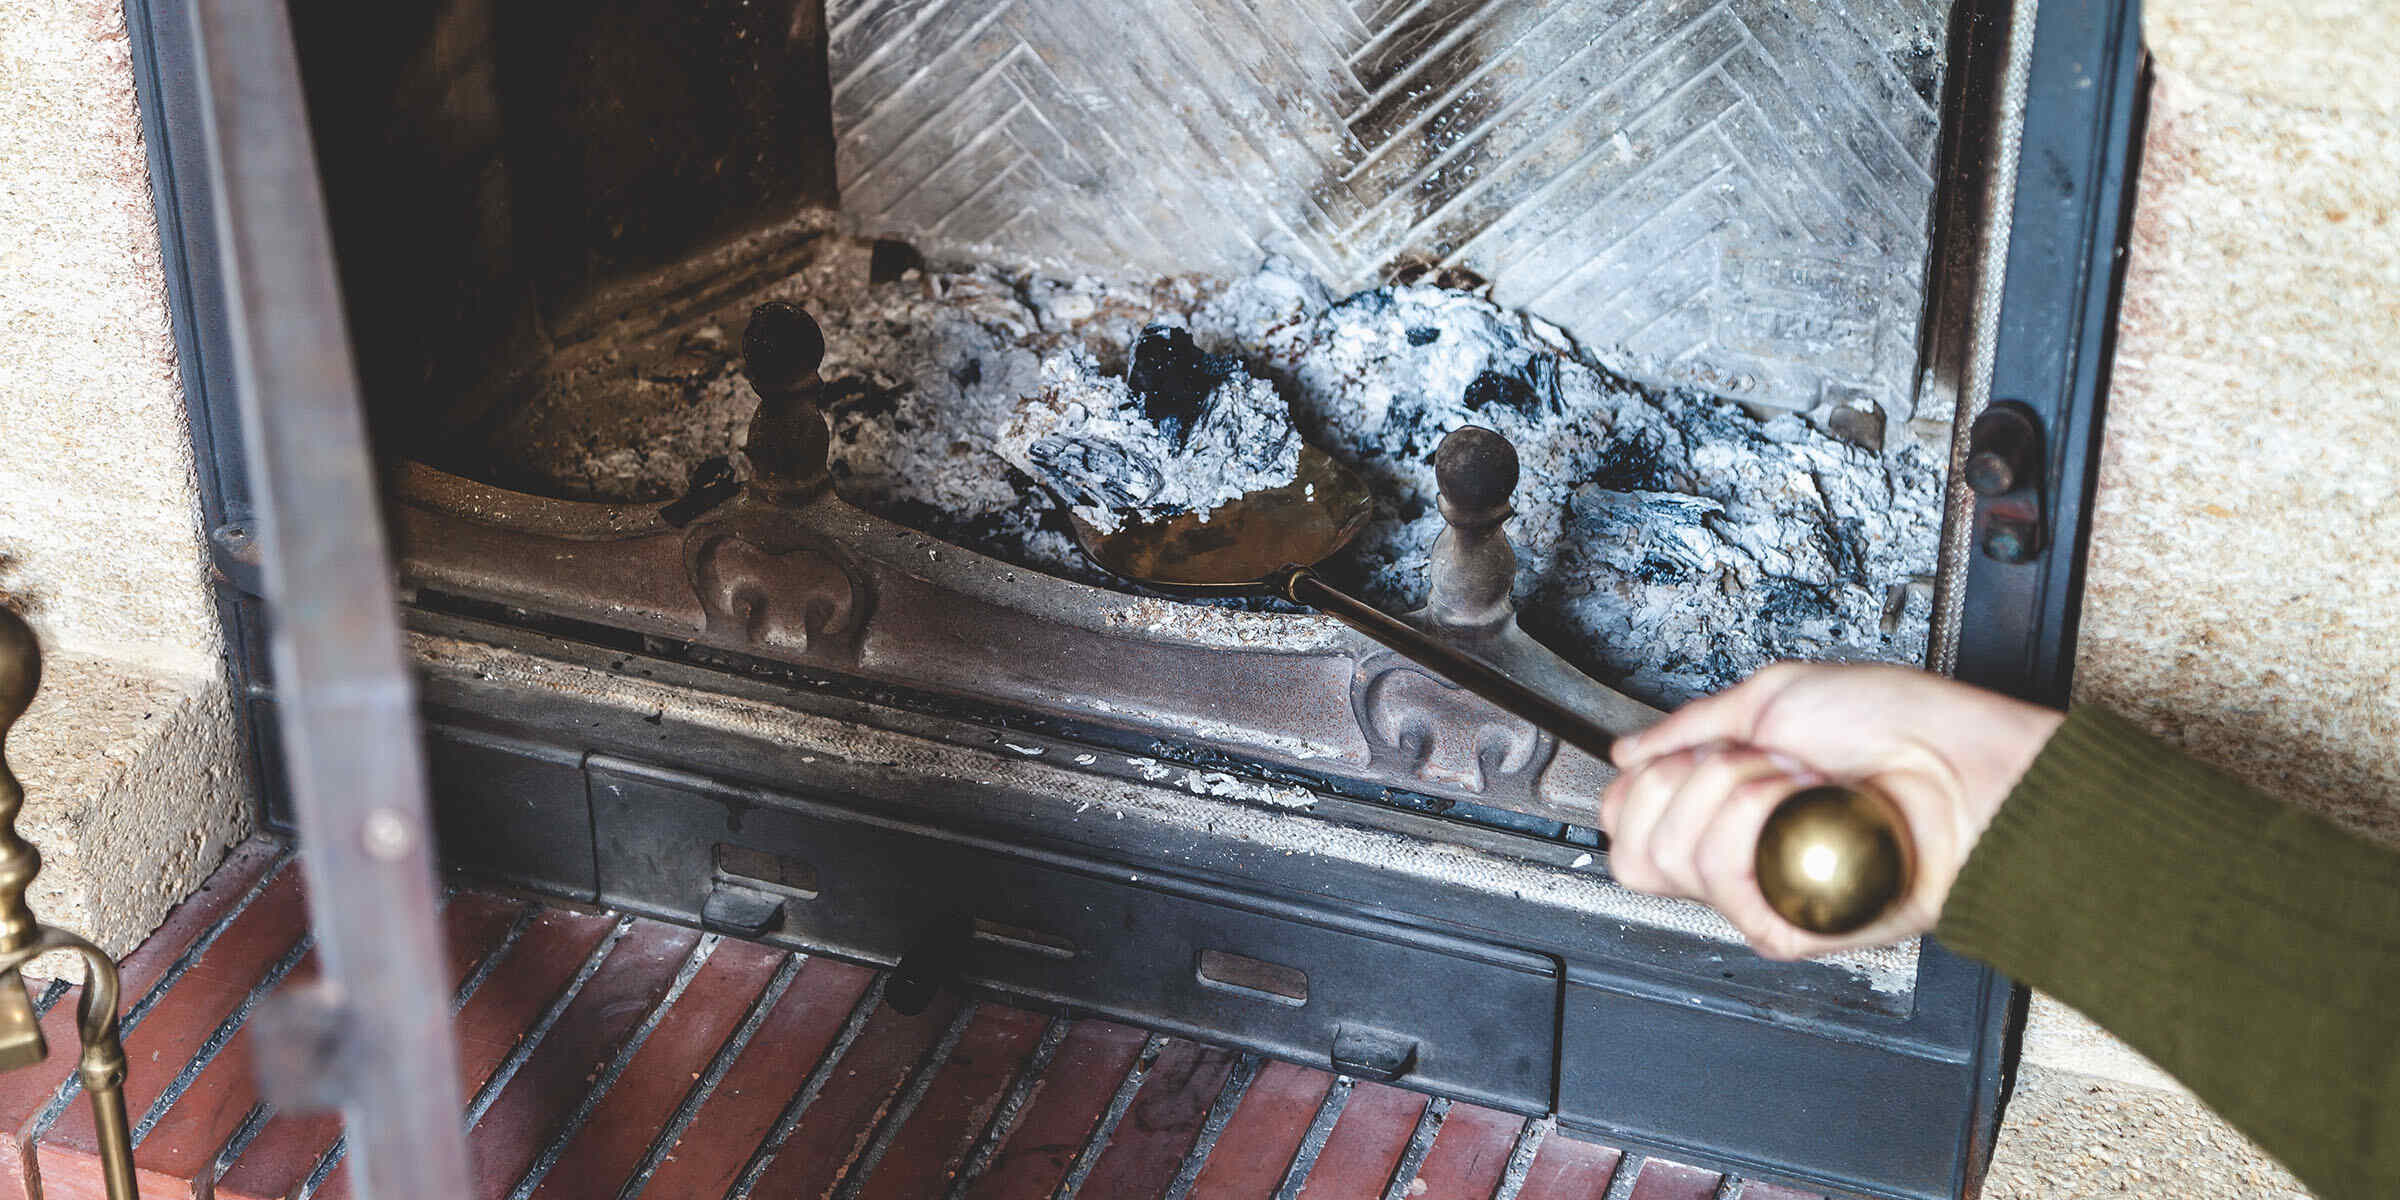
- Remove any loose ashes: Using a small shovel or brush, remove any loose ashes from the firebox of the wood stove. Dispose of them in a metal ash bucket or container, as ashes can remain hot for hours after the fire has been extinguished.
- Remove the stovepipe: If necessary, detach the stovepipe from the back of the wood stove. In most cases, you can simply loosen the screws or clamps that hold the pipe in place and gently pull it away from the stove. Set the stovepipe aside in a safe location.
- Inspect the wood stove: Take a close look at the interior of the wood stove, checking for any signs of damage or wear. Look for cracks, rust, or other issues that may require attention. If you notice any significant damage, it is advisable to consult a professional before proceeding with the cleaning.
- Protect the surrounding area: Place a drop cloth or newspaper around the wood stove to catch any soot or debris that may fall during the cleaning process. This will make cleanup easier and prevent any damage to your flooring or furnishings.
By following these steps, you will ensure that your wood stove is properly prepared for the cleaning process, allowing for a more efficient and effective cleaning of the chimney. With the wood stove prepared, we can now move on to the next step: removing ash and debris from the stove and chimney.
Step 2: Removing Ash and Debris
Once the wood stove is properly prepared, the next step in cleaning your wood stove chimney is to remove any accumulated ash and debris. Here’s how to do it:
- Put on your protective gear: Before you begin, ensure that you are wearing gloves, safety goggles, and a dust mask to protect yourself from potential dust and debris.
- Clean out the firebox: Using a small shovel or brush, carefully scoop out any remaining ash or debris from the firebox of the wood stove. Dispose of the ash in a metal ash bucket or container.
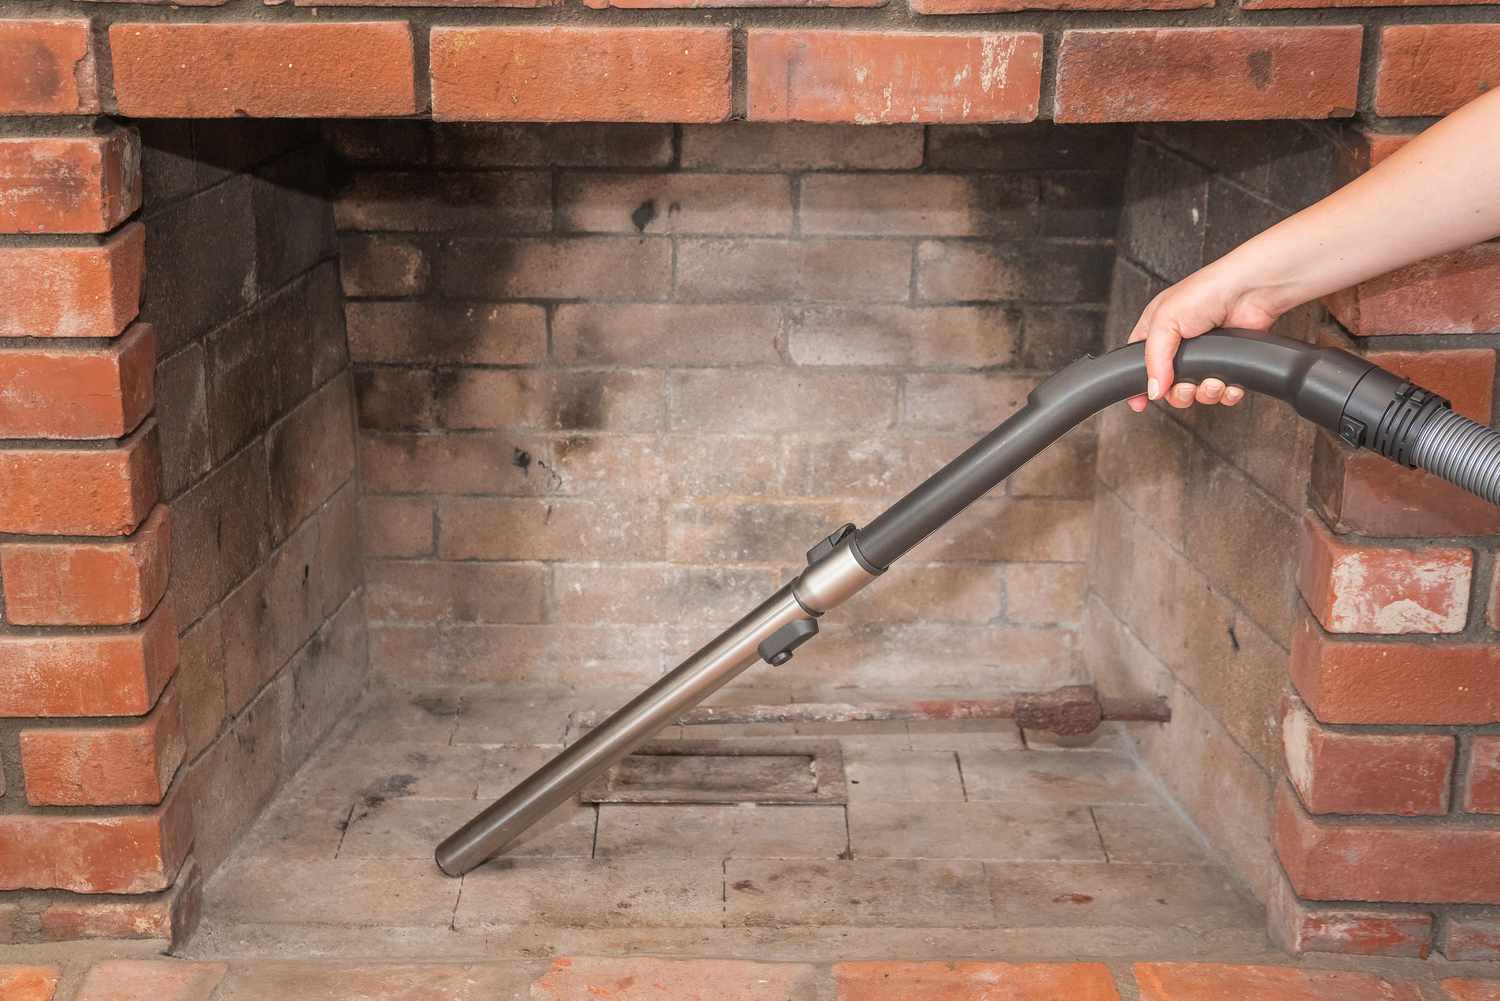
- Vacuum the firebox: Use a shop vacuum with a hose attachment to clean out any loose ash or debris that may be difficult to reach with a shovel. Vacuum all areas of the firebox thoroughly to ensure a clean surface.
- Inspect the baffle or heat shield: If your wood stove has a baffle or heat shield, check for any signs of damage or buildup. Clean or replace the baffle if necessary, following the manufacturer’s instructions.
- Inspect the chimney connector: Carefully examine the chimney connector or stovepipe that connects the wood stove to the chimney. Look for any creosote buildup or obstructions, such as bird nests or debris. If needed, clean the connector using a chimney brush or specialized cleaning solution.
- Clean the stovepipe: If you removed the stovepipe in the previous step, inspect it for any creosote buildup or obstructions. Clean the stovepipe using a chimney brush or specialized cleaning solution, if necessary.
By following these steps, you will effectively remove ash and debris from your wood stove and chimney, ensuring a clean and clear path for airflow. This will improve the efficiency of your wood stove and reduce the risk of chimney fires. Now that the initial cleaning is done, let’s move on to the next step: cleaning the chimney pipe.
Regularly clean your wood stove chimney to prevent the buildup of creosote, a highly flammable substance. Use a chimney brush to remove the soot and creosote, and consider hiring a professional for a thorough cleaning at least once a year.
Step 3: Cleaning the Chimney Pipe
Now that you have removed ash and debris from the wood stove, it’s time to focus on cleaning the chimney pipe. A clean and clear chimney pipe is crucial for proper ventilation and preventing chimney fires. Here’s how to clean it:
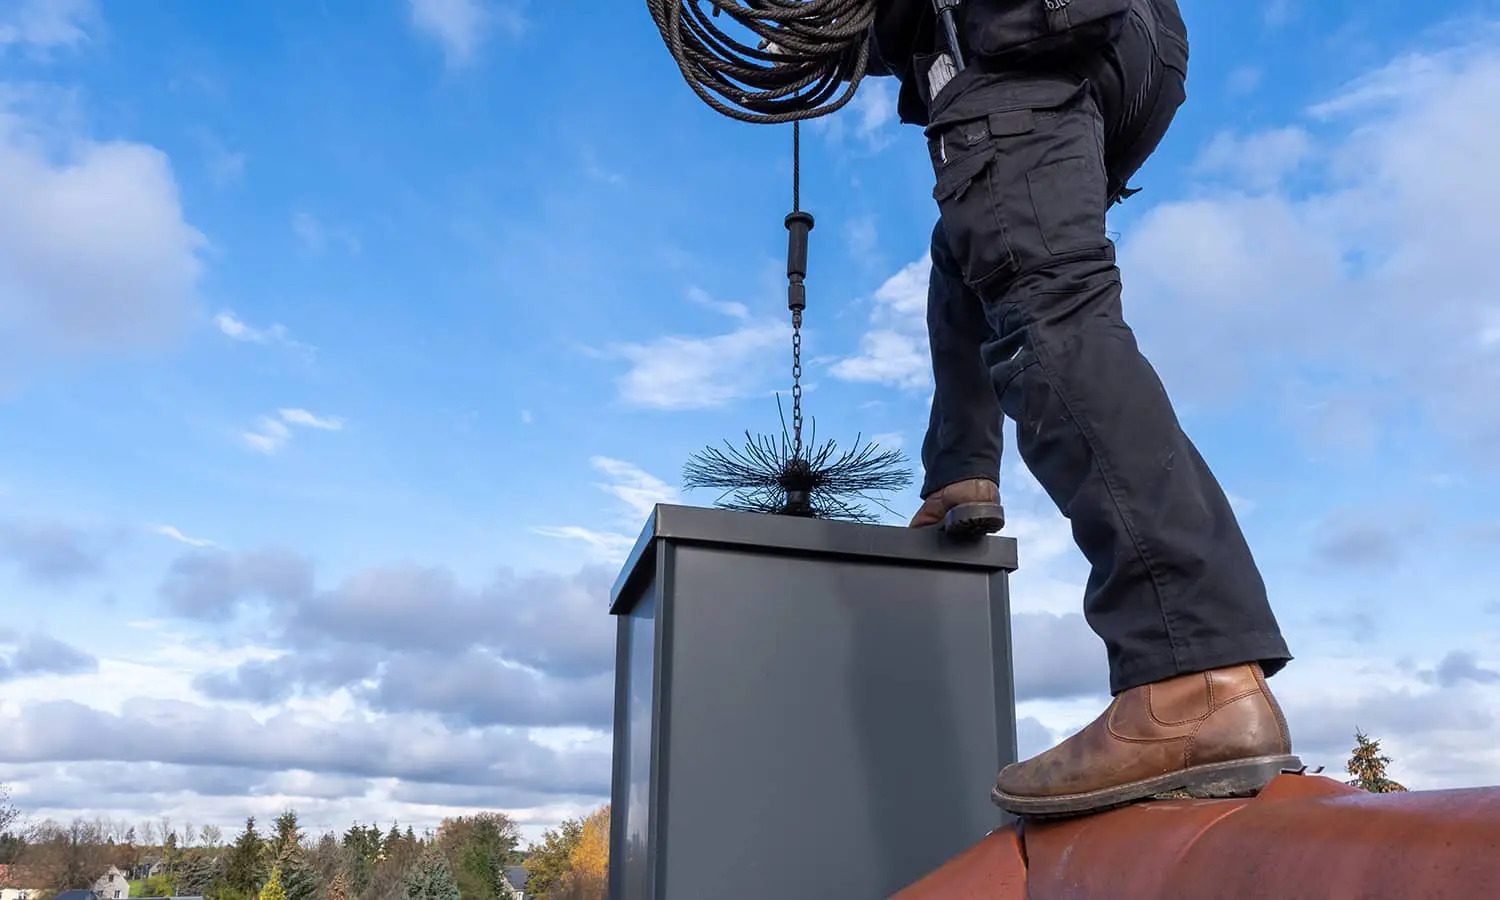
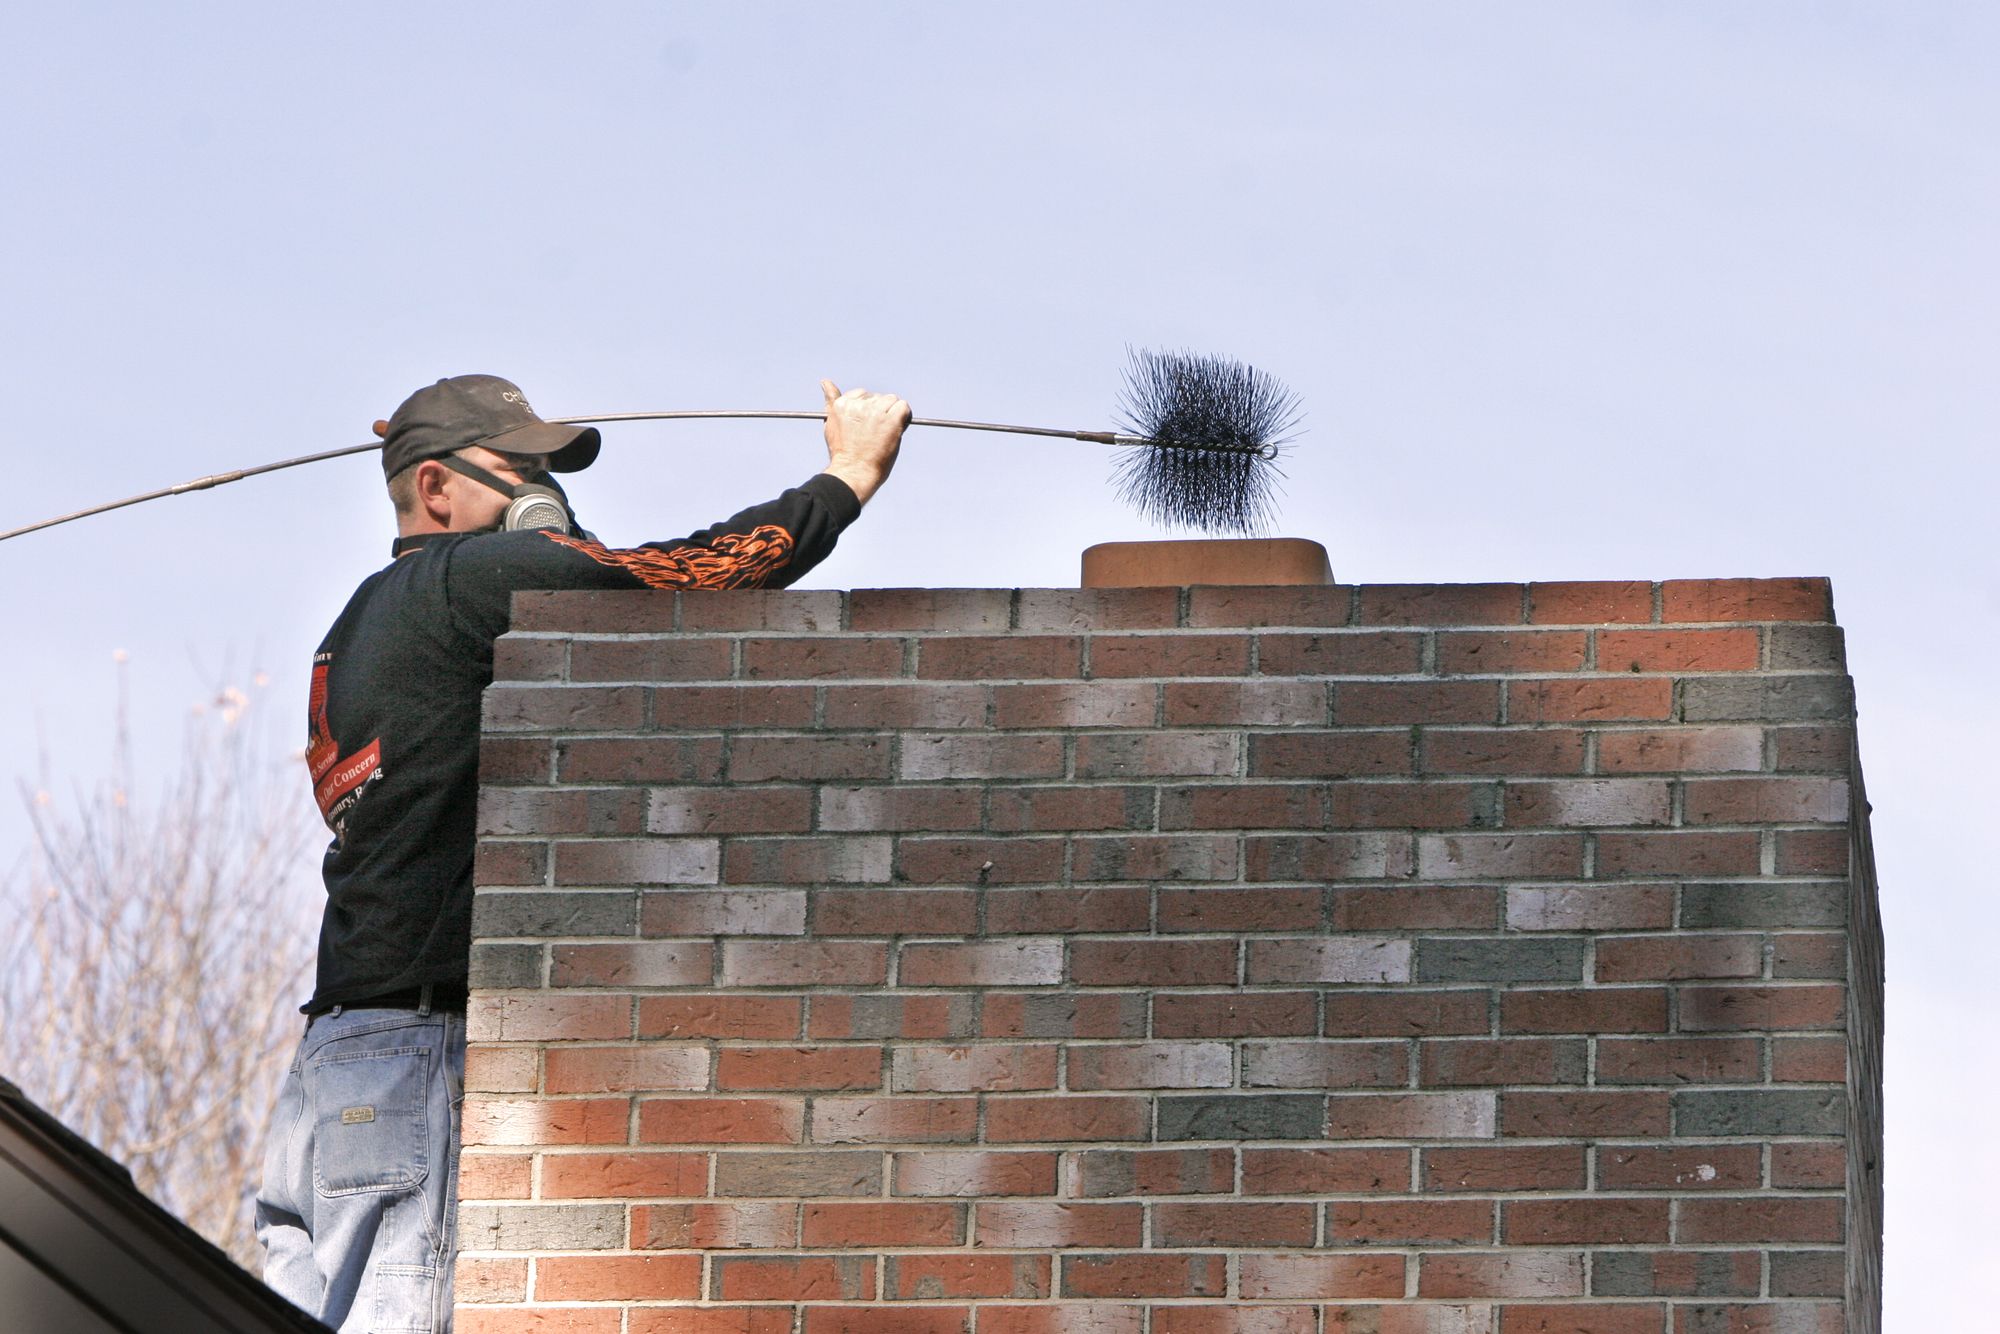
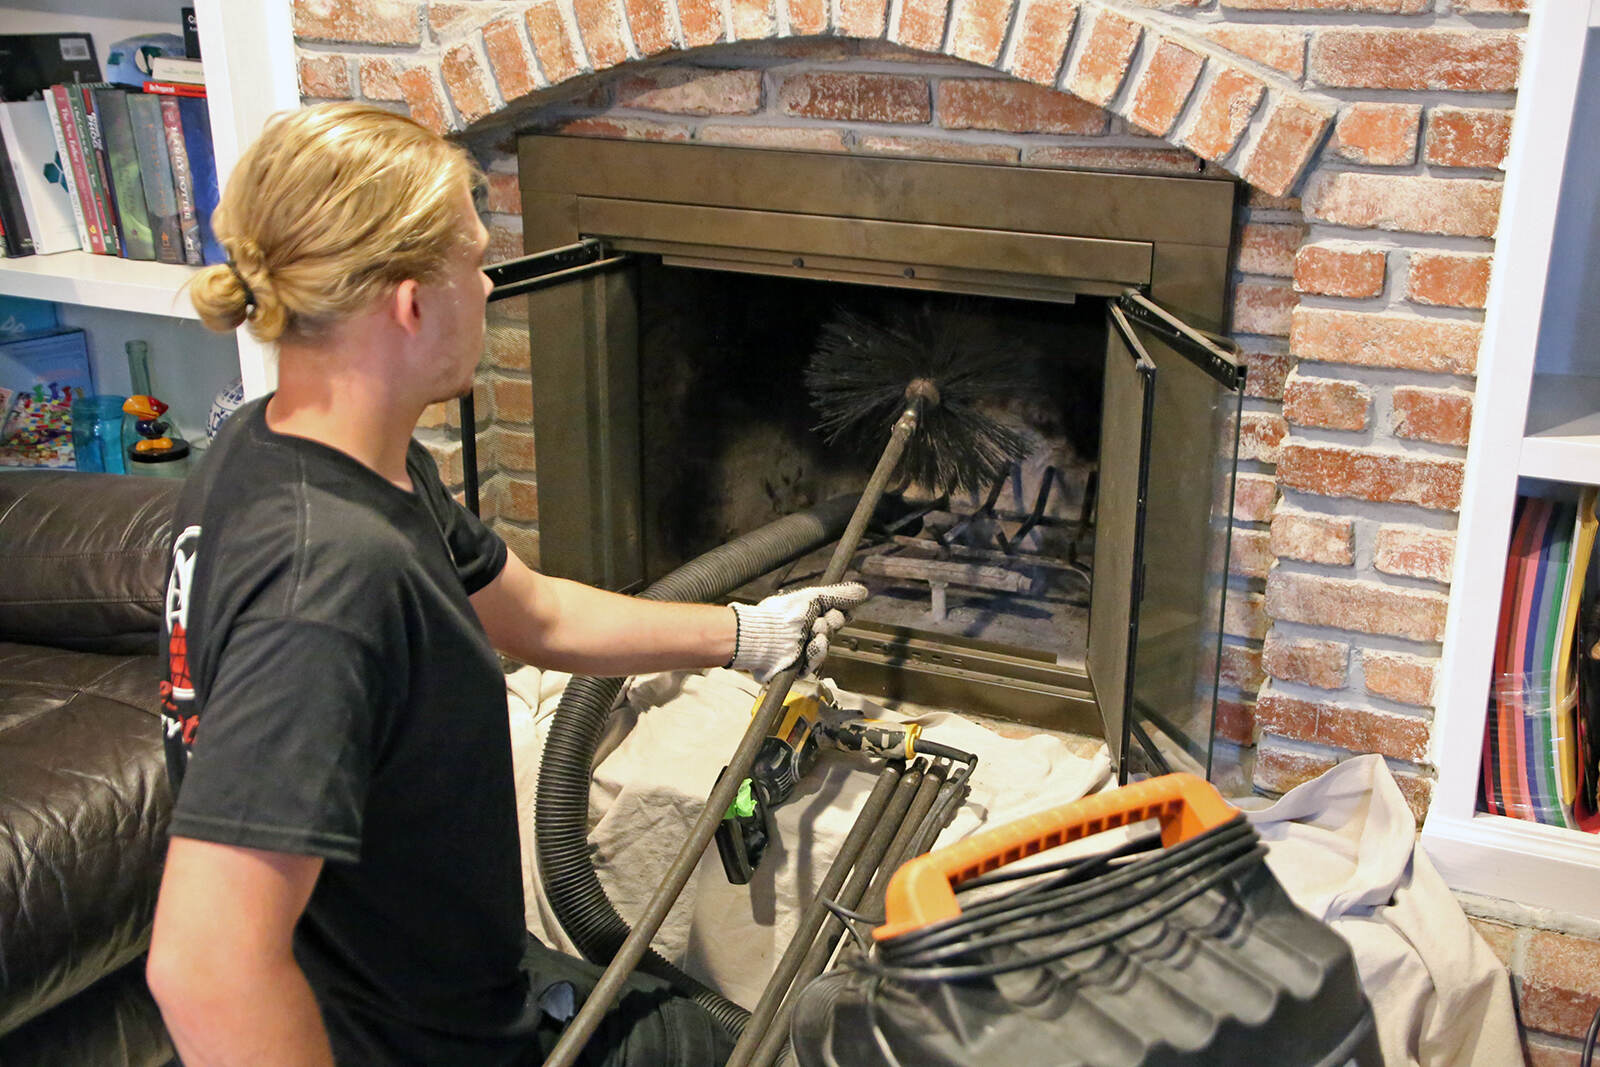
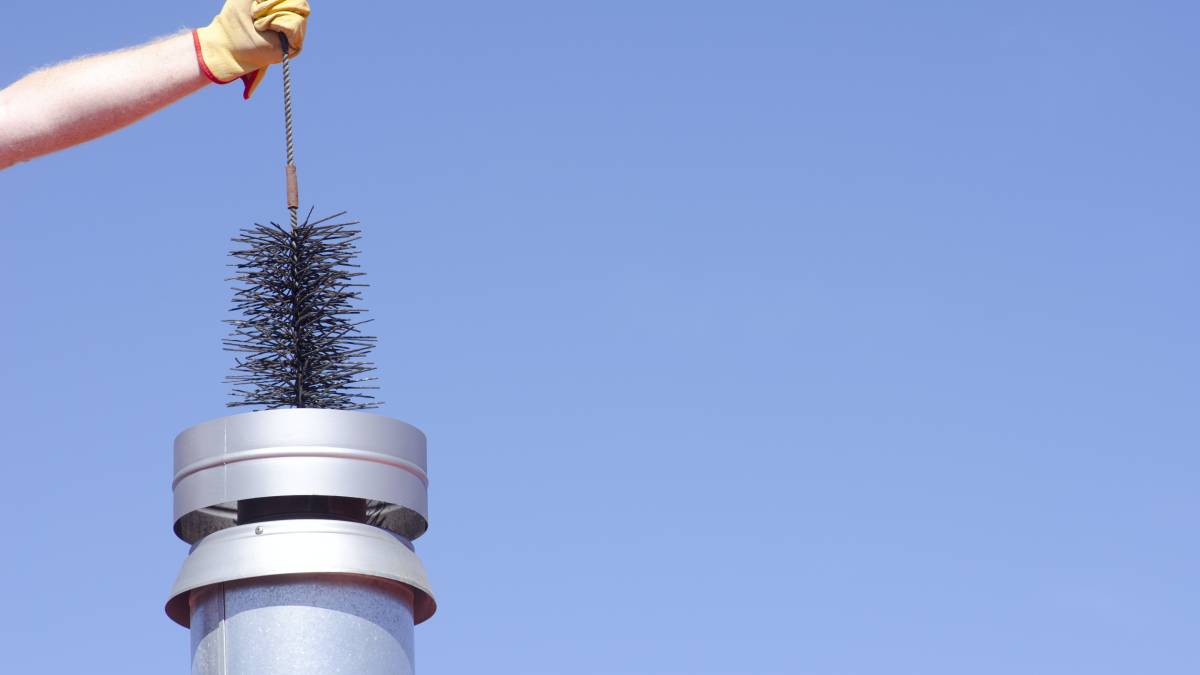
- Attach the chimney brush to the extension rods: Take your chimney brush and securely attach it to the extension rods. Make sure it is securely fastened to prevent it from becoming detached while cleaning.
- Insert the chimney brush into the chimney pipe: Carefully insert the end of the chimney brush into the chimney pipe so that it reaches the bottom. Slowly push it up and down to dislodge any creosote or debris that may have built up inside the pipe.
- Scrub the chimney pipe: Using a scrubbing motion, move the chimney brush up and down the entire length of the chimney pipe. Apply gentle pressure to effectively remove any stubborn creosote or soot deposits. Continue this motion until you have thoroughly scrubbed the entire chimney pipe.
- Extend the chimney brush as needed: If your chimney pipe is longer than the extension rods, you may need to add additional rods to reach the entire length of the pipe. Attach the extra rods as necessary and continue scrubbing.
- Remove the chimney brush: Once you have finished cleaning the chimney pipe, carefully remove the brush from the pipe. Be cautious of any debris that may have dislodged during the cleaning process.
- Clean out the chimney pipe: Use a shop vacuum with a hose attachment to clean out any loose debris or creosote that has fallen into the chimney pipe during the cleaning. Vacuum the entire length of the pipe to ensure it is clear of any obstructions.
By following these steps, you will effectively clean the chimney pipe and remove any accumulated creosote or debris. This will improve the airflow in your wood stove chimney and reduce the risk of chimney fires. With the chimney pipe cleaned, let’s move on to the next step: cleaning the chimney cap.
Step 4: Cleaning the Chimney Cap
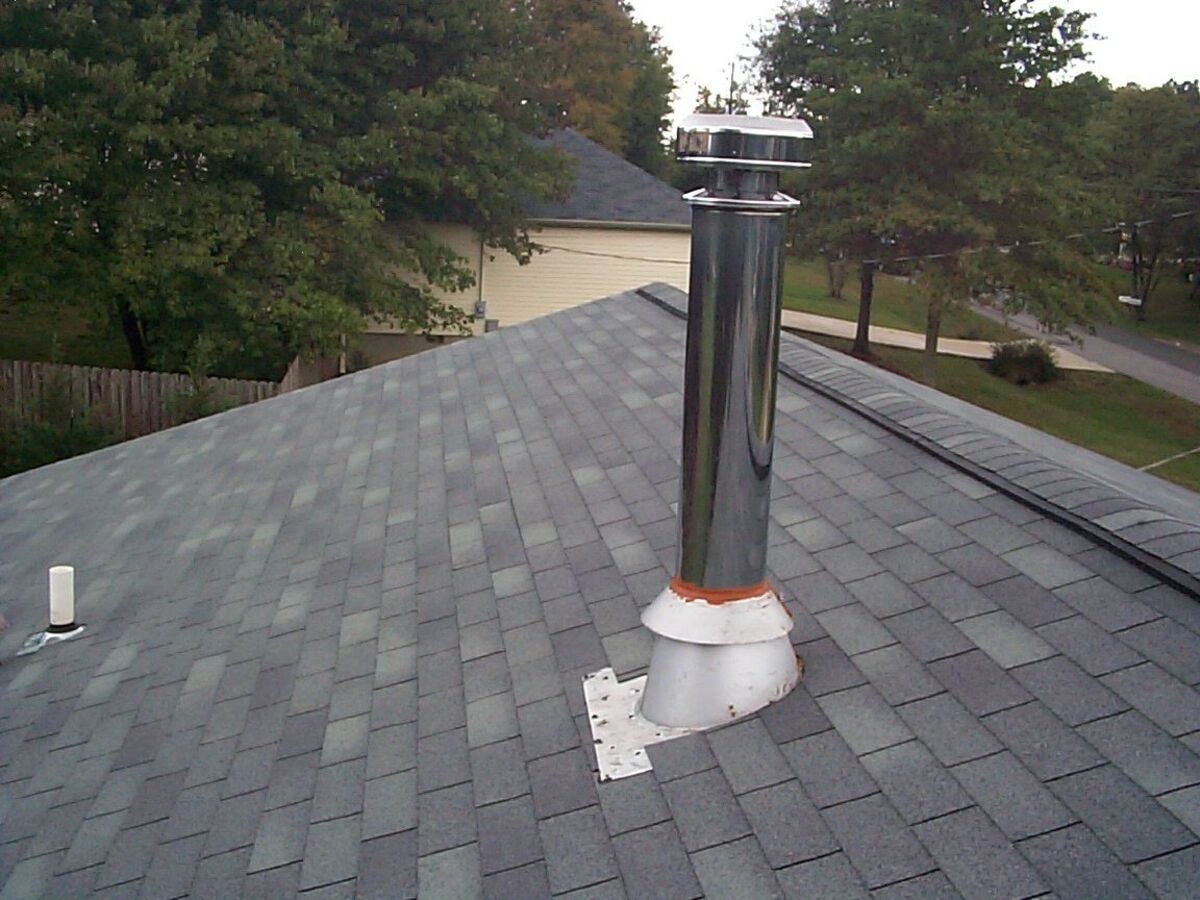
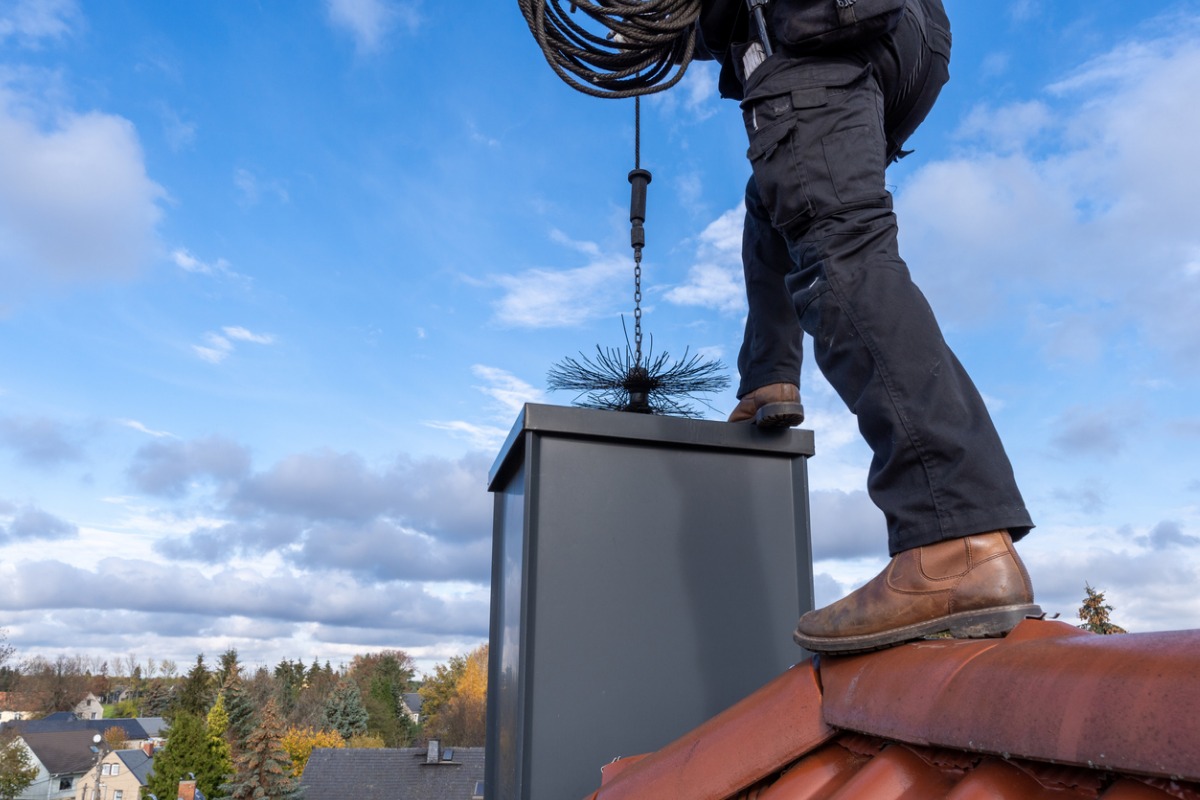
The chimney cap plays a crucial role in protecting your wood stove chimney from outside elements, such as rain, snow, and animals. It is important to regularly clean and maintain the chimney cap to ensure its proper functioning. Here’s how to clean it:
- Access the chimney cap: Depending on the design of your chimney cap, you may need to climb onto the roof to access it safely. Use a secure ladder and take the necessary safety precautions when working at heights.
- Inspect the chimney cap: Before you start cleaning, carefully inspect the chimney cap for any signs of damage or obstructions. Look for rust, debris, or bird nests that may have accumulated.
- Remove debris: Using a brush or gloved hand, remove any visible debris or blockages from the chimney cap. This includes leaves, twigs, bird nests, or any other foreign objects that may be obstructing proper airflow.
- Clean the chimney cap: Fill a bucket with warm water and add a mild detergent. Use a cloth or scrub brush to gently clean the chimney cap, removing any dirt or stains. Rinse it thoroughly with clean water and allow it to dry completely before reassembling.
- Check for proper ventilation: Once the chimney cap is cleaned and dry, ensure that it is properly situated on top of the chimney. Make sure there are no gaps or loose fittings that could compromise its functionality.
- Reassemble and secure the chimney cap: Carefully place the chimney cap back on top of the chimney and secure it in place according to the manufacturer’s instructions. Double-check that it is tightly fastened and stable.
By following these steps, you will effectively clean and maintain your chimney cap, ensuring its proper functioning and preventing potential issues such as rainwater intrusion or animal entry. With the chimney cap cleaned, let’s move on to the next step: inspecting for any damage in the chimney.
Step 5: Inspecting for Damage
Inspecting your wood stove chimney for any signs of damage is an important step in maintaining its safety and efficiency. Regular inspections can help identify issues early on, allowing you to address them promptly. Here’s how to inspect for damage:
- Carefully examine the exterior: Start by inspecting the exterior of the chimney, looking for any visible signs of damage. Check for loose bricks or mortar, cracks, or any other structural issues that may require attention.
- Inspect the chimney liner: If your chimney has a liner, visually inspect it for any signs of wear or deterioration. Look for cracks, gaps, or corrosion that could compromise the liner’s effectiveness.
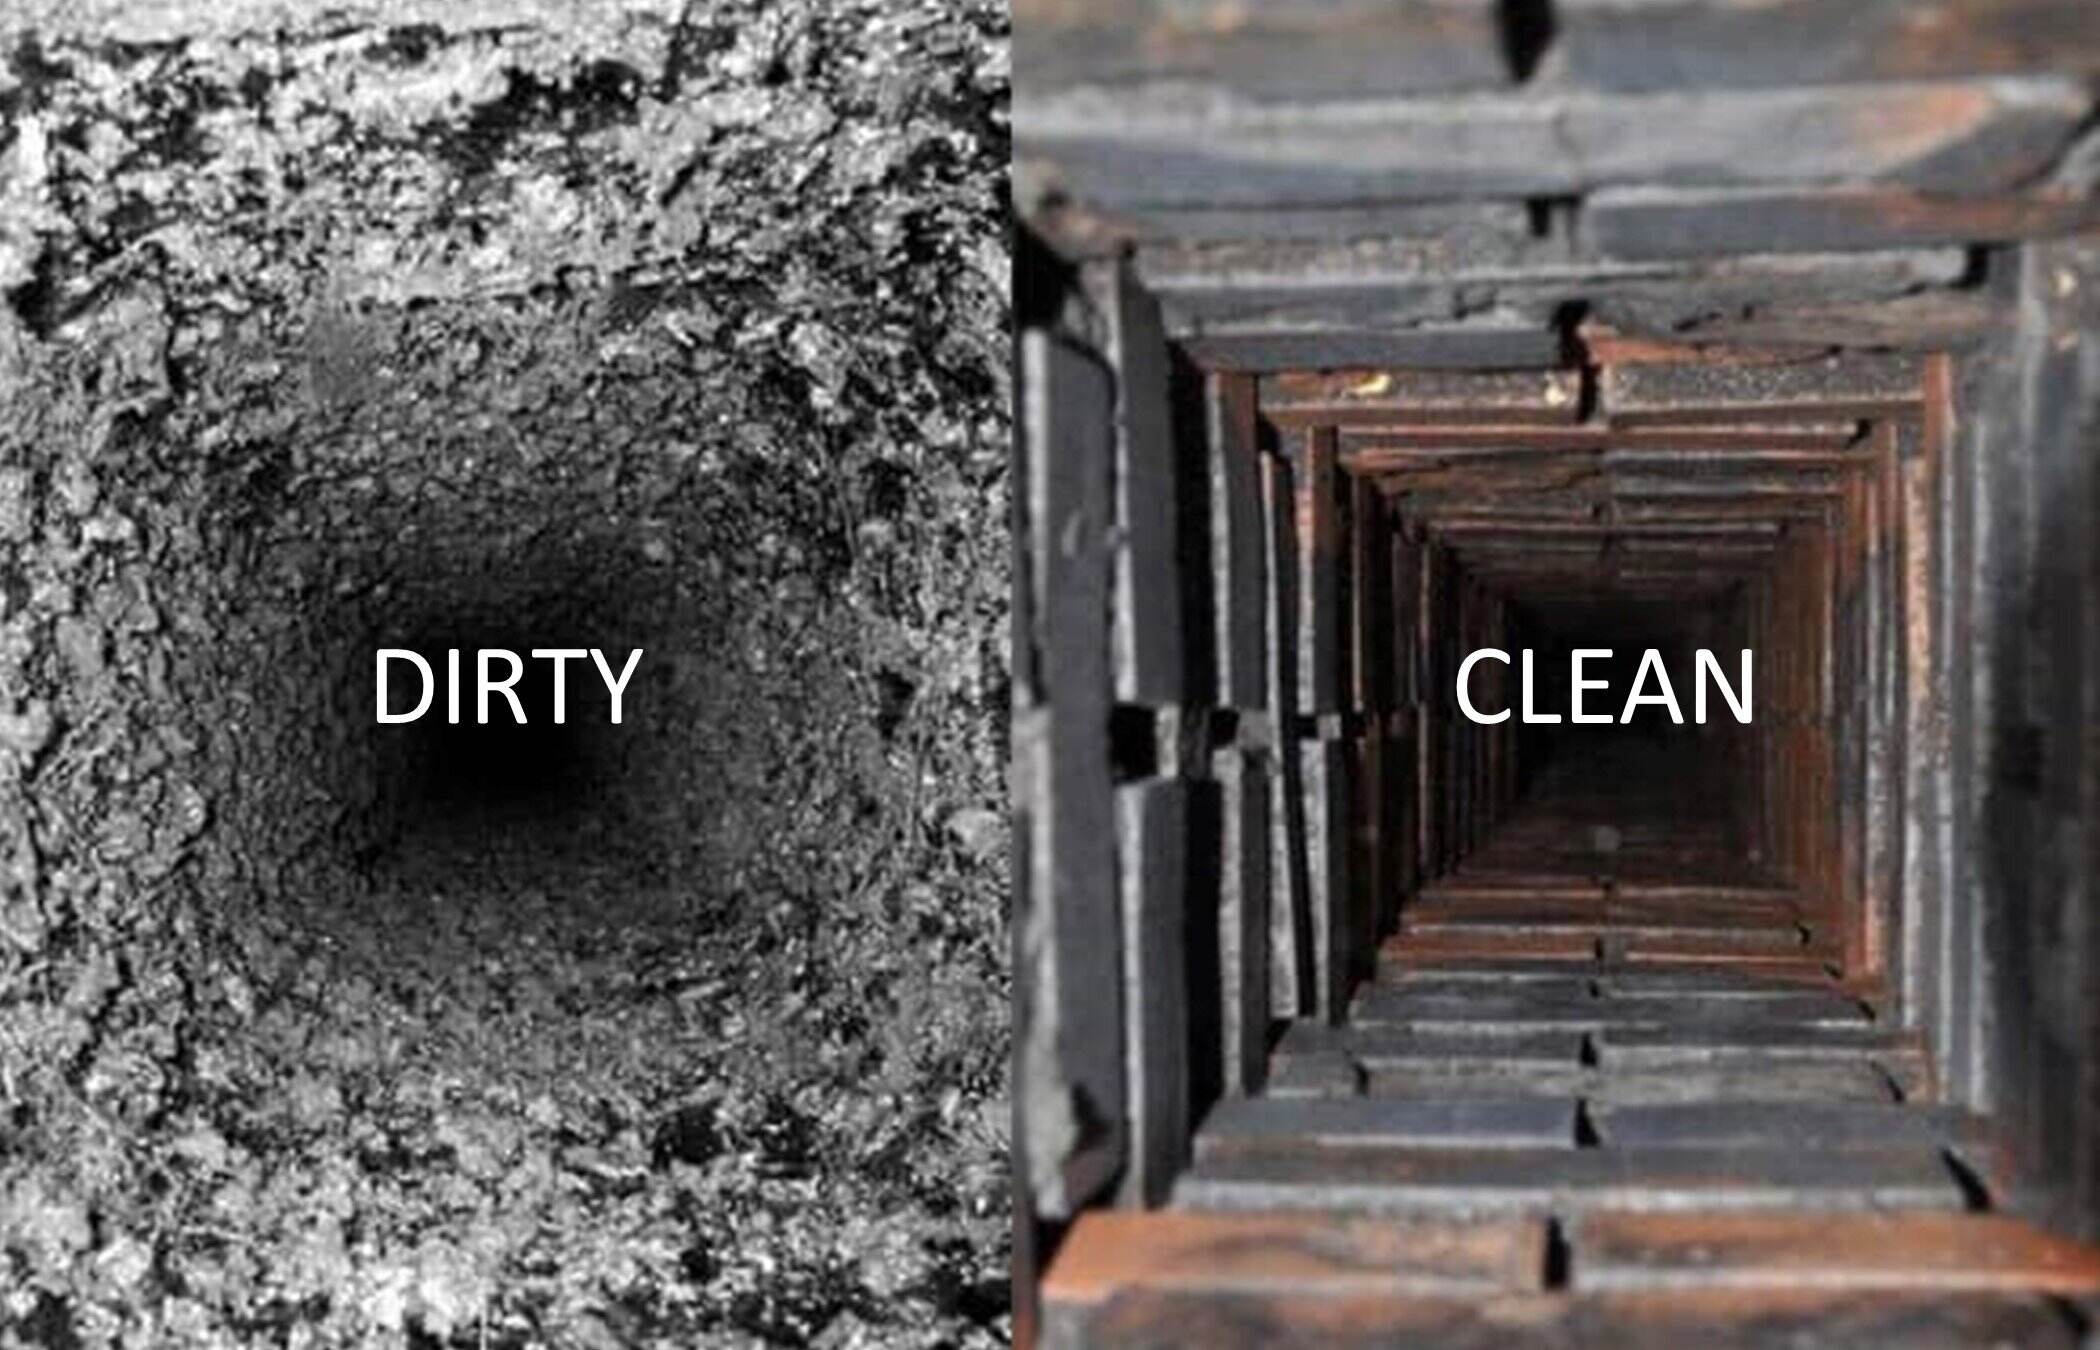
- Check for creosote buildup: Carefully examine the inside of the chimney for any buildup of creosote or soot. Excessive creosote can increase the risk of chimney fires and should be addressed promptly.
- Look for obstructions: Check for any obstructions within the chimney, such as bird nests, leaves, or debris. These obstructions can hinder proper airflow and should be removed to ensure optimal performance.
- Inspect the chimney cap: Once again, inspect the chimney cap to ensure it is properly secured and undamaged. Look for any signs of rust, corrosion, or loosened fittings.
- Observe smoke and draft: Light a small piece of paper and hold it near the opening of the wood stove. Observe the smoke’s behavior and the draft within the chimney. Any excessive smoke coming back into the room or poor draft could indicate an issue that requires further investigation.
If you notice any significant damage or concerns during the inspection, it is advisable to consult a professional chimney technician or qualified inspector. They can assess the situation and provide appropriate recommendations for repairs or further maintenance.
By regularly inspecting your wood stove chimney for damage, you can address any issues early on, ensuring the safety, efficiency, and longevity of your chimney system. With the inspection complete, let’s move on to the final step: reassembling the wood stove.
Step 6: Reassembling the Wood Stove
Once you have completed the cleaning and inspection process for your wood stove chimney, it’s time to reassemble the wood stove to its original state. Proper reassembly ensures the safe and efficient operation of your wood stove. Here’s how to do it:
- Reattach the stovepipe: If you removed the stovepipe during the cleaning process, carefully reattach it to the back of the wood stove. Align the pipe with the stove’s exhaust outlet and secure it using screws or clamps, following the manufacturer’s instructions.
- Tighten all connections: Check all the connections of the stovepipe, chimney pipe, and chimney cap for tightness. Ensure all screws, clamps, and fittings are securely fastened.
- Clean the wood stove exterior: Use a brush or cloth to clean the exterior surfaces of the wood stove. Remove any dust, soot, or debris that may have accumulated during the cleaning process.
- Clear the surrounding area: Ensure that the area around the wood stove is free from flammable materials. Keep furniture, drapes, and any other combustible items a safe distance away to prevent accidental fires.
- Double-check safety features: Verify that all safety features of the wood stove, such as door seals, latches, and draft controls, are in proper working condition. Make any necessary adjustments or replacements if needed.
- Test the wood stove: Before using your wood stove, light a small fire to ensure that it functions properly. Observe the flames, smoke, and draft to ensure that everything is working as expected.
- Dispose of waste materials: Properly dispose of any ash or debris that was collected during the cleaning process. Place it in a metal ash bucket or container and dispose of it safely.
By following these steps, you will be able to successfully reassemble your wood stove and have it in proper working order. Remember to always follow the manufacturer’s instructions and guidelines for your specific wood stove model. With the wood stove reassembled, you are ready to enjoy the warmth and comfort it provides.
Final Thoughts:
Regular cleaning and maintenance of your wood stove chimney are vital for both safety and optimal performance. By following the steps outlined in this guide, you can ensure that your wood stove chimney remains clean, efficient, and safe to use. Remember to perform these cleaning procedures at least once a year or as recommended by the manufacturer or a professional chimney technician.
Stay safe, warm, and enjoy the cozy ambiance of your wood stove!
Conclusion
Cleaning a wood stove chimney is a crucial part of its regular maintenance. It not only ensures optimal performance and efficiency but also reduces the risk of chimney fires. By following the step-by-step process outlined in this guide, you can effectively clean your wood stove chimney and maintain its safety and functionality.
Start by preparing the wood stove and gathering the necessary tools and materials. Take the appropriate safety precautions to protect yourself during the cleaning process. Remove ash and debris from the wood stove, inspect and clean the chimney pipe, and attend to the chimney cap. Inspect the chimney for any signs of damage that may require professional assistance.
Reassembling the wood stove after cleaning is equally important to ensure proper functioning. Double-check all connections and safety features before testing the wood stove. Dispose of waste materials safely and maintain a clean surrounding area to prevent accidents.
Remember, regular maintenance and cleaning are essential to keep your wood stove chimney operating at its best. Ideally, perform these cleaning procedures once a year or as recommended by the manufacturer or a professional chimney technician.
By following the steps outlined in this guide and prioritizing chimney maintenance, you can enjoy the warmth and comfort of your wood stove while ensuring the safety and efficiency of your chimney for years to come.
Frequently Asked Questions about How To Clean A Wood Stove Chimney
Was this page helpful?
At Storables.com, we guarantee accurate and reliable information. Our content, validated by Expert Board Contributors, is crafted following stringent Editorial Policies. We're committed to providing you with well-researched, expert-backed insights for all your informational needs.



0 thoughts on “How To Clean A Wood Stove Chimney”