Home>Articles>How To Clean Desks And Other Office Items That Are Pretty Germy

Articles
How To Clean Desks And Other Office Items That Are Pretty Germy
Modified: August 31, 2024
Discover effective tips and tricks from our articles on how to effectively clean desks and other office items that are filled with germs and bacteria.
(Many of the links in this article redirect to a specific reviewed product. Your purchase of these products through affiliate links helps to generate commission for Storables.com, at no extra cost. Learn more)
Introduction
When it comes to maintaining a clean and hygienic workspace, one often tends to focus on tidying up visible areas such as desks and floors. However, many office items, including desks, keyboards, and phones, harbor a surprising number of germs and bacteria. These hidden germs can easily spread and cause illness among employees, leading to decreased productivity and increased sick days.
Understanding the importance of regularly cleaning office items is essential for promoting a healthy work environment. Not only does it help prevent the spread of germs, but it also contributes to enhancing the overall cleanliness and aesthetics of the office.
In this article, we will explore the various office items that are prone to harboring germs and provide you with effective cleaning tips to keep them in pristine condition. By following these guidelines, you can create a fresh and hygienic workspace that promotes employee well-being and productivity.
Key Takeaways:
- Regular cleaning and maintenance of office items, from desks to shared electronic devices, is crucial for creating a healthy, productive, and professional work environment. Consistency and proper hygiene practices contribute to employee well-being and overall workspace aesthetics.
- Implementing a regular cleaning schedule, educating employees on proper cleaning techniques, and promoting good personal hygiene habits are essential for maintaining a clean and organized workspace. Prioritizing cleanliness not only enhances productivity but also leaves a positive impression on visitors and reflects the values of the organization.
Read more: 6 Desk Decor That Help Increase Productivity
Understanding the Importance of Cleaning Office Items
Keeping the office environment clean is not just about aesthetics; it is crucial for maintaining a healthy and productive workspace. Office items such as desks, keyboards, phones, and shared electronic devices are hotspots for germs and bacteria, making them potential sources of illness and infections. Understanding the importance of cleaning these items can help create a cleaner and healthier work environment for everyone.
First and foremost, regular cleaning helps minimize the spread of germs and bacteria. In an office setting where employees frequently touch various surfaces and share equipment, bacteria can quickly multiply and spread from one person to another. This can lead to widespread illnesses, decreasing employee productivity and increasing absenteeism.
Furthermore, a clean office environment can contribute to the overall well-being and morale of employees. When employees work in a clean and organized space, they are more likely to feel motivated and focused. On the other hand, a cluttered and dirty workspace can be distracting and lead to decreased productivity and work quality.
Cleanliness also plays a role in maintaining the longevity of office items. Dust and grime can accumulate over time, causing damage to equipment such as keyboards, monitors, and printers. Regular cleaning helps remove dirt and debris, ensuring that office items function properly and last longer.
Additionally, providing a clean and hygienic work environment demonstrates care and concern for employees’ health and well-being. It creates a positive impression on clients, visitors, and potential employees who may judge the company based on the cleanliness of its office space.
Overall, cleaning office items is not something to be overlooked or taken lightly. It is an essential responsibility that should be prioritized to maintain a healthy, productive, and professional work environment. In the following sections, we will provide you with useful tips for cleaning specific office items to help you create a cleaner and more sanitized workspace.
General Tips for Cleaning Office Items
Before we delve into specific cleaning tips for different office items, it’s essential to establish some general guidelines that apply to almost all cleaning tasks in the office. By following these tips, you can ensure a thorough and effective cleaning process.
1. Gather the necessary supplies: Before you start cleaning, gather all the necessary cleaning supplies such as microfiber cloths, disinfecting wipes, cleaning solutions, and brushes. Having everything at hand will make the cleaning process more convenient and efficient.
2. Read and follow manufacturer instructions: Different office items may require specific cleaning methods or have limitations on the type of cleaning solutions that can be used. Always consult the manufacturer’s instructions to ensure you are using the appropriate cleaning techniques and products.
3. Unplug electrical devices: When cleaning electronic devices such as keyboards, mice, or monitors, unplug them from the power source to avoid any risk of electric shock. Safety should always be a top priority.
4. Dust before wiping: Before using any cleaning solutions, remove dust and debris from surfaces with a microfiber cloth or duster. This prevents dirt from being spread around and ensures a cleaner result.
5. Use proper cleaning techniques: When cleaning, use gentle and consistent motions, avoiding excessive force that may damage delicate surfaces. Wipe in horizontal or vertical strokes for a more uniform appearance.
6. Pay attention to high-touch areas: Focus on cleaning areas that are frequently touched, such as doorknobs, light switches, and handles. These surfaces are more likely to harbor germs and bacteria and should be given extra attention.
7. Allow sufficient drying time: After cleaning, allow surfaces to dry completely before using or placing items back on them. This helps prevent moisture buildup, which can lead to mold or damage.
8. Maintain a regular cleaning schedule: Consistency is key. Set a schedule for routine cleaning tasks to ensure that office items are regularly maintained. This can help prevent the buildup of dirt and ensure a consistently clean workspace.
9. Practice good personal hygiene: Encourage employees to maintain good personal hygiene by providing hand sanitizers, disinfecting wipes, and reminders to wash hands regularly. This helps minimize the spread of germs and bacteria throughout the office.
By following these general cleaning tips, you can establish a solid foundation for maintaining a clean and hygienic office environment. In the next sections, we will provide specific cleaning tips for different office items, starting with desks.
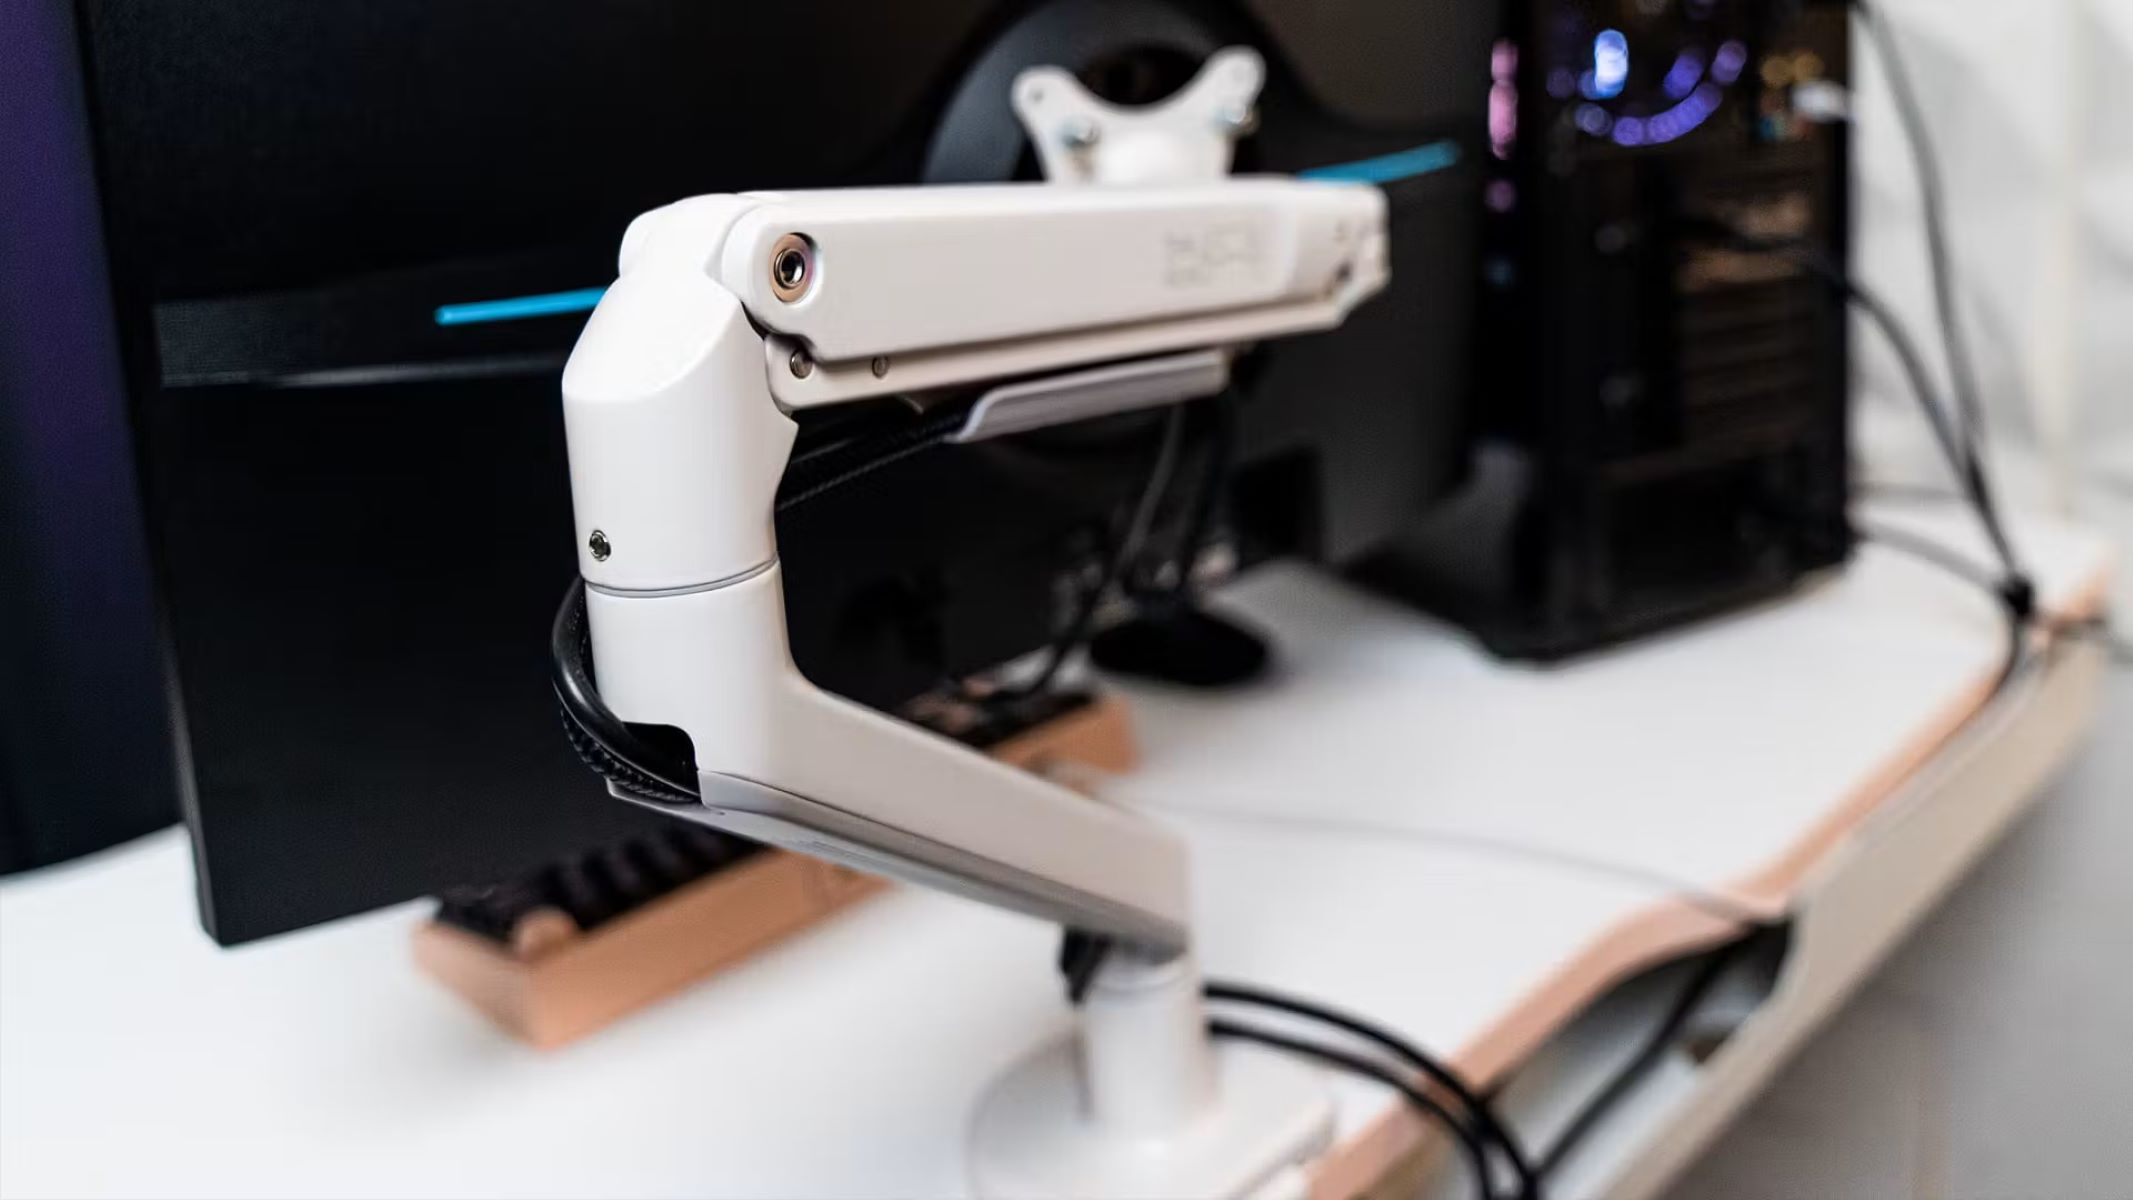
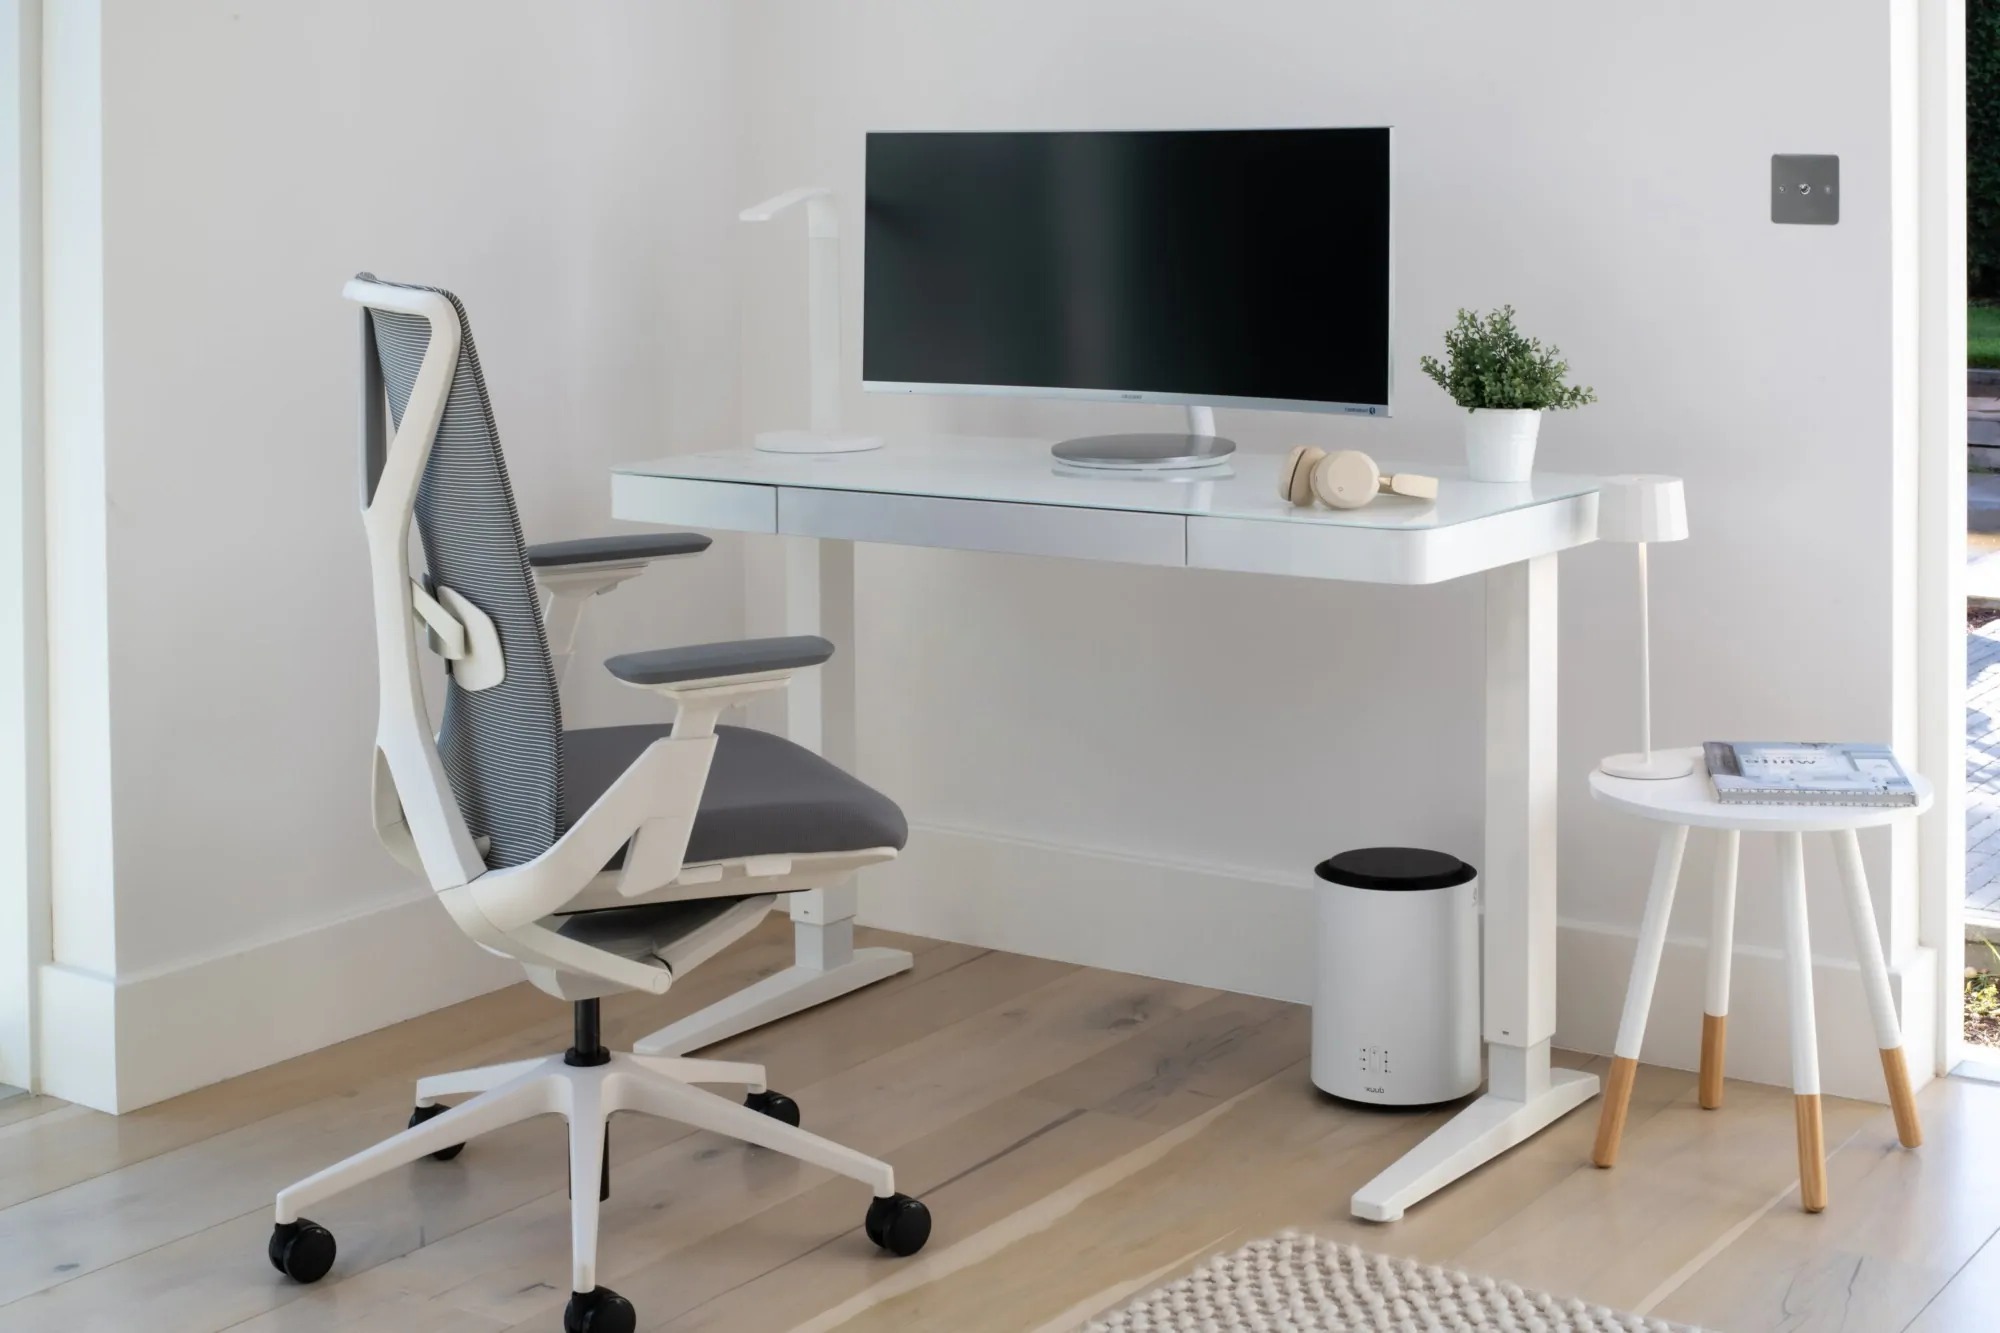
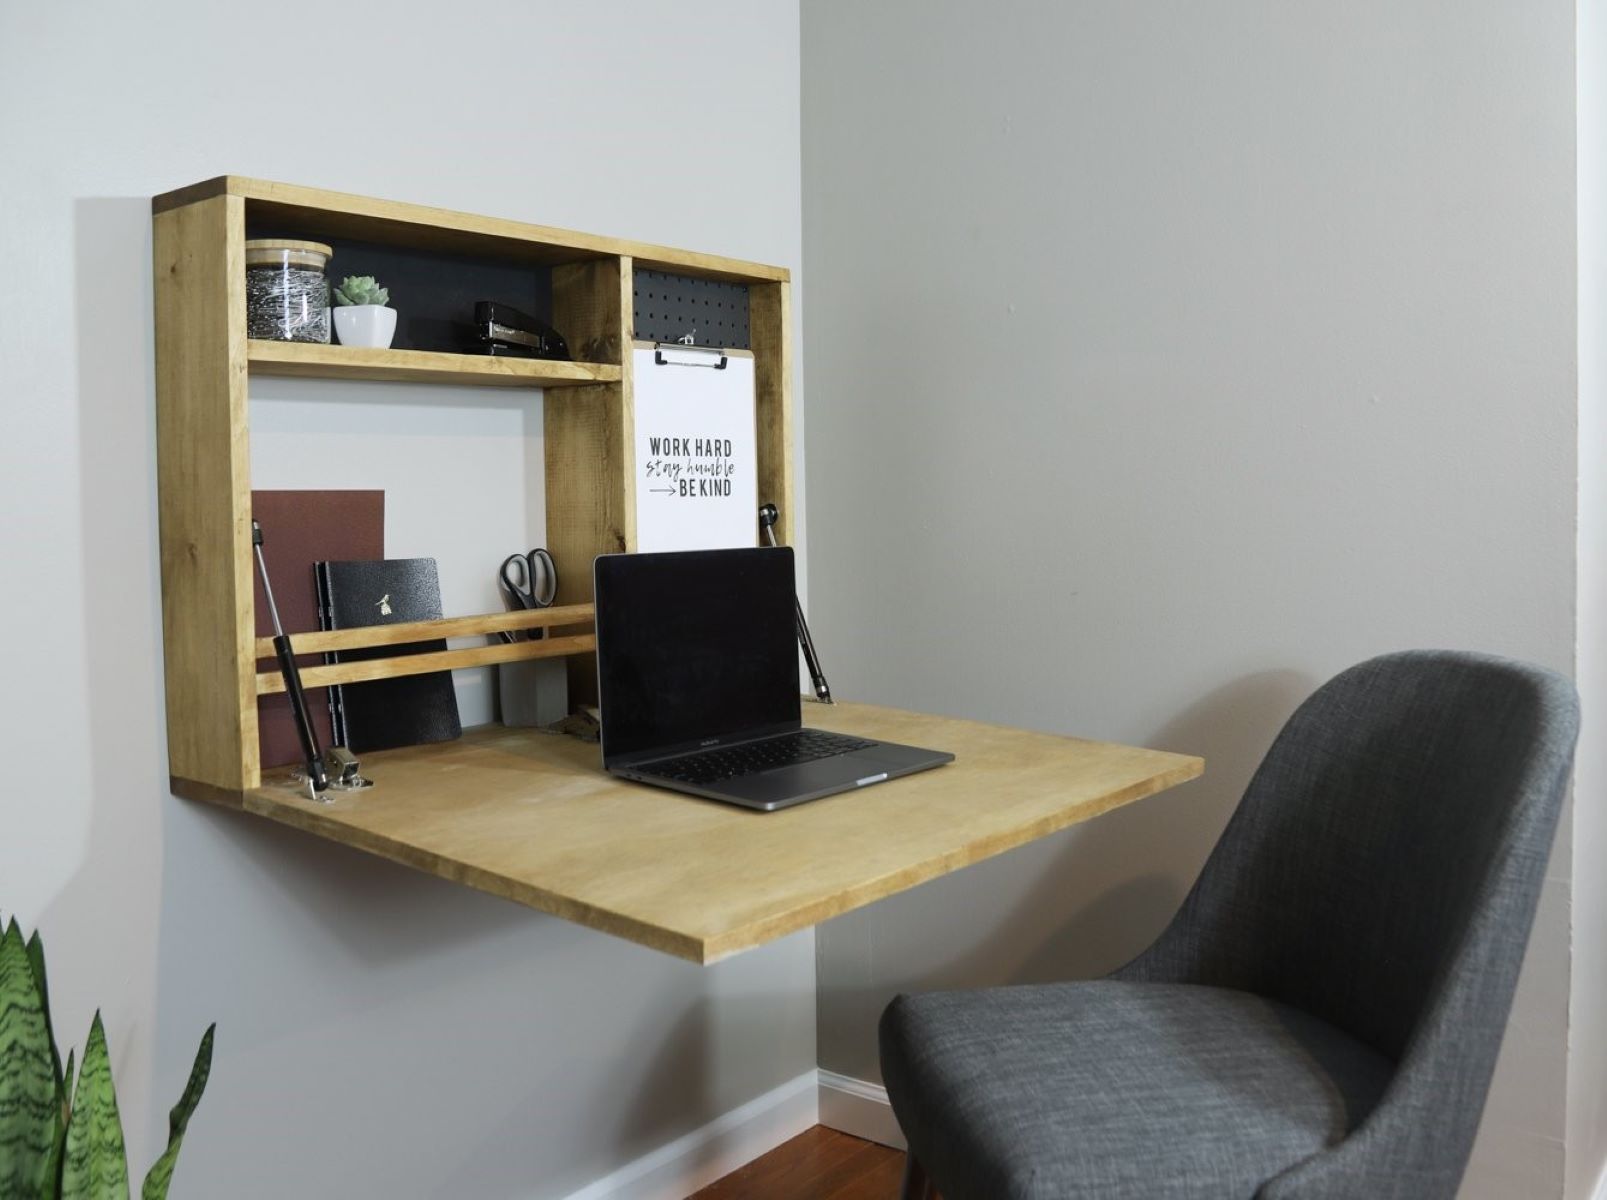
Desk Cleaning Tips
Desks are one of the most frequently used surfaces in an office, making them a prime breeding ground for germs and bacteria. Keeping your desk clean not only helps maintain a healthy workspace but also promotes organization and productivity. Here are some desk cleaning tips to keep your workspace clean and hygienic:
1. Declutter: Start by decluttering your desk. Remove any unnecessary items such as papers, empty cups, and old documents. Organize items in drawers or file them away to create a clean and tidy workspace.
2. Dusting: Use a microfiber cloth or a soft duster to remove dust from the surface of your desk. Dusting regularly helps prevent the accumulation of dirt on your desk and keeps it looking fresh.
3. Wipe down surfaces: Use a gentle cleaning solution or disinfecting wipes to clean the surfaces of your desk, including the top, sides, and drawers. Pay close attention to high-touch areas such as the keyboard tray, mouse area, and phone stand.
4. Clean electronics: Take the time to clean your computer monitor, keyboard, and mouse. Use compressed air to remove dust from between the keys, and wipe the surfaces with a disinfecting wipe. This not only removes germs but also enhances the functionality and longevity of your electronic devices.
5. Organize cables: Arrange and secure cables to prevent them from tangling or cluttering your desk. Use cable management solutions such as cable clips or zip ties to keep cables organized and out of the way.
6. Disinfect items: Disinfect frequently used office items like pens, staplers, and calculators. Wipe them down with a disinfecting wipe or use a sanitizing spray to eliminate germs and bacteria.
7. Don’t forget the drawers: Regularly clean out your desk drawers to remove any dirt, dust, or clutter. Wipe the inside of the drawers with a damp cloth and organize items to maintain an efficient and tidy workspace.
8. Use desk organizers: Invest in desk organizers or trays to keep pens, paper clips, and other small office supplies in order. This not only helps maintain a clean desk but also improves efficiency and productivity.
9. Develop a cleaning routine: Make desk cleaning a part of your regular routine. Set aside a few minutes each day or week to declutter and wipe down your desk. Consistency is key to maintaining a clean and organized workspace.
By following these desk cleaning tips, you can create a clean and organized workspace that promotes productivity and employee well-being. Remember, a clean desk is a reflection of a clear mind!
Keyboard Cleaning Tips
Your keyboard is a breeding ground for germs and bacteria, considering the amount of time your hands spend on it throughout the day. Regularly cleaning your keyboard not only helps maintain hygiene but also improves its functionality and lifespan. Here are some keyboard cleaning tips to keep your typing tool clean and germ-free:
1. Turn off your computer: Before cleaning your keyboard, make sure to turn off your computer or unplug the keyboard from the USB port. This prevents any accidental keystrokes or electrical issues.
2. Shake it out: Turn your keyboard upside down and gently shake it to dislodge any loose debris, crumbs, or dust that may have accumulated between the keys. Use compressed air or a soft brush to remove stubborn particles.
3. Use a microfiber cloth: Dampen a microfiber cloth with a small amount of rubbing alcohol or a mild cleaning solution. Make sure the cloth is not dripping wet but slightly damp. Gently wipe the keys, focusing on removing dirt, oils, and germs. Take care not to apply excessive pressure or get the cloth too wet to prevent damage to the keyboard.
4. Clean between the keys: Use a cotton swab or a small brush to clean the spaces between the keys. Dampen the cotton swab or brush with rubbing alcohol or cleaning solution and gently scrub between the keys to remove any dirt or grime. Pay special attention to areas that are difficult to reach.
5. Disinfect the surface: To sanitize your keyboard, use disinfectant wipes or a mixture of water and isopropyl alcohol. Wipe down the entire surface of the keyboard, paying attention to the keys and areas that come into contact with your hands. Allow the keyboard to air dry thoroughly before using it again.
6. Consider a protective cover: If you want to further protect your keyboard from dirt and spills, you may consider using a silicone keyboard cover. These covers can be easily removed and cleaned, providing an additional barrier against dust and bacteria.
7. Don’t forget the mouse: While cleaning your keyboard, take the opportunity to clean your mouse as well. Wipe down the surface of the mouse with a disinfecting wipe or a damp cloth to remove dirt and grime. Clean the mouse buttons and scroll wheel using a cotton swab dampened with alcohol.
8. Establish a cleaning routine: Make cleaning your keyboard a regular part of your routine. Set a reminder to clean it once a week or as needed, especially if you notice any spills, stains, or unusual build-up of dirt.
By following these keyboard cleaning tips, you can maintain a clean and germ-free typing experience. Remember, regular cleaning not only ensures the longevity of your keyboard but also contributes to the overall cleanliness and hygiene of your workspace.
Mouse Cleaning Tips
The computer mouse is another frequently used office item that often goes overlooked when it comes to cleaning. Regularly cleaning your mouse not only helps maintain hygiene but also ensures smooth and accurate cursor movement. Here are some mouse cleaning tips to keep your pointing device clean and functioning optimally:
1. Power off your computer: Before cleaning your mouse, power off your computer or unplug the mouse from the USB port to avoid any accidental clicks or cursor movement.
2. Remove any debris: Turn your mouse upside down and gently shake it to dislodge any loose debris or dust that may be trapped in the underside or around the buttons. Use a soft brush or compressed air to remove stubborn particles.
3. Use a damp cloth: Dampen a microfiber cloth or cotton swab with a small amount of rubbing alcohol or a mild cleaning solution. Make sure the cloth or swab is not dripping wet but slightly damp. Gently wipe the surface of the mouse, including the buttons and scroll wheel, to remove dirt, oils, and smudges.
4. Clean the sensor: If your mouse has an optical or laser sensor on the underside, use a lint-free cloth or cotton swab dampened with alcohol to clean the sensor. Gently wipe away any dust or dirt that may have accumulated on the sensor, as this can affect the tracking accuracy.
5. Pay attention to the buttons: Take extra care when cleaning the mouse buttons, as these are the areas that come into direct contact with your fingers. Use a cotton swab dipped in alcohol to clean the crevices and edges of the buttons thoroughly.
6. Allow it to dry completely: After cleaning, allow your mouse to air dry completely before using it again. This prevents any moisture from interfering with its functionality.
7. Consider using a mousepad: Using a mousepad can help protect the bottom of your mouse and reduce the accumulation of dirt and grime. Look for a mousepad that is easy to clean and provides a smooth surface for accurate cursor movement.
8. Establish a cleaning routine: Make cleaning your mouse a regular part of your cleaning routine. Aim to clean it once a month or as needed, depending on usage and visible dirt accumulation.
By following these mouse cleaning tips, you can keep your mouse in excellent condition, ensuring smooth and precise cursor movement. Remember, a clean mouse promotes better productivity and a more enjoyable computing experience.
Phone Cleaning Tips
Office phones are frequently touched by multiple individuals, making them a potential breeding ground for germs and bacteria. Regularly cleaning your office phone not only helps maintain hygiene but also ensures clear communication and a professional appearance. Here are some phone cleaning tips to keep your device clean and germ-free:
1. Power off your phone: Before cleaning your phone, power it off and disconnect it from any power source to avoid any accidental button presses or electrical issues.
2. Choose the right cleaning solution: Depending on the type of phone and its screen, choose an appropriate cleaning solution. For most phones, a mixture of equal parts water and isopropyl alcohol works well. If your phone has a special coating like an oleophobic (oil-repellent) coating, use a mild cleaning solution specifically designed for electronic devices.
3. Use a microfiber cloth: Dampen a microfiber cloth with the cleaning solution. Make sure the cloth is not dripping wet but slightly damp. Gently wipe the entire surface of your phone, including the screen, buttons, and back. Take care not to let moisture seep into any openings, such as the charging port or headphone jack.
4. Clean the screen: Pay special attention to cleaning the screen of your phone, as it often accumulates fingerprints, smudges, and dirt. Use gentle circular motions with the damp microfiber cloth to remove these marks. For stubborn stains, apply a bit more pressure, but be careful not to press too hard and risk damaging the screen.
5. Don’t forget the buttons and crevices: Wipe the buttons and any crevices on your phone carefully, making sure to remove any dirt or grime. Use a cotton swab dipped in the cleaning solution for precise cleaning in hard-to-reach areas.
6. Clean the receiver and microphone: To clean the receiver (earpiece) and microphone of your phone, use a cotton swab lightly dampened with the cleaning solution. Gently wipe these areas to remove dirt or debris that may have accumulated.
7. Allow it to dry completely: After cleaning, allow your phone to air dry completely before turning it back on or connecting it to any power source. This ensures that no moisture remains, preventing any potential damage to the phone’s internal components.
8. Practice good personal hygiene: Encourage employees to practice good personal hygiene when using office phones. Remind them to clean their hands regularly and avoid using phones when they are sick to minimize the spread of germs.
By following these phone cleaning tips, you can keep your office phone clean, germ-free, and in optimal working condition. A clean phone not only reflects professionalism but also contributes to a healthier and more hygienic work environment.
Monitor Cleaning Tips
A clean and clear monitor is essential for a comfortable and productive work experience. Regularly cleaning your computer monitor not only helps maintain its clarity but also extends its lifespan. Here are some monitor cleaning tips to keep your screen clean and spotless:
1. Power off your monitor: Before cleaning your monitor, power it off and disconnect it from any power source to avoid any accidental button presses or electrical issues.
2. Choose the right cleaning solution: For most computer monitors, a mixture of equal parts water and isopropyl alcohol works well as a cleaning solution. Avoid using harsh cleaning chemicals or spraying the solution directly onto the screen, as this can damage the monitor.
3. Use a microfiber cloth: Dampen a microfiber cloth with the cleaning solution. Make sure the cloth is not dripping wet but slightly damp. Gently wipe the screen in a horizontal or vertical motion, applying light pressure. Avoid using regular towels or paper towels, as they can cause scratches.
4. Focus on smudges and fingerprints: Pay special attention to areas with visible smudges, fingerprints, or dirt. Use gentle circular motions with the damp cloth to remove these marks, applying a bit more pressure if needed. Take care not to press too hard to prevent damaging the screen.
5. Clean the frame: Don’t forget to clean the frame and any other non-screen surfaces of your monitor. Use the same damp microfiber cloth to wipe away dust and smudges. Dry the frame with a separate dry microfiber cloth to ensure a streak-free finish.
6. Remove stubborn stains: For stubborn stains or spots on the screen, you can use a specialized screen cleaner or a solution of vinegar diluted with water. Apply a small amount of the solution to the microfiber cloth and gently wipe the affected area. Avoid using excessive moisture.
7. Don’t spray the solution directly on the screen: To avoid any potential damage, never spray the cleaning solution directly onto the screen or any other parts of the monitor. Always apply the solution to the cloth instead.
8. Allow it to dry completely: After cleaning, give your monitor ample time to dry before turning it back on. This ensures that no moisture remains, preventing any potential damage to the screen or internal components.
9. Avoid using abrasive materials: Do not use abrasive materials, such as rough cloths, paper towels, or harsh cleaning chemicals, as they can scratch or damage the screen. Stick to microfiber cloths or specialized screen cleaning products for the best results.
By following these monitor cleaning tips, you can keep your screen clear and spotless, enhancing your viewing experience and prolonging the life of your monitor. A clean and well-maintained monitor is essential for a productive and visually pleasing workspace.
Chair Cleaning Tips
Cleaning your office chair not only helps maintain cleanliness and hygiene but also contributes to its longevity and overall appearance. Whether you have a fabric, leather, or mesh chair, regular cleaning can keep it in pristine condition. Here are some chair cleaning tips to help you keep your seating spotless:
1. Vacuum or brush: Before starting the cleaning process, use a vacuum cleaner with a brush attachment or a soft brush to remove any loose dirt or debris from the surface of the chair. This helps prevent dirt from spreading further during the cleaning process.
2. Check the manufacturer’s instructions: Different chair materials may have unique cleaning requirements. Refer to the manufacturer’s instructions or care label to ensure you are using the appropriate cleaning methods and products for your specific chair.
3. Spot clean any stains: If you notice any specific stains or spots on your chair, tackle them with a suitable cleaning solution. Test the solution on a hidden area of the chair first to ensure it doesn’t cause any discoloration or damage. Gently blot the stain with a clean cloth or sponge, working from the outer edges toward the center to avoid spreading the stain further.
4. Fabric chair cleaning: For fabric chairs, use a mild upholstery cleaner or a mixture of mild detergent and warm water. Dip a clean cloth into the solution, wring out any excess moisture, and gently blot the fabric. Avoid oversaturation, as it may lead to watermarks or damage to the chair’s padding. Allow the chair to air dry thoroughly before use.
5. Leather chair cleaning: If you have a leather chair, use a leather cleaner or a mixture of mild soap and water. Apply the cleaning solution to a soft cloth and wipe the leather surfaces in a gentle circular motion. Be cautious not to scrub vigorously, as it can damage the leather. Afterward, wipe away any residue with a clean, damp cloth and dry the chair with a soft, dry cloth.
6. Mesh or plastic chair cleaning: Mesh or plastic chairs are relatively easy to clean. Wipe down the chair with a damp cloth or sponge using a mild detergent or all-purpose cleaner. For stubborn stains, create a paste of baking soda and water, apply it to the stain, and let it sit for a few minutes before wiping it away with a damp cloth.
7. Clean chair arms and bases: Don’t forget to clean the chair arms, base, and any other non-fabric or non-leather parts. Use a damp cloth or sponge with a suitable cleaning solution to remove dust, grime, or fingerprints. Dry the surfaces thoroughly to prevent any water damage or discoloration.
8. Regular maintenance: Encourage regular maintenance of your chair by incorporating routine spot cleaning and maintenance tasks into your cleaning schedule. Regularly vacuuming or brushing the chair, wiping down surfaces, and addressing stains promptly will help keep your chair in top condition.
By following these chair cleaning tips, you can keep your office chair clean, hygienic, and in excellent condition. Regular maintenance and cleaning will not only extend the lifespan of your chair but also contribute to a comfortable and visually appealing workspace.
Use a disinfectant spray or wipes to clean desks, keyboards, and phones regularly. Pay special attention to high-touch areas like doorknobs and light switches.
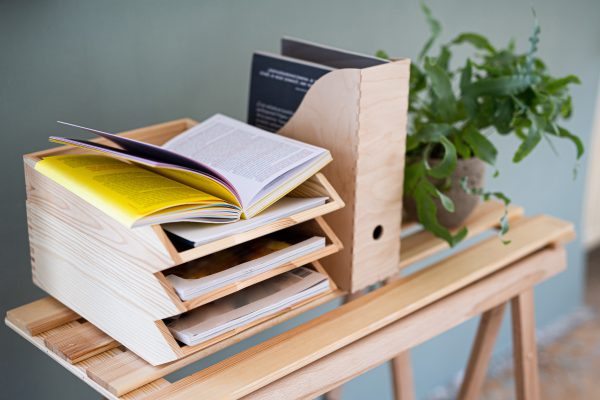
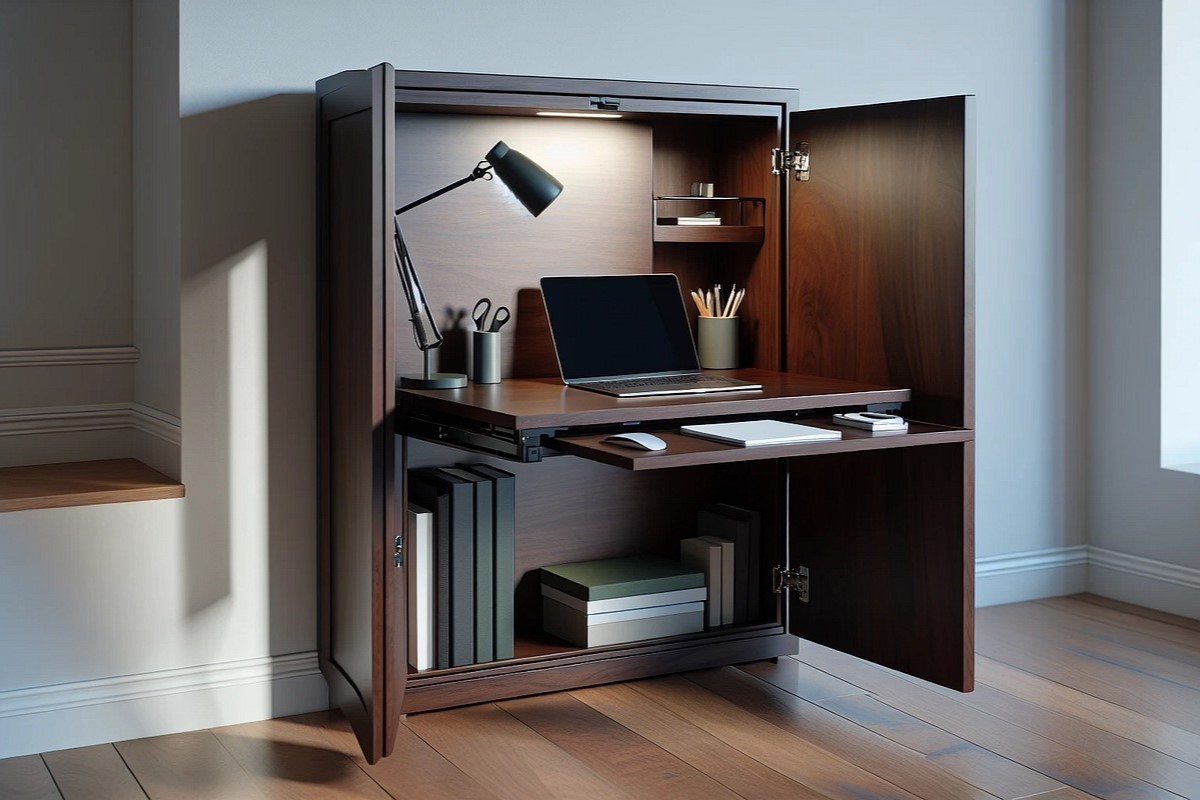
Filing Cabinet Cleaning Tips
Keeping your filing cabinet clean and organized is essential for efficient document management and a clutter-free workspace. Regular cleaning of your filing cabinet not only helps maintain its appearance but also ensures that your files and documents are easily accessible. Here are some filing cabinet cleaning tips to help you keep it in top shape:
1. Empty and declutter: Start by emptying your filing cabinet, removing all files, folders, and other items. Sort through the contents and declutter unnecessary documents, ensuring that only essential items remain.
2. Dust the exterior: Use a microfiber cloth or duster to remove dust from the exterior surfaces of the filing cabinet. Pay attention to the top, sides, and front of the cabinet. Wipe down any labels or handles to remove dirt and fingerprints.
3. Clean the drawers: Vacuum or wipe down the interior of the drawers to remove any loose debris or dust. Use a damp cloth or mild cleaning solution to wipe the inside surfaces, removing any stains or spills. Allow the drawers to dry completely before placing files back inside.
4. Organize files: Take the opportunity to organize your files while the cabinet is empty. Sort documents by category or alphabetically and label folders appropriately. This will make it easier to find and retrieve files in the future.
5. Use file inserts or dividers: Consider using file inserts or dividers within the drawers to keep files upright and prevent them from leaning or falling over. This helps maintain order and makes it easier to file and retrieve documents.
6. Check file condition: As you go through your files, check for any signs of wear or damage. Replace torn or worn-out folders and consider digitizing or archiving documents that are no longer needed for daily reference.
7. Clean and lubricate drawer tracks: If your filing cabinet drawers are becoming difficult to open or close, clean the drawer tracks or runners with a damp cloth to remove any built-up dirt or debris. Apply a small amount of silicone lubricant or graphite powder to ensure smooth movement.
8. Dust file edges: Before returning files to the cabinet, take a moment to dust the edges of the documents. Use a soft brush or duster to remove any loose dirt or dust that may have accumulated. This will help keep your files clean and minimize the transfer of dust to the cabinet.
9. Establish a maintenance routine: Regularly set aside time to clean and organize your filing cabinet. Aim to clean it at least once a month, or more frequently if necessary, to prevent dirt and clutter from building up.
By following these filing cabinet cleaning tips and establishing a maintenance routine, you can ensure that your documents are well-organized, easily accessible, and your filing cabinet remains clean and orderly. A clean and organized filing system contributes to a more efficient and productive work environment.
Printer and Scanner Cleaning Tips
Regular cleaning of your printer and scanner is crucial for maintaining optimal performance and preserving the quality of your printed and scanned documents. Dust, debris, and ink residue can accumulate over time and affect the functionality of these devices. Here are some cleaning tips to help you keep your printer and scanner in excellent condition:
1. Power off and unplug: Before cleaning your printer or scanner, ensure that they are powered off and unplugged from the electrical outlet. This prevents any accidental electrical shocks or damage.
2. Clean the exterior: Use a soft cloth or microfiber cloth to wipe the exterior surfaces of the printer or scanner. Pay attention to areas prone to fingerprints, such as buttons and control panels. For stubborn stains, use a mild cleaning solution or an all-purpose cleaner on a cloth, being careful to avoid any openings or electronic components.
3. Dust the paper tray: Remove any paper from the tray and thoroughly dust the paper feed rollers using a microfiber cloth or a lint-free cloth. This helps prevent paper jams and ensures smooth feeding of paper.
4. Clean the scanner glass: For scanners, gently wipe the scanner glass with a microfiber cloth dampened with a mild glass cleaner or isopropyl alcohol. This helps remove smudges, fingerprints, and other debris that may affect the scan quality. Take care not to press too hard and avoid scratching the glass surface.
5. Inspect and clean the printer rollers: Open the printer and inspect the rollers for any signs of ink or dust build-up. If necessary, use a lint-free cloth dampened with water to clean the rollers. For ink residue, you may need to use a specialized printer roller cleaning solution. Refer to the printer’s user manual for specific instructions on cleaning the rollers.
6. Clean the print heads: If your printer has removable print heads, you can gently remove them according to the manufacturer’s instructions and clean them with a lint-free cloth or cotton swabs dampened with water or a specialized print head cleaning solution. This helps remove any dried ink or clogs that may affect print quality.
7. Calibrate or align the printer: Some printers have a calibration or alignment function that ensures accurate and precise printing. Follow the printer’s instructions to perform this calibration process regularly or when necessary.
8. Empty and clean the ink waste collector: If your printer has an ink waste collector, check it regularly and empty it according to the manufacturer’s instructions. This helps prevent ink overflow and maintain the printer’s performance.
9. Keep the printer area clean: Regularly clean the area around your printer or scanner to prevent dust and debris from settling and getting into the device. Dust the surrounding surfaces and vacuum or sweep the area as needed.
By following these cleaning tips for your printer and scanner, you can ensure that they operate smoothly, produce high-quality prints and scans, and last longer. Regular maintenance and cleaning contribute to consistent performance and reliable document output.
Copier Cleaning Tips
A well-maintained copier ensures clean and crisp document reproductions. Over time, dust, fingerprints, and toner residue can accumulate on various parts of the copier, affecting its performance and print quality. Regular cleaning is essential to maintain optimal functionality. Here are some copier cleaning tips to keep your machine in top condition:
1. Power off and unplug: Before cleaning your copier, ensure that it is powered off and unplugged from the electrical outlet for safety.
2. Use a soft cloth: Start by using a soft, lint-free cloth to wipe the exterior surfaces of the copier. Pay attention to areas prone to fingerprints, such as control panels, buttons, and the document feeder. Avoid using abrasive materials that could scratch the surface.
3. Remove toner residue: Toner residue can build up on the copier’s surfaces, such as the glass platen and scanner lid. Gently wipe these areas with a clean, dry cloth to remove any loose toner particles. Avoid applying excessive pressure, as it may scratch or damage the glass.
4. Clean the document feeder: If your copier has a document feeder, it’s important to clean it regularly. Use a clean, lint-free cloth slightly dampened with water or a mild cleaning solution to wipe the document feeder’s rollers and surfaces. This ensures smooth document feeding and reduces the risk of paper jams.
5. Wipe down the scanning glass: The scanning glass of the copier can accumulate dust or smudges, affecting the quality of scanned documents. Gently clean the glass using a clean, lint-free cloth dampened with a mild glass cleaner or isopropyl alcohol. Be careful not to press too hard or use abrasive materials that may scratch the glass surface.
6. Clean the paper trays: Remove any paper from the copier’s paper trays and clean them with a dry cloth. Clear out any dust or debris that may have accumulated in the trays. Ensure that the paper is properly aligned and organized before reloading it into the trays.
7. Replace ink or toner cartridges: If your copier uses ink or toner cartridges, follow the manufacturer’s instructions for replacing them. Dispose of used cartridges properly according to environmental regulations.
8. Consult the user manual: Always refer to the copier’s user manual or documentation for specific cleaning instructions. Different copiers may have unique requirements or cleaning methods.
9. Schedule professional servicing: In addition to regular cleaning, consider scheduling professional servicing for your copier. Scheduled maintenance visits by qualified technicians can help keep the copier in excellent condition and address any potential issues before they become major problems.
By following these copier cleaning tips, you can maintain optimal performance and prolong the lifespan of your copier. Regular cleaning and maintenance contribute to reliable copying and scanning, ensuring that your machine consistently delivers high-quality output.
Breakroom and Kitchenette Cleaning Tips
The breakroom and kitchenette are common gathering places where employees socialize and enjoy meals. Keeping these areas clean and hygienic is essential for the overall well-being and comfort of your team. Regular cleaning not only promotes a healthy environment but also helps maintain the appearance and functionality of the space. Here are some breakroom and kitchenette cleaning tips:
1. Establish cleaning guidelines: Set clear guidelines for employees to follow, such as cleaning up after themselves and properly disposing of garbage. Encourage a shared responsibility for keeping the breakroom clean.
2. Wipe down surfaces: Regularly wipe down all surfaces, including countertops, tables, and chairs, with a mild all-purpose cleaner or disinfecting wipes. Pay special attention to areas prone to spills and food crumbs.
3. Clean kitchen appliances: Regularly clean kitchen appliances such as microwaves, toasters, and refrigerators. Remove any food spills, wipe down interior and exterior surfaces, and sanitize handles and control panels.
4. Empty and clean the refrigerator: Regularly empty out the refrigerator, checking for expired or spoiled food items. Wipe down the interior with a solution of warm water and mild detergent, paying attention to shelves and drawers.
5. Clean the coffee maker: If your breakroom has a coffee maker, clean it regularly to ensure optimal performance and great-tasting coffee. Follow the manufacturer’s instructions for cleaning and descaling the machine.
6. Sanitize dishes and utensils: Encourage employees to wash their dishes and utensils promptly after use. Provide dish soap and sponges or a dishwasher for easy cleaning and sanitization.
7. Empty and clean the garbage bin: Empty the garbage bin regularly to prevent odors and ensure a clean and pleasant environment. Line the bin with a new trash bag after each emptying.
8. Regularly check and restock supplies: Keep track of breakroom supplies such as paper towels, napkins, and utensils. Regularly restock these items to ensure employees can maintain cleanliness and hygiene.
9. Deep clean periodically: Plan for periodic deep cleaning sessions in the breakroom and kitchenette. This includes washing windows, sanitizing high-touch areas, cleaning vents, and deep cleaning appliances.
10. Consult professional cleaners: If your breakroom and kitchenette require thorough and regular cleaning, consider hiring professional cleaners who specialize in commercial spaces. They can ensure a deep clean and help maintain a consistently hygienic environment.
By following these breakroom and kitchenette cleaning tips, you can create a clean and inviting space for employees to enjoy their breaks and meals. A well-maintained breakroom promotes a positive work environment and contributes to the overall satisfaction and well-being of your team.
Conference Room Cleaning Tips
The conference room is a vital space in any office, where important meetings, presentations, and discussions take place. Keeping the conference room clean and organized is crucial for creating a professional and productive atmosphere. Regular cleaning helps maintain the appearance of the room and ensures a pleasant experience for all participants. Here are some conference room cleaning tips:
1. Dust all surfaces: Regularly dust all surfaces in the conference room, including tables, chairs, shelves, and any decorative items. Use a microfiber cloth or a duster to remove dust and ensure a clean and professional look.
2. Wipe down tables and countertops: Use a mild cleaning solution or disinfecting wipes to clean and sanitize conference room tables and countertops. Pay attention to any spots or stains and remove them promptly.
3. Clean chairs and upholstery: Wipe down chairs with a damp cloth or use upholstery cleaning products suitable for the type of fabric used. Ensure that the chairs are clean and free of stains, and remove any stubborn stains promptly to maintain a professional appearance.
4. Vacuum or sweep the floor: Vacuum or sweep the conference room floor regularly to remove dust, debris, and any crumbs. Pay close attention to corners and edges where dirt may accumulate.
5. Clean windows and mirrors: Wipe down windows and mirrors in the conference room using a glass cleaner or a mixture of water and vinegar. Remove any smudges or streaks to ensure clear visibility.
6. Dust and clean electronics: Dust and clean all electronics in the conference room, including monitors, projectors, speakers, and teleconference equipment. Use appropriate cleaning solutions and materials recommended by the manufacturers to avoid any damage.
7. Organize cables and cords: Neatly organize cables and cords in the conference room to ensure they are not tangled or posing a tripping hazard. Use cable management solutions to keep them organized and out of the way.
8. Check and restock supplies: Regularly check and restock conference room supplies such as writing utensils, notepads, and whiteboard markers. Ensure that all necessary tools and equipment are readily available for meetings and presentations.
9. Sanitize high-touch areas: Pay extra attention to sanitizing high-touch areas such as door handles, light switches, and remote controls. Wipe them down with disinfecting wipes to prevent the spread of germs.
10. Empty and clean the garbage bin: Empty the conference room’s garbage bin regularly and line it with a fresh trash bag. This helps maintain cleanliness and eliminates any unpleasant odors.
By following these conference room cleaning tips, you can create a clean and professional environment for meetings and presentations. A well-maintained conference room enhances the overall atmosphere and contributes to successful and productive gatherings.
Shared Electronic Devices Cleaning Tips
Shared electronic devices, such as tablets, laptops, and charging stations, are used by multiple individuals and can harbor a significant amount of germs and bacteria. Regular cleaning of these devices is important to maintain hygiene and prevent the spread of illness. Here are some shared electronic devices cleaning tips to ensure a clean and safe user experience:
1. Power off and unplug: Before cleaning any electronic device, power it off and unplug it from the power source to prevent any electrical accidents.
2. Use appropriate cleaning products: Choose cleaning products specifically designed for electronic devices. Avoid using harsh chemicals and opt for solutions that are safe for the device’s screen, casing, and other components.
3. Use microfiber cloths: Microfiber cloths are the best option for cleaning screens and delicate surfaces as they are soft and lint-free. They effectively remove smudges and fingerprints without scratching the device’s surface.
4. Wipe screens and touchpads: Gently wipe the screens and touchpads of shared devices using a microfiber cloth. Apply gentle pressure and make soft, circular motions to remove fingerprints and smudges. Avoid excessive pressure, as this can damage or scratch the screen.
5. Sanitize keyboards: Keyboards can harbor a significant amount of bacteria. Use a can of compressed air to remove dust and debris from between the keys. Then, wipe the keys and surfaces of the keyboard with a disinfectant wipe or a cloth dampened with a mild cleaning solution.
6. Clean charging stations: If there is a shared charging station, regularly wipe it down using a disinfectant wipe or a cloth dampened with a mild cleaning solution. This helps remove germs and bacteria that may have been transferred to the charging station.
7. Share disinfecting wipes: Provide disinfecting wipes or cleaning solutions to users of shared electronic devices. Encourage individuals to clean the device before and after use, particularly if it will be passed on to the next person.
8. Encourage personal hygiene: Remind users to practice good personal hygiene, such as washing hands before and after using shared electronic devices. Provide hand sanitizers in proximity to the devices as an additional precaution.
9. Set a regular cleaning schedule: Establish a cleaning schedule for shared electronic devices to ensure they are cleaned and sanitized regularly. This helps maintain cleanliness and prevents the buildup of dirt and bacteria over time.
10. Educate users: Inform users about the importance of cleaning shared electronic devices and provide instructions on proper cleaning techniques. This creates awareness and responsibility among users to maintain cleanliness and hygiene.
By implementing these shared electronic devices cleaning tips, you can create a cleaner and safer environment for users. Regular cleaning and sanitation help prevent the spread of germs and maintain the functionality and longevity of the devices.
Regular Cleaning Schedule and Maintenance
Establishing a regular cleaning schedule and implementing proper maintenance practices are essential for maintaining a clean and organized work environment. By following a consistent routine, you can ensure that cleaning tasks are completed regularly, reducing the risk of dirt and germs accumulating over time. Here are some tips for creating a regular cleaning schedule and maintaining cleanliness:
1. Assess cleaning needs: Evaluate your workspace and identify the cleaning tasks that need to be performed regularly. Take into account high-traffic areas, shared spaces, and frequently touched surfaces.
2. Create a cleaning checklist: Develop a checklist that outlines specific cleaning tasks and their frequency. This could include dusting, vacuuming, wiping surfaces, sanitizing common areas, and cleaning shared equipment.
3. Assign responsibilities: Delegate cleaning responsibilities to individuals or teams. Encourage a shared responsibility for maintaining cleanliness and hygiene throughout the workspace.
4. Set a cleaning schedule: Establish a regular cleaning schedule that outlines when each cleaning task should be performed. Consider daily, weekly, monthly, and quarterly cleaning routines, depending on the nature of the task and the workspace.
5. Communicate and educate: Clearly communicate the cleaning schedule to all employees and provide guidance on proper cleaning techniques. Educate employees on the importance of maintaining cleanliness and their role in keeping the workspace tidy.
6. Maintain cleaning supplies: Ensure that cleaning supplies, such as disinfectants, wipes, and cleaning solutions, are readily available. Regularly check stock levels and restock as needed to avoid interruptions in the cleaning routine.
7. Perform daily maintenance tasks: Incorporate daily maintenance tasks into the regular cleaning schedule. This includes emptying garbage bins, wiping down surfaces, and organizing workstations.
8. Conduct periodic deep cleaning: Schedule deep cleaning sessions at regular intervals to address areas that require more thorough cleaning. This could involve cleaning carpets, polishing surfaces, or cleaning hard-to-reach areas.
9. Regularly inspect equipment: Conduct routine inspections of equipment and machinery to ensure proper functioning and cleanliness. Clean and maintain equipment as per manufacturer guidelines to prevent malfunctions and prolong their lifespan.
10. Adapt and refine the schedule: Regularly assess the effectiveness of the cleaning schedule and make adjustments as necessary. Take feedback from employees into consideration and address any specific cleaning needs or concerns.
By implementing a regular cleaning schedule and practicing proper maintenance, you can maintain a clean and organized workspace. Consistency is key, as regular cleaning routines help create a healthier and more productive environment for all employees.
Conclusion
Maintaining a clean and organized work environment is of paramount importance for promoting productivity, health, and overall well-being. By implementing the cleaning tips and practices outlined in this article, you can create a workplace that is not only visually appealing but also safe and hygienic for all employees.
Understanding the importance of cleaning office items, such as desks, keyboards, phones, and shared electronic devices, allows us to prioritize regular cleaning and maintenance. By following general cleaning guidelines and incorporating specific cleaning tips for each item, we can effectively remove dust, dirt, germs, and bacteria that accumulate over time.
Consistency is key in maintaining a clean workspace. Establishing a regular cleaning schedule and assigning cleaning responsibilities to individuals or teams ensures that cleaning tasks are completed on a routine basis. Regular inspections and maintenance of equipment contribute to their longevity and proper functioning.
Furthermore, promoting good personal hygiene habits among employees, such as washing hands regularly and practicing cleanliness in shared spaces, goes hand in hand with maintaining a clean work environment. Encouraging employees to take ownership of their workspace and adhere to cleanliness guidelines fosters a positive mindset towards cleanliness and hygiene.
A clean and organized work environment not only enhances productivity and employee satisfaction but also leaves a positive impression on clients, partners, and visitors. It creates a professional atmosphere that reflects the values and standards of the organization.
In conclusion, by prioritizing cleanliness, following regular cleaning routines, and promoting good hygiene practices, we can create a workspace that is both visually appealing and conducive to a healthy and productive work environment for everyone.
Frequently Asked Questions about How To Clean Desks And Other Office Items That Are Pretty Germy
Was this page helpful?
At Storables.com, we guarantee accurate and reliable information. Our content, validated by Expert Board Contributors, is crafted following stringent Editorial Policies. We're committed to providing you with well-researched, expert-backed insights for all your informational needs.


0 thoughts on “How To Clean Desks And Other Office Items That Are Pretty Germy”