
Articles
How To Clean Gas Grill Burners
Modified: October 28, 2024
Learn effective techniques for cleaning gas grill burners with these insightful articles. Keep your grill in top shape and enjoy delicious grilled meals all year round.
(Many of the links in this article redirect to a specific reviewed product. Your purchase of these products through affiliate links helps to generate commission for Storables.com, at no extra cost. Learn more)
How To Clean Gas Grill Burners
Grilling is a popular outdoor activity during the summer months, but over time, the burners of your gas grill can become clogged with grease, debris, and other residue. This can negatively impact the performance and efficiency of your grill. To ensure that your grill continues to operate at its best, it’s important to clean the burners regularly. In this article, we will walk you through the step-by-step process of cleaning gas grill burners.
Key Takeaways:
- Regularly cleaning gas grill burners is crucial for optimal performance and longevity. Follow the step-by-step guide to ensure even heat distribution and delicious grilled meals all summer long.
- Ongoing maintenance, such as cleaning after each use and using a grill cover, is essential for preserving gas grill burners. Keep them in top shape for consistent grilling success.
Read more: How To Clean Clogged Gas Stove Burners
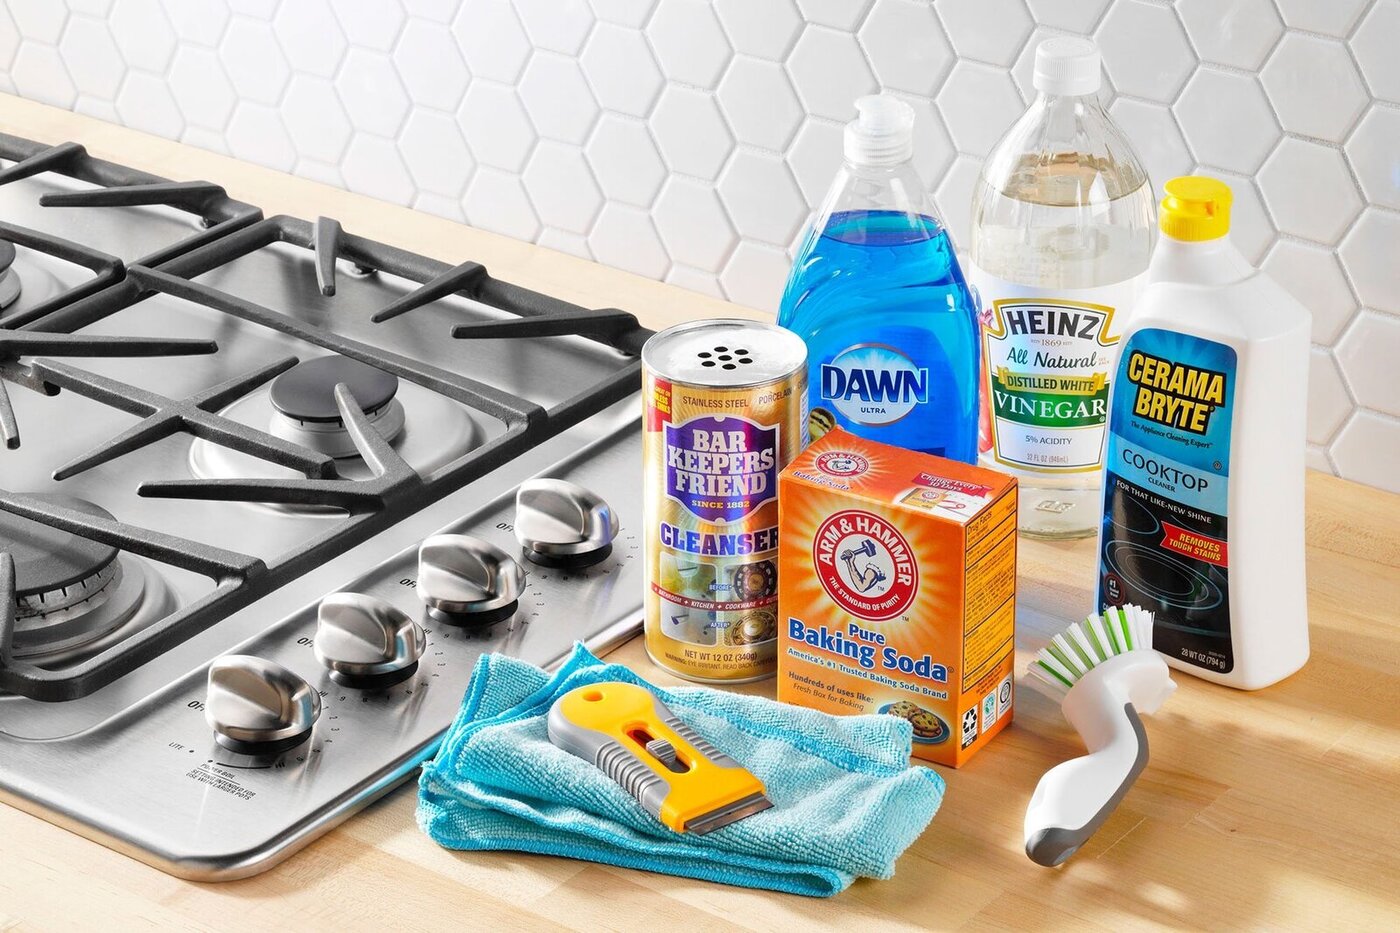
Step 1: Gather necessary materials
Before you begin, gather the following materials:
- Wire brush
- Grill brush or sponge
- Warm soapy water
- Toothbrush or pipe cleaner
Step 2: Prepare the grill
To start, shut off the gas supply to your grill. This will prevent any accidents or leaks during the cleaning process. Next, disconnect the gas tank from the grill and set it aside.
Step 3: Remove the grill grates
Lift and remove the grill grates from the grill. Set them aside for cleaning, as we will address them later.
Step 4: Remove the burner covers
Carefully detach the burner covers from the grill. Some grills may have screw-on covers, so use the appropriate tools if necessary. Place the covers in a basin of warm soapy water to soak.
Read more: How To Clean A Weber Gas Grill
Step 5: Clean the burner tubes
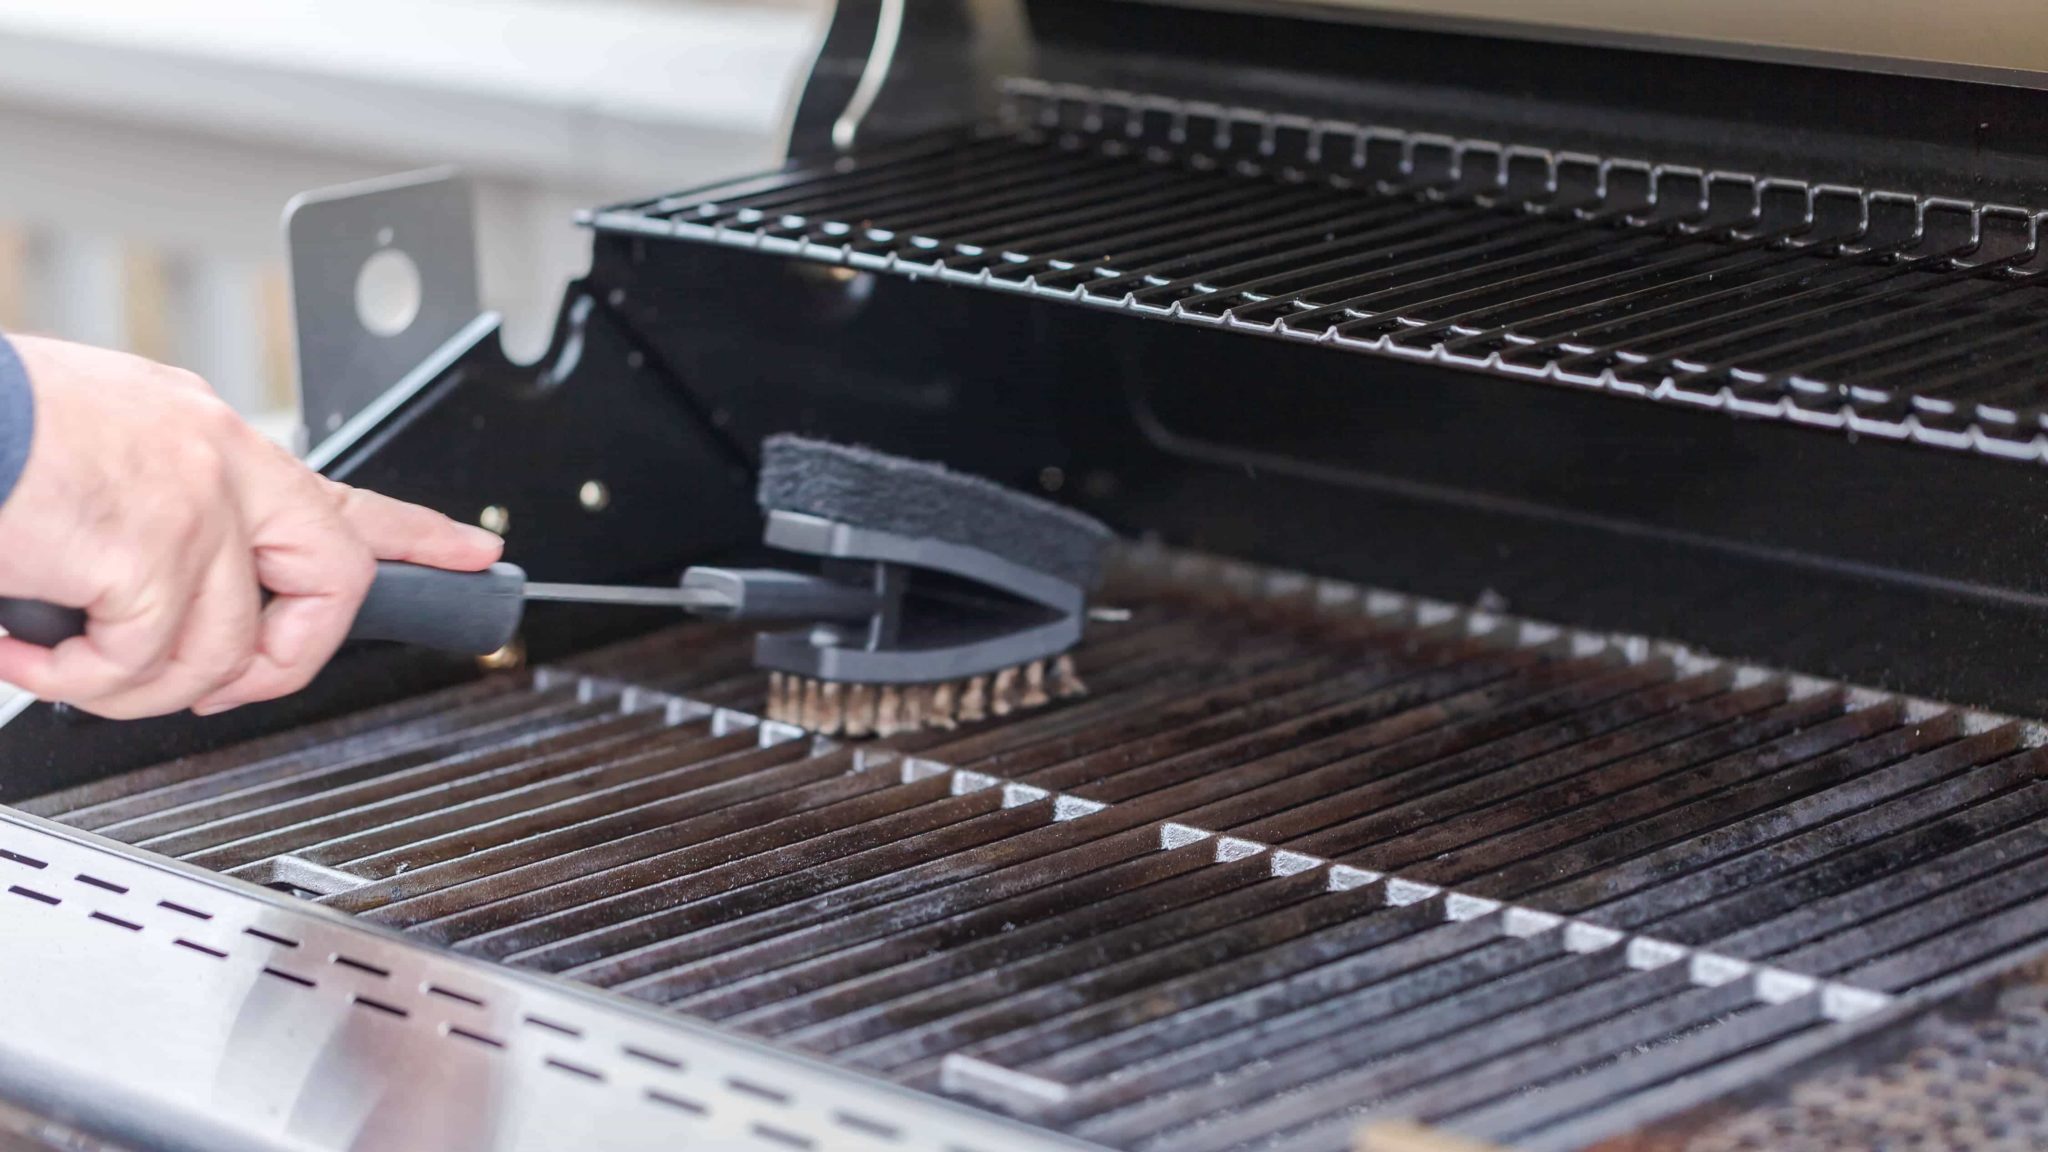
Using a wire brush, gently scrub the burner tubes to remove any debris or grease buildup. Pay close attention to any areas with visible blockages or clogs. If necessary, use a toothpick or small wire to unclog any stubborn particles.
Step 6: Clean the burner protectors
Take the grill brush or sponge and scrub the burner protectors. These are the metal plates that sit on top of the burner tubes. Remove any dirt or grease, and rinse them thoroughly with water.
Step 7: Clean the burner holes
Using a toothbrush or a pipe cleaner, clean the burner holes to ensure they are clear of any obstructions. This step is crucial to ensure proper gas flow and even heat distribution. Take your time and be thorough in cleaning each hole.
Step 8: Reassemble the burners
Dry the burner covers and protector plates with a clean towel. Once they are dry, place them back onto the grill, ensuring they are properly aligned and securely attached.
Read more: How to Get Samsung Gas Stove Burners Clean
Step 9: Replace the grill grates
With the burners reassembled, it’s time to replace the grill grates. Position the grates back onto the grill, making sure they fit securely in place.
Step 10: Reconnect the gas supply
Finally, reattach the gas tank to the grill and turn on the gas supply. Perform a quick check to ensure there are no gas leaks before proceeding.
Cleaning your gas grill burners regularly will not only improve its overall performance but also extend its lifespan. By following these steps, you can keep your grill in top shape and enjoy delicious grilled meals all summer long.
Tips for ongoing burner maintenance
– Clean your burners after each use to prevent excessive buildup.
– Use a grill cover to protect your grill from the elements when it’s not in use.
– Consider using a grill cleaner or degreaser for tougher stains or buildup.
– Keep the area around your grill clean to avoid debris falling into the burners.
Frequently Asked Questions
- How often should I clean my gas grill burners?
- Can I use a grill cleaner on my burners?
- Do I need to clean the burner holes?
It’s recommended to clean your burners every few months, depending on how frequently you use your grill.
Yes, you can use a grill cleaner or degreaser to remove stubborn stains or buildup on your burners.
Yes, cleaning the burner holes is essential to ensure proper gas flow and even heat distribution.
Read more: How To Cook On A Gas Grill
Additional Resources
We hope this guide has helped you understand the importance of cleaning your gas grill burners and provided you with the necessary steps to do so. For more information and tips on maintaining your grill, check out the following resources:
– [Link 1]
– [Link 2]
– [Link 3]
Remember, a clean burner means tastier meals and better grilling experiences. Happy grilling!
How To Clean Gas Grill Burners
Introduction
Grilling is a fantastic way to enjoy the outdoors and indulge in flavorful meals. Whether you’re grilling up juicy burgers, succulent steaks, or charred vegetables, a well-maintained gas grill is vital in achieving that perfect sear and delicious smoky flavor. However, over time, grease, food residue, and other debris can accumulate on the burners and affect the performance of your grill.
Cleaning your gas grill burners regularly is essential to ensure that they operate efficiently and evenly distribute heat. Not only does this improve the quality of your meals, but it also prolongs the lifespan of your grill.
In this comprehensive guide, we will walk you through the step-by-step process of cleaning gas grill burners. We will provide you with detailed instructions, offer helpful tips for maintenance, and address common questions regarding burner cleaning.
Cleaning your gas grill burners is a relatively simple task that requires a few basic tools and materials. By following our instructions and dedicating a bit of time to this maintenance routine, you’ll be able to enjoy optimal grilling results and keep your grill in fantastic condition for years to come.
In the next section, we will discuss the necessary materials you will need for cleaning gas grill burners. Gathering these materials beforehand will ensure a smooth and efficient cleaning process. So, let’s move on to step one: gathering the necessary materials.
Note: Before starting the cleaning process, always make sure that your grill is turned off and disconnected from the gas supply to prevent any potential accidents or injuries.
Key Takeaways:
- Regularly cleaning gas grill burners is crucial for optimal performance and longevity. Follow the step-by-step guide to ensure even heat distribution and delicious grilled meals all summer long.
- Ongoing maintenance, such as cleaning after each use and using a grill cover, is essential for preserving gas grill burners. Keep them in top shape for consistent grilling success.
Read more: How To Clean Clogged Gas Stove Burners
Step 1: Gather necessary materials
Before you begin cleaning your gas grill burners, it’s important to have the following materials ready:
– Wire brush: This will be used to remove debris from the burner tubes and holes.
– Grill brush or sponge: You’ll need this to scrub the burner protectors and other surfaces.
– Warm soapy water: Use this to soak and clean the burner covers.
– Toothbrush or pipe cleaner: This will come in handy to clean the burner holes thoroughly.
Once you have gathered all the necessary materials, you can proceed to step two: preparing the grill.
Key Takeaways:
- Regularly cleaning gas grill burners is crucial for optimal performance and longevity. Follow the step-by-step guide to ensure even heat distribution and delicious grilled meals all summer long.
- Ongoing maintenance, such as cleaning after each use and using a grill cover, is essential for preserving gas grill burners. Keep them in top shape for consistent grilling success.
Read more: How To Clean Clogged Gas Stove Burners
Step 1: Gather necessary materials
Before you begin cleaning your gas grill burners, it’s important to have the following materials ready:
– Wire brush: A wire brush is an essential tool for cleaning the burner tubes and holes. It has sturdy bristles that can effectively remove stubborn debris and grease buildup. Look for a brush with a long handle for easy maneuverability.
– Grill brush or sponge: A grill brush or sponge will be used to scrub the burner protectors and other surfaces of the grill. Look for a brush with stiff bristles or a sponge with a scouring side to remove any residue effectively.
– Warm soapy water: Fill a basin or bucket with warm water and add a few drops of dish soap to create a soapy solution. This will be used to soak and clean the burner covers.
– Toothbrush or pipe cleaner: A toothbrush or pipe cleaner is ideal for cleaning the burner holes thoroughly. These small and flexible tools can reach into tight spaces and ensure all the openings are clear of any obstructions.
– Clean towel or cloth: Keep a clean towel or cloth handy for drying the burner covers, burner protectors, and other components after cleaning. Ensure it is a lint-free cloth to avoid leaving fibers behind.
Having these materials ready before you start the cleaning process will save you time and make the task more efficient. You can find these tools at most hardware stores, home improvement centers, or online retailers that specialize in grill accessories.
Now that you have gathered all the necessary materials, you are ready to proceed to the next step: preparing the grill.
Step 2: Prepare the grill
Before you begin cleaning your gas grill burners, it’s crucial to ensure your safety by properly preparing the grill. Follow these steps to prepare your grill for cleaning:
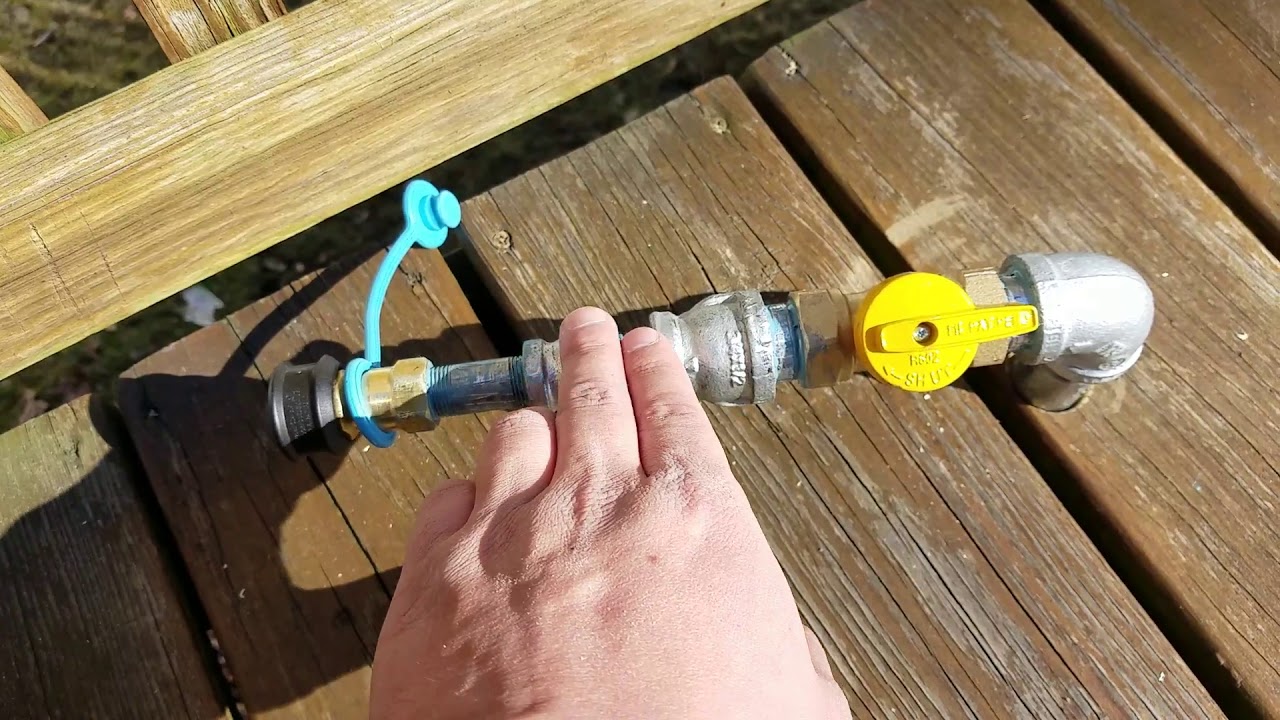
1. Shut off the gas supply: Locate the gas valve on your grill, usually near the gas hose connection or the control knobs. Turn the valve clockwise until it is fully closed. This step will prevent any gas flow during the cleaning process and minimize the risk of accidents or leaks.
2. Disconnect the gas tank: Once you have shut off the gas supply, you need to disconnect the gas tank from the grill. Unscrew the connection between the gas hose and the tank by turning it counterclockwise. Carefully remove the tank from the grill and set it aside in a safe place.
By shutting off the gas supply and disconnecting the gas tank, you eliminate the risk of accidental gas leaks while cleaning the burners. Safety should always be your top priority when working with gas grills.
Now that you have prepared the grill, you can move on to the next step: removing the grill grates.
Step 3: Remove the grill grates
To properly clean your gas grill burners, you’ll need to remove the grill grates first. Follow these steps to safely remove the grates:
1. Lift and remove the grill grates: Depending on your grill model, the grates may be located on top of the burners or in a separate compartment. Carefully lift the grates off the grill, making sure to support them with both hands to avoid any accidental drops or damage.
2. Set aside for cleaning: Once you have removed the grates, place them in a suitable location for cleaning. You may choose to clean them immediately or set them aside for later. It’s essential to clean the grates regularly to ensure optimal grilling performance and prevent the buildup of grease and residue.
By removing the grill grates, you provide better access to the burner tubes and components that require cleaning. This step also allows you to thoroughly clean the grates separately, ensuring that your grill remains hygienic and free from any lingering food particles.
With the grates removed, you are now ready to move on to the next step: removing the burner covers.
Step 4: Remove the burner covers
To properly clean your gas grill burners, you’ll need to remove the burner covers. Follow these steps to safely remove and clean the burner covers:
1. Carefully detach the burner covers: The burner covers are typically located on top of the burner tubes. Depending on your grill model, they may be secured with screws or simply lifted off. Use the appropriate tools, such as a screwdriver, to loosen and remove any screws if necessary. Otherwise, gently lift the burner covers off the burners.
2. Place them in a basin of warm soapy water: Once you have removed the burner covers, fill a basin or bucket with warm water and add a few drops of dish soap. Place the burner covers in the soapy water and let them soak for a few minutes to loosen any grease or residue.
Soaking the burner covers in warm soapy water helps to soften and dissolve stubborn grease and residue, making them easier to clean. The warm water and soap combination are effective in removing built-up grime, ensuring that your burner covers are clean and ready to function optimally.
While the burner covers are soaking, you can proceed to the next step: cleaning the burner tubes.
Read more: How To Clean A Weber Gas Grill
Step 5: Clean the burner tubes
Cleaning the burner tubes is an essential step in maintaining the performance and efficiency of your gas grill. Follow these steps to clean the burner tubes effectively:
1. Use a wire brush to remove debris from the burner tubes: Take a wire brush with stiff bristles and gently scrub the surface of the burner tubes. This will help remove any accumulated debris, rust, or grease. Ensure that the brush reaches all areas of the tubes, including the sides and corners. A wire brush is effective in dislodging stubborn residue, allowing for proper gas flow and even heat distribution.
2. Check for any blockages or clogs: As you clean the burner tubes, inspect them closely for any blockages or clogs. Look for any signs of insect nests, grease buildup, or other obstructions that may affect the gas flow. If you notice any blockages, use a toothpick or a small wire to carefully unclog the openings. Be gentle and thorough in clearing any debris to ensure uninterrupted gas flow.
Cleaning the burner tubes is crucial to maintain an evenly distributed flame and prevent any potential issues that may affect the performance of your grill. By removing debris and checking for blockages, you can ensure a smooth and efficient grilling experience.
Once you have thoroughly cleaned the burner tubes, you can proceed to the next step: cleaning the burner protectors.
Step 6: Clean the burner protectors
Cleaning the burner protectors is an important part of maintaining your gas grill burners. Follow these steps to effectively clean the burner protectors:
1. Scrub the burner protectors with a grill brush or sponge: Take a grill brush or sponge and use it to scrub the burner protectors. Make sure to remove any visible dirt, grease, or residue. The bristles of the grill brush or the scouring side of the sponge will help dislodge stubborn grime.
2. Rinse off any remaining dirt or grease: After scrubbing, rinse the burner protectors with water to remove any remaining dirt or grease. You can use a hose or place them under running water to thoroughly wash away any residue. Hold them at an angle to ensure water flows through the holes and cleans out any trapped debris.
Properly cleaning the burner protectors ensures that they function effectively by allowing the heat to distribute evenly. Removing dirt and grease buildup prevents any restrictions in the flame pattern and helps maintain optimal grill performance.
Now that you have cleaned the burner protectors, you can move on to the next step: cleaning the burner holes.
Step 7: Clean the burner holes
Cleaning the burner holes is a crucial step in maintaining the efficiency and performance of your gas grill burners. Follow these steps to clean the burner holes effectively:
1. Use a toothbrush or pipe cleaner to clean the burner holes: Take a toothbrush or a small pipe cleaner and carefully insert it into each burner hole. Gently scrub the holes to remove any debris, grease, or residue that may have accumulated. Ensure that you reach all openings and clean them thoroughly.
2. Ensure all openings are clear for proper gas flow: As you clean the burner holes, inspect them closely to ensure that they are clear of any obstructions. Check for any remaining dirt or debris. If you encounter stubborn residue, you can use a thin wire, such as a toothpick or a small metal pin, to carefully unclog the openings. Be gentle and thorough to ensure proper gas flow and prevent any potential issues.
Clearing the burner holes is essential for maintaining an even flame and efficient heat distribution throughout your grill. When the burner holes are free from obstructions, the gas flow is optimal, allowing for consistent temperatures and a better grilling experience.
Once you have cleaned the burner holes, you are ready to move on to the next step: reassembling the burners.
Step 8: Reassemble the burners
After cleaning the individual components of your gas grill burners, it’s time to reassemble them. Follow these steps to properly reassemble the burners:
1. Dry the burner covers and protector plates: After cleaning, use a clean towel or cloth to thoroughly dry the burner covers and protector plates. Ensure that they are completely dry before proceeding. Any moisture left on these components can lead to rust or corrosion over time.
2. Place them back onto the grill: Once dry, carefully place the burner covers back onto the burners. Make sure they are properly aligned and securely attached. These covers play an important role in protecting the burners and ensuring the even distribution of heat across the grill. Double-check that they are sitting snugly in their designated spaces.
Reassembling the burners is a straightforward process that ensures all components are in their proper place, ready for future use. Taking the time to properly reassemble the burners ensures that they operate efficiently and safely during your grilling sessions.
With the burners reassembled, you are now ready to move on to the next step: replacing the grill grates.
Read more: How to Get Samsung Gas Stove Burners Clean
Step 9: Replace the grill grates
Once you have finished cleaning and reassembling the burners, it’s time to replace the grill grates. Follow these steps to properly place the grates back onto the grill:
1. Place the grill grates back onto the grill: Carefully position the grill grates back onto the grill. Make sure they fit securely and align with the hooks or brackets designed to hold them in place. Take care to position them evenly to ensure consistent heat distribution during cooking.
2. Ensure they are properly positioned and secure: Once the grates are in place, ensure that they are properly positioned and secure. They should sit firmly and not wiggle or shift when pressure is applied. Make any necessary adjustments or tightening to ensure a stable cooking surface.
Replacing the grill grates is the final step in cleaning and maintaining your gas grill burners. By securely placing the grates back onto the grill, you ensure that they function optimally and provide a stable and reliable platform for your grilling endeavors.
Now that you have successfully replaced the grill grates, it’s time to move on to the last step: reconnecting the gas supply.
Step 10: Reconnect the gas supply
Now that you have completed the cleaning and reassembling process for your gas grill burners, it’s time to reconnect the gas supply. Follow these steps to safely reconnect the gas supply:
1. Reattach the gas tank to the grill: Place the gas tank back into position, ensuring that it is securely aligned with the connection point on your grill. Check that the tank valve and the grill’s gas hose are in a straight line without any twisting or kinks.
2. Turn on the gas supply: Once the gas tank is properly positioned, turn the valve on the tank counterclockwise to open it slowly. Keep the area well-ventilated while doing this. If you can’t smell or hear any gas leaks, proceed to the next step.
It’s crucial to be cautious and attentive when reconnecting the gas supply to your grill. Ensure that all connections are secure and that there are no signs of gas leaks, such as a strong gas smell, hissing sounds, or bubbling soapy water around the connections. If you suspect a gas leak, turn off the gas supply immediately and consult a professional before proceeding.
By reconnecting the gas supply, you are ready to fire up your grill and enjoy some delicious outdoor cooking!
With Step 10 completed, you have successfully cleaned your gas grill burners and reconnected the gas supply. Your grill is now ready to provide you with a fantastic grilling experience. Remember to follow the manufacturer’s instructions for proper maintenance and regular cleaning to keep your gas grill burners in excellent working condition.
Happy grilling!
Conclusion
Regularly cleaning your gas grill burners is essential for maintaining optimal performance and ensuring a great grilling experience. By following the step-by-step process outlined in this guide, you can effectively clean each component of your burners and keep them in excellent working condition.
Starting with gathering the necessary materials, such as a wire brush, grill brush or sponge, warm soapy water, toothbrush or pipe cleaner, you can ensure you have everything you need to clean your burners efficiently. The preparation phase, including shutting off the gas supply and disconnecting the gas tank, is crucial for safety.
Removing the grill grates allows for easier access to the burner tubes, while removing the burner covers and soaking them in warm soapy water aids in loosening grease and debris. Scrubbing the burner tubes with a wire brush and checking for blockages ensures proper gas flow, and cleaning the burner protectors helps maintain even heat distribution. Cleaning the burner holes with a toothbrush or pipe cleaner ensures they are clear for optimal performance.
Reassembling the burners by drying the burner covers and protector plates and placing them back onto the grill is an important step in maintaining their functionality. Finally, reconnecting the gas supply by reattaching the gas tank and turning on the gas ensures your grill is ready for use.
Remember to exercise caution and follow safety guidelines throughout the cleaning process. Always double-check for gas leaks, ensure proper ventilation, and consult a professional if you suspect any issues.
By keeping your gas grill burners clean, you ensure better heat distribution, prevent flare-ups, and extend the lifespan of your grill. Regular maintenance will also contribute to the overall flavor and quality of your grilled meals.
Enjoy the grilling season with confidence, knowing that your gas grill burners are in top shape and ready to deliver outstanding results. Happy grilling!
Tips for ongoing burner maintenance
Maintaining your gas grill burners doesn’t end with the cleaning process. Ongoing maintenance is crucial to keep them in excellent condition and ensure consistent performance. Here are some valuable tips for ongoing burner maintenance:
1. Clean your burners after each use: Make it a habit to clean your burners after every grilling session. This helps prevent excessive buildup of grease and residue, making future cleanings easier and more effective.
2. Use a grill cover: When your grill is not in use, protect it with a grill cover. A cover shields your grill from the elements, such as rain, dust, and debris, reducing the risk of corrosion and prolonging the lifespan of your burners.
3. Consider using a grill cleaner or degreaser: For more stubborn stains or buildup on your burners, consider using a grill cleaner or degreaser. These specialized products can effectively remove grease and tough grime, ensuring your burners stay clean and perform optimally.
4. Keep the area around your grill clean: Regularly clean the area around your grill, including any drip trays or grease pans. This helps prevent debris from falling into the burners and causing blockages. A clean grilling area also reduces the risk of flare-ups and ensures a safer cooking environment.
5. Monitor burner flame patterns: From time to time, observe the flame patterns of your burners. They should appear blue with a consistent and even distribution of heat. If you notice uneven flames or irregular patterns, your burners may require cleaning or adjustment. Consult your grill’s manual or a professional for assistance.
6. Inspect and replace worn-out parts: Periodically inspect your burners for signs of wear and tear. If you notice rusted, cracked, or damaged burners, consider replacing them promptly to prevent further issues and ensure optimal performance.
By following these ongoing maintenance tips, you can extend the lifespan of your gas grill burners and enjoy consistent grilling results for years to come.
Remember, regular maintenance is essential for keeping your burners in peak condition. By incorporating these maintenance practices into your grilling routine, you will maximize the longevity and performance of your gas grill burners. Happy grilling!
Frequently Asked Questions
Here are some frequently asked questions about cleaning gas grill burners:
1. How often should I clean my gas grill burners?
It is recommended to clean your gas grill burners every few months, depending on how frequently you use your grill. Regular cleaning helps prevent grease and residue buildup, ensuring optimal burner performance.
2. Can I use a grill cleaner on my burners?
Yes, you can use a grill cleaner or degreaser to remove stubborn stains or buildup on your burners. Follow the instructions on the product carefully and ensure thorough rinsing after application.
3. Do I need to clean the burner holes?
Yes, cleaning the burner holes is essential to ensure proper gas flow and even heat distribution. Use a toothbrush or a pipe cleaner to gently clean the small openings and remove any debris that may be blocking them.
4. How do I know if my burners are clogged?
If you notice uneven flames, weak heat output, or difficulty igniting the burner, it may indicate a clogged burner. Regular cleaning and inspection of the burners can help identify and resolve any issues.
5. Can I clean my burners while they are hot?
No, it is not safe to clean your burners while they are still hot. Always allow the burners to cool down completely before starting the cleaning process to avoid the risk of burns.
6. Should I clean my burners with the grill lid open or closed?
It is generally recommended to clean the burners with the grill lid open. This allows for better ventilation and ensures proper access to the burner components.
7. How can I prevent my burners from rusting?
To prevent rusting, make sure to dry the burner components thoroughly after cleaning and before reassembling them. Additionally, using a grill cover when the grill is not in use helps protect the burners from moisture and external elements.
Remember, specific cleaning and maintenance instructions may vary depending on the brand and model of your gas grill. Always refer to the manufacturer’s guidelines for the best practices to clean and maintain your specific grill burners.
If you have additional questions or concerns about cleaning your gas grill burners, it is recommended to consult your grill’s manual or seek guidance from a professional.
Read more: How To Cook On A Gas Grill
Additional Resources
Want to learn more about cleaning and maintaining your gas grill burners? Here are some additional resources that can provide you with valuable information and tips:
1. [Grill Manufacturer’s Website]: Visit the official website of your grill manufacturer. They often provide detailed maintenance guides, FAQs, and resources specific to your grill model. Check for any downloadable manuals or instructional videos that can guide you through the cleaning process.
2. Online Forums and Communities: Join online forums or communities dedicated to grilling. These platforms are filled with experienced grillers who are more than willing to share their knowledge and expertise. Participate in discussions and ask questions about cleaning your gas grill burners to benefit from the collective wisdom of the community.
3. YouTube Tutorials: Search for instructional videos on YouTube that specifically cover cleaning gas grill burners. Many creators and grilling enthusiasts share step-by-step tutorials, demonstrating the cleaning process and offering useful tips and tricks. Watching these videos can provide visual guidance to help you better understand the cleaning techniques.
4. Grilling Books and Guides: Look for grilling books or guides that offer comprehensive information on maintaining and cleaning a gas grill. These resources often cover various aspects of grilling, including burner maintenance, and provide in-depth insights, troubleshooting advice, and useful tips for keeping your grill in excellent condition.
5. Professional Grill Services: Consider reaching out to professional grill services in your area. These experts specialize in grill maintenance and can provide professional cleaning and maintenance services for your gas grill burners. They can also offer guidance and recommendations for ongoing care and upkeep.
Remember, proper cleaning and maintenance of your gas grill burners contribute to their longevity and ensure optimal grilling performance. Referencing reliable resources and seeking expert advice when needed will help you become a grill master and enjoy the best possible grilling experience.
Frequently Asked Questions about How To Clean Gas Grill Burners
Was this page helpful?
At Storables.com, we guarantee accurate and reliable information. Our content, validated by Expert Board Contributors, is crafted following stringent Editorial Policies. We're committed to providing you with well-researched, expert-backed insights for all your informational needs.



0 thoughts on “How To Clean Gas Grill Burners”