Articles
How To Clean Kitchen Stove Burners
Modified: February 29, 2024
Learn effective methods for cleaning kitchen stove burners with these insightful articles. Get expert tips and tricks to keep your stove looking and functioning its best.
(Many of the links in this article redirect to a specific reviewed product. Your purchase of these products through affiliate links helps to generate commission for Storables.com, at no extra cost. Learn more)
Introduction
Having a clean and well-maintained kitchen is essential for every home. One area that often gets neglected is the stove burners. Over time, these burners can accumulate grease, grime, and food residue, which can affect their performance and even pose a fire hazard. Cleaning your kitchen stove burners not only ensures their longevity but also helps maintain a safe cooking environment.
In this article, we will guide you through a step-by-step process on how to clean your kitchen stove burners effectively. You don’t need any fancy or expensive cleaning products – just a few simple materials you may already have around the house. So let’s get started on restoring your burners to their sparkling clean condition!
Key Takeaways:
- Regularly cleaning kitchen stove burners with simple household items like dish soap and baking soda ensures a safe and hygienic cooking environment, while also improving the longevity and performance of the burners.
- The step-by-step process of removing, soaking, scrubbing, and reassembling burner grates and caps, along with cleaning the stove surface, results in sparkling clean and efficient kitchen stove burners.
Read more: How To Clean Brass Stove Burners
Materials Needed
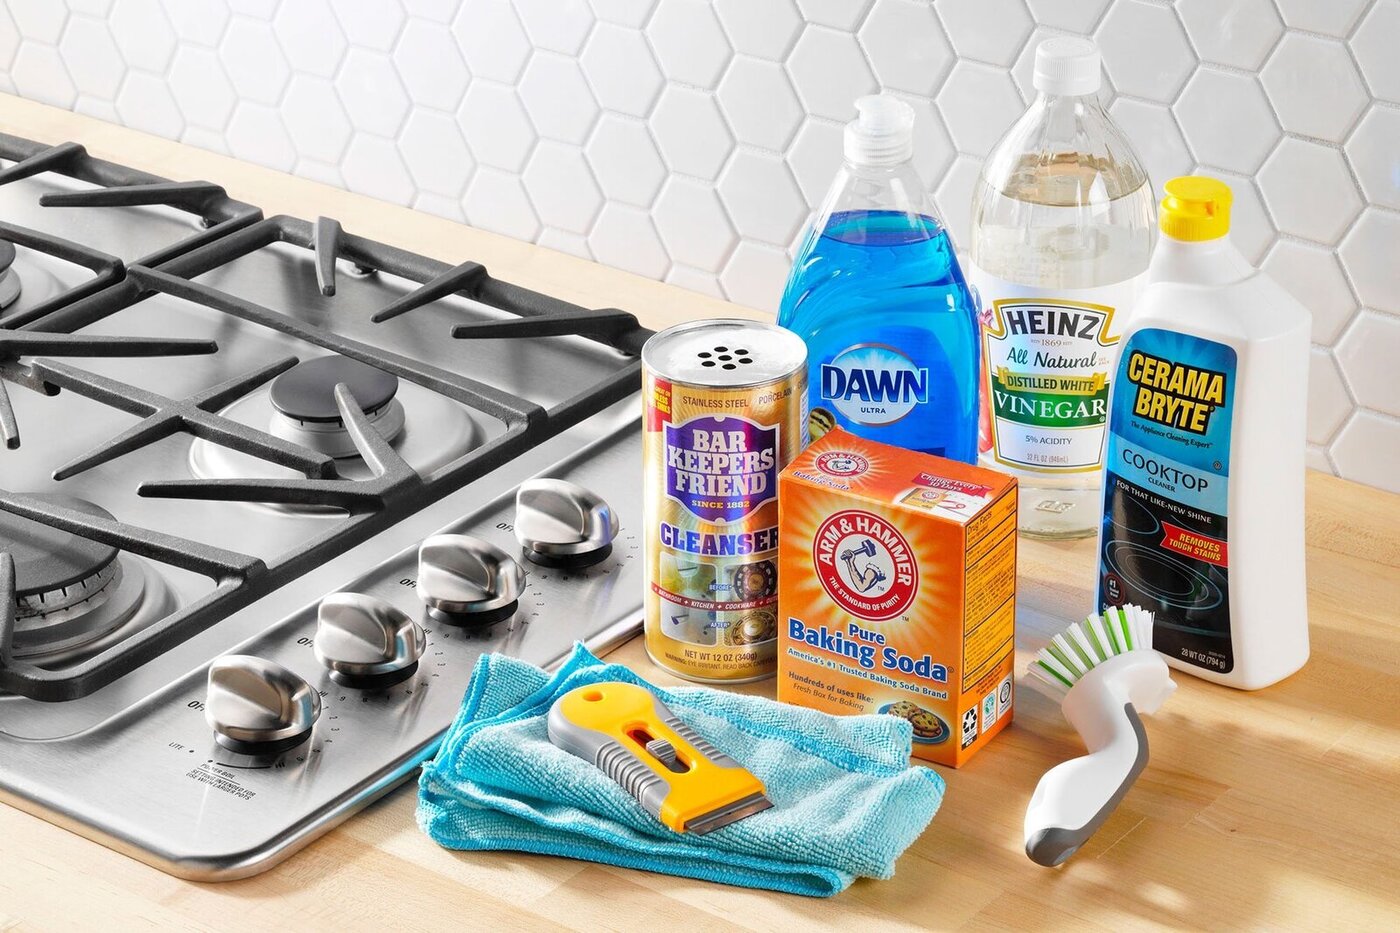
Before you begin cleaning your kitchen stove burners, gather the following materials:
- Mild dish soap
- Baking soda
- White vinegar
- A small bowl or basin
- A scrub brush or toothbrush
- A clean sponge or cloth
- A plastic bag or plastic wrap
- Microfiber cloth or paper towels
These are some common household items that can be very effective in removing grease and grime from your stove burners without causing any damage. Once you have gathered these materials, let’s move on to the step-by-step cleaning process.
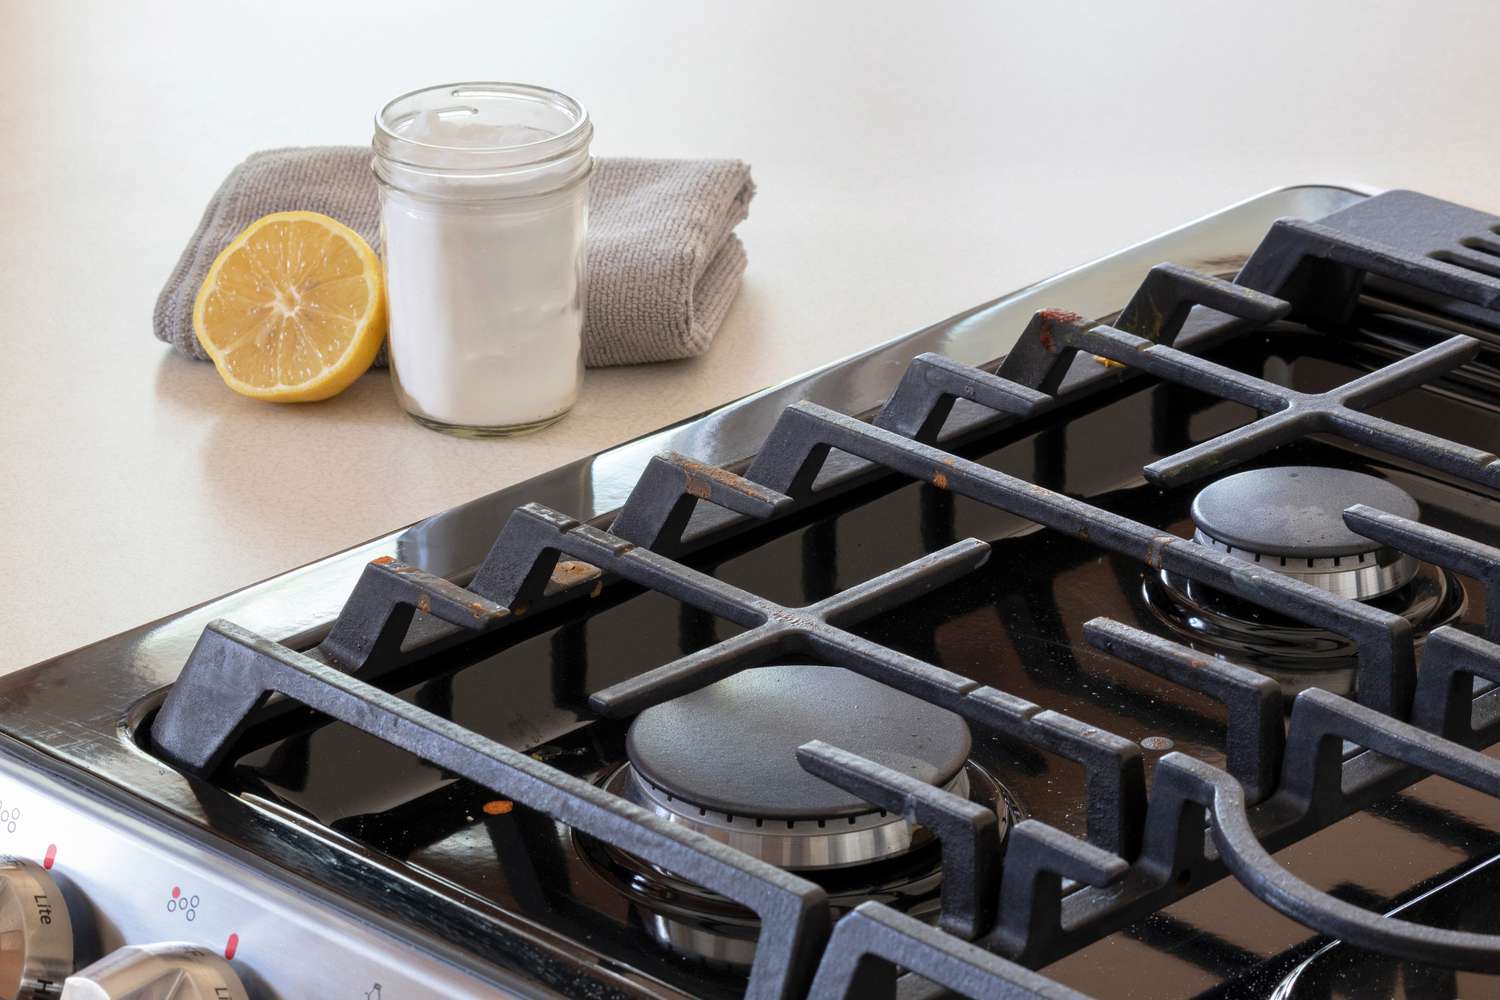
Step 1: Remove the Burner Grates
The first step in cleaning your kitchen stove burners is to remove the burner grates. These grates are typically located on top of the burners and need to be taken off for proper cleaning. Here’s how you can do it:
- Make sure the stove is turned off and the burners are completely cool before you start.
- Gently lift the burner grates from the stove’s surface. Depending on your stove model, you may need to lift and tilt them or simply lift them straight up.
- Place the removed burner grates aside on a clean surface or in the sink for further cleaning.
By removing the burner grates, you provide easier access to the burners and prevent any accidental damage or injury during the cleaning process. Now that the grates are removed, we can proceed to the next step: soaking and cleaning them.
Step 2: Soak the Burner Grates
Soaking the burner grates is an effective way to loosen stubborn grease and food residue, making it easier to clean them later. Here’s how you can soak your burner grates:
- Fill a basin or sink with warm water. Make sure the water level is enough to completely submerge the burner grates.
- Add a generous amount of dish soap to the water. The dish soap will help break down grease and grime.
- Gently place the burner grates into the soapy water, ensuring that they are fully submerged.
- Let the burner grates soak for at least 30 minutes to an hour, depending on the level of dirt and grime.
While the burner grates are soaking, the warm water and dish soap combination will work to loosen any tough residue. This will make the cleaning process much easier and more effective. Once the grates have soaked for the recommended time, we can move on to the next step: cleaning the burner grates.
Step 3: Clean the Burner Grates
Now that the burner grates have soaked and the grease and grime have loosened, it’s time to clean them thoroughly. Follow these steps to get your burner grates looking like new:
- Take one of the burner grates out of the soapy water and place it on a clean surface or in the sink.
- Using a scrub brush or toothbrush, scrub the burner grate in a circular motion to remove any remaining residue. Pay extra attention to any tough spots or corners.
- If there are stubborn stains or burnt-on food, sprinkle some baking soda onto the affected areas and scrub again. The baking soda will act as a gentle abrasive and aid in removing the stains.
- Rinse the burner grate thoroughly with clean water to remove any soap, baking soda, or loosened grime.
- Inspect the grate to ensure that it is clean and free of any residue. If necessary, repeat the process for any remaining burner grates.
After cleaning each burner grate, you will notice how much dirt and grime has been removed. Give them a final rinse to ensure that no cleaning products are left behind. You can set them aside on a towel or dish rack to air dry while you move on to the next step: cleaning the burner caps.
To clean kitchen stove burners, remove them from the stove and soak in a mixture of hot water and dish soap. Use a scrub brush to remove any built-up grease and grime, then rinse and dry thoroughly before placing them back on the stove.
Read more: How To Clean Whirlpool Stove Burners
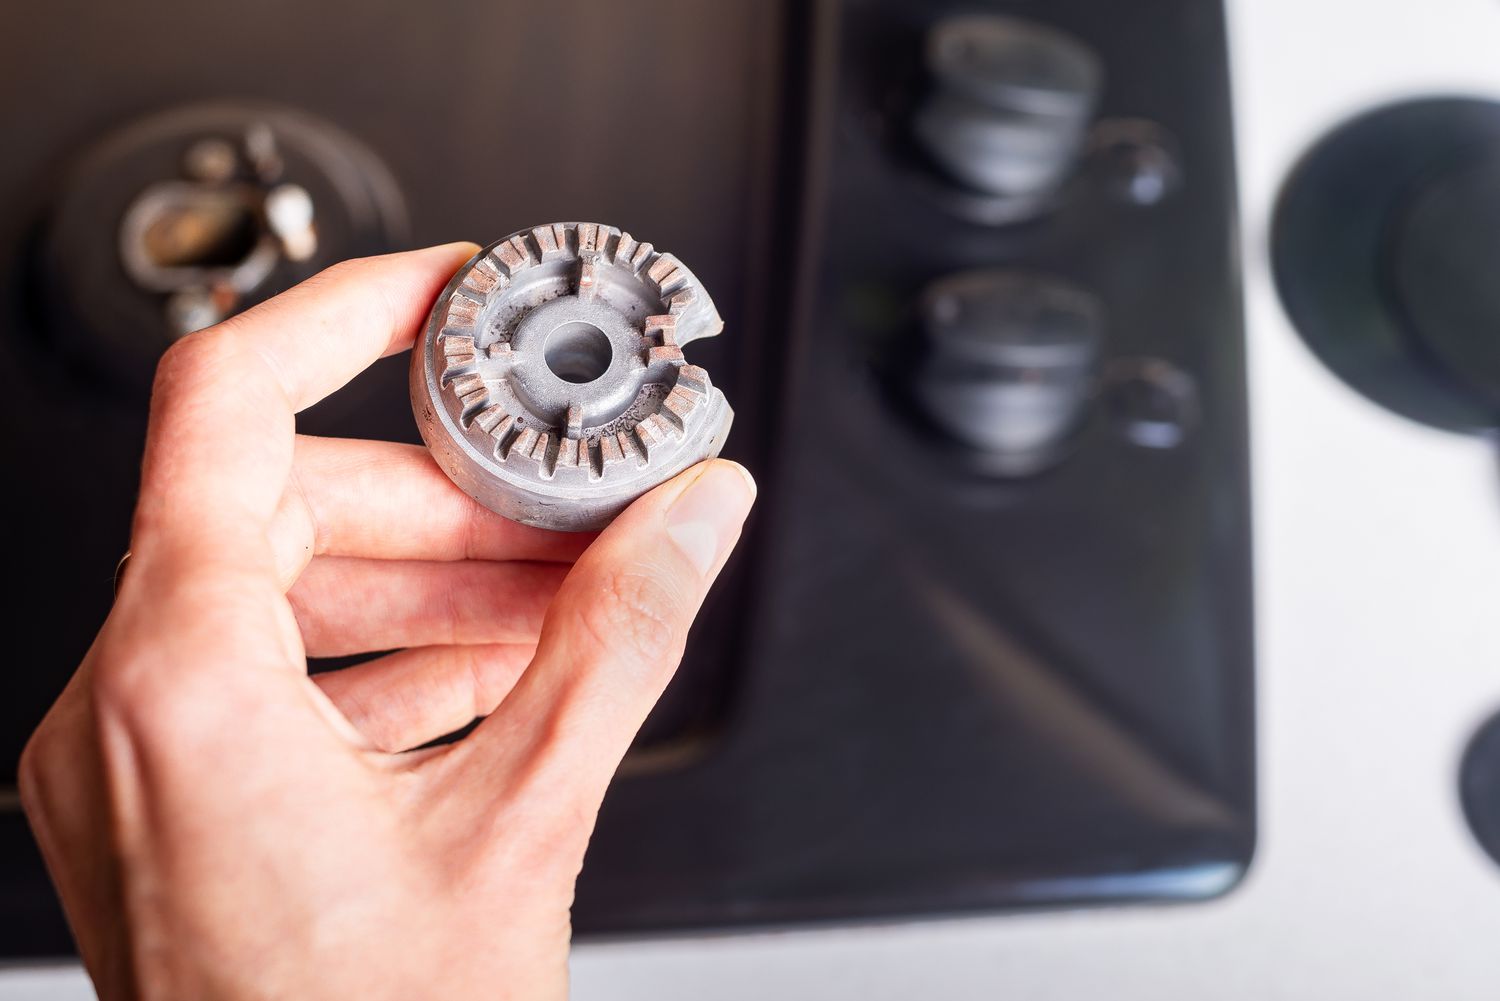
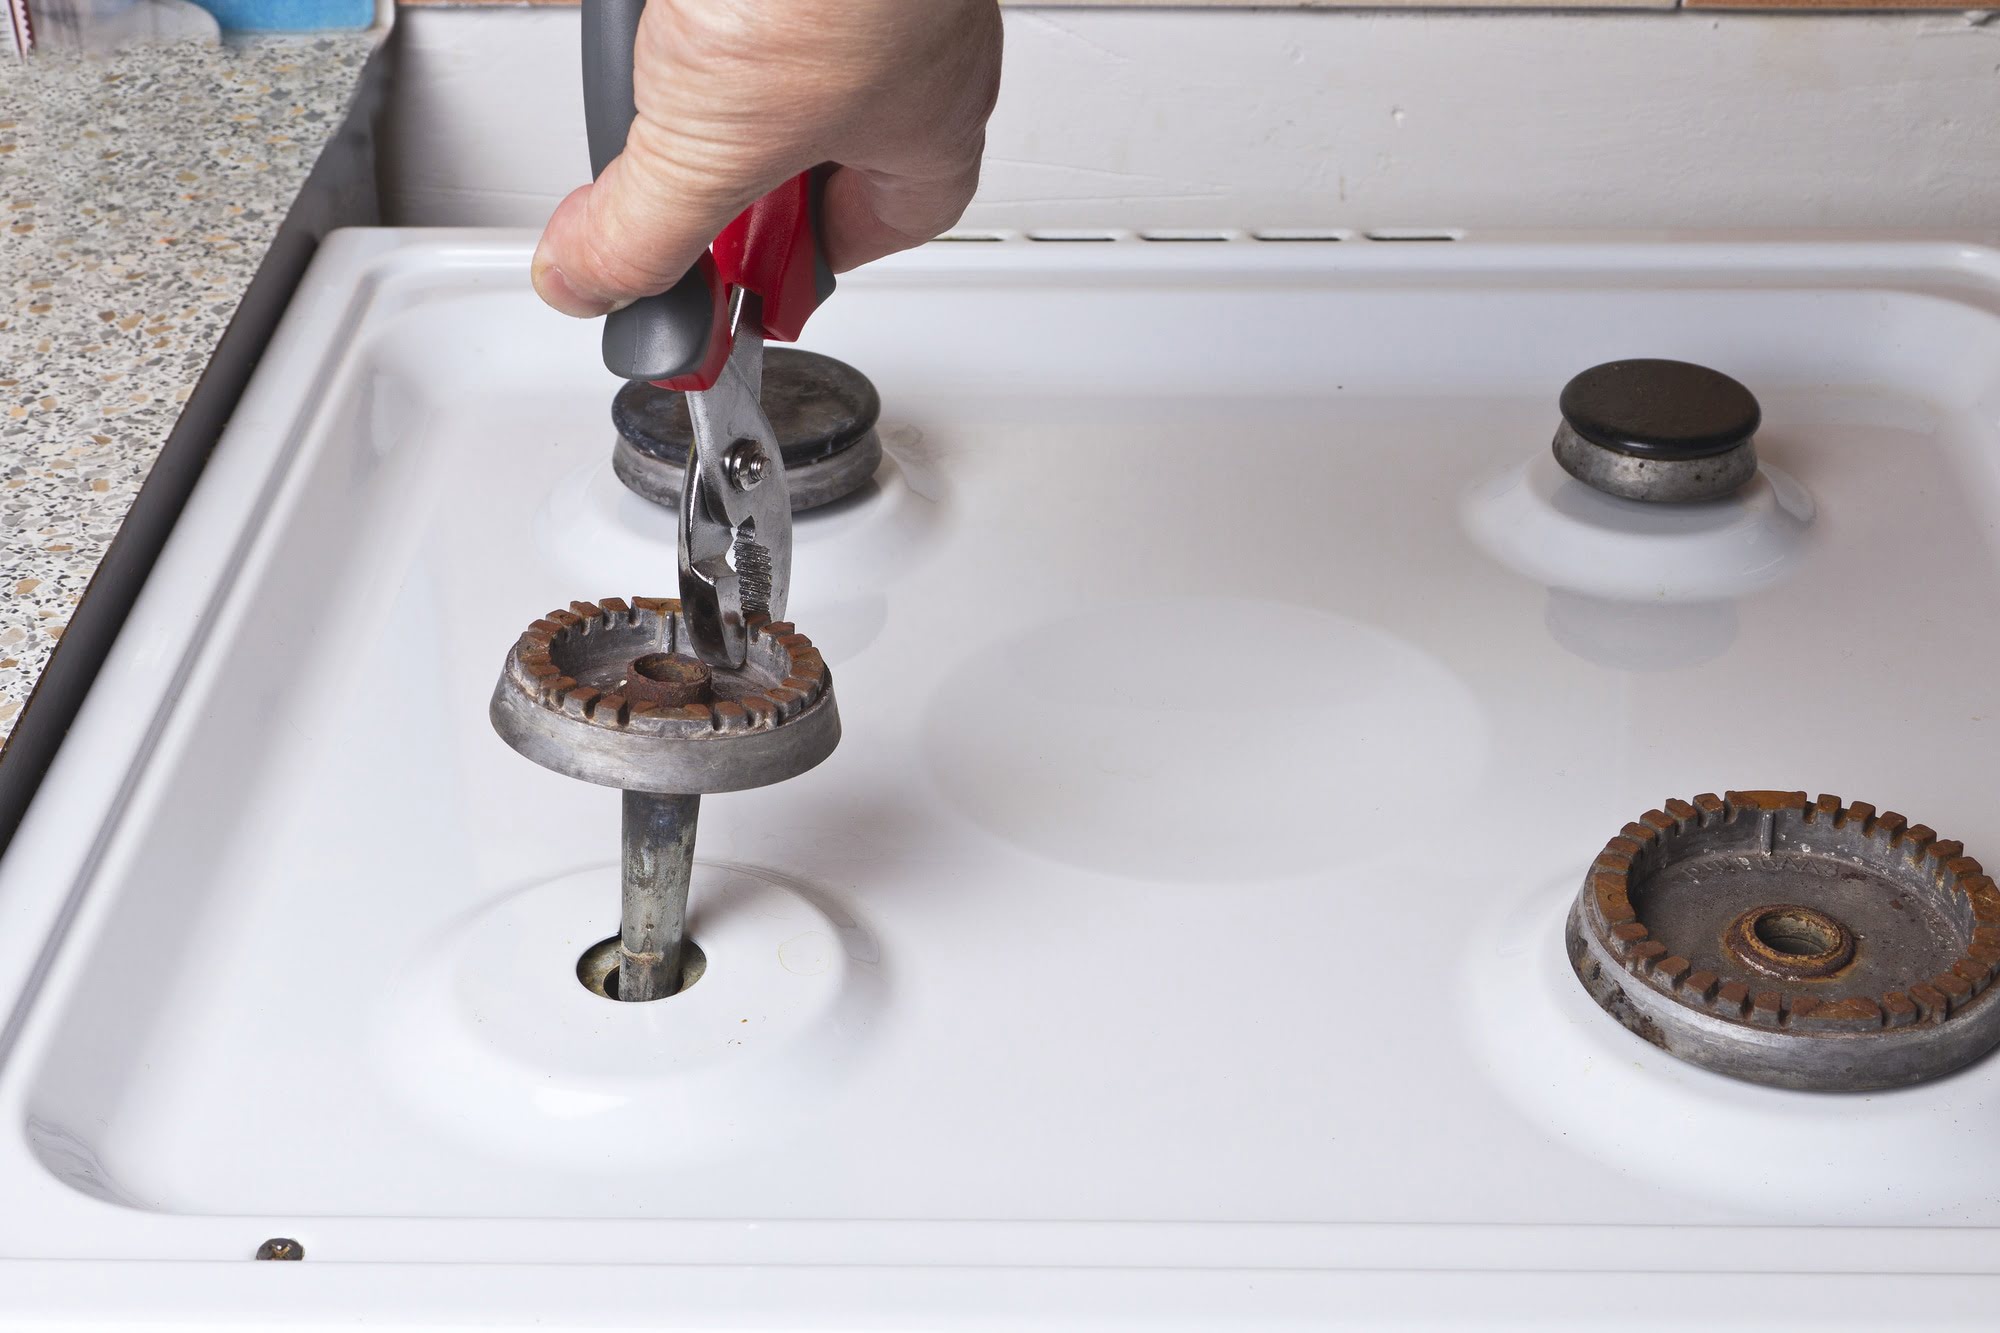
Step 4: Remove the Burner Caps
Now that you have cleaned the burner grates, it’s time to focus on the burner caps. These caps are located underneath the burner grates and can also accumulate grease and grime. Here’s how you can remove the burner caps:
- Ensure that the stove is turned off and the burners are completely cool before proceeding.
- Locate the burner caps on the stove’s surface. They are typically circular or square-shaped and rest on top of the burners.
- Gently lift and remove the burner caps from the stove. They may be secured in place with clips or retainers, so be careful not to force them.
- Place the removed burner caps aside on a clean surface or in the sink for further cleaning.
Similar to the burner grates, removing the burner caps allows for easier access and a more thorough cleaning. With the burner caps removed, we can proceed to the next step: cleaning them.
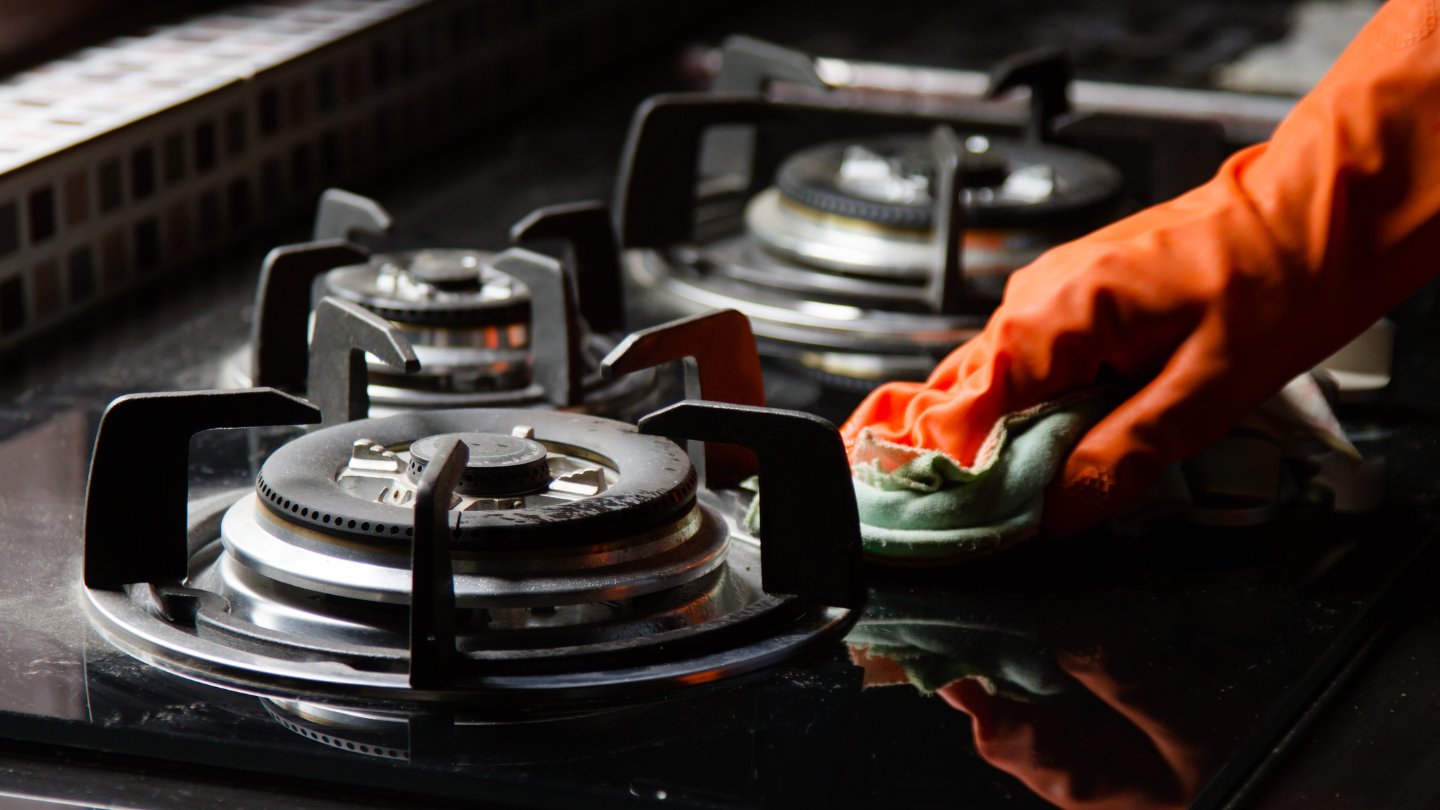
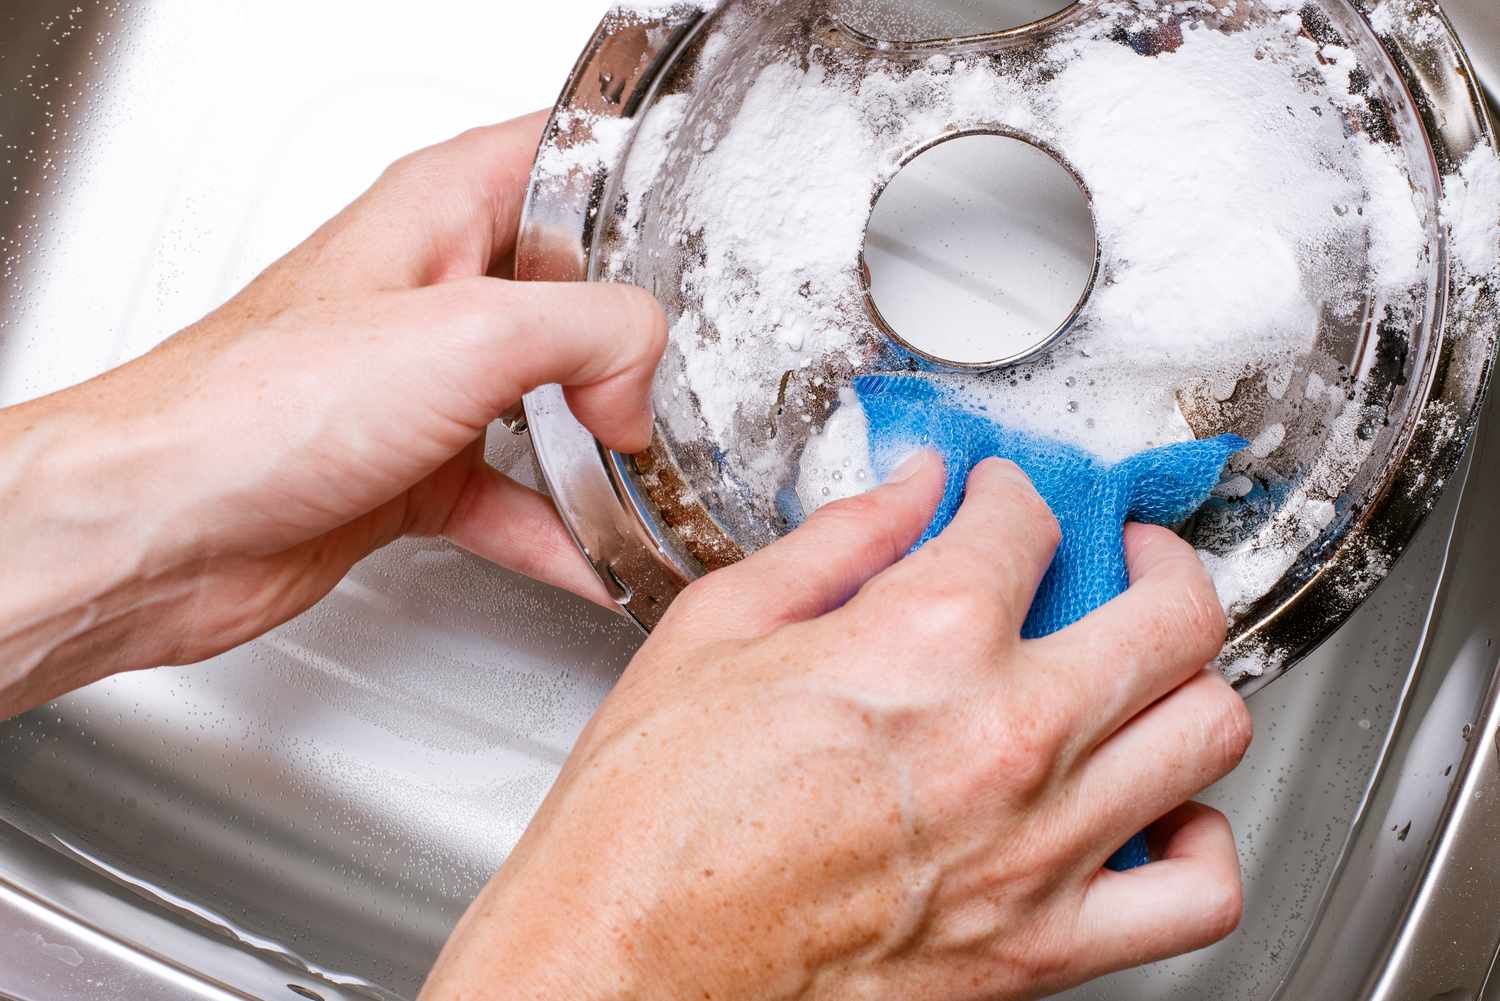
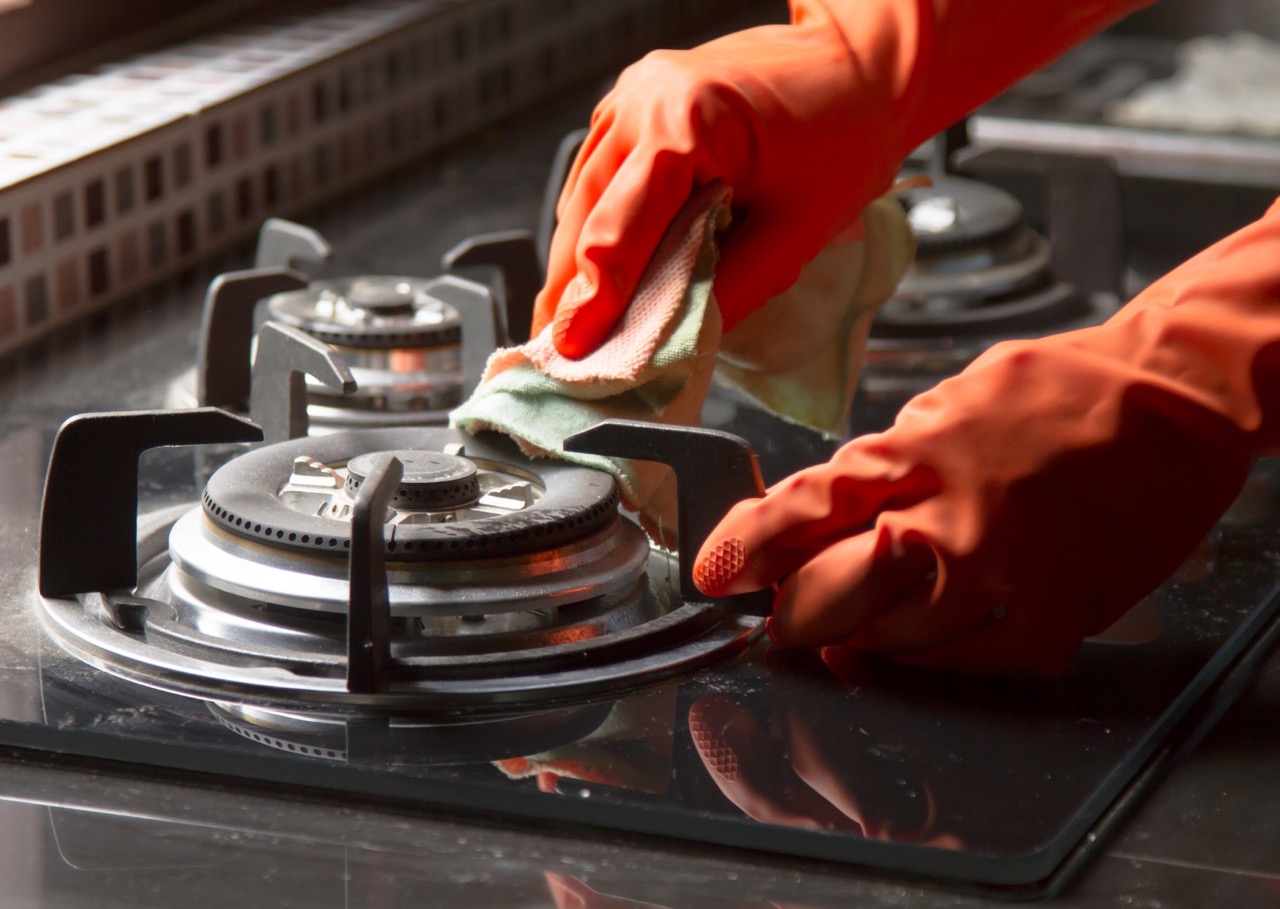
Step 5: Clean the Burner Caps
Now that you have removed the burner caps, it’s time to give them a good cleaning. Follow these steps to effectively clean your burner caps:
- Fill a basin or sink with warm water.
- Add a few drops of dish soap to the water and mix it well.
- Place the burner caps into the soapy water, ensuring that they are fully submerged.
- Allow the burner caps to soak for about 15-20 minutes to loosen any grease and grime.
- Using a scrub brush or toothbrush, scrub the burner caps to remove any remaining residue. Pay extra attention to any stubborn stains or greasy areas.
- Rinse the burner caps thoroughly with clean water to remove any soap or loosened grime.
- Inspect the burner caps to ensure they are clean and free of any residue. If necessary, repeat the process.
After cleaning the burner caps, give them a final rinse to ensure that no soapy residue remains. You can set them aside on a towel or dish rack to air dry. Now that the burner caps are cleaned, we can move on to the next step: cleaning the stove surface.
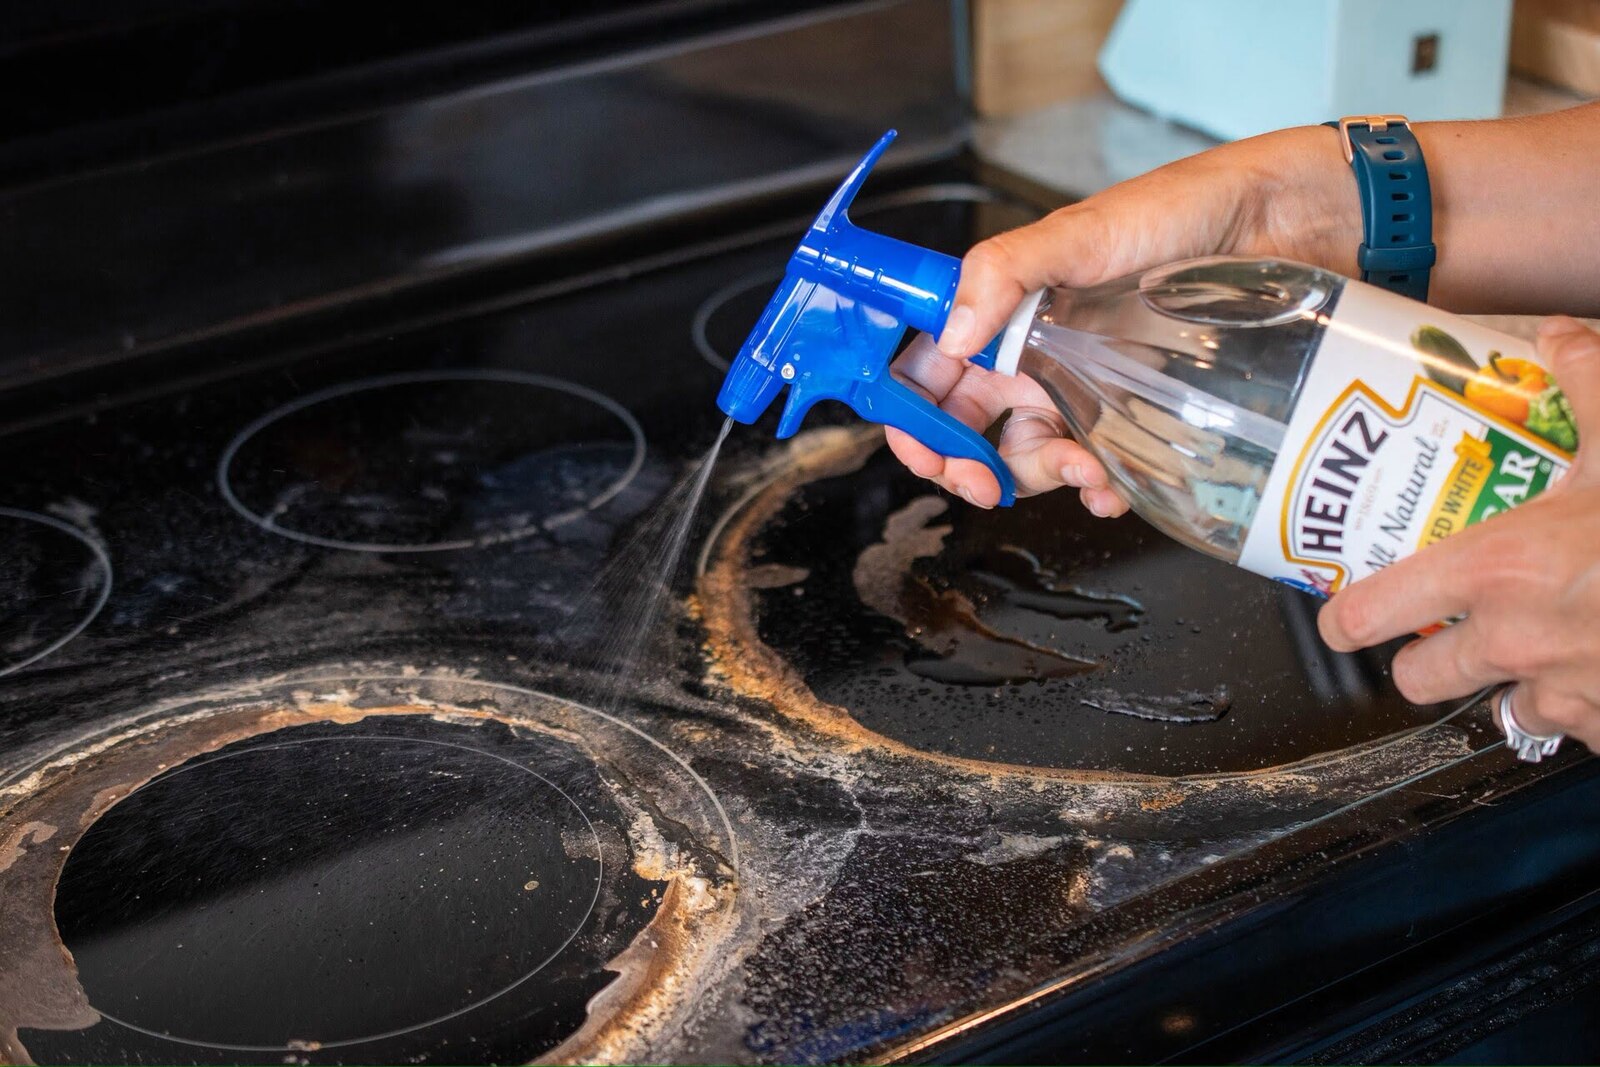
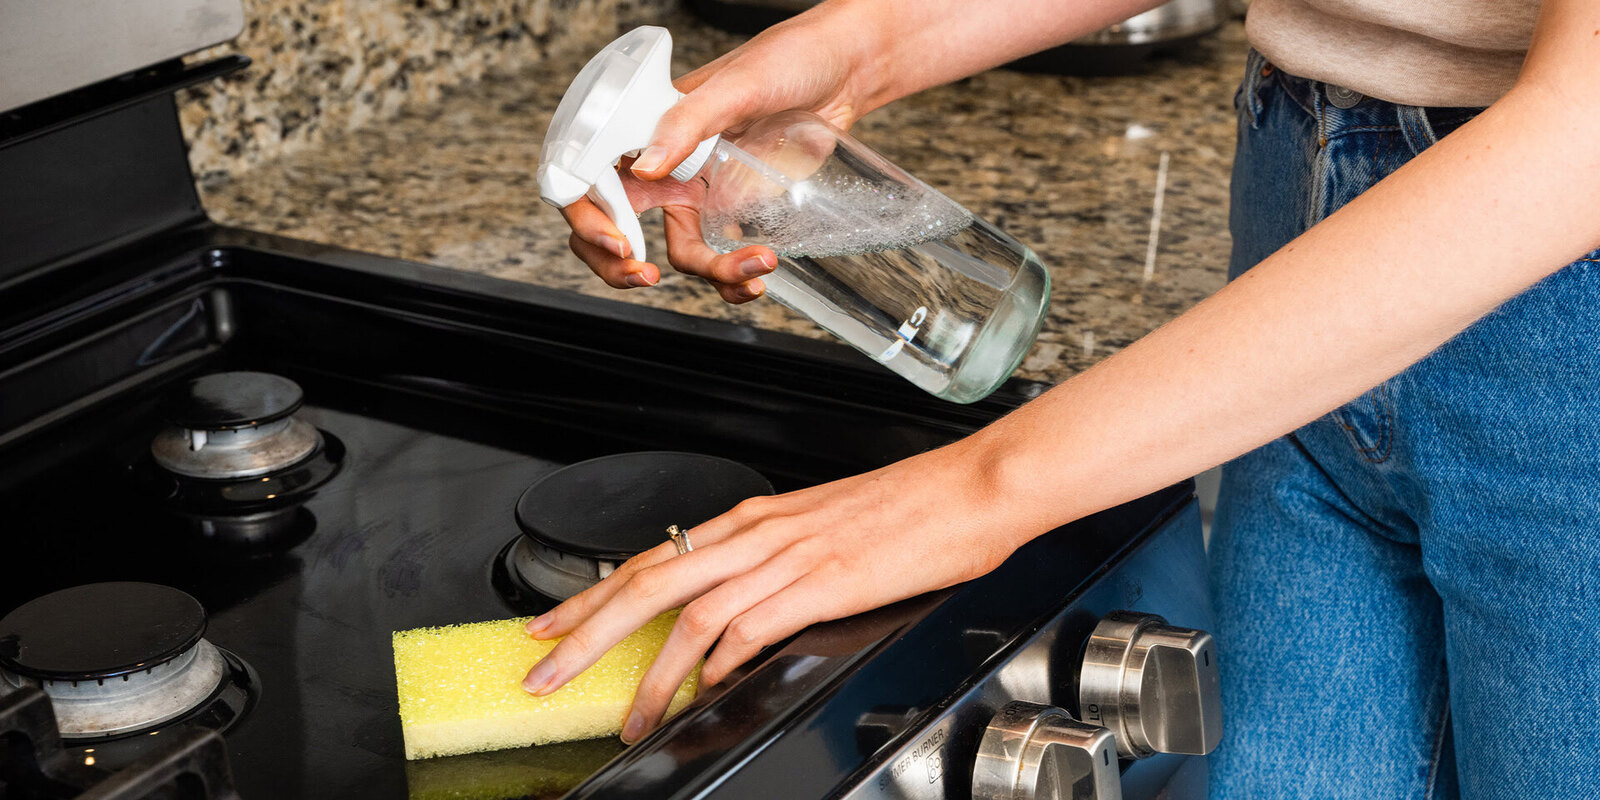
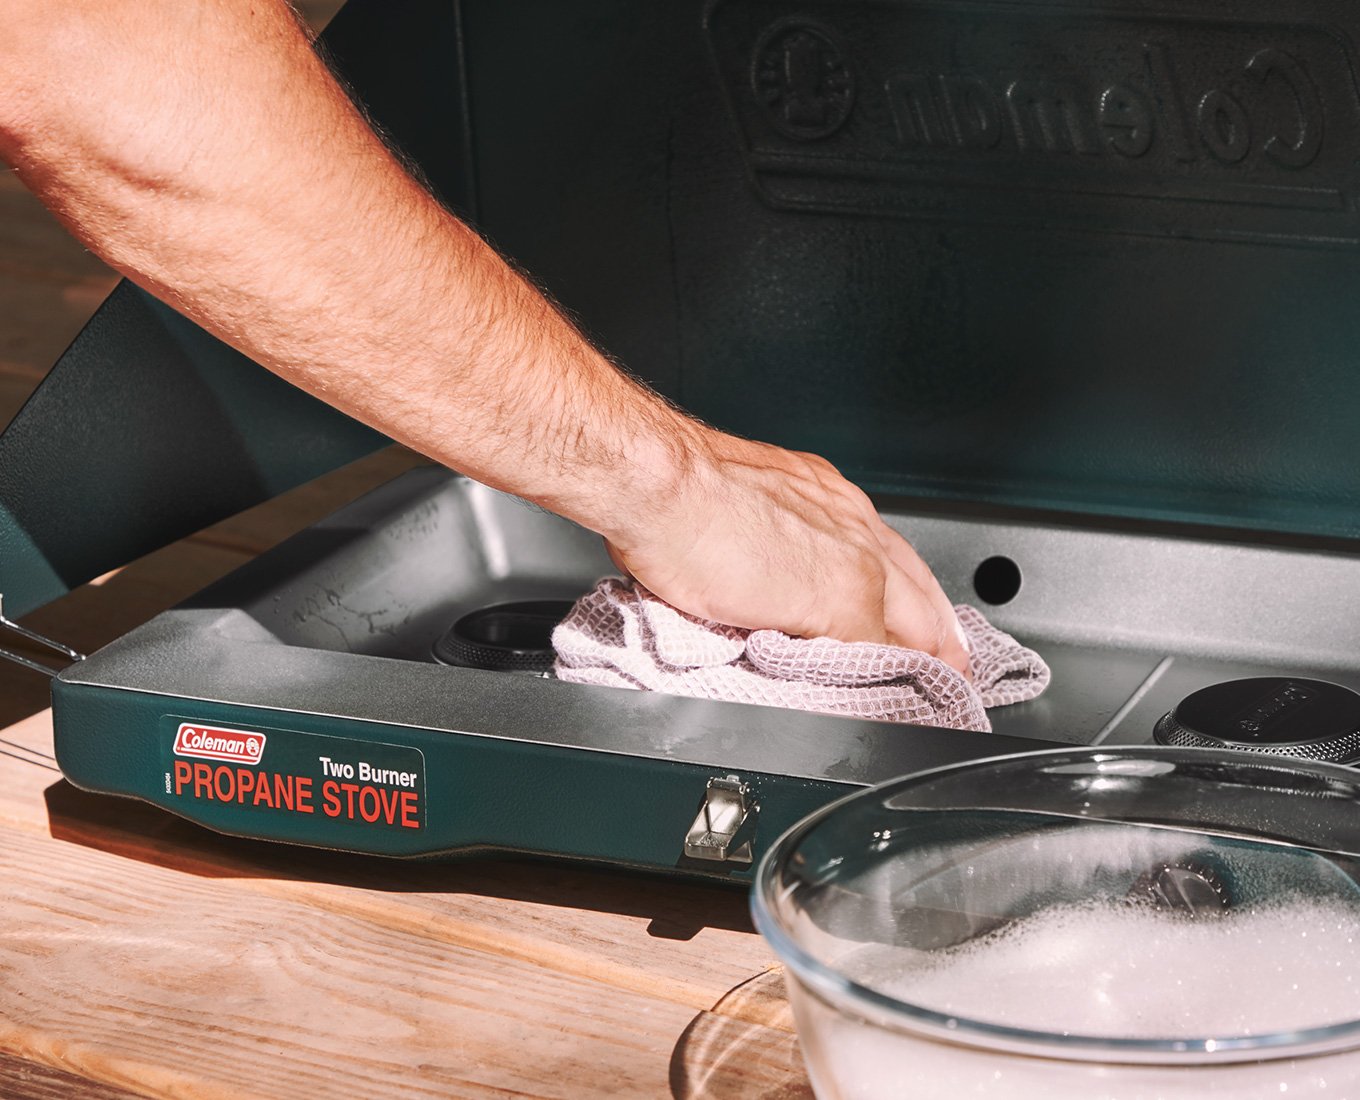
Step 6: Clean the Stove Surface
With the burner grates and caps cleaned, it’s time to focus on the stove surface itself. This step will help remove any remaining grease or food particles and leave your stove looking fresh and sparkling. Follow these steps to clean the stove surface:
- Remove any loose debris or crumbs from the stove surface using a brush or a damp cloth.
- Create a cleaning solution by mixing equal parts water and white vinegar in a spray bottle.
- Spray the cleaning solution onto the stove surface, focusing on any greasy or heavily soiled areas.
- Allow the solution to sit for a few minutes to help loosen the grease and grime.
- Using a clean sponge or cloth, scrub the stove surface in circular motions to remove the dirt and grease.
- If there are stubborn stains or greasy spots, sprinkle some baking soda on them and gently scrub.
- Rinse the stove surface with clean water to remove any cleaning solution or baking soda residue.
- Dry the stove surface thoroughly with a microfiber cloth or paper towels.
By cleaning the stove surface, you ensure that it is free from any remaining dirt or grease. This step not only enhances the appearance of your stove but also promotes a hygienic cooking environment. With the stove surface cleaned, we can now move on to the final step: reassembling the burner grates and caps.
Step 7: Reassemble the Burner Grates and Caps
Now that you have cleaned all the individual components, it’s time to reassemble the burner grates and caps back onto your stove. Follow these steps to ensure proper reassembly:
- Make sure the stove surface is completely dry before proceeding.
- Take one of the burner grates and align it with its corresponding burner on the stove.
- Gently lower the grate onto the burner, ensuring that it is properly aligned and sits securely in place.
- Repeat the process for the remaining burner grates, placing each one in its designated spot on the stove.
- Next, take the burner caps and position them over the burners, making sure they fit snugly.
- Press down gently on each cap to ensure they are properly secured in place.
By reassembling the burner grates and caps correctly, you ensure that they function properly and provide an even cooking surface. Double-check to ensure that all the components are aligned and securely in place before using your stove.
Now that you have successfully cleaned and reassembled your kitchen stove burners, step back and appreciate the results of your hard work. Not only will your burners look brand new, but they will also perform at their best, ensuring optimal cooking results for your favorite meals.
Regularly cleaning your kitchen stove burners is an important part of household maintenance. It not only improves the aesthetics of your kitchen but also promotes a hygienic and safe cooking environment. By following these simple steps and using common household materials, you can keep your burners clean and functioning efficiently for years to come.
Happy cooking!
Read more: How To Clean Coil Stove Burners
Conclusion
Cleaning your kitchen stove burners may seem like a daunting task, but with the right approach and materials, it can be a straightforward and rewarding process. By following the step-by-step guide provided in this article, you can effectively remove grease, grime, and food residue from your burners, ensuring they remain clean and functional.
Remember to gather the basic materials needed, such as mild dish soap, baking soda, white vinegar, a scrub brush, and a clean cloth. These common household items can work wonders in restoring your burners to their original shine.
Start by removing the burner grates and soaking them in warm, soapy water. This will help loosen any stubborn residue. Then, scrub the grates with a brush and rinse them thoroughly.
Next, remove the burner caps and soak them in soapy water as well. Scrub them to remove any remaining grime and rinse them clean.
Clean the stove surface by using a mixture of water and white vinegar. Scrub away any grease or stains, and don’t forget to dry the surface thoroughly to prevent any water damage.
Finally, reassemble the burner grates and caps, making sure they are securely in place. Admire your sparkling clean kitchen stove burners and enjoy the benefits of improved performance and hygiene.
Regularly cleaning your kitchen stove burners not only enhances the appearance of your kitchen but also ensures safe and efficient cooking. By taking the time to care for this essential appliance, you’re investing in the longevity of your stove and creating a more enjoyable cooking experience.
So, the next time your stove burners need a deep clean, refer back to this article and follow the step-by-step process. Your kitchen will thank you for it!
Frequently Asked Questions about How To Clean Kitchen Stove Burners
Was this page helpful?
At Storables.com, we guarantee accurate and reliable information. Our content, validated by Expert Board Contributors, is crafted following stringent Editorial Policies. We're committed to providing you with well-researched, expert-backed insights for all your informational needs.


0 thoughts on “How To Clean Kitchen Stove Burners”