Articles
How To Clean A Floor Fan
Modified: October 19, 2024
Learn effective methods and tips for cleaning your floor fan with this comprehensive article. Keep your fan running smoothly and efficiently with our expert advice.
(Many of the links in this article redirect to a specific reviewed product. Your purchase of these products through affiliate links helps to generate commission for Storables.com, at no extra cost. Learn more)
Introduction
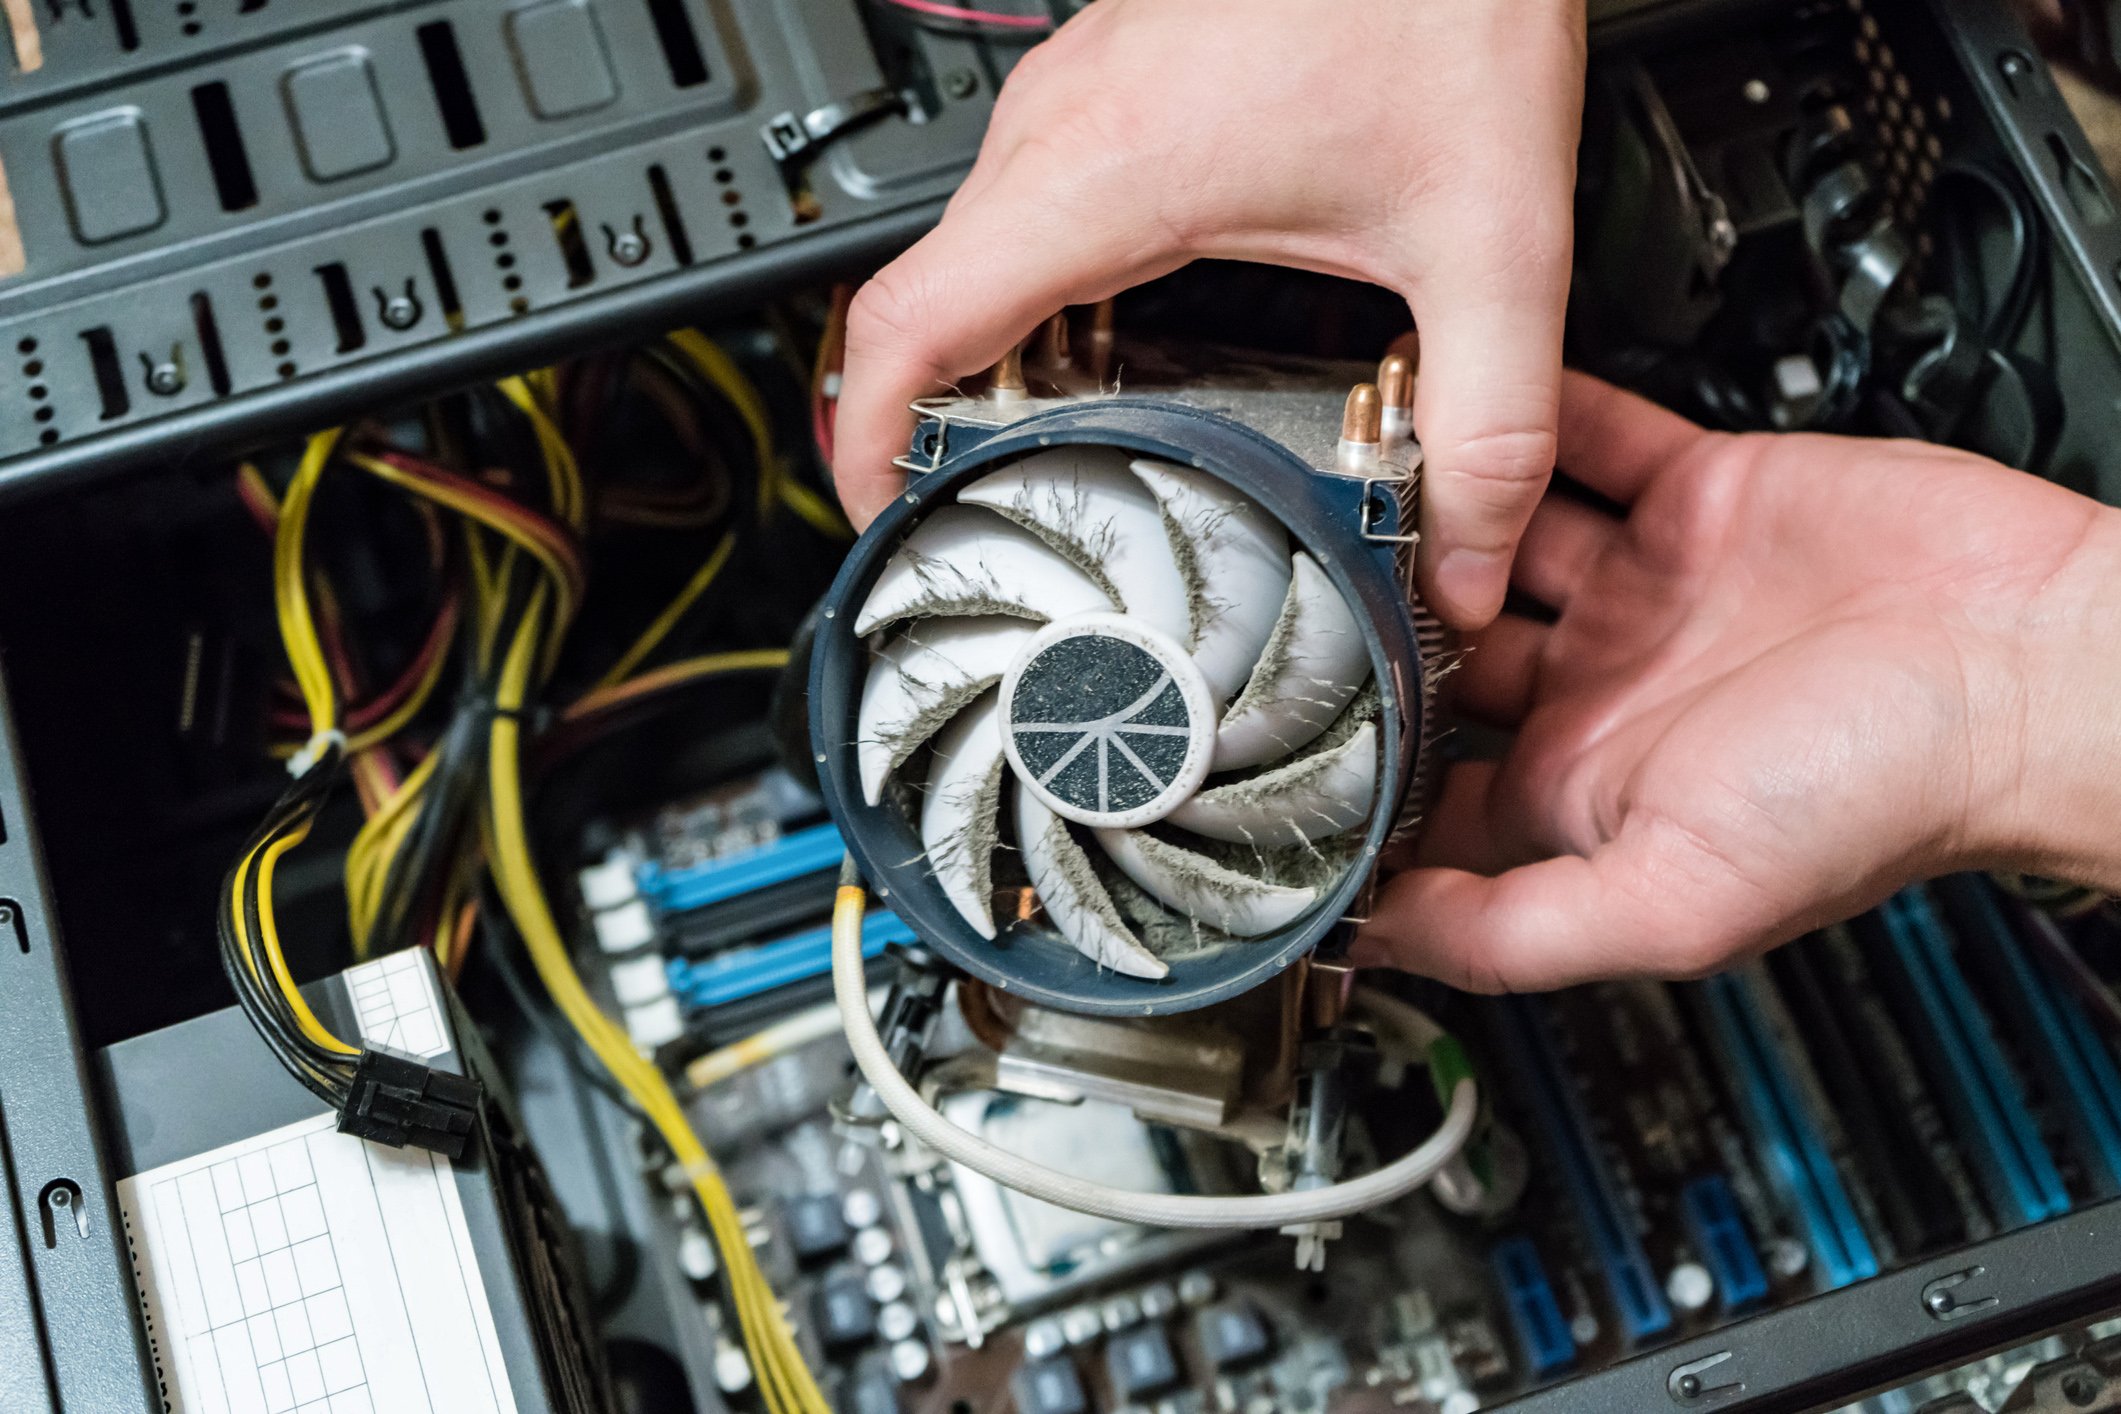
Welcome to our comprehensive guide on how to clean a floor fan. Having a floor fan can greatly enhance the airflow and comfort in your home or office space, but over time, it can accumulate dust, dirt, and other debris, which can affect its performance. Regular cleaning of your floor fan is essential to maintain its functionality and extend its lifespan.
In this article, we will walk you through the step-by-step process of cleaning a floor fan, ensuring that you can enjoy its cooling benefits without any obstructions. But before we dive into the cleaning process, let’s go over some important safety precautions to keep in mind.
Key Takeaways:
- Regularly cleaning your floor fan is crucial for maintaining its performance and extending its lifespan. Follow safety precautions, gather necessary tools, and clean each component thoroughly to ensure optimal airflow and functionality.
- Incorporate regular maintenance, such as dusting and checking for loose parts, to keep your floor fan running smoothly. Prioritize safety, follow manufacturer’s guidelines, and enjoy the benefits of a clean and well-maintained appliance.
Read more: How To Clean A Floor
Safety Precautions
Before you begin cleaning your floor fan, it’s crucial to prioritize your safety. Here are some essential safety precautions to follow:
- Ensure that the floor fan is completely unplugged from the power source before starting the cleaning process. This will prevent any accidental electric shock.
- Place your floor fan on a stable and flat surface to avoid any potential accidents or damage.
- Wear protective gear such as gloves and safety goggles to shield yourself from dirt, dust, and any cleaning solutions you may be using.
- If your floor fan has been in use recently, allow it to cool down for a few minutes before you begin disassembling it. This will prevent any burns or injuries.
- Read the manufacturer’s manual or instructions specific to your floor fan model to understand any additional safety precautions or recommendations.
Following these safety precautions will minimize any potential risks and ensure a safe cleaning process.
Gather Necessary Tools and Supplies
Before you start cleaning your floor fan, it’s important to gather the necessary tools and supplies. Having these items on hand will make the cleaning process more efficient. Here are the essential tools and supplies you’ll need:
- Soft-bristled brush or microfiber cloth: These will be used to remove dust and debris from the fan blades and grill.
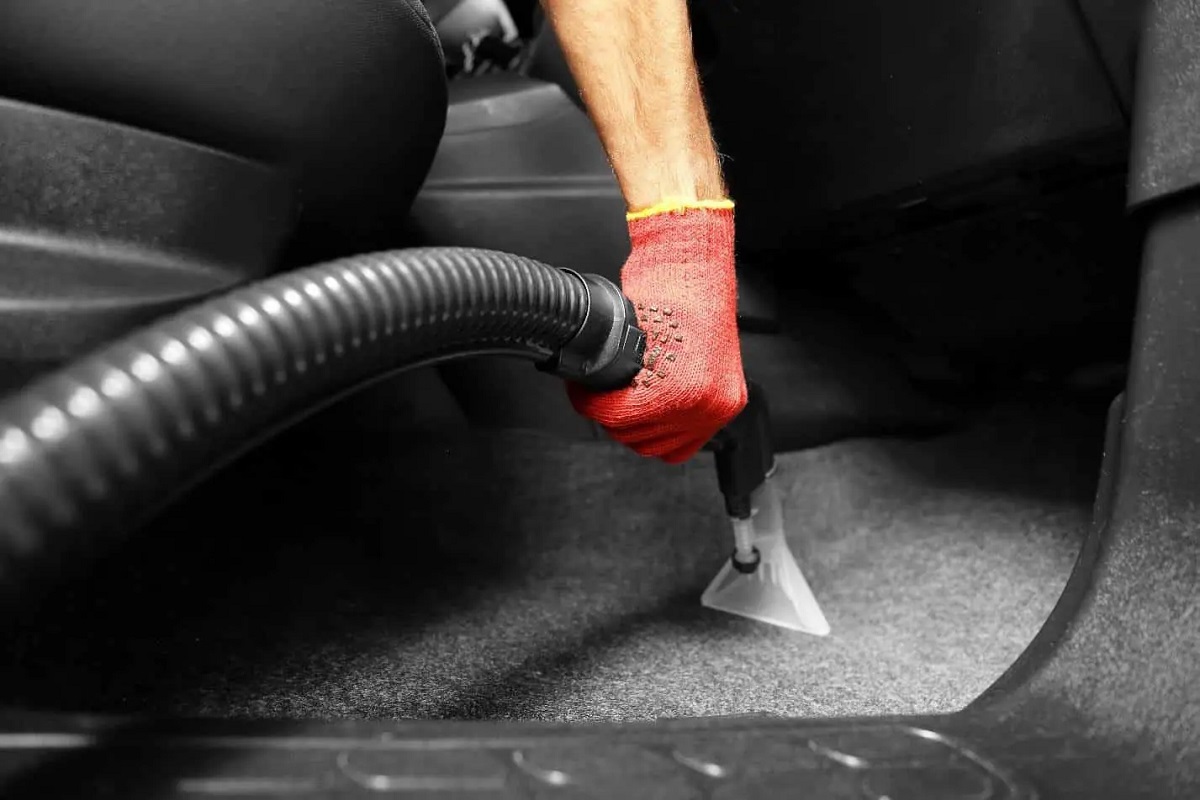
- Vacuum cleaner with brush attachment: This will help in sucking up any loose dirt or dust.
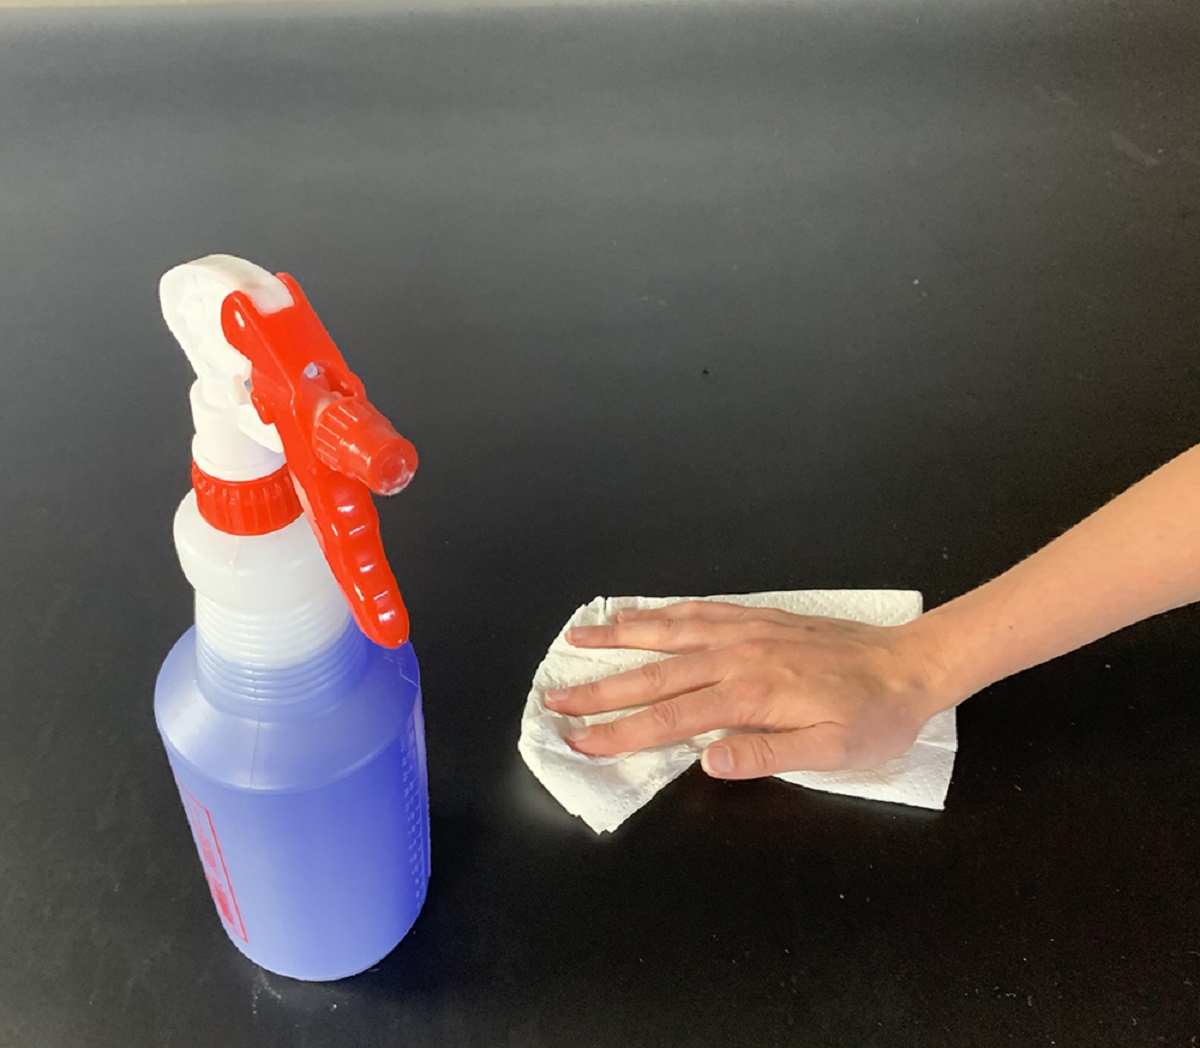
- Mild detergent or cleaning solution: You can use a gentle dish soap or a specialized fan cleaning solution.
- Bucket of warm water: This will be used to dilute the cleaning solution.
- Screwdriver: Some floor fans may require disassembly, so having a screwdriver handy will be useful.
- Lint-free cloth: This will be used to wipe down the fan parts after cleaning.
Make sure to have these tools and supplies readily available before starting the cleaning process. By doing so, you’ll be well-prepared to tackle the task at hand.
Unplug the Fan
Before you begin cleaning your floor fan, it is crucial to ensure that it is completely unplugged from the power source. This step is important for your safety and to avoid the risk of electric shock while handling the fan components.
Locate the power cord of your floor fan and follow it to the outlet. Safely unplug the fan from the power source, and if necessary, remove any batteries if your fan operates on them.
Once the fan is unplugged, it is wise to wait for a few minutes to allow the fan to cool down, especially if it has been in use recently. This will prevent any burns or injuries that may occur from touching hot surfaces.
Remember, safety should always be your top priority when working with electrical appliances. Taking the time to unplug your fan will ensure that you can clean it without any risk of electrical accidents.
Disassemble the Fan
Now that your floor fan is unplugged and safe to handle, it’s time to disassemble it. Not all fans require complete disassembly, so refer to your fan’s instruction manual for specific guidance. However, most floor fans have similar disassembly steps:
- Remove the front grill: The front grill is usually held in place by clips, screws, or latches. Use a screwdriver or your fingers to loosen and remove the grill.
- Detach the fan blades: Once the grill is removed, the fan blades will be exposed. Depending on the design of your fan, the blades may be secured in place with screws or clips. Loosen these fastenings and gently remove the blades.
- Remove the rear grill: In some models, there may be a rear grill that also needs to be detached. Follow a similar process as you did with the front grill to remove it.
As you disassemble the fan, it’s a good practice to keep the screws, clips, and any other small hardware in a safe place so that you don’t misplace them.
If you encounter any difficulties during the disassembly process or are unsure about how to proceed, refer to the manufacturer’s instructions or seek assistance from a professional.
Once the fan is disassembled, you can move on to cleaning the individual components to remove dirt, dust, and grime.
Read more: How To Clean Dyson Fan
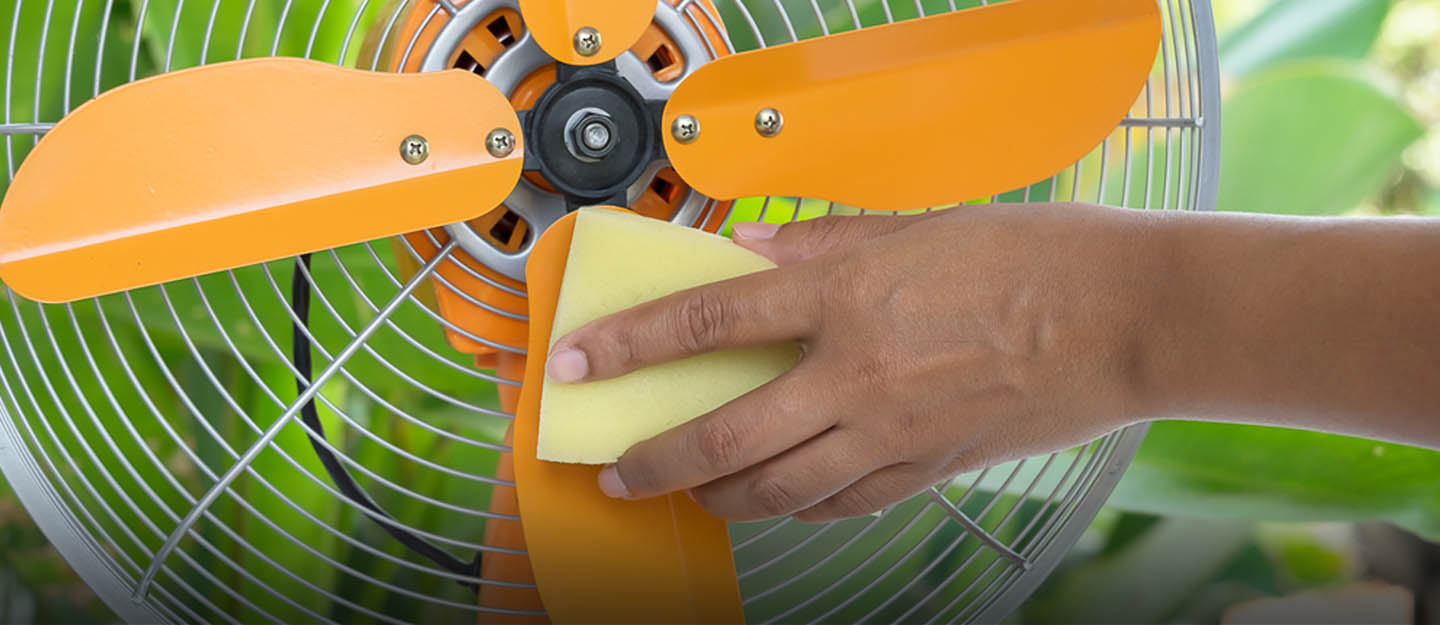
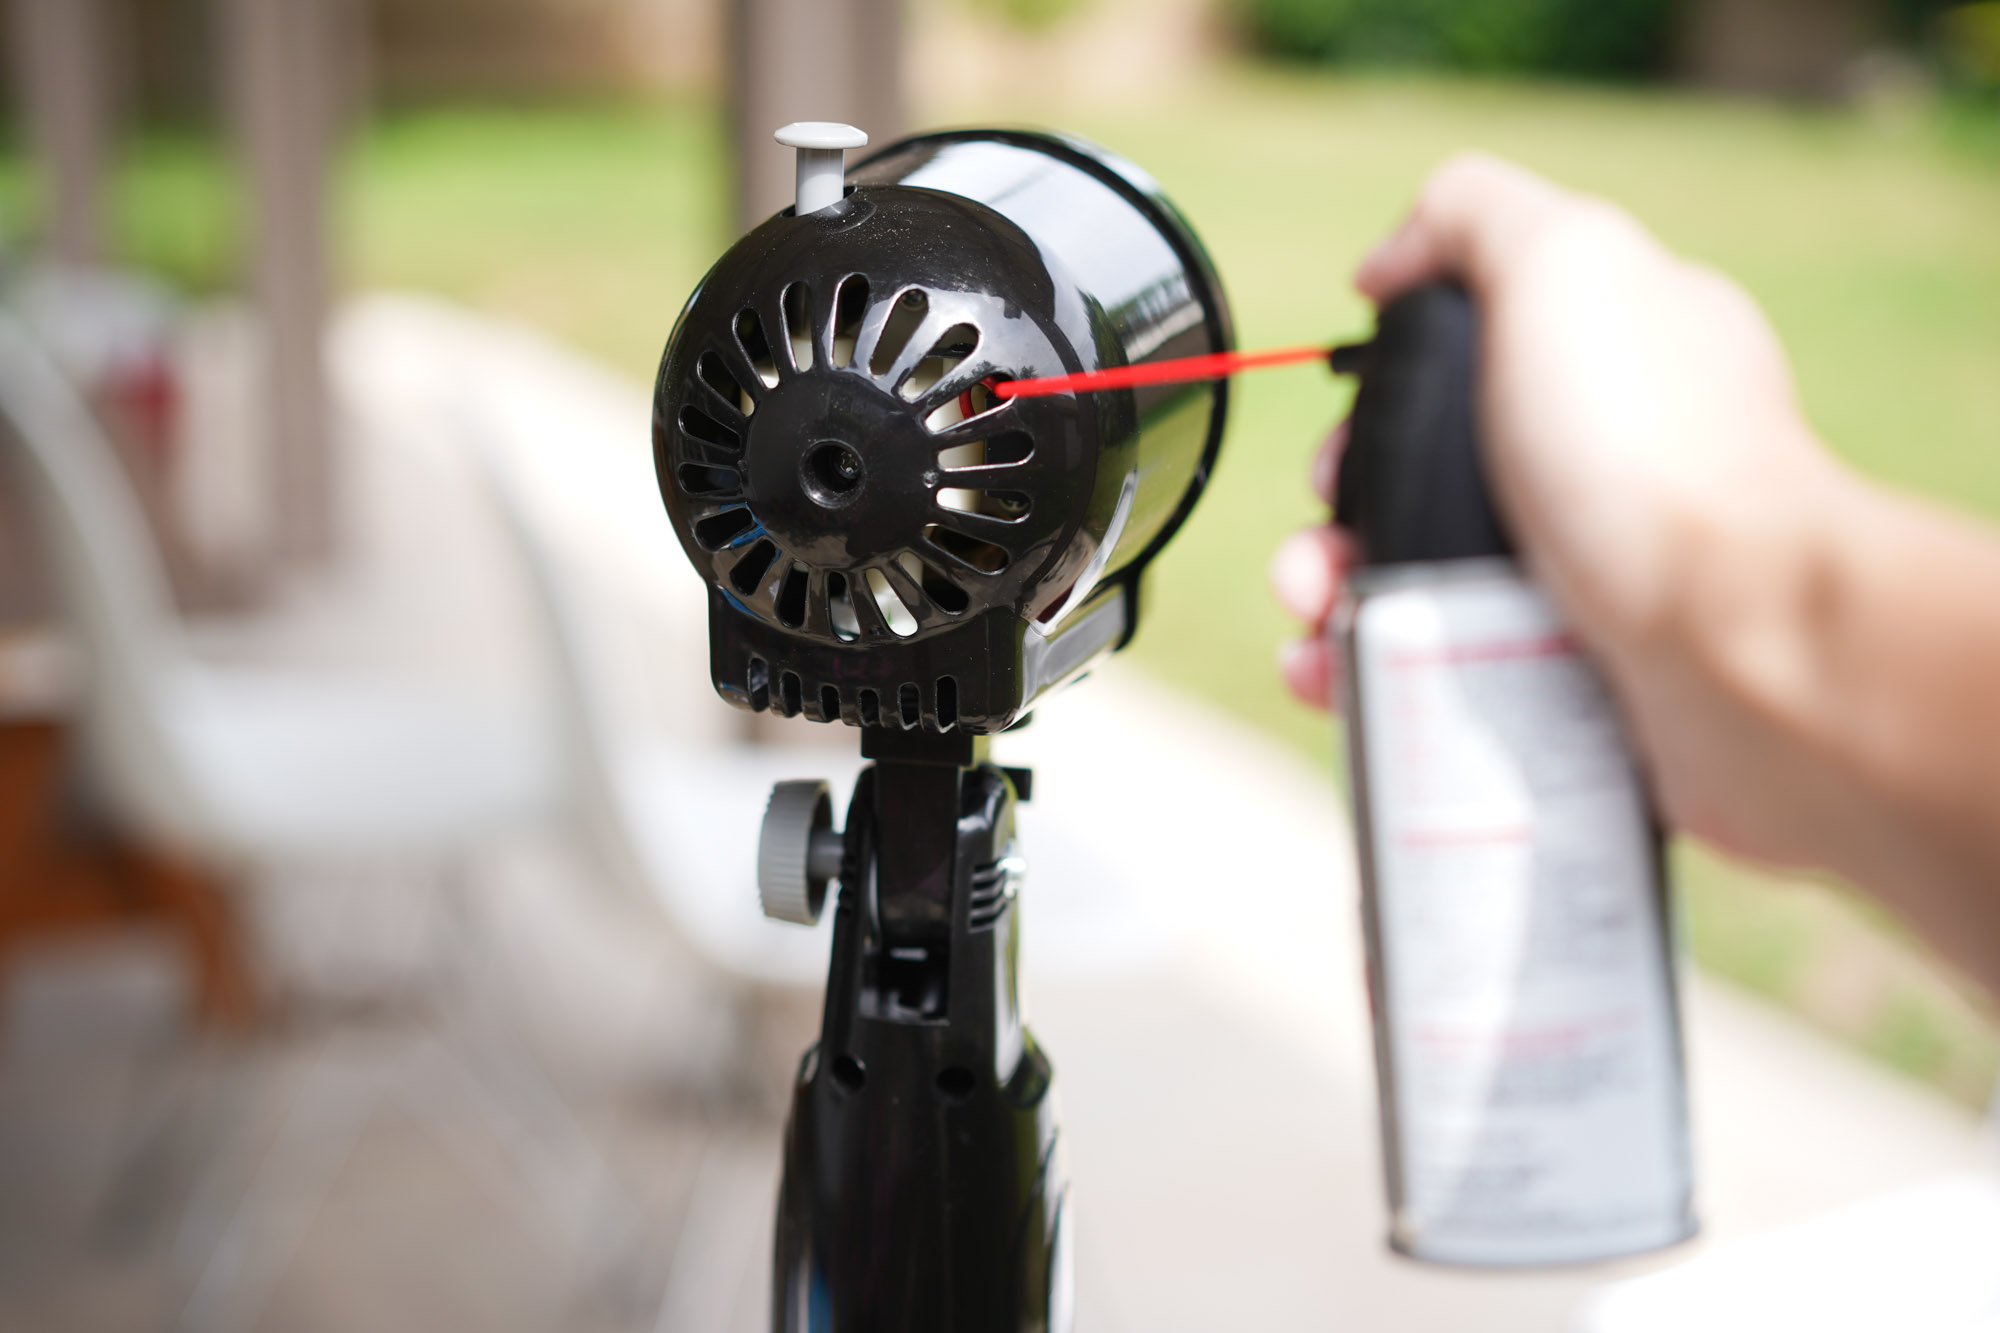
Clean the Fan Blades
Now that your fan is disassembled, it’s time to start cleaning the fan blades. Over time, the blades can accumulate dust, dirt, and other debris, which can affect the fan’s efficiency and airflow. Follow these steps to effectively clean the fan blades:
- Prepare a cleaning solution: In a bucket of warm water, mix a small amount of mild detergent or fan cleaning solution. Avoid using harsh chemicals that might damage the fan blades.
- Dip a soft-bristled brush or microfiber cloth into the cleaning solution: Make sure the brush or cloth is damp, not soaking wet.
- Gently brush or wipe each blade: Starting from the center of the blade, move towards the outer edge in a sweeping motion. Pay attention to both sides of the blade and remove any dust or dirt buildup. If necessary, repeat the process for heavily soiled areas.
- Wipe the blades dry: After cleaning each blade, use a lint-free cloth to wipe off any excess moisture. Ensure that the blades are completely dry before reassembling the fan.
It’s important to be gentle while cleaning the fan blades to avoid bending or damaging them. Take your time and thoroughly clean each blade to ensure optimal performance.
If the fan blades are especially dirty or greasy, you can use a specialized degreasing cleaner or a mild vinegar solution to help break down the grime. However, be sure to follow the manufacturer’s instructions and test the cleaner on a small, inconspicuous area of the blade first to ensure it won’t cause any damage.
Once the blades are clean and dry, you can proceed to clean the other fan components.
To clean a floor fan, start by unplugging it and removing the front grill. Use a vacuum with a brush attachment to remove dust and debris. Then, use a damp cloth to wipe down the blades and grill. Allow the fan to dry completely before reassembling.
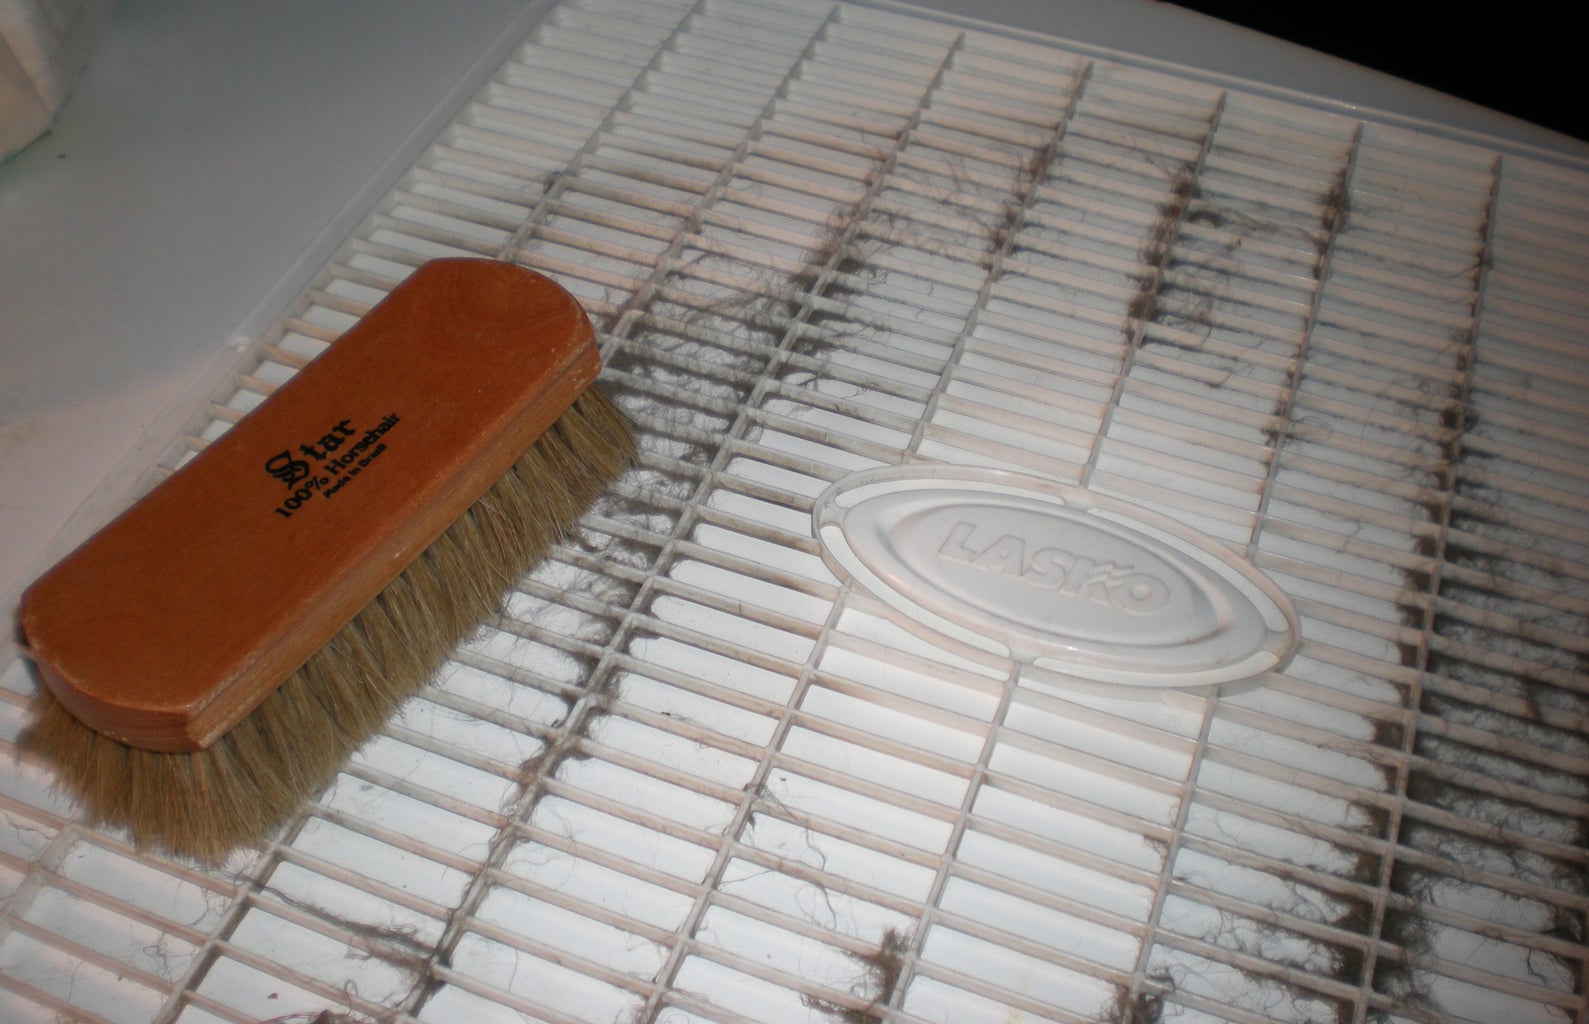
Clean the Fan Grill
After cleaning the fan blades, it’s time to focus on cleaning the fan grill. The fan grill is the protective cover that surrounds the blades and helps to prevent accidental contact. Follow these steps to effectively clean the fan grill:
- Remove any loose debris: Use a soft-bristled brush or a vacuum cleaner with a brush attachment to gently remove any loose dust or debris from the grill. Be thorough, paying attention to the front and back of the grill.
- Prepare a cleaning solution: In a bucket of warm water, add a small amount of mild detergent or fan cleaning solution. Ensure that the solution is well-mixed.
- Dip a soft-bristled brush or microfiber cloth into the cleaning solution: Make sure the brush or cloth is damp, not soaking wet.
- Gently scrub the grill: Starting from one corner, work your way across the grill in small circular motions, applying gentle pressure to remove any dirt or grime. Pay close attention to the areas around the fan blades, as these can accumulate the most dust.
- Rinse the grill: Once the grill is clean, rinse it thoroughly with clean water to remove any soap residue.
- Wipe the grill dry: Use a lint-free cloth to wipe off any excess water and ensure that the grill is completely dry before reassembling the fan.
It’s essential to be gentle while cleaning the fan grill to avoid bending or damaging it. Take your time and pay attention to detail to achieve a thorough cleaning.
If the fan grill is removable, you may also consider soaking it in the cleaning solution for a few minutes to help loosen any stubborn grime. However, check the manufacturer’s instructions to ensure that the grill is safe to submerge in water.
Once the grill is clean and dry, you can move on to cleaning the fan stand or base.
Clean the Fan Stand or Base
Now that the fan blades and grill are clean, it’s time to turn your attention to the fan stand or base. The stand or base of the floor fan can accumulate dust, dirt, and other debris, so it’s important to give it a thorough cleaning. Follow these steps to effectively clean the fan stand or base:
- Prepare a cleaning solution: In a bucket of warm water, add a small amount of mild detergent or fan cleaning solution. Ensure that the solution is well-mixed.
- Dip a soft-bristled brush or microfiber cloth into the cleaning solution: Make sure the brush or cloth is damp, not soaking wet.
- Gently scrub the stand or base: Start by focusing on the exterior surfaces and corners of the stand or base. If there are any stubborn stains or dirt buildup, apply a bit more pressure while scrubbing. Pay attention to any crevices or areas that tend to collect dust.
- Rinse with clean water: Once the stand or base is clean, rinse it thoroughly with clean water to remove any soap residue.
- Wipe dry: Use a lint-free cloth to wipe off any excess water and ensure that the stand or base is completely dry. Pay special attention to any areas where water might have accumulated, such as joints or screws.
It’s important to clean the fan stand or base not only for aesthetic reasons but also to ensure that there are no obstructions or dirt particles that could affect the fan’s stability or performance.
If the fan stand or base has any specific cleaning instructions provided by the manufacturer, be sure to follow those recommendations to avoid any potential damage.
With the fan stand or base thoroughly cleaned, you can now move on to reassembling the fan.
Reassemble the Fan
After thoroughly cleaning the fan components, it’s time to reassemble your floor fan. Follow these steps to ensure a proper reassembly:
- Start with the fan blades: Carefully align the fan blades with the motor shaft and slide them back into place. Make sure they are secure and properly positioned.
- Attach the rear grill: If your fan has a rear grill, position it over the fan blades and align the screw holes or clips. Secure it in place according to the manufacturer’s instructions.
- Secure the front grill: Align the front grill with the fan blades and gently press it into place. Use the screws, clips, or latches to secure it in position. Ensure that the grill is properly aligned and there are no loose parts.
As you reassemble the fan, double-check that all the parts fit together correctly and there are no gaps or loose connections. If any screws or clips are missing or damaged, refer to the manufacturer’s instructions for replacement options.
Take your time during the reassembly process to ensure that all the components are properly aligned and securely fastened. This will help prevent any issues when you test the fan’s functionality.
With the fan reassembled, it’s time to plug it in and test its performance.
Read more: How To Clean A Window Fan
Plug in and Test the Fan
Now that you have successfully reassembled your floor fan, it’s time to plug it in and test its performance. Follow these steps to ensure that your fan is working properly:
- Ensure the fan is on a stable surface: Place the fan on a flat and stable surface where it can operate safely without any risk of tipping over.
- Plug in the fan: Carefully insert the fan’s plug into a nearby power outlet. Make sure the plug is fully inserted and secure.
- Turn on the fan: Locate the fan’s power switch or control panel and turn it on. You should hear the fan blades start to rotate and feel the airflow being generated.
- Check for any unusual noises or vibrations: While the fan is running, listen for any unusual noises and observe if there are any excessive vibrations. If you notice anything unusual, immediately turn off the fan and investigate the issue. It could signal a problem that needs to be addressed.
- Ensure proper airflow: Stand in front of the fan and feel the airflow. It should be strong and consistent. If the airflow seems weak or irregular, double-check that all the fan components are properly assembled.
If everything appears to be functioning correctly, congratulations! You have successfully cleaned and tested your floor fan. Enjoy the fresh and cool air it provides.
However, if you encounter any issues during the testing process or notice any persistent problems with your fan’s performance, it may be necessary to troubleshoot further or seek professional assistance.
Remember to unplug the fan when you are finished testing or when it is not in use to conserve energy and prevent any accidental damage.
Tips for Maintenance
To ensure that your floor fan continues to operate effectively and efficiently, regular maintenance is key. Here are some helpful tips to maintain your fan’s performance:
- Regular cleaning: Set a schedule for cleaning your floor fan, ideally every few months or whenever you notice a buildup of dust and debris. Keeping the fan clean will not only improve its performance but also prevent the accumulation of allergens and improve indoor air quality.
- Dust and vacuum the surrounding area: In addition to cleaning the fan itself, make sure to regularly dust and vacuum the area around the fan. This will help prevent dust from entering the fan and building up on its components.
- Avoid using harsh chemicals: When cleaning your fan, stick to mild detergents or specialized fan cleaning solutions. Harsh chemicals can damage the fan’s components or leave residue that could affect its performance.
- Store the fan properly when not in use: If you plan to store your fan during colder months or when it’s not needed, make sure to clean it thoroughly before storing it. Use a breathable cover or a clean cloth to protect it from dust while in storage.
- Check for any loose screws or parts: Regularly inspect your fan for any loose screws, clips, or other parts. Tighten or replace these as needed to ensure the fan remains stable and safe to use.
- Avoid excessive moisture exposure: Keep your fan away from areas with high humidity, such as bathrooms or kitchens. Moisture can damage the fan’s electrical components and promote the growth of mold and mildew.
- Read the manufacturer’s manual: Always refer to the manufacturer’s instructions and guidelines for specific care and maintenance recommendations for your floor fan model. Different fans may have unique features or requirements.
Following these maintenance tips will help prolong the lifespan of your floor fan and ensure optimal performance throughout its usage.
Conclusion
Cleaning and maintaining your floor fan is essential for preserving its functionality and performance. By following the step-by-step process outlined in this guide, you can effectively clean your fan and remove dust, dirt, and debris that may hinder its airflow. Regular cleaning not only helps improve the fan’s efficiency but also contributes to better indoor air quality by reducing allergens.
Throughout the cleaning process, remember to prioritize safety by unplugging the fan, wearing protective gear, and following the manufacturer’s instructions. Take your time and be gentle while cleaning the fan blades, grill, stand, and base to avoid causing damage or misaligning any components.
After reassembling the fan, plug it in and test its performance for any unusual noises or vibrations. If everything is functioning correctly, you can enjoy the cooling benefits of your freshly cleaned floor fan.
To maintain the fan’s performance, make sure to incorporate regular cleaning and maintenance into your routine. Dust and vacuum the area around the fan, avoid using harsh chemicals, and check for any loose parts periodically. Following these maintenance tips will keep your fan running smoothly throughout its lifespan.
Remember to refer to the manufacturer’s manual for specific care guidelines and recommendations for your floor fan model.
With proper cleaning and maintenance, your floor fan can continue to provide you with refreshing airflow and contribute to a comfortable environment in your home or office space. So, don’t hesitate to give your floor fan the attention it deserves and enjoy the benefits of a clean and well-maintained appliance.
Frequently Asked Questions about How To Clean A Floor Fan
Was this page helpful?
At Storables.com, we guarantee accurate and reliable information. Our content, validated by Expert Board Contributors, is crafted following stringent Editorial Policies. We're committed to providing you with well-researched, expert-backed insights for all your informational needs.
0 thoughts on “How To Clean A Floor Fan”