Articles
How To Clean A Bathroom Floor
Modified: February 25, 2024
Learn the best techniques and products for cleaning your bathroom floor in this helpful article. Keep your floor sparkling clean with these expert tips.
(Many of the links in this article redirect to a specific reviewed product. Your purchase of these products through affiliate links helps to generate commission for Storables.com, at no extra cost. Learn more)
Introduction
Keeping your bathroom floor clean is essential for maintaining a hygienic and fresh environment. A dirty bathroom floor not only looks unsightly but can also harbor bacteria and contribute to unpleasant odors. Regular cleaning not only keeps your bathroom looking pristine but also ensures a healthy living space.
In this article, we will guide you through the step-by-step process of cleaning your bathroom floor effectively. Whether you have tiles, vinyl, or any other type of flooring, these methods will help you achieve a spotless result.
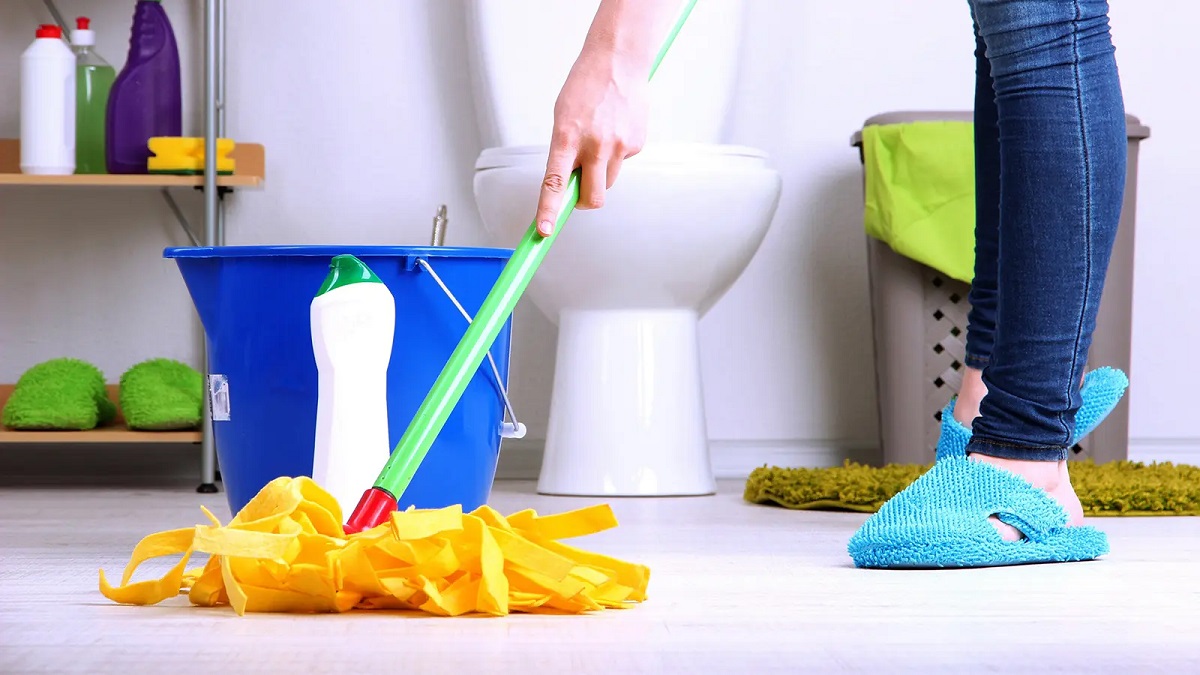
Before diving into the cleaning process, it is important to gather the necessary supplies. You will need a broom or vacuum cleaner, a mop, a bucket, warm water, a cleaning solution, a scrub brush or sponge, and a towel or microfiber cloth for drying.
Once you have all the supplies ready, you can begin by removing loose dirt and debris from the bathroom floor. Using a broom or vacuum cleaner, sweep or vacuum the floor to eliminate any dust, hair, or small particles. Pay attention to corners and crevices where dirt tends to accumulate.
The next step is to prepare the cleaning solution. You can either use a store-bought bathroom cleaner or make your own by mixing warm water with a mild detergent or vinegar. Be sure to follow the instructions on the product label if using a commercial cleaner.
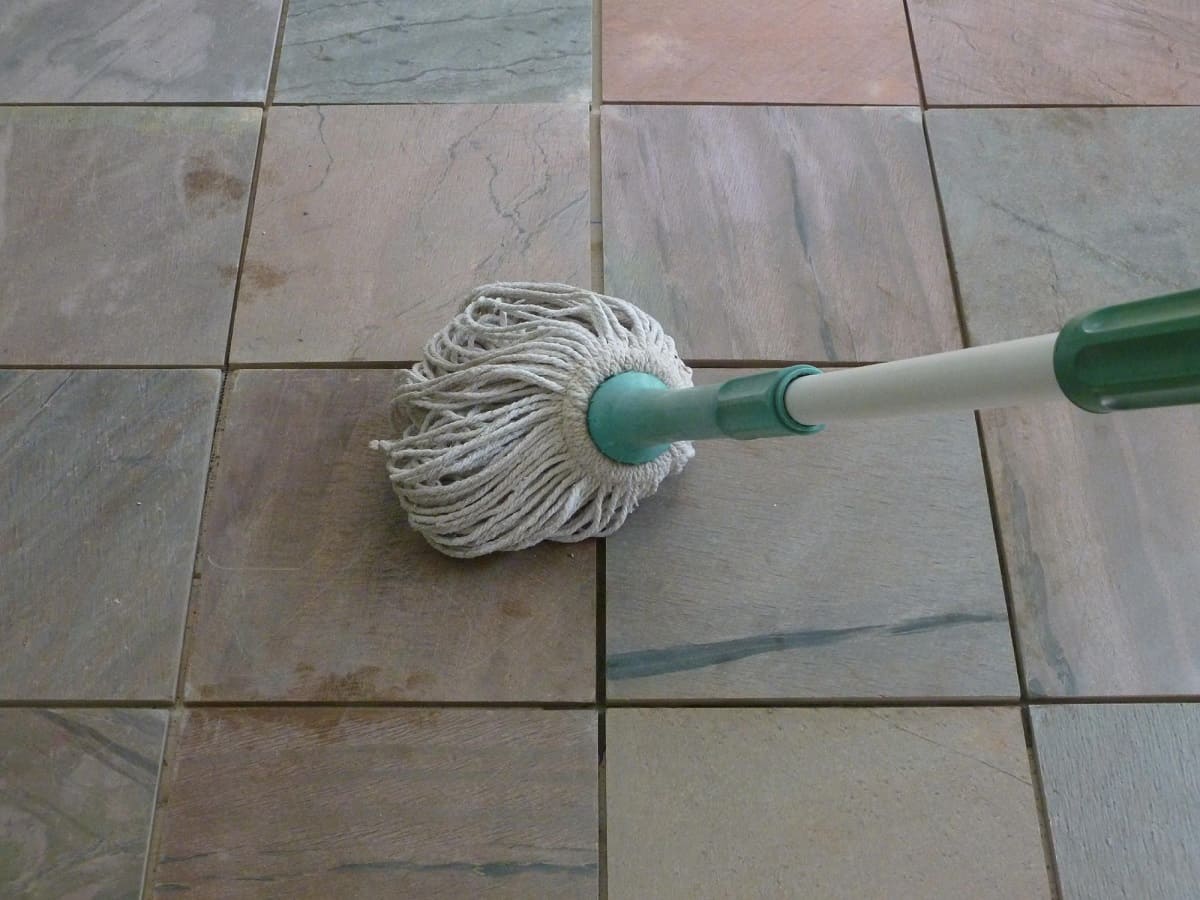
Once the cleaning solution is ready, it’s time to mop the bathroom floor. Start by submerging the mop in the bucket of the cleaning solution, ensuring it is thoroughly soaked. Wring out any excess liquid to avoid leaving puddles on the floor. Begin mopping from one corner of the room, working your way towards the exit. Remember to mop in straight lines for even coverage.
For stubborn stains or grime, you may need to scrub them off using a sponge or scrub brush. Dip the sponge or brush into the cleaning solution and apply gentle pressure to remove the dirt. Be cautious not to scrub too hard, as this may damage the flooring material.
After the entire floor has been mopped and any stains have been removed, it’s time to rinse the floor. Using clean water and a mop or sponge, go over the floor once again to remove any residue from the cleaning solution.
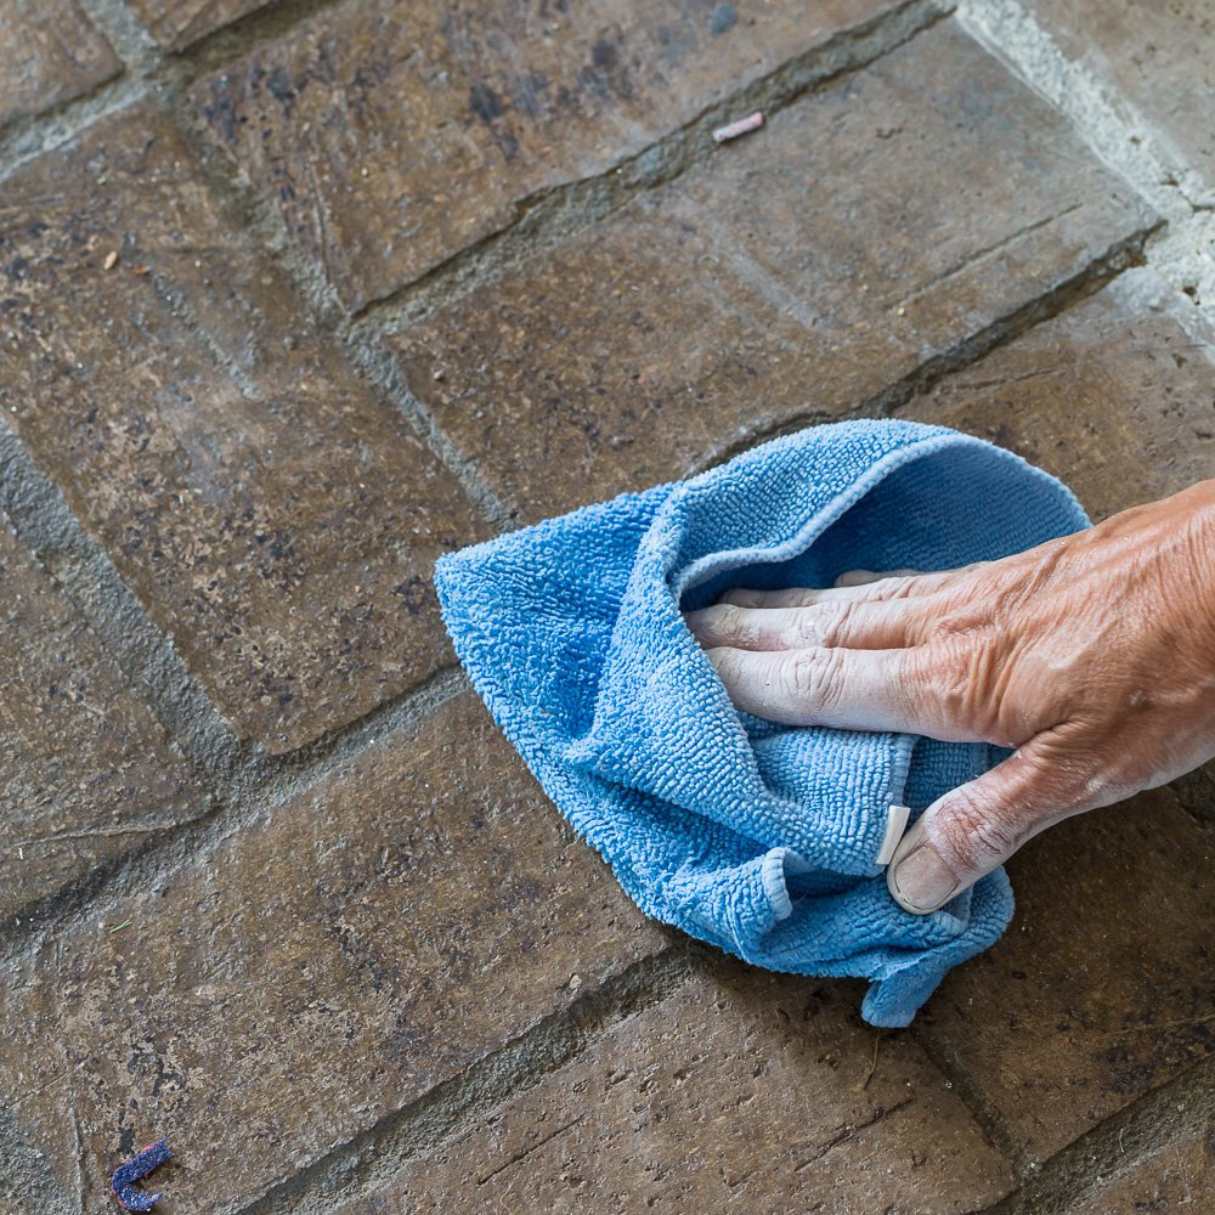
Lastly, to ensure a completely dry bathroom floor, use a towel or microfiber cloth to wipe away any remaining moisture. This will prevent slipping hazards and protect your flooring from water damage.
To maintain a clean bathroom floor, it is advisable to sweep or vacuum regularly to prevent the build-up of dirt and debris. You can also do a quick spot clean whenever necessary. By incorporating these cleaning practices into your routine, you can enjoy a sparkling bathroom that is both visually appealing and hygienic.
With these steps and tips in mind, you are now equipped to effectively clean your bathroom floor and maintain its cleanliness. Regular cleaning and proper care will not only keep your bathroom looking great but will also contribute to a healthier and more enjoyable living environment.
Key Takeaways:
- Regularly sweep or vacuum your bathroom floor to prevent dirt and debris buildup, and use a gentle scrub brush or sponge for stubborn stains. Rinse and dry thoroughly to maintain a spotless and hygienic environment.
- Utilize floor mats or rugs in high-traffic areas and apply a protective floor wax or sealant for added shine and protection. Maintain proper ventilation and promptly clean up spills to preserve the cleanliness and longevity of your bathroom floor.
Read more: How To Clean A Floor
Gathering the necessary supplies
Before you begin the process of cleaning your bathroom floor, it is important to gather all the necessary supplies. Having the right tools and cleaning products will make the task much easier and more efficient. Here are the essential supplies you will need:
- Broom or vacuum cleaner: Start by removing loose dirt, hair, and debris from the bathroom floor. A broom or vacuum cleaner will help you sweep or vacuum the floor and get rid of any particles.
- Mop: For mopping the floor, you will need a mop. Choose a mop that is suitable for your flooring type. There are various types of mops available, such as sponge mops, string mops, or microfiber mops.
- Bucket: You will need a bucket to fill with warm water and your chosen cleaning solution for mopping.
- Warm water: Warm water will be used to dilute the cleaning solution and mop the floor.
- Cleaning solution: You can choose to use a store-bought bathroom cleaner or make your own cleaning solution. If making your own, you can mix warm water with a mild detergent or vinegar. Be sure to follow the instructions on the commercial cleaner if you choose to use one.
- Scrub brush or sponge: In case you come across stubborn stains or grime on the floor, you will need a scrub brush or sponge to scrub and remove them. Choose a brush or sponge that is gentle enough not to damage the flooring material.
- Towel or microfiber cloth: Lastly, you will need a towel or microfiber cloth for drying the floor. This will help prevent any slipping hazards and protect the flooring from water damage.
Having these supplies ready before you start cleaning will ensure that you have everything you need to efficiently clean your bathroom floor. It is important to gather them all in one place, so you don’t have to search for them while in the middle of the cleaning process.
Once you have gathered all the necessary supplies, you can proceed to the next steps of removing loose dirt and debris from the floor and preparing the cleaning solution.
Removing loose dirt and debris
Before you begin the actual cleaning process, it is important to remove loose dirt and debris from your bathroom floor. This step will help ensure that the cleaning solution can effectively penetrate the floor and remove any stains or grime that may be present. Here are the steps to follow:
- Sweeping: If you have a broom, begin by sweeping the entire bathroom floor. Start from one corner and work your way towards the center or exit of the room. Make sure to reach into corners and along the baseboards to remove any accumulated dirt or dust. If you have a large bathroom, consider using a broom with an extended handle or using a vacuum cleaner instead.
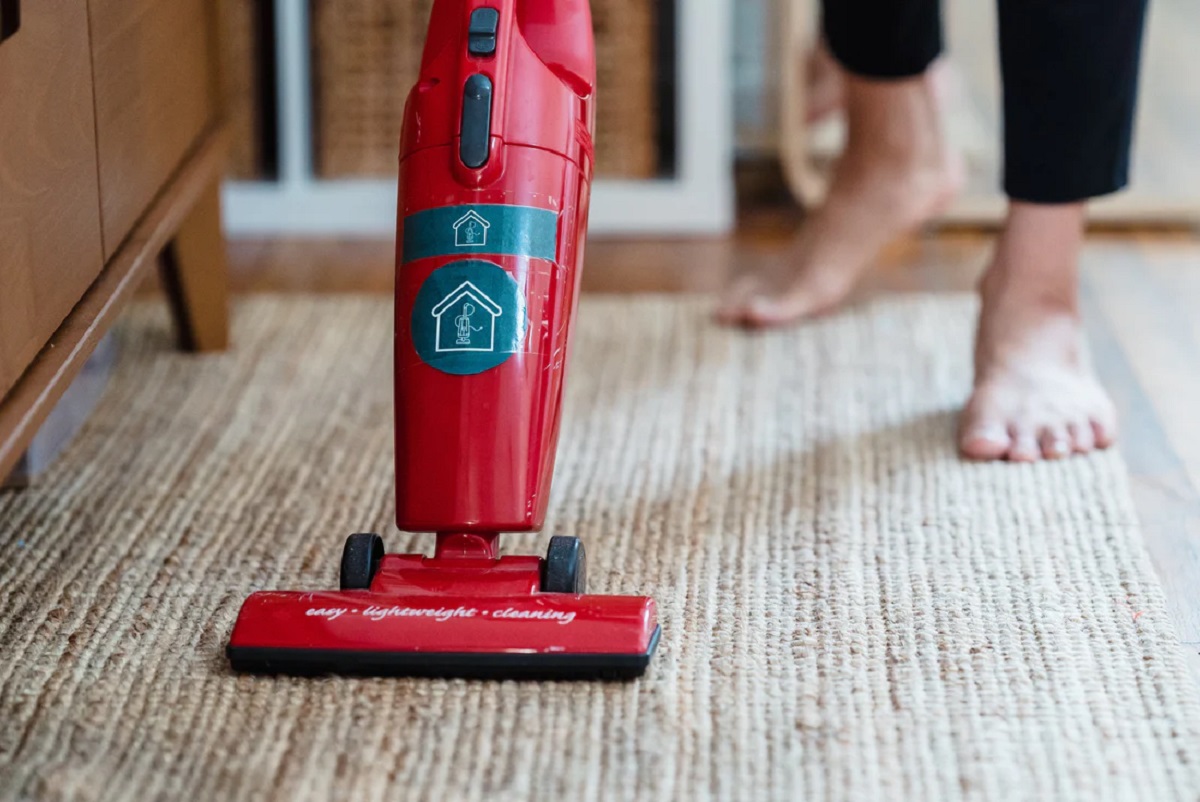
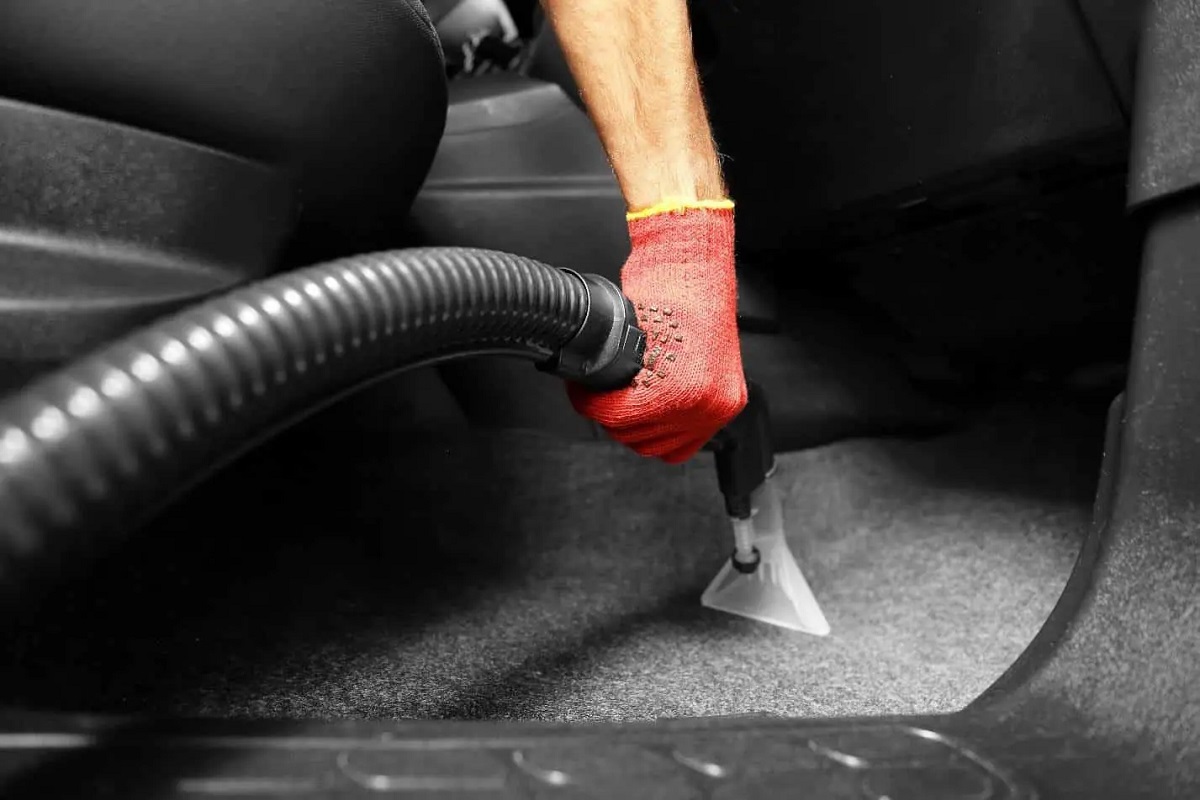
- Vacuuming: If you prefer, you can use a vacuum cleaner instead of a broom to remove loose dirt and debris. Use a brush attachment or a hardwood floor attachment for better suction and avoid scratching the floor. Vacuum the entire floor, paying close attention to corners, edges, and other hard-to-reach areas where dirt tends to accumulate.
- Picking up larger debris: During the sweeping or vacuuming process, you may come across larger debris such as hair ties, bobby pins, or small jewelry items. Pick them up and dispose of them in a trash bin. This will prevent them from getting wet and sticking to the floor during the cleaning process.
- Dustpan: Use a dustpan to gather the swept dirt or vacuumed debris and dispose of it in a bin. Emptying the dustpan frequently will ensure that you maintain a clean and clutter-free work area.
By removing loose dirt and debris before cleaning your bathroom floor, you will prevent unnecessary scratching and ensure that the cleaning solution can effectively penetrate the surface. This step also helps in avoiding the spreading of dirt and debris while mopping, resulting in a more efficient and thorough cleaning process.
Once you have removed the loose dirt and debris, you can proceed to the next step of preparing the cleaning solution.
Preparing the cleaning solution
Once you have removed the loose dirt and debris from your bathroom floor, it’s time to prepare the cleaning solution. The right cleaning solution will help to effectively break down stains, grime, and bacteria, leaving your floor clean and fresh. Here’s how to prepare the cleaning solution:
- Commercial cleaners: If you prefer to use a store-bought cleaner, refer to the instructions on the product label. Different cleaners have varying dilution ratios, so ensure you follow them accordingly. Typically, you will mix the cleaner with warm water in a bucket.
- Homemade cleaners: If you prefer a more natural approach or want to save money, you can create your own cleaning solution using simple household ingredients. Vinegar, for example, is an excellent natural cleaner. Mix equal parts of warm water and white vinegar in a bucket. Alternatively, you can mix warm water with a few drops of mild dish soap.
- Proportions: Regardless of whether you are using a commercial cleaner or making your own solution, be mindful of the proportions. Using too much cleaner or vinegar can leave a residue while using too little might not be effective in cleaning the floor. It’s recommended to start with a moderate amount and adjust as needed.
- Mixing: Fill a bucket with warm water, leaving enough space to accommodate the cleaning solution. Slowly pour the cleaner or homemade solution into the water, stirring gently to ensure even distribution. Avoid creating excessive foam or bubbles, as they can make the mopping process more difficult.
- Testing: If you are using a new cleaner or vinegar for the first time, it’s a good idea to test it on a small, inconspicuous area of your bathroom floor. This will help ensure that it doesn’t cause any discoloration or damage before applying it to the entire floor.
Once the cleaning solution is prepared, make sure to have a mop or sponge ready to begin mopping the bathroom floor. A clean, well-prepared solution will help in effectively removing stains, grime, and bacteria, leaving your bathroom floor fresh and clean.
Now that you have your cleaning solution ready, let’s move on to the next step of mopping the bathroom floor.
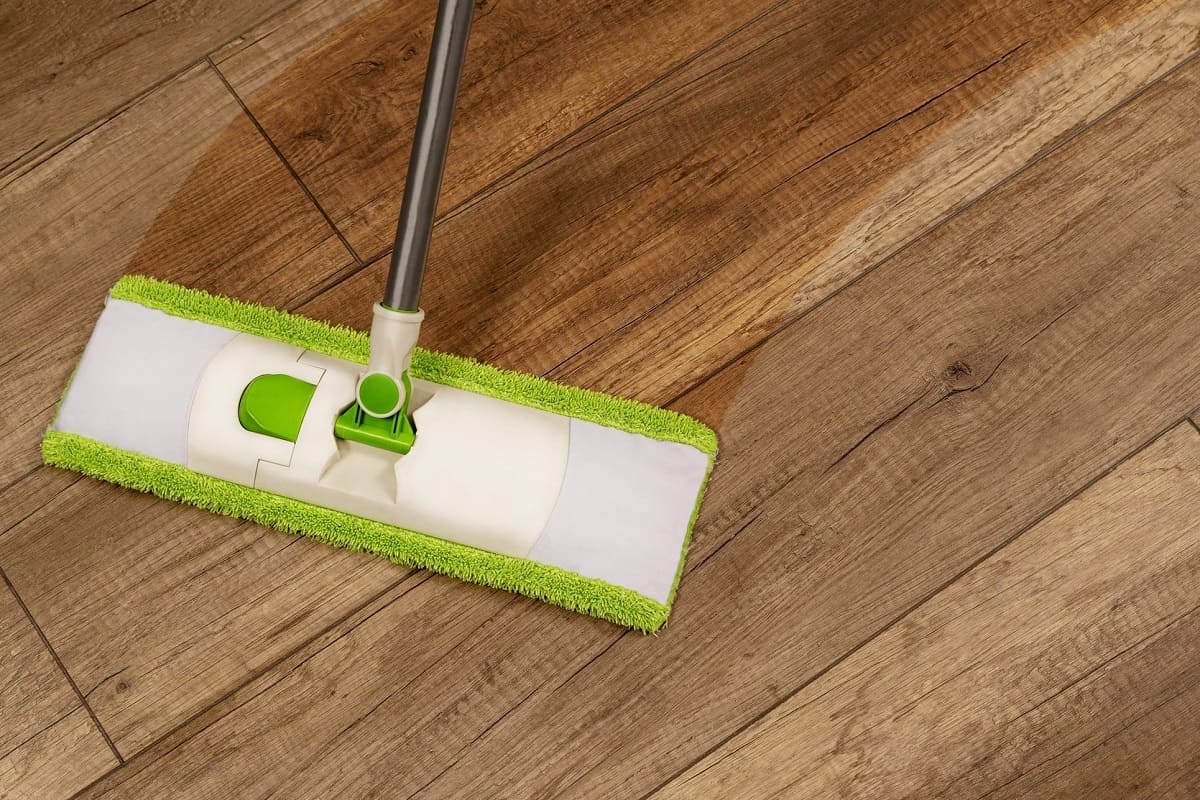
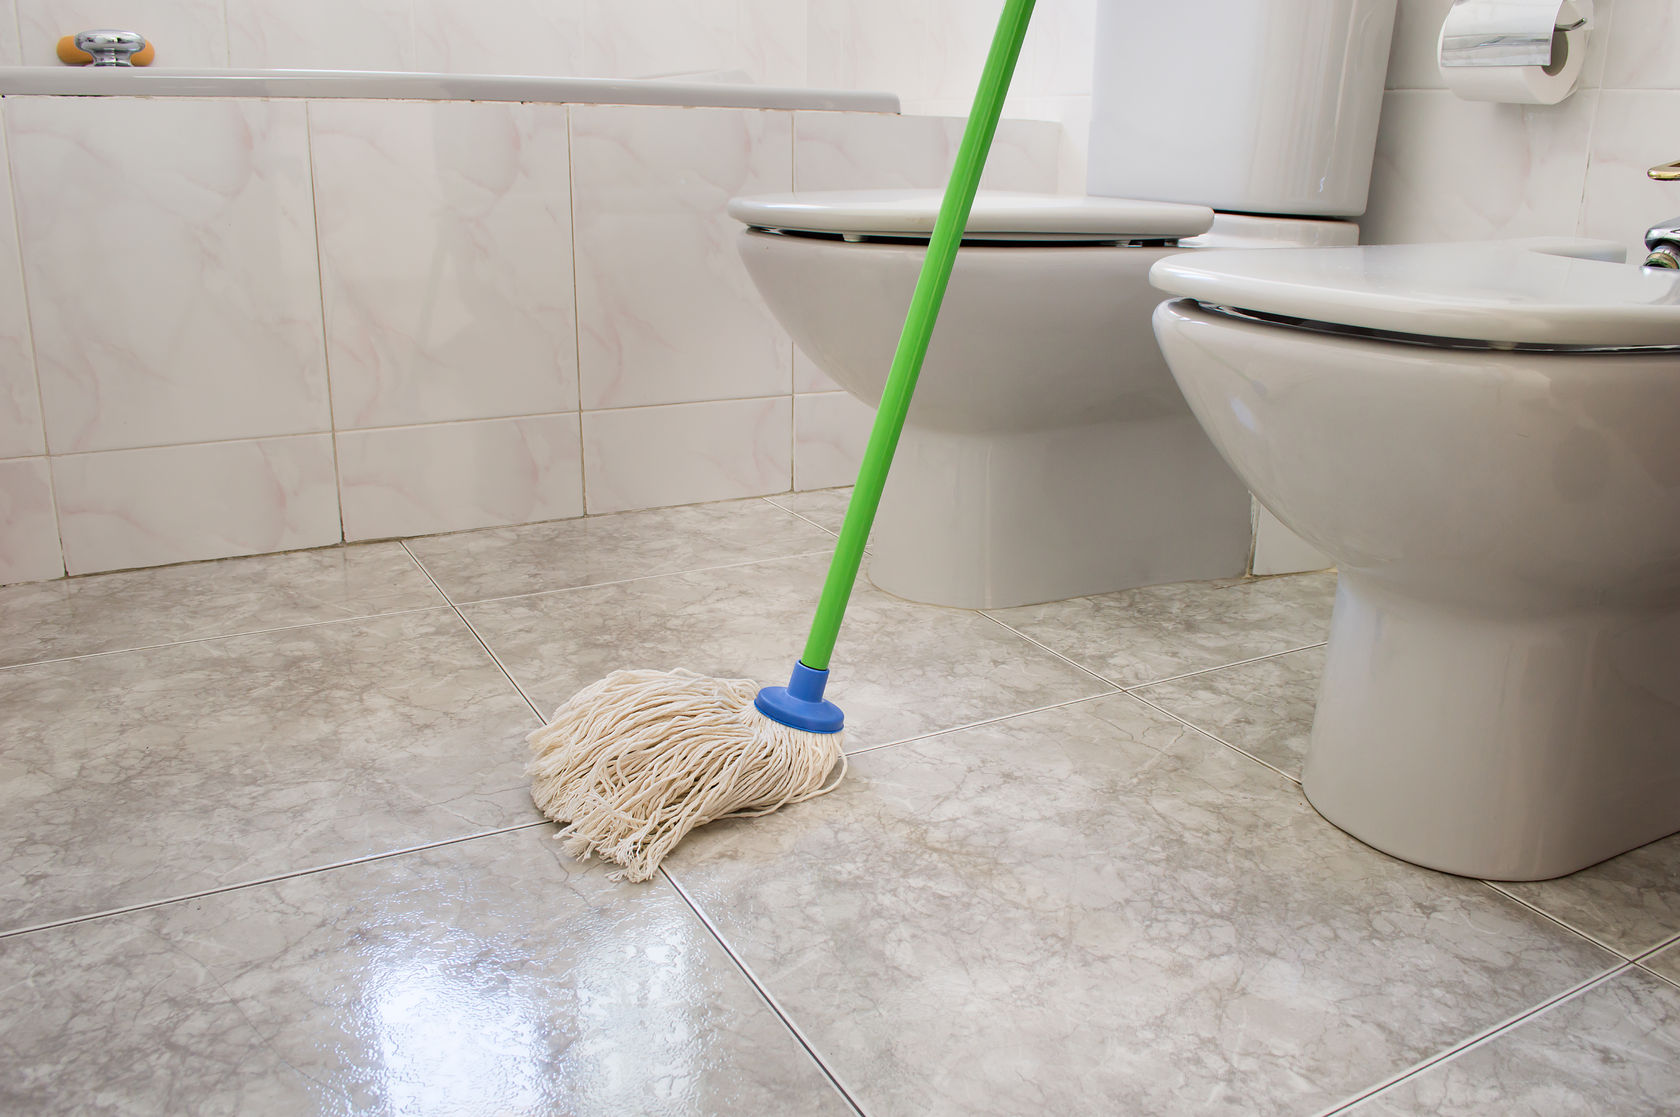
Use a mixture of warm water and mild detergent to mop the bathroom floor. For tougher stains, use a scrub brush or sponge. Rinse with clean water and dry with a towel to prevent water spots.
Mopping the bathroom floor
Now that you have gathered the necessary supplies and prepared the cleaning solution, it’s time to start mopping your bathroom floor. Mopping is an effective way to deep clean the floor and remove any dirt, stains, or residue left behind. Follow these steps to ensure a thorough and efficient mopping process:
- Preparation: Fill a bucket with warm water, leaving enough room for the cleaning solution. Add the appropriate amount of your chosen cleaning solution, whether it’s a commercial cleaner or a homemade mixture.
- Dunking the mop: Submerge the mop head completely into the bucket of cleaning solution. Fully saturate the mop to ensure even distribution of the cleaning solution on the floor.
- Wringing out excess liquid: Lift the mop out of the bucket and allow the excess liquid to drain back into the bucket. Wring out the mop head to remove any excessive moisture, as leaving puddles of water on the floor can cause slipping hazards and potentially damage the flooring.
- Starting from a corner: Begin mopping from one corner of the bathroom and work your way toward the exit. This will prevent stepping on the wet floor and avoid leaving footprints or smudges on the already cleaned areas.
- Mopping technique: Use long, sweeping motions to mop the floor. Start at the corner and move the mop in straight lines across the floor. Overlapping the mop strokes slightly will ensure that the entire floor is covered and thoroughly cleaned.
- Paying attention to edges and corners: While mopping, pay special attention to the edges and corners of the room. These areas often accumulate more dirt and grime, so spend a little extra time and effort cleaning them thoroughly.
- Refreshing the mop: As you mop, the mop head may become dirty or saturated with grime. Rinse it in the bucket of cleaning solution and wring it out to remove any dirt or excess moisture. Continuing to mop with a clean mop head will ensure effective cleaning.
- Frequent bucket rinsing: Depending on the size of your bathroom, you may need to rinse out the mop in the cleaning solution and change the solution in the bucket periodically. This will prevent you from spreading dirt or grime around the floor and ensure that you are effectively cleaning the surface.
- Completing the entire floor: Continue mopping until you have covered the entire bathroom floor. Take your time to ensure that you have thoroughly cleaned every surface.
Remember to mop in sections, gradually moving across the entire floor, until you have reached the exit. This methodical approach will prevent you from stepping on the already mopped areas and allow the floor to dry evenly.
Once you have completed the mopping process, be sure to properly rinse and dry the mop for future use. Now it’s time to move on to the next step of scrubbing stubborn stains, if necessary.
Read more: How To Clean A Hardwood Floor
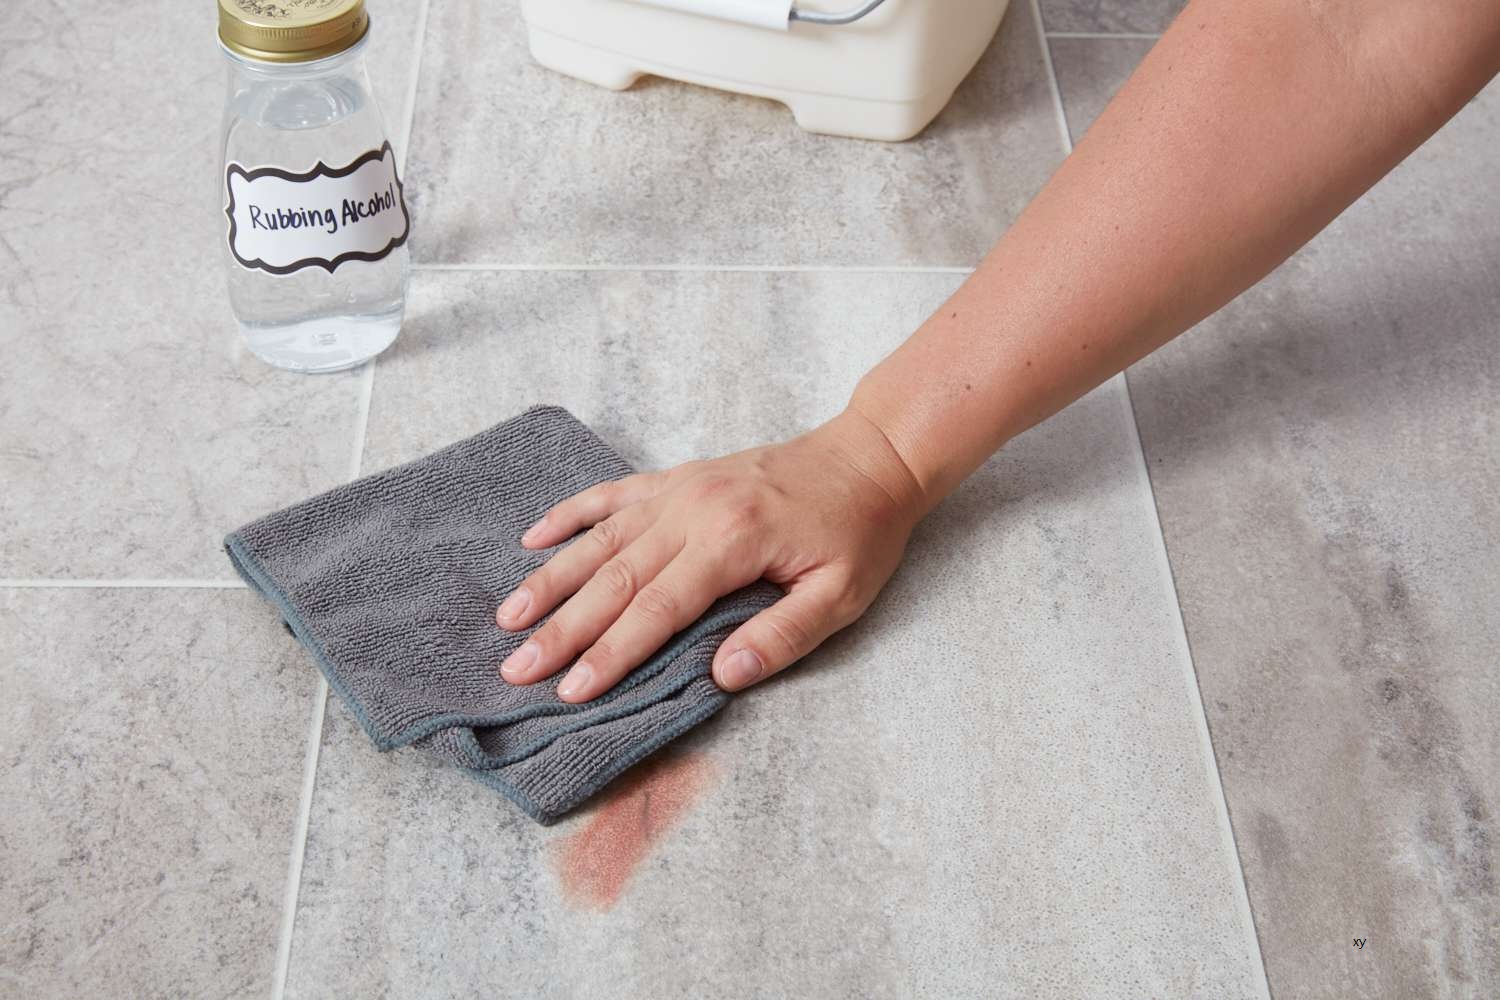
Scrubbing stubborn stains
While mopping is effective for general cleaning, some stains may require a more targeted approach. Stubborn stains, such as dried spills, soap scum, or hard water marks, may require additional scrubbing to lift them from the surface of your bathroom floor. Follow these steps to effectively scrub stubborn stains:
- Identify the stains: Take a closer look at your bathroom floor to identify any specific areas or stains that require extra attention. These can include discolored spots, dried spills, or stubborn buildup.
- Choose the right tool: Select a scrub brush or sponge that is suitable for your flooring material. Avoid using abrasive or harsh cleaning tools that may damage the floor. Opt for a brush with medium bristles or a non-scratch sponge.
- Dip the brush or sponge: Dip the scrub brush or sponge into the cleaning solution, ensuring it is adequately saturated but not dripping wet. If needed, you can apply a small amount of undiluted cleaning solution directly to the stain.
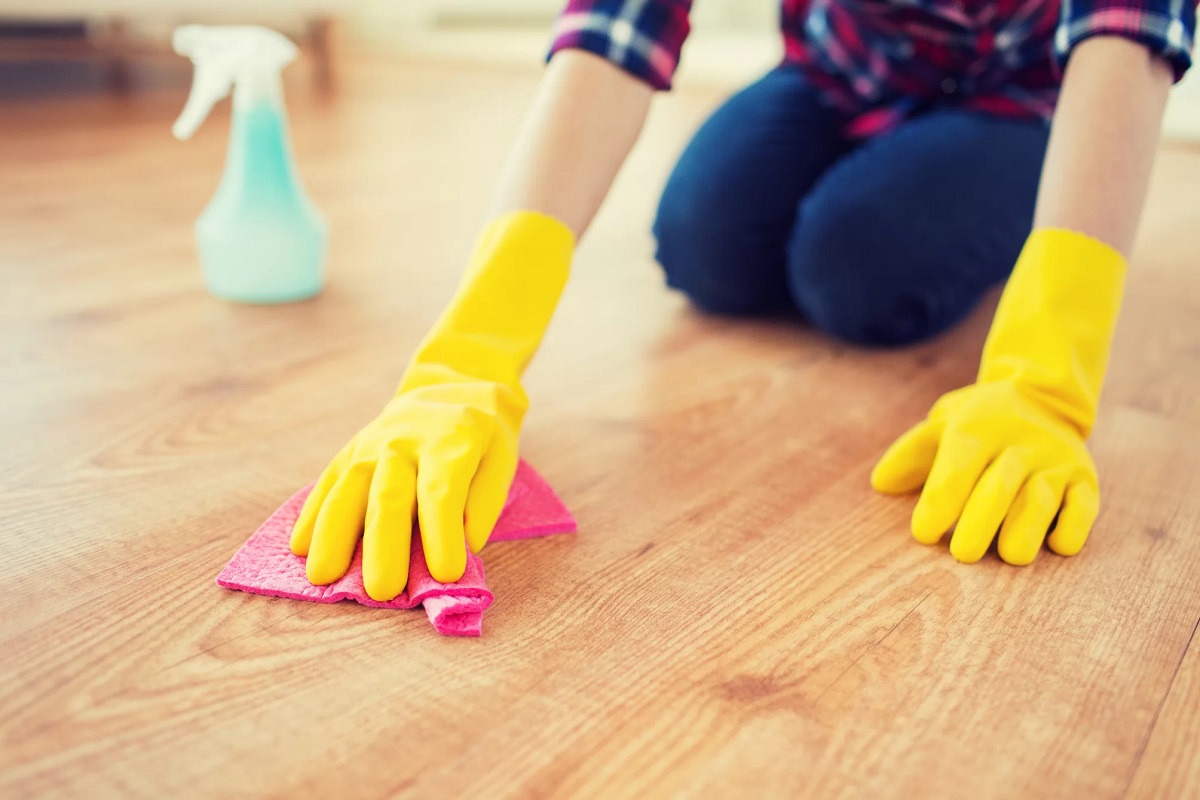
- Gently scrub the stain: Using gentle pressure, scrub the stained area in a circular or back-and-forth motion. Focus on the specific stain while being careful not to scrub too hard and damage the flooring material.
- Reapply cleaning solution if needed: If the stain persists, you may need to reapply the cleaning solution and continue scrubbing. Allow the solution to sit on the stain for a few minutes before scrubbing again, as this can help loosen the stubborn residue.
- Rinse the area: Once you have successfully lifted the stain, rinse the area with clean water to remove any residue from the cleaning solution. Use a clean cloth or sponge to wipe away the excess water and ensure the floor is left clean and free of any cleaning product.
It’s important to approach stubborn stains with patience and caution. Avoid using excessive force or abrasive materials, as this can damage your bathroom floor. If you encounter a particularly stubborn or persistent stain that does not respond to your efforts, it may be best to seek professional assistance or utilize specialized cleaning products designed for that specific type of stain or flooring material.
Once you have finished scrubbing any stubborn stains, it’s time to rinse and dry the floor to complete the cleaning process.
Rinsing and drying the floor
After mopping the bathroom floor and scrubbing any stubborn stains, it’s crucial to rinse the floor to remove any residue from the cleaning solution. Additionally, properly drying the floor will help prevent any slips or accidents and maintain the cleanliness of your bathroom. Follow these steps to effectively rinse and dry your bathroom floor:
- Prepare clean water: Fill a clean bucket or sink with warm water. This water will be used to rinse the floor and remove any remaining traces of the cleaning solution.
- Rinse the mop or sponge: Submerge the mop or sponge into the clean water and wring it out to remove any excess moisture. Ensure that the mop or sponge is damp but not dripping with water.
- Rinse the floor: Starting from the area where you initially began mopping, rinse the floor by mopping in the same pattern as before. This will help remove any remaining cleaning solution or residue from the surface of the floor. Pay extra attention to corners and edges, as these areas may have accumulated more cleaning solution.
- Change the water if necessary: If the water becomes visibly dirty or murky, empty the bucket or sink and refill it with clean water. Using clean water for rinsing is essential to ensure a thorough rinse and prevent leaving any residue on the floor.
- Dry the floor: After rinsing, it’s important to dry the floor thoroughly. Start by using a clean towel or microfiber cloth to wipe away any excess water. Gradually work your way across the entire floor, ensuring that all areas are dried properly. Pay special attention to corners and edges, as these areas tend to retain more moisture.
- Avoid walking on the wet floor: To prevent slipping and to give the floor ample time to dry completely, avoid walking on the wet floor until it is dry. You can place a “Wet Floor” sign or any other clear indication to ensure others are aware of the wet surface.
Properly rinsing and drying your bathroom floor is essential to maintain its cleanliness and prevent any potential accidents. By following these steps, you can ensure that your bathroom floor is left spotless, free from any residue, and ready for use.
Now that you have completed the rinsing and drying process, let’s move on to the final step of adding some finishing touches and discussing tips for maintaining a clean bathroom floor.
Finishing touches and tips for maintenance
Now that you have successfully cleaned your bathroom floor, it’s time to add some finishing touches and discuss tips for maintaining its cleanliness in the long term. These final steps and maintenance tips will help keep your bathroom floor looking pristine and hygienic:
- Check for any missed spots: Take a moment to inspect the bathroom floor and ensure that you haven’t missed any spots or stains. If you notice any areas that require further cleaning, go back and address them before finishing the process.
- Remove any excess moisture: Use a dry towel or mop to remove any lingering moisture on the floor. This will prevent water stains and help the floor dry faster.
- Apply a protective floor wax or sealant (if applicable): If your bathroom floor is made of materials such as linoleum, vinyl, or certain types of tile, you may consider applying a protective floor wax or sealant. These products can enhance the shine and protect the surface from stains and scratches. Follow the manufacturer’s instructions when applying the wax or sealant.
- Keep the bathroom well-ventilated: Proper ventilation is essential to prevent moisture buildup in the bathroom, which can lead to mold and mildew growth. Make sure your bathroom has proper ventilation, such as an exhaust fan, to keep the air circulating and control humidity levels.
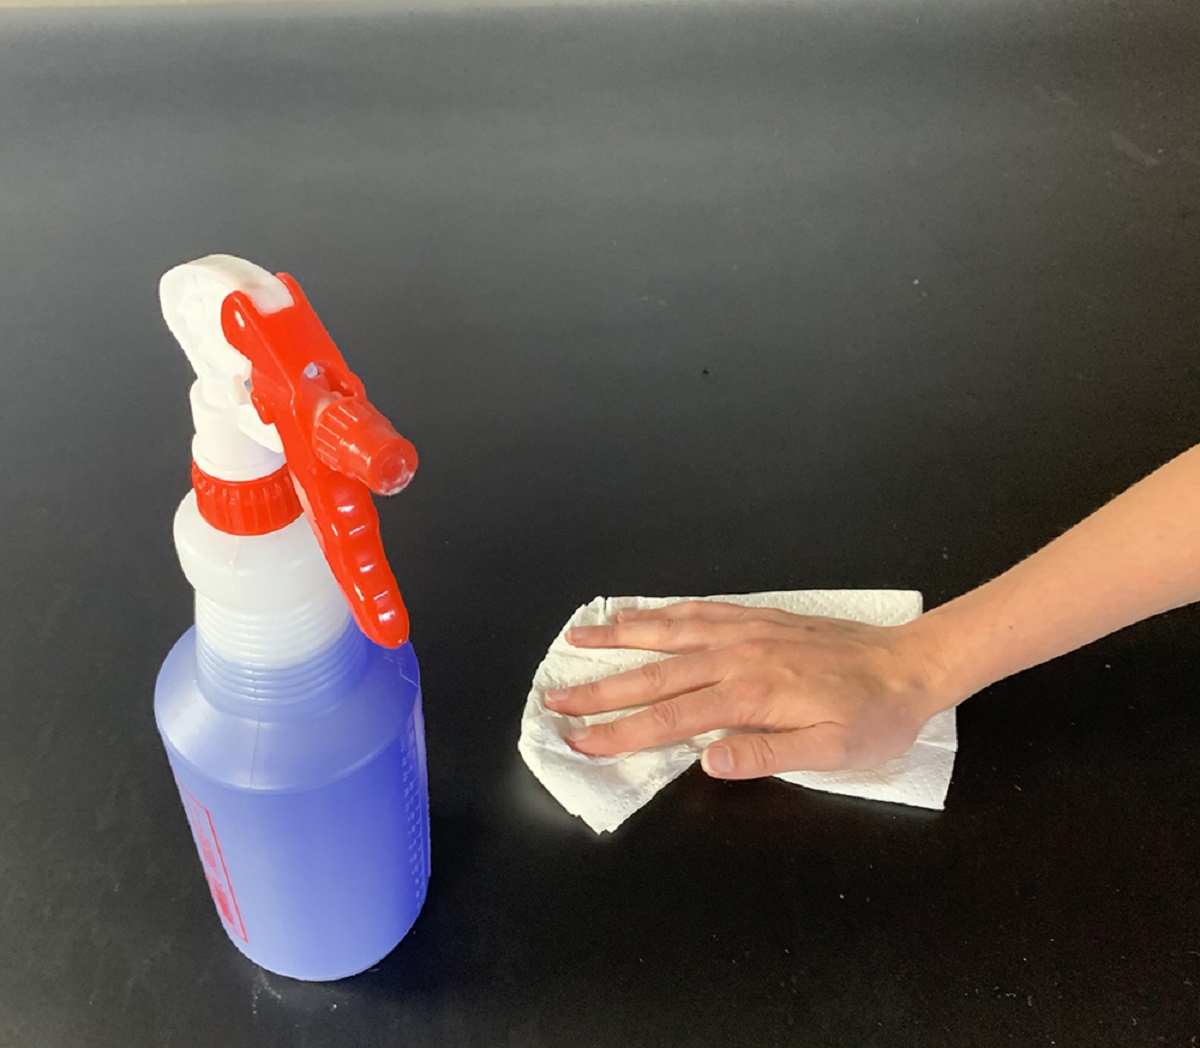
- Clean up spills and stains promptly: Accidents happen, and spills or stains may occur on your bathroom floor. Promptly clean up any spills or stains to prevent them from setting in and becoming harder to remove. Use a damp cloth or mop to wipe away the spills immediately.
- Regularly sweep or vacuum: To maintain a clean bathroom floor, make it a habit to sweep or vacuum regularly. This will help to remove loose dirt, hair, and debris before it accumulates or gets embedded into the floor. Consider using a broom with soft bristles or a vacuum cleaner with a hardwood floor attachment.
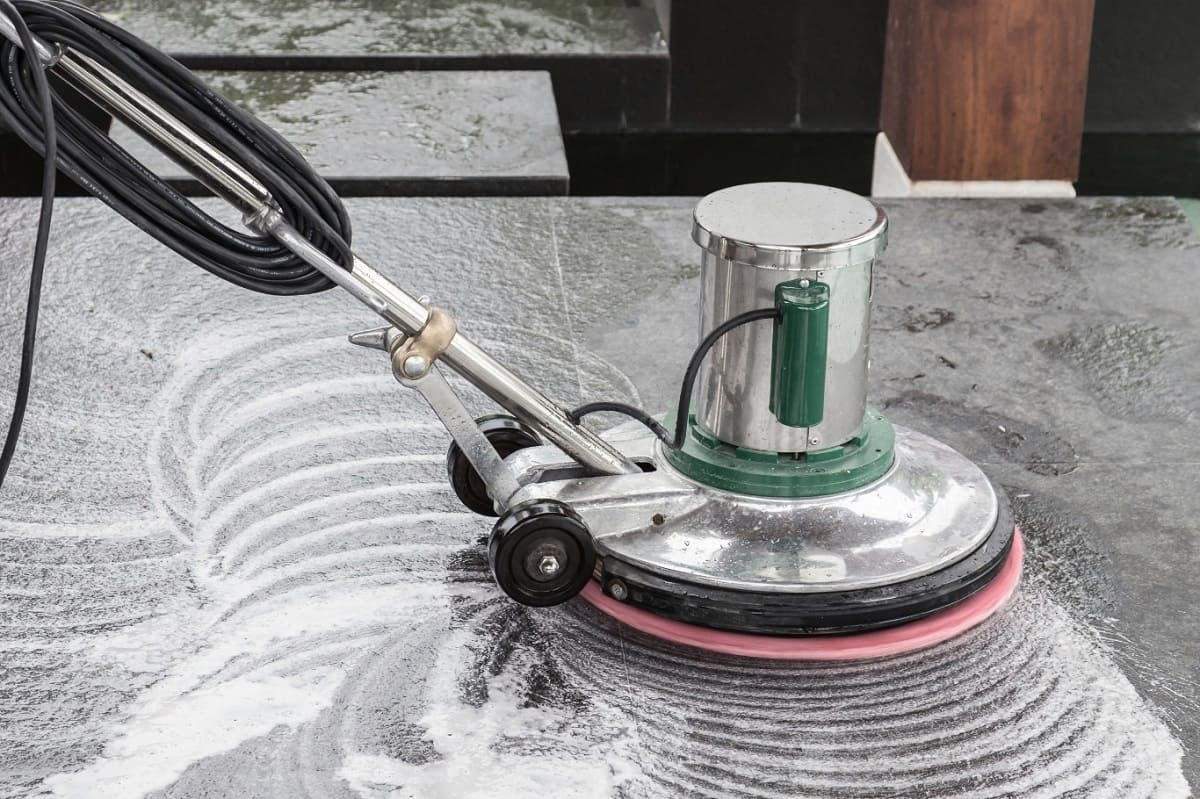
- Perform regular deep cleaning: While regular sweeping and mopping are essential, it’s also important to schedule periodic deep cleanings for your bathroom floor. This will help remove any stubborn stains, grime, or buildup that may have accumulated over time.
- Use floor mats or rugs: Placing floor mats or rugs in high-traffic areas, such as near the shower, sink, or toilet, can help protect the floor from water splashes and debris. Regularly clean and launder these mats to prevent them from becoming a source of dirt and odors.
- Avoid using harsh chemicals: While cleaning your bathroom floor, it’s best to avoid using harsh or abrasive chemicals that can damage the flooring material. Stick to mild detergents, vinegar solutions, or specifically recommended products for your specific type of flooring.
By following these finishing touches and adopting good maintenance habits, you can keep your bathroom floor looking clean, fresh, and well-maintained. Remember, regular cleaning and preventive care go a long way in preserving the beauty and longevity of your bathroom floor.
With these final tips in mind, you are now equipped with the knowledge to maintain a clean and hygienic bathroom floor. Enjoy your sparkling clean bathroom!
Frequently Asked Questions about How To Clean A Bathroom Floor
Was this page helpful?
At Storables.com, we guarantee accurate and reliable information. Our content, validated by Expert Board Contributors, is crafted following stringent Editorial Policies. We're committed to providing you with well-researched, expert-backed insights for all your informational needs.

0 thoughts on “How To Clean A Bathroom Floor”