Articles
How To Clean AC Unit Coils
Modified: October 18, 2024
Looking for articles on how to clean AC unit coils? Gain valuable insights and expert tips on maintaining your air conditioning system for optimum performance.
(Many of the links in this article redirect to a specific reviewed product. Your purchase of these products through affiliate links helps to generate commission for Storables.com, at no extra cost. Learn more)
Introduction
Having a properly functioning air conditioning (AC) unit is essential for maintaining a comfortable and cool environment in your home or office, especially during the hot summer months. One crucial aspect of maintaining your AC unit is ensuring that its coils are clean and free from debris. The coils, which are located in both the evaporator and condenser units, play a vital role in the cooling process.
In this article, we will provide a step-by-step guide on how to clean your AC unit coils to keep your system running efficiently. Cleaning the coils not only helps improve the overall performance of your AC unit but also helps extend its lifespan and reduce energy consumption, ultimately saving you money.
Before we delve into the cleaning process, let’s first understand the purpose and function of AC unit coils.
Key Takeaways:
- Regularly cleaning your AC unit coils improves efficiency, extends lifespan, and enhances indoor air quality, ensuring optimal cooling performance and energy savings.
- Properly maintaining your AC unit, including cleaning the evaporator and condenser coils, is essential for longevity, efficiency, and a comfortable living environment.
Read more: How To Clean Rv AC Coils
Understanding AC Unit Coils
AC unit coils are an essential component of your air conditioning system. There are two types of coils in an AC unit: the evaporator coils and the condenser coils.
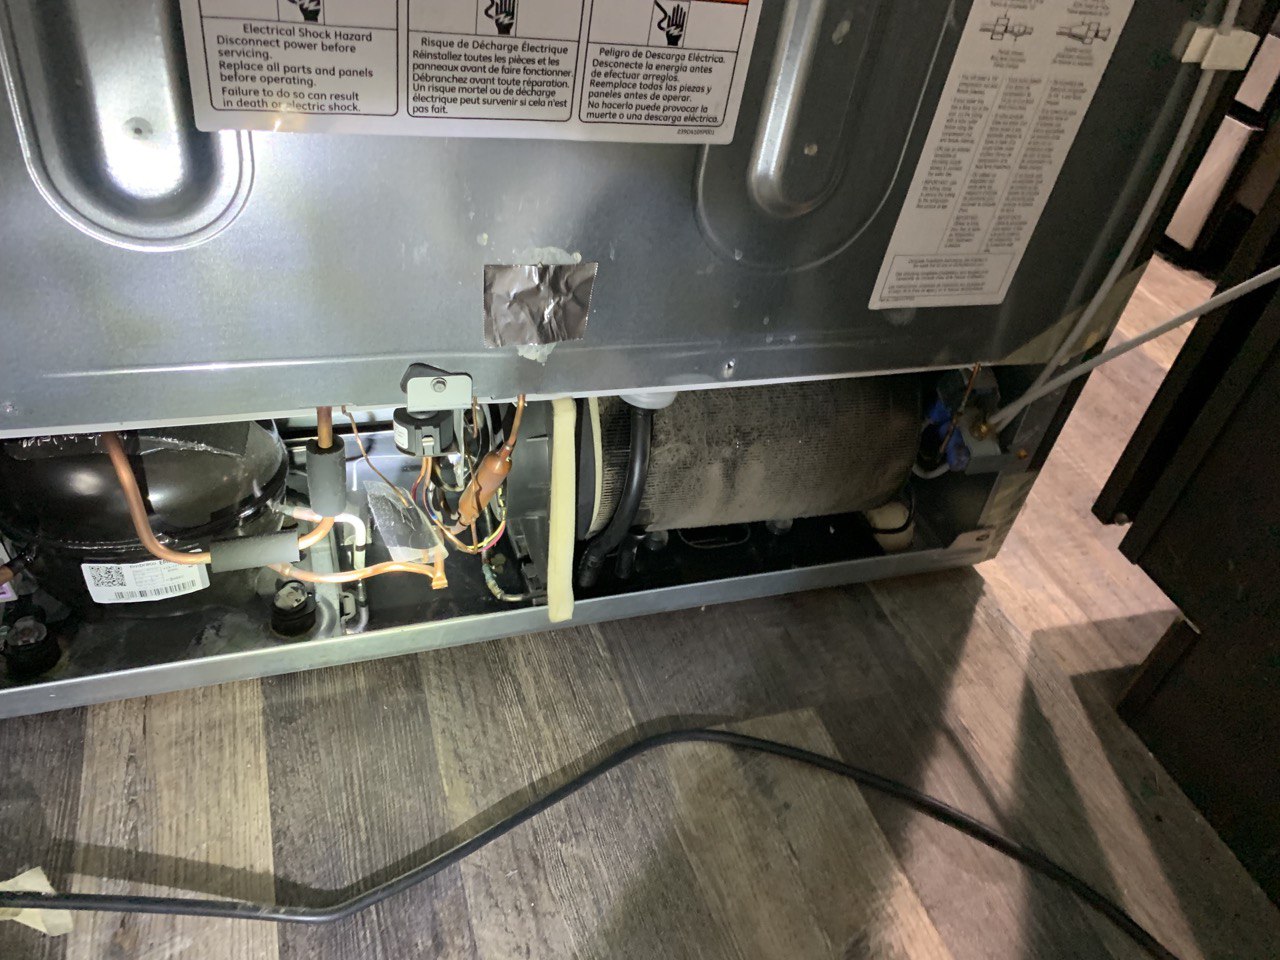
The evaporator coils are located inside the indoor unit of your AC system. Their primary function is to absorb heat from the air inside your home or office. As the warm air from your space passes over the evaporator coils, the coils remove the heat from the air, cooling it down. The cooled air is then circulated back into the room, providing a comfortable temperature.
The condenser coils, on the other hand, are located in the outdoor unit of your AC system. Their purpose is to release the heat absorbed by the evaporator coils. When the refrigerant gas from the indoor unit reaches the condenser coils, it turns back into a liquid state. As this phase change occurs, heat is released and dissipated into the surrounding environment. This process allows the AC system to cool down the air continuously.
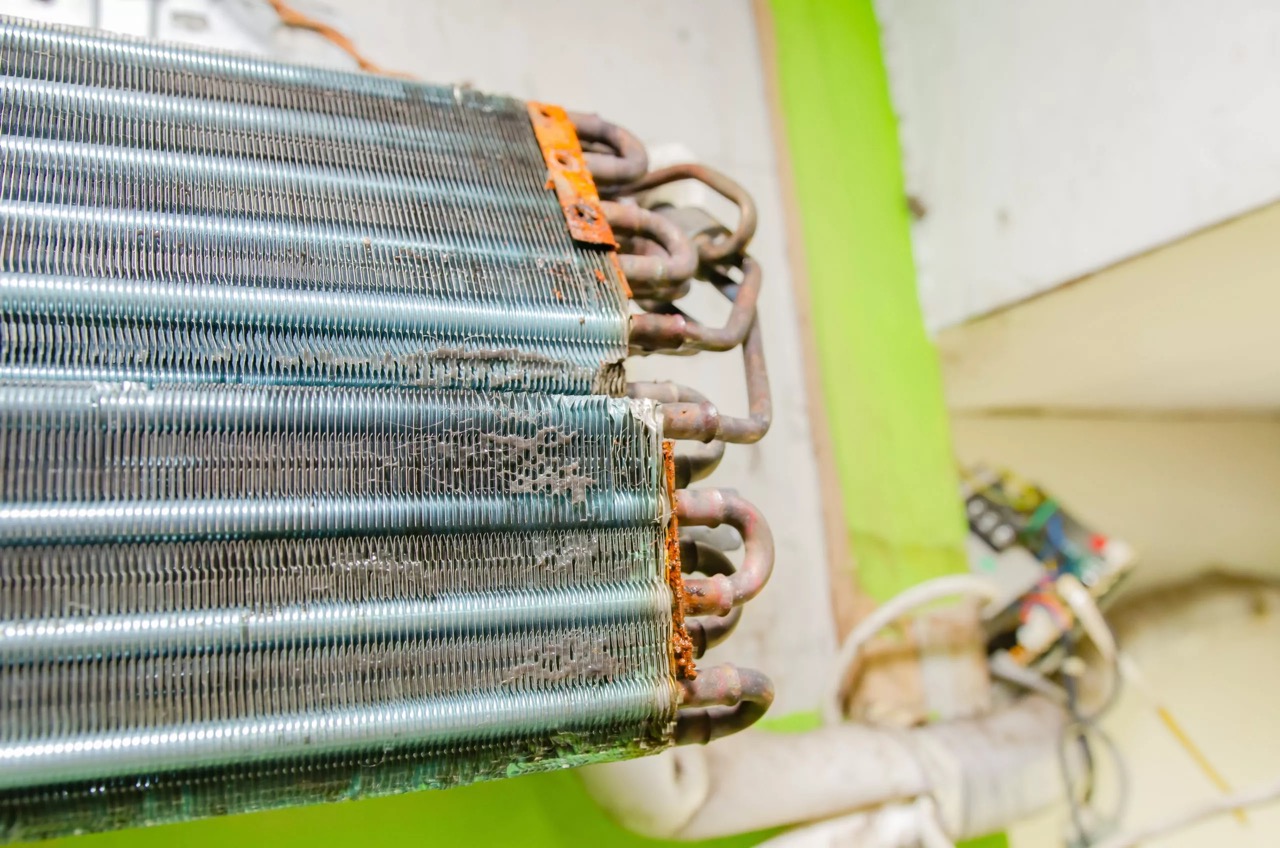
Over time, dust, dirt, and other airborne particles can accumulate on both the evaporator and condenser coils. These contaminants create a layer that acts as insulation, reducing the efficiency of the coils’ heat transfer ability. This reduces the overall cooling capacity of your AC system and forces it to work harder, leading to increased energy consumption and potential damage to the unit.
Now that we understand the function and importance of AC unit coils, let’s explore why it is crucial to clean them regularly.
Why Clean AC Unit Coils?
Cleaning your AC unit coils is essential for several reasons:
- Improved Efficiency: Over time, dirt, dust, and debris accumulate on the coils, forming a layer that acts as insulation. This insulation reduces the coils’ ability to transfer heat effectively. As a result, your AC unit has to work harder and longer to cool the air, leading to decreased energy efficiency and increased utility bills. Regularly cleaning the coils helps maintain their efficiency and ensures that your AC system operates at its optimal performance.
- Enhanced Cooling Performance: When the coil surfaces are clean, they can absorb and dissipate heat efficiently. This allows your AC unit to cool the air more effectively, providing a more comfortable indoor environment. Clean coils improve the overall cooling capacity of your AC system, helping it maintain a consistent and desired temperature in your home or office.
- Extended Lifespan: Dust and debris buildup on the coils can lead to corrosion and damage over time. Regular cleaning helps prevent this buildup, prolonging the lifespan of your AC unit. By keeping the coils clean, you reduce the risk of any costly repairs or premature replacements.
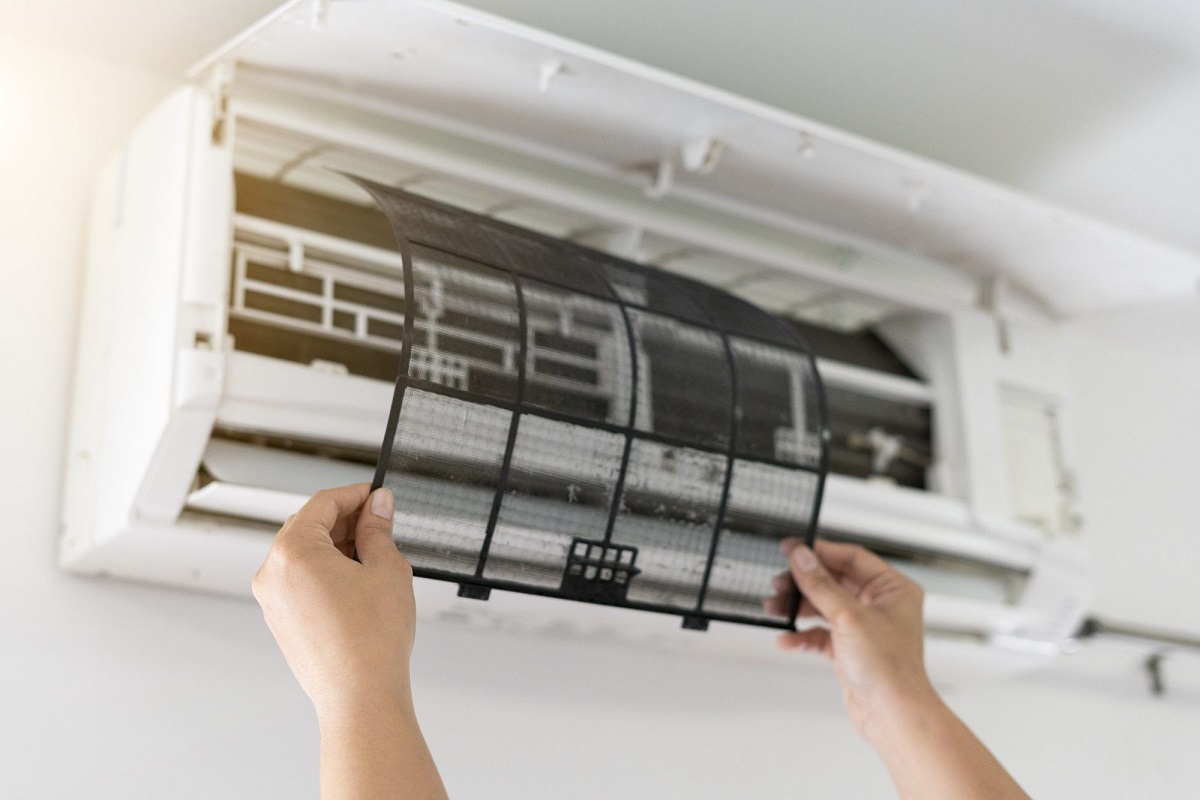
- Better Indoor Air Quality: Dirty coils not only affect the cooling performance but also impact the indoor air quality. The coils can become a breeding ground for mold, bacteria, and allergens. When the air passes over these contaminants, it can spread throughout your space, potentially causing respiratory issues and allergies. Regular coil cleaning kills these harmful organisms, leading to improved indoor air quality and a healthier living environment.
Given the importance of clean AC unit coils for efficiency, performance, longevity, and indoor air quality, it is crucial to include coil cleaning as part of your regular HVAC maintenance routine. In the following sections, we will discuss the tools and materials you need to clean your AC unit coils effectively.
Tools and Materials Needed
Before you begin cleaning your AC unit coils, it is important to gather the necessary tools and materials. Here is a list of items you will need:
- Safety Gear: It is important to prioritize safety when working on your AC unit. Wear safety goggles, gloves, and a dust mask to protect yourself from any potential hazards or allergens.
- Screwdriver: Depending on the type of AC unit, you may need a screwdriver to remove any panels or covers that provide access to the coils. Make sure you have the appropriate size and type of screwdriver for your unit.
- Coil Cleaner: Choose a coil cleaner specifically designed for AC units. Look for a cleaner that is safe for the type of material used in your coils (aluminum, copper, etc.). Read the instructions on the cleaner, as some may require dilution with water.
- Soft Brush: You will need a soft-bristled brush, such as a nylon brush, to gently remove any stubborn dirt or debris from the coils. Avoid using abrasive brushes or scrubbers that could damage the coil fins.
- Fin Comb: A fin comb is a handy tool for straightening any bent coil fins. This helps improve airflow and prevents any obstructions that can reduce cooling efficiency.
- Garden Hose: A garden hose with a spray nozzle attachment will be used to rinse off the coils and remove the loosened dirt and debris. Make sure the water pressure is not too high to avoid damaging the fins.
- Bucket or Container: Have a container or bucket on hand to collect any dirty water that comes out during the cleaning process. This helps prevent any mess and allows for easy disposal.
- Towels or Rags: Keep some towels or rags nearby to wipe clean any excess water or cleaner from the unit after cleaning.
Now that you have the necessary tools and materials, you are ready to prepare for cleaning your AC unit coils. We will discuss the preparation steps in the next section.
Preparing for Cleaning
Before you start cleaning the AC unit coils, it is important to take some necessary precautions and prepare the area. Follow these steps to ensure a smooth and safe cleaning process:
- Turn off the Power: Start by turning off the power to your AC unit. This can usually be done by switching off the breaker or disconnecting the power supply. This step is crucial to prevent any accidents or electrical shocks while cleaning the coils.
- Remove Debris: Clear away any debris, leaves, or vegetation around the outdoor unit. This includes trimming any nearby plants or shrubs to ensure there is enough space for proper airflow around the unit.
- Accessing the Coils: Locate the panels or covers that provide access to the coils. Depending on your AC unit model, you may need to remove screws or clips to access the coils. Use a screwdriver or the appropriate tool to remove these panels carefully.
- Inspect for Damage: Take a moment to inspect the coils and surrounding components for any visible damage or leaks. If you notice any significant damage, it is recommended to contact a professional HVAC technician for further assessment and repairs.
- Protecting Surfaces: Place a plastic sheet or towels around the area where you will be working to protect the surrounding surfaces. This will help contain any dirt, water, or cleaning solution that may drip or spill during the cleaning process.
- Read Instructions: Take the time to read and follow the instructions provided with the coil cleaner. Different cleaners may have specific instructions or precautions that you need to be aware of. It is important to fully understand how to use the cleaner to ensure safe and effective cleaning of the coils.
Once you have completed these preparation steps, you are ready to proceed with the cleaning of the AC unit coils. In the next section, we will provide a detailed step-by-step procedure for cleaning both the evaporator and condenser coils.
Read more: How Much To Clean AC Coils
Cleaning Procedure
Now that you have prepared the area and gathered the necessary tools and materials, it’s time to start cleaning your AC unit coils. Follow these step-by-step instructions for effective coil cleaning:
- Mix the Coil Cleaner: If the coil cleaner you are using requires dilution with water, follow the instructions provided to mix the cleaner accordingly. Be sure to use the recommended ratio to ensure proper cleaning.
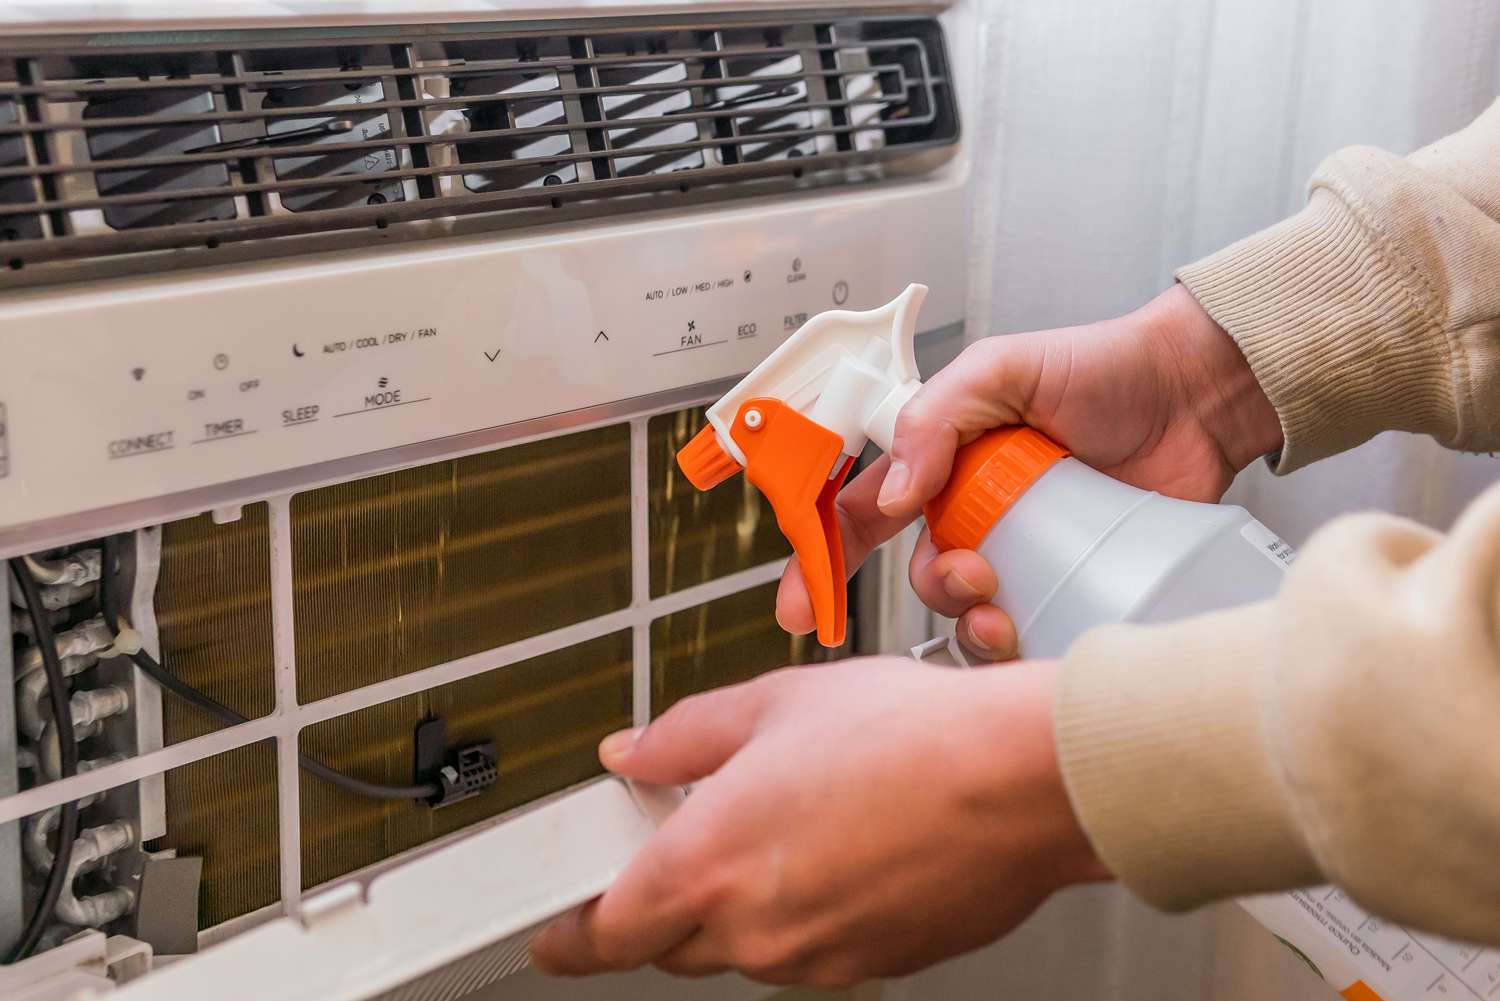
- Apply the Coil Cleaner: Using a sprayer or a pump sprayer, apply the coil cleaner solution onto the coils. Start with the evaporator coils first, then move on to the condenser coils. Make sure to cover the coils thoroughly and evenly with the cleaner, paying attention to any areas with visible dirt or buildup.
- Let it Sit: Allow the coil cleaner to sit on the coils for the specified amount of time as mentioned in the manufacturer’s instructions. This allows the cleaner to penetrate and loosen the dirt and debris on the coils.
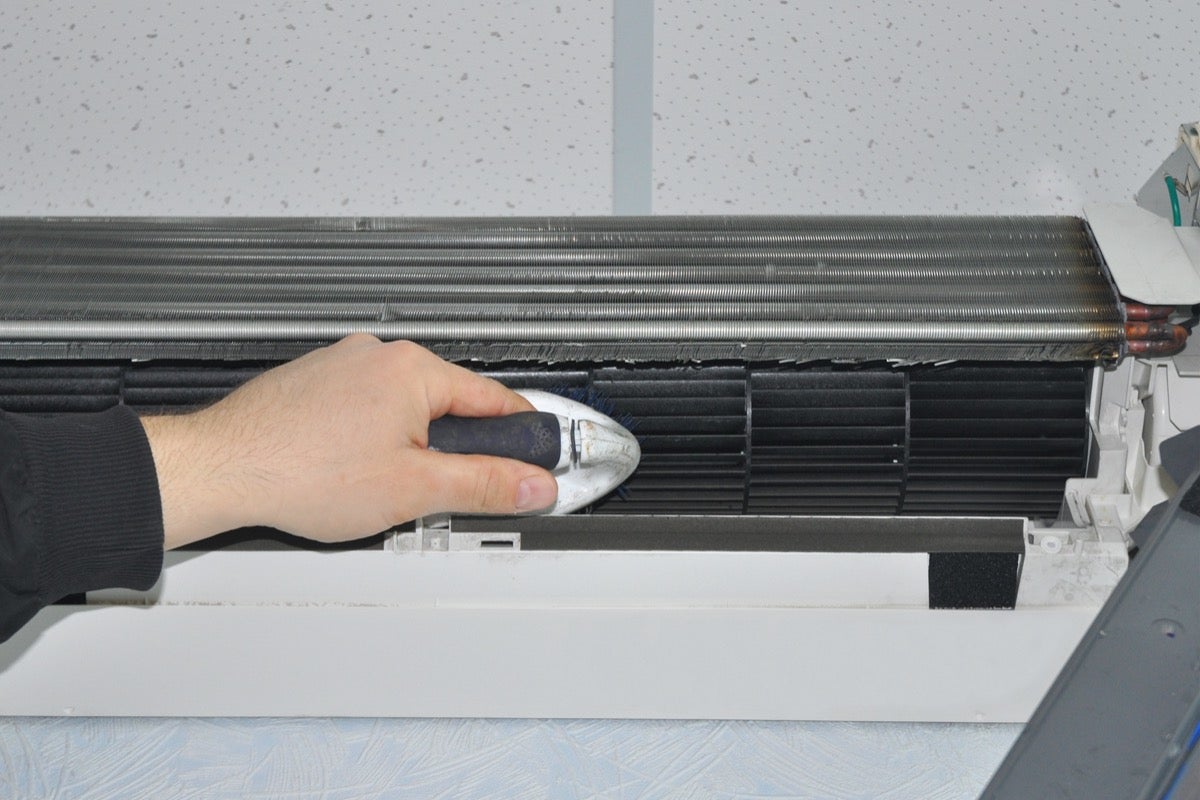
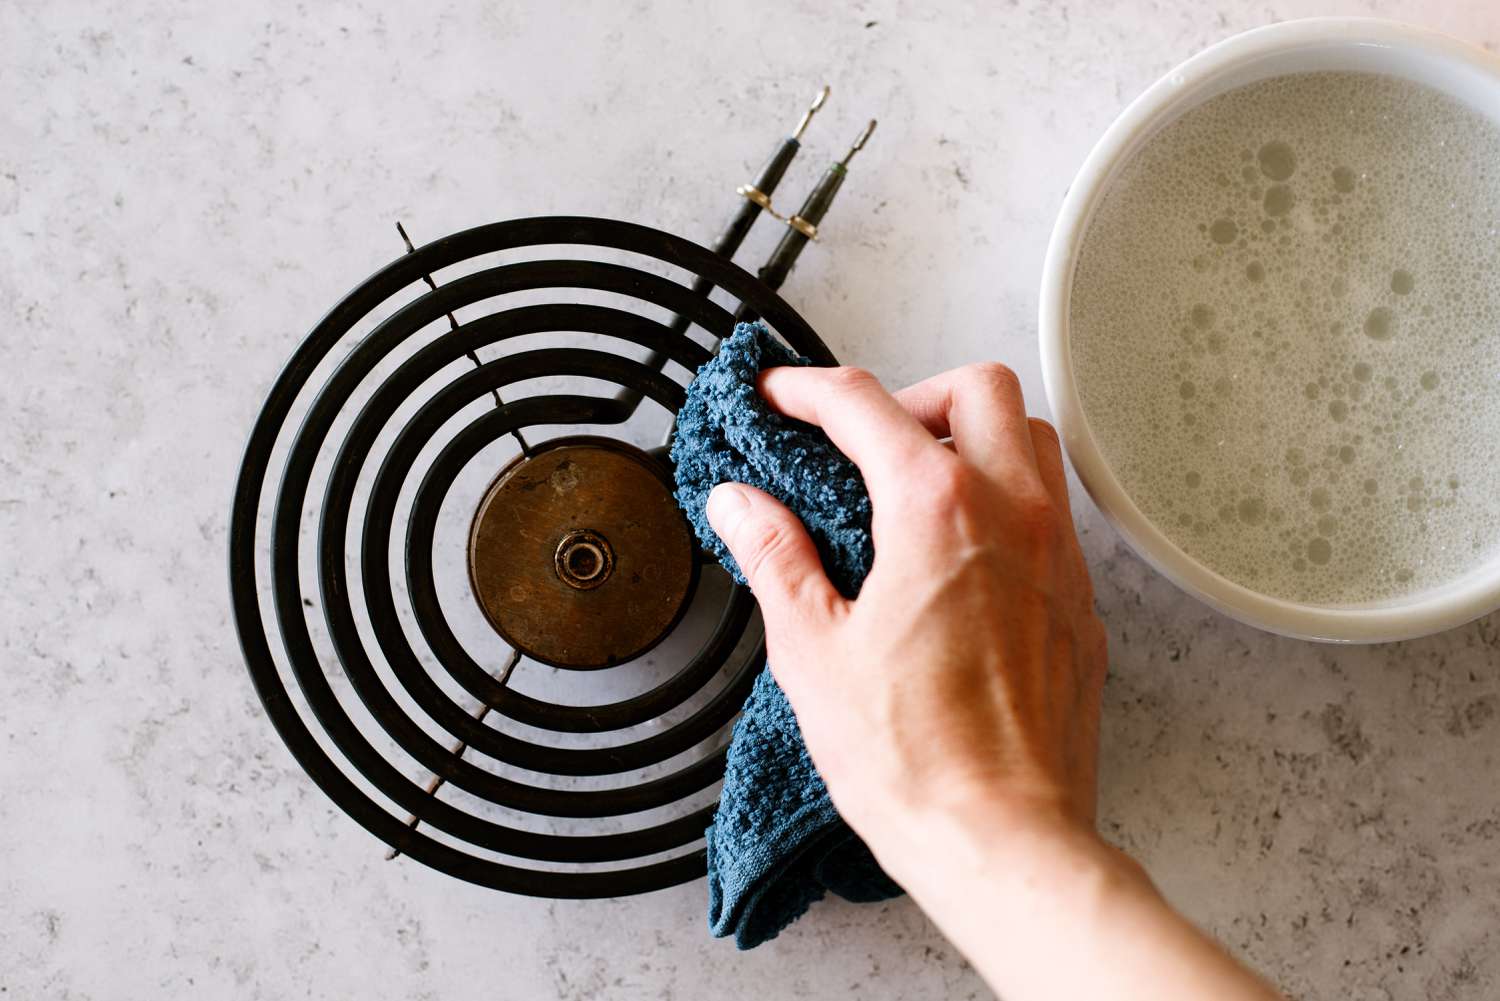
- Gently Brush the Coils: After the specified time has passed, use a soft-bristled brush to gently scrub the coils. Start at the top and work your way down, applying gentle pressure to remove any stubborn dirt or grime. Be careful not to bend or damage the delicate coil fins.
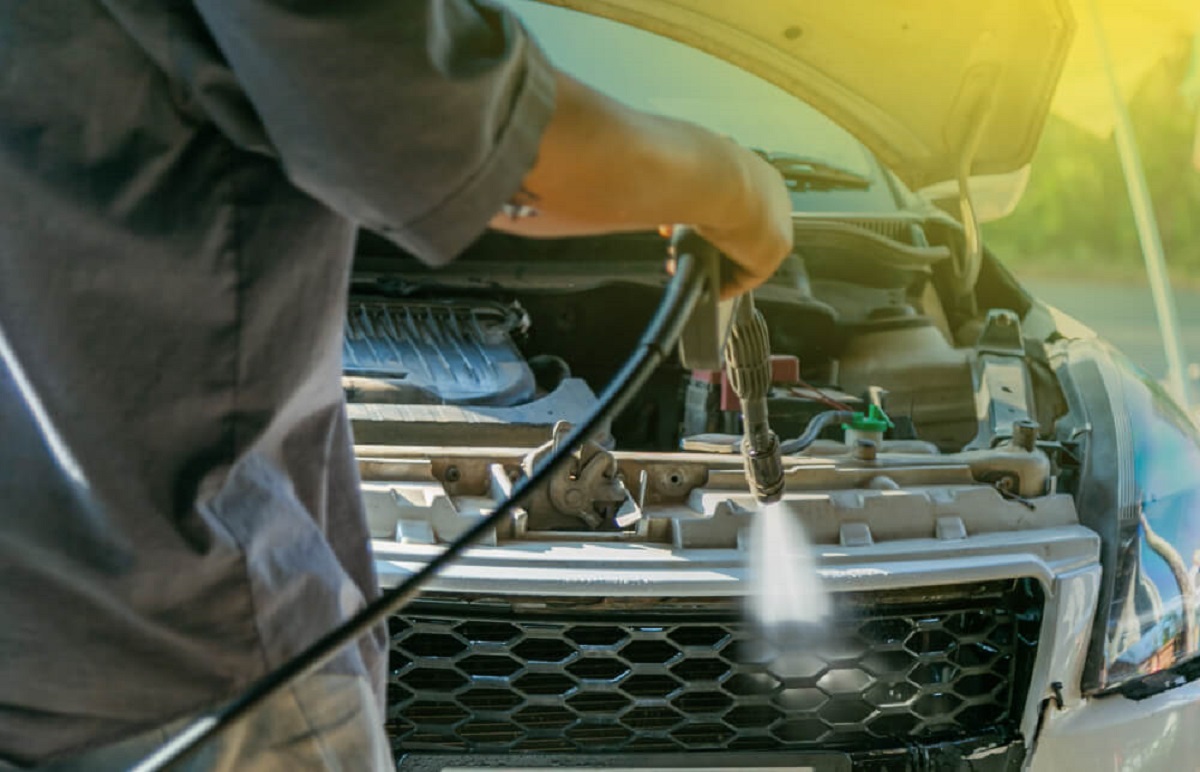
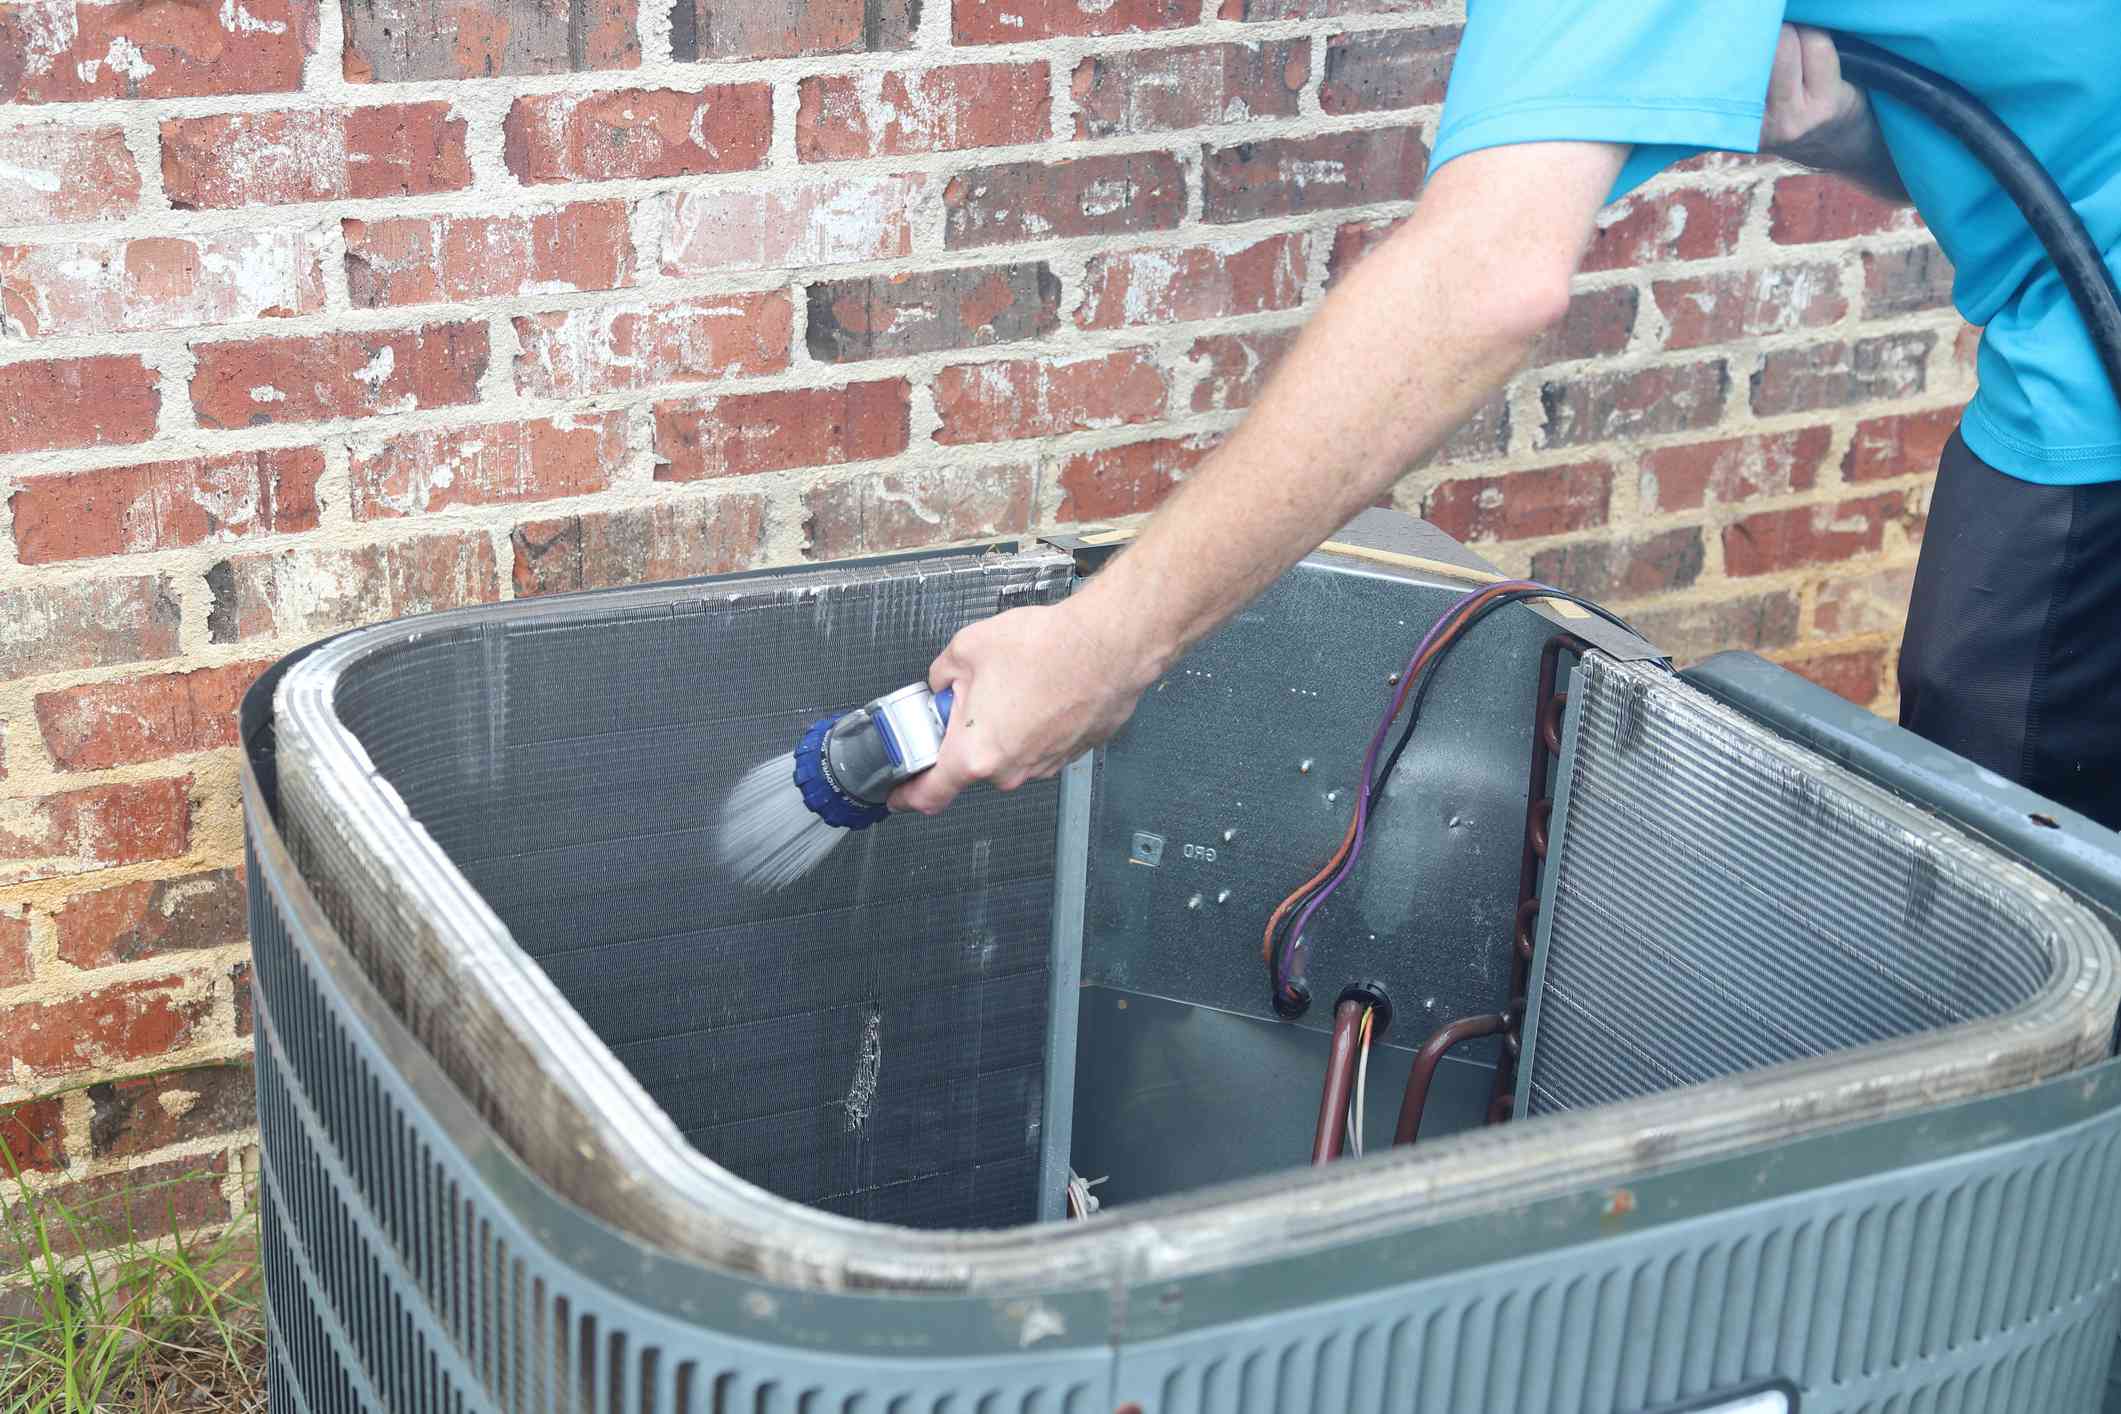
- Rinse with Water: Once you have brushed the coils, use a garden hose with a spray nozzle attachment to rinse off the coils. Start from the top and work your way down, ensuring that all the cleaner and loosened debris are thoroughly rinsed away. Use moderate water pressure to avoid damaging the fins.
- Check for Cleaning Residue: After rinsing, inspect the coils to ensure that no cleaning residue or cleaner solution remains. If necessary, repeat the rinsing process until the coils are clean and free of any leftover cleaning solution.
- Dry the Coils: After rinsing, allow the coils to air dry completely before proceeding with reassembly. You can speed up the drying process by gently wiping the coils with a clean towel or rag, ensuring that no excess water is left behind.
Congratulations! You have successfully cleaned your AC unit coils. However, if you notice any stubborn debris or buildup that requires additional attention, continue reading the next section on how to remove stubborn debris from the coils.
Regularly clean your AC unit coils with a soft brush or vacuum to remove dirt and debris. This will help improve the efficiency and lifespan of your unit.
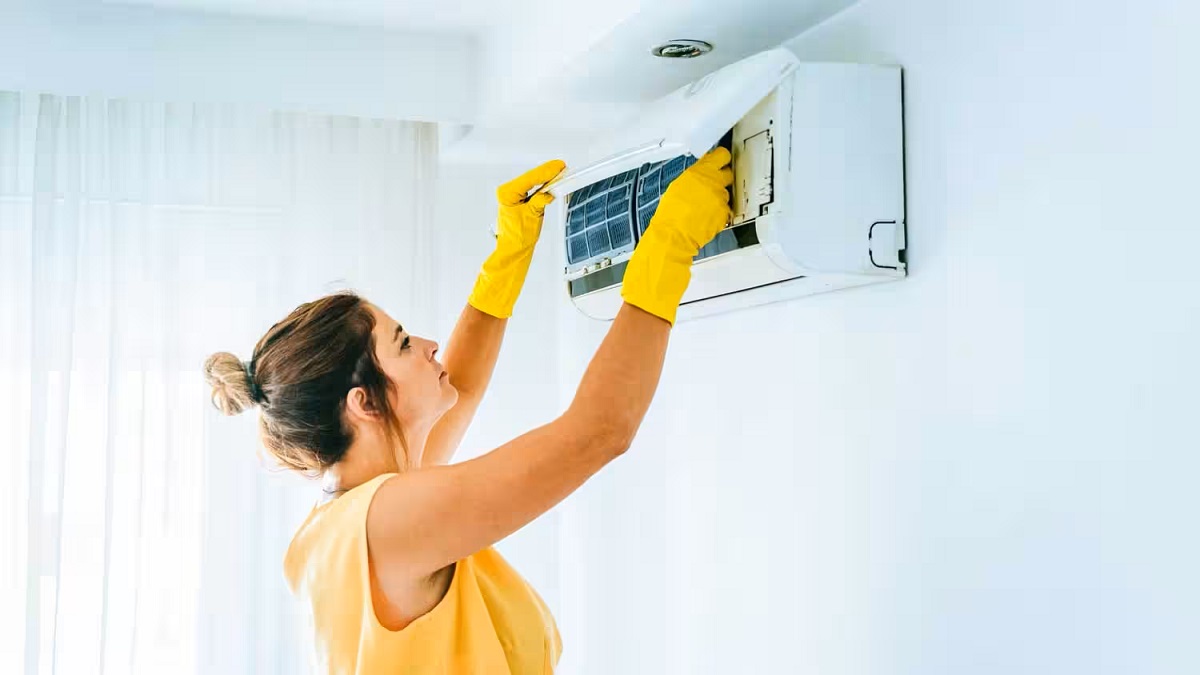
Cleaning the Evaporator Coils
The evaporator coils are located inside the indoor unit of your AC system. Follow these steps to effectively clean the evaporator coils:
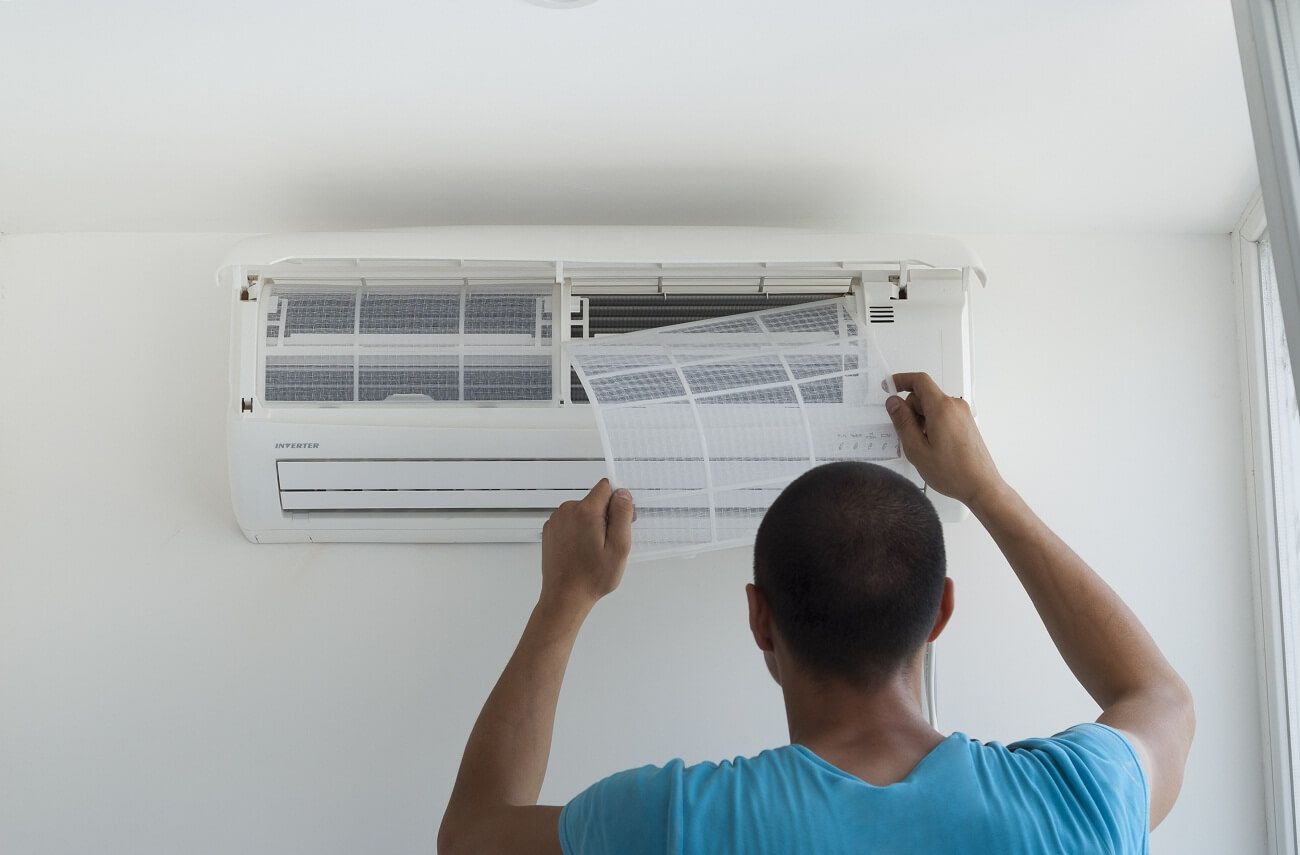
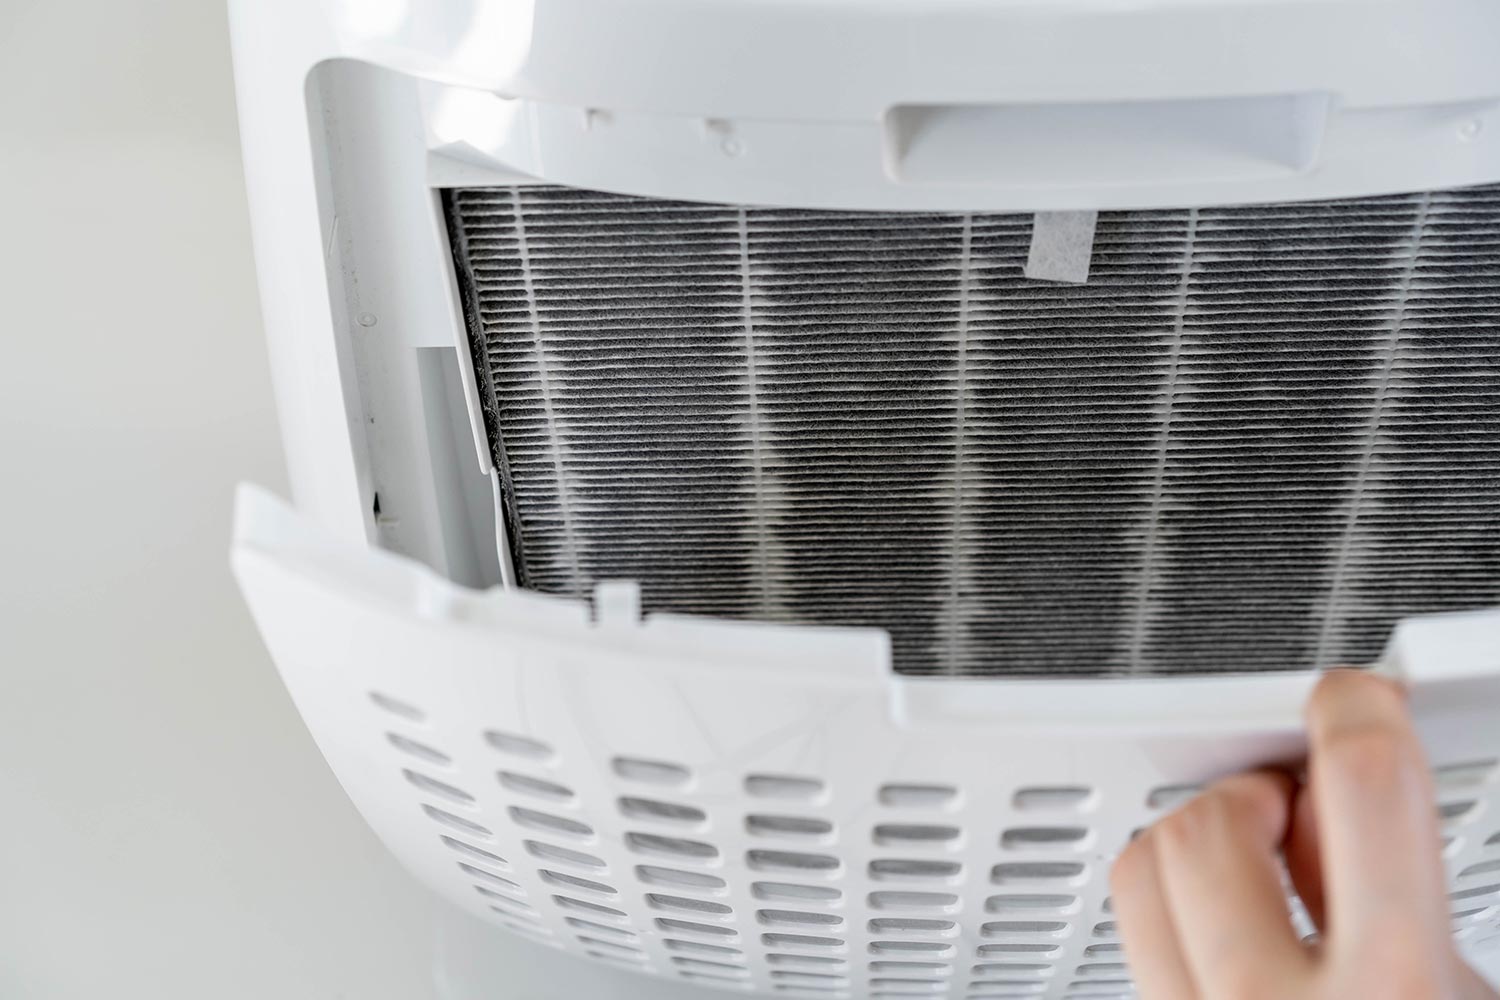
- Access the Evaporator Coils: Depending on your AC unit model, you may need to remove screws or clips to access the evaporator coils. Use a screwdriver or the appropriate tool to carefully remove any panels or covers that provide access to the coils.
- Inspect the Coils: Take a moment to visually inspect the evaporator coils for any visible dirt, dust, or debris. Use a flashlight if necessary to get a better view. This inspection will give you an idea of how much cleaning is required.
- Apply the Coil Cleaner: Using a sprayer or a pump sprayer, apply the coil cleaner solution onto the evaporator coils. Make sure to cover the coils thoroughly and evenly with the cleaner, paying extra attention to any areas with noticeable dirt or buildup.
- Let it Sit: Allow the coil cleaner to sit on the evaporator coils for the specified amount of time as mentioned in the manufacturer’s instructions. This allows the cleaner to penetrate and loosen the dirt and debris on the coils.
- Gently Brush the Coils: After the specified time has passed, use a soft-bristled brush to gently scrub the evaporator coils. Start at the top and work your way down, applying gentle pressure to remove any stubborn dirt or grime. Take care not to bend or damage the delicate coil fins.
- Rinse with Water: Once you have brushed the evaporator coils, use a garden hose with a spray nozzle attachment to rinse off the coils. Start from the top and work your way down, ensuring that all the cleaner and loosened debris are thoroughly rinsed away. Use moderate water pressure to avoid damaging the fins.
- Dry the Coils: After rinsing, allow the evaporator coils to air dry completely before reassembling the unit. You can speed up the drying process by gently wiping the coils with a clean towel or rag, ensuring that no excess water is left behind.
Once the evaporator coils are clean and dry, you can safely proceed with the cleaning of the condenser coils, as we will discuss in the next section.
Cleaning the Condenser Coils
The condenser coils are located in the outdoor unit of your AC system. Follow these steps to effectively clean the condenser coils:
- Ensure Safety: Before accessing the condenser coils, make sure the power to your AC unit is turned off. This step is crucial to prevent any accidents or electrical shocks during the cleaning process.
- Remove Debris: Clear away any debris, leaves, or vegetation around the outdoor unit. Use a brush or a broom to gently sweep away any loose debris from the condenser coils. This will help ensure a clean surface for the cleaning process.
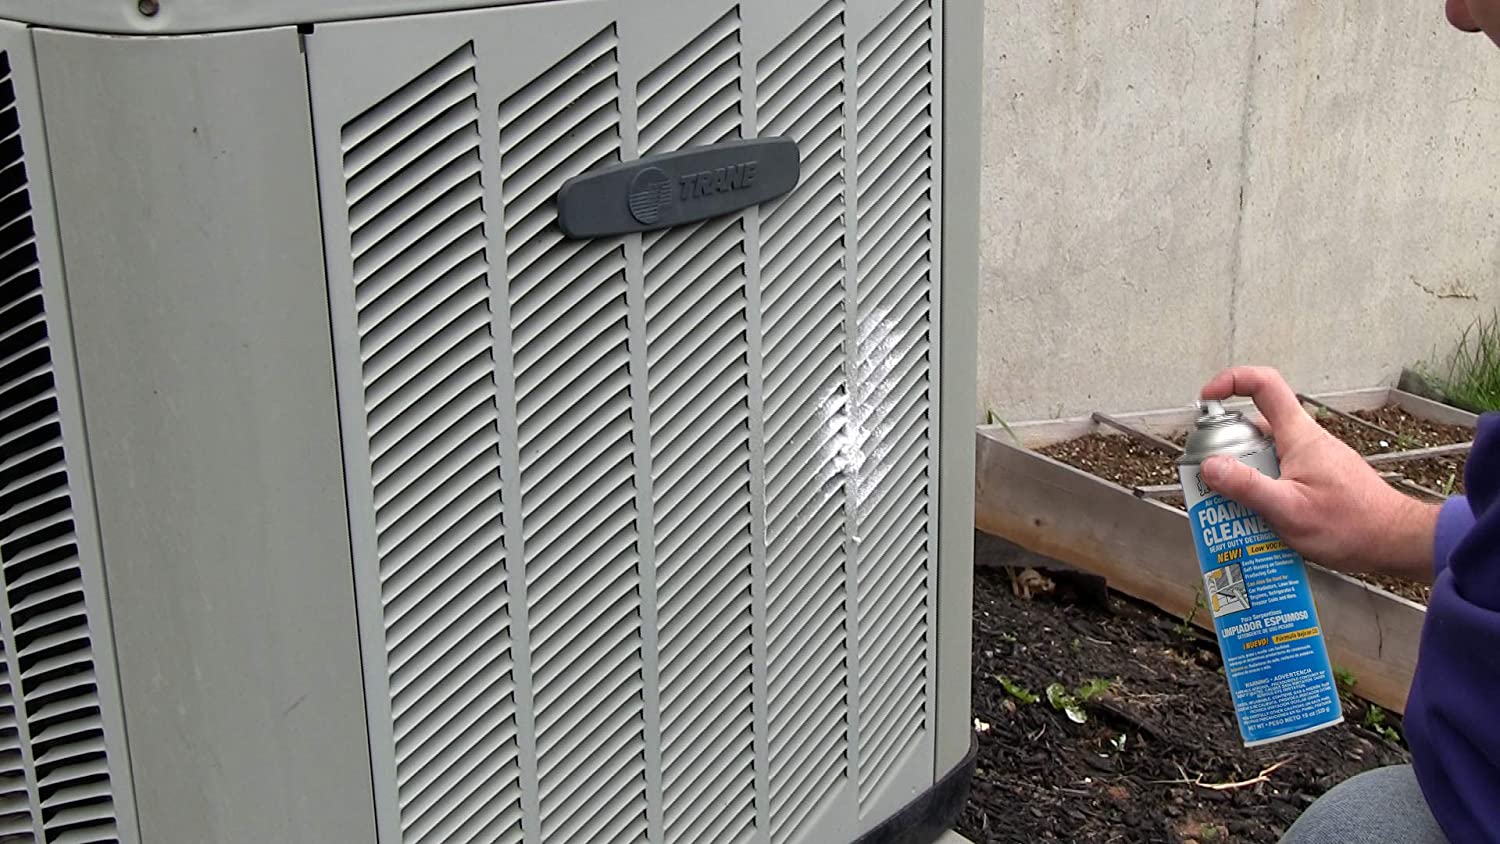
- Apply the Coil Cleaner: Using a sprayer or a pump sprayer, apply the coil cleaner solution onto the condenser coils. Make sure to cover the coils thoroughly and evenly with the cleaner, paying extra attention to any areas with visible dirt or buildup.
- Let it Sit: Allow the coil cleaner to sit on the condenser coils for the specified amount of time as mentioned in the manufacturer’s instructions. This allows the cleaner to penetrate and loosen the dirt and debris on the coils.
- Gently Brush the Coils: After the specified time has passed, use a soft-bristled brush to gently scrub the condenser coils. Start at the top and work your way down, applying gentle pressure to remove any stubborn dirt or grime. Be careful not to bend or damage the delicate coil fins.
- Rinse with Water: Once you have brushed the condenser coils, use a garden hose with a spray nozzle attachment to rinse off the coils. Start from the top and work your way down, ensuring that all the cleaner and loosened debris are thoroughly rinsed away. Use moderate water pressure to avoid damaging the fins.
- Removing Stubborn Debris: If you encounter any stubborn debris or buildup that is difficult to remove with a brush and rinsing, you can use a fin comb to carefully straighten any bent fins. This will help improve the airflow and facilitate the removal of stubborn dirt or debris.
- Dry the Coils: After rinsing, allow the condenser coils to air dry completely before reassembling the unit. You can speed up the drying process by gently wiping the coils with a clean towel or rag, ensuring that no excess water is left behind.
Once the condenser coils are clean and dry, you can safely proceed with reassembling the AC unit. We will cover the reassembling process in the next section.
Removing Stubborn Debris
While cleaning your AC unit coils, you may encounter stubborn debris or buildup that requires some additional effort to remove. Here are some methods you can try to remove stubborn debris from your coils:
- Fin Comb: If you notice any bent coil fins, you can use a fin comb to carefully straighten them. A fin comb is a tool with different sizes of teeth that can be inserted between the fins. Gently run the fin comb through the bent fins to straighten them out. This helps improve airflow and removes any obstructions that may hinder the cooling process.
- Compressed Air: If there is dust or debris lodged in hard-to-reach areas, you can use compressed air to dislodge it. Use a canister of compressed air or an air compressor with a nozzle attachment to blow the debris away. Make sure to hold the nozzle at a safe distance to avoid damaging the coils or fins.
- Vacuum Cleaner: A vacuum cleaner with a brush attachment can also be effective in removing stubborn debris. Gently vacuum the coils, using the brush attachment to dislodge and suck away any dirt or debris. Be careful not to apply too much pressure or vacuum too close to the coils to avoid damage.
- Water Pressure: If persistent debris remains lodged in the coils, you can increase the water pressure of your garden hose to help dislodge it. Use caution and gradually increase the water pressure, making sure not to exceed a level that could damage the fins or coils.
- Professional Assistance: If you find that you’re unable to remove stubborn debris yourself, or if you encounter any significant damage to the coils or other components, it is recommended to seek professional assistance from an HVAC technician. They have specialized tools and expertise to handle complex cleaning and repairs safely and effectively.
Remember, it’s important to exercise caution and avoid using excessive force when removing stubborn debris. The goal is to clean the coils without causing any damage. Once you have removed the debris, you can proceed with reassembling your AC unit, as we will discuss in the next section.
Read more: What Is An AC Coil
Safely Reassembling the AC Unit
After successfully cleaning the evaporator and condenser coils, it is time to safely reassemble your AC unit. Follow these steps to ensure a proper reassembly:
- Drying Time: Before reassembling, make sure that both the evaporator and condenser coils are completely dry. It is essential to prevent any moisture from entering the unit, which can lead to mold growth or damage to the electrical components.
- Replace Panels or Covers: Carefully place the panels or covers back onto the unit, aligning them correctly. Use a screwdriver or the appropriate tool to secure them in place, ensuring a proper fit. Double-check that all screws or clips are tightened but not overly tightened to avoid damage to the unit.
- Remove Protective Coverings: If you placed any protective coverings or towels around the unit during the cleaning process, remove them before powering on the AC unit. This will ensure proper airflow and prevent any potential obstructions.
- Turn on the Power: With the AC unit fully reassembled, you can now turn on the power. Switch on the breaker or reconnect the power supply, following the manufacturer’s instructions and safety guidelines. Make sure that the unit is functioning correctly after powering it on.
- Monitor Performance: After reassembling and powering on the AC unit, monitor its performance to ensure that it is cooling effectively. Pay attention to any unusual sounds, smells, or changes in airflow. If you notice any issues, it may be necessary to contact a professional technician for further inspection and repairs.
- Maintain a Regular Cleaning Schedule: Cleaning your AC unit coils should be part of your regular maintenance routine. Set a schedule for cleaning the coils at least once a year, or more frequently if you live in an area with high levels of dust, pollutants, or pollen. Regular maintenance will help ensure that your AC unit runs efficiently and lasts longer.
By safely reassembling your AC unit and incorporating regular maintenance, you can enjoy the benefits of a clean and efficiently functioning system. Remember to prioritize safety, follow manufacturer’s instructions, and seek professional assistance if needed. With proper care, your AC unit will continue to provide optimal cooling performance for years to come.
Now that you have completed the cleaning process and reassembled your AC unit, you can enjoy the refreshed and efficient cooling it provides. Regular maintenance of your AC unit, including cleaning the coils, helps prolong its lifespan, improve energy efficiency, and maintain a comfortable indoor environment.
Remember to always refer to the manufacturer’s guidelines and consult a professional if you have any concerns or issues with your AC unit. By taking good care of your AC unit, you are investing in its longevity and ensuring your comfort throughout the year.
Stay cool!
Conclusion
Keeping your AC unit coils clean is crucial for maintaining optimal performance and energy efficiency. Regular cleaning of the evaporator and condenser coils helps improve airflow, enhance cooling performance, extend the lifespan of the unit, and promote better indoor air quality. By following a few simple steps and using the right tools and materials, you can effectively clean your AC unit coils.
Start by understanding the importance of AC unit coils and how they contribute to the cooling process. The evaporator coils absorb heat from your space, while the condenser coils release it. Over time, dust, dirt, and debris accumulate on the coils, reducing their efficiency and forcing the unit to work harder. Cleaning the coils helps restore their performance and reduces energy consumption.
Gather the necessary tools and materials, including a coil cleaner, soft brush, fin comb, garden hose, and safety gear, to prepare for the cleaning process. Take the time to safely access the coils by turning off the power and removing any panels or covers. Apply the coil cleaner, let it sit, and gently brush the coils to remove dirt and debris. Rinse off the coils with water, ensure they are dry, and then reassemble the AC unit following the correct procedure.
If you encounter stubborn debris or bent fins, try using a fin comb or tools like compressed air or a vacuum cleaner to address them. If needed, seek professional assistance to handle complex cleaning or repairs. Once the coils are clean and the unit is reassembled, turn on the power and monitor its performance for any abnormalities.
Remember to incorporate regular coil cleaning as part of your maintenance routine to maximize the efficiency and lifespan of your AC unit. Set a schedule for cleaning the coils at least once a year or more frequently if necessary.
By taking the time to clean your AC unit coils, you can ensure that your system runs smoothly, providing you with consistent cooling and improved indoor air quality. Enjoy the comfort and energy savings of a clean and efficient AC unit!
Frequently Asked Questions about How To Clean AC Unit Coils
Was this page helpful?
At Storables.com, we guarantee accurate and reliable information. Our content, validated by Expert Board Contributors, is crafted following stringent Editorial Policies. We're committed to providing you with well-researched, expert-backed insights for all your informational needs.
0 thoughts on “How To Clean AC Unit Coils”