Articles
How To Clean AC Vent
Modified: October 20, 2024
Discover effective techniques to clean your AC vent and improve air quality with our informative articles. Get expert tips and step-by-step instructions for a thorough cleaning.
(Many of the links in this article redirect to a specific reviewed product. Your purchase of these products through affiliate links helps to generate commission for Storables.com, at no extra cost. Learn more)
Introduction
Welcome to our comprehensive guide on how to clean AC vents. Over time, the vents in your air conditioning system can accumulate dust, dirt, and debris, reducing their efficiency and compromising the quality of the air circulating in your home. Regularly cleaning your AC vents not only improves the performance of your system but also promotes cleaner air, making your living space more comfortable and healthier for you and your family.
In this article, we will walk you through the step-by-step process of cleaning AC vents, providing you with expert tips and techniques to ensure a thorough and effective cleaning. By following these instructions, you can maintain the optimal functioning of your air conditioning system and enjoy longer-lasting, fresher air throughout your home.
Key Takeaways:
- Regularly cleaning your AC vents improves air quality, enhances system performance, and prolongs the lifespan of your HVAC equipment, creating a healthier and more comfortable living environment for you and your family.
- Prioritizing safety, following a step-by-step cleaning process, and incorporating regular maintenance can help you enjoy cleaner air, increased energy efficiency, and a longer lifespan for your air conditioning system.
Read more: How To Clean The Inside Of A Dryer Vent
Materials Needed
Before you begin cleaning your AC vents, gather the necessary materials:
- Dust mask
- Gloves
- Vacuum cleaner with brush attachment
- Microfiber cloth
- Mild detergent or cleaning solution
- Water
Having these materials on hand will ensure that you have everything you need to effectively clean your AC vents.
Key Takeaways:
- Regularly cleaning your AC vents improves air quality, enhances system performance, and prolongs the lifespan of your HVAC equipment, creating a healthier and more comfortable living environment for you and your family.
- Prioritizing safety, following a step-by-step cleaning process, and incorporating regular maintenance can help you enjoy cleaner air, increased energy efficiency, and a longer lifespan for your air conditioning system.
Read more: How To Clean The Inside Of A Dryer Vent
Materials Needed
Before you begin cleaning your AC vents, gather the necessary materials:
- Dust mask: To protect yourself from inhaling dust and debris during the cleaning process, it is essential to wear a dust mask. This will help prevent respiratory issues and keep you safe.
- Gloves: Wear gloves to protect your hands from any contaminants present in the vents. They will also provide a barrier against any cleaning solutions or chemicals that you may use.
- Vacuum cleaner with brush attachment: A vacuum cleaner with a brush attachment is essential for removing loose dust and debris from the vent covers and ducts. The brush attachment helps dislodge stubborn dirt and ensures a thorough cleaning.
- Microfiber cloth: Use a microfiber cloth to wipe down the vent covers and remove any remaining dust or dirt particles. Microfiber cloths are effective at trapping and collecting dust, leaving your vents clean and free from residue.
- Mild detergent or cleaning solution: Depending on the level of dirt and grime on your vent covers, you may need to use a mild detergent or cleaning solution. Dilute the detergent or solution with water according to the manufacturer’s instructions.
- Water: You will need water to rinse the vent covers after cleaning them. Use clean, lukewarm water to remove any soap or cleaning solution residue.
Gathering these materials beforehand will ensure that you have everything you need to carry out a successful AC vent cleaning. It is important to prioritize your safety and have the appropriate tools and protective gear on hand before starting the cleaning process.
Step 1: Turn Off the AC
Before beginning the cleaning process, it is crucial to turn off your air conditioning system. This step ensures your safety and prevents any accidental damage to the system during the cleaning process.
Locate the main power switch or circuit breaker for your AC unit. This switch is typically found near the unit itself or in the electrical panel of your home. Flip the switch to the “off” position or turn off the circuit breaker that controls the AC unit.
Turning off the AC ensures that there is no power running to the vents or the fan system, providing a safer environment for you to clean.
If you are unsure how to locate the main power switch or circuit breaker for your AC unit, consult the owner’s manual or contact a professional HVAC technician for guidance.
Remember to always put safety first when working with electrical equipment. Avoid touching any electrical components when the power is turned off, and make sure to follow the manufacturer’s instructions and safety precautions.
Once you have successfully turned off your AC unit, you are ready to move on to the next step of the cleaning process.
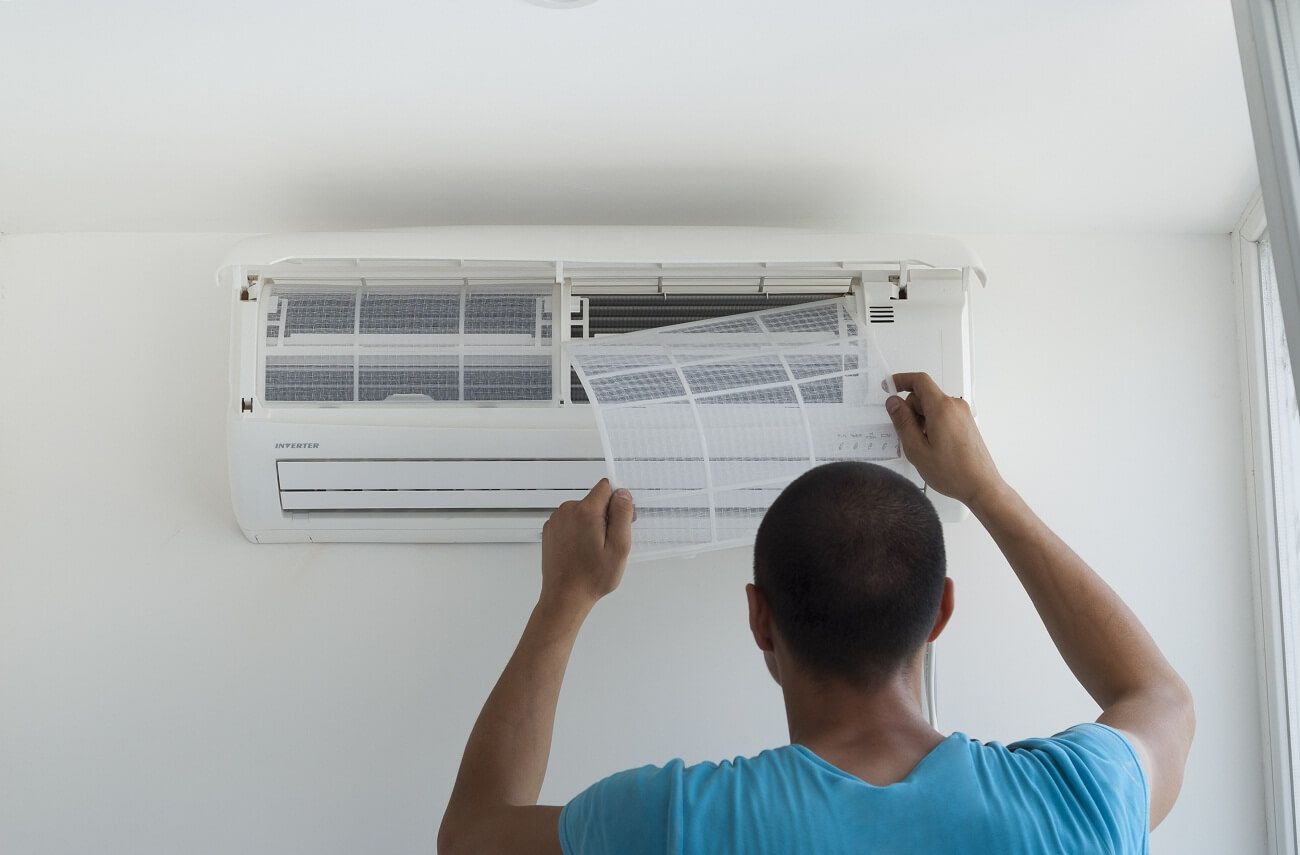
Step 2: Remove the Vent Covers
Now that the AC is turned off, it’s time to remove the vent covers. Most vent covers are held in place by screws or clips, so you’ll need a screwdriver or a gentle tug to detach them from the wall or ceiling.
Start by inspecting the vent covers to determine the type of fasteners used. If you see visible screws, use a screwdriver to carefully remove them. Place the screws in a safe spot, such as a small container, to avoid misplacing them.
If your vent covers have clips, gently pull them away from the wall or ceiling to release the clips. Be careful not to yank or force them, as this can cause damage to both the vent covers and the surrounding area.
As you remove each vent cover, take note of its size and location to ensure accurate reinstallation later.
Some homes may have multiple vents, so repeat this process for each vent cover that needs cleaning.
Once you have removed all the vent covers, place them on a clean and flat surface. This will make it easier to clean them thoroughly in the next steps.
Removing the vent covers allows you access to the internals of the vent system for more effective cleaning. With this step complete, you’re ready to continue with the next stage of the cleaning process.
Read more: How Often Dryer Vent Cleaning
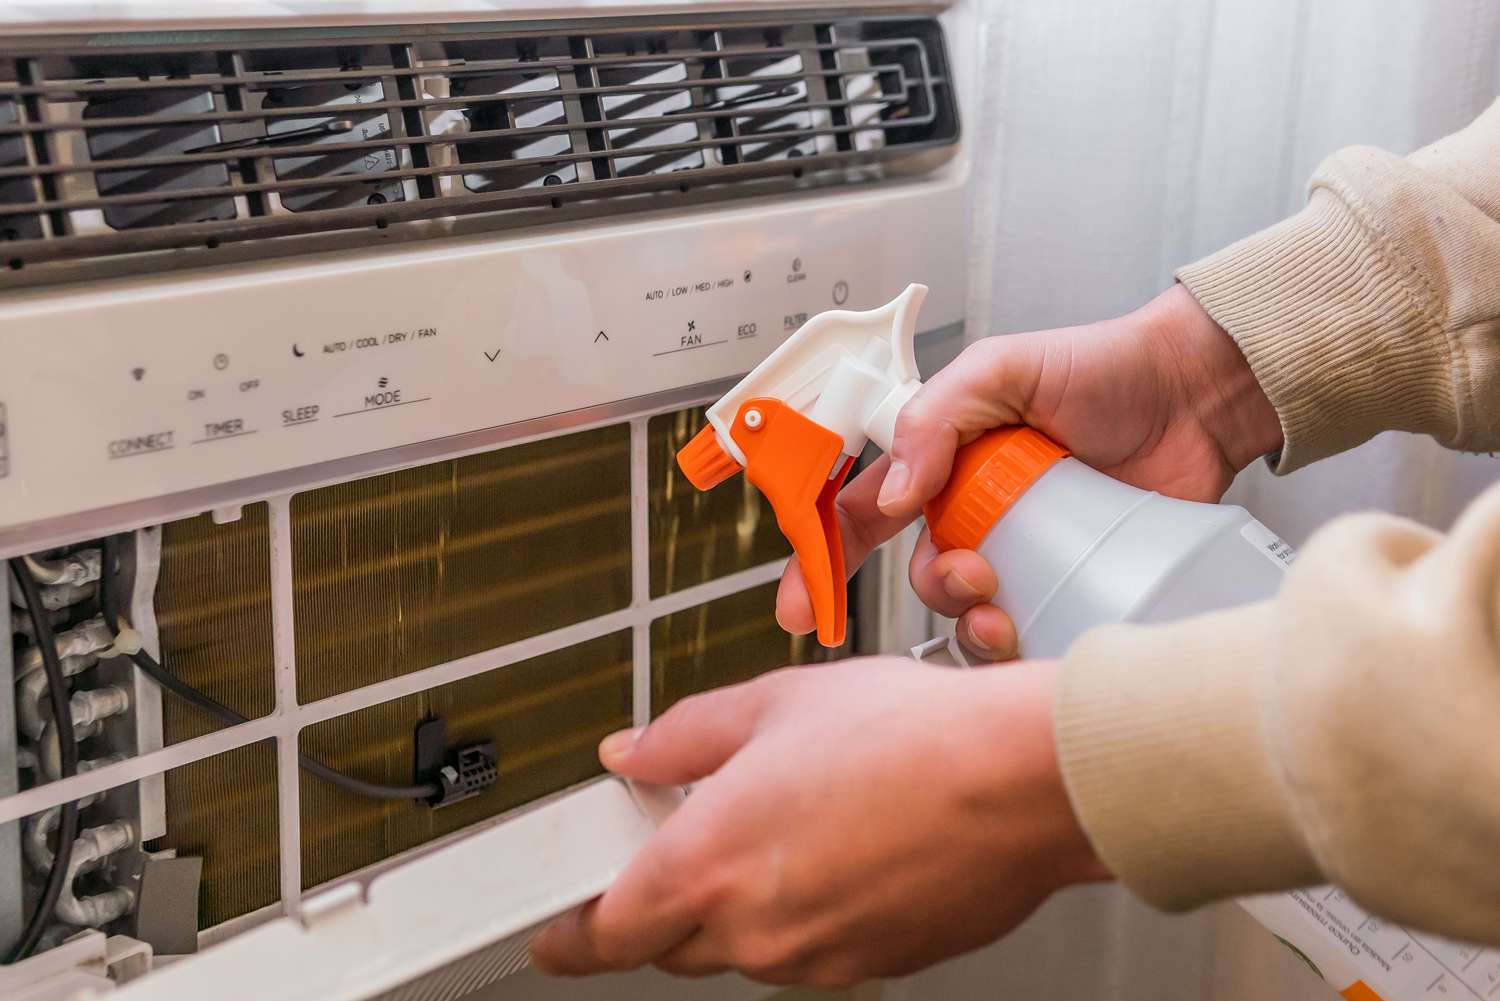
Step 3: Vacuum the Vent Covers
With the vent covers removed, it’s time to give them a thorough vacuuming to remove any loose dust and debris that may have accumulated.
Begin by attaching the brush attachment to your vacuum cleaner. The brush attachment allows for better suction and helps dislodge dirt from the vent covers.
Hold the vacuum cleaner hose up to the vent cover and use the brush attachment to gently agitate the surface. Start from one side of the vent cover and work your way across, ensuring you cover the entire surface area.
Move the brush attachment in a back-and-forth motion, allowing the bristles to reach into the crevices and corners of the vent cover. This helps loosen any stubborn dirt or debris that may be stuck.
As you vacuum, pay attention to any areas that appear particularly dirty or clogged. Give them extra attention to ensure a thorough cleaning.
Continue vacuuming each vent cover until you have removed all visible dust and debris. Take your time and be thorough to achieve the best results.
Once you have finished vacuuming, empty the vacuum cleaner’s dust canister or replace the bag to ensure optimal performance for future cleaning tasks.
By vacuuming the vent covers, you remove the loose dirt and dust, making it easier to clean the vents more extensively in the following steps.
Now that the vent covers are clean, you’re ready to move on to cleaning the vent ducts themselves in the next step.
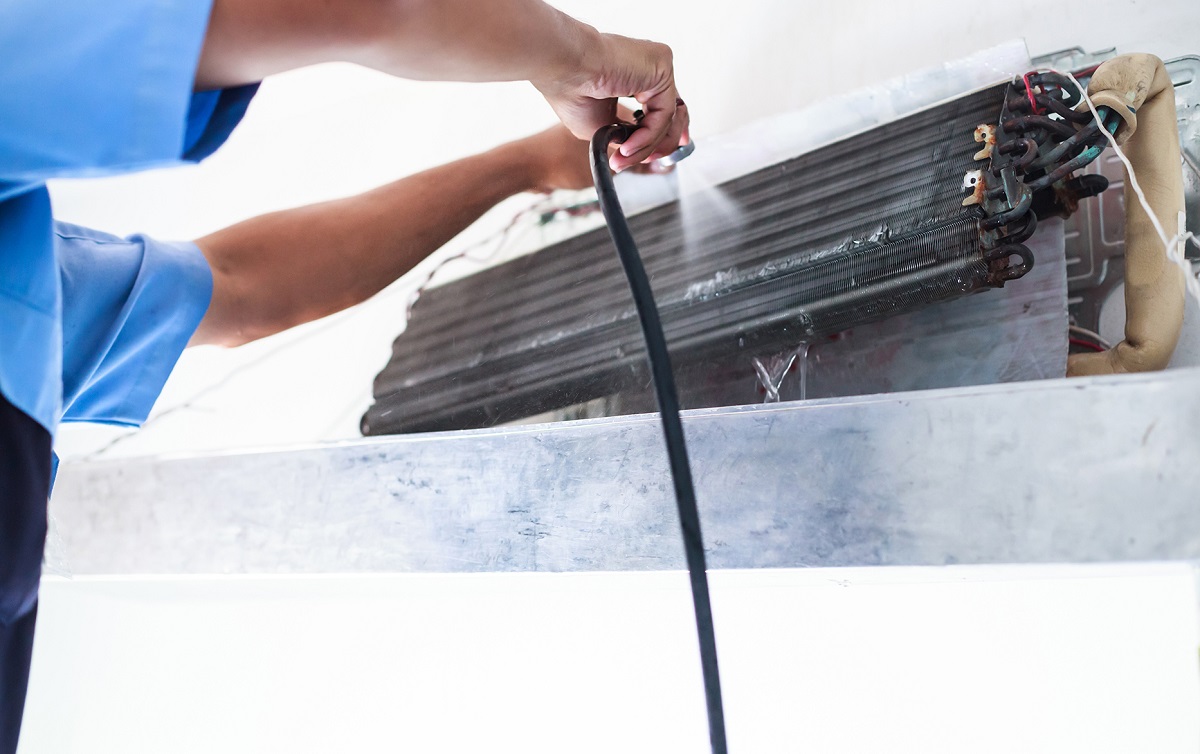
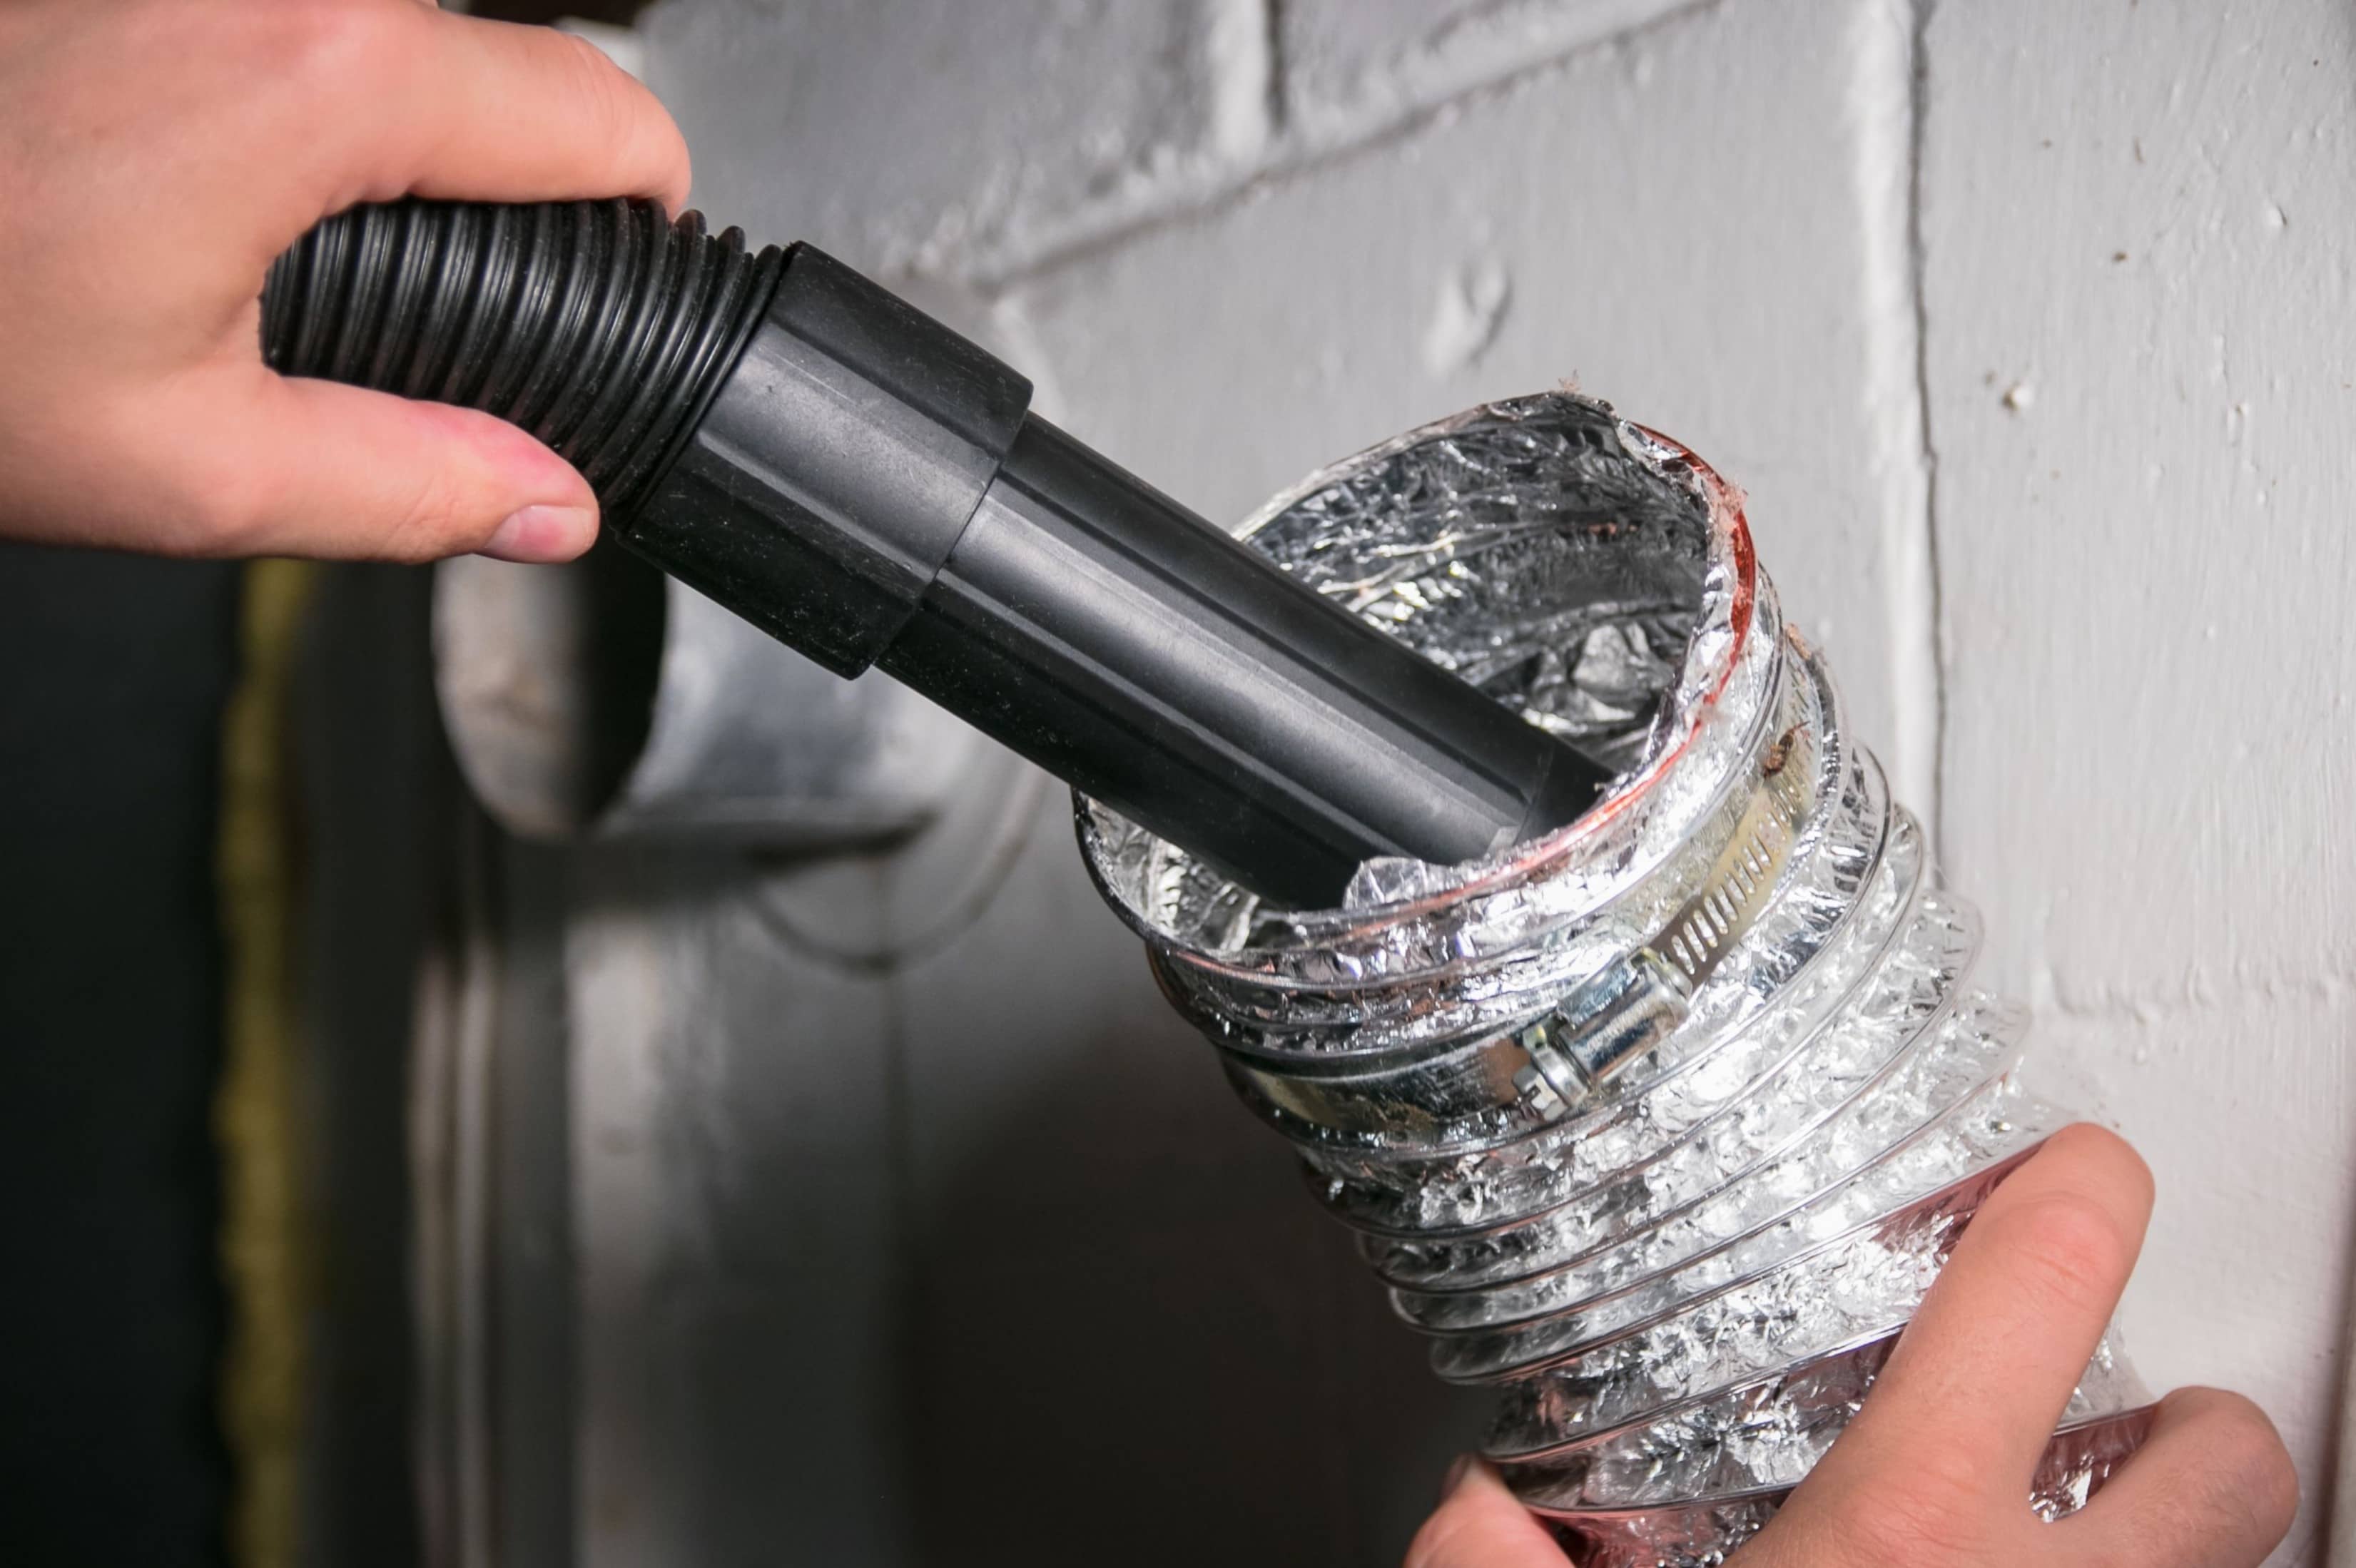
Use a vacuum with a brush attachment to clean the AC vent cover and remove any dust and debris. Then, use a damp cloth to wipe down the inside of the vent to ensure it is clean and free of buildup.
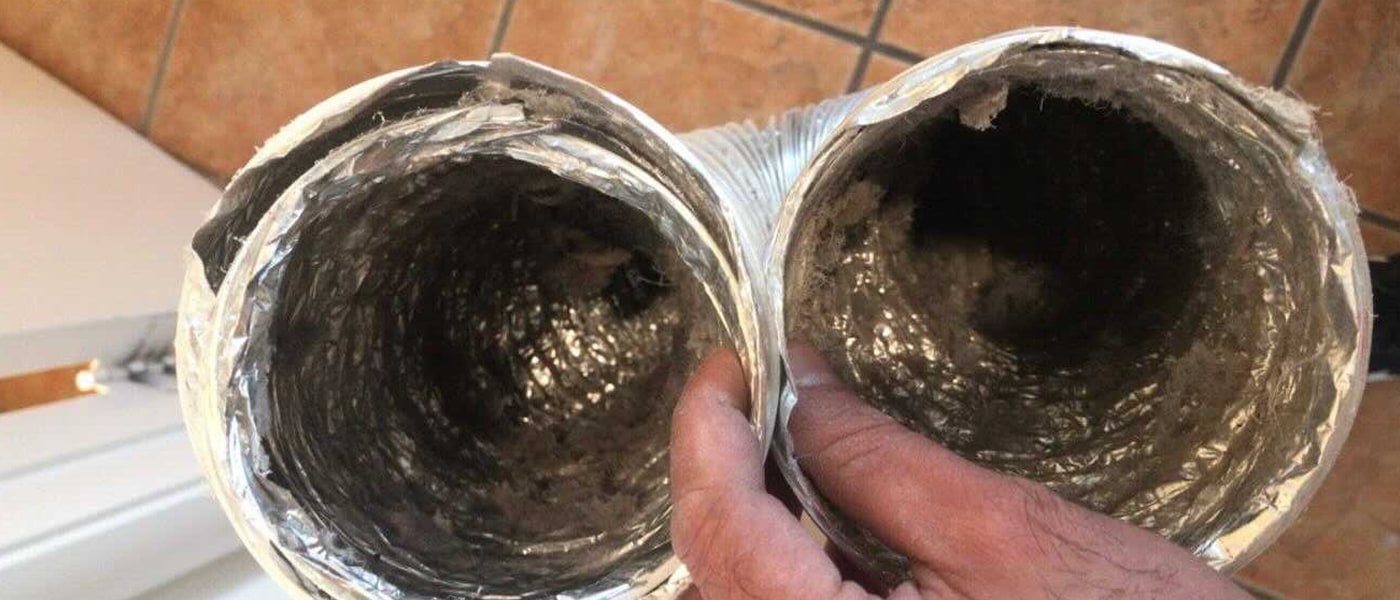
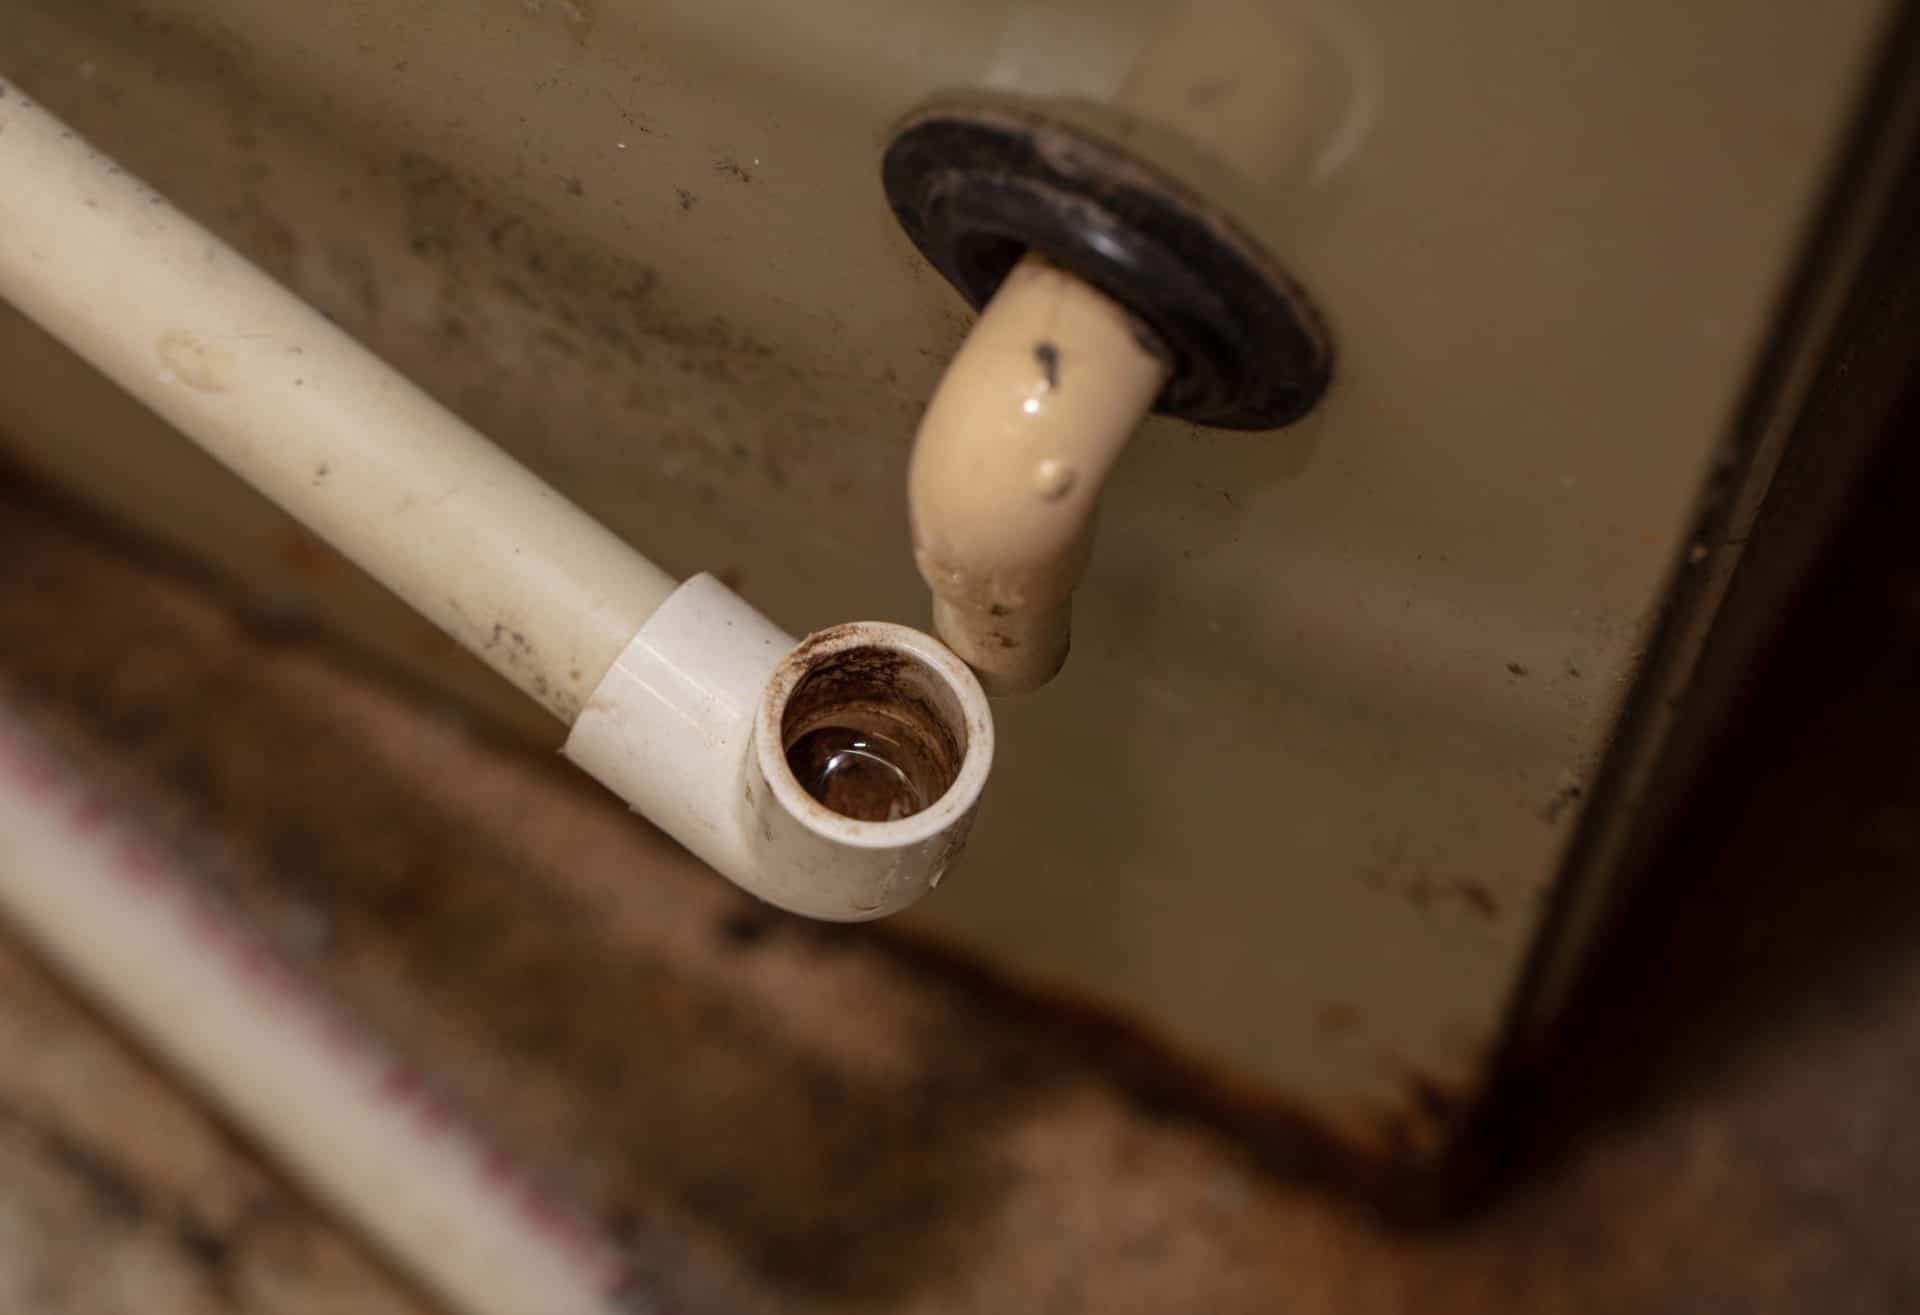
Step 4: Clean the Vent Ducts
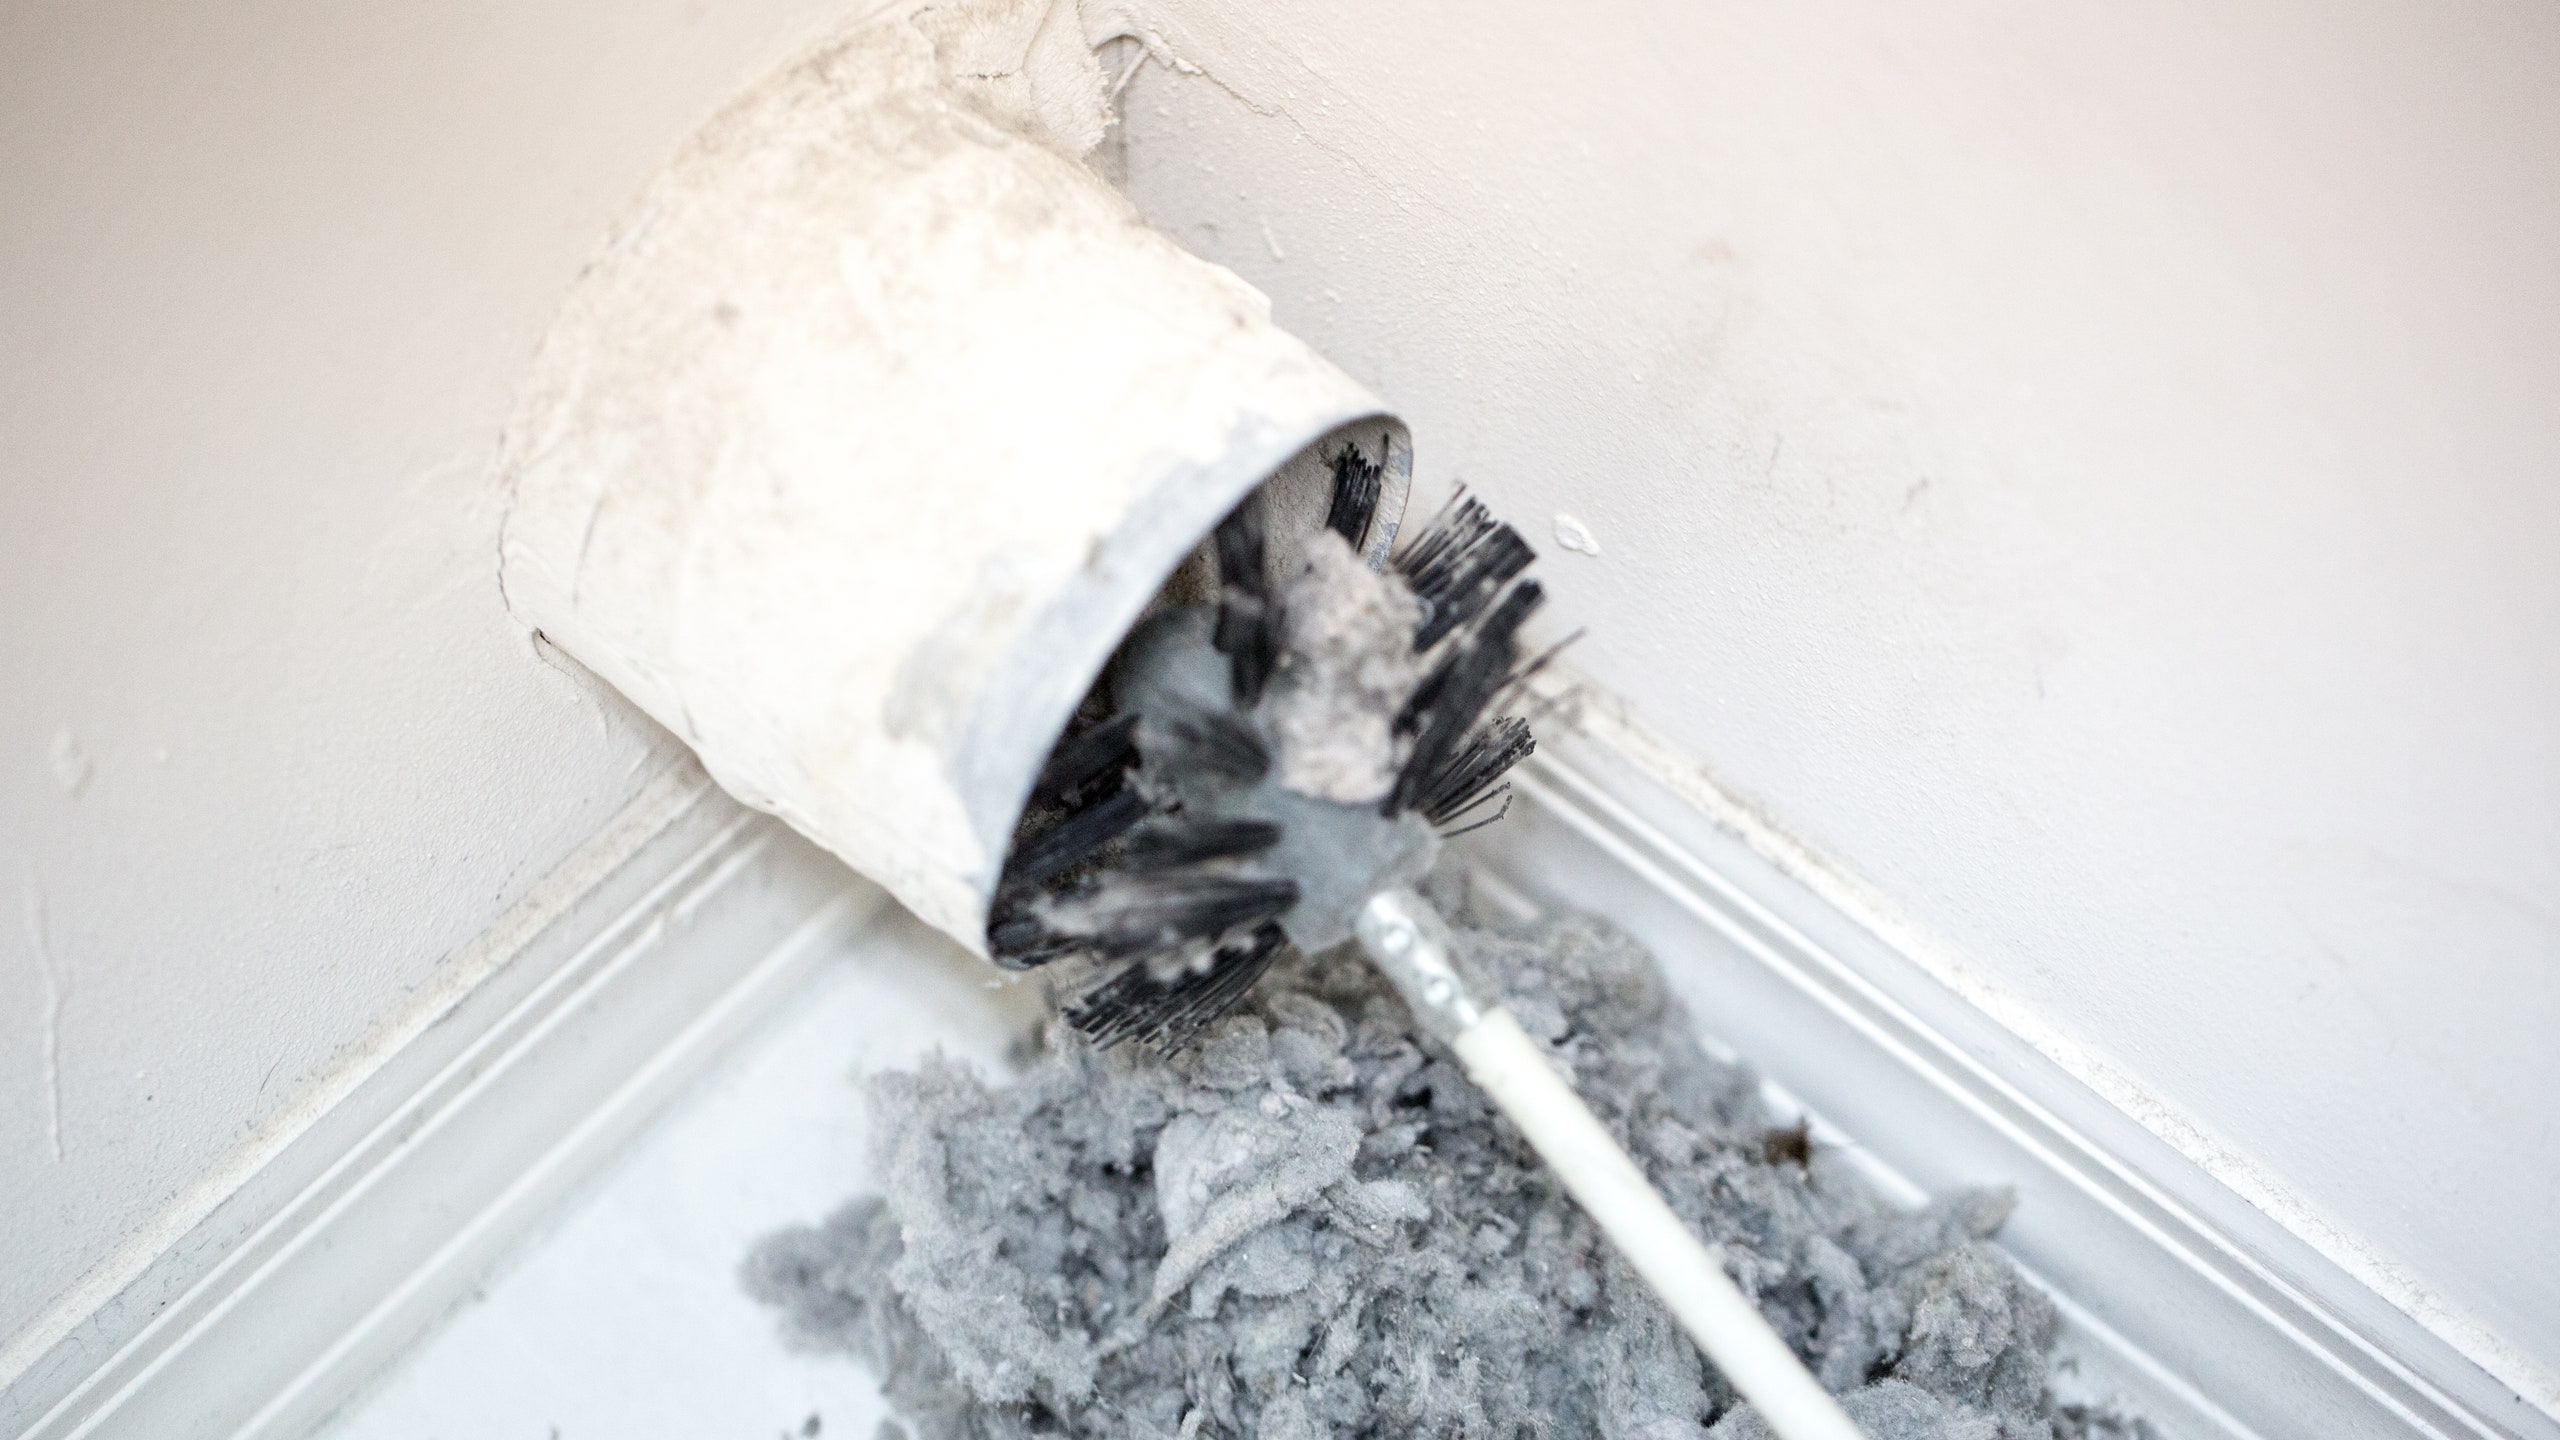
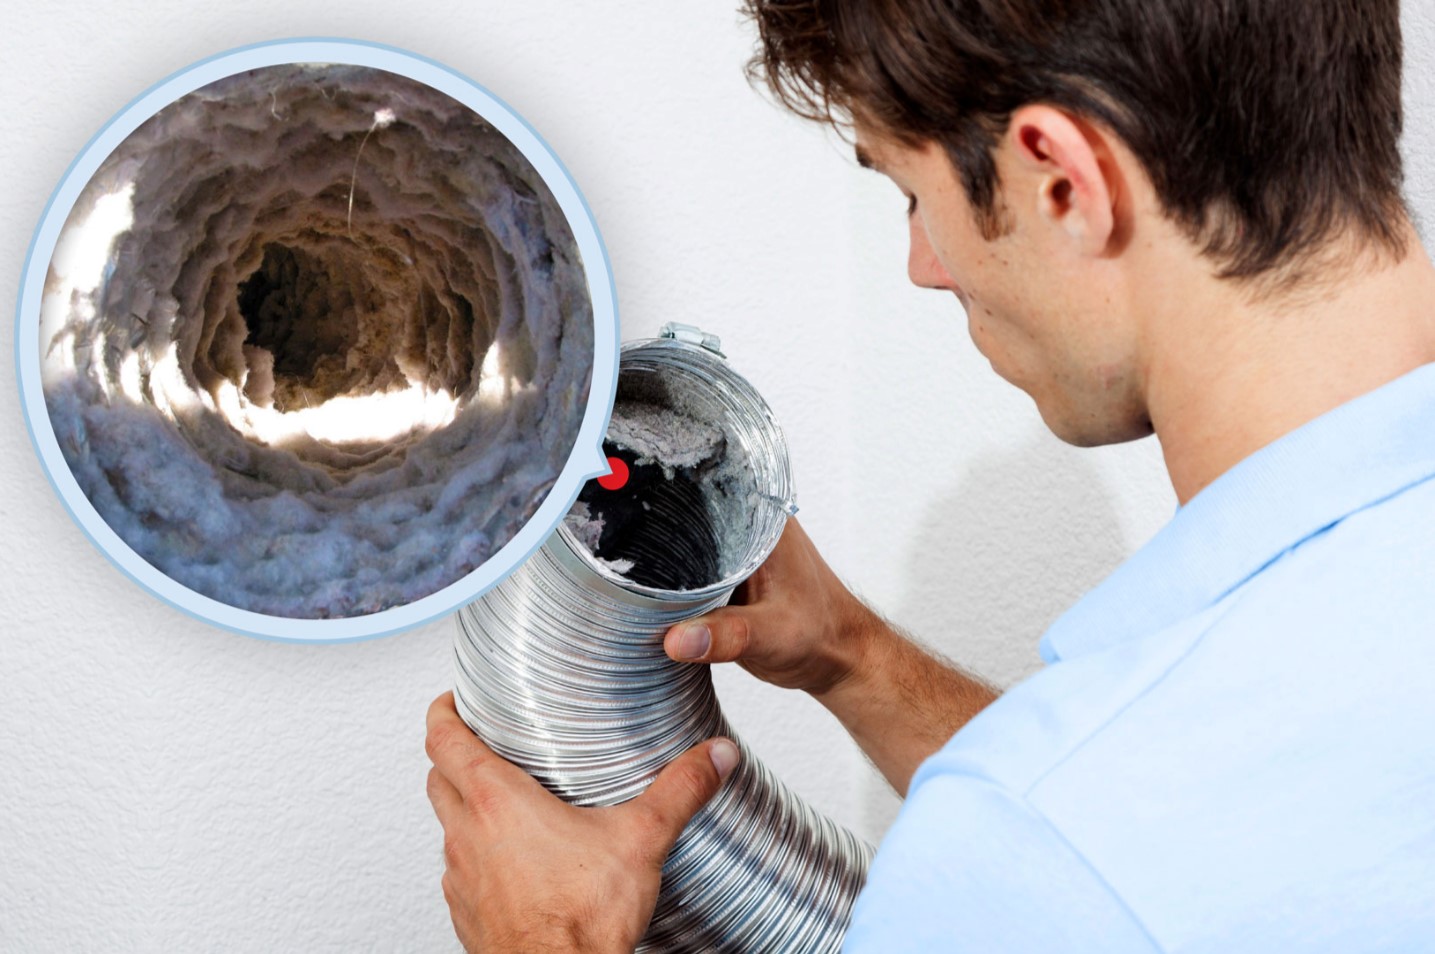
Now that the vent covers are clean, it’s time to shift your focus to the vent ducts themselves. Dust, debris, and even mold can accumulate inside the ducts over time, hindering airflow and reducing the efficiency of your HVAC system. Cleaning the vent ducts is an essential step in maintaining optimal air quality and system performance.
Start by examining the duct openings for any visible debris or clogs. Use a flashlight to inspect the inside of the ducts. If you notice excessive dirt, dust, or mold growth, it’s a sign that a deeper cleaning is necessary.
There are several methods you can use to clean the vent ducts:
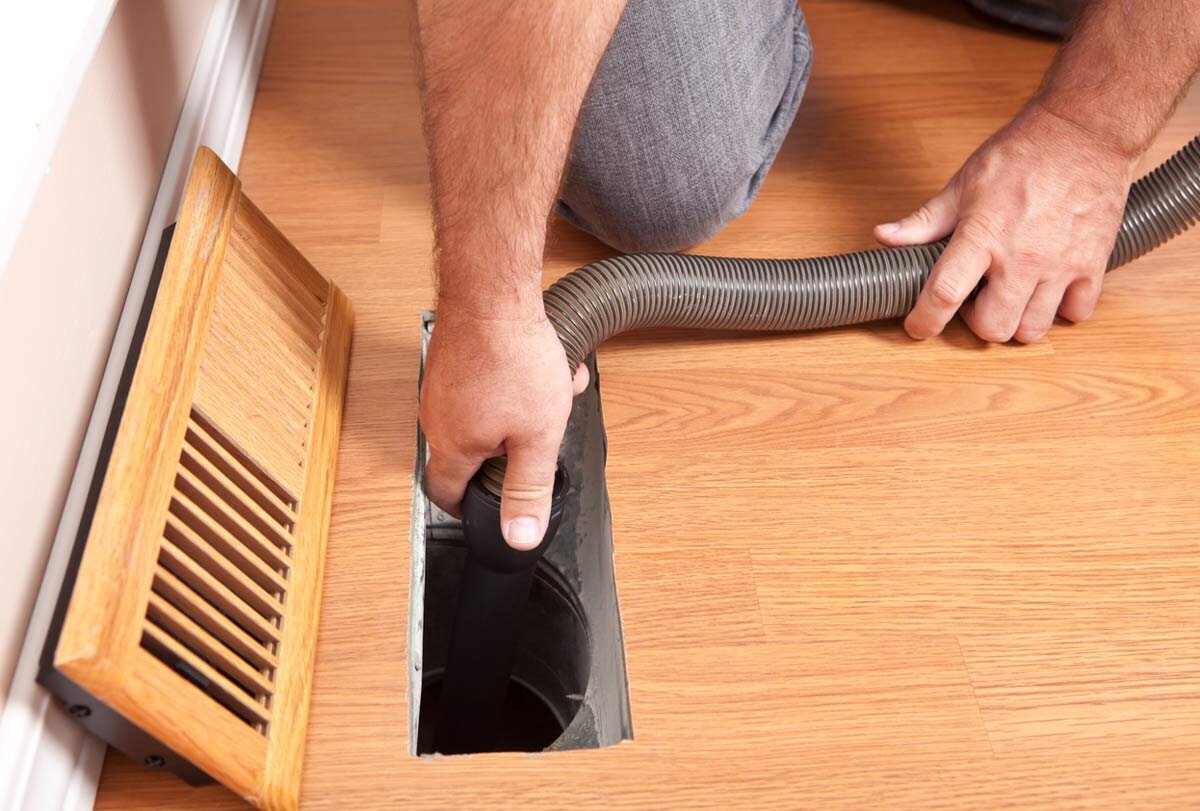
- Vacuum Cleaning: Attach a long vacuum hose with a versatile brush attachment to reach as far into the ducts as possible. Slowly and thoroughly guide the vacuum hose into the ducts, removing as much loose dirt and debris as you can.
- Air Compressor Blow-Out: If you have access to an air compressor, you can use it to blow out the dust and debris from the ducts. Be sure to use a low-pressure setting to prevent damage to the ductwork.
- Professional Duct Cleaning: For heavily clogged or hard-to-reach ducts, it may be beneficial to hire a professional duct cleaning service. They have specialized equipment and expertise to thoroughly clean the ducts and remove any stubborn debris or mold.
Choose the cleaning method that suits your needs and capabilities. Regardless of the method you choose, it’s important to be thorough and diligent in your cleaning efforts to ensure the best results.
Remember, if you see any signs of mold growth or suspect there may be contaminants in your ducts, it’s crucial to consult a professional service to assess and address the issue.
Once you have cleaned the vent ducts to the best of your ability, you can proceed to the next step, which involves cleaning the fan blades.
Step 5: Clean the Fan Blades
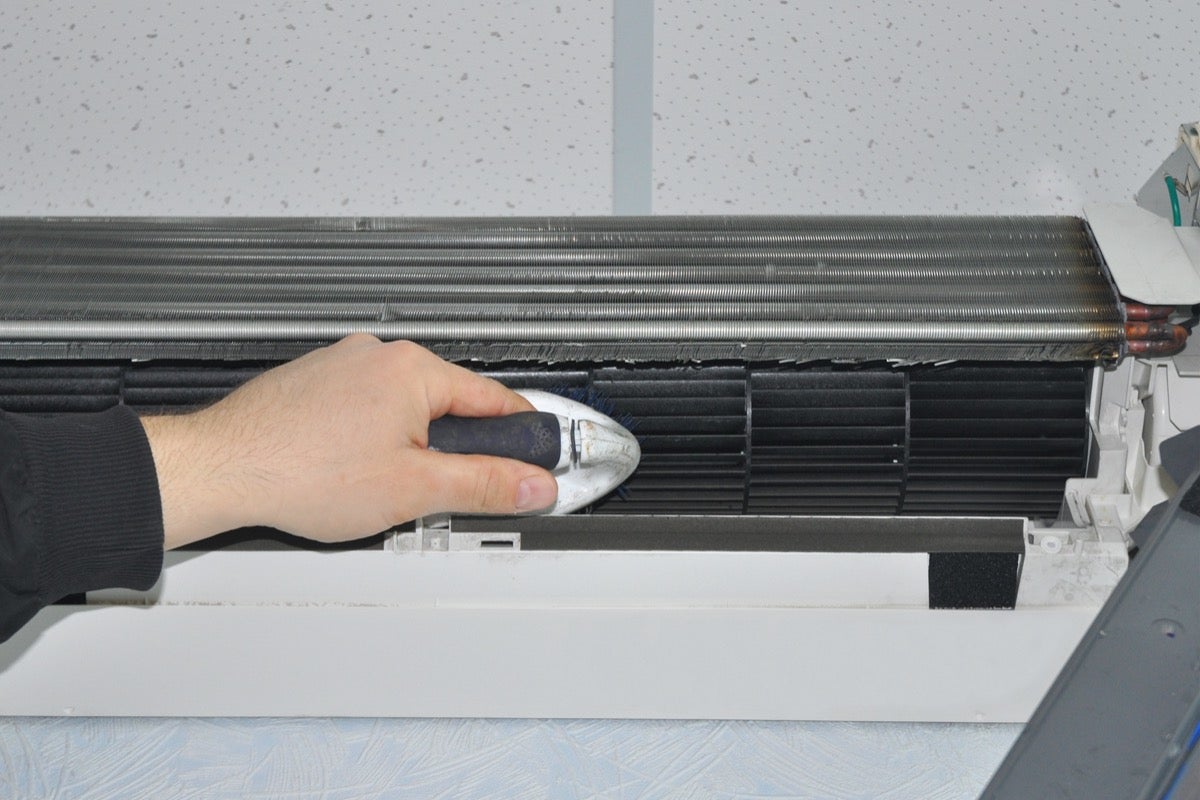
Now that you have cleaned the vent ducts, it’s time to focus on the fan blades. The fan blades in your air conditioning system can accumulate dust and debris over time, affecting their performance and airflow.
Before you start cleaning the fan blades, make sure the power to your AC unit is still switched off to prevent any accidents.
Using a damp cloth or a soft brush, gently wipe the fan blades to remove any visible dust or dirt. Be careful not to apply excessive force or bend the blades as they are delicate and may become unbalanced if mishandled.
If there is stubborn grime or buildup on the fan blades, you can use a mild detergent or cleaning solution diluted with water. Apply the solution to a cloth and gently wipe down the blades, ensuring you remove all traces of dirt and debris.
If your fan blades are easily removable, you can take them out for a more thorough cleaning. Follow the manufacturer’s instructions for removing the fan blades safely, and clean them using the same method mentioned above.
Once you have cleaned the fan blades, allow them to dry completely before reinstalling them. This helps prevent any moisture or water buildup that could damage the fan or affect its performance.
Remember, the fan blades play a crucial role in the proper functioning of your air conditioning system. Keeping them clean and free from debris ensures efficient airflow and optimal performance.
With the fan blades cleaned and dried, it’s time to move on to the next step: wiping down the vent covers.
Step 6: Wipe Down the Vent Covers
Now that you have cleaned the fan blades, it’s time to turn your attention back to the vent covers. After vacuuming them earlier, there may still be residual dust or dirt on the surfaces that needs to be wiped away.
Take a clean, damp microfiber cloth and gently wipe down each vent cover. The dampness of the cloth will help to trap any remaining dust particles and ensure a thorough cleaning.
Start from the top of each vent cover and work your way down, ensuring you cover all the crevices, corners, and edges. Pay attention to any areas where dirt or grime may have accumulated.
If you encounter stubborn stains or sticky residue on the vent covers, you can use a mild detergent or cleaning solution diluted with water. Apply a small amount of the solution to the microfiber cloth and gently scrub the affected areas.
Be cautious not to saturate the cloth or use excessive moisture, as this can cause damage to the vent covers or affect the paint or finish. Always test the cleaning solution on a small, inconspicuous area first to ensure it does not cause any discoloration or damage.
Once you have wiped down all the vent covers and removed any remaining dirt or residue, take a dry microfiber cloth and go over them again to ensure they are completely clean and dry.
Inspect the vent covers for any signs of damage or wear. If you notice any cracks, rust, or other issues, it may be necessary to replace them to maintain proper ventilation and aesthetics.
With the vent covers cleaned and dry, you’re ready to move on to the next step: reinstalling the vent covers.
Read more: How To Clean A Dryer Vent With A Drill
Step 7: Reinstall the Vent Covers
After thoroughly cleaning the vent covers, it’s time to reinstall them. Properly reinstalling the vent covers ensures that they fit snugly and securely, allowing for optimal airflow and preventing any potential issues.
Take each vent cover and align it with its respective opening in the wall or ceiling. Make sure the screw holes or clips on the vent cover align with the corresponding holes or clips on the surface.
If your vent covers require screws, insert them back into the screw holes and use a screwdriver to tighten them just enough to hold the vent cover in place. Avoid over-tightening, as this can cause damage to the vent cover or the surrounding area.
If your vent covers use clips, position the vent cover against the opening, ensuring the clips properly engage with the surface. Gently press the vent cover against the wall or ceiling to secure it in place.
Repeat this process for each vent cover, ensuring they are installed securely and evenly.
Take a moment to step back and inspect the vent covers once they are reinstalled. Make sure they are flush with the surface and aligned properly. Adjust them if necessary to ensure a neat and uniform appearance.
Reinstalling the vent covers completes the cleaning process and allows for proper ventilation and airflow throughout your home. With the vent covers securely in place, you’re now ready to move on to the final step: turning on the AC.
Step 8: Turn On the AC
With the vent covers cleaned and reinstalled, it’s time to turn on your air conditioning system and enjoy the fresh, clean air in your home.
Before you proceed, ensure that all cleaning equipment and materials are properly stored away and that the area around the AC unit is clear.
Locate the main power switch or circuit breaker for your AC unit, which you had turned off in the first step. Flip the switch to the “on” position or turn on the circuit breaker.
Give your AC unit a moment to power up. You should hear the familiar hum of the system as it starts to circulate cool air through your vents.
If you have a programmable thermostat, set it to your desired temperature and mode (cooling, heating, or fan). Allow the system to run for a few minutes to ensure it is functioning properly.
Walk around your home and listen for any unusual noises coming from the vents or the AC unit. Check to see if the air feels colder and if there is a steady flow of air coming from the vents.
If you notice any issues or abnormalities, such as weak airflow or unusual sounds, it may be indicative of a problem with your AC system. In such cases, it is recommended to contact a professional HVAC technician to assess and address the issue.
Congratulations! You have successfully cleaned your AC vents and can now enjoy improved air quality and system efficiency. Remember to schedule regular maintenance to keep your AC system in optimal condition for years to come.
By following these steps and regularly cleaning your AC vents, you have taken an important step in maintaining a comfortable and healthy living environment.
Thank you for reading our comprehensive guide on how to clean AC vents. We hope you found this information helpful and that it enables you to keep your home’s air conditioning system in top shape.
Conclusion
Cleaning AC vents is a vital part of maintaining a healthy and efficient air conditioning system. By regularly cleaning your vents, you can improve air quality, enhance system performance, and prolong the lifespan of your HVAC equipment.
In this guide, we have provided a step-by-step process to help you effectively clean your AC vents. From turning off the AC and removing the vent covers to vacuuming, cleaning the fan blades, wiping down the vent covers, and reinstallation, each step plays a crucial role in ensuring a thorough and successful cleaning.
Remember to prioritize safety throughout the cleaning process by wearing protective gear such as gloves and a dust mask. Take your time and be cautious when handling the vent covers and fan blades to avoid any damage to the system or yourself.
Additionally, we encourage you to schedule regular AC maintenance to supplement your vent cleaning efforts. Professional maintenance by an HVAC technician can help identify and resolve any larger issues with your system and ensure optimal performance.
By following the steps outlined in this guide and incorporating regular maintenance, you can enjoy cleaner air, increased energy efficiency, and a longer lifespan for your air conditioning system.
Thank you for taking the time to learn how to clean AC vents. We hope that this guide has been informative and helpful in guiding you through the cleaning process. Enjoy the benefits of clean and fresh air in your home!
Frequently Asked Questions about How To Clean AC Vent
Was this page helpful?
At Storables.com, we guarantee accurate and reliable information. Our content, validated by Expert Board Contributors, is crafted following stringent Editorial Policies. We're committed to providing you with well-researched, expert-backed insights for all your informational needs.

0 thoughts on “How To Clean AC Vent”