Home>Technology>Home Entertainment Systems>How To Clean A Projector Filter
Home Entertainment Systems
How To Clean A Projector Filter
Modified: September 2, 2024
Learn how to properly clean a projector filter to maintain the performance of your home entertainment system. Keep your projector in top condition with these simple maintenance tips.
(Many of the links in this article redirect to a specific reviewed product. Your purchase of these products through affiliate links helps to generate commission for Storables.com, at no extra cost. Learn more)
**
Introduction
**
Welcome to the world of home entertainment systems! Projectors are a fantastic way to bring the cinematic experience right into your living room, creating an immersive and larger-than-life viewing experience. However, to keep your projector performing at its best, regular maintenance is crucial. One of the key maintenance tasks is cleaning the projector filter. In this guide, we will delve into the importance of cleaning the projector filter, the tools and materials needed, and the step-by-step process to ensure that your projector continues to deliver stunning visuals. Let's dive in and learn how to keep your projector in top-notch condition for an unparalleled viewing experience!
**
Key Takeaways:
- Regularly cleaning your projector filter is crucial for maintaining image quality, preventing overheating, and extending the lifespan of your projector, ensuring captivating viewing experiences.
- Gather essential tools like compressed air, soft brush, and replacement filter to effectively clean your projector filter, ensuring optimal performance and longevity.
Read more: How To Clean Chimney Filter
Importance of Cleaning Projector Filter
**
Ensuring that your projector filter is clean is essential for maintaining the quality and longevity of your projector. The filter serves as a barrier, preventing dust, dirt, and other airborne particles from entering the internal components of the projector. Over time, these particles can accumulate on the filter, obstructing airflow and causing the projector to overheat. A clogged filter can also lead to reduced brightness and image clarity, impacting the overall viewing experience.
By regularly cleaning the projector filter, you can prevent these issues and extend the lifespan of your projector. A clean filter allows for optimal airflow, ensuring that the internal components remain cool during operation. This, in turn, helps preserve the projector’s bulb and other delicate components, reducing the risk of malfunctions and costly repairs.
Additionally, a clean filter contributes to the overall image quality. Dust and debris on the filter can distort the projected image, affecting color accuracy and sharpness. By maintaining a clean filter, you can enjoy vibrant and clear visuals, bringing your movies, games, and presentations to life with exceptional clarity and detail.
Furthermore, neglecting to clean the projector filter can result in diminished performance and increased energy consumption. A clogged filter forces the projector’s cooling system to work harder, consuming more power to maintain the ideal operating temperature. This not only leads to higher energy bills but also places unnecessary strain on the projector’s internal components, potentially shortening their lifespan.
Overall, the importance of cleaning the projector filter cannot be overstated. By incorporating regular filter maintenance into your projector care routine, you can safeguard its performance, longevity, and image quality, ensuring that your viewing experiences remain captivating and immersive for years to come.
**
Tools and Materials Needed
**
Before embarking on the task of cleaning your projector filter, it’s essential to gather the necessary tools and materials to ensure a thorough and effective cleaning process. Here’s what you’ll need:
- Compressed Air Canister: A canister of compressed air is an invaluable tool for removing dust and debris from the projector filter. It allows for targeted and high-pressure air blasts, dislodging particles that may be firmly trapped in the filter.
- Soft Brush or Microfiber Cloth: A soft brush or microfiber cloth is ideal for gently brushing away surface dust and dirt from the filter. It’s important to use a non-abrasive tool to avoid damaging the delicate filter material.
- Replacement Filter (if necessary): Depending on the type of projector, you may need a replacement filter. Check your projector’s manual or manufacturer’s guidelines to determine if a replacement filter is recommended at regular intervals.
- Clean, Dry Cloth: A clean, dry cloth is essential for wiping down the exterior of the projector and ensuring that no moisture or residue remains after cleaning the filter.
- Protective Mask and Gloves: While not directly related to the cleaning process, wearing a protective mask and gloves is advisable to minimize exposure to dust and debris, especially if the filter is heavily soiled.
Having these tools and materials on hand will enable you to perform a comprehensive and safe cleaning of your projector filter, maintaining its optimal performance and extending its lifespan. Now that you’re equipped with the necessary items, let’s move on to the step-by-step process of cleaning the projector filter.
**
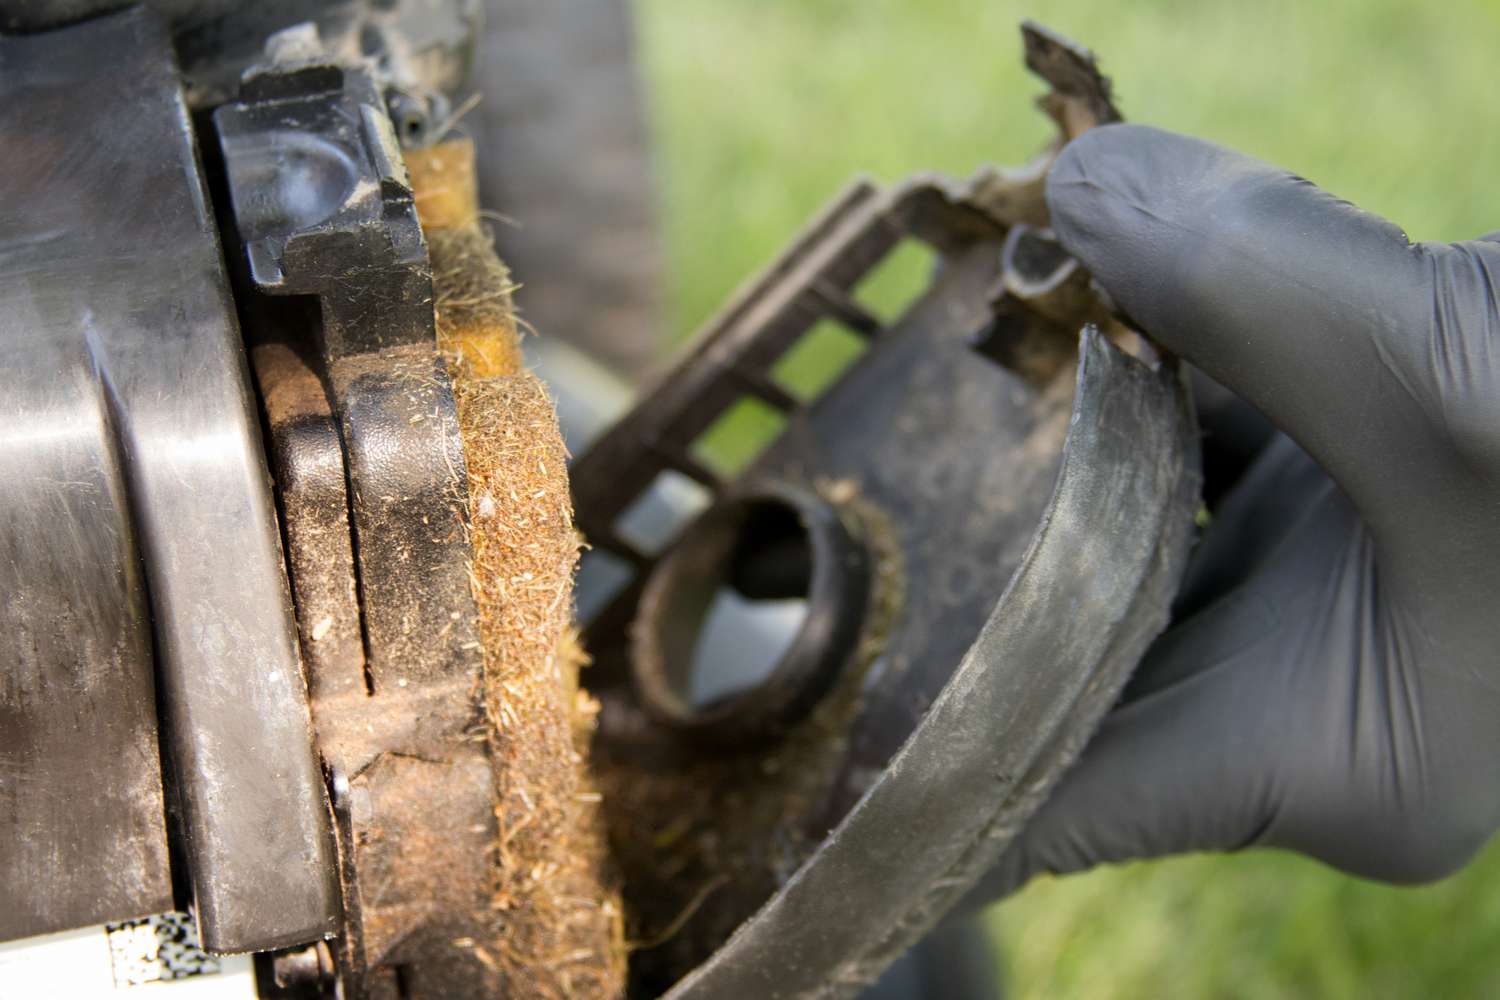
Regularly clean the projector filter by gently removing it and using a can of compressed air to blow out any dust and debris. This will help maintain optimal performance and prevent overheating.
Steps to Clean a Projector Filter
**
Now that you have gathered the essential tools and materials, it’s time to walk through the step-by-step process of cleaning your projector filter. Follow these guidelines to ensure a thorough and effective cleaning:
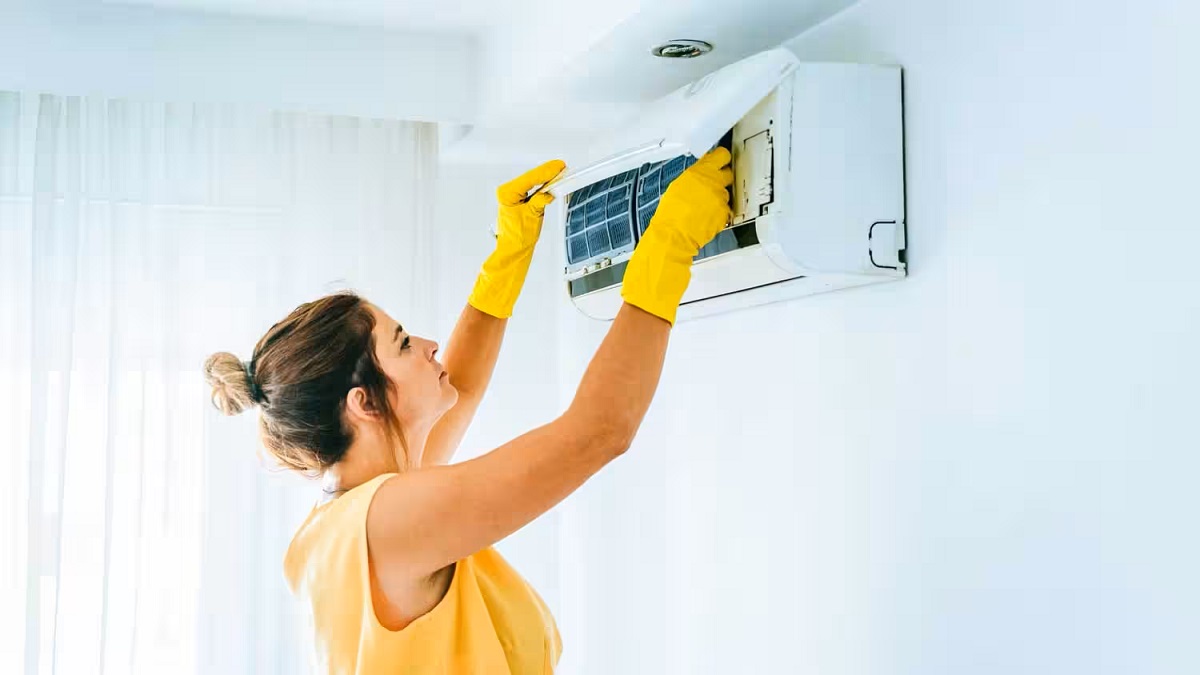
- Power Off and Unplug: Before beginning the cleaning process, power off the projector and unplug it from the electrical outlet. This is crucial for safety and prevents any potential damage to the projector during the cleaning procedure.
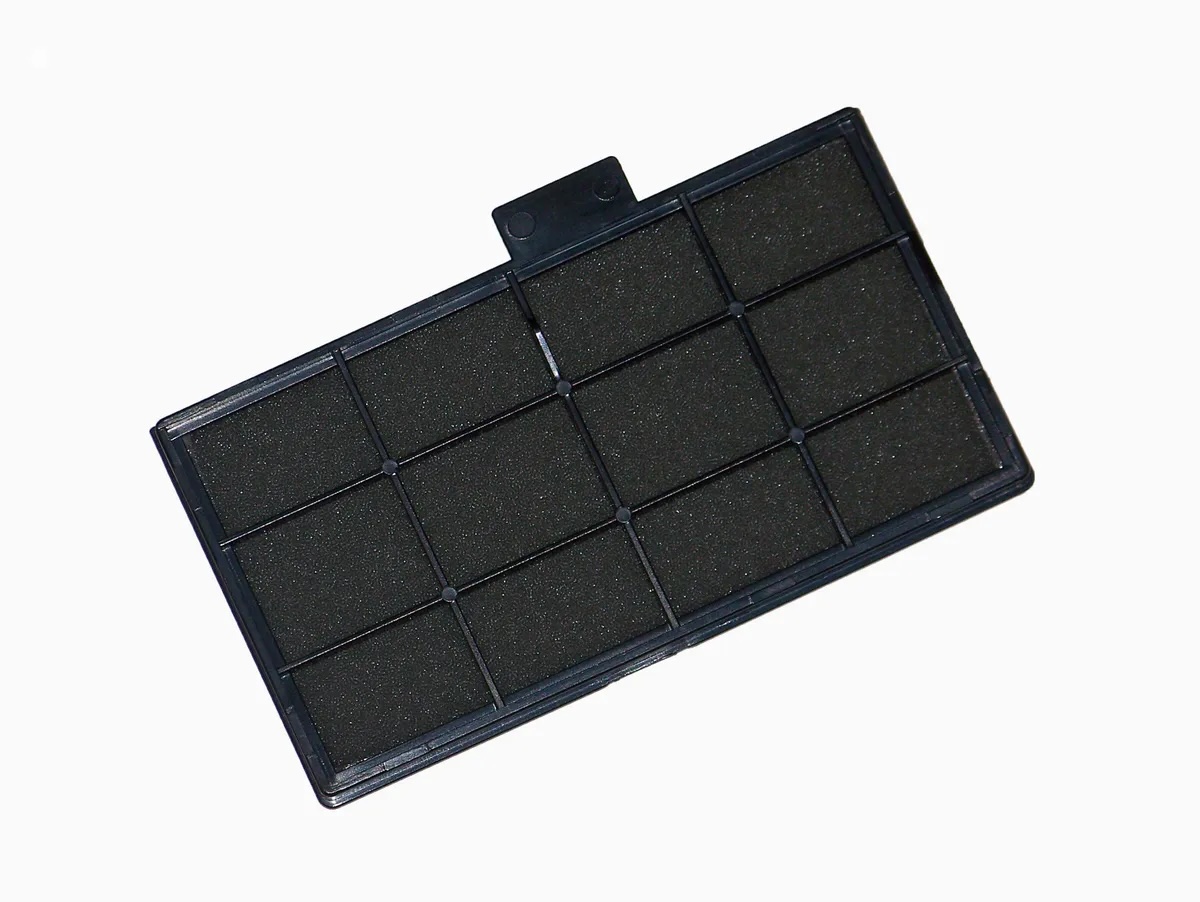
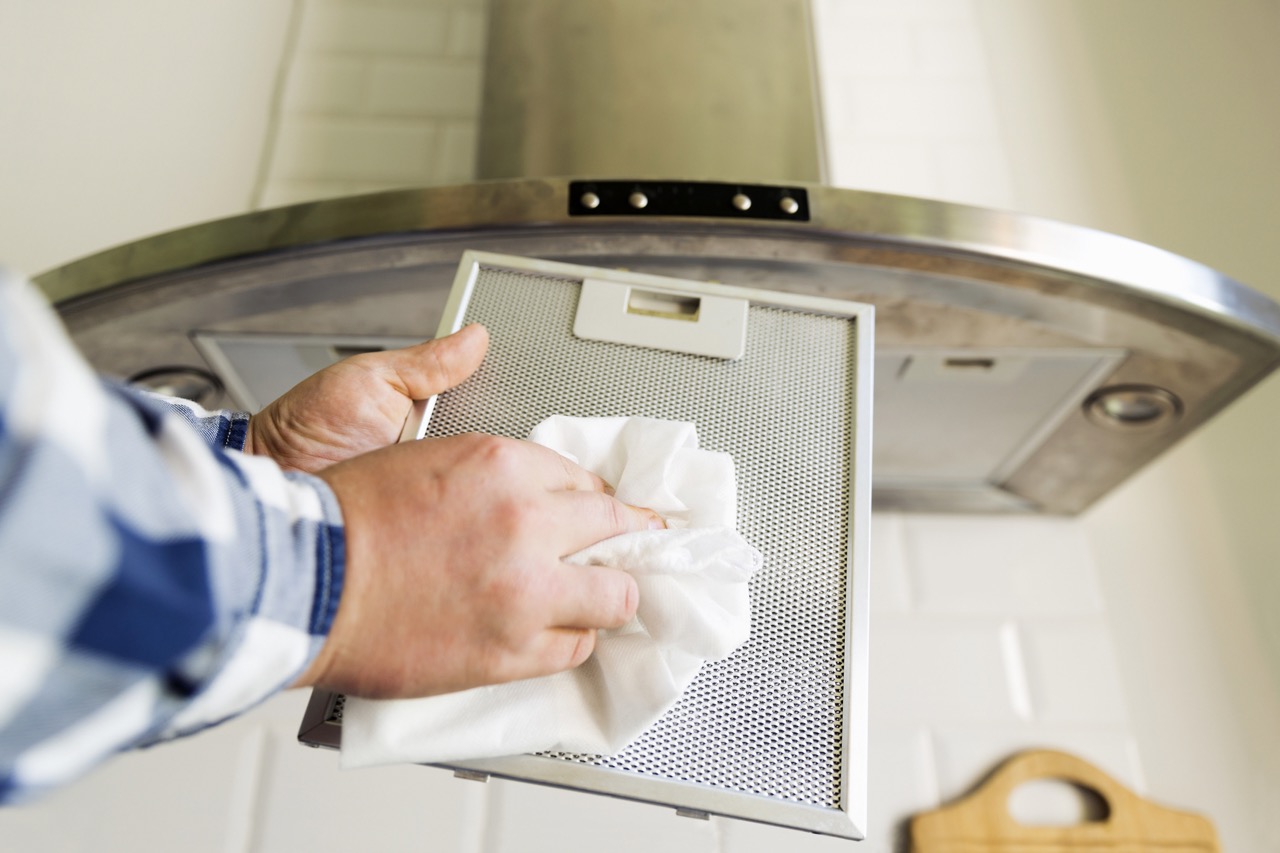
- Locate the Filter: Refer to your projector’s manual to locate the filter compartment. In most cases, the filter is situated near the intake or exhaust vents. Carefully remove the filter from its housing, following the manufacturer’s instructions to avoid causing any damage.
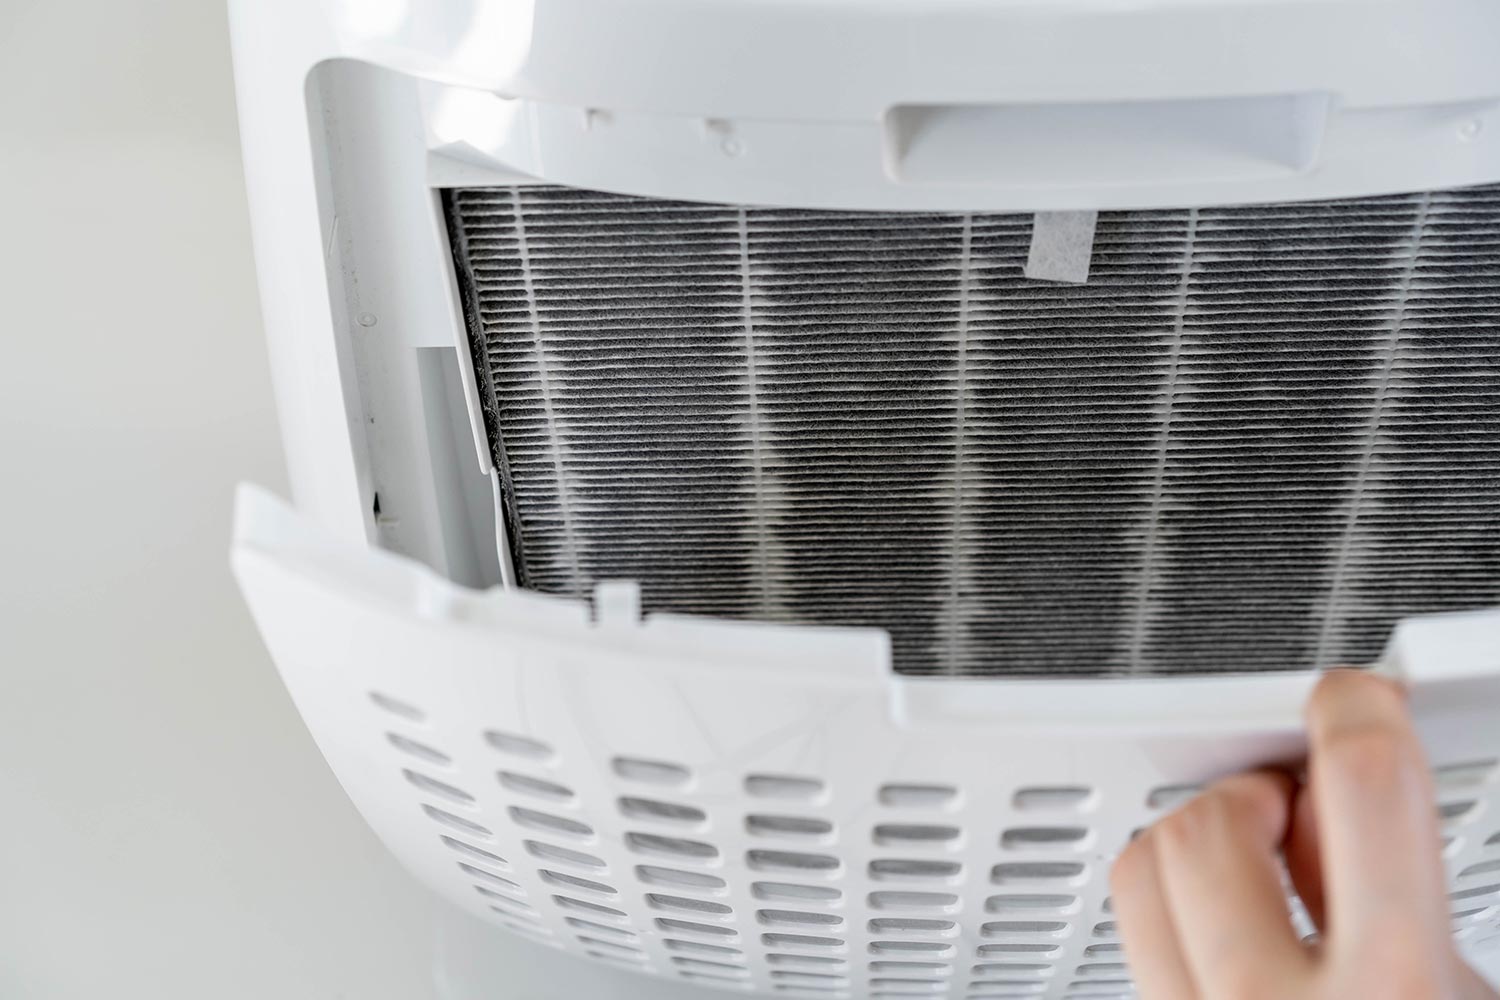
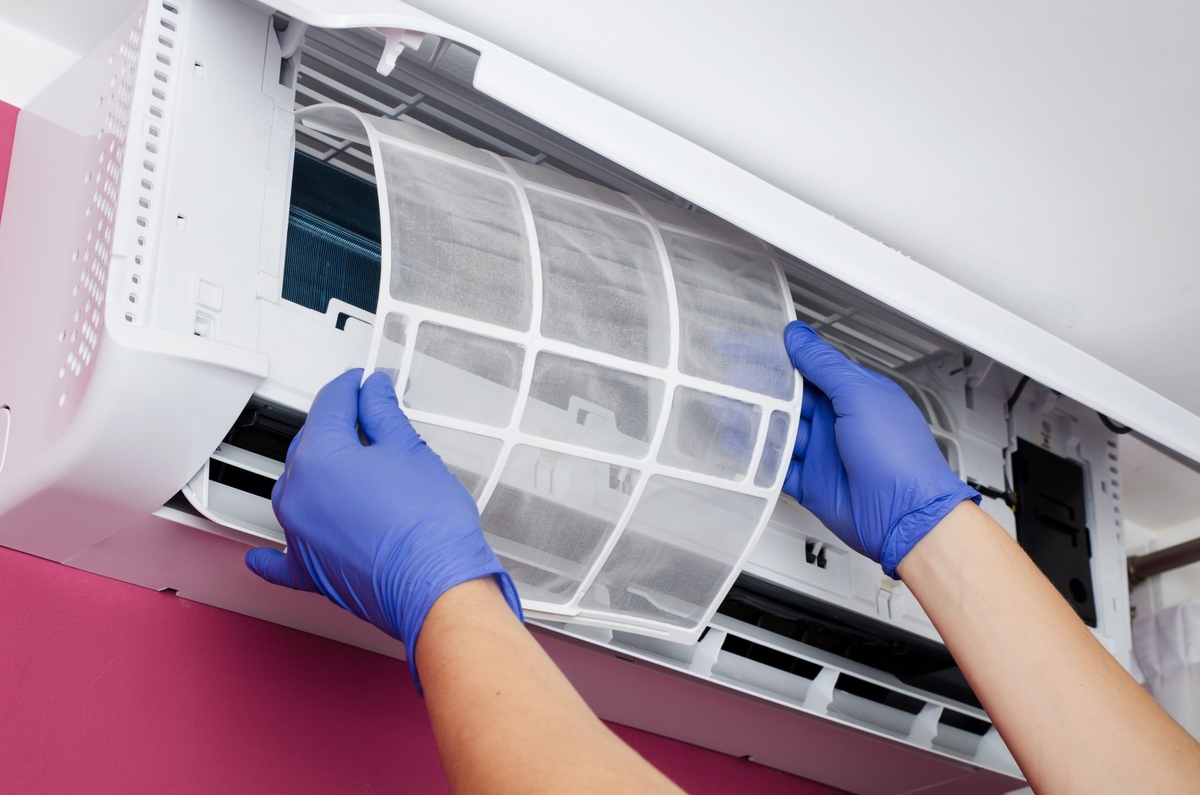
- Inspect the Filter: Take a close look at the filter to assess its condition. Look for visible dust, dirt, or debris that may have accumulated on the filter’s surface and within its crevices.
- Use Compressed Air: Holding the filter away from the projector, use the compressed air canister to blow air through the filter. Start with gentle bursts of air and gradually increase the pressure to dislodge stubborn particles. Be thorough in targeting all areas of the filter to ensure a comprehensive cleaning.
- Gently Brush or Wipe: If the filter has stubborn debris, use a soft brush or microfiber cloth to gently brush or wipe away the remaining dust. Exercise caution to avoid damaging the filter material, especially if it is a delicate mesh or fabric.
- Inspect for Residue: After cleaning, carefully inspect the filter for any remaining residue. If necessary, repeat the compressed air and gentle brushing/wiping process until the filter is free from visible debris.
- Reinstall the Filter: Once the filter is thoroughly cleaned and dry, carefully reinstall it into the projector, ensuring that it is securely in place according to the manufacturer’s guidelines.
- Power On and Test: After reassembling the filter, power on the projector and test its functionality. Verify that the image quality and brightness meet your expectations, indicating that the cleaning process was successful.
- Wipe Down the Exterior: Using a clean, dry cloth, wipe down the exterior of the projector to remove any dust or residue that may have accumulated during the filter cleaning process.
By following these steps, you can effectively clean your projector filter, ensuring optimal airflow, image quality, and overall performance. Regular maintenance of the projector filter will contribute to a prolonged lifespan and continued enjoyment of exceptional visual experiences.
**
Conclusion
**
Congratulations! You’ve successfully learned how to clean a projector filter, a vital aspect of maintaining your home entertainment system. By understanding the importance of a clean filter and following the step-by-step cleaning process, you have taken a significant step toward preserving the performance and longevity of your projector.
Regular maintenance, including filter cleaning, is key to ensuring that your projector continues to deliver breathtaking visuals, whether you’re enjoying movie nights with family and friends, immersing yourself in the latest video games, or delivering impactful presentations. By incorporating these maintenance practices, you can maximize the lifespan of your projector and optimize its performance for years to come.
Remember, a clean filter not only enhances image quality and prevents overheating but also contributes to energy efficiency, reducing the overall operational costs of your home entertainment setup.
As you bask in the stunning visuals and captivating experiences brought to life by your projector, take pride in knowing that your proactive maintenance efforts are instrumental in preserving and enhancing this integral component of your home entertainment system.
So, keep those projector filters clean, embrace the immersive viewing experiences, and continue to elevate your home entertainment to new heights!
Frequently Asked Questions about How To Clean A Projector Filter
Was this page helpful?
At Storables.com, we guarantee accurate and reliable information. Our content, validated by Expert Board Contributors, is crafted following stringent Editorial Policies. We're committed to providing you with well-researched, expert-backed insights for all your informational needs.


0 thoughts on “How To Clean A Projector Filter”