Articles
How Clean Showerhead Deposits
Modified: March 1, 2024
Discover effective methods for cleaning deposits from your showerhead in this informative article. Keep your bathroom looking and functioning its best with these helpful tips.
(Many of the links in this article redirect to a specific reviewed product. Your purchase of these products through affiliate links helps to generate commission for Storables.com, at no extra cost. Learn more)
Introduction
When it comes to personal hygiene, taking a shower is an essential part of our daily routine. A refreshing and invigorating shower can wash away the stresses of the day and leave us feeling rejuvenated. However, have you ever noticed that over time, your once perfectly efficient showerhead starts to lose its water pressure or develops a build-up of unsightly deposits?
If you’ve experienced these issues, it’s likely that your showerhead is in need of a thorough cleaning. Over time, mineral deposits, limescale, and bacteria can accumulate inside the tiny nozzles of your showerhead, affecting its performance and even compromising your water quality. Regularly cleaning your showerhead not only helps restore its functionality but also ensures a more enjoyable and hygienic showering experience.
In this article, we will guide you through the necessary steps to effectively clean your showerhead, using simple household supplies like vinegar. You’ll learn how to remove the showerhead, soak it in vinegar to dissolve the deposits, scrub away any remaining grime, and reattach it to enjoy a like-new shower experience.
So, let’s dive in and discover how to give your showerhead the TLC it deserves!
Key Takeaways:
- Regularly cleaning your showerhead with vinegar helps restore water pressure, improve water quality, prevent bacterial growth, and prolong its lifespan, ensuring a refreshing and hygienic shower experience.
- In addition to vinegar, alternative methods like baking soda paste, commercial cleaners, and citric acid solutions offer effective ways to tackle stubborn deposits and maintain optimal showerhead condition.
Why Clean Your Showerhead?
You may be wondering why it’s necessary to clean your showerhead in the first place. After all, isn’t it exposed to water every time you use it, which should keep it clean? While it’s true that water flow can help minimize the build-up of deposits, over time, minerals, dirt, and bacteria can still accumulate in the small openings of the showerhead.
Here are a few key reasons why it’s important to regularly clean your showerhead:
- Improved Water Pressure: Over time, mineral deposits can clog the tiny nozzles of your showerhead, restricting water flow and reducing water pressure. Cleaning your showerhead helps remove these deposits and restores optimal water pressure, ensuring a satisfying shower experience.
- Better Water Quality: The accumulation of minerals in your showerhead can not only affect water pressure but also compromise the quality of the water itself. If you notice a metallic or unpleasant odor coming from your shower, it’s a sign that it’s time to clean your showerhead. By maintaining a clean showerhead, you’ll have fresher and cleaner water.
- Prevention of Bacterial Growth: Warm and moist environments, such as your shower, can provide an ideal breeding ground for bacteria. Cleaning your showerhead regularly helps prevent the growth of harmful bacteria and fungi, promoting a healthier and safer showering experience.
- Prolonged Lifespan: When your showerhead becomes clogged with deposits, it has to work harder to deliver water, leading to increased wear and tear. By cleaning your showerhead regularly, you can extend its lifespan and avoid the need for expensive replacements.
Now that you understand the importance of keeping your showerhead clean, let’s move on to the signs that indicate it’s time for a thorough cleaning.
Signs Your Showerhead Needs Cleaning
While it is advisable to clean your showerhead regularly as part of your home maintenance routine, there are certain signs that indicate an urgent need for cleaning. By recognizing these signs, you can address the issue promptly and restore your showerhead’s performance. Here are some common signs that your showerhead needs cleaning:
- Decreased Water Pressure: If you notice a gradual decrease in water pressure during your showers, it is a clear indication that your showerhead is experiencing a build-up of deposits. As mineral deposits, limescale, and sediment accumulate over time, they can block the small nozzles, restricting the water flow and reducing the pressure.
- Uneven Spray Pattern: A well-functioning showerhead should distribute water evenly across all the nozzles, creating a uniform spray pattern. If you notice that the water is spraying unevenly or that some nozzles are completely blocked, it’s a sign that your showerhead needs cleaning.
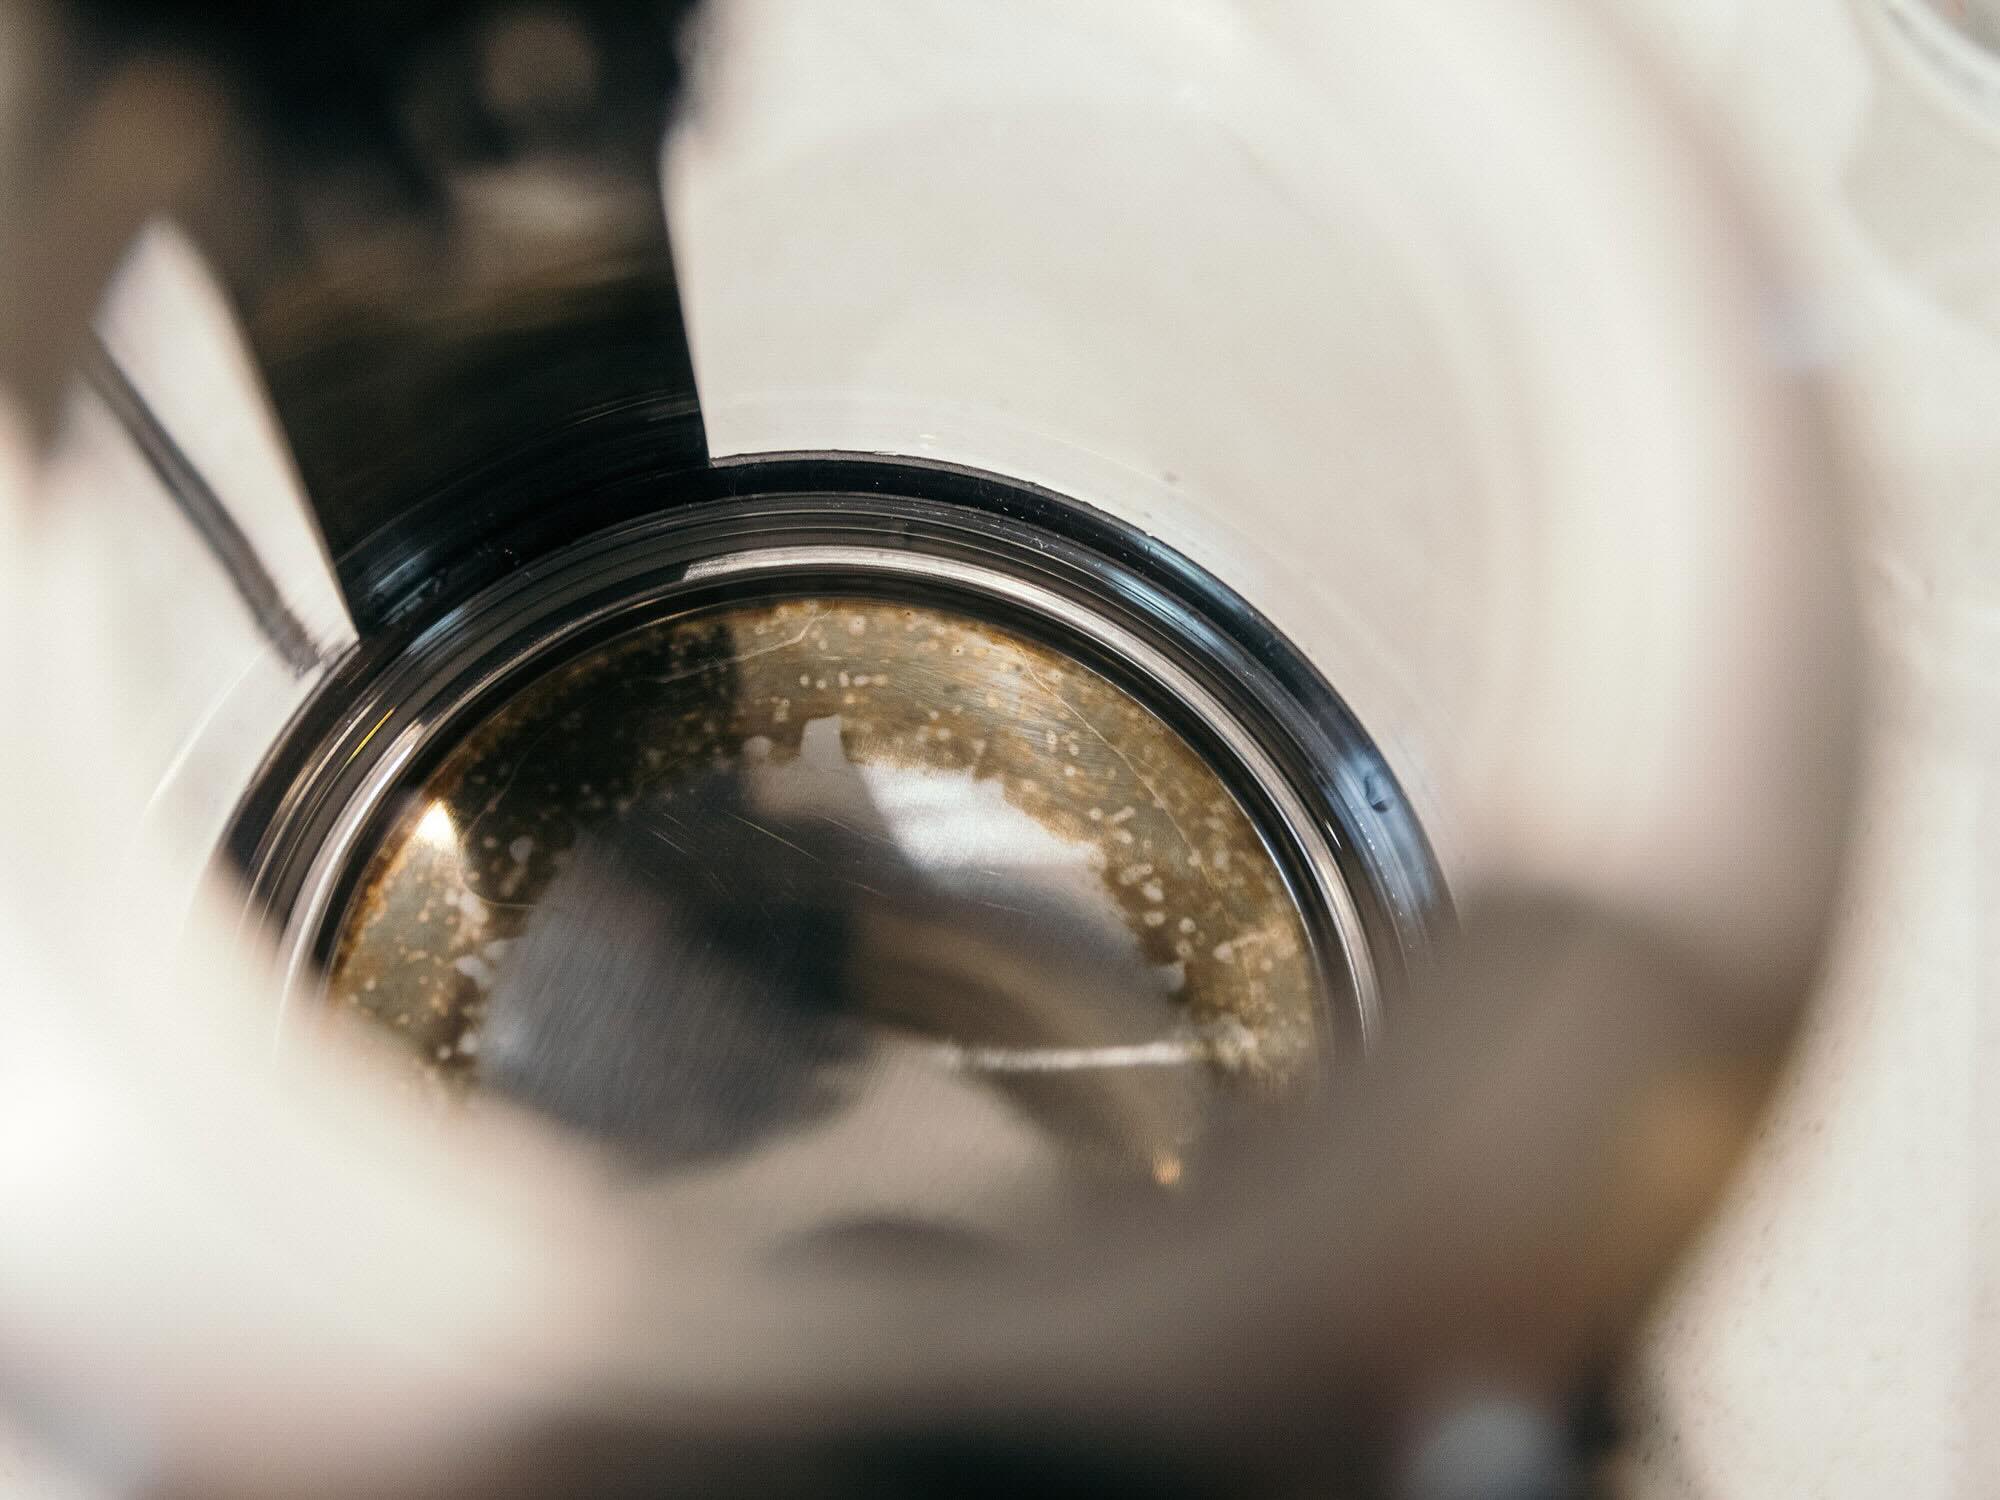
- Visible Build-Up: Take a close look at your showerhead. Do you see any visible signs of build-up, such as white or brownish deposits? These deposits are typically caused by minerals, limescale, soap scum, or mold. If left unaddressed, they can accumulate and become more difficult to remove.
- Strange Odor: If your shower emits a foul or metallic odor when you turn on the water, it’s a telltale sign that your showerhead is overdue for cleaning. Bacteria and other microorganisms can thrive in the damp environment of the showerhead, leading to unpleasant odors.
- Discolored Water: Another clear indication that your showerhead needs cleaning is if the water coming out of it appears discolored. Whether it’s a yellowish tint, brownish hue, or any other noticeable change in color, it suggests the presence of contaminants and deposits in your showerhead.
If you observe any of these signs, it’s time to roll up your sleeves and give your showerhead a thorough cleaning. In the next section, we’ll guide you through the steps and supplies needed to effectively clean your showerhead.
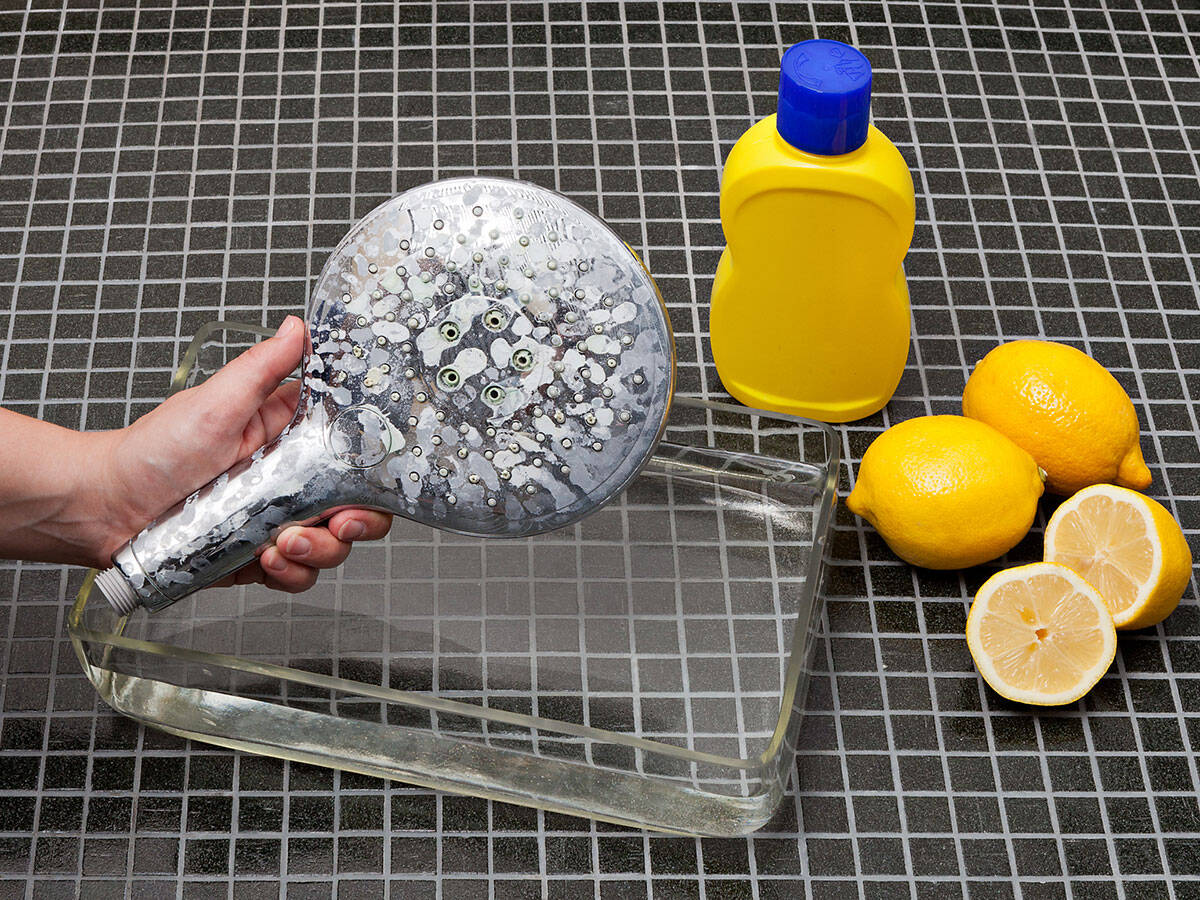
Gather Your Supplies
Before diving into the process of cleaning your showerhead, it’s essential to gather all the necessary supplies. Having the right tools and materials on hand will make the cleaning process more efficient and effective. Here’s a list of supplies you’ll need:
- Vinegar: Distilled white vinegar is a highly effective natural cleaning agent that helps dissolve mineral deposits, limescale, and other grime. It’s readily available, affordable, and safe to use.
- A Plastic Bag: To soak your showerhead, you’ll need a plastic bag large enough to fit over the entire showerhead. The bag will hold the vinegar in contact with the showerhead and facilitate the cleaning process.
- A Rubber Band or Zip Tie: You’ll need something to secure the plastic bag tightly around the showerhead. A rubber band or zip tie will work perfectly for this purpose.
- An Old Toothbrush or Soft Brush: To scrub away any remaining deposits or grime, grab an old toothbrush or a soft brush. The bristles should be firm enough to dislodge any particles but gentle enough not to damage the showerhead.
- A Rag or Microfiber Cloth: After cleaning, you’ll need a rag or microfiber cloth to wipe down the showerhead and remove any residue.
- A Needle or Toothpick: Sometimes, stubborn deposits can clog the small spray holes of the showerhead. Having a needle or toothpick can help unclog these holes and restore optimal water flow.
- Water: Lastly, you’ll need water for rinsing the showerhead and flushing out any vinegar or loosened deposits.
Once you’ve gathered these supplies, you’re ready to proceed with removing and cleaning your showerhead. In the next section, we’ll walk you through the first step of the process: removing the showerhead.
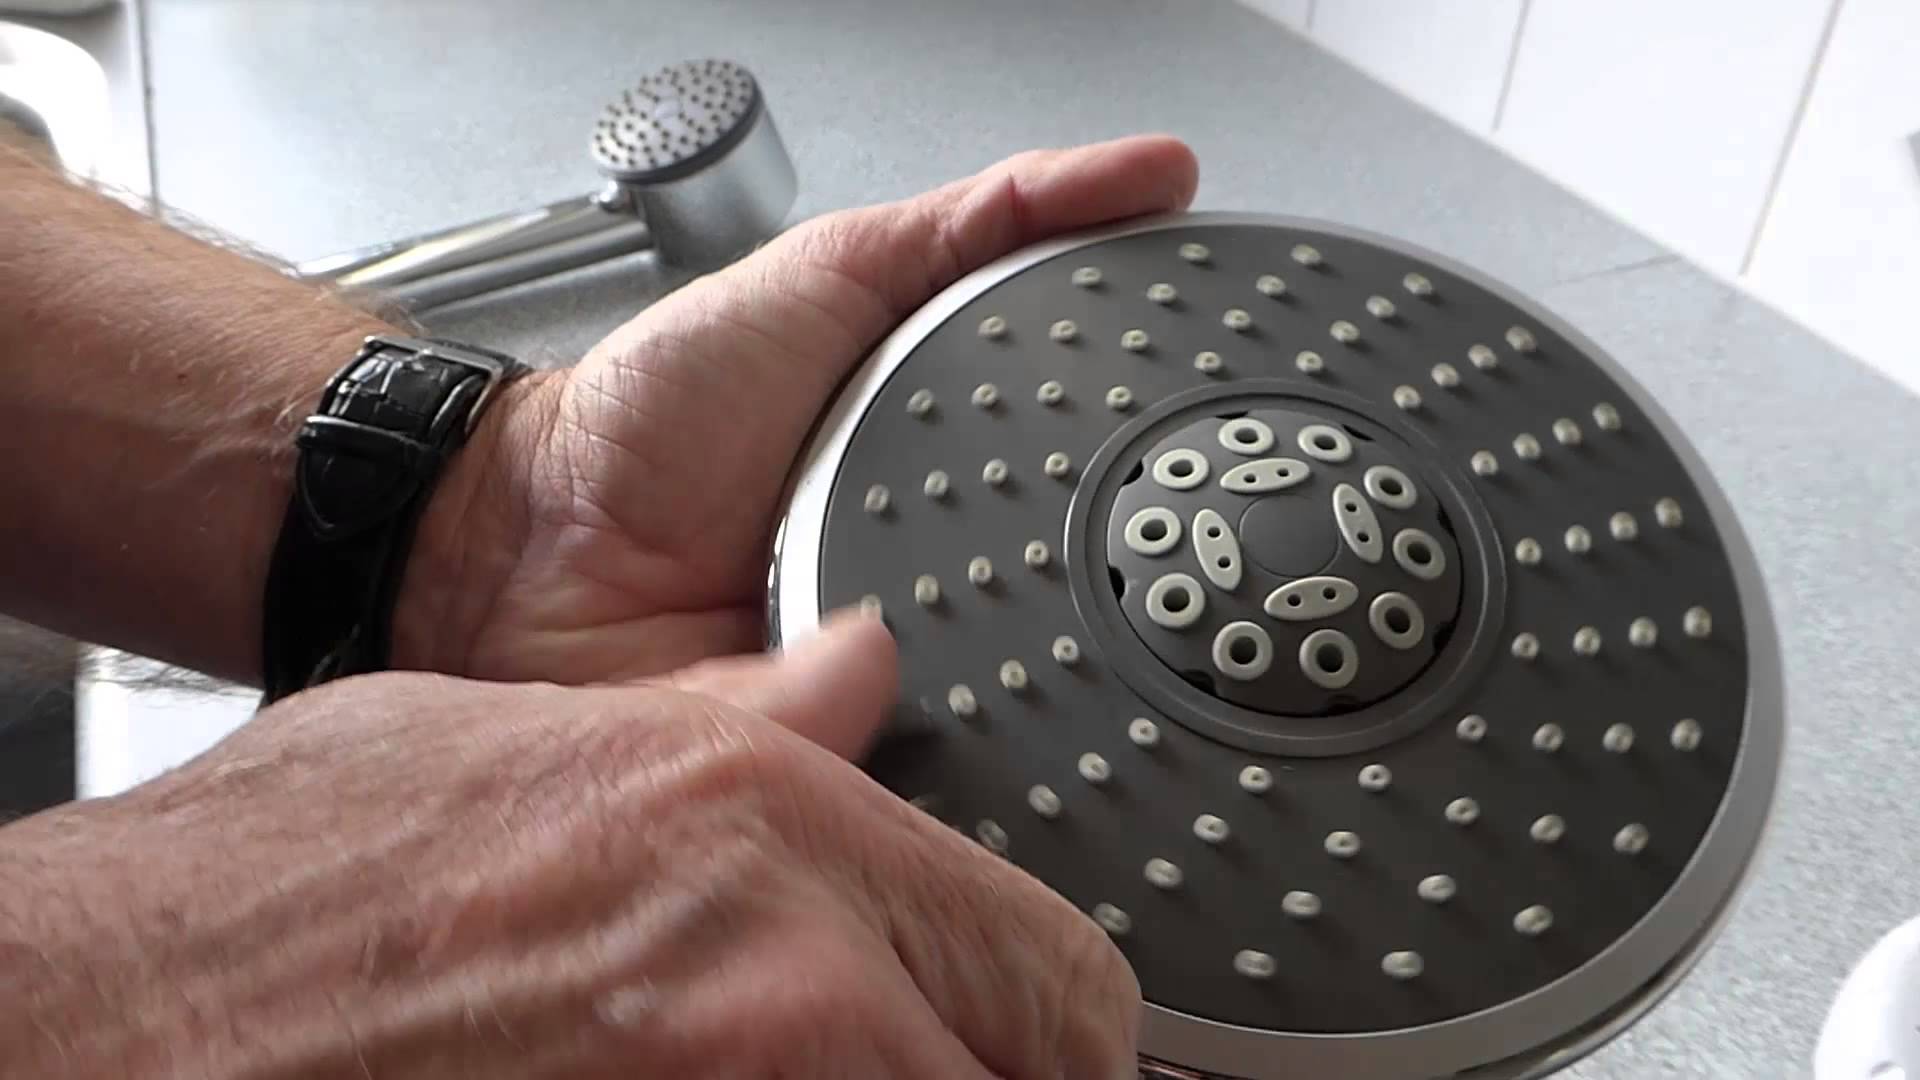
Step 1: Remove the Showerhead
Before you can begin cleaning your showerhead, you’ll first need to remove it from the shower arm. Here’s a step-by-step guide on how to remove the showerhead:
- Turn Off the Water: Start by turning off the water supply to your shower. Look for the shut-off valve, typically located near your water heater or in the basement.
- Protect the Showerhead: To avoid scratching or damaging the finish of your showerhead, use a soft cloth or towel to wrap around it. This will provide some cushioning while you work.
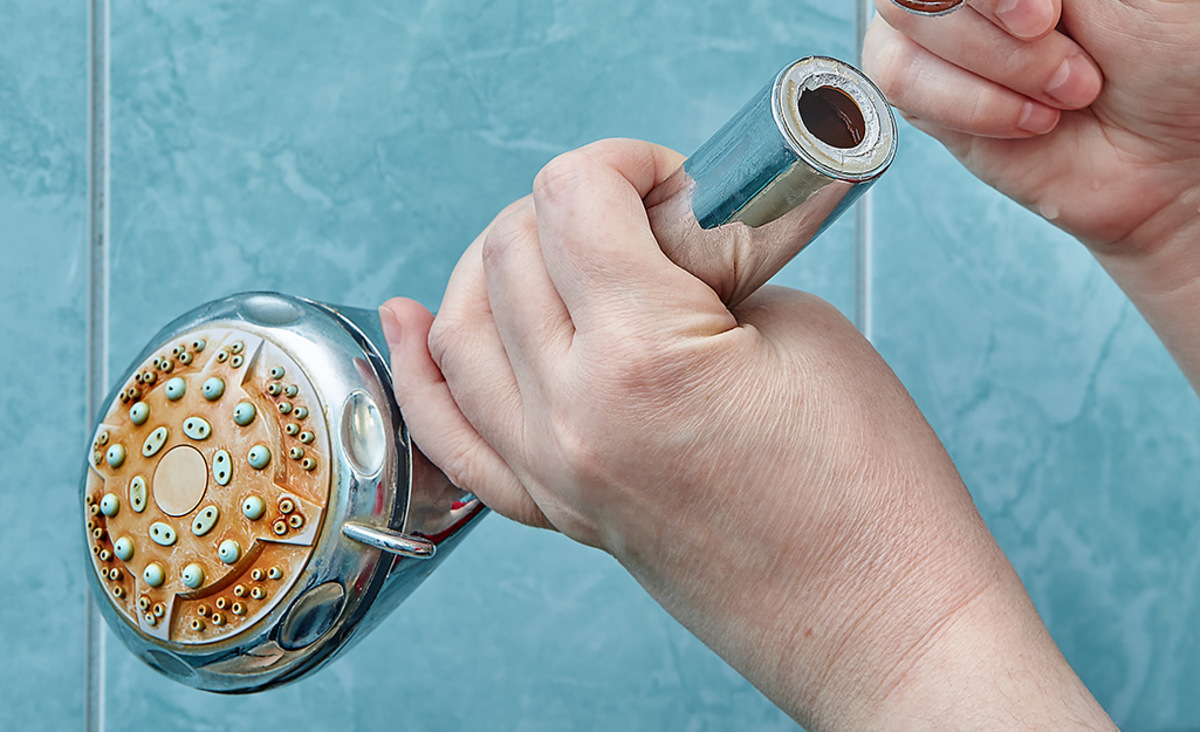
- Loosen the Showerhead: Using an adjustable wrench or pliers, grip the showerhead firmly but gently. Turn it counterclockwise to loosen it from the shower arm. Be careful not to apply too much force as it may cause damage.
- Unscrew by Hand: Once the showerhead is loosened, you should be able to unscrew it by hand. Continue turning it counterclockwise until it is completely detached from the shower arm. Set the showerhead aside.
With the showerhead successfully removed, you can now proceed to the next step of the cleaning process. In the next section, we’ll explain how to soak the showerhead in vinegar to dissolve the deposits.
To clean deposits from a showerhead, fill a plastic bag with white vinegar, secure it around the showerhead with a rubber band, and let it soak for a few hours. Then, remove the bag and run the shower to flush out any remaining deposits.
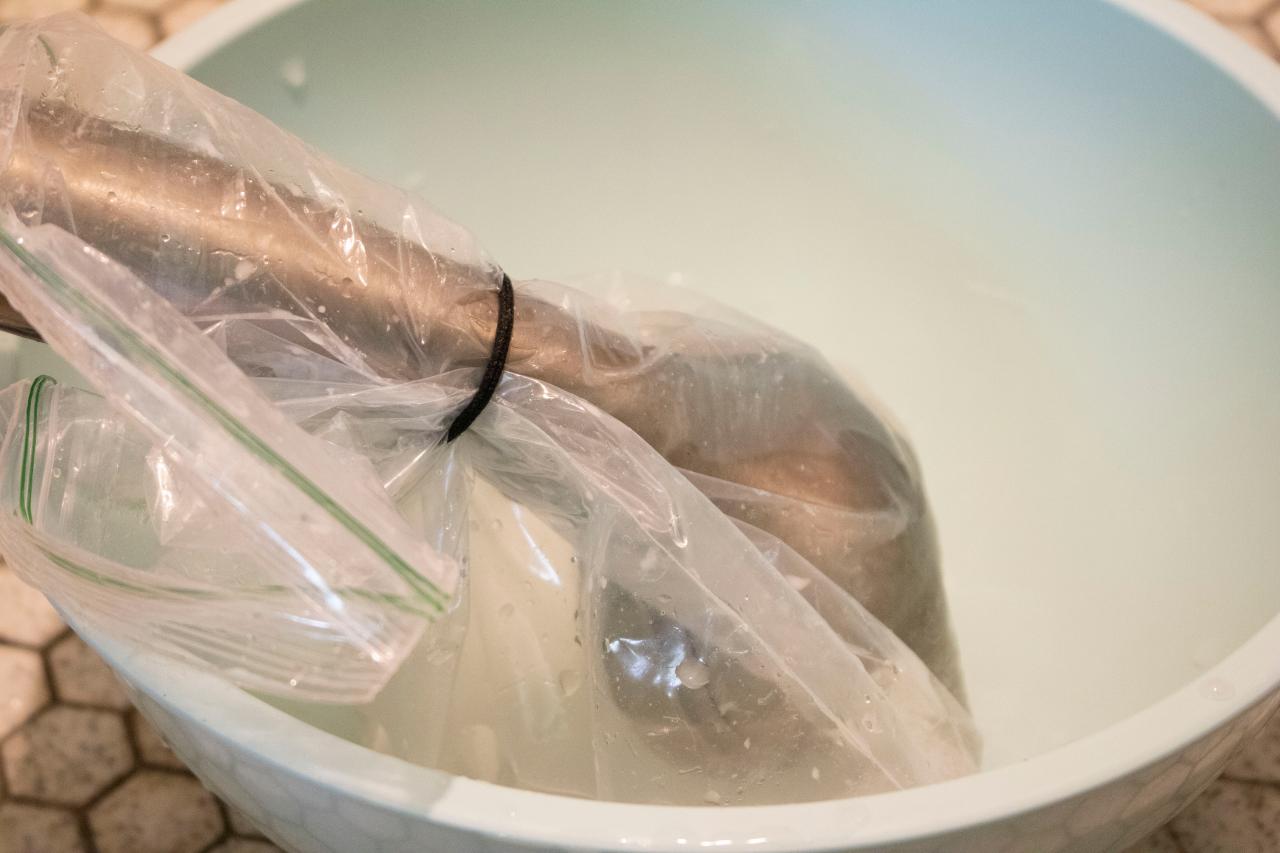
Step 2: Soak the Showerhead in Vinegar
Now that you have removed the showerhead, it’s time to give it a thorough soak in vinegar. Vinegar is a fantastic natural cleaning agent that helps dissolve mineral deposits, limescale, and grime. Here’s how to proceed with this step:
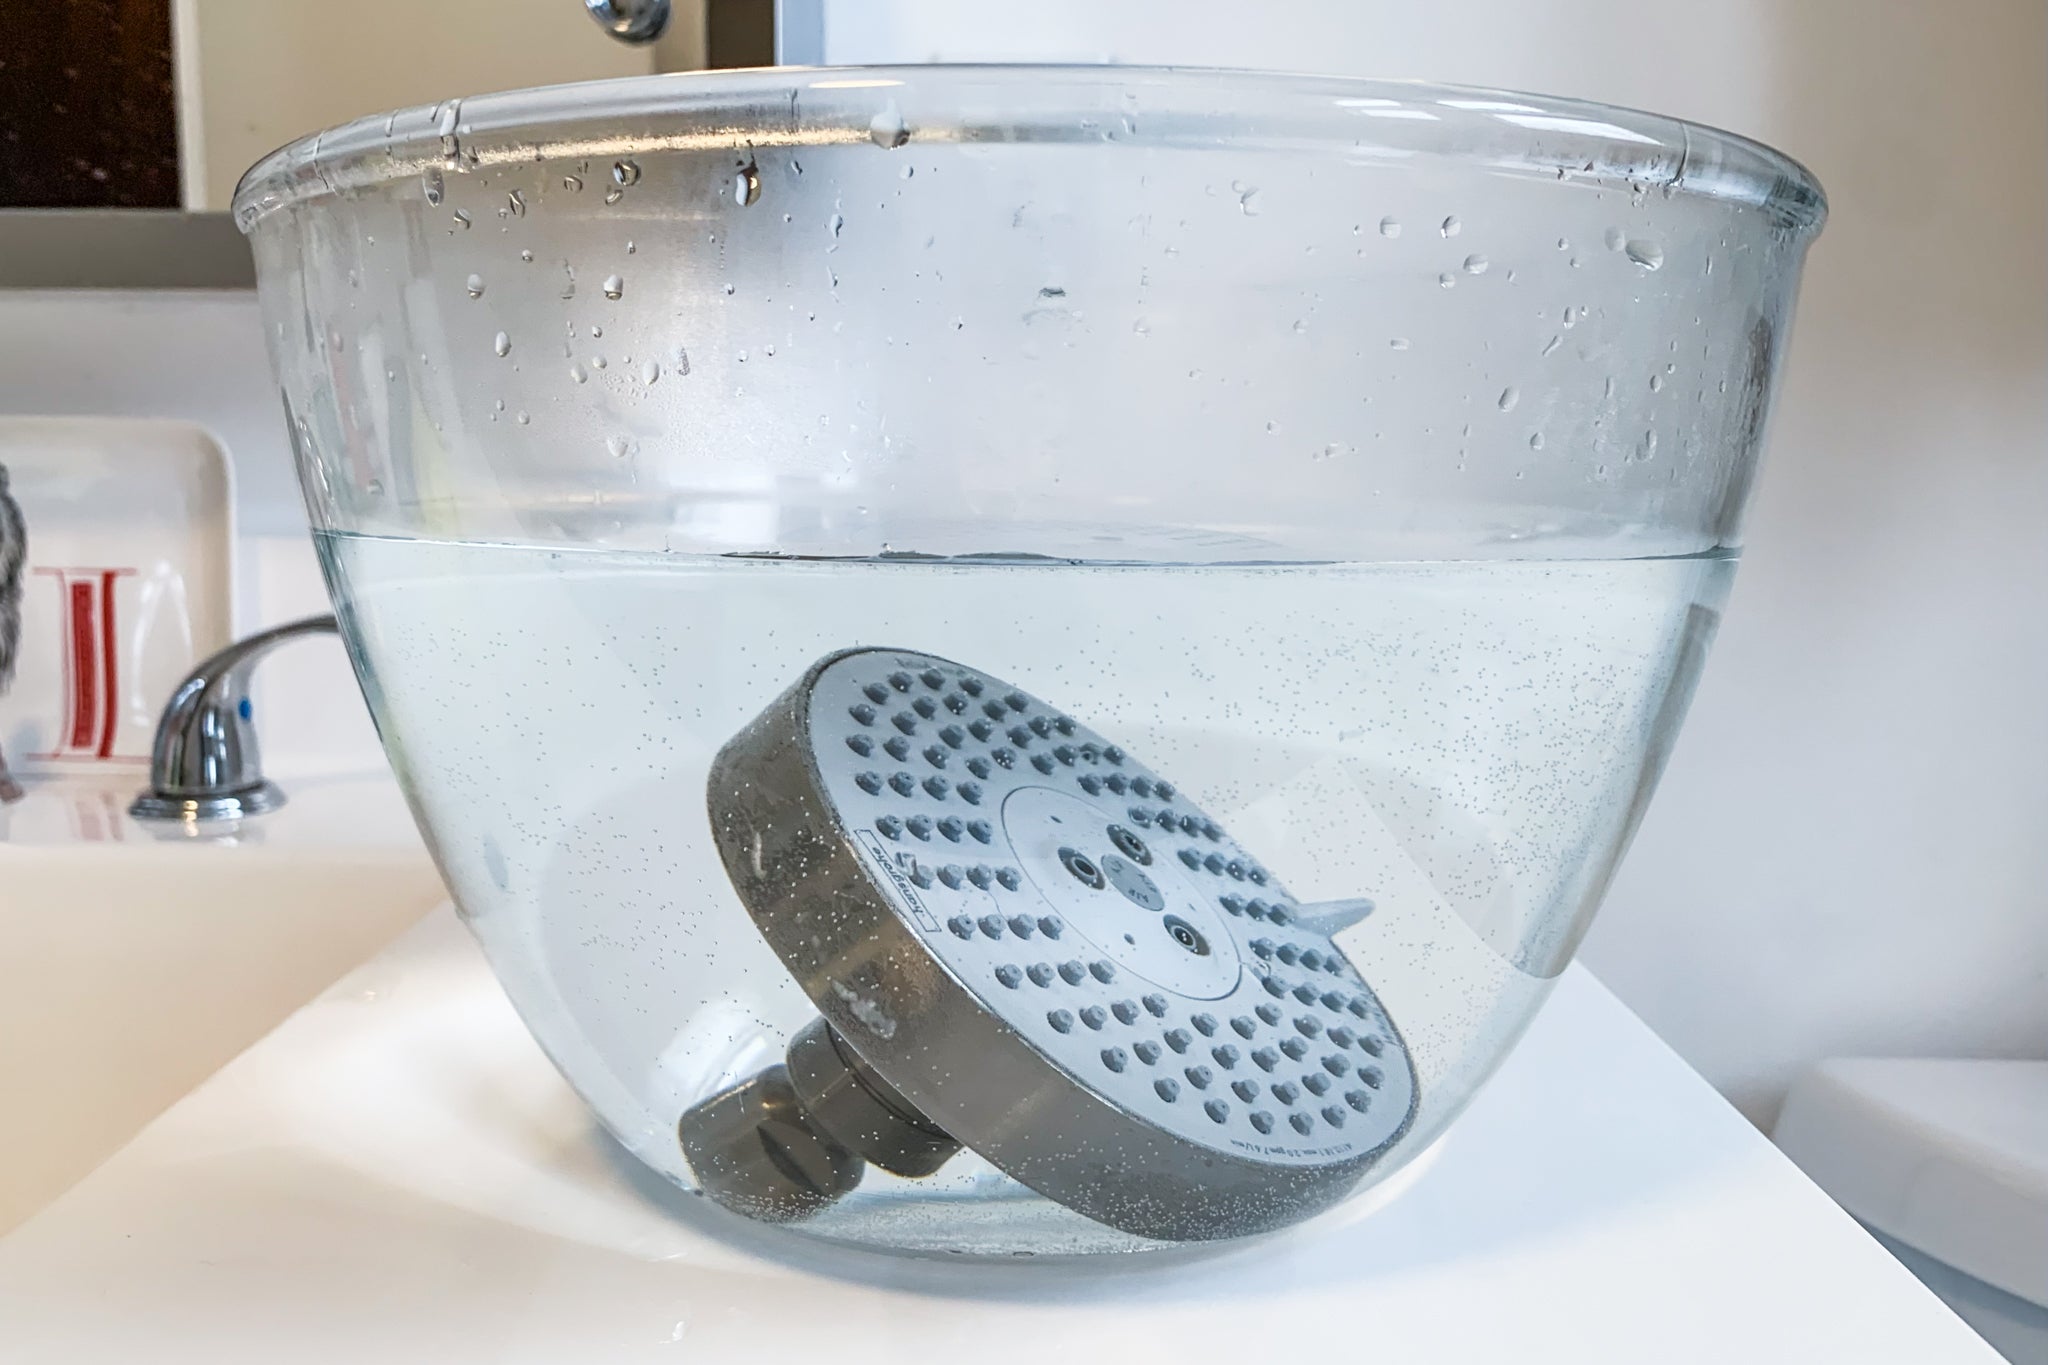
- Prepare a Vinegar Solution: Fill a container or plastic bag with enough white vinegar to fully submerge the showerhead. If using a container, ensure it’s large enough to accommodate the showerhead. If using a plastic bag, pour enough vinegar into the bag to cover the showerhead.
- Secure the Bag Around the Showerhead: If using a plastic bag, carefully place the showerhead inside the bag, ensuring that the vinegar fully covers the problematic areas. Secure the bag tightly around the showerhead using a rubber band or zip tie, ensuring there are no leaks.
- Let it Soak: Allow the showerhead to soak in the vinegar solution for at least 30 minutes, or longer if the deposits are particularly stubborn. During this time, the vinegar will break down and dissolve the mineral deposits and build-up in the showerhead.
- Check for Progress: After the soaking period, carefully remove the showerhead from the vinegar. Inspect it for any remaining deposits. In most cases, the vinegar solution should loosen the deposits and make them easier to remove.
Soaking the showerhead in vinegar is an effective method to dissolve and remove the mineral deposits and grime that can affect its performance. In the next step, we’ll explain how to scrub the showerhead to ensure a thorough cleaning.
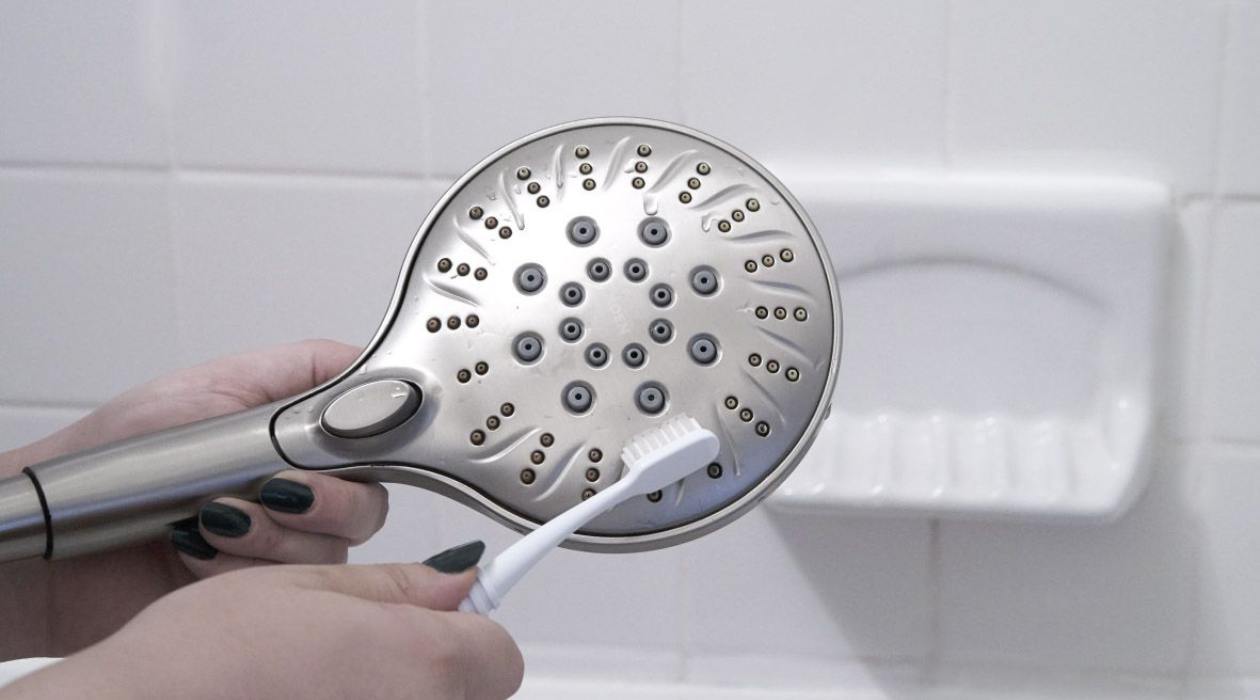
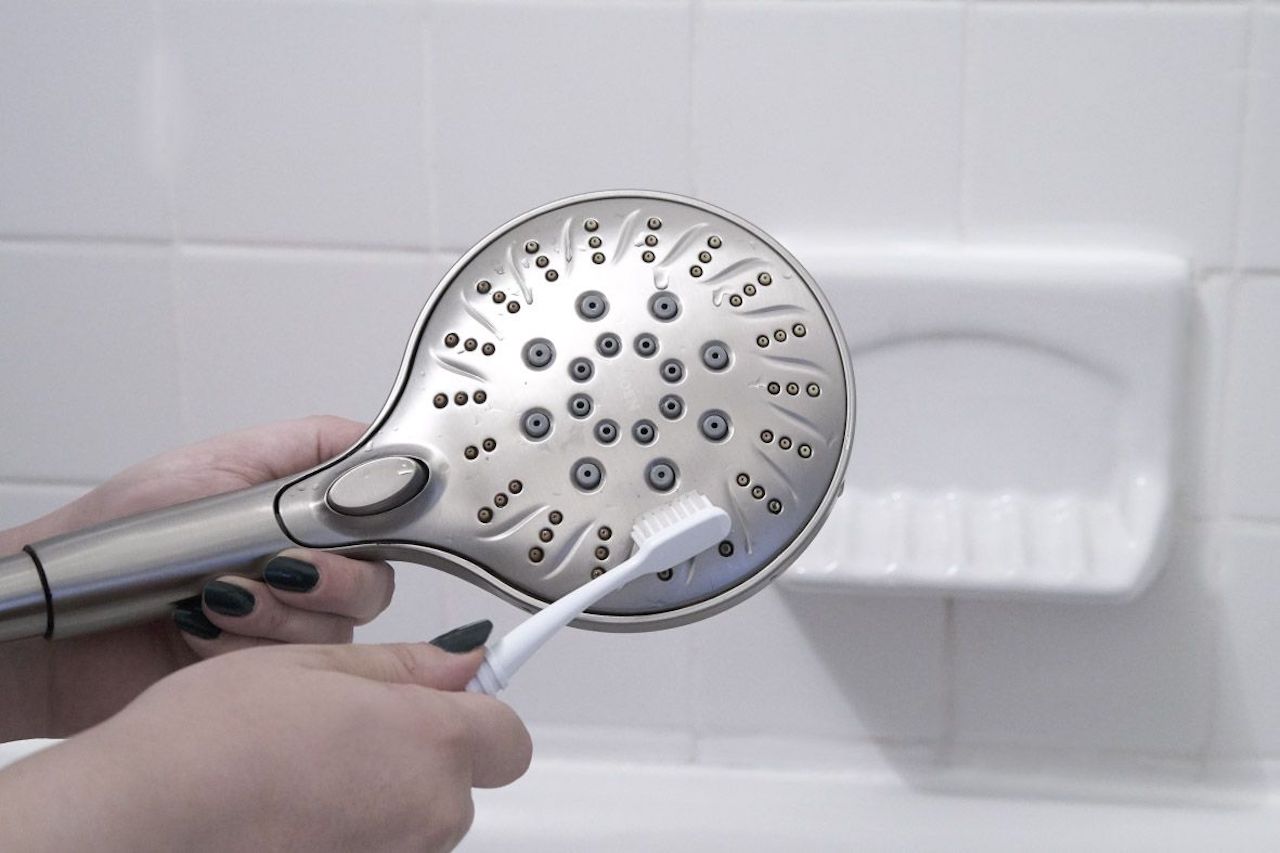
Step 3: Scrub the Showerhead
After soaking your showerhead in vinegar to dissolve the mineral deposits, it’s time to give it a gentle scrub to remove any remaining grime. Here’s how to proceed with this step:
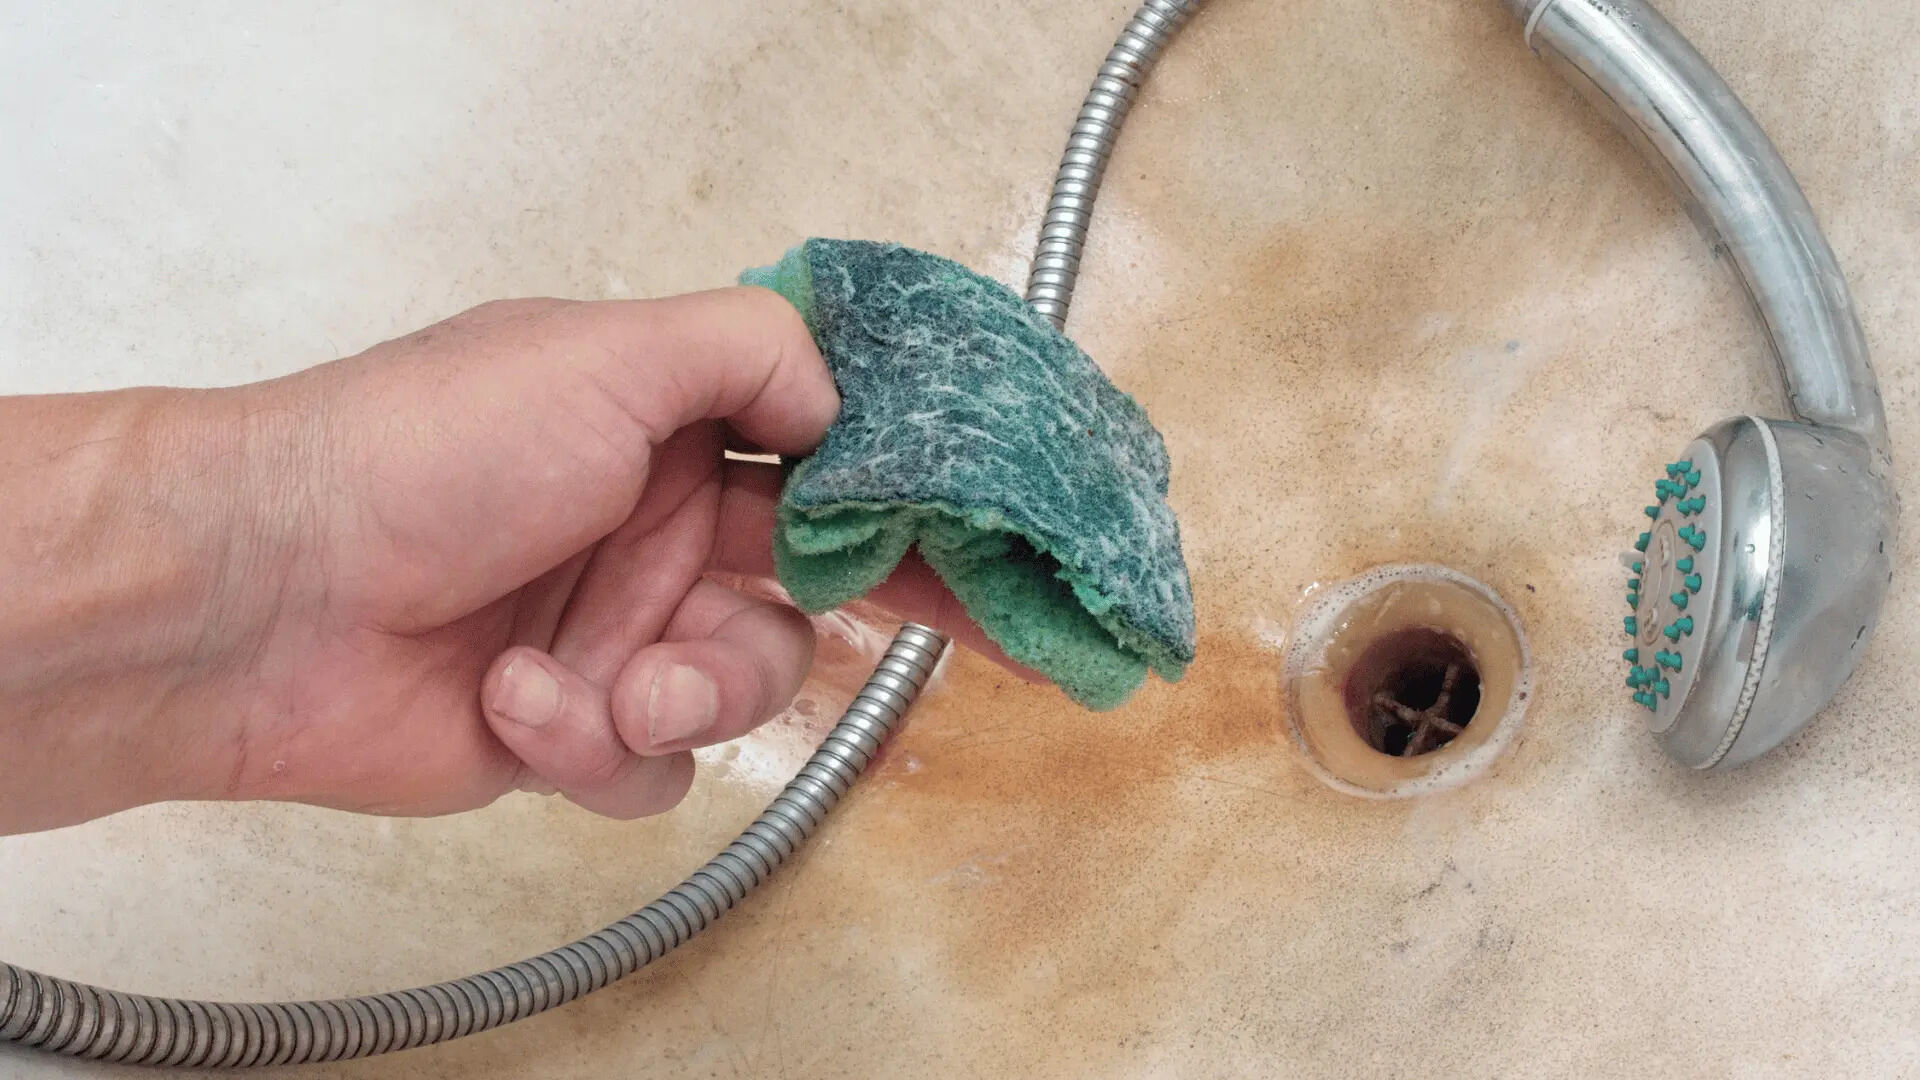
- Inspect the Showerhead: Examine the showerhead to see if any deposits or residue are still present. If you notice any stubborn spots, use a toothbrush or soft brush to gently scrub the affected areas. Make sure to be gentle to avoid damaging the showerhead.
- Pay Attention to the Nozzles: Pay special attention to the small nozzles or spray holes of the showerhead. These can easily become clogged with mineral deposits or grime. Use a needle or toothpick to carefully unclog any blocked nozzles and restore proper water flow.
- Rinse the Showerhead: Once you have scrubbed the showerhead and removed the remaining deposits, rinse it thoroughly with warm water. This will help wash away any loosened particles and vinegar residue.
- Check for Cleanliness: Take a moment to inspect the showerhead again to ensure that it is clean and free from any remaining build-up. If needed, you can repeat the scrubbing process or resort to other cleaning methods discussed later in the article.
By scrubbing the showerhead, you can ensure a thorough cleaning and remove any stubborn deposits or grime that can affect its performance. After scrubbing, it’s time to move on to the final step: rinsing and reattaching the showerhead.
Step 4: Rinse and Reattach the Showerhead
Now that you have successfully cleaned and scrubbed your showerhead, it’s time to rinse off any remaining residue and reattach it to the shower arm. Follow these steps to complete the cleaning process:
- Rinse with Warm Water: Thoroughly rinse the showerhead with warm water to remove any traces of vinegar or residue. Ensure that all the nozzles are clear and free from any blockages.
- Dry the Showerhead: Use a clean cloth or towel to dry the showerhead thoroughly. This will help prevent any lingering moisture and potential build-up in the future.
- Inspect the Shower Arm: While the showerhead is drying, take a moment to inspect the shower arm. Look for any signs of build-up or debris. If necessary, clean the shower arm using a cloth dampened with vinegar or a mild cleaning solution.
- Reattach the Showerhead: Once the showerhead and shower arm are dry and clean, reattach the showerhead to the shower arm. Carefully screw it back on by turning it clockwise until it is securely tightened. Use an adjustable wrench or pliers, if necessary, but avoid overtightening to prevent damage.
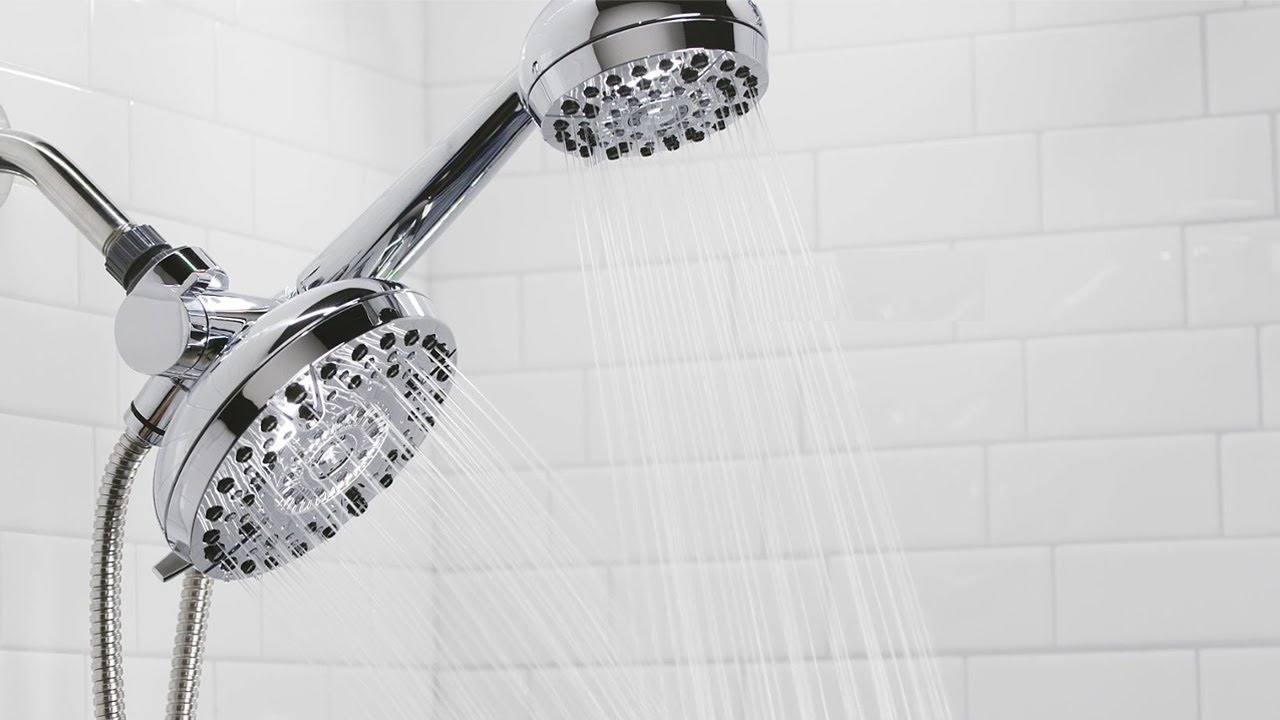
- Turn On the Water: Once the showerhead is reattached, turn on the water supply and test the showerhead. Ensure that the water flows evenly and with proper pressure. If there are any issues, double-check the tightness of the connection or consider repeating the cleaning process.
With the showerhead rinsed, dried, and reattached, you have successfully completed the cleaning process. Your showerhead should now be free from deposits and grime, providing you with improved water flow and a more enjoyable showering experience.
It’s important to note that regular cleaning and maintenance of your showerhead will help prevent future build-up and maintain its performance. In the next section, we’ll explore other methods and tips for cleaning your showerhead and keeping it in optimal condition.
Other Methods for Cleaning Showerheads
While the vinegar method is highly effective for cleaning showerheads, there are alternative methods you can try if you prefer different cleaning agents or need a more intensive cleaning. Here are some other methods to consider:
- Baking Soda Paste: Create a paste by mixing baking soda with water until it forms a thick consistency. Apply the paste to the showerhead, focusing on the areas with the most build-up. Let it sit for at least 15 minutes, then scrub with a soft brush or toothbrush. Rinse thoroughly with warm water.
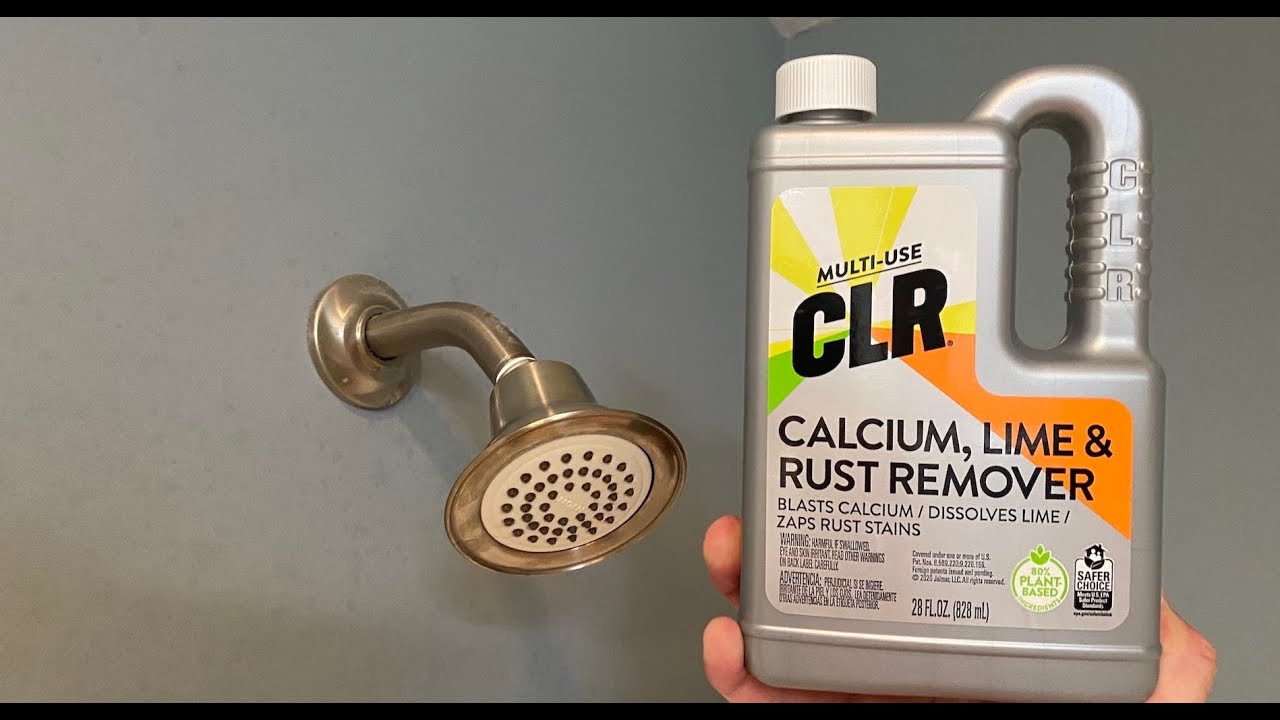
- Commercial Cleaners: There are numerous commercial cleaning products available specifically designed for showerhead cleaning. Read the instructions carefully and follow the manufacturer’s recommendations for application and cleaning duration. Be sure to rinse the showerhead thoroughly after applying the cleaner.
- Citric Acid Solution: Citric acid can be an effective alternative to vinegar. Dissolve a few tablespoons of citric acid powder in warm water and follow the same soaking process as with vinegar. Citric acid can be especially useful for removing tough limescale deposits.
- Deep Cleaning with Disassembly: For showerheads with persistent build-up, you may need to disassemble the showerhead completely. Refer to the manufacturer’s instructions or seek professional help if you’re unsure about the disassembly process. Once disassembled, you can soak the individual parts in a cleaning solution or scrub them individually to remove stubborn deposits.
Remember, regardless of the method you choose, always follow safety precautions, read product labels, and ensure proper ventilation during the cleaning process. Additionally, check your showerhead manufacturer’s guidelines to avoid using any cleaning agents that could damage the surface or finish of your showerhead.
By utilizing these alternative methods, you can tackle stubborn deposits and keep your showerhead in optimal condition. However, it’s essential to regularly clean your showerhead to prevent excessive build-up. Let’s wrap up with some concluding thoughts.
Read more: How To Clean A Showerhead
Conclusion
Cleaning your showerhead is a crucial step in maintaining a functional and hygienic bathroom. Regularly removing mineral deposits, grime, and bacteria will not only improve water pressure and quality but also ensure a more enjoyable and refreshing shower experience.
In this article, we covered the importance of cleaning your showerhead, the signs that indicate it needs cleaning, and the step-by-step process for effectively cleaning it. By following these steps, which include removing the showerhead, soaking it in vinegar, scrubbing away deposits, and reattaching it, you can restore your showerhead’s performance and prolong its lifespan.
We also explored alternative methods such as using baking soda paste, commercial cleaners, citric acid solutions, and deep cleaning by disassembling the showerhead. These methods can be valuable for tackling stubborn build-up and ensuring a thorough cleaning when needed.
Remember to gather all the necessary supplies before starting, such as vinegar, a plastic bag, a brush, and a cloth. Take the time to inspect and clean not only the showerhead but also the shower arm for any build-up or debris.
By incorporating regular showerhead cleaning into your home maintenance routine, you can prevent costly repairs or replacements and enjoy a refreshing shower every time. So, grab your supplies, roll up your sleeves, and give your showerhead the proper cleaning it deserves!
Frequently Asked Questions about How Clean Showerhead Deposits
Was this page helpful?
At Storables.com, we guarantee accurate and reliable information. Our content, validated by Expert Board Contributors, is crafted following stringent Editorial Policies. We're committed to providing you with well-researched, expert-backed insights for all your informational needs.

0 thoughts on “How Clean Showerhead Deposits”