Articles
How To Clean A Rainshower Showerhead
Modified: March 1, 2024
Discover effective methods and tips for cleaning rainshower showerheads in this comprehensive guide. Read our informative articles to keep your showerhead pristine and functional.
(Many of the links in this article redirect to a specific reviewed product. Your purchase of these products through affiliate links helps to generate commission for Storables.com, at no extra cost. Learn more)
Introduction
Having a rainshower showerhead in your bathroom can create a luxurious and relaxing shower experience. However, over time, these showerheads can become clogged and dirty, reducing water flow and affecting the quality of your shower. To keep your rainshower showerhead working at its best, regular cleaning is essential.
In this article, we will provide you with a step-by-step guide on how to clean your rainshower showerhead effectively. By following these simple instructions, you can restore your showerhead to its original condition, ensuring a refreshing and invigorating shower every time.
Key Takeaways:
- Regularly cleaning your rainshower showerhead with vinegar and baking soda can remove mineral deposits, ensuring optimal water flow and a luxurious shower experience.
- By following a simple step-by-step guide, you can easily remove dirt and grime from your rainshower showerhead, restoring its functionality and enhancing your daily shower routine.
Read more: How To Clean A Showerhead
Materials Needed
- Vinegar
- Baking soda
- Old toothbrush
- Plastic bag or container
- Warm water
- Microfiber cloth
- Adjustable wrench or pliers
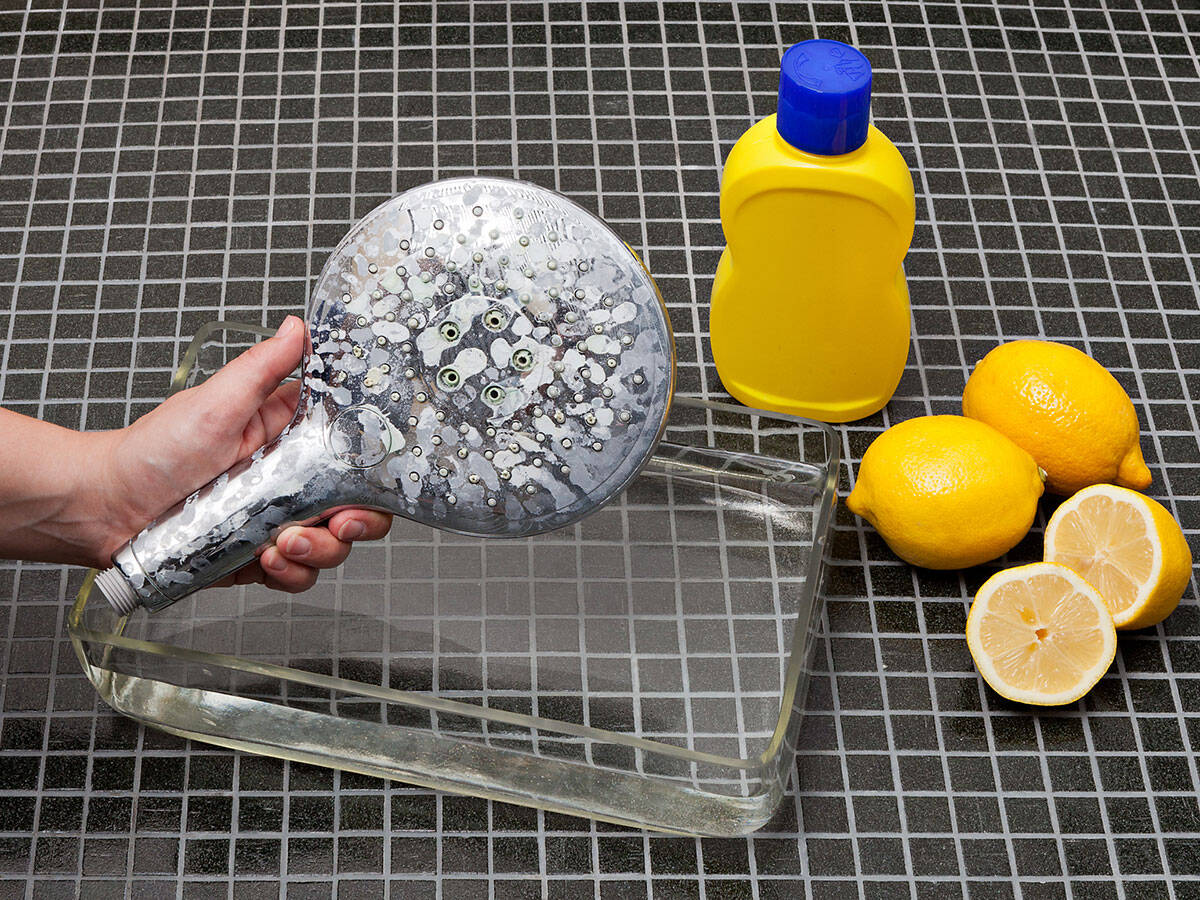
Before you begin the cleaning process, gather the following materials to effectively clean your rainshower showerhead:
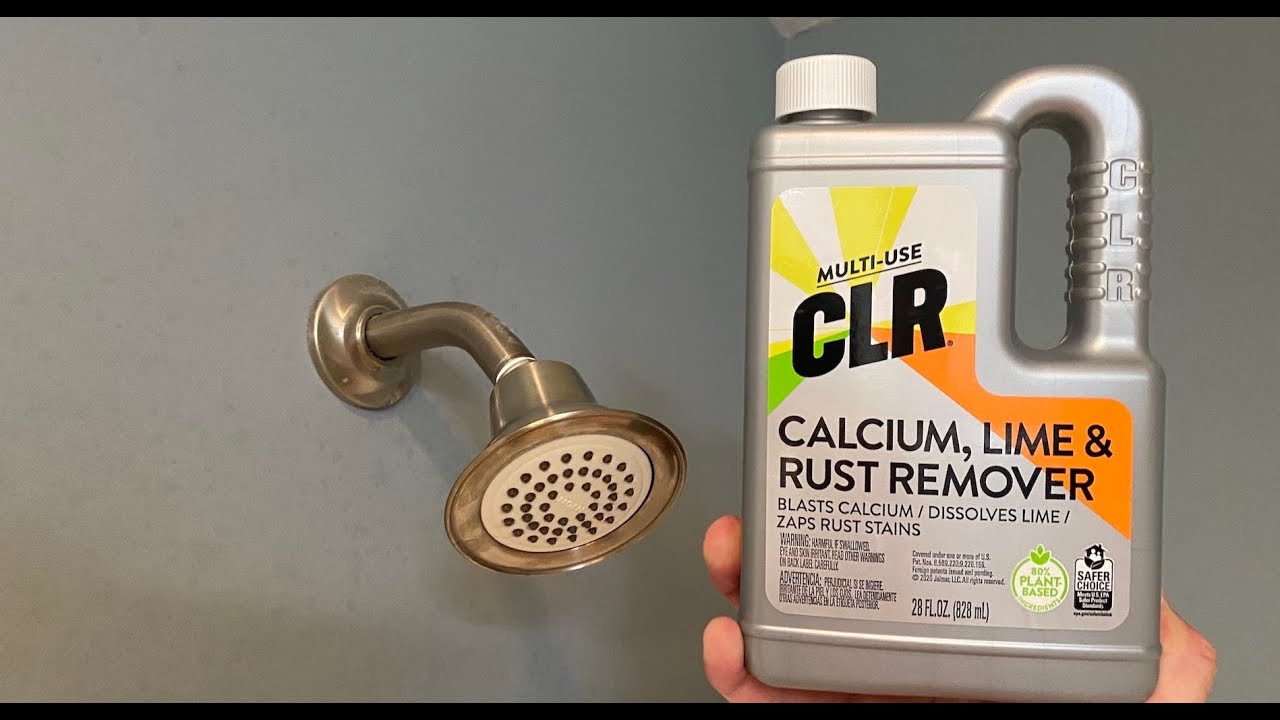
1. Vinegar: Vinegar is a powerful cleaning agent that can dissolve mineral deposits and grime on the showerhead.
2. Baking soda: Baking soda is a natural abrasive that can help remove stubborn stains and odors.
3. Old toothbrush: An old toothbrush with soft bristles is perfect for scrubbing hard-to-reach areas of the showerhead.
4. Plastic bag or container: You will need a plastic bag or container that is large enough to immerse the showerhead in vinegar.
5. Warm water: Warm water is crucial for rinsing off the cleaning solution and ensuring a thorough clean.
6. Microfiber cloth: A microfiber cloth is gentle on the showerhead and helps to remove any residue left behind after cleaning.
7. Adjustable wrench or pliers: You may need an adjustable wrench or pliers to loosen and remove the showerhead.
Once you have gathered these materials, you are ready to begin the cleaning process. Let’s move on to the next step.
Step 1: Removing the Showerhead
The first step in cleaning your rainshower showerhead is to remove it from the shower arm. Follow these steps:
- Turn off the water supply: Before removing the showerhead, make sure to turn off the water supply to prevent any water leakage.
- Locate the shower arm: The shower arm is the pipe that extends from the wall and connects to the showerhead. It is usually located above or behind the showerhead.
- Protect the shower arm: To prevent any scratches or damage to the shower arm, wrap a cloth or towel around it before using an adjustable wrench or pliers.
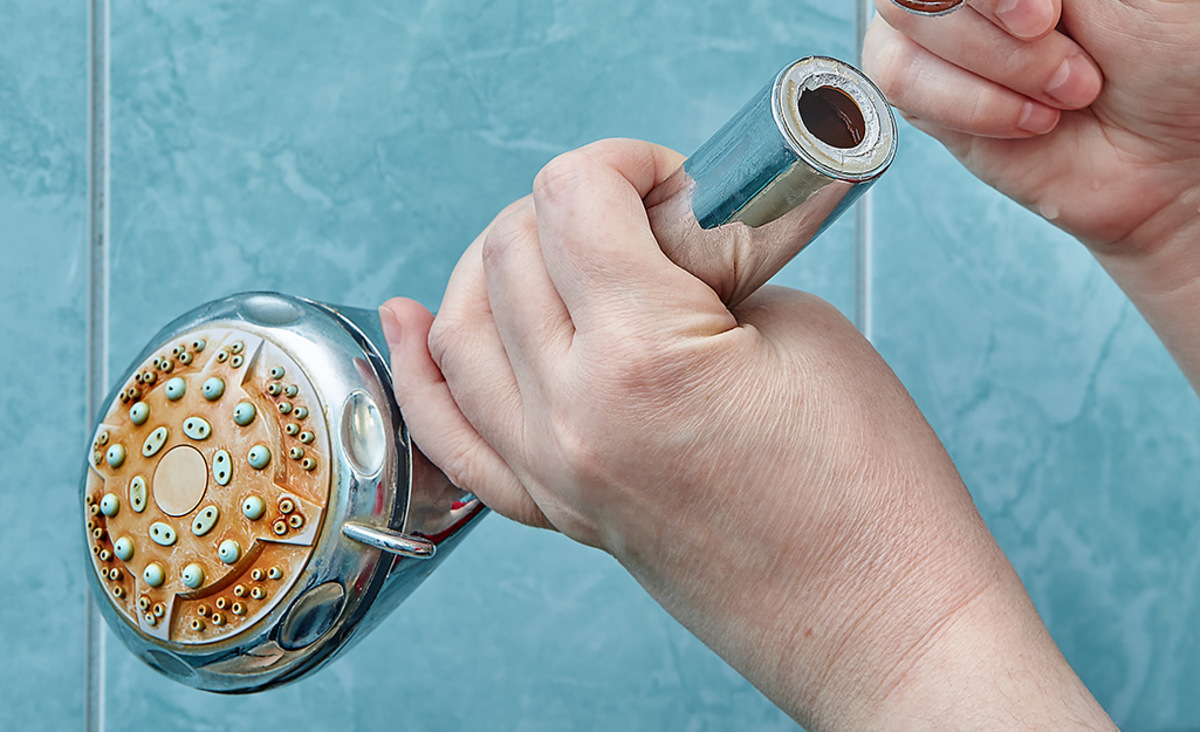
- Remove the showerhead: Firmly grip the showerhead with the cloth or towel-wrapped wrench or pliers. Turn it counterclockwise to unscrew it from the shower arm. If it is difficult to loosen, you can use some penetrating oil to loosen the connection.
- Detach any accessories: If there are any additional attachments or removable parts on the showerhead, such as a flow restrictor or filter, remove them as well for thorough cleaning.
Once you have successfully removed the showerhead, you are ready to move on to the next step: preparing the cleaning solution.
Step 2: Preparing the Cleaning Solution
Now that you have removed the showerhead, it’s time to prepare a cleaning solution that will effectively remove dirt, grime, and mineral deposits. Here’s how:
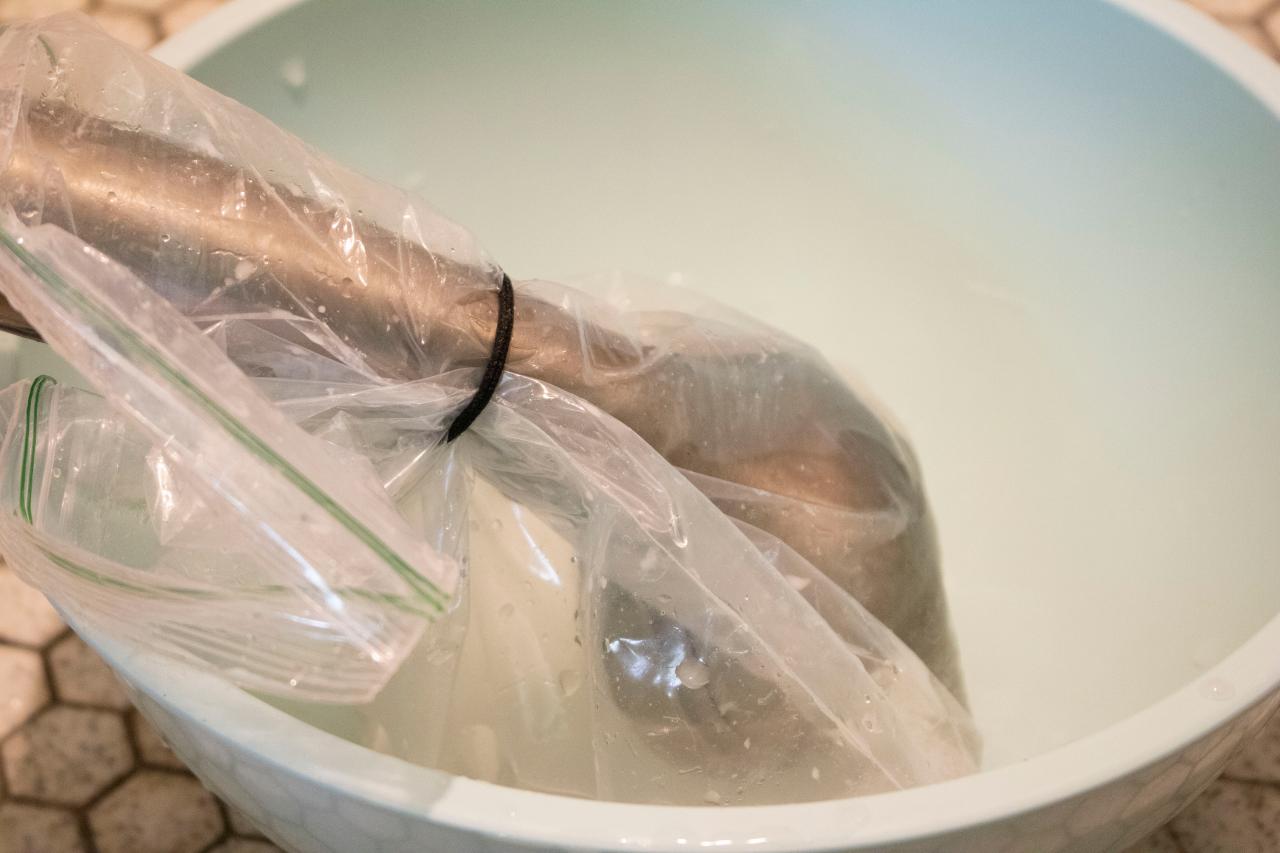
- Fill a plastic bag or container: Take a plastic bag or container that is large enough to fully immerse the showerhead. Fill it with equal parts of warm water and vinegar. The vinegar acts as a natural cleaning agent that helps dissolve mineral build-up.
- Add baking soda (optional): For an extra cleaning boost, you can add a couple of tablespoons of baking soda to the vinegar and water mixture. Baking soda acts as an abrasive that helps remove stubborn stains.
- Stir the solution: Mix the vinegar, water, and baking soda (if using) thoroughly. The baking soda may cause some fizzing, but this is normal.
- Submerge the showerhead: Place the showerhead into the solution, ensuring that it is fully submerged. If the bag or container is not large enough to accommodate the entire showerhead, you can dismantle it further and submerge the individual parts.
- Allow it to soak: Let the showerhead soak in the cleaning solution for at least 30 minutes. This will help loosen any mineral deposits and grime that has built up over time.
While the showerhead is soaking in the cleaning solution, you can move on to step 3: scrubbing the showerhead to remove any remaining dirt and residue.
To clean a rainshower showerhead, mix equal parts water and white vinegar in a plastic bag. Secure the bag around the showerhead and let it soak for a few hours. Then, remove the bag and run the shower on hot to flush out any remaining debris.
Step 3: Soaking the Showerhead
Now that you have prepared the cleaning solution, it’s time to soak the showerhead to remove any mineral deposits and grime. Follow these steps:
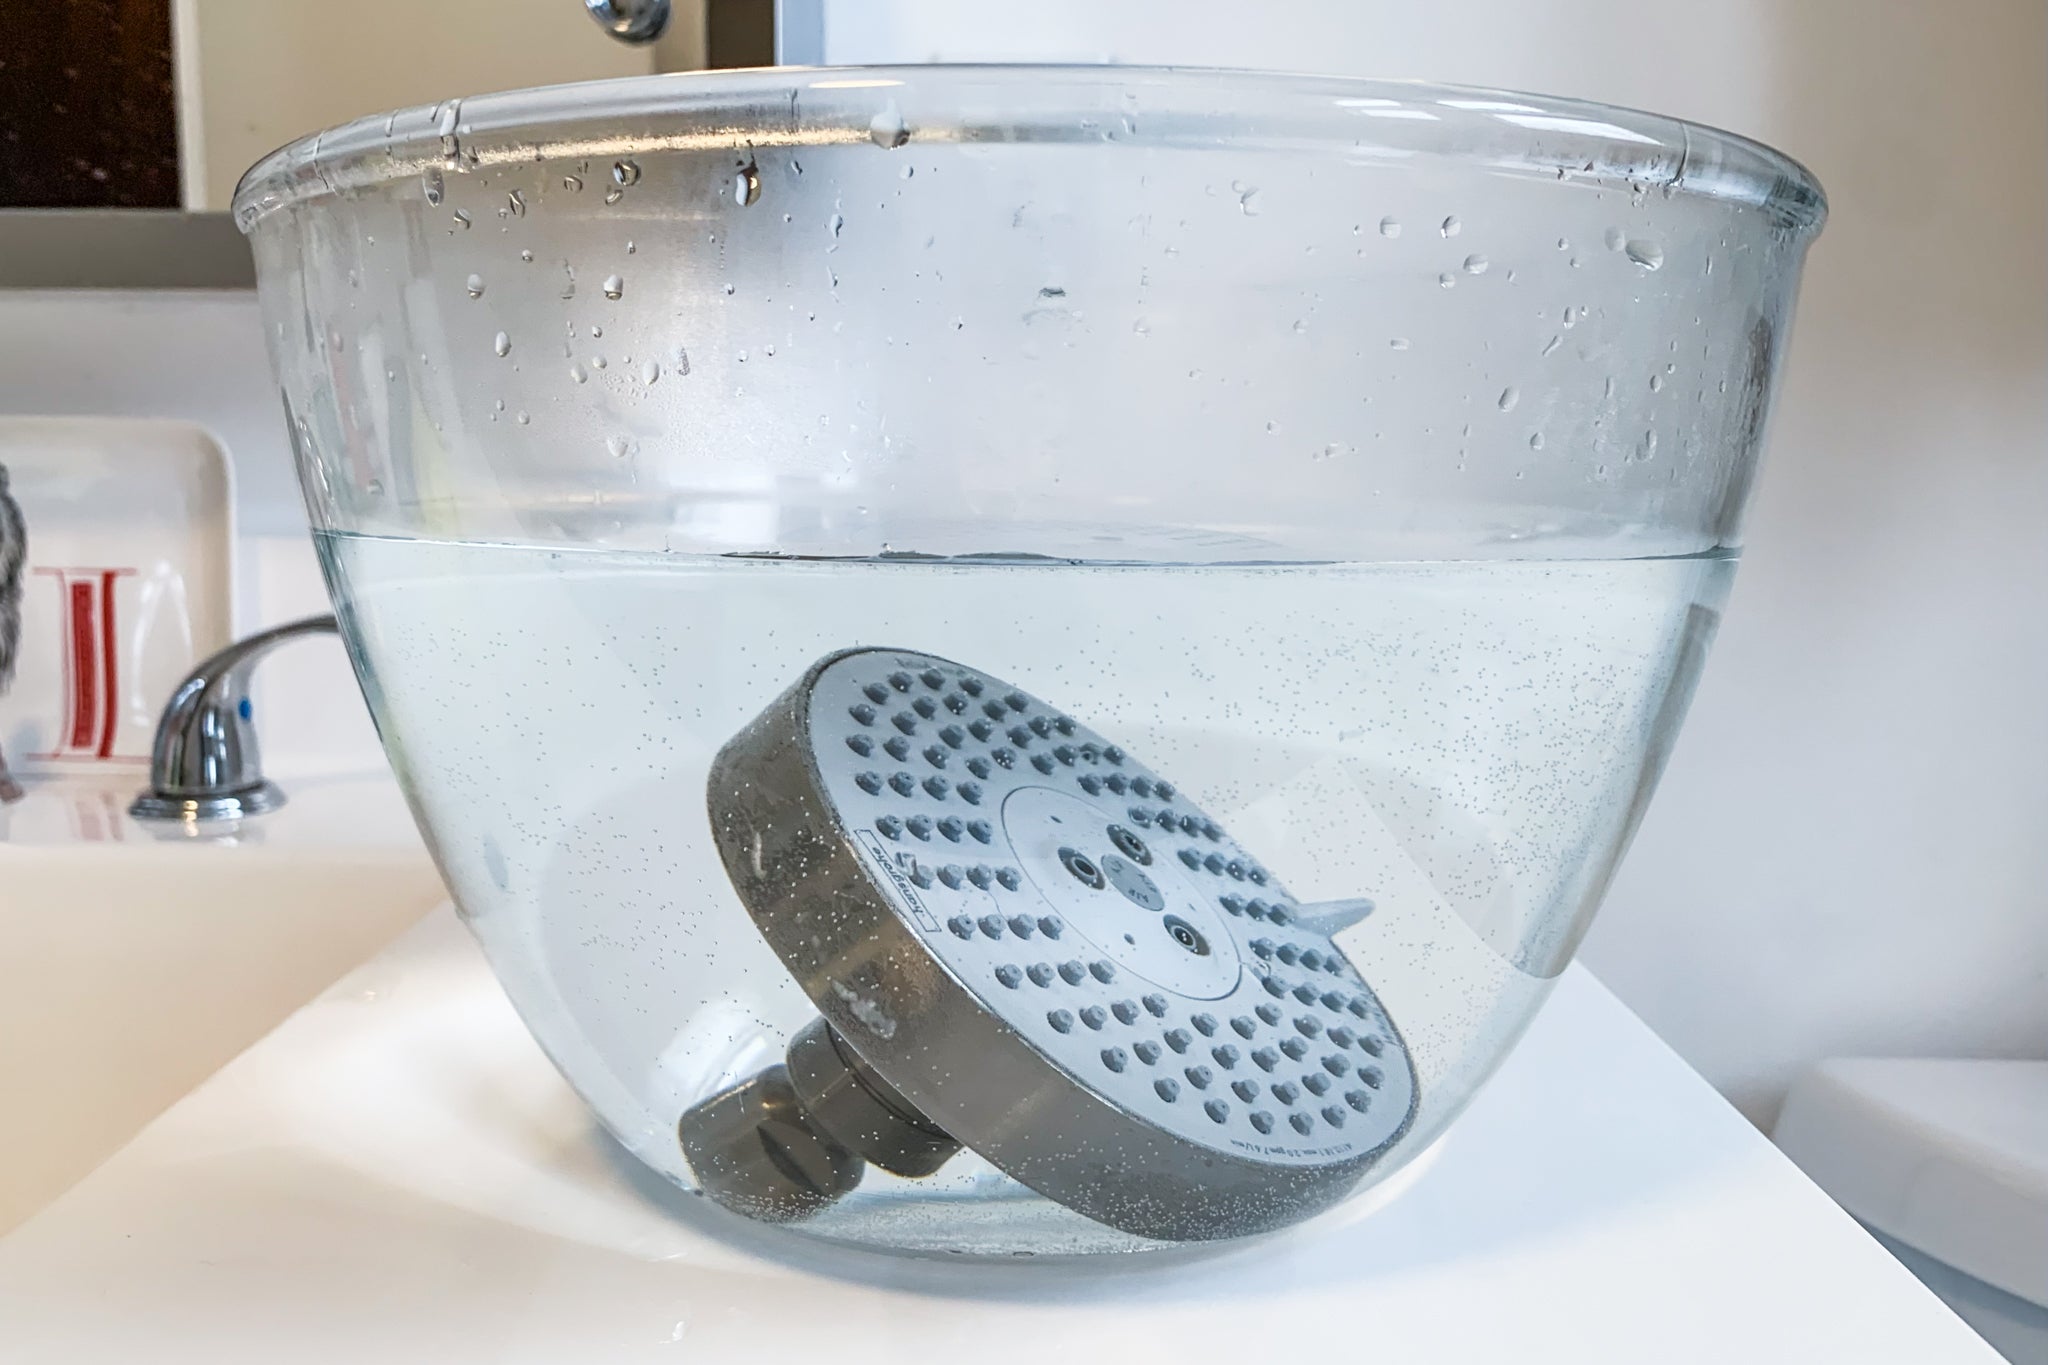
- Place the showerhead in the cleaning solution: Take the bag or container with the cleaning solution and fully submerge the showerhead in it. Ensure that all parts of the showerhead are covered with the solution. If needed, you can dismantle the showerhead further and soak each part individually.
- Leave it to soak: Allow the showerhead to soak in the cleaning solution for at least 30 minutes. This will give the solution enough time to dissolve any mineral deposits and loosen dirt and grime.
- Rotate the showerhead: While the showerhead is soaking, you can occasionally rotate it to ensure that all areas are evenly exposed to the cleaning solution.
- Check for any stubborn deposits: After the soaking time, inspect the showerhead for any remaining stubborn mineral deposits or dirt. If there are any areas that require extra attention, you can use an old toothbrush to gently scrub those spots.
Once the showerhead has soaked for the appropriate amount of time and you have scrubbed any stubborn deposits, it’s time to move on to the next step: scrubbing the showerhead to remove any remaining dirt and residue.
Read more: How To Clean A Showerhead
Step 4: Scrubbing the Showerhead
After soaking the showerhead to remove mineral deposits and grime, it’s time to scrub it to ensure a thorough clean. Follow these steps:
- Remove the showerhead from the cleaning solution: Take out the showerhead from the bag or container filled with the cleaning solution. Dispose of the solution properly.
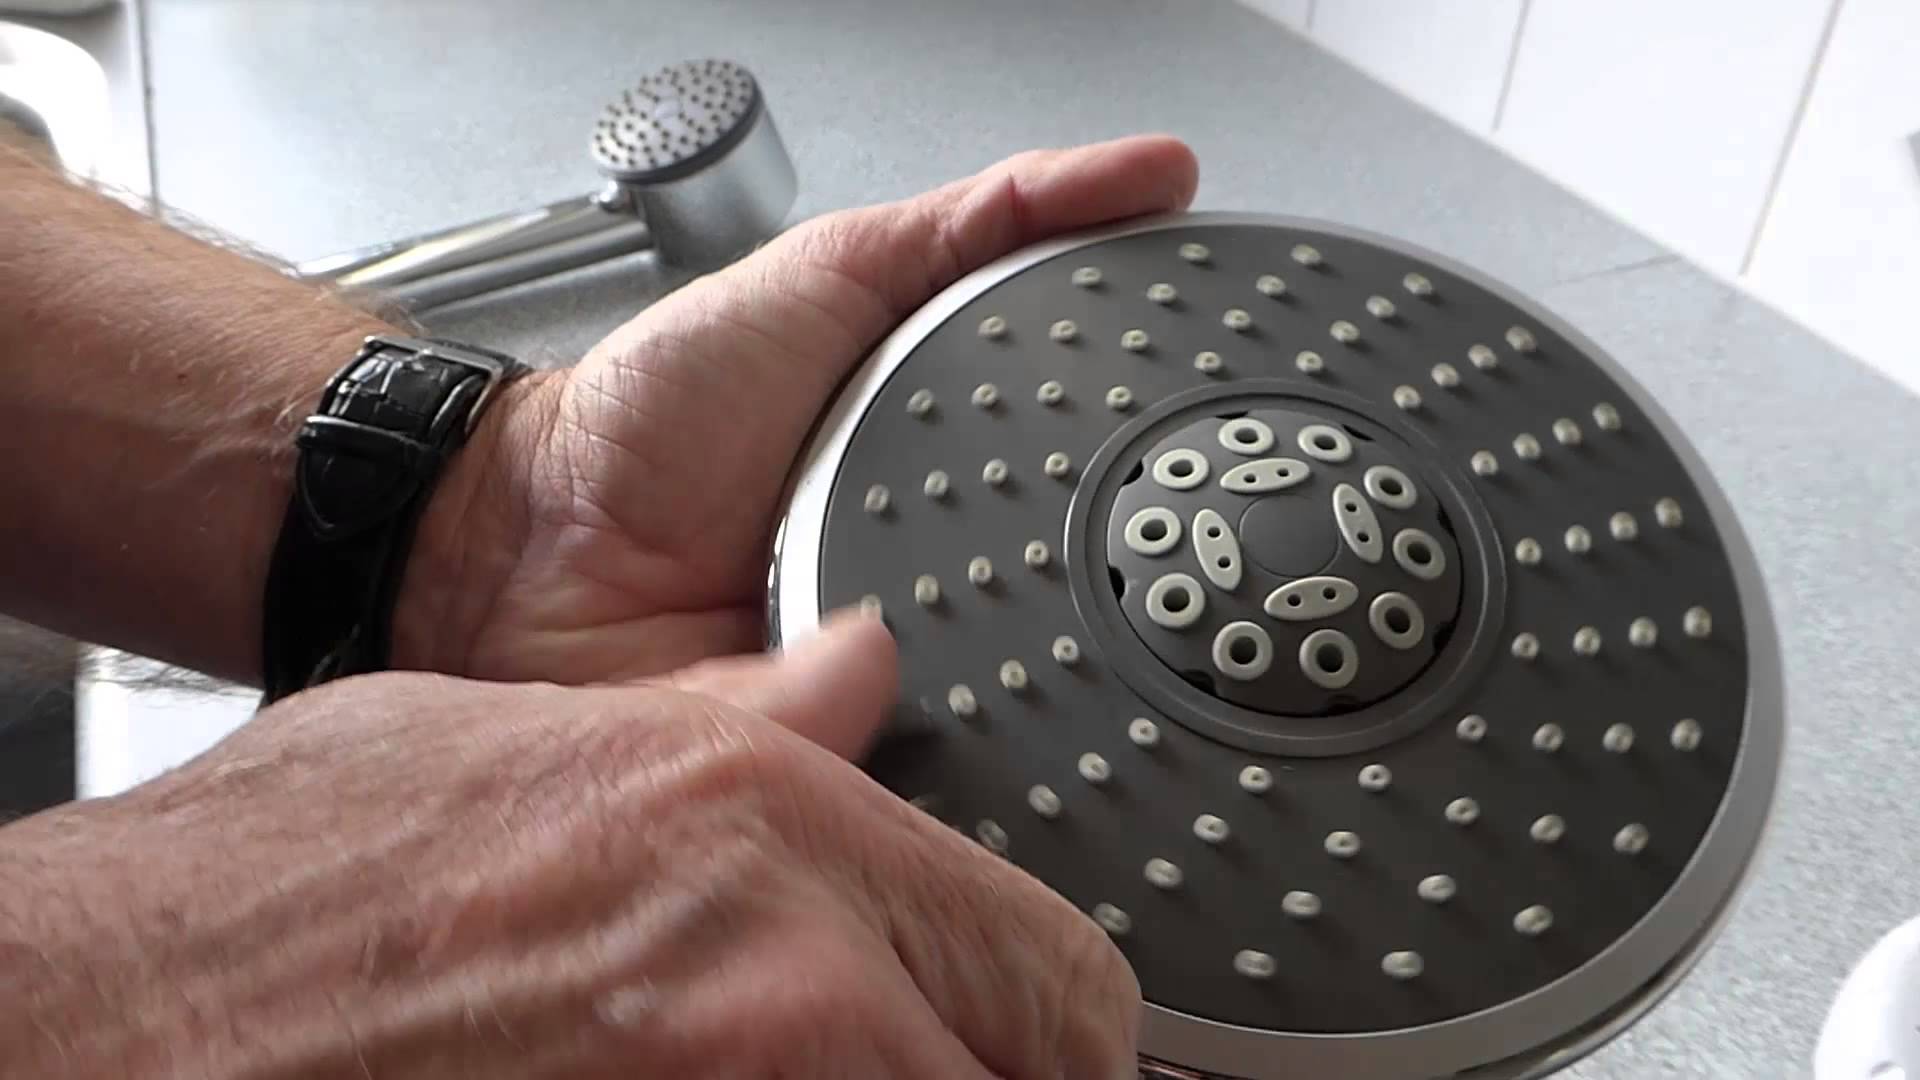
- Inspect the showerhead: Before you start scrubbing, examine the showerhead for any remaining dirt or residue. Pay attention to the small nozzles and crevices where build-up may be present.
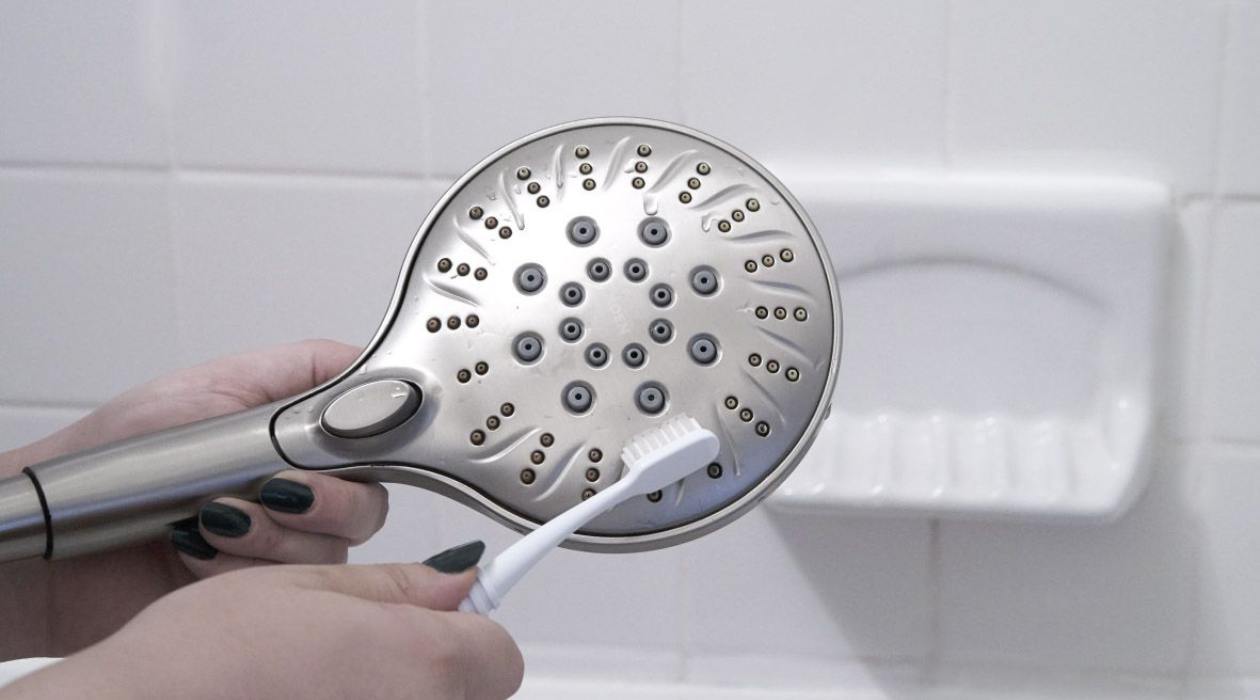
- Scrub with an old toothbrush: Take an old toothbrush with soft bristles and dip it in warm water. Gently scrub the showerhead, focusing on the areas with visible dirt and mineral deposits. Use circular motions to remove the build-up effectively.
- Pay attention to the nozzles: Pay special attention to the nozzles of the showerhead, as they are often prone to clogging. Use the toothbrush to carefully clean each nozzle, ensuring that water can flow freely through them.
- Rinse the showerhead: Once you have scrubbed all the areas thoroughly, rinse the showerhead with warm water. This will remove any loosened dirt and residue.
After scrubbing and rinsing the showerhead, it’s time to move on to step 5: rinse and reattach the showerhead to complete the cleaning process.
Step 5: Rinse and Reattach
After scrubbing the showerhead, the next step is to rinse off any remaining dirt and residue and reattach it to the shower arm. Follow these final steps:
- Rinse the showerhead: Thoroughly rinse the showerhead with warm water to remove any leftover cleaning solution, dirt, or residue. Ensure that all the nozzles are clear of any obstructions.
- Wipe dry with a microfiber cloth: After rinsing, use a microfiber cloth to wipe the showerhead dry. This will help prevent water spots and keep the showerhead looking clean and shiny.
- Reattach the showerhead: Carefully reattach the showerhead to the shower arm. Use an adjustable wrench or pliers (with a cloth or towel for protection) to tighten it in a clockwise direction. Make sure the showerhead is securely attached, but avoid over-tightening, as it may cause damage.
- Turn on the water supply: Once the showerhead is securely reattached, turn on the water supply to check for any leaks. If you notice any leaks, use the wrench or pliers to tighten the connection further.
- Test the showerhead: Turn on the shower and test the water flow in all settings. Ensure that the water is flowing evenly through all the nozzles and that the showerhead is functioning properly.
With these steps completed, you have successfully cleaned and reattached your rainshower showerhead. Enjoy a revitalizing shower experience with your newly cleaned showerhead!
Remember to regularly clean your rainshower showerhead to prevent the build-up of mineral deposits and ensure optimal water flow. Cleaning it once every few months will help maintain its performance and prolong its lifespan.
By following these simple cleaning steps, you can keep your rainshower showerhead in pristine condition and enjoy a refreshing shower experience every time.
Happy cleaning!
Conclusion
Cleaning your rainshower showerhead is an essential task to maintain its functionality and ensure an enjoyable shower experience. By following the step-by-step guide outlined in this article, you can effectively remove mineral deposits, dirt, and grime from your showerhead.
Remember to gather the necessary materials, including vinegar, baking soda, an old toothbrush, warm water, and an adjustable wrench or pliers. These items will help you achieve a thorough clean.
Start by removing the showerhead and preparing the cleaning solution using vinegar and warm water. Soak the showerhead in the solution to loosen any deposits and scrub it gently with an old toothbrush. Rinse off the showerhead and reattach it to the shower arm securely.
Regularly cleaning your rainshower showerhead will prevent clogs, restore water flow, and enhance your shower experience. It is recommended to clean the showerhead every few months or as needed, depending on the water quality in your area.
By maintaining a clean showerhead, you will enjoy a steady and invigorating water flow, ensuring a refreshing start or end to your day. Cleaning your rainshower showerhead is a simple but important task that will contribute to the longevity and performance of your shower system.
So, grab your cleaning materials and start giving your rainshower showerhead the attention it deserves. Your showers will be revitalized, and you’ll have a clean and sparkling showerhead that adds a touch of luxury to your bathroom.
Happy cleaning!
Frequently Asked Questions about How To Clean A Rainshower Showerhead
Was this page helpful?
At Storables.com, we guarantee accurate and reliable information. Our content, validated by Expert Board Contributors, is crafted following stringent Editorial Policies. We're committed to providing you with well-researched, expert-backed insights for all your informational needs.


0 thoughts on “How To Clean A Rainshower Showerhead”