Articles
How To Clean A Showerhead
Modified: February 28, 2024
Learn effective techniques and tips from our comprehensive article on how to clean out a showerhead and improve water flow. Enhance your bathroom experience today!
(Many of the links in this article redirect to a specific reviewed product. Your purchase of these products through affiliate links helps to generate commission for Storables.com, at no extra cost. Learn more)
Introduction
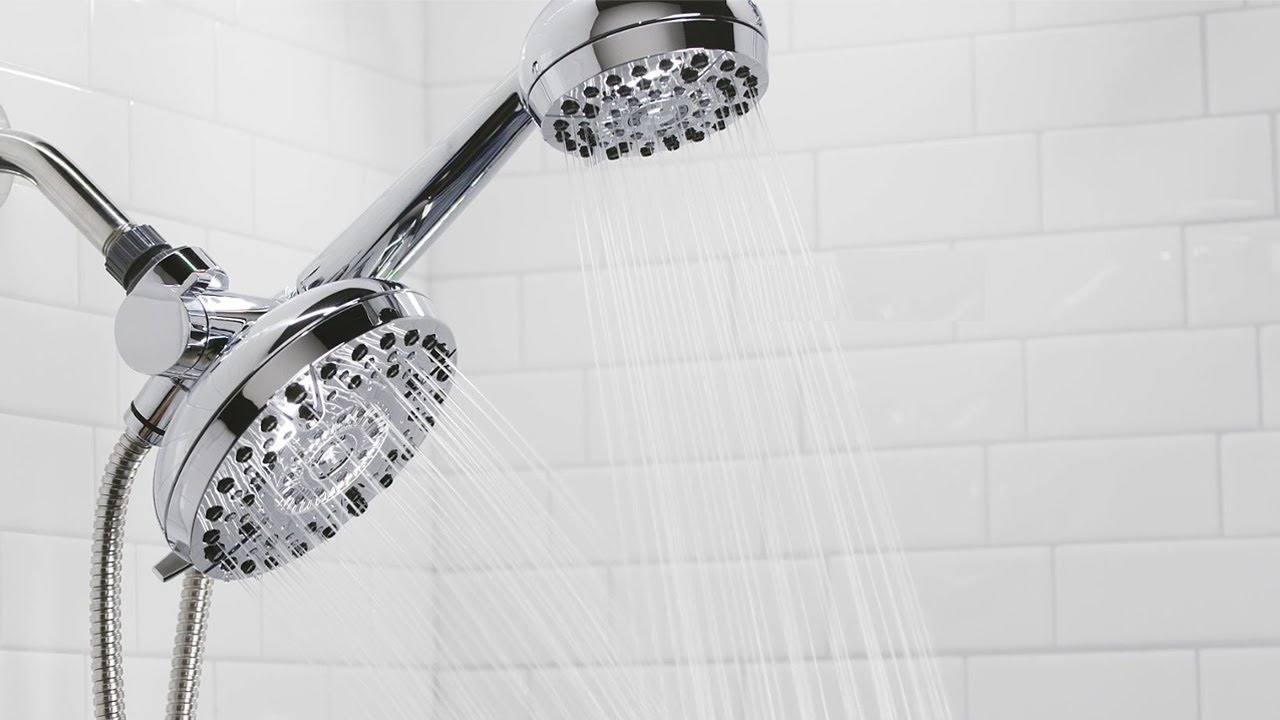
Welcome to our comprehensive guide on how to clean out a showerhead. Over time, showerheads can become clogged with mineral deposits, dirt, and bacteria, leading to reduced water pressure and an unpleasant showering experience. By regularly cleaning your showerhead, you can ensure it continues to perform optimally and provide you with a refreshing shower every time.
In this article, we will walk you through the step-by-step process of cleaning out your showerhead to remove any buildup and improve its functionality. We will also provide you with valuable tips and tricks to make the cleaning process easier and more effective.
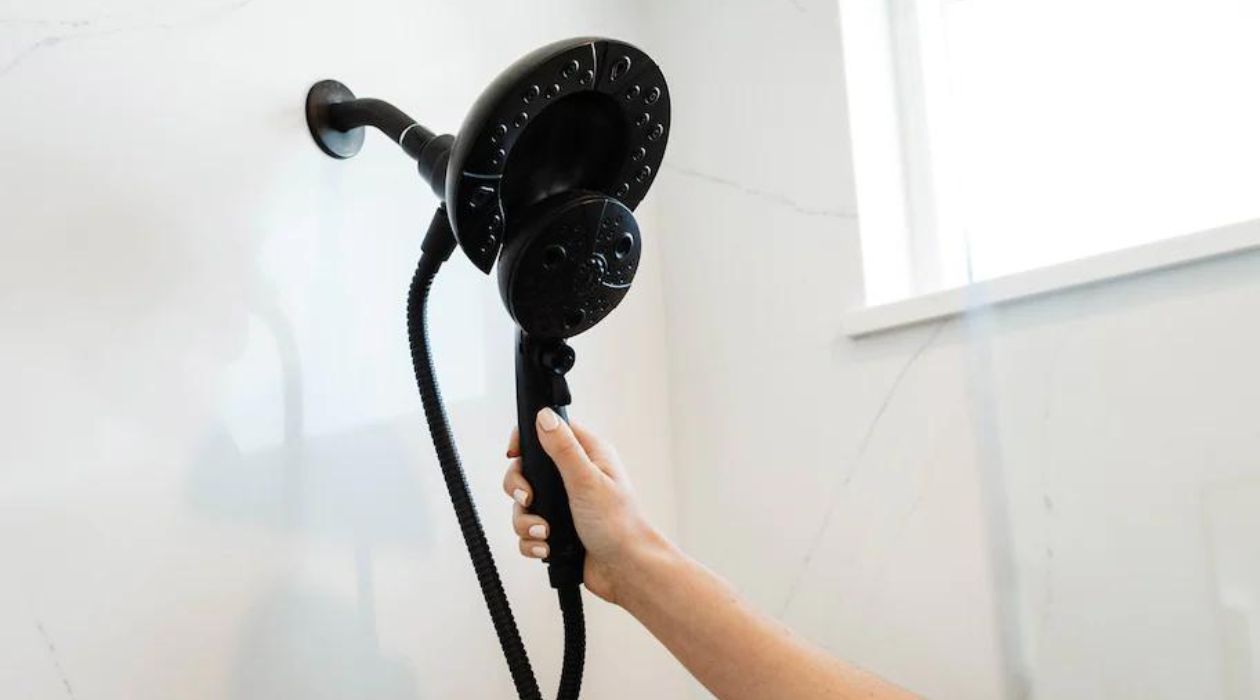
Before we begin, it is important to note that the cleaning methods may vary based on the type of showerhead you have. Whether you have a fixed, handheld, or rain showerhead, the principles remain the same, but the process may differ slightly. It is also important to follow any manufacturer’s guidelines specific to your showerhead model.
Now, let’s dive into the details and gather the supplies needed for cleaning your showerhead!
Key Takeaways:
- Regularly cleaning your showerhead with white vinegar or a descaling solution can prevent reduced water pressure and maintain a refreshing shower experience.
- Removing, soaking, scrubbing, and reattaching your showerhead will ensure optimal performance and a revitalizing shower every time.
Read more: How To Clean A Showerhead
Gather Your Supplies
Before you start cleaning your showerhead, it’s important to gather all the necessary supplies. Having everything prepared in advance will make the process quicker and more convenient. Here’s a list of items you’ll need:
- Adjustable wrench or pliers
- White vinegar or a descaling solution
- Warm water
- Bucket or plastic bag
- Toothbrush or scrub brush
- Old toothbrush or small brush for hard-to-reach areas
- Cloth or sponge
- Optional: Rubber gloves
An adjustable wrench or pliers will come in handy for removing the showerhead, as it may be securely attached. White vinegar is a natural cleaning agent that effectively breaks down mineral deposits, while a descaling solution can be used for more stubborn buildup. Warm water will be used to flush and rinse the showerhead.
To catch any dripping water or cleaning solution, have a bucket or plastic bag ready. This will prevent any mess and allow you to easily dispose of the used liquid. A toothbrush or scrub brush will be used to gently scrub the showerhead, while an old toothbrush or a small brush is useful for reaching tight spots and crevices.
A cloth or sponge can be used to wipe down the showerhead and remove any remaining residue. Lastly, wearing rubber gloves is optional but can be helpful if you have sensitive skin or prefer to keep your hands protected.
Now that you’ve gathered all the necessary supplies, it’s time to move on to the next step: removing the showerhead.
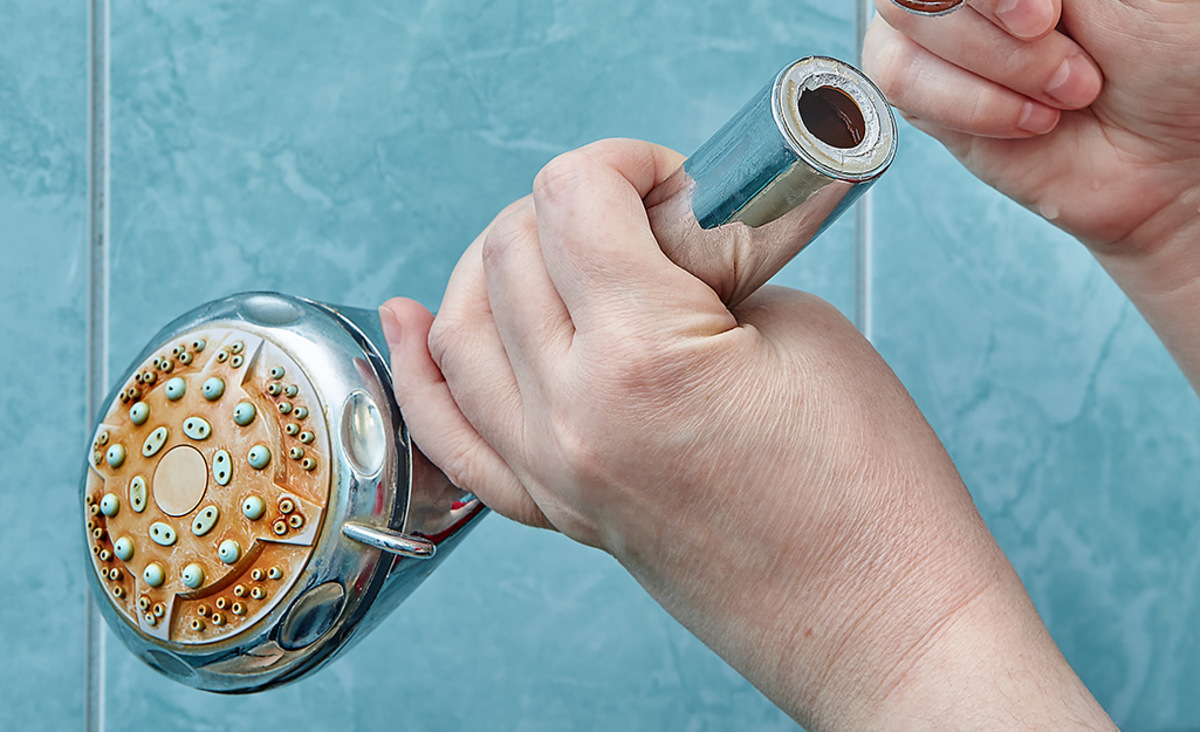
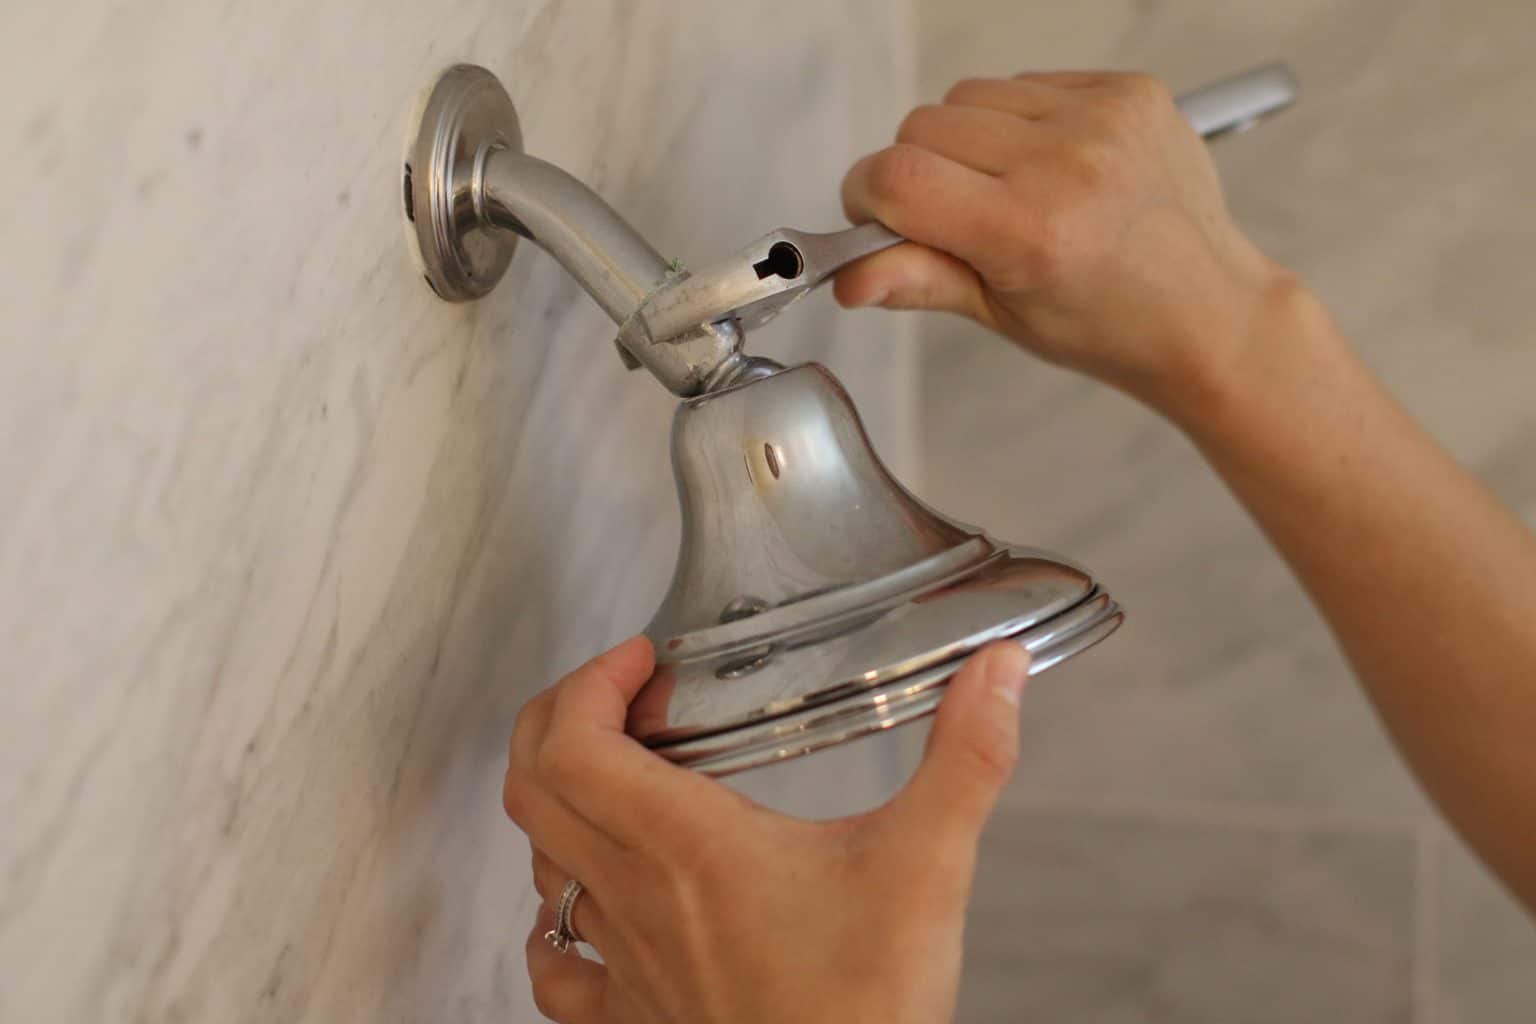
Remove the Showerhead
Before you can begin cleaning the showerhead, you’ll need to remove it from its position. This will allow for easier access and thorough cleaning. Follow these steps to safely remove the showerhead:
- Locate the connection point: Find where the showerhead is attached to the shower arm. The shower arm is the pipe that extends from the wall or ceiling.
- Use an adjustable wrench or pliers: Gently grip the connection point with an adjustable wrench or pliers. Be careful not to apply too much pressure, as you don’t want to damage the showerhead or the plumbing.
- Turn counterclockwise: Turn the wrench or pliers counterclockwise to loosen the showerhead. This motion will loosen the threads and allow you to remove the showerhead by hand.
- Continue by hand: Once you’ve loosened the showerhead, continue to unscrew it by hand. Twist it counterclockwise until it is completely detached from the shower arm.
Depending on the age and condition of your showerhead, it may be tightly secured and require some extra effort to remove. If you’re having difficulty, you can try applying some penetrating oil to the threads and allowing it to sit for a few minutes. This can help loosen any stubborn buildup and make it easier to unscrew the showerhead.
After successfully removing the showerhead, place it in a safe spot where it won’t get damaged. Now, let’s move on to the next step: preparing the cleaning solution.
Prepare the Cleaning Solution
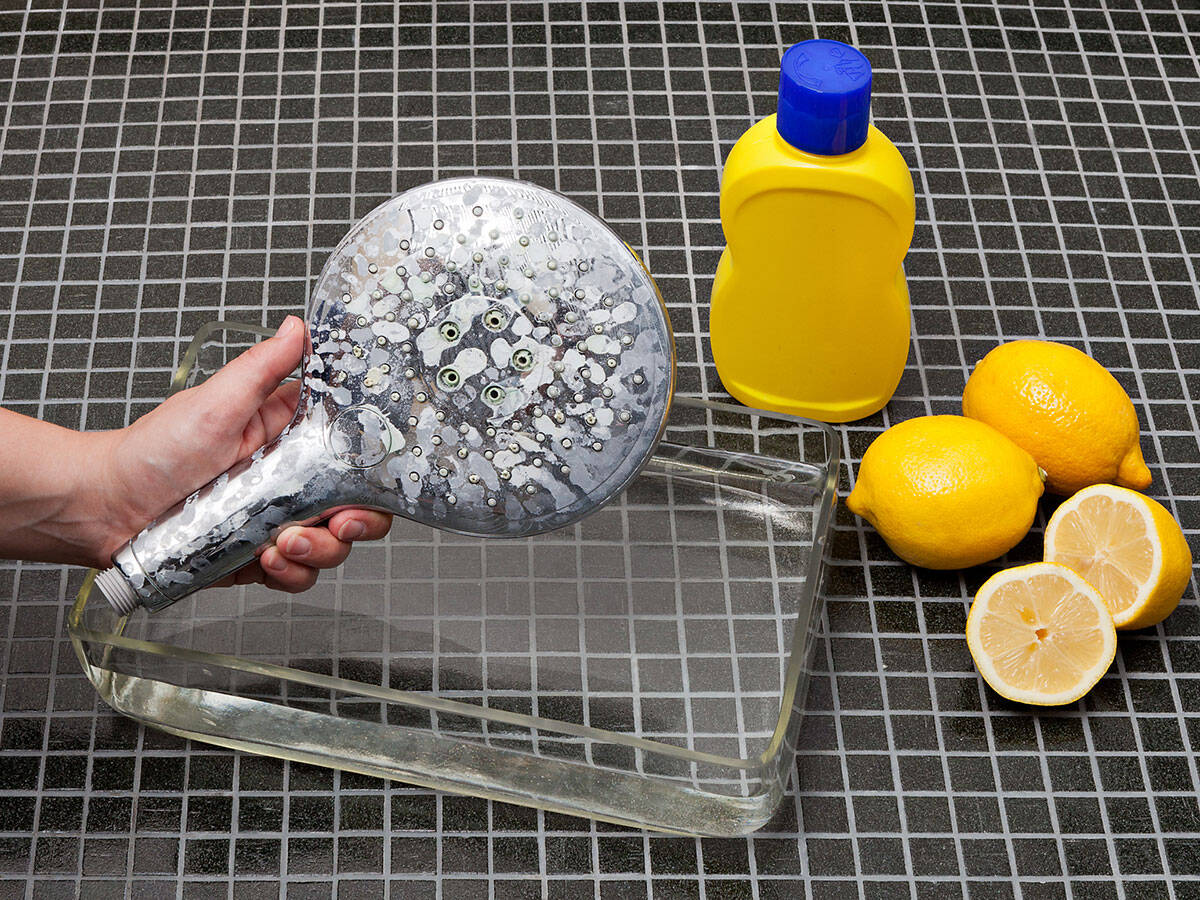
Once you have successfully removed the showerhead, it’s time to prepare the cleaning solution. The cleaning solution will help break down mineral deposits and remove any dirt or bacteria that may be lingering on the surface of the showerhead. There are a few different options you can choose from:
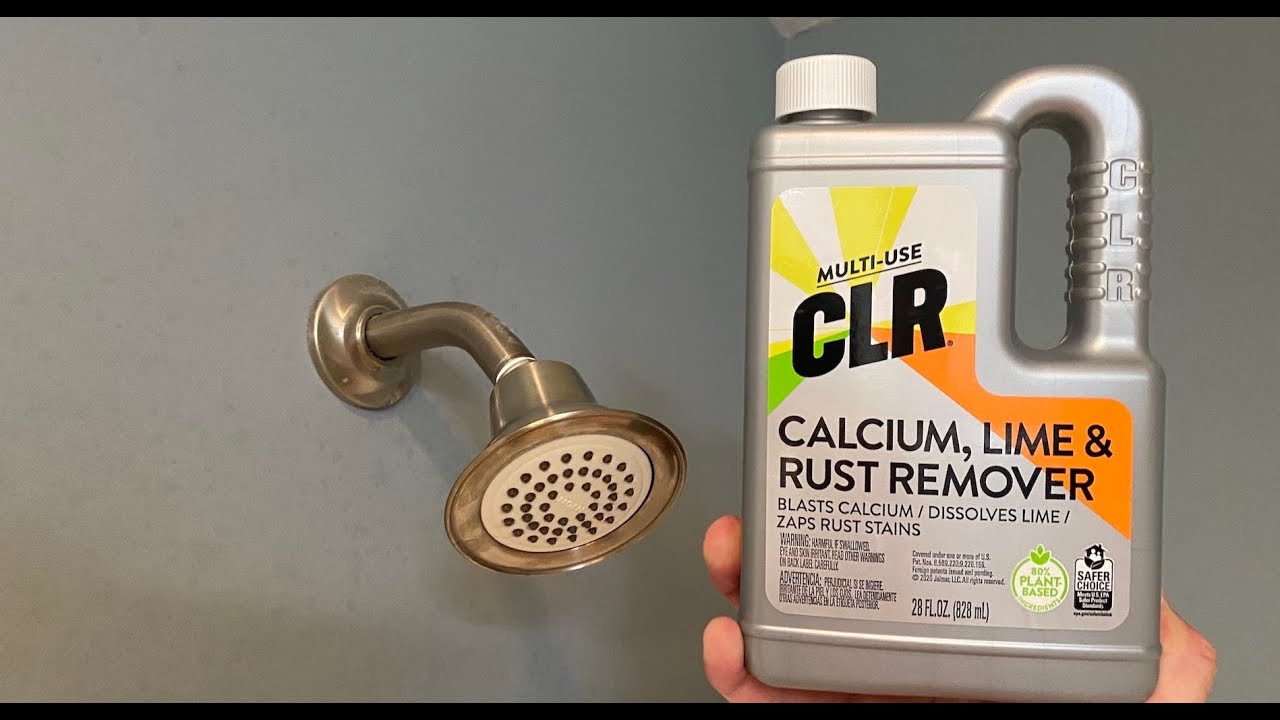
- White vinegar: White vinegar is a natural and effective cleaning agent that can dissolve mineral deposits. It is readily available and inexpensive. For a basic cleaning solution, mix equal parts white vinegar and water in a container. If the buildup is particularly stubborn, you can use pure white vinegar.
- Descaling solution: If you prefer a commercial cleaning solution specifically designed for descaling, you can purchase a descaling product from your local hardware or home improvement store. Follow the instructions on the packaging for the correct dilution ratio.
Both options will effectively clean your showerhead, so choose whichever is more convenient for you. Once you have decided on your preferred cleaning solution, it’s time to move on to the next step: soaking the showerhead.
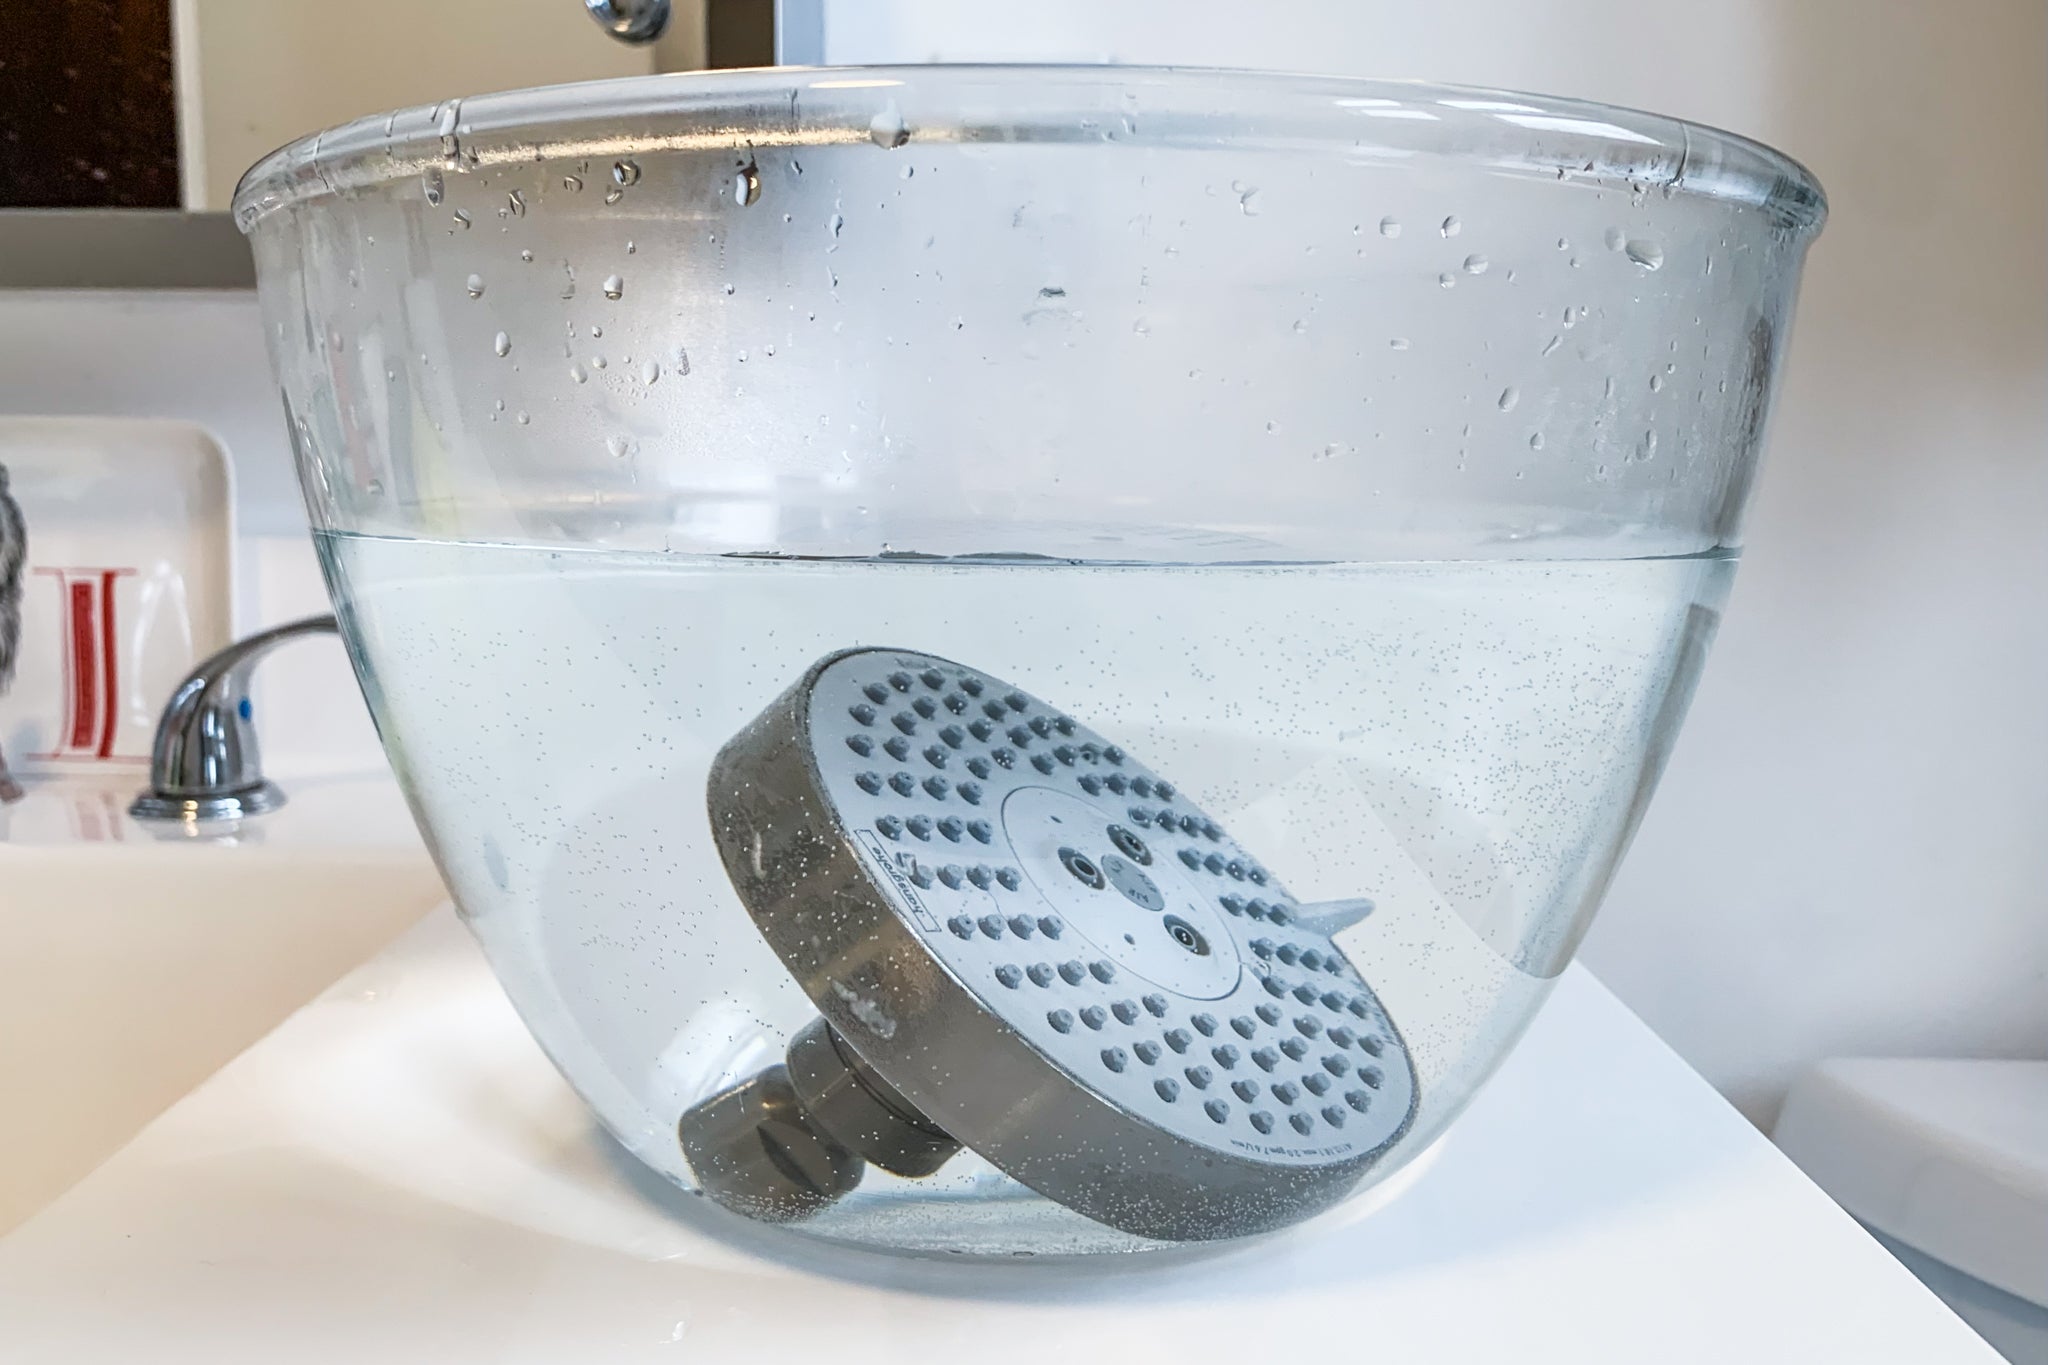
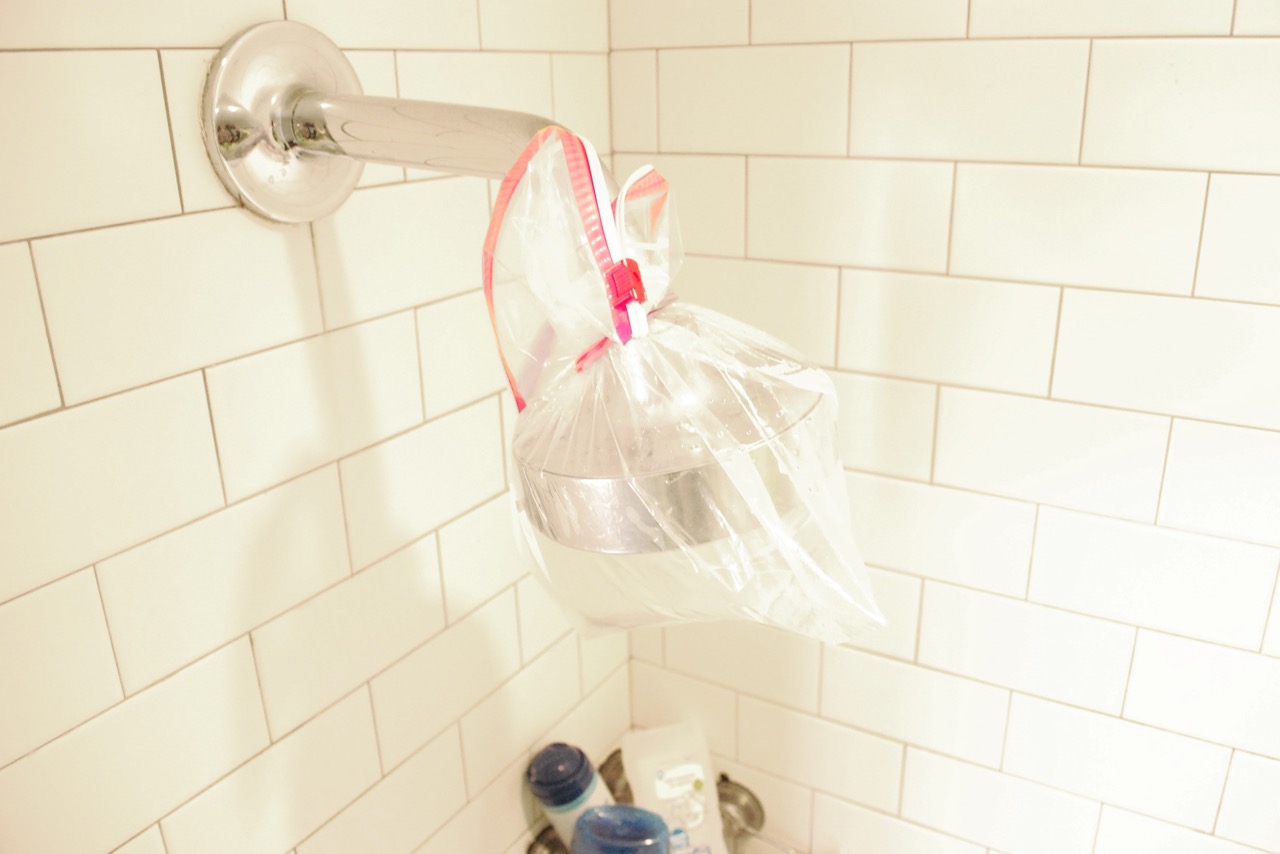
Soak the Showerhead
Now that you have prepared the cleaning solution, it’s time to give your showerhead a good soak. Soaking the showerhead will help breakdown and dissolve any mineral deposits and grime that have accumulated over time. Follow these steps to properly soak your showerhead:
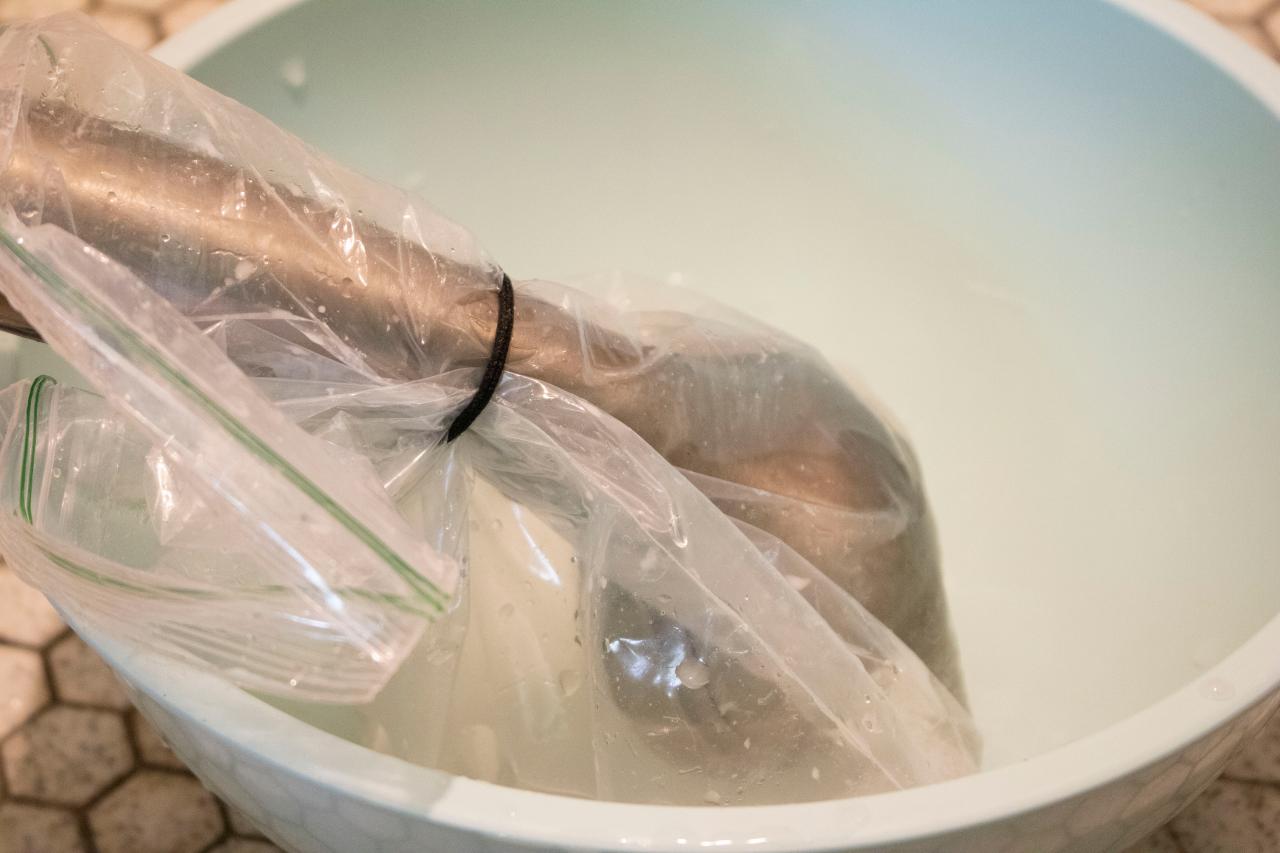
- Fill a bucket or plastic bag: Fill a bucket or plastic bag with the cleaning solution you have prepared. Make sure there is enough liquid to fully submerge the showerhead.
- Submerge the showerhead: Carefully place the showerhead into the bucket or secure the plastic bag around the showerhead, ensuring that it is completely submerged in the cleaning solution.
- Let it soak: Allow the showerhead to soak for at least 30 minutes. This will give the cleaning solution enough time to penetrate and dissolve any buildup.
During the soaking process, you may notice bubbles or fizzing, especially if you’re using a vinegar-based cleaning solution. This is a normal reaction and indicates that the solution is working to break down the mineral deposits.
While the showerhead is soaking, take the time to clean any removable parts such as washers or filters. Use a toothbrush or small brush to gently scrub these parts in the cleaning solution.
After the designated soaking time, move on to the next step: scrubbing the showerhead.
Soak the showerhead in a mixture of equal parts water and vinegar for at least 30 minutes to remove mineral deposits and buildup. Then, scrub the showerhead with a brush and rinse thoroughly.
Read more: How Clean Showerhead Deposits
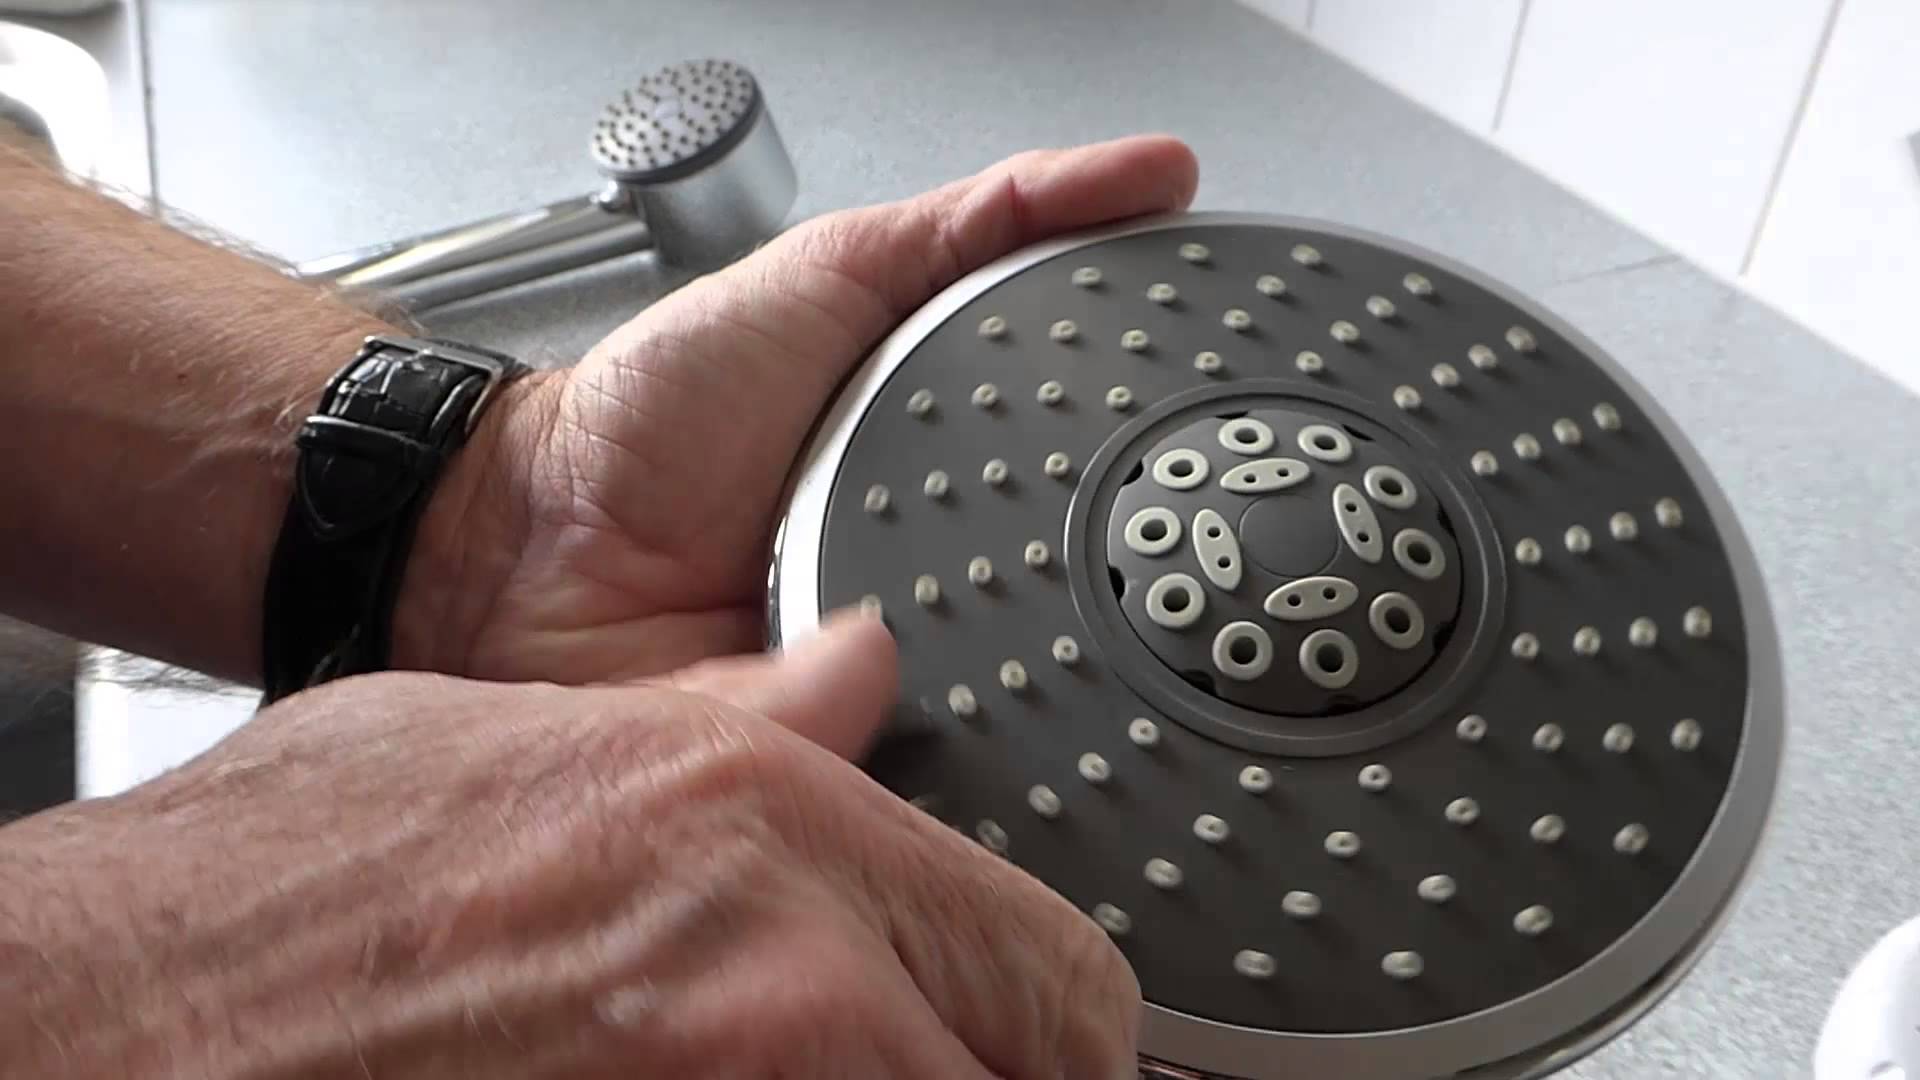
Scrub the Showerhead
After the showerhead has soaked in the cleaning solution, it’s time to give it a thorough scrub. Scrubbing the showerhead will help remove any loosened mineral deposits, dirt, and bacteria from the surface. Follow these steps to effectively scrub your showerhead:
- Remove the showerhead from the cleaning solution and rinse it with warm water to remove any excess cleaning solution.
- Using a toothbrush or scrub brush, gently scrub the surface of the showerhead. Pay attention to any areas with visible buildup or grime.
- If there are any hard-to-reach areas or crevices, use an old toothbrush or a small brush to clean them thoroughly.
- Continue scrubbing until the showerhead is clean and free from any residue. If needed, you can dip the brush in the cleaning solution or warm water as you scrub.
Ensure that you are using gentle, circular motions while scrubbing to avoid causing damage to the showerhead’s surface. Take your time and be thorough in your cleaning efforts.
Once you’re satisfied with the cleanliness of the showerhead, move on to the next step: rinsing and reattaching the showerhead.
Rinse and Reattach the Showerhead
After giving your showerhead a good scrub, it’s time to rinse off any remaining cleaning solution and debris and reattach it to the shower arm. Follow these steps to complete the cleaning process:
- Rinse the showerhead: Thoroughly rinse the showerhead with warm water to remove any traces of the cleaning solution. Ensure that all debris and residue are completely washed away.
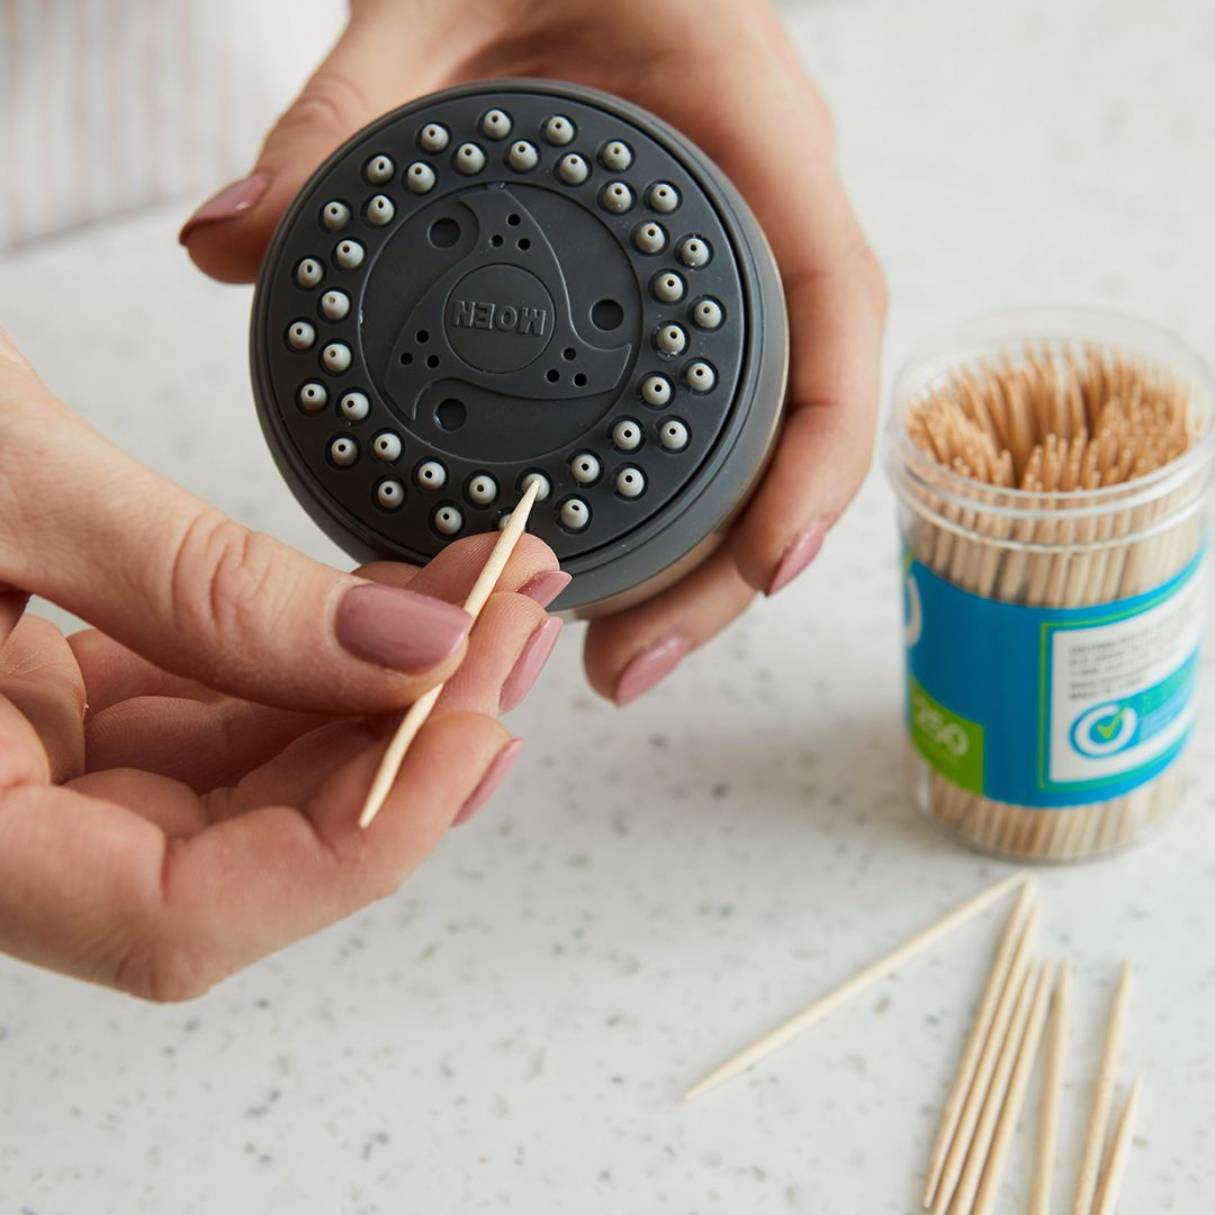
- Check for clogs: Before reattaching the showerhead, check for any clogs in the nozzles. If you notice any remaining buildup, use a toothpick or a small pin to gently unclog the nozzles.
- Wrap thread seal tape (optional): If desired, wrap some thread seal tape around the end of the shower arm. This tape helps create a tight seal and prevents any leaks when reattaching the showerhead.
- Reattach the showerhead: Carefully align the showerhead with the shower arm and turn it clockwise to secure it in place. Use an adjustable wrench or pliers to tighten it further, being cautious not to overtighten and potentially cause damage.
Make sure the showerhead is securely attached and doesn’t wobble or leak. If you experience any leaks, gently tighten the connections with an adjustable wrench or pliers until the leak stops.
Now that the showerhead is back in place, it’s time for the final step: testing the clean showerhead.
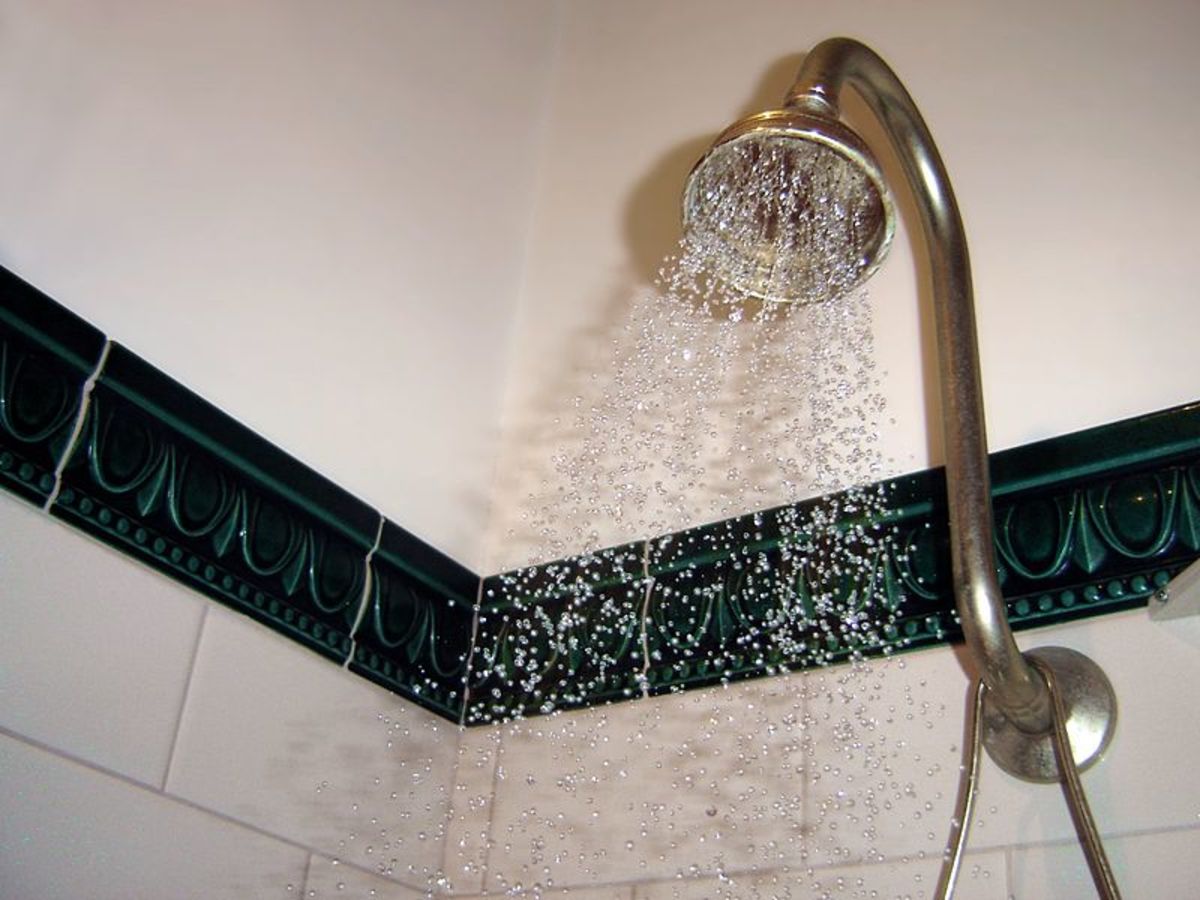
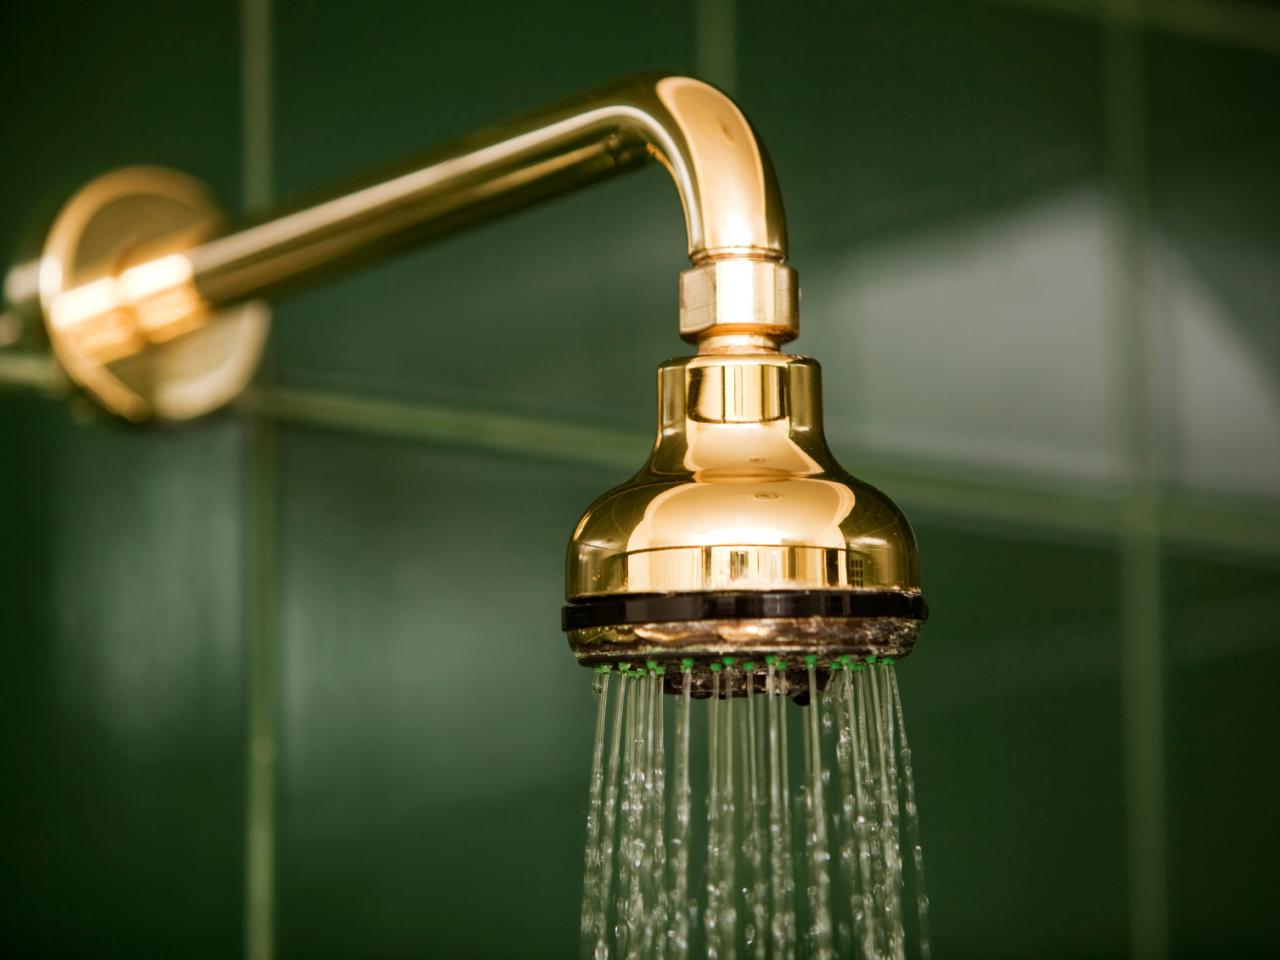
Test the Clean Showerhead
With your showerhead freshly cleaned and reattached, it’s time to test its performance and enjoy the fruits of your cleaning efforts. Follow these steps to ensure that the showerhead is working optimally:
- Turn on the water: Start by turning on the water to a comfortable temperature and pressure.
- Check for water flow: Observe the water flow from the showerhead. Is it consistent and strong, or do you notice any inconsistencies or reduced pressure?
- Adjust the settings: If your showerhead has adjustable settings, such as different spray patterns or intensity levels, test each setting to ensure proper functionality.
- Enjoy your shower: Step into the shower and enjoy the clean, refreshing water that is now flowing freely from your showerhead.
If you encounter any issues with water flow or notice any leaks, double-check the showerhead’s connections to ensure they are securely tightened. If the problem persists, you may need to repeat the cleaning process or seek further assistance from a plumbing professional.
Congratulations! You have successfully cleaned and restored your showerhead to its optimal performance. Regularly cleaning your showerhead will help prevent future buildup and maintain a pleasant showering experience.
Now that you’ve completed the testing process, it’s time to wrap up this guide on how to clean out a showerhead.
Conclusion
Cleaning out your showerhead is an essential maintenance task that ensures a clean and enjoyable showering experience. By following the steps outlined in this guide, you can effectively remove mineral deposits, dirt, and bacteria that may have accumulated over time.
Remember to gather all the necessary supplies before starting the cleaning process. An adjustable wrench or pliers, white vinegar or a descaling solution, warm water, a bucket or plastic bag, a toothbrush or scrub brush, and a cloth or sponge are all essential tools and materials you’ll need.
Start by removing the showerhead with the help of an adjustable wrench or pliers. Next, prepare a cleaning solution using white vinegar or a descaling solution, and soak the showerhead for at least 30 minutes to break down any buildup. After soaking, scrub the showerhead using a toothbrush or scrub brush, paying extra attention to any areas with visible residue. Rinse off the cleaning solution and reattach the showerhead to the shower arm, ensuring a secure fit.
Finally, test the clean showerhead by turning on the water and checking for consistent water flow and functionality of adjustable settings if applicable. If you encounter any issues, recheck the connections and repeat the cleaning process if necessary.
By regularly cleaning your showerhead, you can prevent reduced water pressure and undesirable buildup, ensuring a refreshing shower experience every time. Incorporate this cleaning maintenance into your regular routine to maintain cleanliness and functionality.
We hope this guide has been helpful in guiding you through the process of cleaning out your showerhead. Now, go ahead and enjoy your newly cleaned showerhead and indulge in a revitalizing shower!
Frequently Asked Questions about How To Clean A Showerhead
Was this page helpful?
At Storables.com, we guarantee accurate and reliable information. Our content, validated by Expert Board Contributors, is crafted following stringent Editorial Policies. We're committed to providing you with well-researched, expert-backed insights for all your informational needs.

0 thoughts on “How To Clean A Showerhead”