Home>Storage Ideas>Bathroom Storage>How To Clean A Showerhead
Bathroom Storage
How To Clean A Showerhead
Modified: October 18, 2024
Learn how to clean your showerhead effectively with our expert tips. Improve your bathroom storage and keep your showerhead sparkling clean for a refreshing shower experience.
(Many of the links in this article redirect to a specific reviewed product. Your purchase of these products through affiliate links helps to generate commission for Storables.com, at no extra cost. Learn more)
Introduction
Welcome to our comprehensive guide on how to clean a showerhead! Over time, mineral deposits, dirt, and grime can build up on the surface of your showerhead, affecting its performance and overall cleanliness. Fortunately, with a little bit of time and effort, you can restore your showerhead to its sparkling best.
A clean showerhead not only improves the water flow and pressure but also ensures that you are enjoying a hygienic showering experience. In this step-by-step guide, we will walk you through the process of cleaning your showerhead to help you achieve a pristine bathroom.
Before we dive into the cleaning process, it’s essential to understand the importance of regular maintenance. Cleaning your showerhead at least once a month can prevent clogging and ensure that you’re getting the optimal water stream and pressure. Additionally, regular cleaning will help extend the life of your showerhead and reduce the risk of bacterial growth.
So, let’s roll up our sleeves and get started on making your showerhead shine like new again!
Key Takeaways:
- Regularly cleaning your showerhead with white vinegar and a toothbrush can restore water flow, prevent bacterial growth, and extend its lifespan, ensuring a hygienic and refreshing shower experience.
- Thoroughly drying your showerhead after cleaning is crucial to prevent mold and bacteria growth, maintaining its cleanliness and functionality for years to come.
Read more: How To Clean Showerhead With CLR
Step 1: Gather your supplies
Before you begin the process of cleaning your showerhead, it’s important to gather all the necessary supplies. Having everything ready will streamline the cleaning process and ensure that you have everything you need at your fingertips. Here’s a list of supplies you’ll need:
- Wrench or pliers
- Old toothbrush or scrub brush
- White vinegar
- Water
- Plastic bag or container
- Soft cloth or towel
A wrench or pliers will come in handy for removing the showerhead, as it may be tightly secured. Ensure that you have the right size wrench or pliers to avoid damaging the showerhead or surrounding fixtures.
An old toothbrush or scrub brush will be used to scrub away any dirt or grime once the showerhead is removed. Make sure it’s a brush that you don’t mind getting a little dirty, as it may come in contact with residue from the showerhead.
White vinegar is a popular and effective cleaning agent for removing mineral deposits from the showerhead. It’s a natural, non-toxic solution that is readily available in most households. If you don’t have white vinegar, a descaling agent specifically designed for removing mineral buildup can be used as an alternative.
Water will be used to rinse off the showerhead after it has soaked in vinegar. It’s preferable to use clean, warm water for the best results.
A plastic bag or container will be used to soak the showerhead in vinegar. Choose a bag or container large enough to fully submerge the showerhead and that can be easily sealed to prevent leaks.
Finally, a soft cloth or towel will be used to dry the showerhead after cleaning. Make sure the cloth or towel is clean to avoid transferring any dirt or debris back onto the showerhead.
Once you have gathered all the supplies, you’re ready to move on to the next step of removing the showerhead.
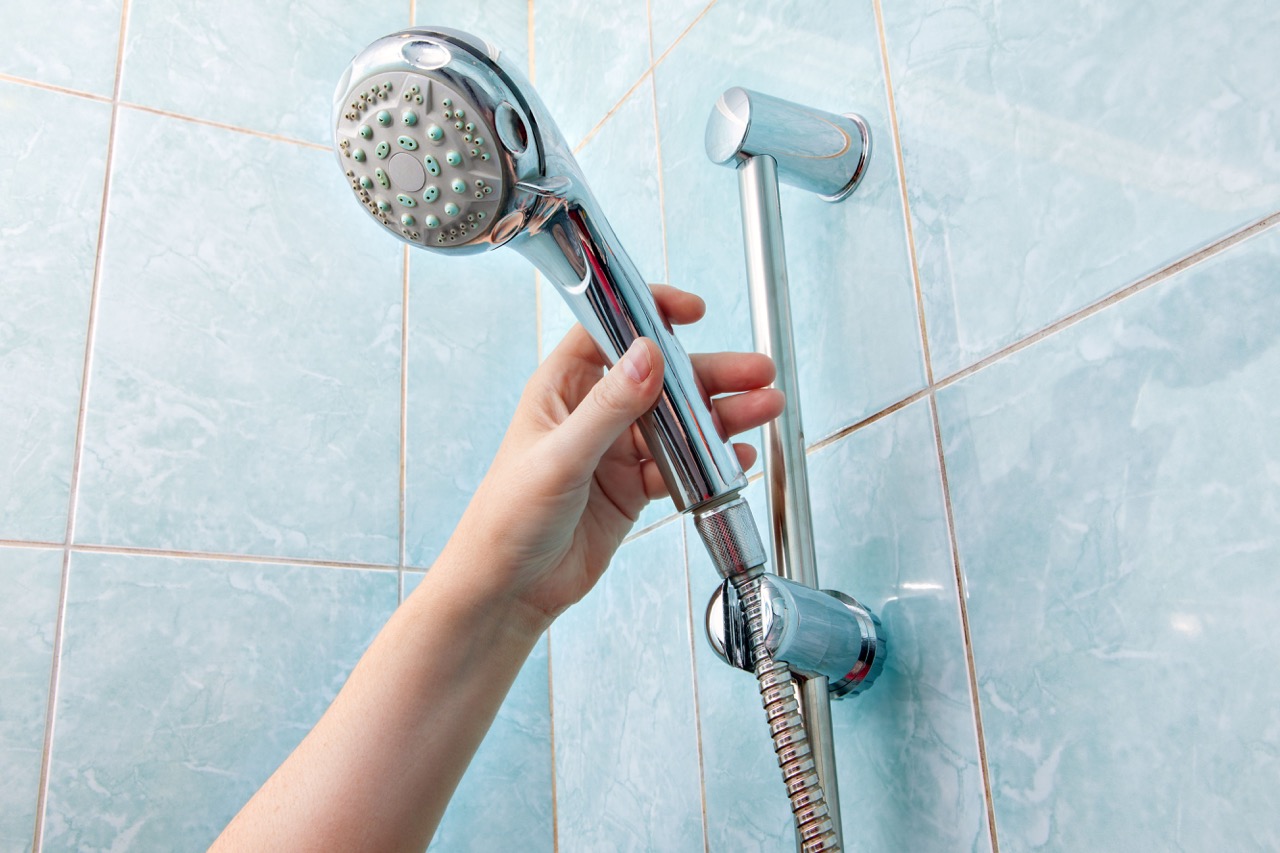
Step 2: Remove the showerhead
Now that you have gathered your supplies, it’s time to remove the showerhead from its position. Removing the showerhead will allow for easier cleaning and ensure that all parts of the showerhead are properly reached. Follow these steps for safe and efficient removal:
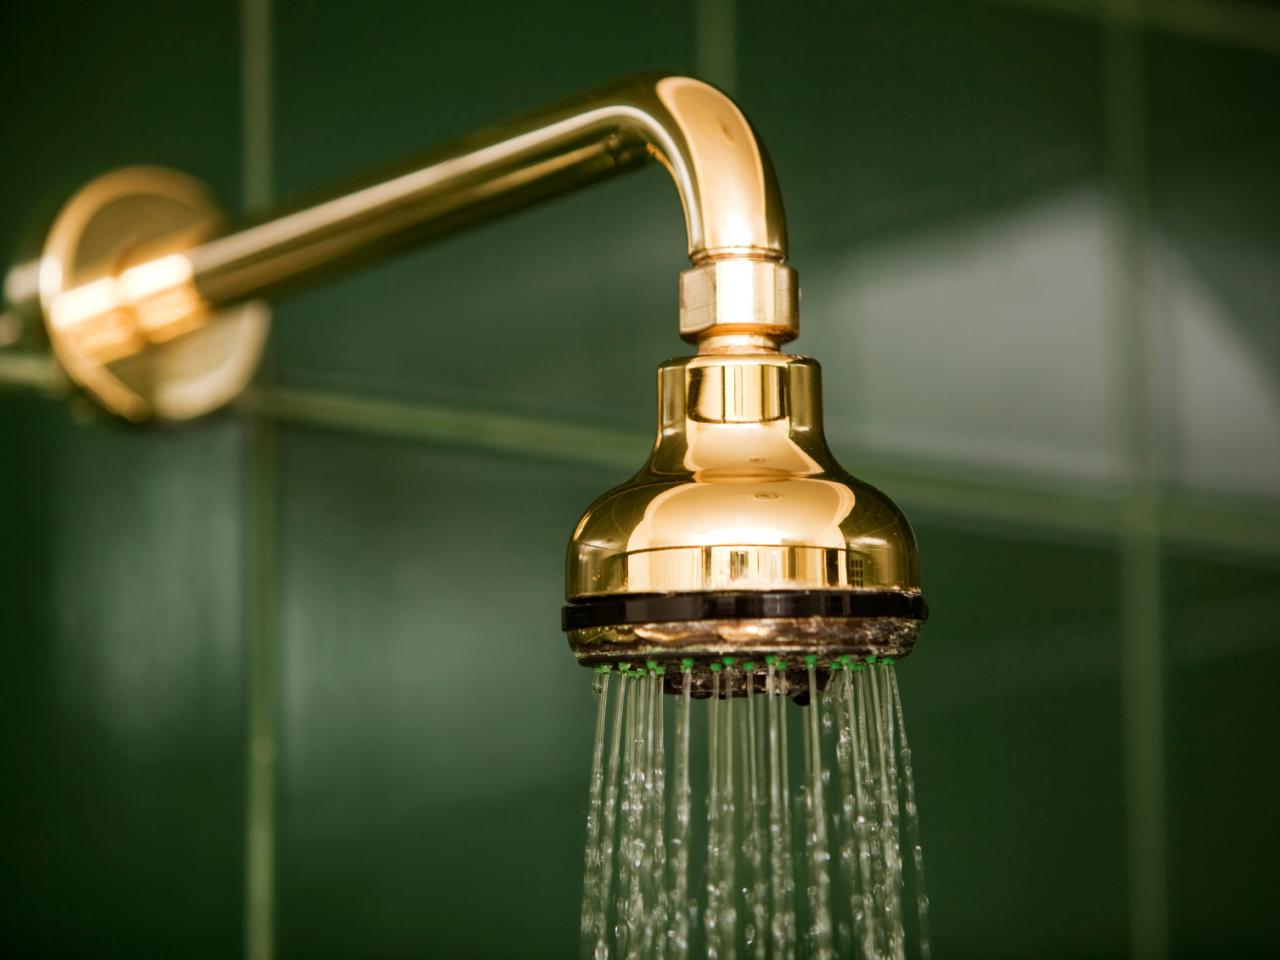
- Start by locating the connection between the showerhead and the shower arm. The shower arm is the pipe that extends from the wall and connects to the showerhead.
- Using a wrench or pliers, grip the shower arm firmly and the showerhead in the other hand.
- Turn the wrench or pliers counterclockwise to loosen the showerhead. It may require some force, especially if the showerhead has not been removed in a long time or is tightly secured.
- Continue turning the wrench or pliers until the showerhead is completely detached from the shower arm.
- Once the showerhead is removed, set it aside in a safe place.
As you remove the showerhead, be careful not to damage the shower arm or any surrounding fixtures. If you encounter any resistance or difficulty, you may need to use a little more force or seek professional assistance if necessary.
Removing the showerhead will also give you the opportunity to inspect it for any signs of damage or wear. Take note of any cracks, leaks, or other issues that may require repair or replacement.
Now that the showerhead is removed, you’re ready to move on to the next step of soaking the showerhead to remove any built-up grime and mineral deposits.
Step 3: Soak the showerhead
With the showerhead removed, it’s time to give it a thorough soak to remove any accumulated grime and mineral deposits. Soaking the showerhead in a cleaning solution will help break down stubborn build-up and restore its original functionality. Follow these steps to soak your showerhead:
- Fill a plastic bag or container with enough white vinegar to fully submerge the showerhead. The vinegar will act as a natural cleaning agent and help dissolve mineral deposits.
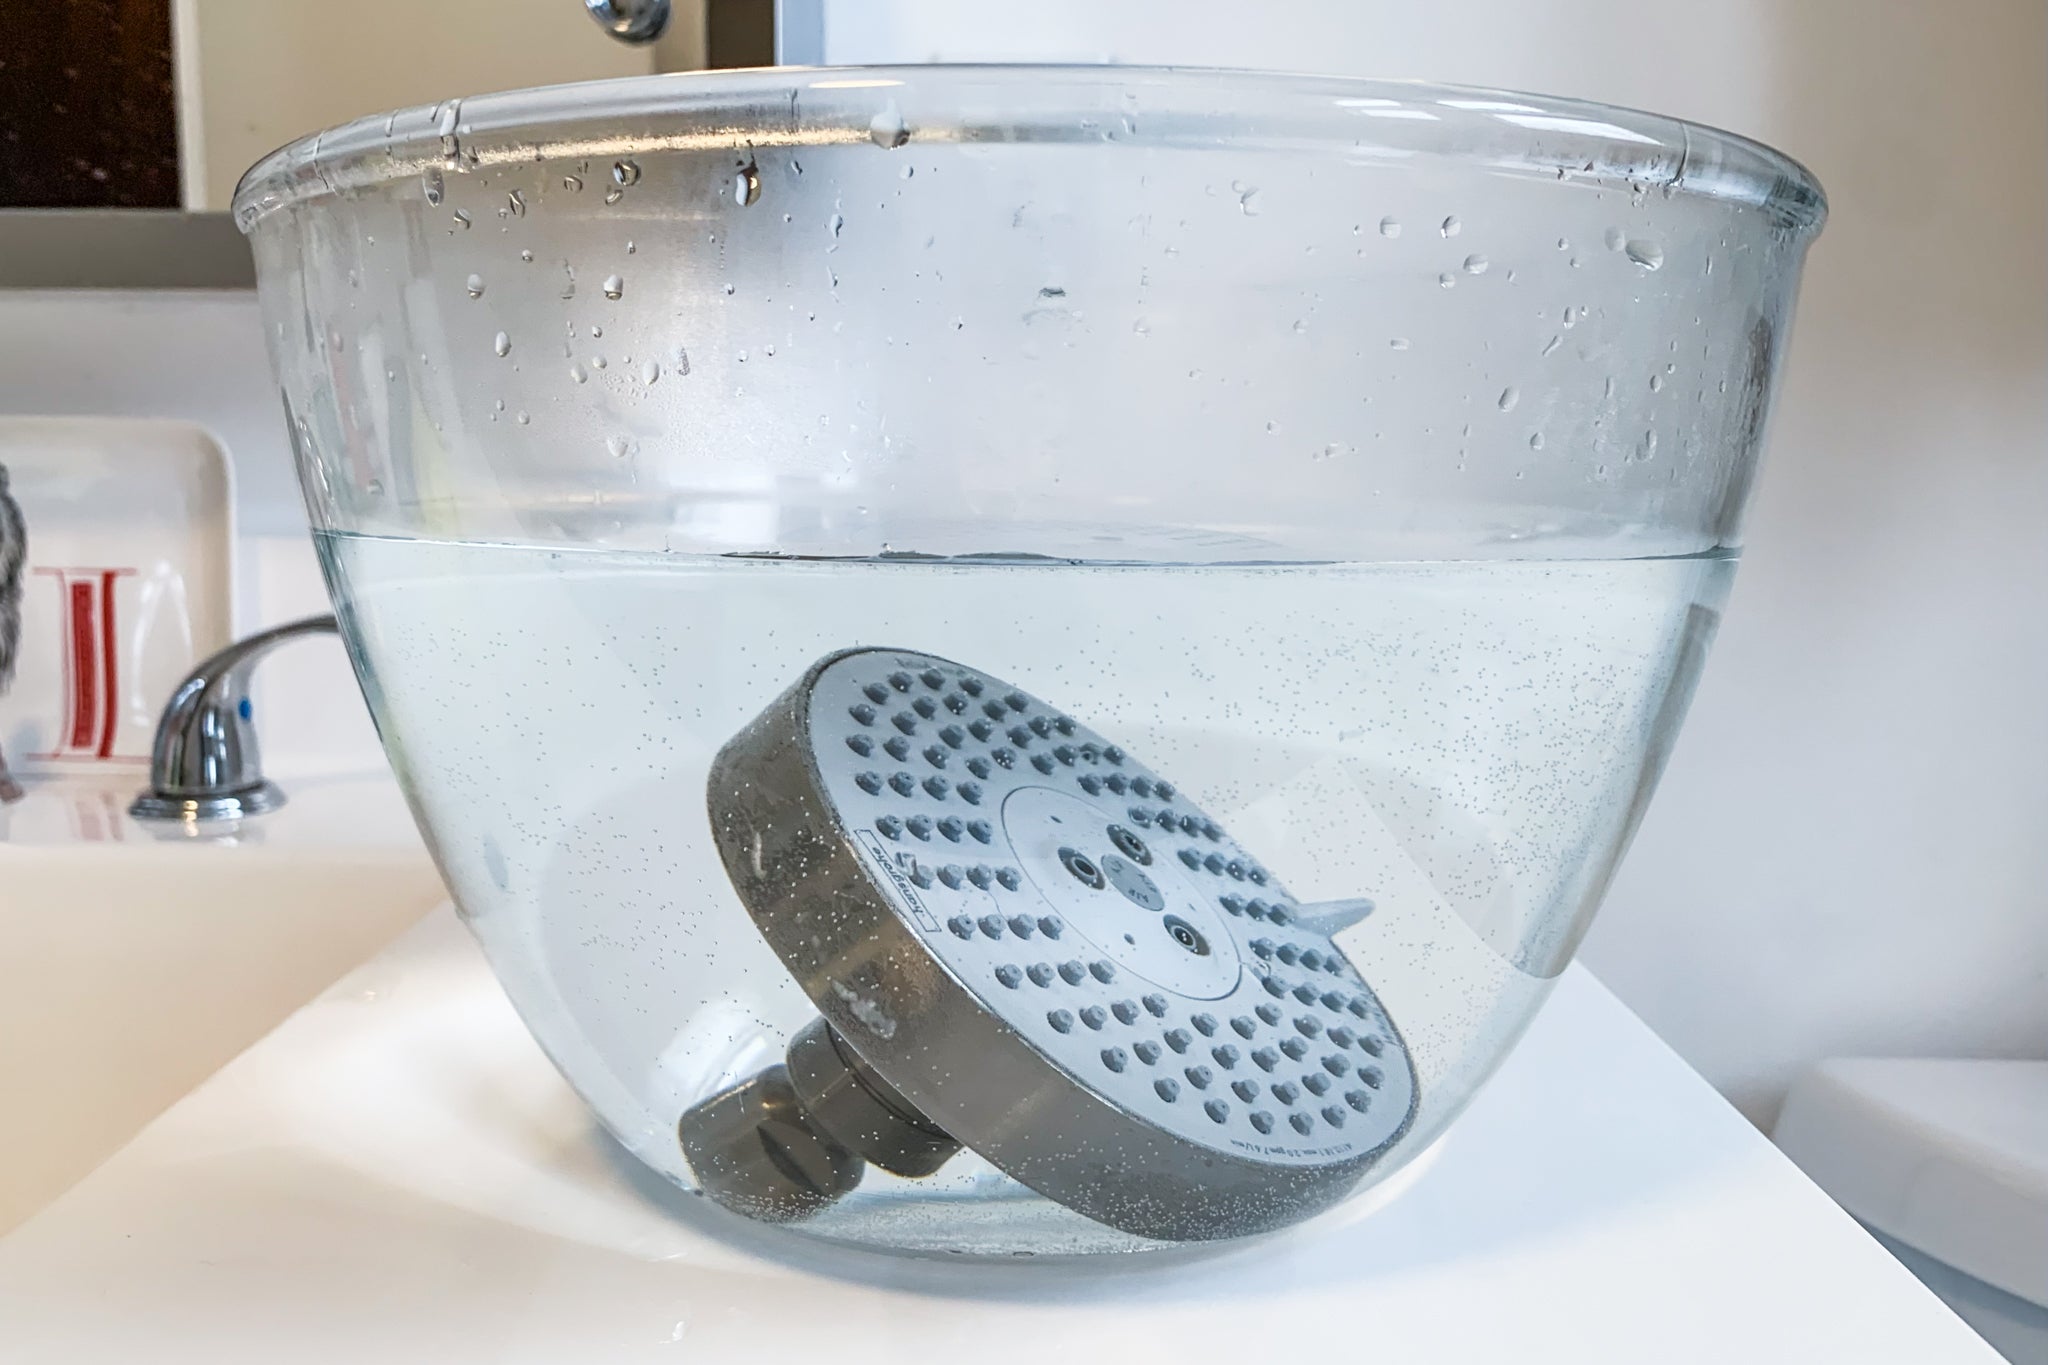
- Place the showerhead in the bag or container, ensuring that it is completely submerged in the vinegar. If using a bag, securely seal it to minimize any vinegar leakage.
- Allow the showerhead to soak in the vinegar for at least 30 minutes. For more heavily encrusted showerheads, you may want to extend the soaking time to 1-2 hours.
- While the showerhead is soaking, take the opportunity to clean the exterior and other removable parts of the showerhead using a toothbrush or scrub brush. This will remove any surface dirt or grime.
During the soaking process, the vinegar will work to dissolve the mineral deposits that may be clogging the showerhead. Vinegar is a safe and effective cleaning agent that helps break down lime scale, calcium, and other hard water minerals that can accumulate over time.
It’s important to note that if you are using a descaling agent instead of vinegar, be sure to follow the instructions provided by the manufacturer. Different products may have varying soaking times and dilution ratios.
Once the showerhead has finished soaking, move on to the next step to scrub away any remaining residue and restore its pristine condition.
Soak the showerhead in a mixture of equal parts water and vinegar for at least 30 minutes to remove mineral deposits and grime. Use an old toothbrush to scrub away any remaining buildup. Rinse thoroughly before use.
Step 4: Scrub the showerhead
After the showerhead has finished soaking in vinegar, it’s time to scrub away any remaining residue and ensure a thorough clean. Scrubbing the showerhead will help loosen and remove any stubborn deposits, leaving it looking and functioning like new. Follow these steps to effectively scrub your showerhead:
- Remove the showerhead from the vinegar solution and discard the vinegar.
- Rinse the showerhead under warm water to remove any vinegar residue.
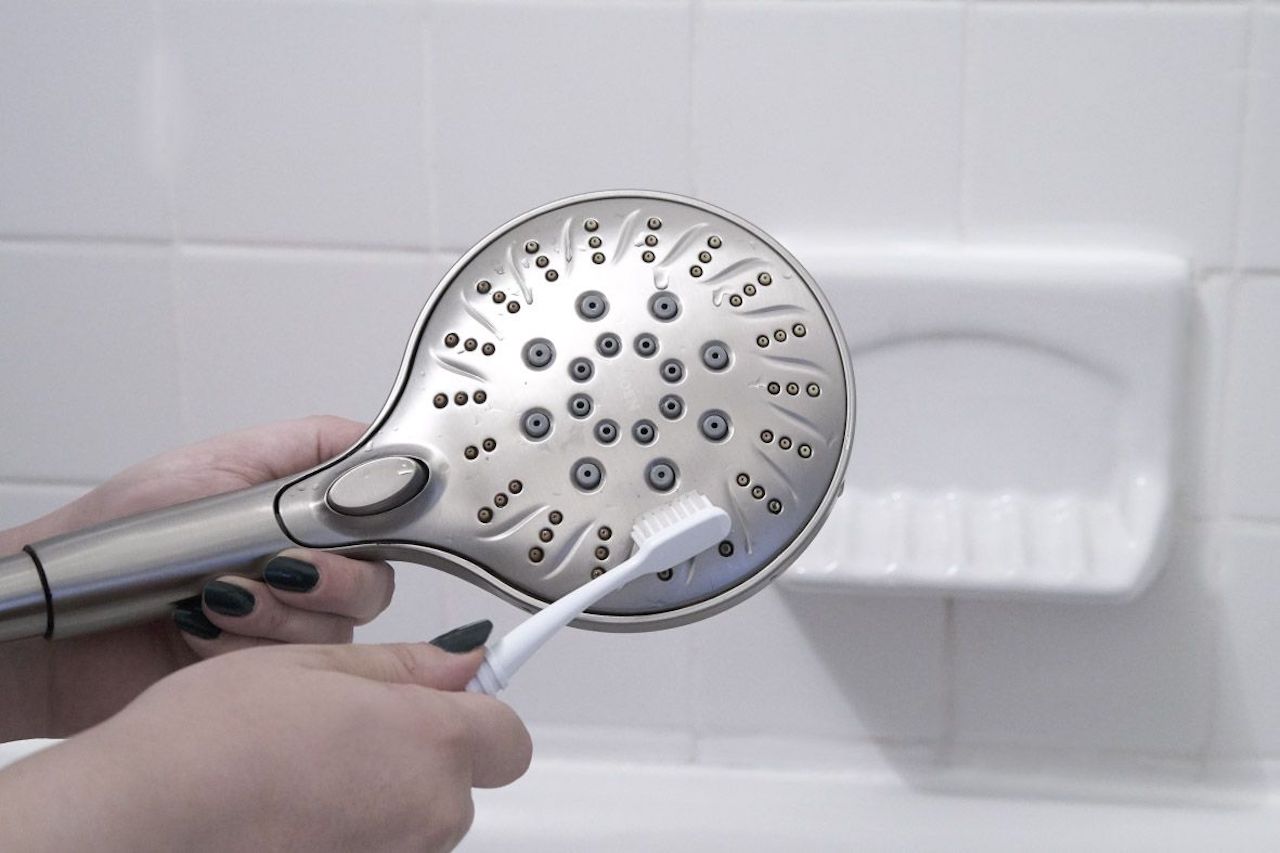
- Using an old toothbrush or scrub brush, gently scrub the surface of the showerhead, paying special attention to the nozzles and crevices where mineral deposits tend to accumulate.
- You can further enhance the cleaning power by applying a paste of baking soda and water. Baking soda is a mild abrasive and can help scrub away any stubborn stains or residue. Leave the baking soda paste on the showerhead for a few minutes before scrubbing.
- Continue scrubbing until the surface is clean and free from any remaining deposits or grime.
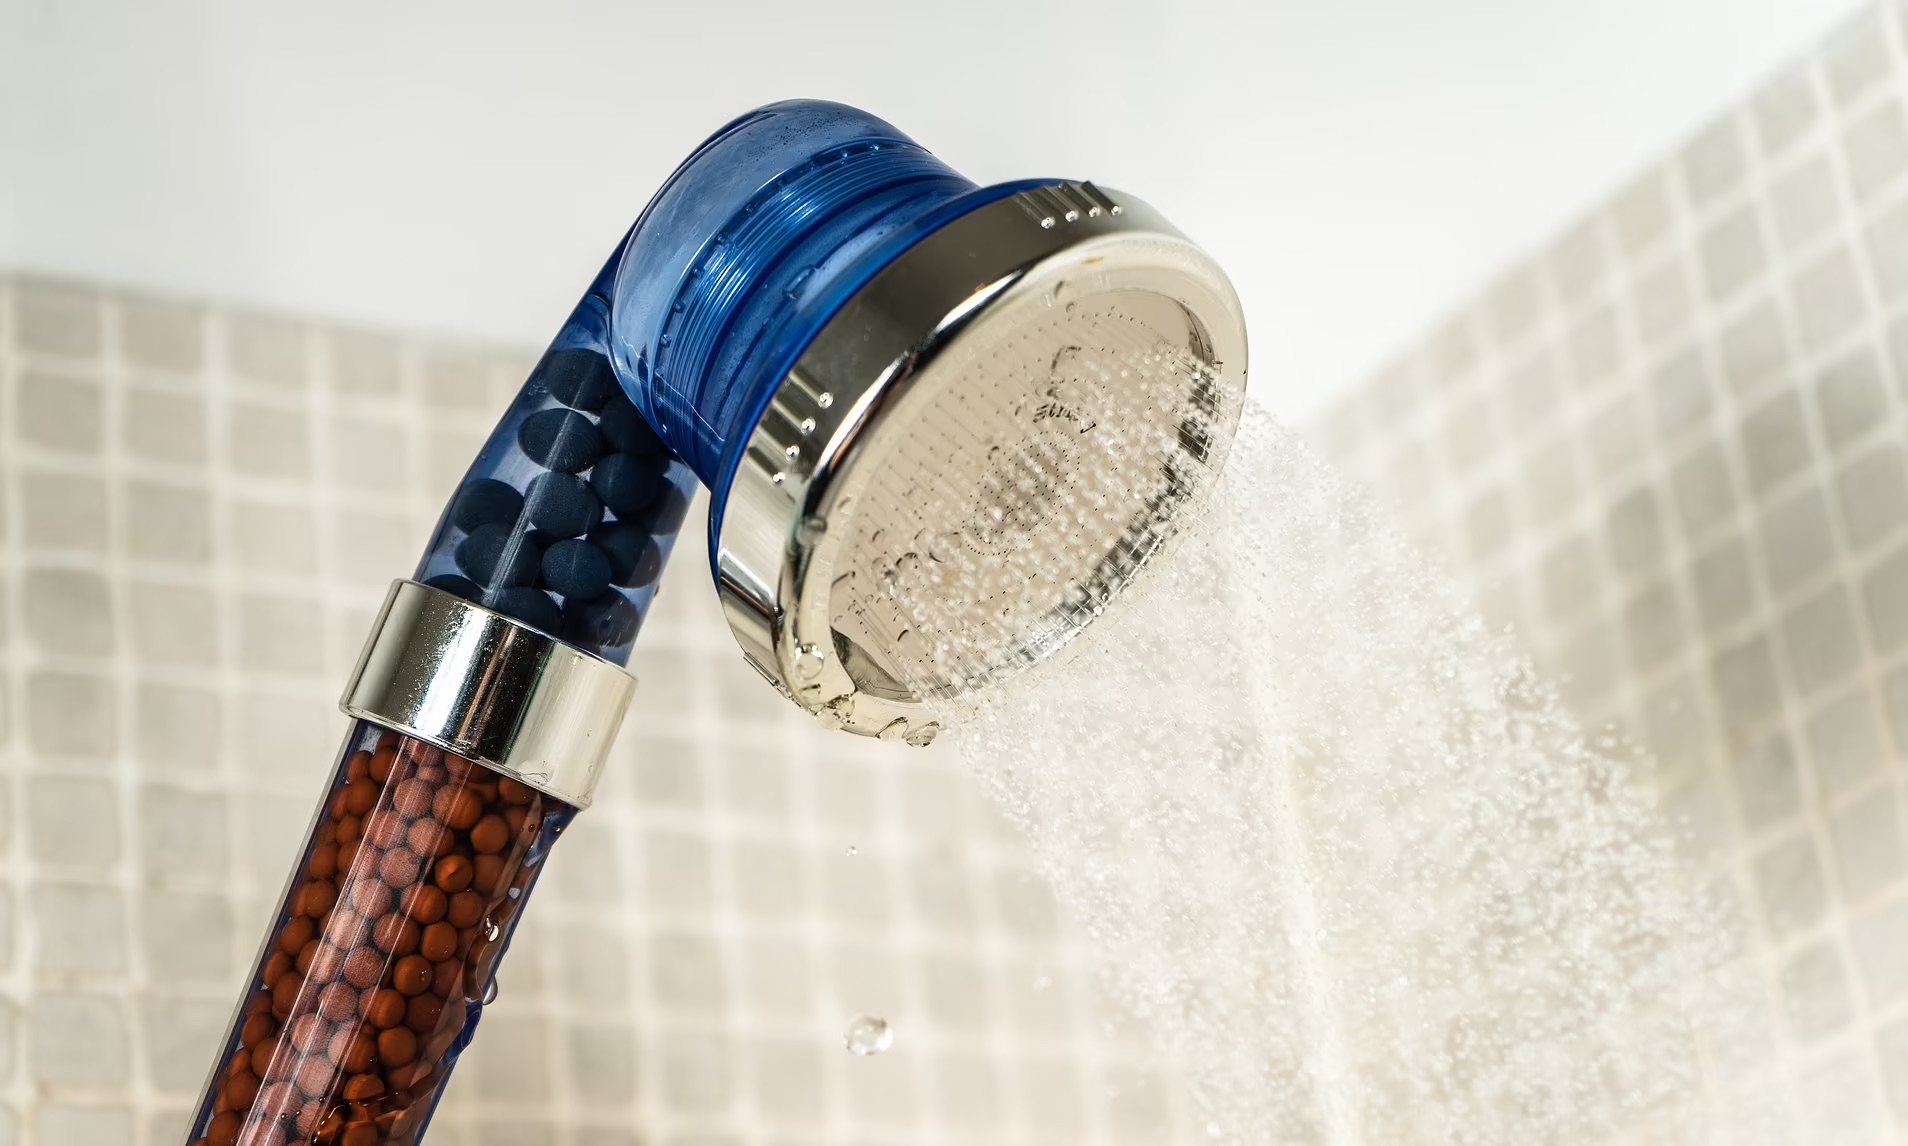
- If there are any removable parts, such as filters or aerators, clean them separately with a brush and rinse thoroughly.
While scrubbing, be gentle to avoid damaging the showerhead. If there are any delicate or intricate parts, take extra care to avoid bending or breaking them.
If you encounter any stubborn deposits that are difficult to remove, you can try using a toothpick or a small pin to gently dislodge them. However, exercise caution to prevent any damage to the showerhead.
Once you’re satisfied with the cleanliness of the showerhead, rinse it thoroughly under warm water to remove any leftover cleaning agents or residue. It’s important to ensure that all cleaning agents are fully rinsed off to prevent any potential damage or interference with the water flow.
With the showerhead now scrubbed and cleaned, it’s time to move on to the next step of rinsing and drying.
Read more: What Is A Touch Clean Showerhead
Step 5: Rinse and dry the showerhead
Now that you’ve scrubbed away the residue and grime from your showerhead, it’s crucial to rinse and dry it properly to ensure a thorough cleaning and prevent any potential damage. Follow these steps to effectively rinse and dry your showerhead:
- Hold the showerhead under running warm water, thoroughly rinsing off any remaining cleaning agents or residue.
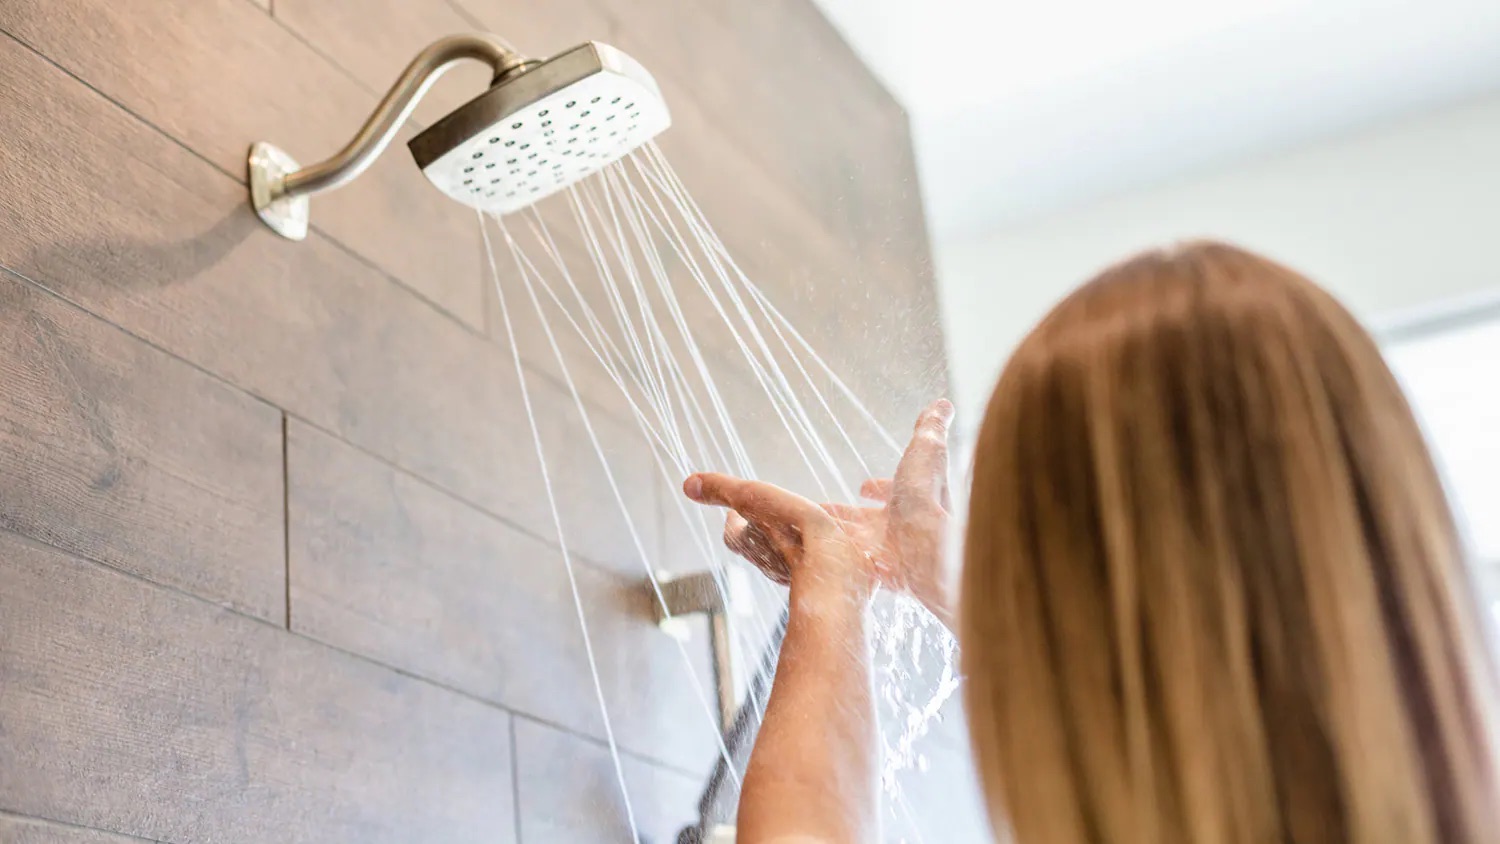
- Check the nozzles and crevices to ensure they are clear of any debris. Use your fingers or a toothpick to dislodge any remaining particles if necessary.
- Once you are confident that the showerhead is rinsed clean, use a soft cloth or towel to gently pat it dry. Pay extra attention to the surface, ensuring it is completely dry to prevent any water spots or potential corrosion.
- If possible, leave the showerhead out in an airy or well-ventilated area to air dry completely. This will help ensure that all moisture is evaporated.
It’s important to note that thoroughly drying the showerhead helps prevent the growth of mold, mildew, or bacteria. These unwanted microorganisms can negatively impact the cleanliness and functionality of your showerhead if allowed to flourish.
While drying, avoid using abrasive materials or harsh cleaning agents as they can scratch or damage the surface of the showerhead. Stick to gentle drying methods to maintain its integrity and appearance.
Once the showerhead is completely dry, you’re ready to move on to the final step of reattaching it to the shower arm.
Step 6: Reattach the showerhead
With your showerhead now clean and dry, it’s time to reattach it to the shower arm and enjoy a refreshing and rejuvenating shower. Follow these steps to efficiently reattach your showerhead:
- Hold the showerhead in one hand and the shower arm in the other.
- Carefully align the threads of the showerhead with the threads of the shower arm.
- Gently twist the showerhead clockwise onto the shower arm, ensuring a secure connection.
- Use a wrench or pliers to firmly tighten the showerhead, making sure it is securely in place. Be careful not to over-tighten, as it can cause damage to the showerhead or the shower arm.
- Once the showerhead is securely attached, test it by turning on the water. Check for any leaks or drips, and make adjustments if necessary.
During the reattachment process, take care not to cross-thread the showerhead onto the shower arm. Cross-threading can lead to leaks and cause damage to both the showerhead and the shower arm. Ensure that the threads are properly aligned before tightening.
If you encounter any issues during the reattachment process or notice any leaks or drips after turning on the water, it may be necessary to check the showerhead for any damage or replace any faulty parts.
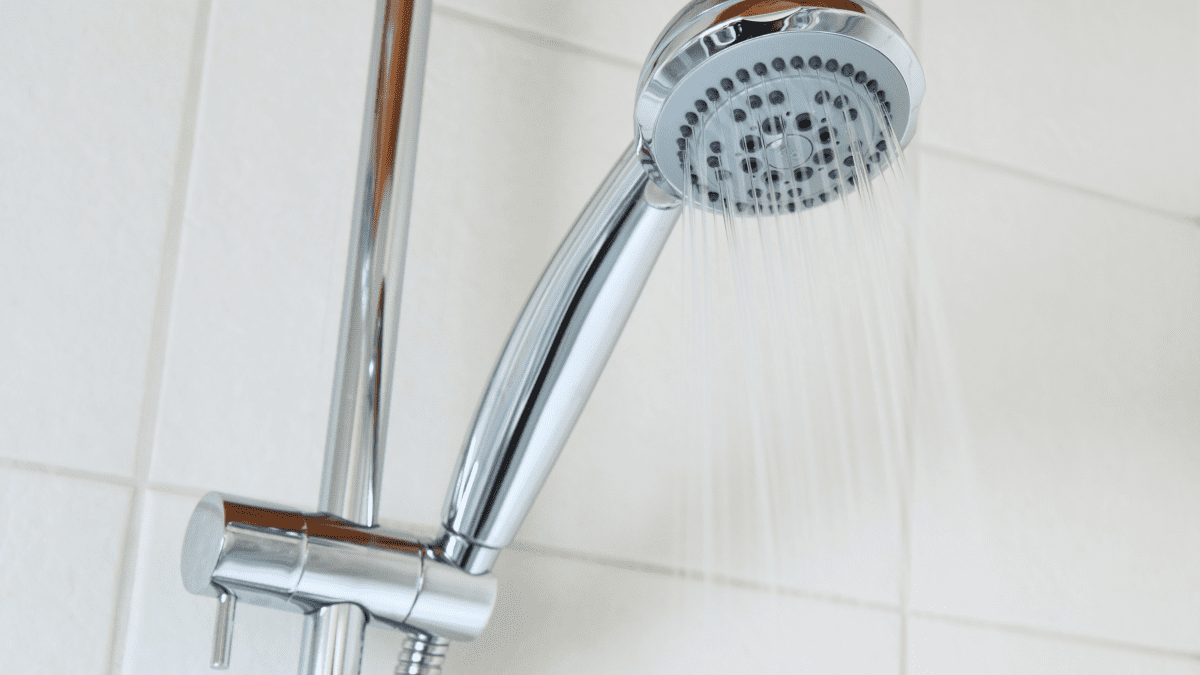
Once you have successfully reattached the showerhead and confirmed its proper functioning, you can enjoy a rejuvenating shower knowing that your clean and well-maintained showerhead will provide optimal water flow and pressure.
Remember to regularly clean your showerhead to prevent the build-up of mineral deposits and ensure a hygienic showering experience. With a little maintenance and care, your showerhead will continue to provide you with refreshing showers for years to come!
Conclusion
Cleaning your showerhead is an essential part of maintaining a clean and hygienic bathroom. Over time, mineral deposits and dirt can accumulate, affecting the water flow and overall performance of your shower. By following the step-by-step guide we have provided, you can easily clean your showerhead and restore it to its sparkling best.
Regular maintenance and cleaning of your showerhead not only improves its functionality but also extends its lifespan. By removing mineral deposits and grime, you can ensure optimal water pressure and flow, providing you with a refreshing and enjoyable showering experience.
We recommend cleaning your showerhead at least once a month to prevent clogging and maintain its efficiency. This will also help reduce the risk of bacterial growth and ensure a clean and hygienic shower.
Remember to gather all the necessary supplies before you start cleaning, including a wrench or pliers, an old toothbrush or scrub brush, white vinegar, water, a plastic bag or container, and a soft cloth or towel.
Throughout the cleaning process, be mindful of the materials and techniques you use to avoid damaging the showerhead or surrounding fixtures. Take care to follow the steps carefully, including removing the showerhead, soaking it in vinegar, scrubbing away residue, rinsing, and drying thoroughly before reattaching.
By following these steps and maintaining regular cleaning routines, you can ensure that your showerhead remains clean, functional, and visually appealing for years to come. Enjoy the rejuvenating experience of a clean showerhead and make your bathroom a place of relaxation and cleanliness.
Thank you for joining us in this comprehensive guide on how to clean a showerhead. We hope that this information has been helpful and that you now feel confident in maintaining the cleanliness of this important bathroom fixture.
Now, go ahead and enjoy your freshly cleaned showerhead!
Frequently Asked Questions about How To Clean A Showerhead
Was this page helpful?
At Storables.com, we guarantee accurate and reliable information. Our content, validated by Expert Board Contributors, is crafted following stringent Editorial Policies. We're committed to providing you with well-researched, expert-backed insights for all your informational needs.


0 thoughts on “How To Clean A Showerhead”