Articles
How To Clean Showerhead With CLR
Modified: October 29, 2024
Learn how to clean your showerhead using CLR effectively. Read our informative articles on maintaining a clean and well-functioning showerhead.
(Many of the links in this article redirect to a specific reviewed product. Your purchase of these products through affiliate links helps to generate commission for Storables.com, at no extra cost. Learn more)
Introduction
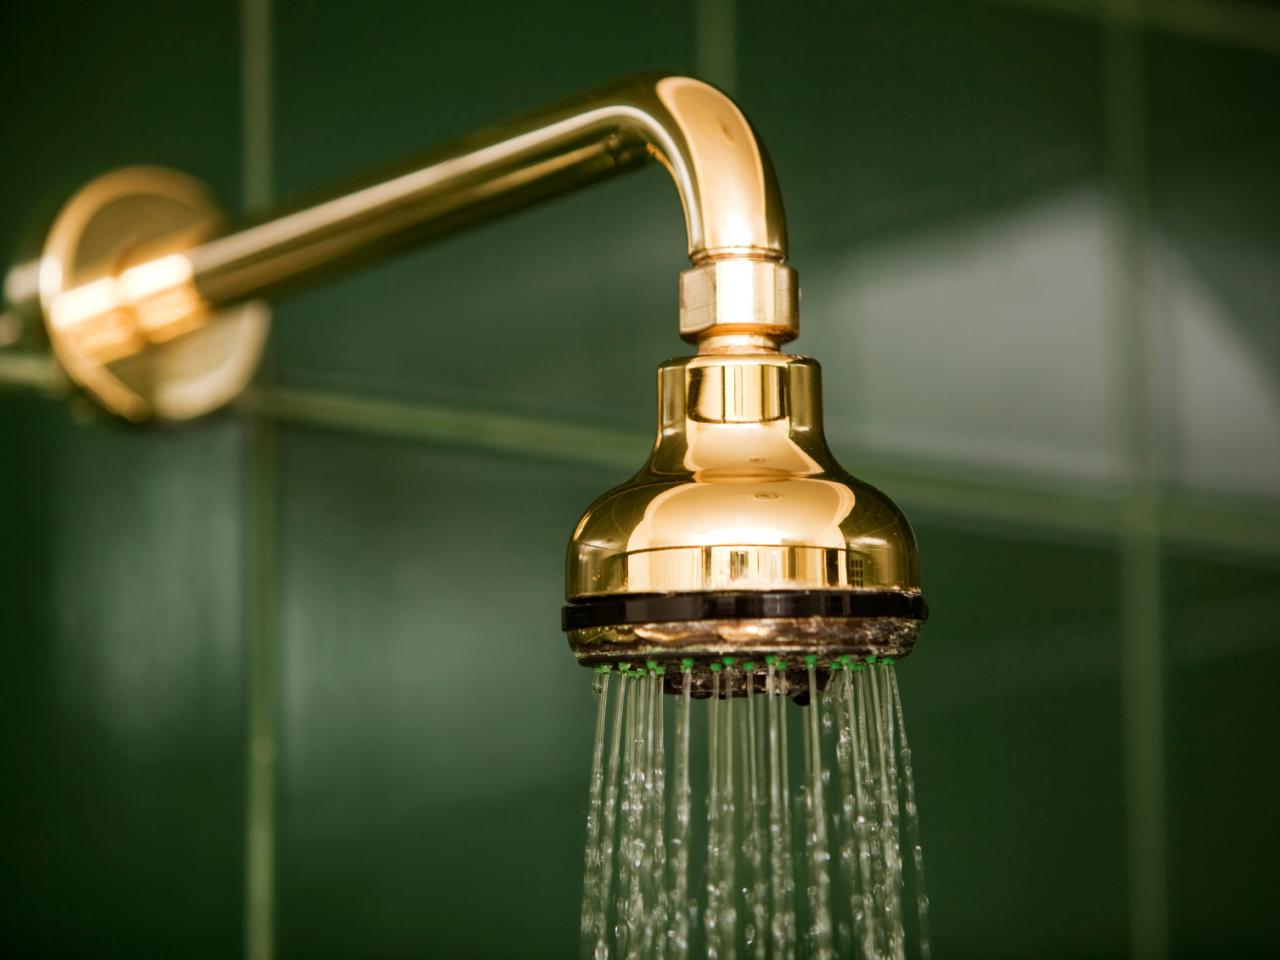
Keeping your showerhead clean is an essential part of maintaining good hygiene in your bathroom. Over time, mineral deposits, bacteria, and fungi can accumulate on the surface of the showerhead, affecting the water flow and potentially posing a health risk. That’s where CLR comes in.
CLR, which stands for Calcium, Lime, and Rust, is a powerful cleaning solution that effectively removes mineral deposits and other grime. In this article, we will guide you on how to clean your showerhead with CLR, bringing back its original shine and ensuring a refreshing shower every time.
Before we dive into the cleaning process, let’s explore a bit more about what CLR is and why it’s important to keep your showerhead clean.
Key Takeaways:
- Regularly cleaning your showerhead with CLR not only improves water flow but also prevents the buildup of harmful bacteria, enhancing the overall aesthetic appeal of your bathroom. It’s a small investment of time for long-lasting benefits.
- By incorporating regular cleaning into your bathroom maintenance routine, you can enjoy a clean and invigorating shower every day. Remember, a clean showerhead is the key to a refreshing start or end to your day!
Read more: How To Clean A Showerhead
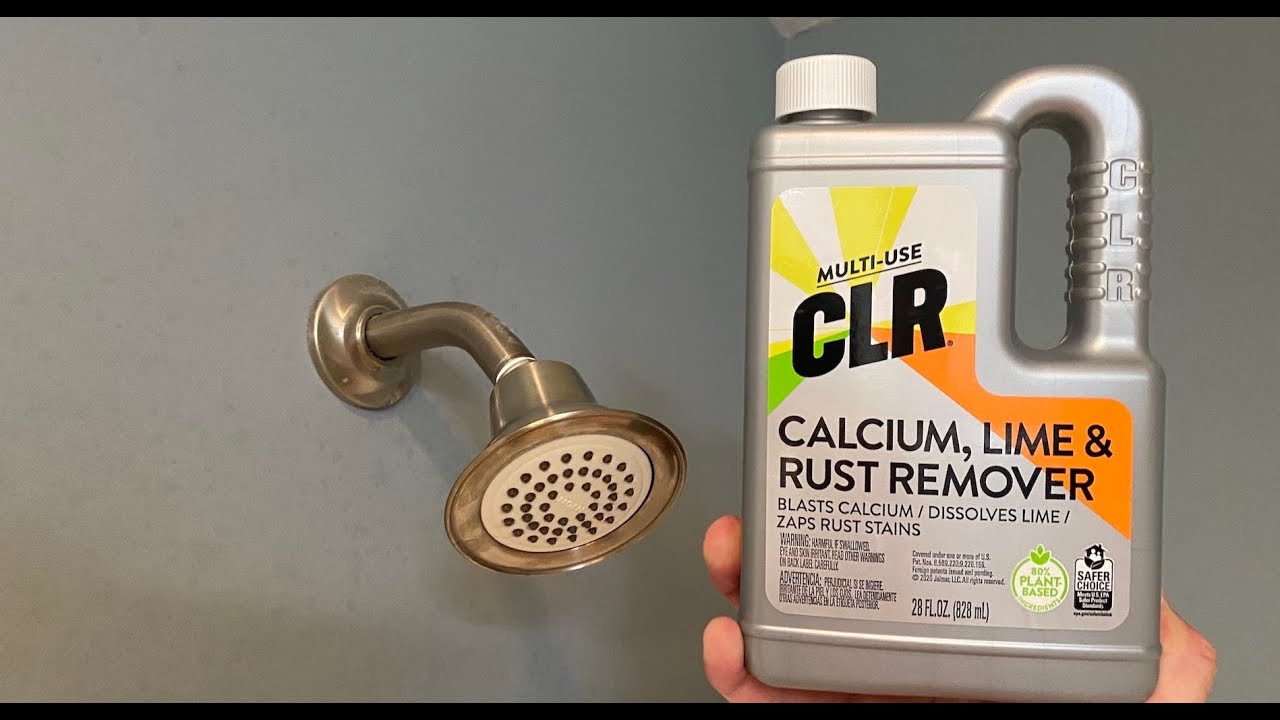
What is CLR?
CLR is a widely recognized cleaning product that is specifically designed to remove calcium, lime, and rust stains. It is an acidic cleaner that contains various compounds such as citric acid and sulfamic acid. This powerful formula makes CLR highly effective in breaking down mineral deposits and other hard-to-remove stains.
CLR comes in different forms, including liquid and spray, and is readily available in most hardware stores and supermarkets. It is a versatile cleaner that can be used on a variety of surfaces, including showerheads, faucets, sinks, toilets, and even coffee makers.
One of the notable benefits of using CLR is its ability to dissolve tough stains and build-up caused by hard water. Hard water, which is in many areas characterized by high mineral content, often leads to the formation of calcium and lime deposits. These deposits can accumulate over time on showerheads, causing reduced water flow and unsightly stains.
By using CLR, you can effectively remove these mineral deposits and restore the optimal functionality of your showerhead. Not only will this enhance your shower experience, but it will also help prolong the life of your showerhead by keeping it in excellent condition.
CLR is known for its fast-action formula, making it an efficient and time-saving solution for cleaning. It generally requires minimal scrubbing and can dissolve stains within a short period. This makes it an ideal choice for those looking for a hassle-free way to clean their showerheads.
Why Clean Your Showerhead?
Regularly cleaning your showerhead is not only important for maintaining a clean and hygienic bathroom but also has several other significant benefits. Let’s explore why it’s essential to keep your showerhead clean:
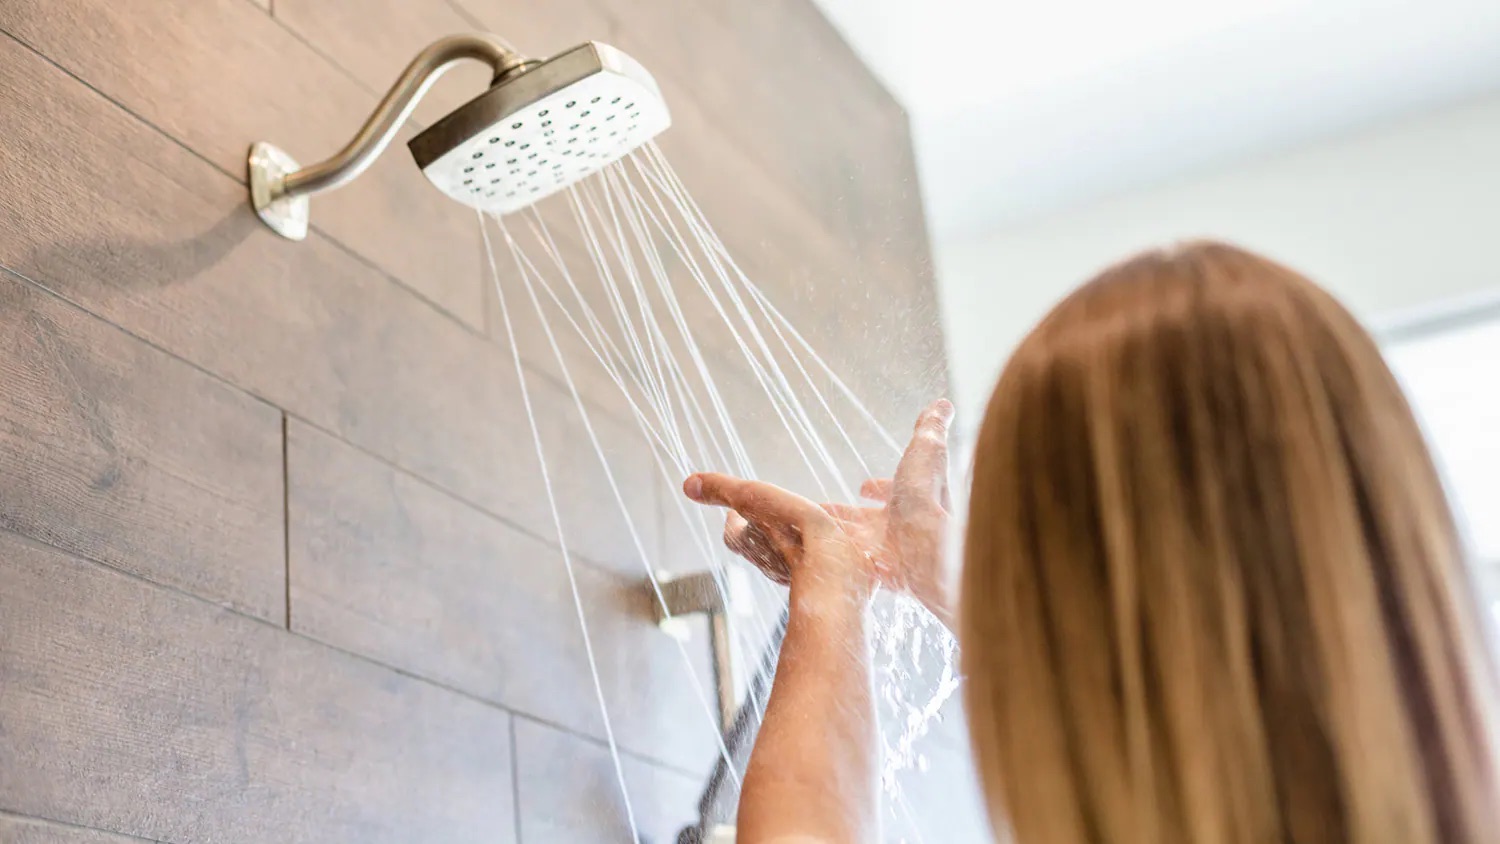
1. Improved Water Flow: Over time, mineral deposits from hard water can accumulate in your showerhead, clogging the nozzles and reducing water flow. By cleaning your showerhead regularly, you can remove these deposits and ensure a steady and powerful flow of water during your showers.
2. Removal of Bacteria and Fungi: Showerheads provide a moist environment that is ideal for the growth of bacteria and fungi. These microorganisms can cause health issues, including skin infections and respiratory problems. Cleaning the showerhead helps eliminate these harmful organisms, reducing the risk of exposure.
3. Prevention of Limescale Build-up: Limescale, a hard and chalky substance that forms from the presence of minerals in water, can build up on the surface of your showerhead. This build-up not only affects water flow but also creates an unsightly appearance. Cleaning the showerhead regularly prevents limescale from accumulating and keeps it looking clean and attractive.
4. Prolonged Lifespan of the Showerhead: By removing mineral deposits and other grime, regular cleaning helps maintain the optimal functioning of the showerhead. This not only ensures a pleasant shower experience but also extends the lifespan of the showerhead itself, saving you money on frequent replacements.
5. Enhanced Water Quality: When mineral deposits build up in the showerhead, they can alter the chemical composition of the water coming out of it. Cleaning the showerhead helps restore the quality of the water, ensuring that you are showering with clean and fresh water.
6. Aesthetically Pleasing Appearance: A clean and sparkling showerhead adds to the overall aesthetic appeal of your bathroom. It creates a sense of cleanliness and hygiene, making your bathing space more inviting and enjoyable.
Overall, cleaning your showerhead on a regular basis is a relatively simple yet essential task that offers numerous benefits. From improved water flow to better hygiene and aesthetics, keeping your showerhead clean is a small investment of time that goes a long way in maintaining a pleasant and healthy bathroom environment.
Tools and Materials Needed
Before you begin cleaning your showerhead with CLR, make sure you have the following tools and materials ready:
- CLR Cleaner: Choose a CLR cleaner that is suitable for your showerhead. There are different variants available, so read the label to ensure you have the right one.
- Plastic Bag or Container: You will need a plastic bag or container large enough to hold your showerhead. This will be used for soaking the showerhead in the CLR solution.
- Water: You will need water to rinse off the showerhead after cleaning.
- Soft Brush or Toothbrush: A soft brush or toothbrush will help in scrubbing away any remaining grime or mineral deposits.
- Gloves: It is recommended to wear gloves to protect your hands while handling cleaning chemicals.
- Towel or Cloth: Have a towel or cloth handy to wipe down the showerhead after cleaning.
- Adjustable Wrench (optional): If your showerhead is firmly attached, you may need an adjustable wrench to detach it.
These are the basic tools and materials you will need to clean your showerhead with CLR. Ensure that you have everything prepared before starting the cleaning process to ensure a smooth and efficient experience.
Note: Always read and follow the manufacturer’s instructions on the CLR cleaner bottle for the best results and to ensure your safety.
Step 1: Prepare the CLR Solution
Before you can start cleaning your showerhead with CLR, you need to prepare the cleaning solution. Follow these steps to prepare the CLR solution:
- Read the instructions: Start by carefully reading the instructions on the CLR cleaner bottle. Different CLR variants may have different dilution ratios, so it’s important to follow the specific instructions for the one you’re using.
- Dilute the CLR cleaner: In a well-ventilated area, dilute the CLR cleaner according to the instructions. Typically, this involves mixing a specific amount of CLR cleaner with water. Use a measuring cup or follow the guidelines on the packaging to ensure the correct dilution ratio.
- Use warm water: It is recommended to use warm water when diluting the CLR cleaner. Warm water helps to dissolve mineral deposits more effectively.
- Stir the solution: Once you have added the CLR cleaner to the warm water, use a spoon or a stirrer to mix the solution thoroughly until the cleaner is fully dissolved.
It’s important to note that the dilution ratio and specific instructions may differ depending on the brand and type of CLR cleaner you are using. Be sure to follow the guidelines provided on the bottle to ensure the most effective and safe use of the cleaner.
Now that you have prepared the CLR solution, you are ready to move on to the next step: detaching the showerhead for cleaning.
Read more: How To Use Clr To Clean Toilet Bowl
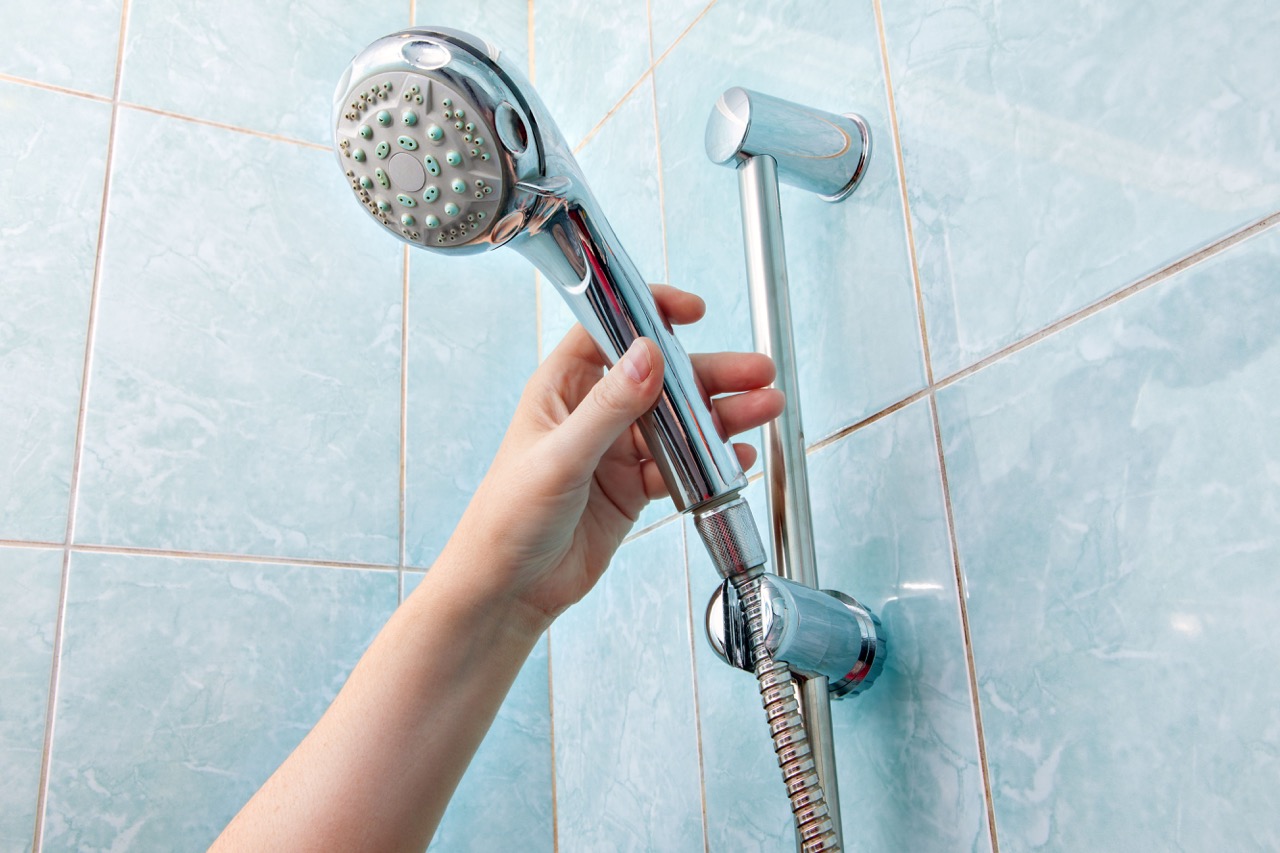
Step 2: Detach the Showerhead
Once you have prepared the CLR solution, the next step is to detach the showerhead from the water supply. Follow these steps to safely detach the showerhead:
- Turn off the water supply: Before you begin, turn off the water supply to the showerhead. This can usually be done by turning the water valve located near the shower or by shutting off the main water supply to your home.
- Protect the showerhead: To prevent any scratches or damage, wrap a cloth or towel around the base of the showerhead. This will provide a cushioning barrier and keep the showerhead protected during the detaching process.
- Use an adjustable wrench (if necessary): Depending on how the showerhead is attached, you may need to use an adjustable wrench to loosen the connection. Place the wrench around the nut securing the showerhead to the water pipe and turn it counterclockwise to loosen. Once loosened, you should be able to unscrew the showerhead by hand.
- Be mindful of any washers or gaskets: As you remove the showerhead, be careful to note the position of any washers or gaskets that may be present between the showerhead and the water pipe. These are important for a proper seal and should not be lost or damaged.
- Set aside the detached showerhead: Once the showerhead is detached, place it in a safe and secure location. If possible, use a plastic bag or container to hold the showerhead during the cleaning process.
Remember to handle the detached showerhead with care to avoid any damage or injury. Now that you have successfully detached the showerhead, you can move on to the next step: soaking the showerhead in the CLR solution.
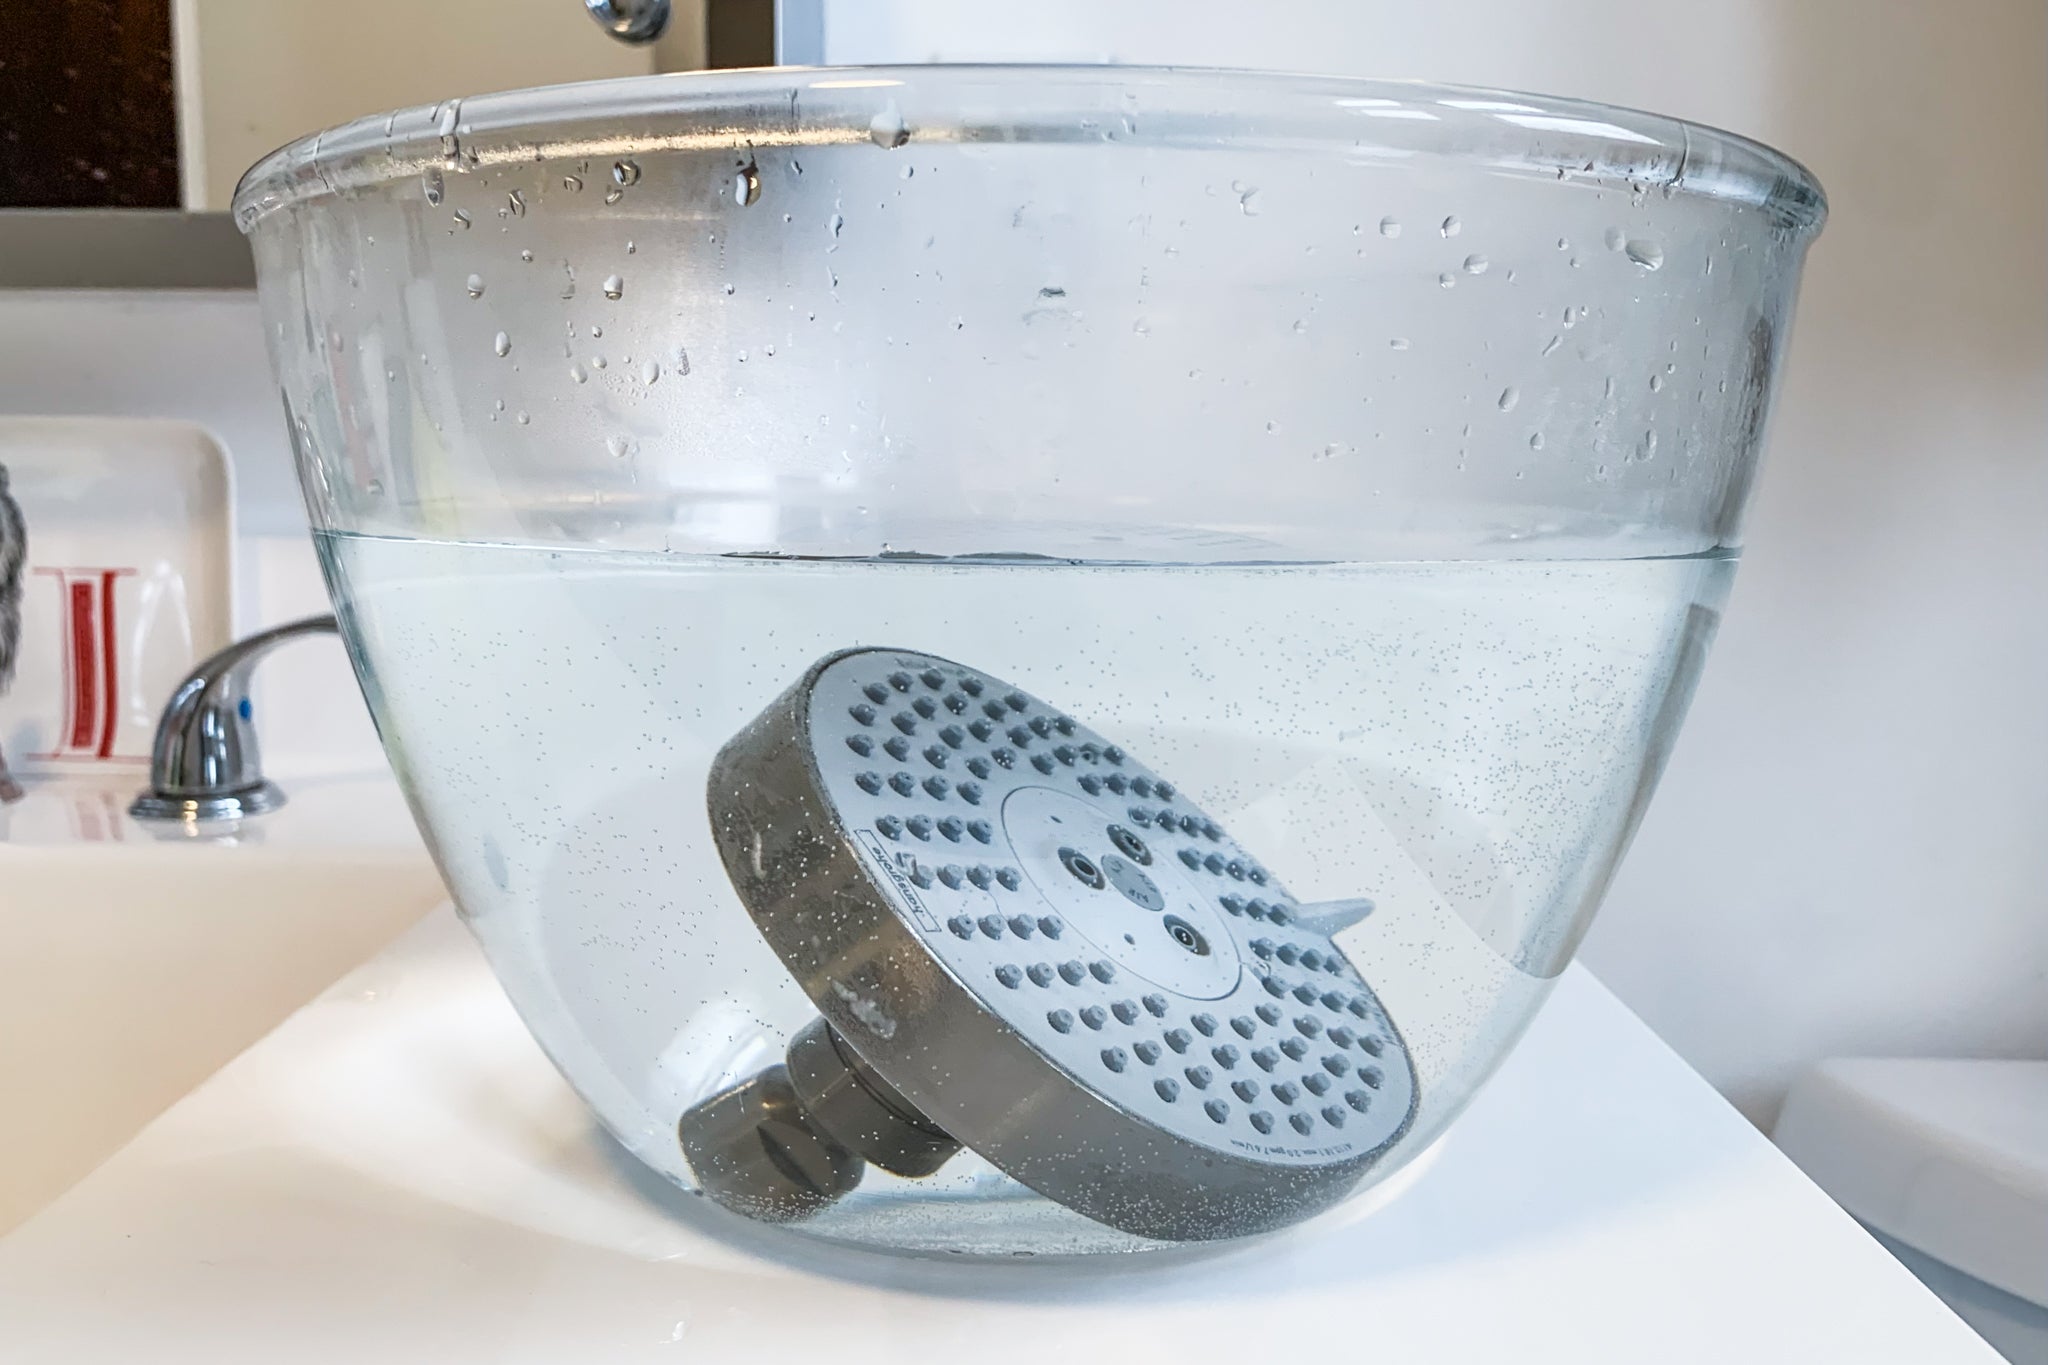
To clean a showerhead with CLR, mix equal parts CLR and water in a plastic bag, then secure it around the showerhead with a rubber band. Let it sit for 1-2 hours, then remove the bag and run the shower to flush out any remaining CLR.
Step 3: Soak the Showerhead in CLR Solution
With the showerhead detached, it’s time to give it a deep clean by soaking it in the CLR solution. Follow these steps to effectively soak the showerhead:
- Place the showerhead in a plastic bag or container: Take the detached showerhead and place it inside a plastic bag or container. Make sure the bag or container is large enough to fully submerge the showerhead in the CLR solution.
- Pour the CLR solution over the showerhead: Carefully pour the prepared CLR solution into the bag or container, ensuring that the entire surface of the showerhead is covered. The solution should be enough to fully submerge the showerhead.
- Ensure the showerhead is fully immersed: Gently press down on the bag or container to release any trapped air and ensure that the showerhead is fully immersed in the CLR solution. This will allow the solution to penetrate all the nooks and crannies of the showerhead for a thorough clean.
- Let it soak for the recommended time: Check the instructions on the CLR cleaner bottle to determine the recommended soaking time. Typically, it is recommended to leave the showerhead soaking in the CLR solution for around 30 minutes to 1 hour. This allows the cleaner to dissolve and remove the mineral deposits effectively.
- Set a timer: To ensure you don’t leave the showerhead soaking for too long, set a timer or use a stopwatch to keep track of the soaking time.
During the soaking process, the CLR solution will work to break down and dissolve the mineral deposits and other grime that has built up on the showerhead. This will help restore it to its optimal condition.
Once the recommended soaking time has passed, you can move on to the next step: scrubbing and rinsing the showerhead.
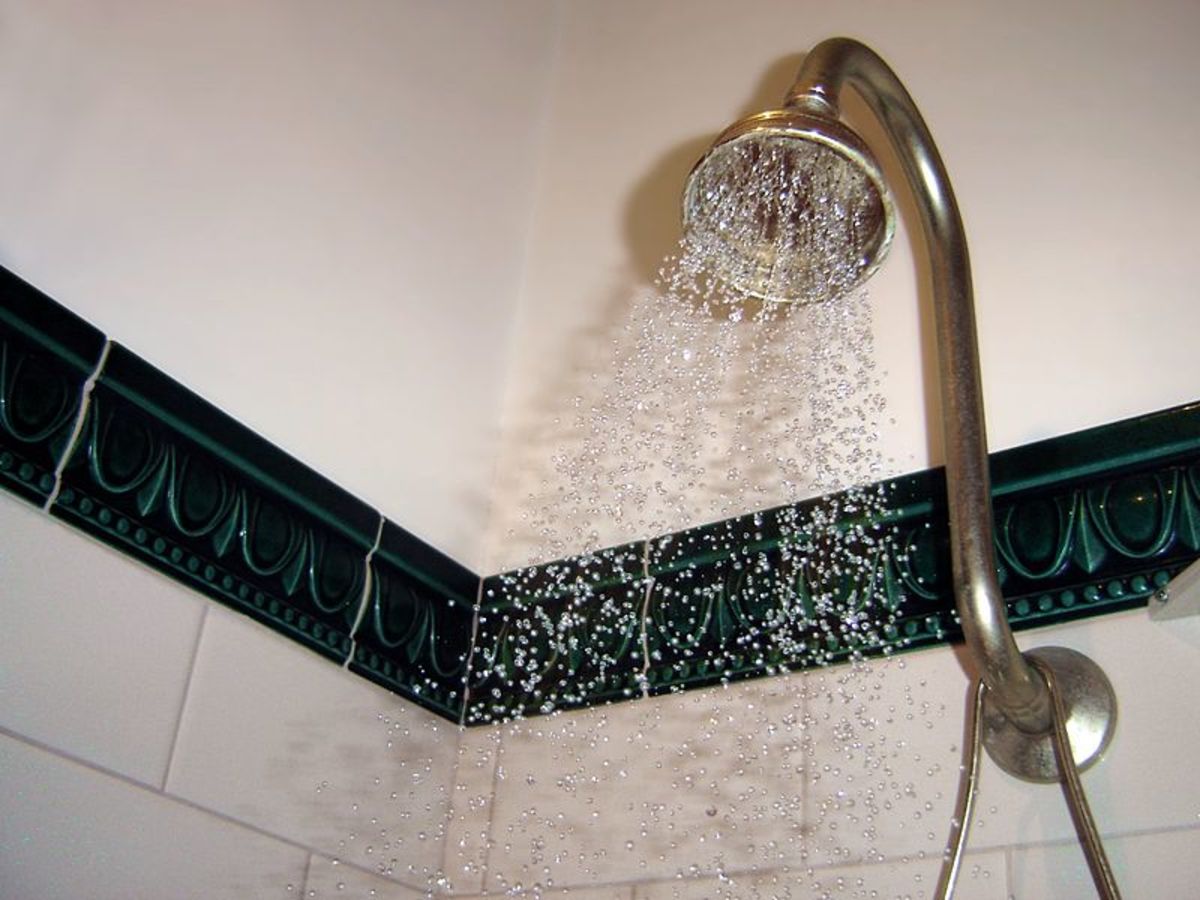
Step 4: Scrub and Rinse the Showerhead
After the showerhead has soaked in the CLR solution, it’s time to scrub away the loosened mineral deposits and other grime. Follow these steps to effectively clean and rinse the showerhead:
- Remove the showerhead from the CLR solution: Carefully take out the showerhead from the plastic bag or container, ensuring not to spill the CLR solution.
- Scrub with a soft brush or toothbrush: Using a soft brush or toothbrush, gently scrub the surface of the showerhead. Pay attention to the nozzles and hard-to-reach areas where mineral deposits tend to accumulate. The combination of the CLR solution and the scrubbing action will help dislodge and remove any remaining grime.
- Rinse the showerhead with clean water: Once scrubbed, rinse the showerhead thoroughly with clean water. This will help wash away the loosened mineral deposits and any remaining CLR solution. Make sure to remove any traces of the cleaning solution to prevent it from affecting the water quality when you use the showerhead again.
- Check for any clogs or blockages: While rinsing, inspect the showerhead for any remaining clogs or blockages. If you notice any, use a pin or toothpick to gently unclog the nozzles and ensure proper water flow.
- Dry the showerhead: After rinsing, dry the showerhead with a towel or cloth. This will help prevent any water spots or mineral deposits from forming on the surface of the showerhead.
By scrubbing and rinsing the showerhead, you are ensuring that any remaining mineral deposits are removed, allowing for improved water flow and a cleaner shower experience.
Now that you have thoroughly cleaned the showerhead, you can move on to the final step: reattaching the showerhead.
Step 5: Reattach the Showerhead
After cleaning and rinsing the showerhead, it’s time to reattach it to the water supply. Follow these steps to properly reinstall the showerhead:
- Inspect the water pipe and fittings: Before reattaching the showerhead, inspect the water pipe and fittings for any signs of damage or debris. Make sure they are clean and in good condition.
- Apply plumber’s tape (if necessary): If your showerhead requires plumber’s tape for a secure and water-tight connection, apply a few wraps of tape around the threads of the water pipe. This will help create a proper seal.
- Align the showerhead with the water pipe: Align the showerhead with the water pipe and carefully screw it back on. Start by hand-tightening the showerhead, and then use an adjustable wrench to securely tighten it. Be careful not to overtighten, as this may cause damage.
- Check for leaks: Once the showerhead is securely attached, turn on the water supply and check for any leaks around the connection. If you notice any leaks, use the adjustable wrench to tighten the showerhead further. However, be cautious not to overtighten to avoid causing damage to the showerhead or water pipe.
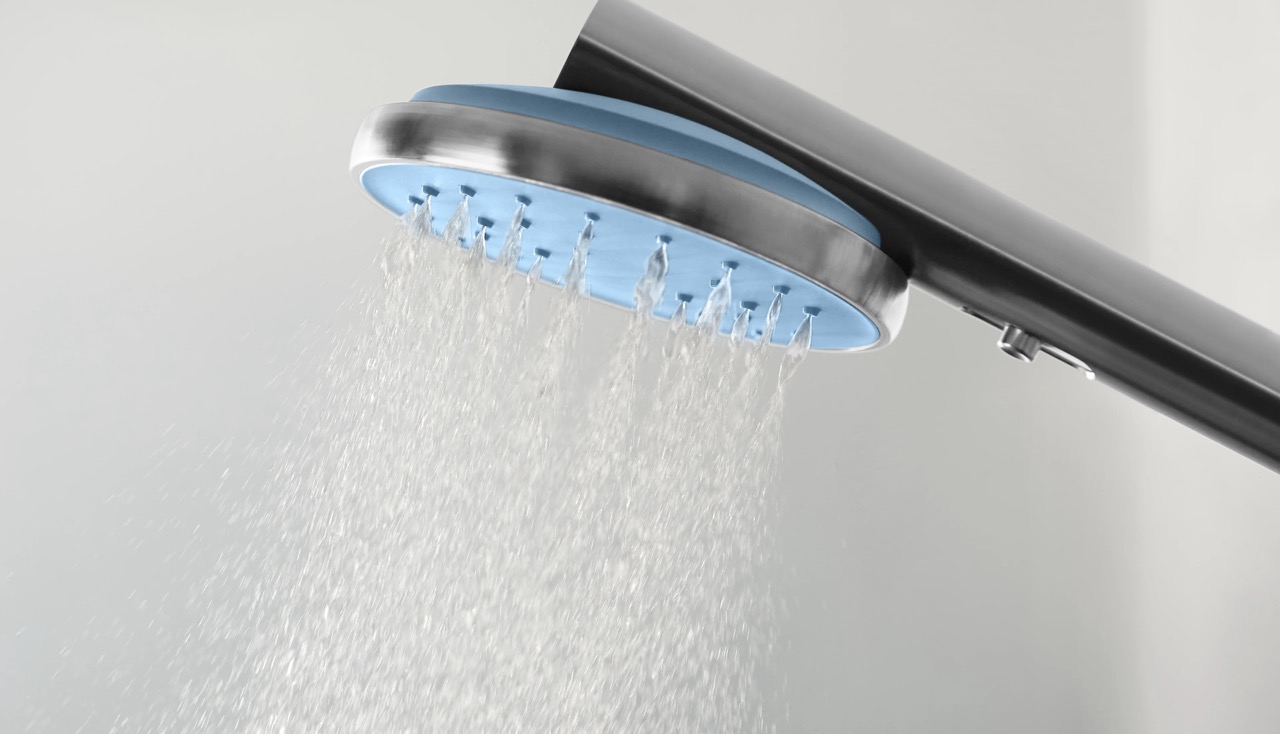
- Test the water flow: Turn on the shower and test the water flow to ensure it is running smoothly and without any issues. If the water flow seems weak or there are any other problems, double-check for any remaining clogs or blockages that may require further cleaning.
By reattaching the showerhead properly, you ensure a secure connection and allow for optimal water flow. It’s important to take your time and follow these steps carefully to avoid any potential issues.
With the showerhead successfully reattached, you have completed the cleaning process. Congratulations! Your showerhead is now clean and ready to provide you with a refreshing and enjoyable shower.
Read more: What Is A Touch Clean Showerhead
Additional Tips and Precautions
While cleaning your showerhead with CLR, it’s important to keep these additional tips and precautions in mind:
- Read and follow the instructions: Before using CLR or any other cleaning product, carefully read and follow the instructions provided on the packaging. This will ensure safe and effective use of the product.
- Use gloves and work in a well-ventilated area: When handling cleaning solutions, including CLR, it is recommended to wear gloves to protect your hands. Additionally, work in a well-ventilated area to avoid inhaling any fumes.
- Test on a small area first: If you are using CLR for the first time on your showerhead, it’s a good idea to test it on a small, inconspicuous area first. This will help ensure compatibility and prevent any unexpected damages.
- Avoid contact with eyes or skin: Make sure to avoid direct contact with your eyes or skin when using CLR or any cleaning solution. In case of accidental contact, rinse the affected area with plenty of water and seek medical attention if necessary.
- Use a soft brush or toothbrush: When scrubbing the showerhead, use a soft brush or toothbrush to prevent scratching or damaging the surface. Avoid using harsh abrasive materials that may cause harm to the showerhead.
- Regularly clean your showerhead: To maintain a clean and functioning showerhead, it’s a good practice to clean it regularly. Depending on the water quality in your area, aim to clean your showerhead at least once every few months.
- Consider a water softener or filter: If you frequently experience issues with mineral deposits and hard water stains, you might consider installing a water softener or filter. This can help prevent the build-up of mineral deposits and make cleaning your showerhead less frequent.
- Seek professional help if needed: If you encounter any difficulties or are unsure about the cleaning process, it’s always best to seek professional assistance. A plumber or expert can provide guidance or perform the cleaning for you.
By following these additional tips and precautions, you can ensure a safe and effective cleaning process for your showerhead and maintain its optimal functionality for a long time.
Conclusion
Cleaning your showerhead with CLR is a straightforward process that can significantly improve the functionality, hygiene, and overall appearance of your bathroom. By removing mineral deposits, bacteria, and grime, you can enjoy a refreshing and revitalizing shower experience.
Throughout this article, we have discussed the importance of keeping your showerhead clean and how CLR can help in achieving that. From understanding what CLR is to learning the step-by-step process of cleaning your showerhead, you now have the knowledge and tools to effectively maintain your showerhead’s performance.
Remember to prepare the CLR solution, detach the showerhead, soak it in the CLR solution, scrub and rinse thoroughly, and finally, reattach the showerhead securely. Follow the additional tips and precautions to ensure a safe and successful cleaning process.
Regularly cleaning your showerhead will not only improve water flow but also prevent the buildup of harmful bacteria and enhance the overall aesthetic appeal of your bathroom. The investment of time and effort in cleaning your showerhead with CLR will yield long-lasting benefits.
So, go ahead and give your showerhead the attention it deserves. By incorporating regular cleaning into your bathroom maintenance routine, you can enjoy a clean and invigorating shower every day.
Remember, a clean showerhead is the key to a refreshing start or end to your day!
Frequently Asked Questions about How To Clean Showerhead With CLR
Was this page helpful?
At Storables.com, we guarantee accurate and reliable information. Our content, validated by Expert Board Contributors, is crafted following stringent Editorial Policies. We're committed to providing you with well-researched, expert-backed insights for all your informational needs.


0 thoughts on “How To Clean Showerhead With CLR”