Articles
How To Lay Stone Walkway
Modified: August 27, 2024
Learn the step-by-step process of how to lay a stunning stone walkway with our expert articles. Enhance the beauty of your outdoor space with these useful tips and techniques.
(Many of the links in this article redirect to a specific reviewed product. Your purchase of these products through affiliate links helps to generate commission for Storables.com, at no extra cost. Learn more)
Introduction
Creating a stone walkway in your outdoor space not only adds functionality but also enhances the aesthetic appeal of your home. Whether you want to connect different areas of your garden, create a pathway to your front entrance, or add a charming feature to your backyard, laying a stone walkway can be a rewarding DIY project.
In this comprehensive guide, we will walk you through the step-by-step process of planning, preparing, and laying a stone walkway. From selecting the right materials to ensuring proper installation and maintenance, we’ve got you covered. So put on your work gloves and let’s dive in!
Key Takeaways:
- Plan and prepare thoroughly by determining the purpose, selecting the right stones, gathering tools, and outlining the walkway. This sets the foundation for a smooth and efficient stone walkway installation.
- Add a personal touch to your stone walkway with finishing touches like edging, lighting, landscaping, seating areas, and regular maintenance. These details elevate the overall look and functionality of your outdoor space.
Read more: How To Lay Cobblestone Walkway
Step 1: Planning and Preparation
Before you start laying your stone walkway, it’s crucial to plan and prepare properly. This step will ensure that you have a clear vision of the design, gather the necessary materials, and create a solid foundation for your project.
Here are the key aspects to consider during the planning and preparation phase:
- Determine the Purpose and Design: Start by deciding the purpose of your walkway. Are you creating a functional path from the driveway to the front door or a scenic route through your garden? Once you have the purpose in mind, sketch out a rough design to visualize how the stones will be laid.
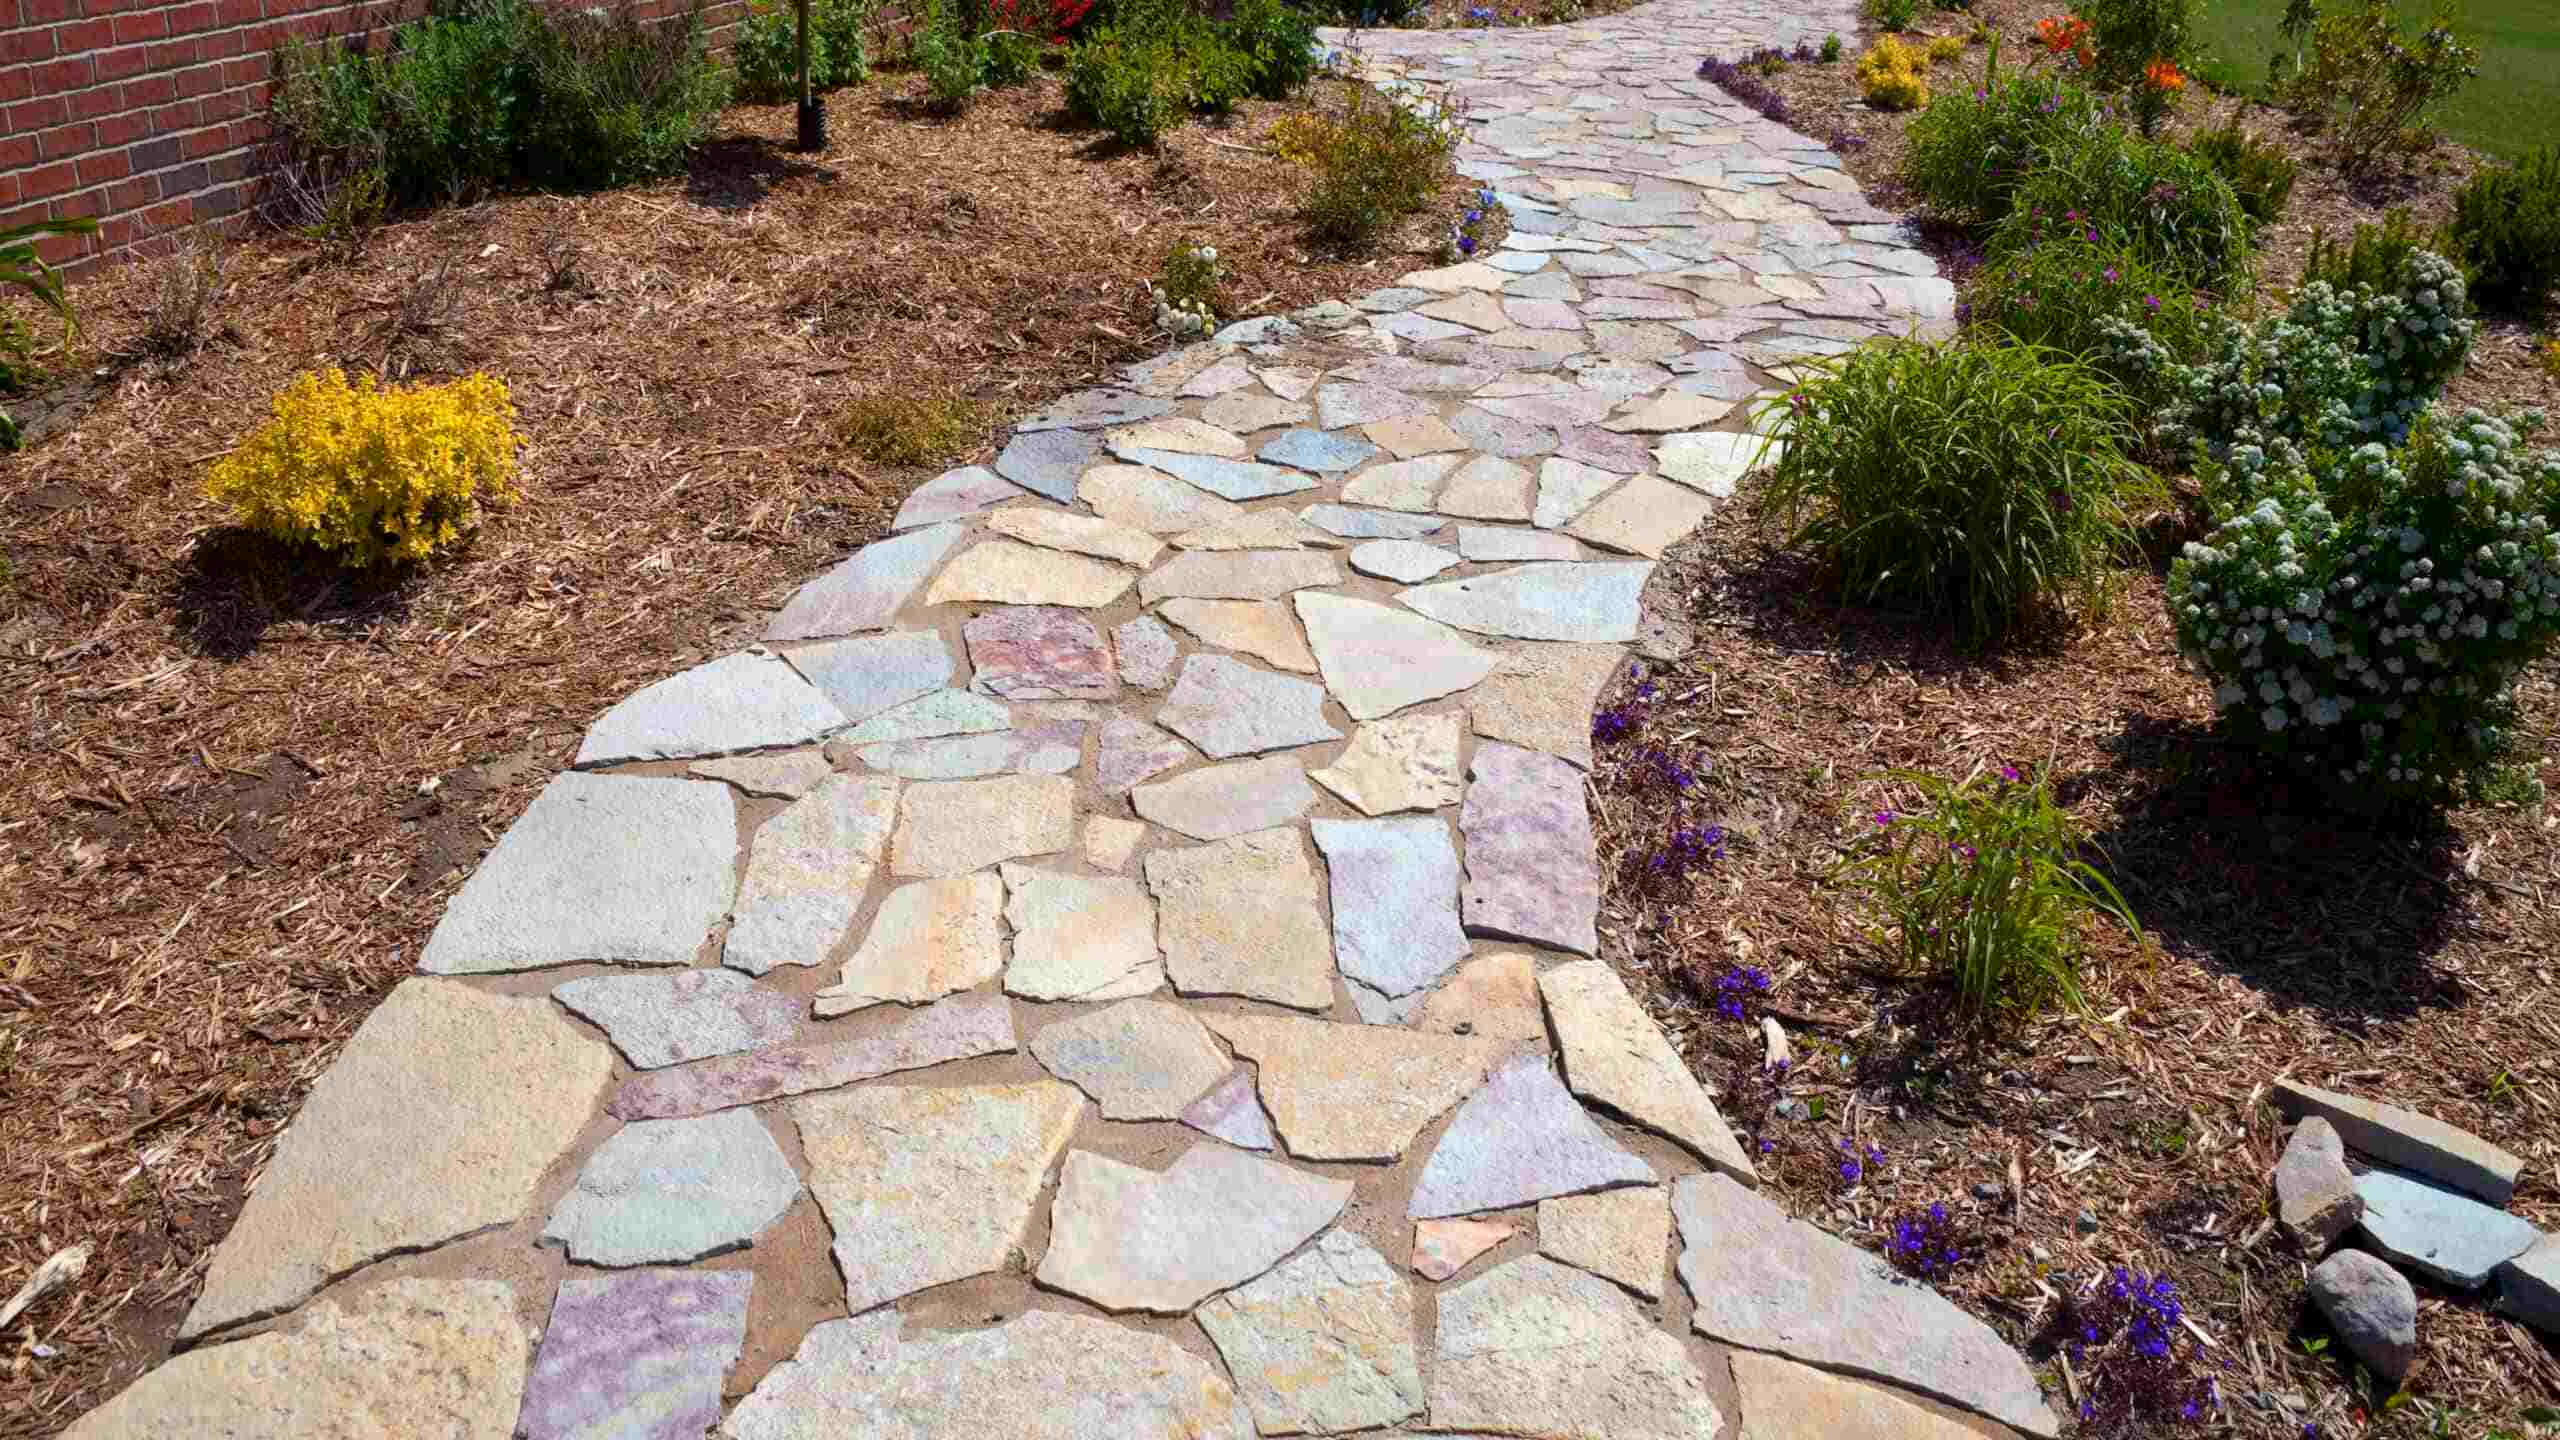
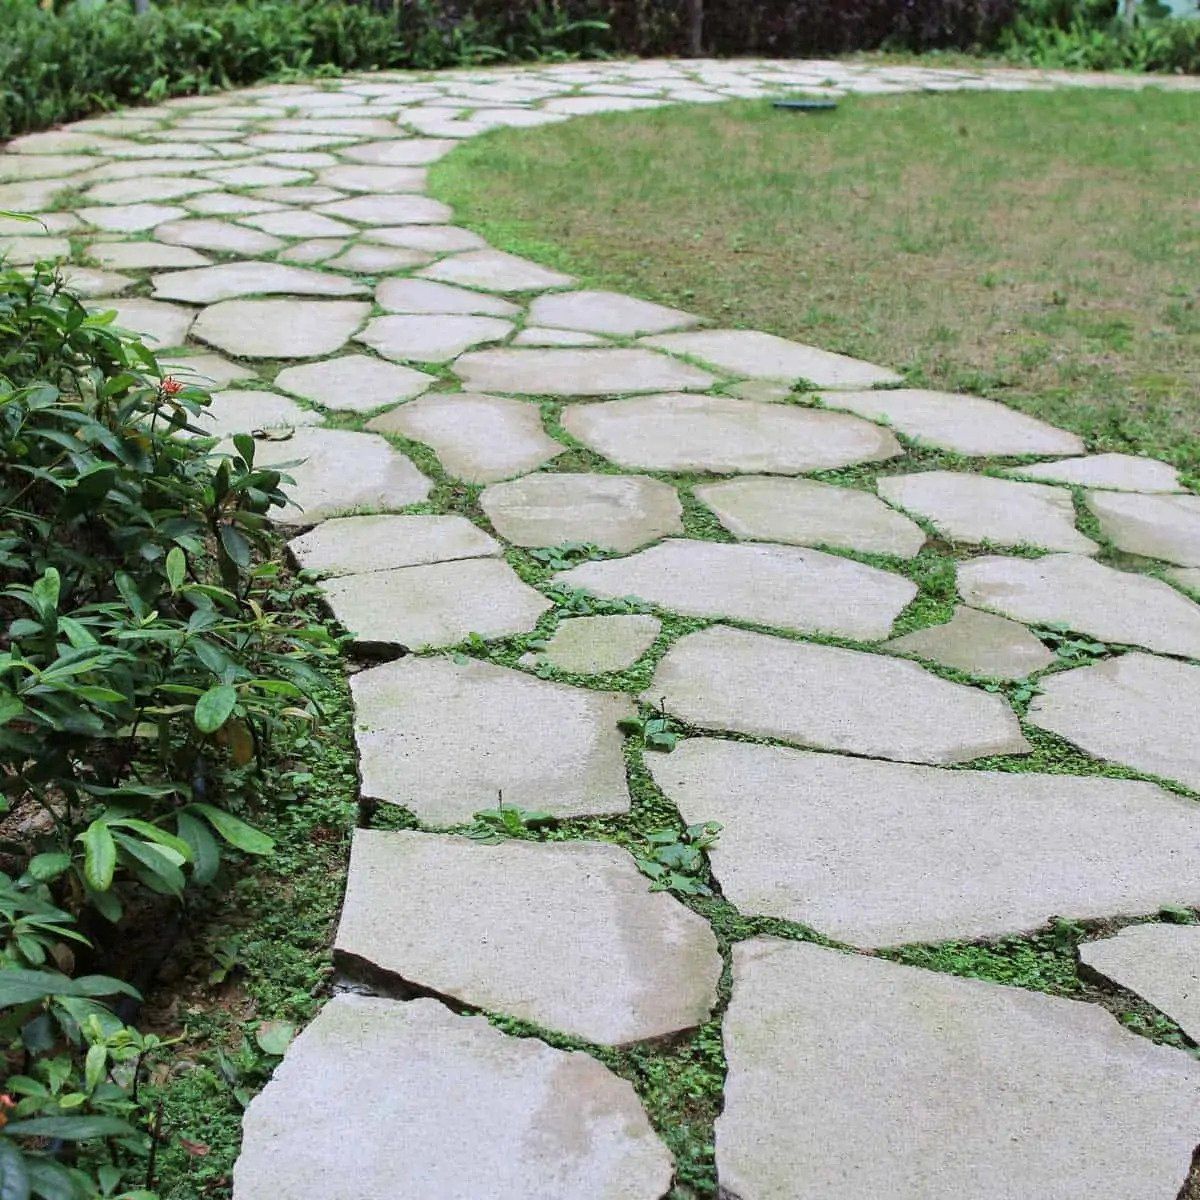
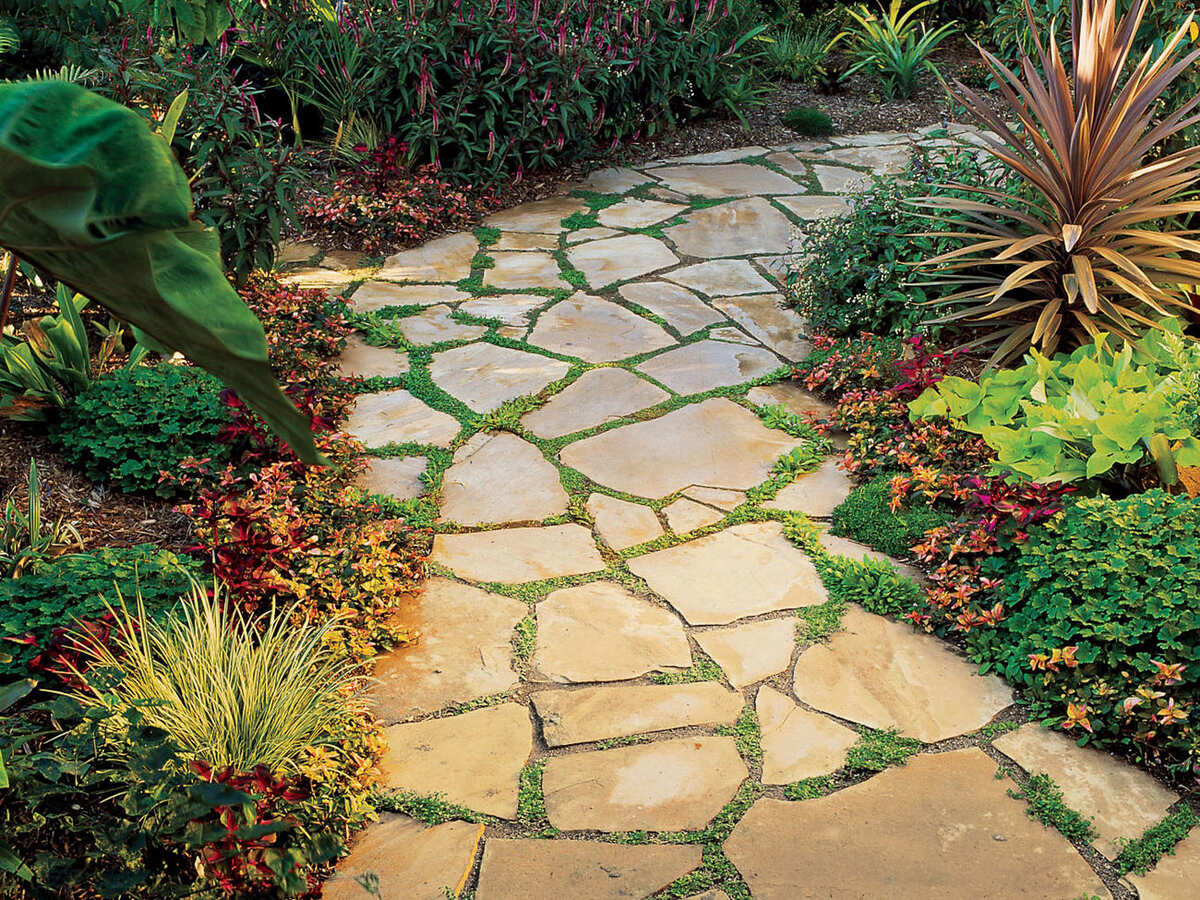
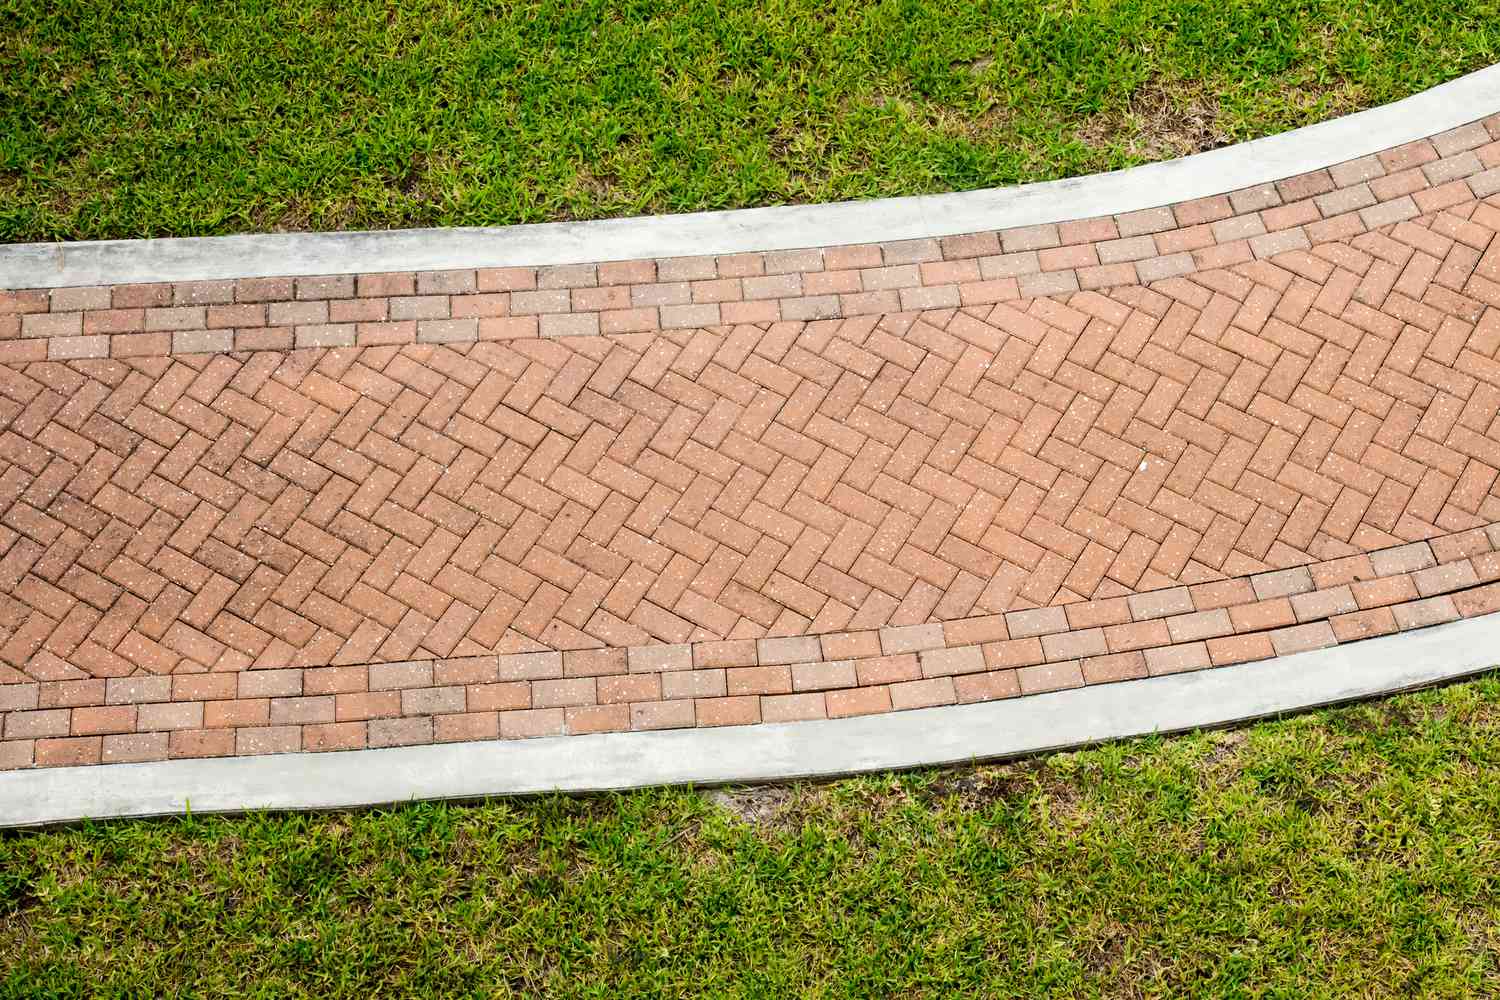
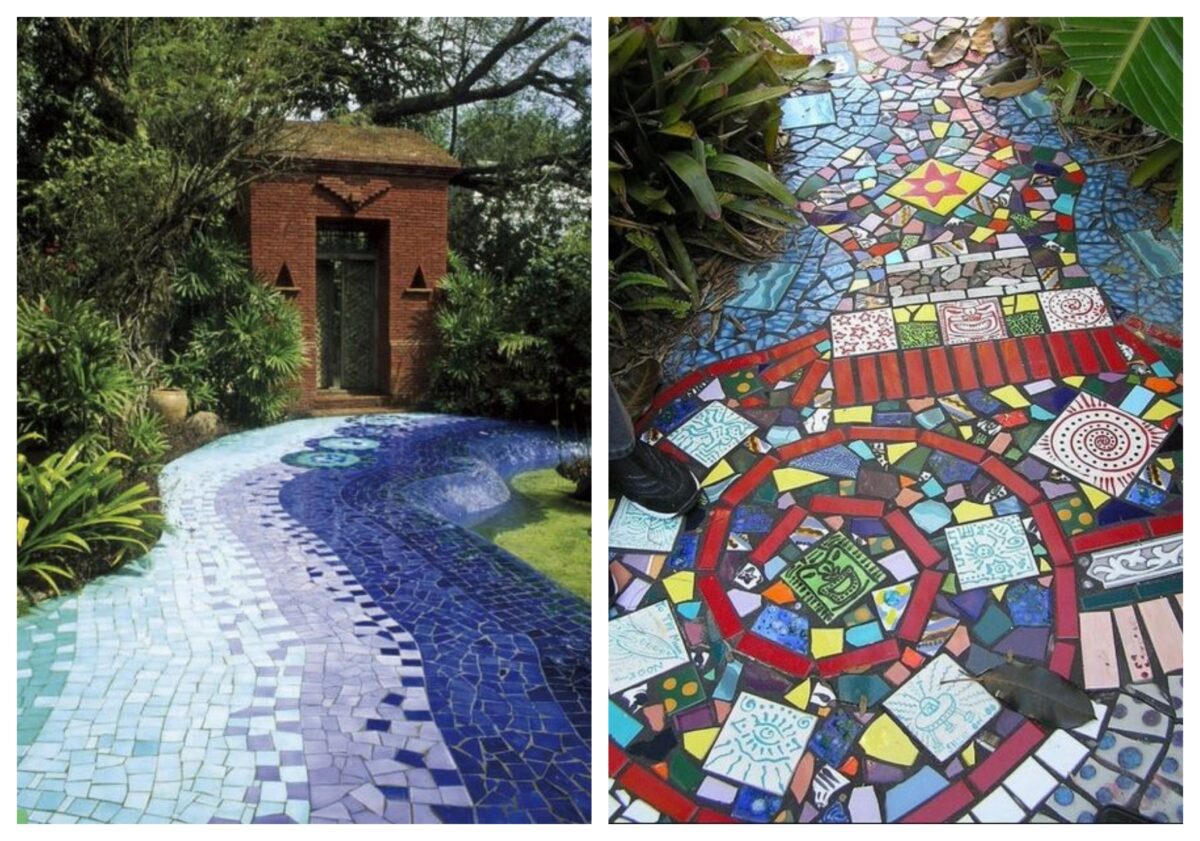
- Select the Right Stones: Choose stones that fit the desired style and function of your walkway. You can opt for natural stones like flagstone or limestone for a rustic look or go for cut stone or pavers for a more uniform and contemporary appearance. Consider the size, shape, and color that complement your existing landscape.
- Gather the Necessary Tools and Materials: Make a list of all the tools and materials needed for the project. This may include stones, sand or gravel, landscape fabric, stakes, a shovel, a hand tamper, a level, and a masonry saw. Having everything ready before you start will save you time and ensure a smoother workflow.
- Outline the Walkway: Use stakes and string to mark the desired pathway. This will help you visualize the dimensions and make any necessary adjustments before starting the excavation process.
- Check for Underground Utilities: Before digging, call your local utility company to ensure there are no underground utilities, such as gas, water, or electric lines, in the area where you plan to dig. This will prevent any accidental damage during the excavation.
By carefully planning and preparing for your stone walkway project, you set the foundation for success. Taking the time to consider the purpose, design, materials, and necessary tools will help ensure a smooth and efficient installation process.
Step 2: Clearing the Path
Once you have completed the planning and preparation phase, it’s time to clear the path where your stone walkway will be installed. This step involves removing any vegetation, debris, or obstacles that may obstruct the installation.
Follow these steps to clear the path effectively:
- Remove Vegetation: Start by removing any grass, plants, or weeds that are present along the path. Use a shovel or a garden rake to loosen the soil and make it easier to pull out the vegetation.
- Eliminate Debris: Clear the path of any rocks, sticks, or other debris that may be in the way. This will ensure a smooth and even surface for the stone installation.
- Level the Ground: Use a rake to level the ground along the path. Remove any high spots and fill in any low areas to create a uniform surface for the stones to be placed.
- Remove Sod: If your walkway is crossing a grassy area, you will need to remove the sod. Use a shovel to cut through the sod in strips and then roll them up for easy disposal.
- Create Edges: Define the edges of your walkway by digging a shallow trench along each side. This will help keep the stones in place and prevent them from shifting over time.
Clearing the path is a crucial step as it provides a clean slate for the installation of the stone walkway. Taking the time to remove vegetation, debris, and create defined edges will ensure a professional and polished end result.
Step 3: Creating the Base
With the path cleared, it’s time to create a solid foundation for your stone walkway. The base provides stability, prevents shifting and settling of the stones, and ensures long-lasting durability for your project.
Follow these steps to create a sturdy base:
- Excavate the Area: Use a shovel or a small excavator to dig a trench along the path. The depth of the trench should be determined by the thickness of your stones, as well as any additional layers you plan to add. Generally, a depth of 4-6 inches is sufficient.
- Compact the Soil: Once the trench is dug, use a hand tamper or a compactor to compact the soil at the bottom of the trench. This will create a stable base for the subsequent layers.
- Add Landscaping Fabric: Lay down a layer of landscaping fabric over the compacted soil. This fabric helps prevent weed growth and acts as a barrier between the soil and the stone base.
- Install a Layer of Gravel: Pour a layer of crushed gravel or road base material over the landscaping fabric. The amount of gravel needed will depend on the thickness of your stones and the desired depth of the base layer. Use a rake or a shovel to spread and level the gravel evenly.
- Compact the Gravel: Use a hand tamper or a plate compactor to compact the gravel layer. This step is essential for creating a stable and level surface for the stones.
- Check for Level: Use a level to ensure that the base is even and sloping slightly away from any structures to promote proper water drainage.
Creating a solid base is crucial for the longevity and stability of your stone walkway. By excavating the area, compacting the soil and gravel layers, and ensuring proper drainage, you set the stage for a successful installation.
When laying a stone walkway, make sure to properly prepare the base by excavating and adding a layer of compacted gravel to ensure stability and prevent shifting over time.
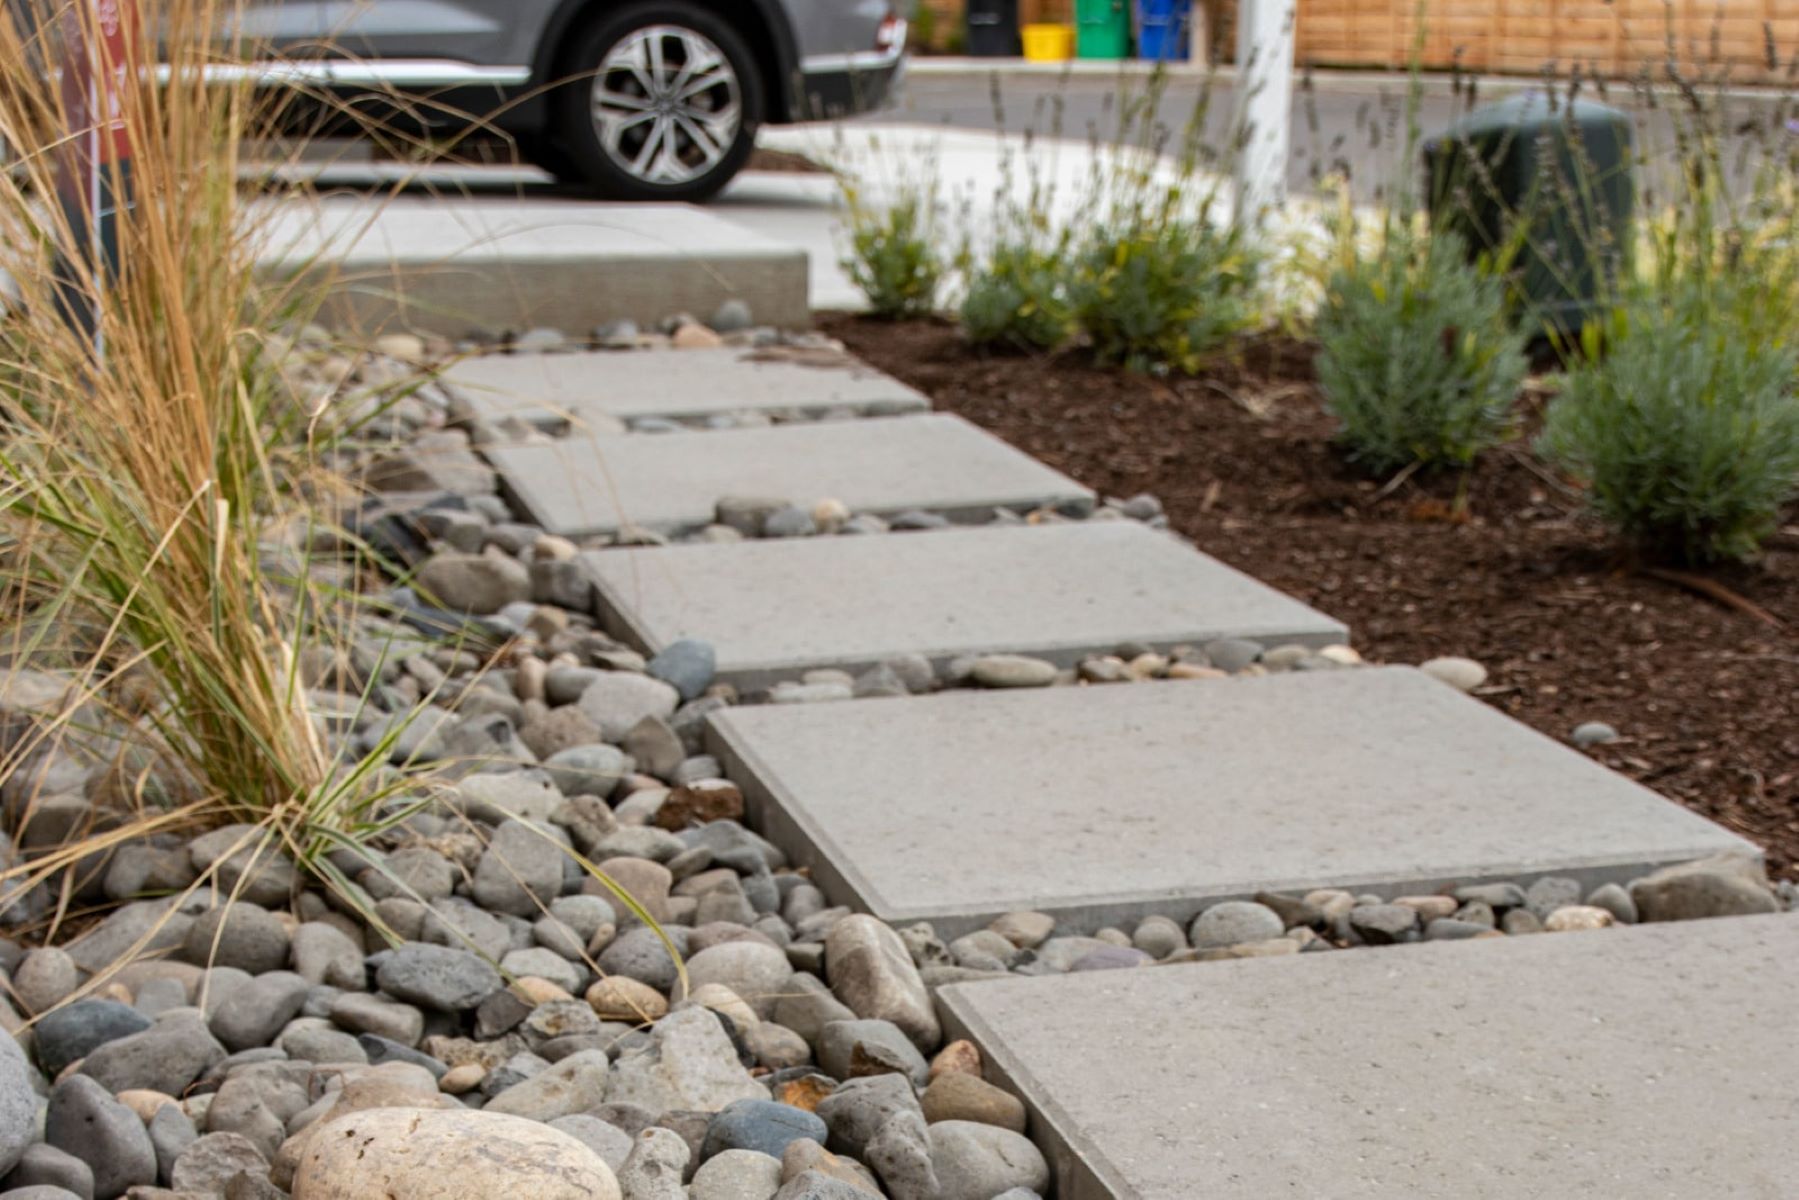
Step 4: Setting the Stones
After creating a solid base, it’s time to start setting the stones for your walkway. This step requires careful placement and alignment to ensure a visually appealing and structurally sound end result.
Follow these steps to set the stones:
- Start with the Largest Stones: Begin by placing the largest stones at strategic points along the walkway. These stones will act as anchor points and guide the placement of the smaller stones.
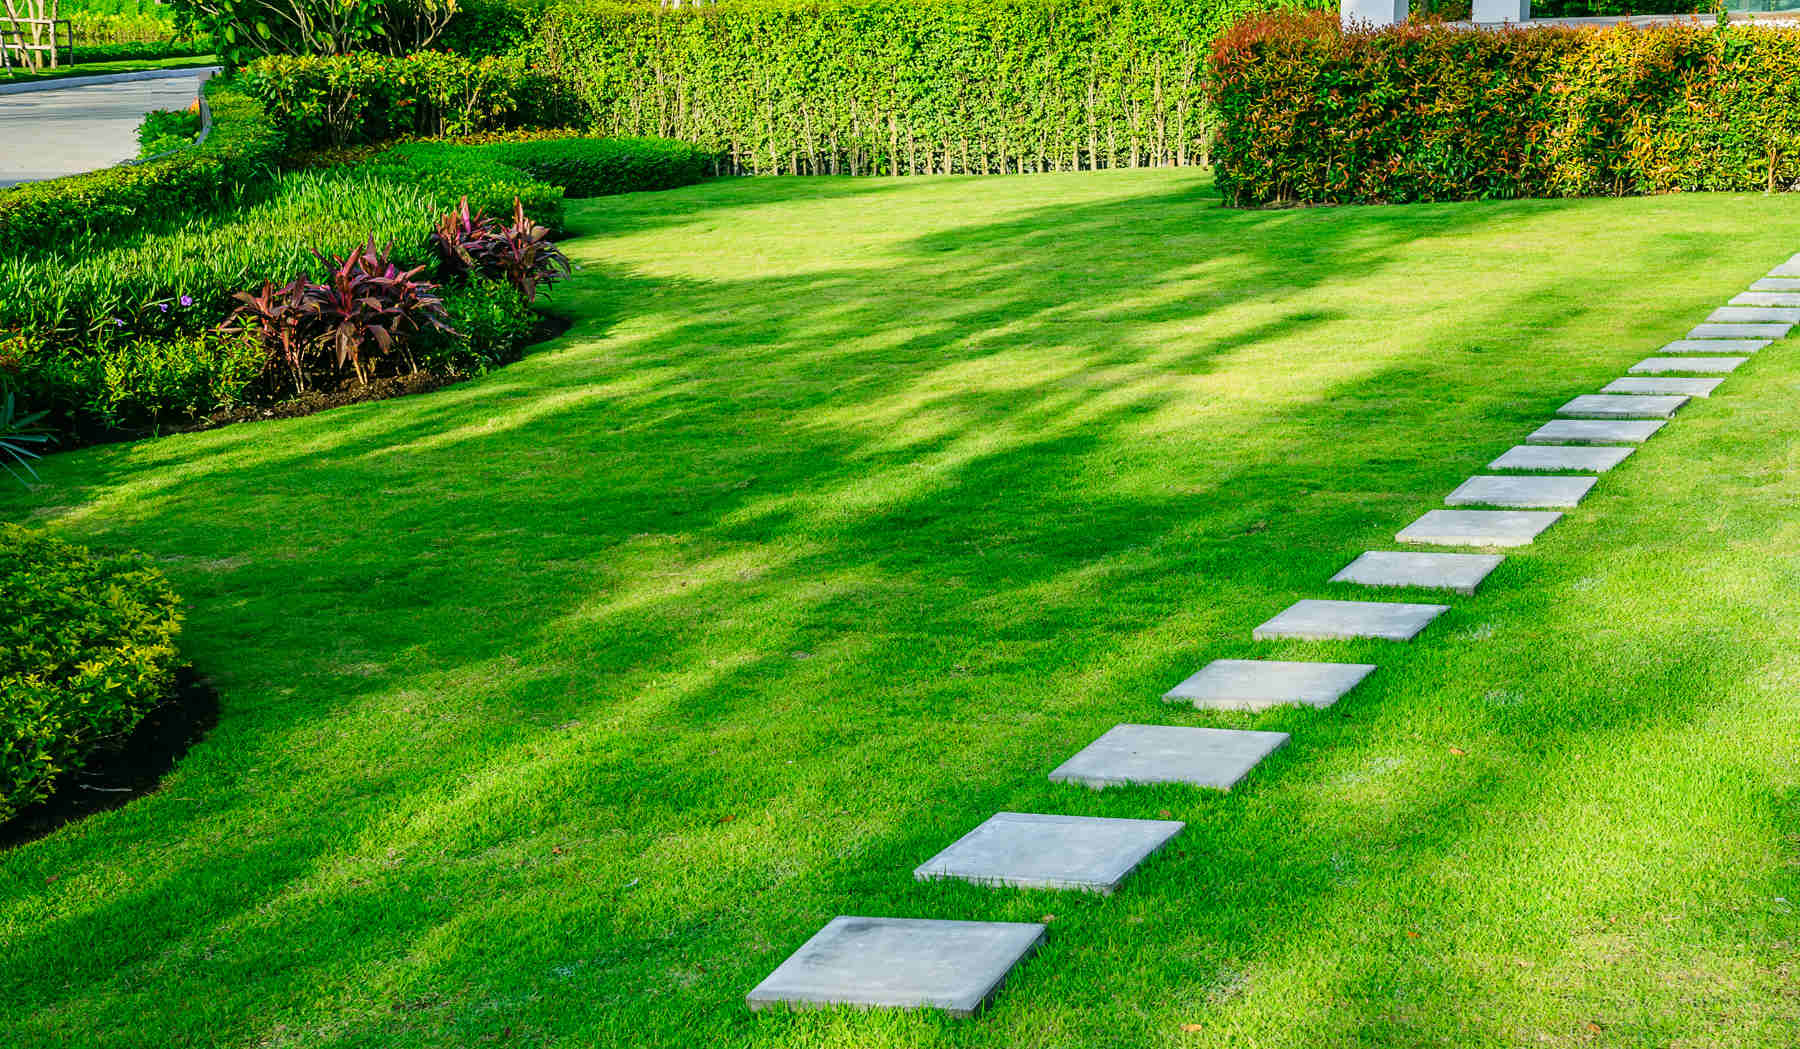
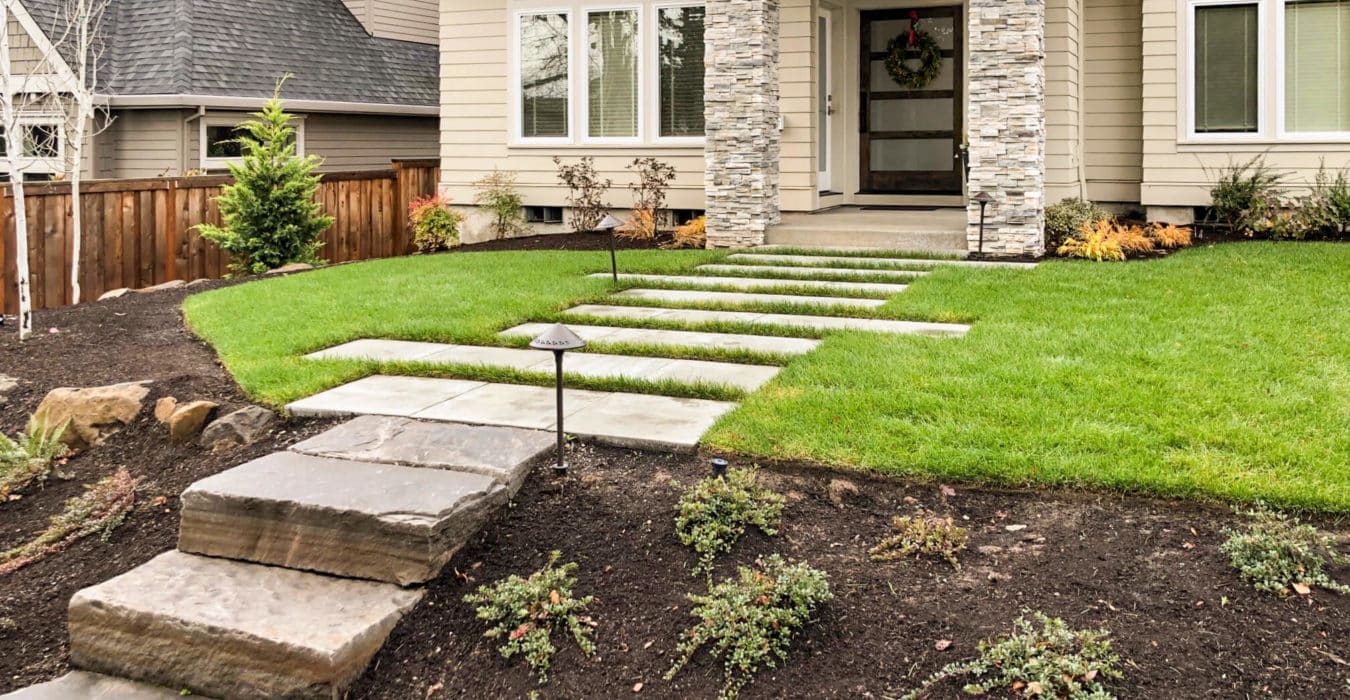
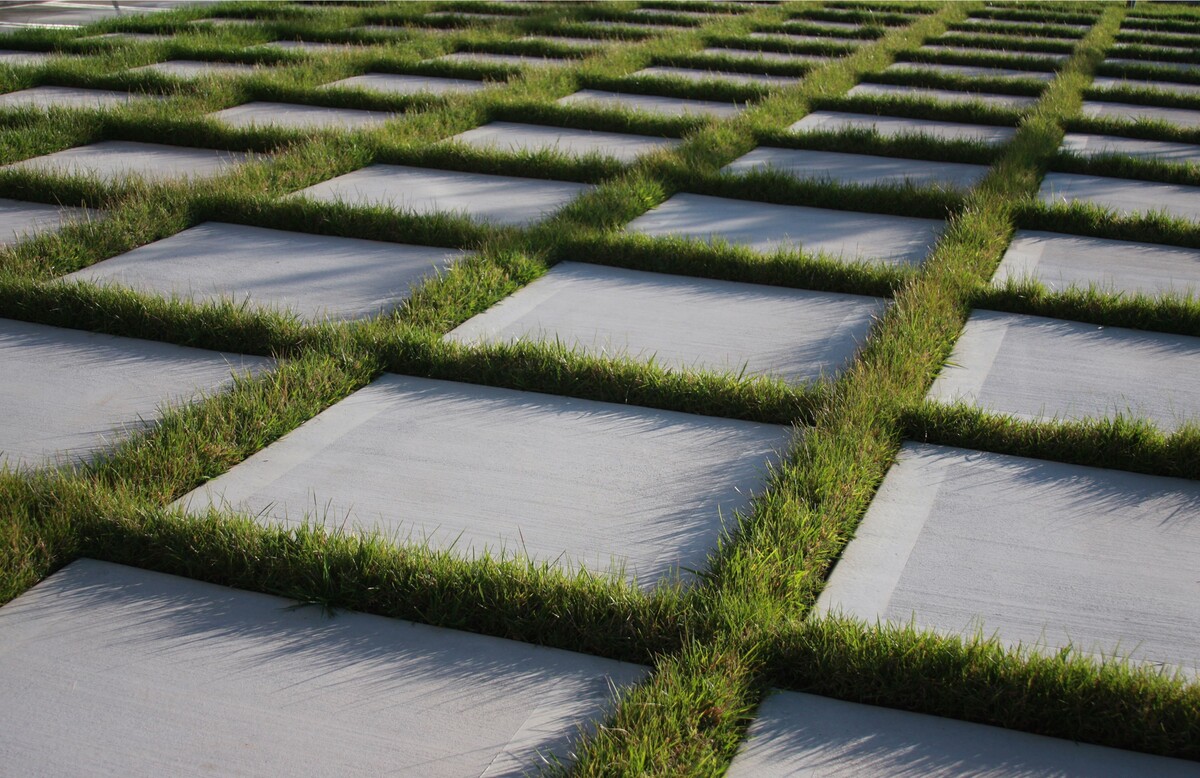
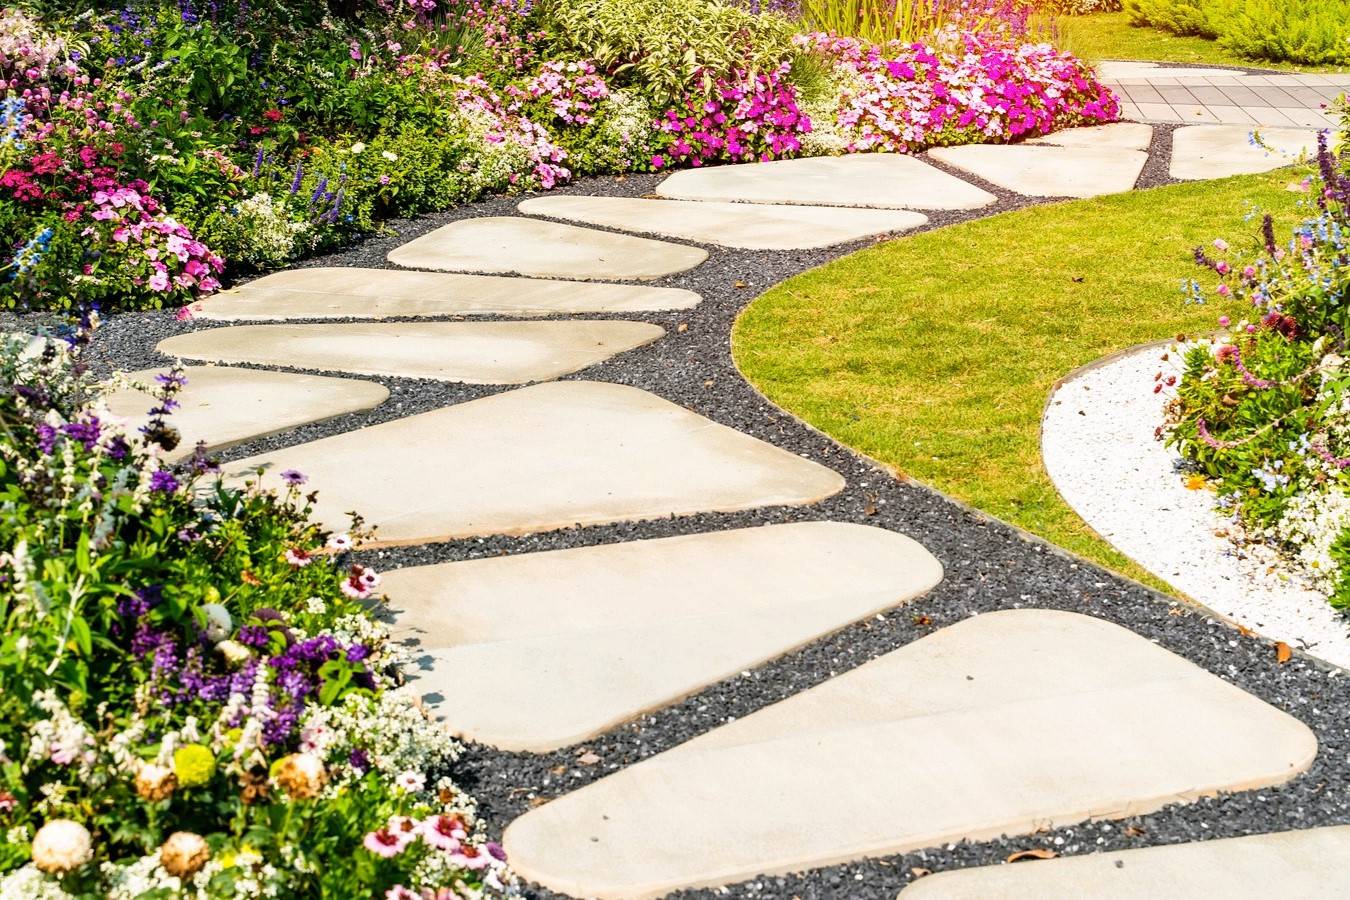
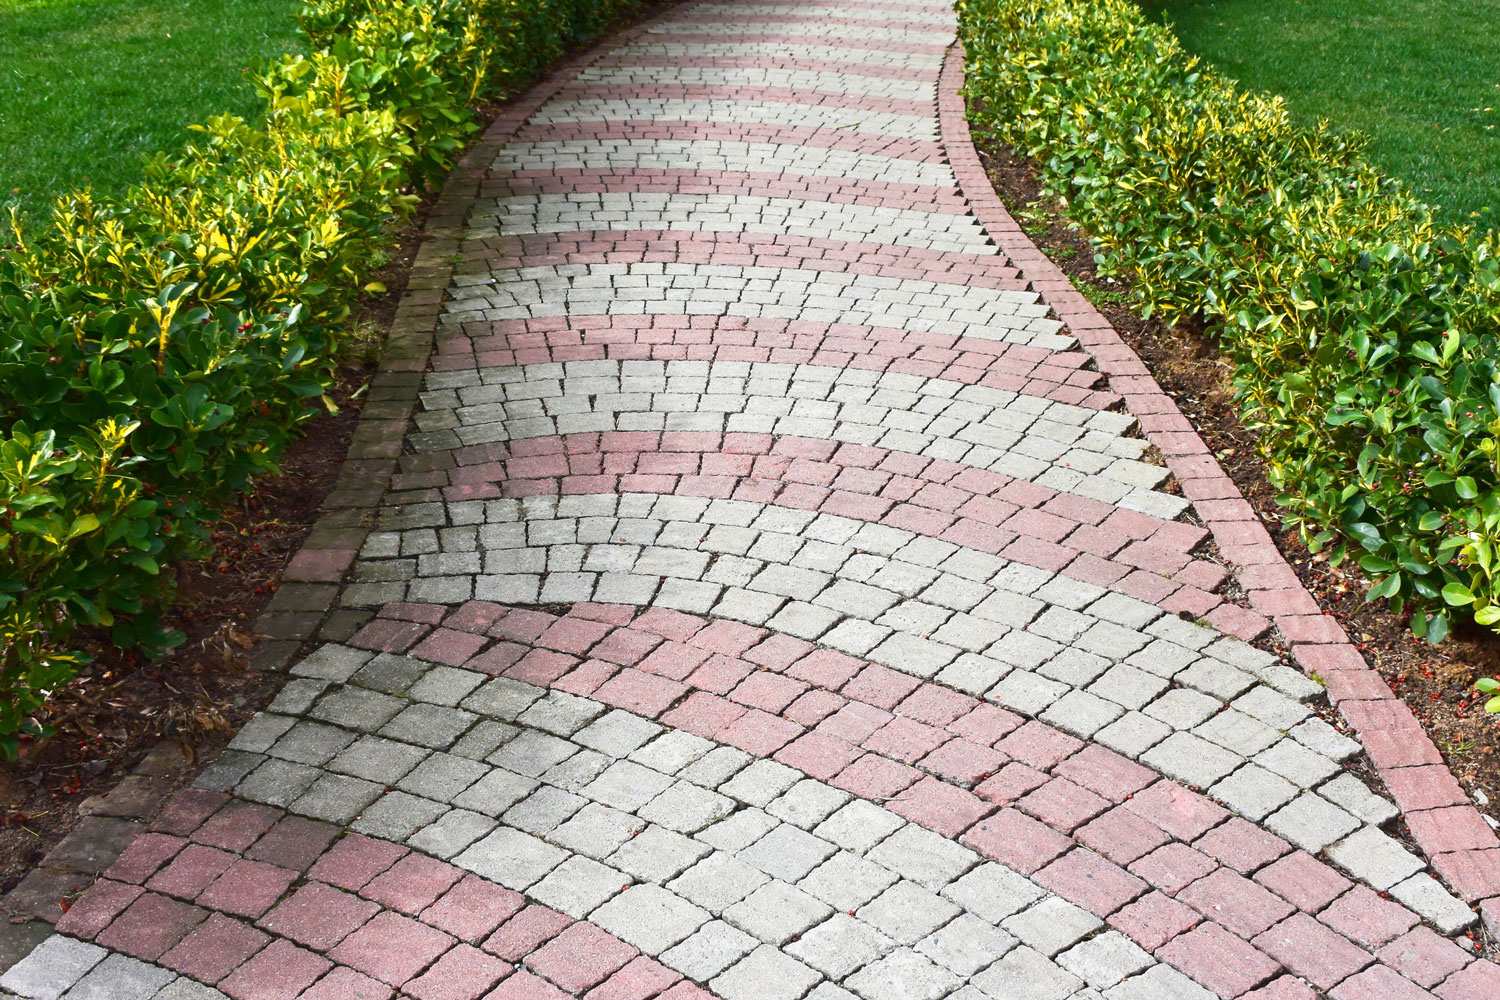
- Set the Stones in a Pattern: Lay the stones in a pattern that is visually appealing and fits the design you have in mind. You can opt for a formal arrangement with evenly spaced stones or a more natural, irregular pattern.
- Leave Space Between Stones: When laying the stones, leave a small gap between them, typically around 1/2 inch. This gap will be filled with sand or other materials in the next step.
- Check for Level and Stability: Use a level to ensure that each stone is level from side to side and front to back. Gently tap the stones with a rubber mallet to ensure they are stable and properly set in the base.
- Continue the Process: Repeat the process of setting stones, checking for level and stability, and ensuring proper spacing. Take your time to ensure that each stone is securely in place and aligns with the desired pattern.
Setting the stones for your walkway is where you can let your creativity shine. Experiment with different arrangements and patterns to create a unique and visually stunning pathway that complements your outdoor space.
Read more: How To Repair Stone Walkway
Step 5: Filling the Gaps
Once the stones are set in place, it’s time to fill the gaps between them. Filling the gaps not only enhances the aesthetic appeal of the walkway but also helps stabilize the stones and prevent weed growth.
Follow these steps to fill the gaps between the stones:
- Choose the Right Material: Select a suitable material for filling the gaps, such as polymeric sand, fine gravel, or a mixture of sand and cement. Consider the desired look, durability, and level of maintenance required for different materials.
- Pour the Material: Pour the chosen material onto the walkway, covering the gaps between the stones. Use a broom or brush to sweep the material into the gaps, ensuring even coverage.
- Compact the Material: Gently compact the material into the gaps using a hand tamper or the back of a shovel. This helps to ensure a tight fit and stability.
- Remove Excess Material: Sweep away any excess material from the surface of the stones using a broom. Pay attention to any spilled material on the stones, as it can harden and become difficult to remove once it dries.
- Mist with Water: Lightly mist the filled gaps with water to activate any binding agents present in the material, such as polymers in polymeric sand. Follow the manufacturer’s instructions for the specific material you are using.
Filling the gaps between the stones not only gives a finished look to your walkway but also provides stability and protects against weed growth. Take your time to ensure even coverage and proper compaction of the material to achieve the best results.
Step 6: Adding Finishing Touches
With the stones set and the gaps filled, it’s time to add the final touches to your stone walkway. These finishing touches will add an extra layer of polish and enhance the overall look and functionality of your project.
Here are some ideas for adding those finishing touches:
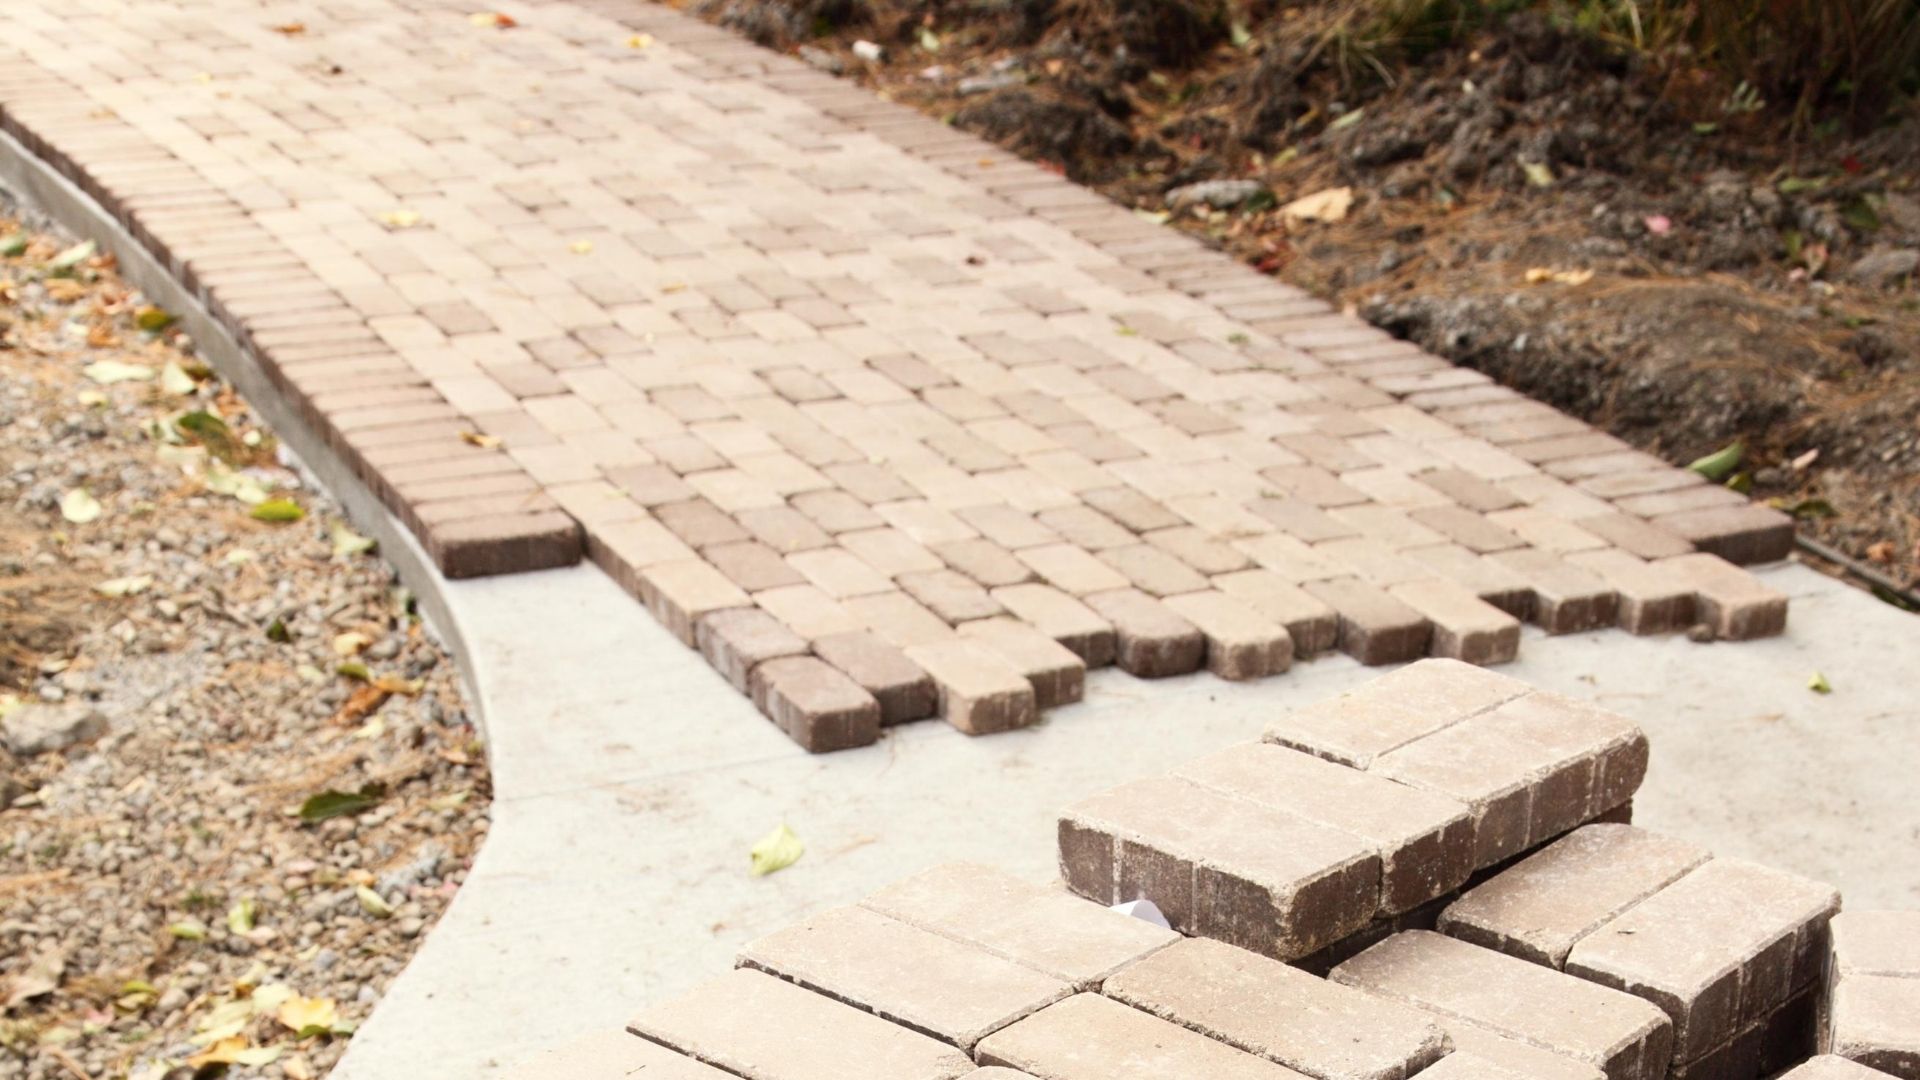
- Add Edging: Consider adding edging materials, such as bricks, pavers, or stones, along the edges of the walkway. This helps define the boundaries and prevents the stones from shifting or spreading over time.
- Install Lighting: Incorporate lighting fixtures along the walkway to create an inviting and safe atmosphere at night. This can include solar-powered path lights, LED strips, or spotlights strategically placed to highlight certain areas.
- Add Plants and Landscaping: Consider adding plants, flowers, and other landscaping elements alongside the walkway to enhance the beauty and create a cohesive look with the surrounding landscape. Choose plants that thrive in the specific lighting and soil conditions of your garden.
- Create Seating Areas: If space permits, strategically place benches, garden chairs, or small resting areas along the walkway. This provides a place to sit and enjoy the scenery or take a break while strolling through your garden.
- Maintain and Clean Regularly: Keep your stone walkway looking its best by regularly sweeping away debris, removing weeds, and power-washing to remove stains or dirt buildup. This maintenance will help prolong the lifespan and beauty of your walkway.
These finishing touches allow you to personalize your stone walkway and create a space that reflects your style and enhances your outdoor living experience. Experiment with different elements to add the perfect finishing touches that make your walkway truly unique.
Conclusion
Congratulations! You have successfully learned how to lay a stone walkway, transforming your outdoor space into a functional and visually appealing area. By following the steps outlined in this comprehensive guide, you have gained the knowledge and skills needed to complete this rewarding DIY project.
Remember, proper planning and preparation are the key to a successful walkway installation. Take the time to select the right stones, create a solid base, and carefully set and fill the gaps. Adding the finishing touches, such as edging, lighting, and landscaping, will elevate the overall look and feel of your walkway.
As you enjoy your new stone walkway, make sure to maintain it regularly. Sweeping away debris, removing weeds, and keeping it clean will preserve its beauty and longevity. With proper care, your stone walkway will be a stunning feature of your outdoor space for years to come.
Now it’s time to lace up your shoes, take a stroll along your beautiful new walkway, and enjoy the fruits of your labor. Happy walking!
Frequently Asked Questions about How To Lay Stone Walkway
Was this page helpful?
At Storables.com, we guarantee accurate and reliable information. Our content, validated by Expert Board Contributors, is crafted following stringent Editorial Policies. We're committed to providing you with well-researched, expert-backed insights for all your informational needs.


0 thoughts on “How To Lay Stone Walkway”