
Articles
How To Install A Stepping Stone Paver Walkway
Modified: August 27, 2024
Learn how to install a beautiful and functional stepping stone paver walkway with our informative articles. Discover helpful tips and expert advice for a successful project.
(Many of the links in this article redirect to a specific reviewed product. Your purchase of these products through affiliate links helps to generate commission for Storables.com, at no extra cost. Learn more)
Introduction
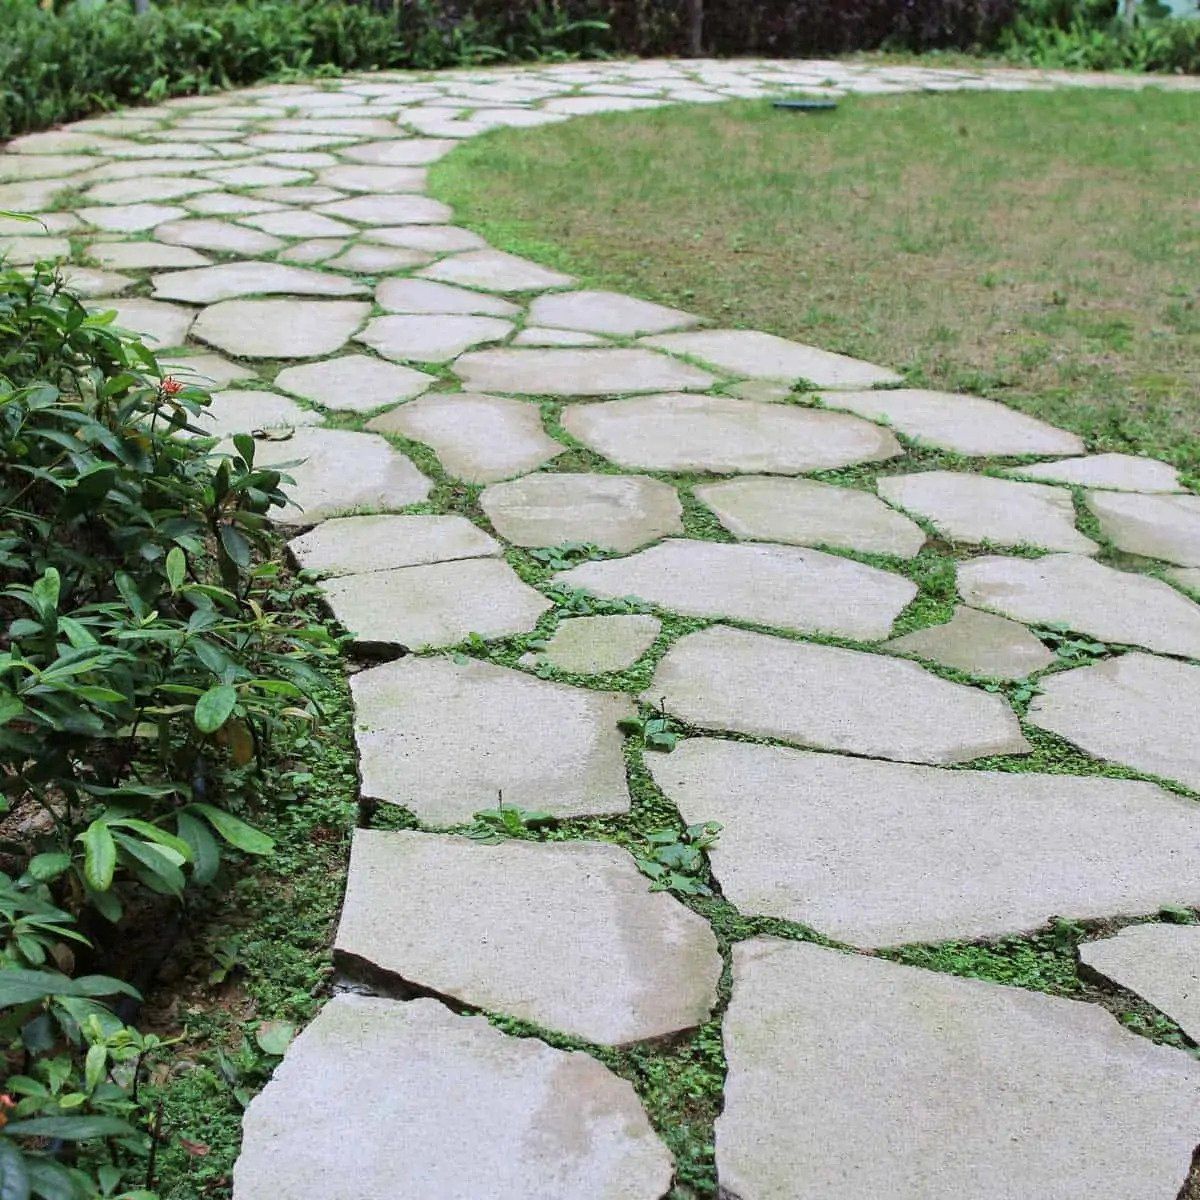
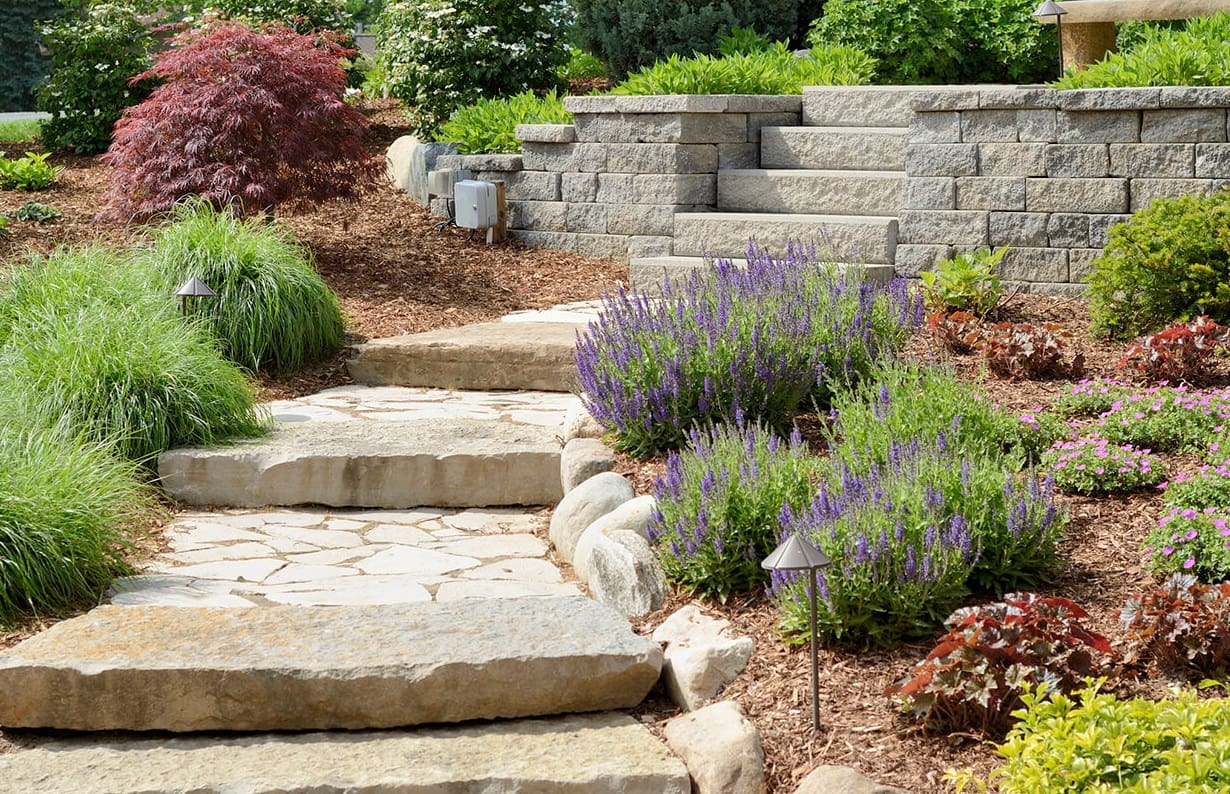
Welcome to the world of stepping stone paver walkways! If you’re looking to enhance your outdoor space and add a touch of charm and functionality, installing a stepping stone paver walkway is a fantastic choice. Not only do these walkways create a beautiful pathway through your garden or yard, but they also provide a safe and stable surface for walking.
In this comprehensive guide, we will take you through the step-by-step process of installing a stepping stone paver walkway. Whether you’re a seasoned DIY enthusiast or a beginner, this article will provide you with all the essential information and tips you need to successfully complete the project.
Before we delve into the nitty-gritty details, it’s important to note that proper planning and preparation are crucial. As with any home improvement project, it’s essential to have a clear vision of what you want to achieve and gather all the necessary tools and materials. By taking your time to plan and prepare, you’ll ensure that your stepping stone paver walkway will not only look beautiful but also last for years to come.
So let’s get started on this exciting journey of creating a stunning and functional stepping stone paver walkway for your outdoor space. Get ready to roll up your sleeves, put on your work gloves, and let’s transform your landscape into something extraordinary!
Key Takeaways:
- Create a stunning and functional stepping stone paver walkway by carefully planning the layout, choosing the right materials, and preparing the site for a smooth and efficient installation process.
- Enjoy the beauty and functionality of your walkway by adding finishing touches, such as landscape lighting and edging materials, and following proper maintenance practices to ensure its longevity.
Read more: How To Build A Walkway With Stepping Stones
Step 1: Planning and Design
The first step in installing a stepping stone paver walkway is to plan and design the layout. This crucial step sets the foundation for the entire project and determines the overall look and feel of your walkway.
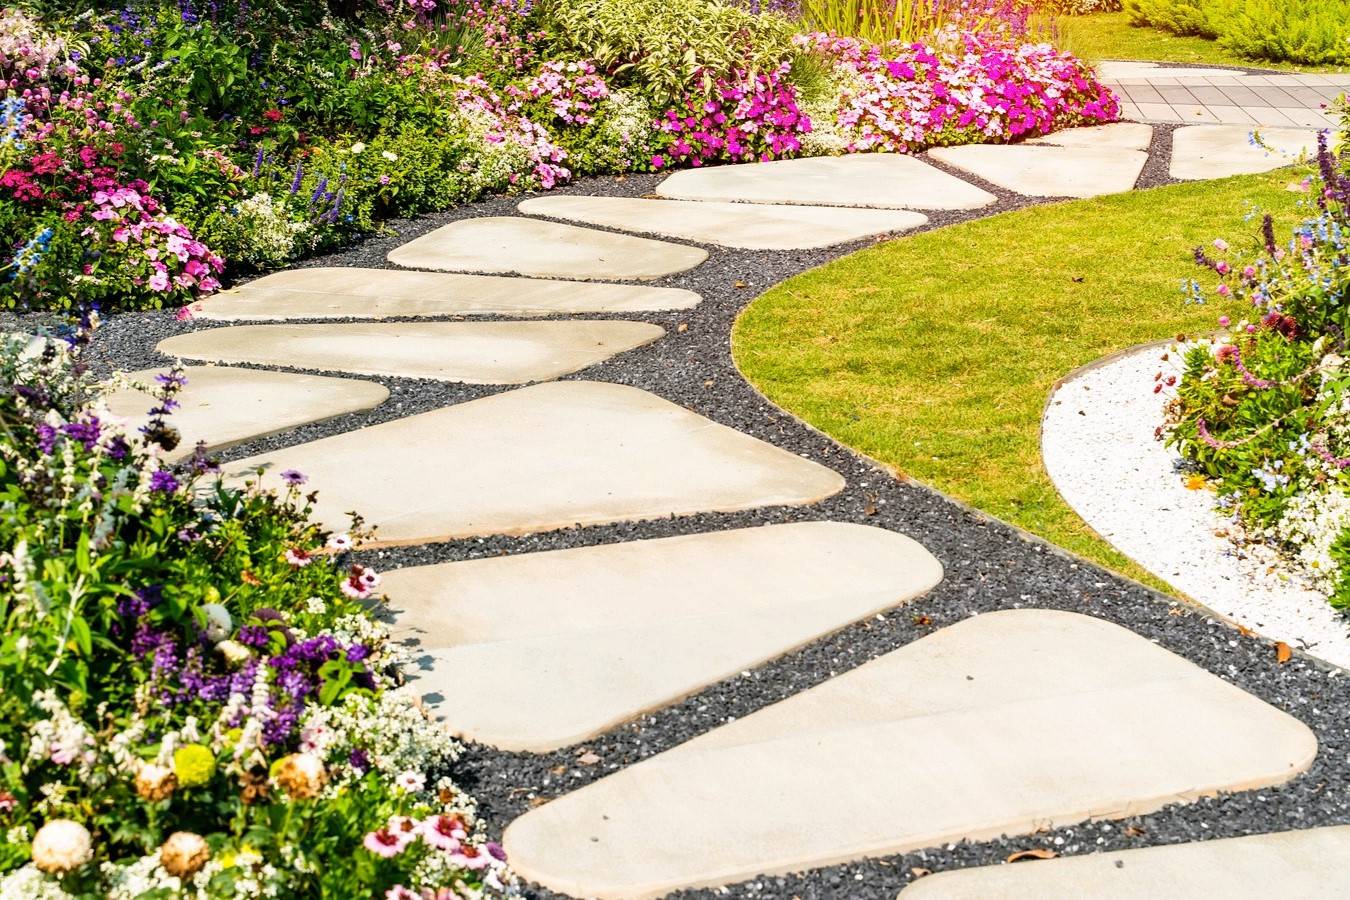
Start by envisioning the purpose of your walkway. Are you looking to create a straight path from point A to point B, or do you want a more meandering and organic route? Consider the landscape of your yard, the existing features, and any potential obstacles or challenges you may encounter.
Measure the length and width of your desired walkway and mark the boundaries using stakes and string. This visual aid will help you evaluate the flow and make necessary adjustments before starting the installation process.
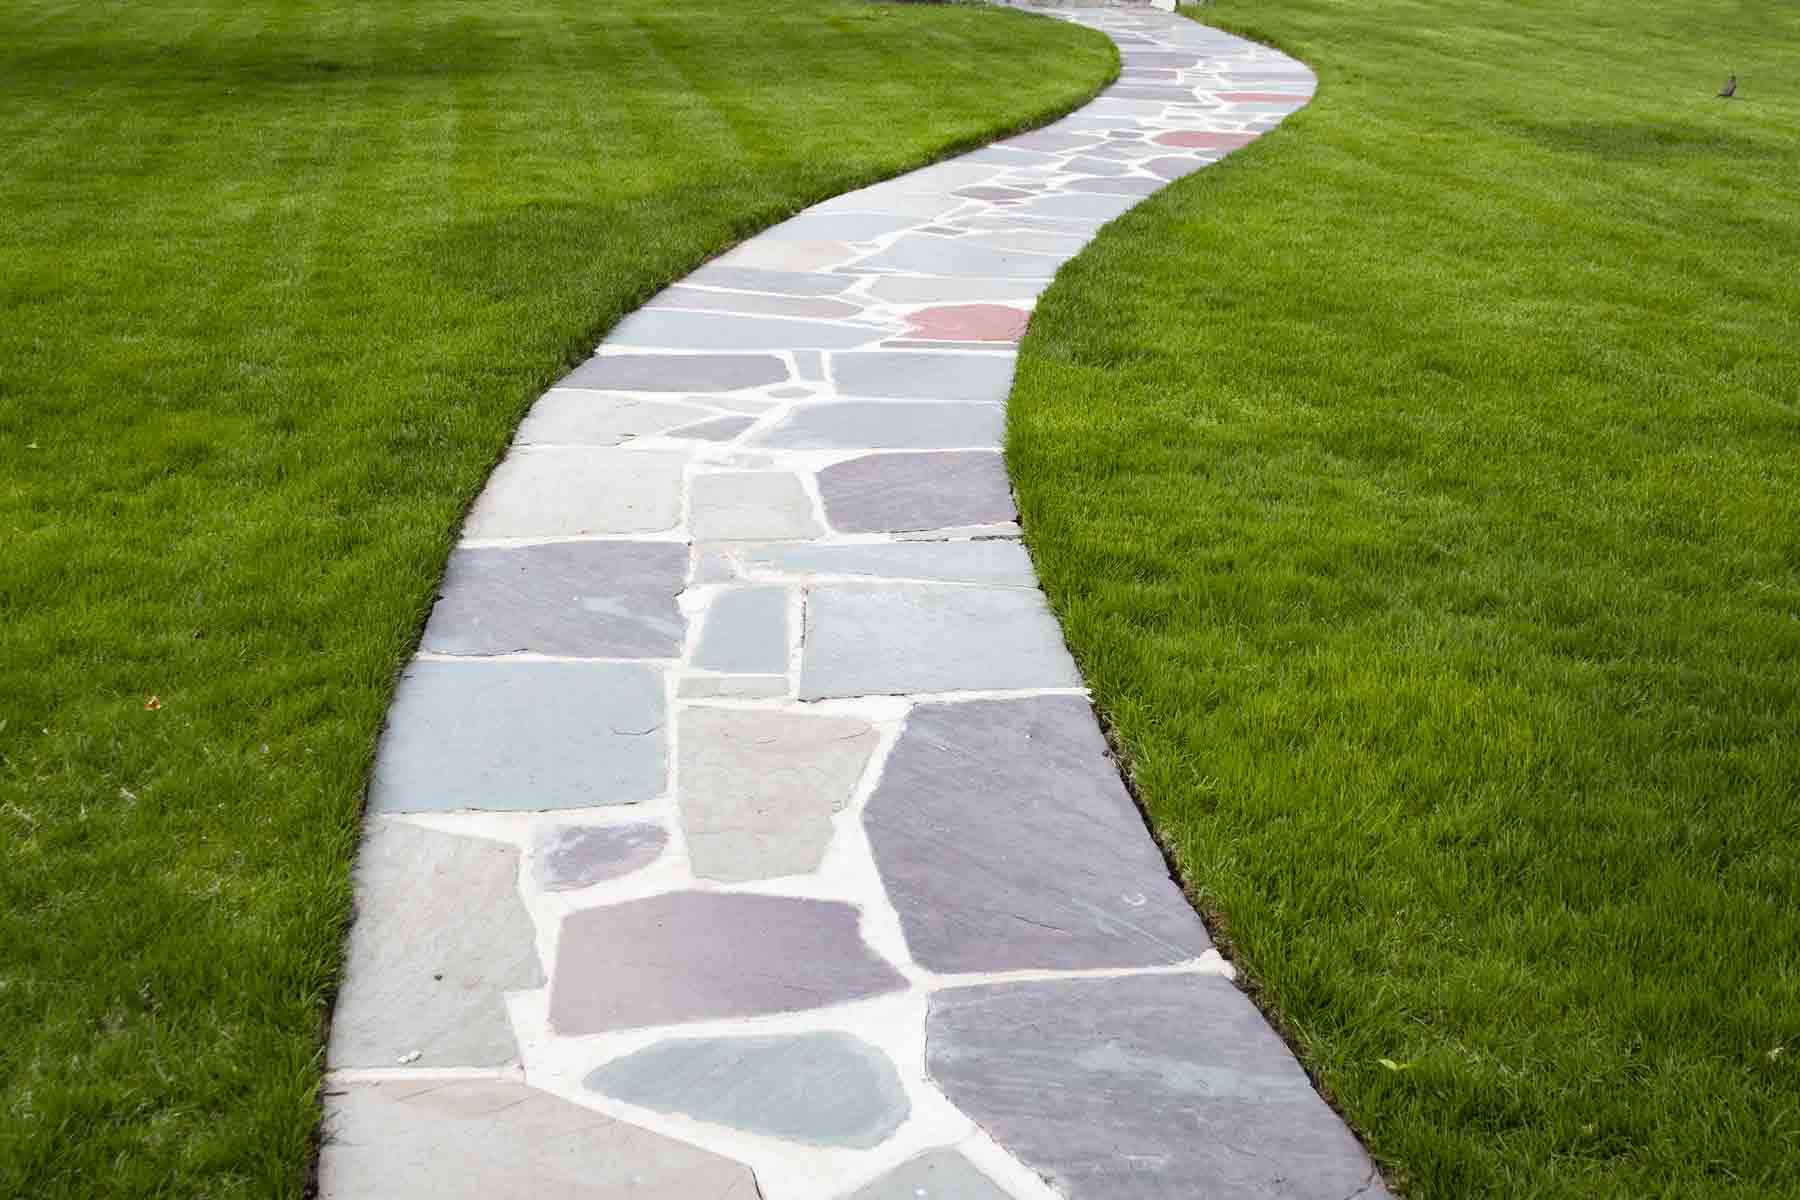
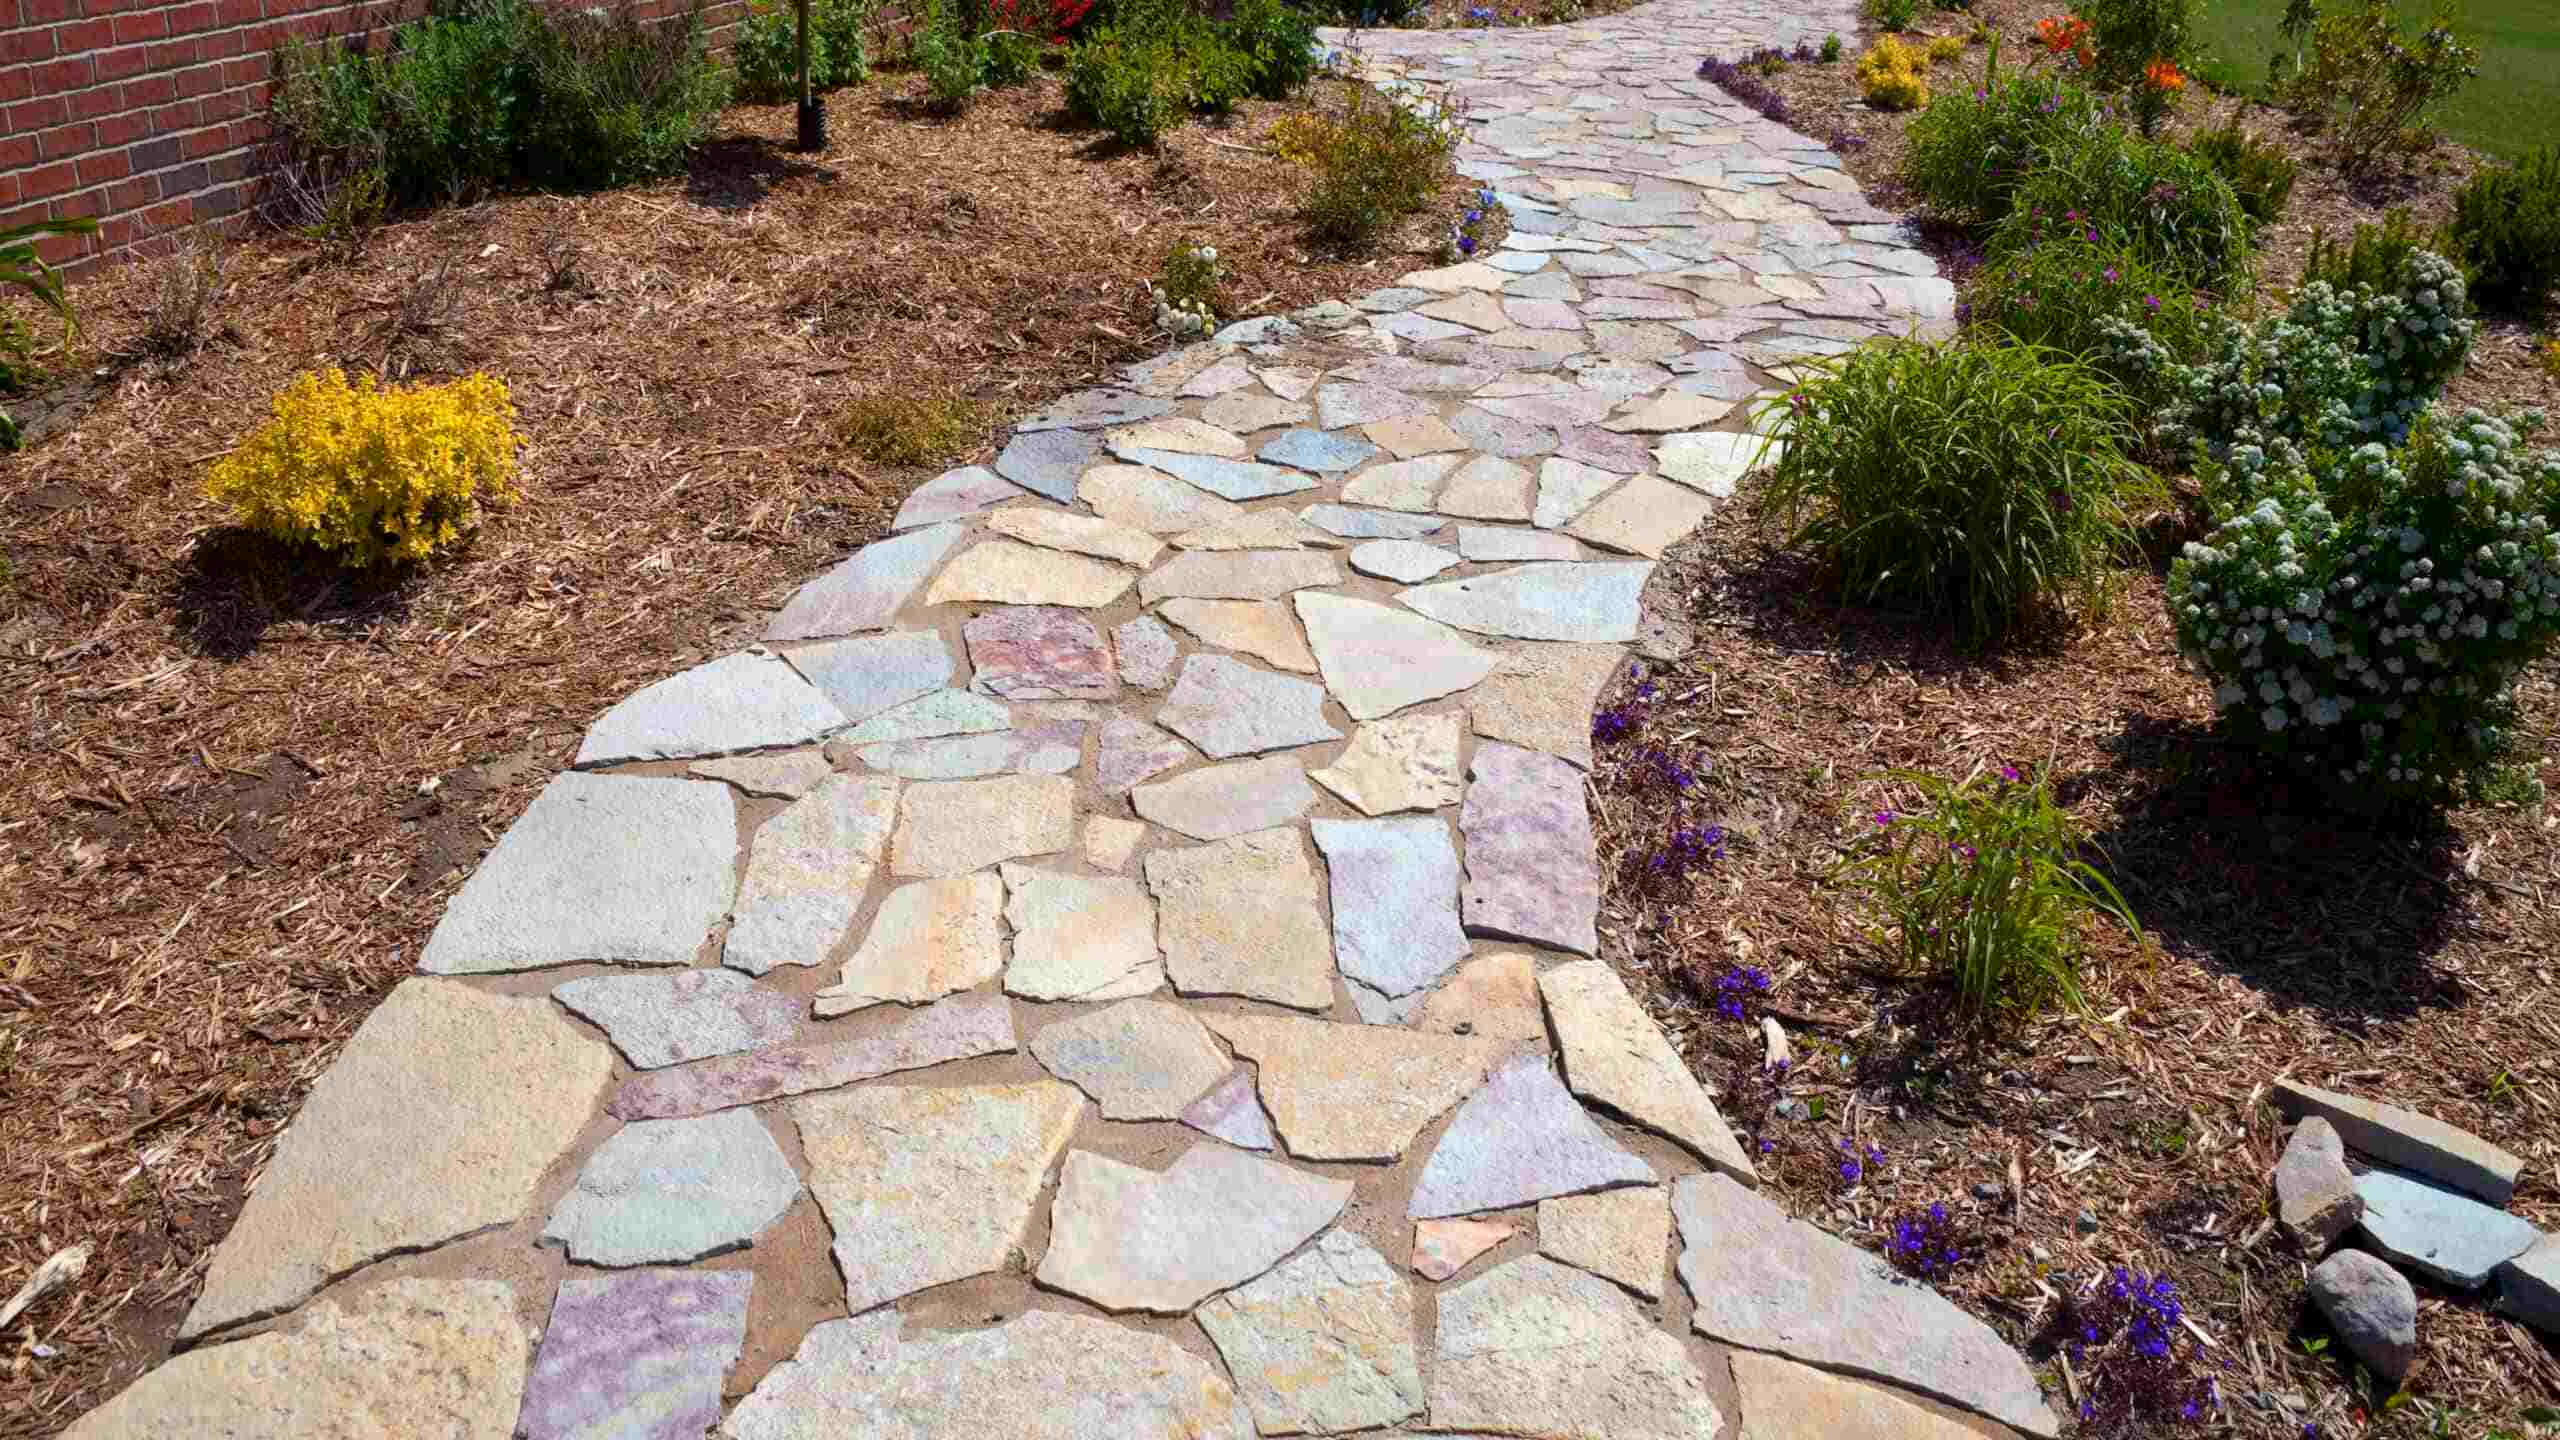
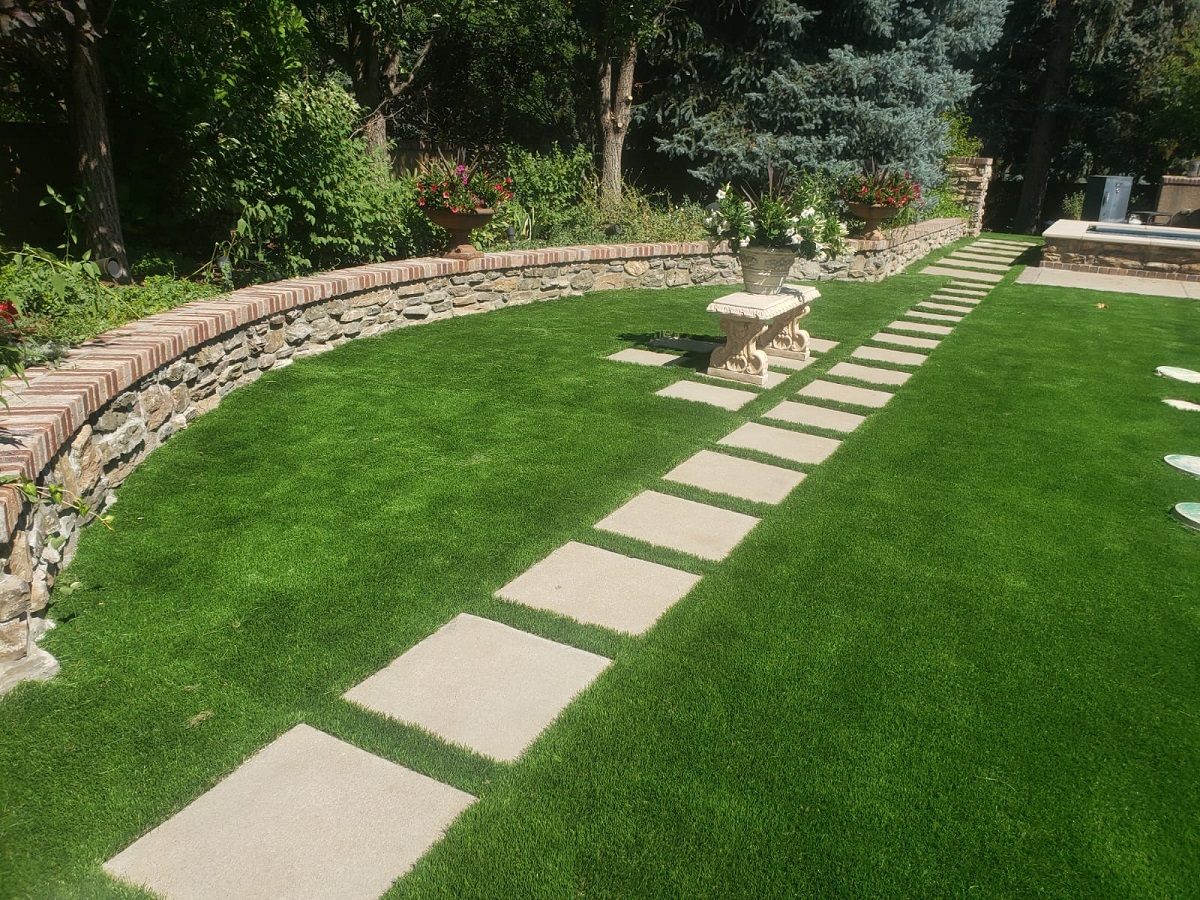
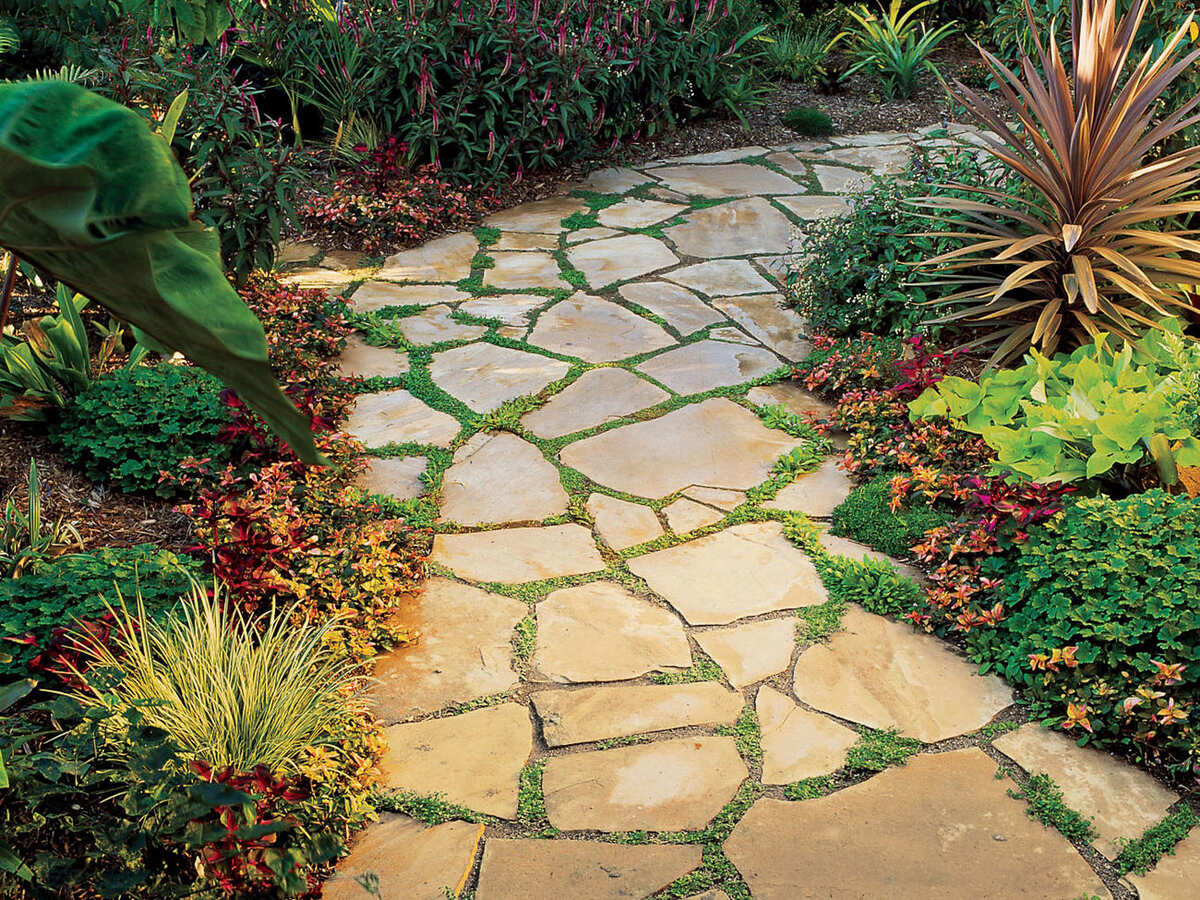
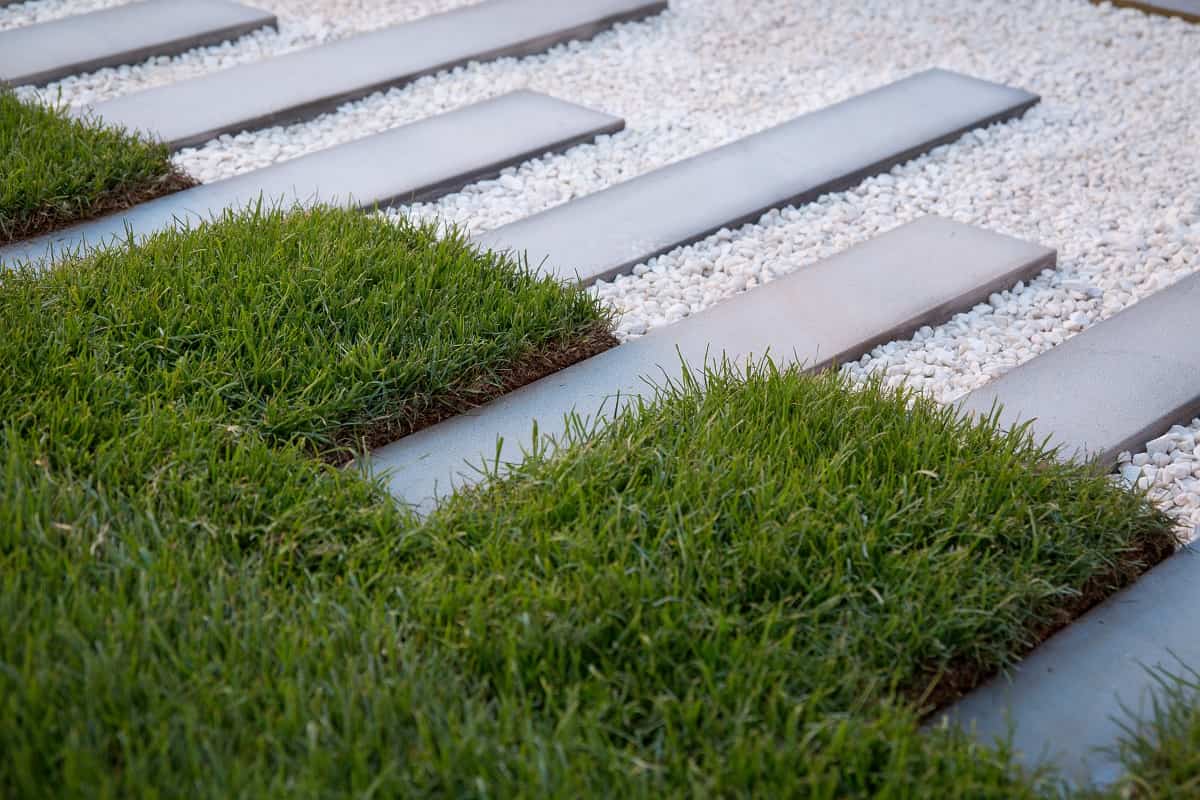
Next, choose the style and type of stepping stones you want to use. There are various materials to choose from, including concrete, natural stone, and even recycled materials. Consider the aesthetic appeal, durability, and functionality of each option. Keep in mind that the size and shape of the stepping stones should be proportionate to the scale of your walkway and the surrounding landscape.
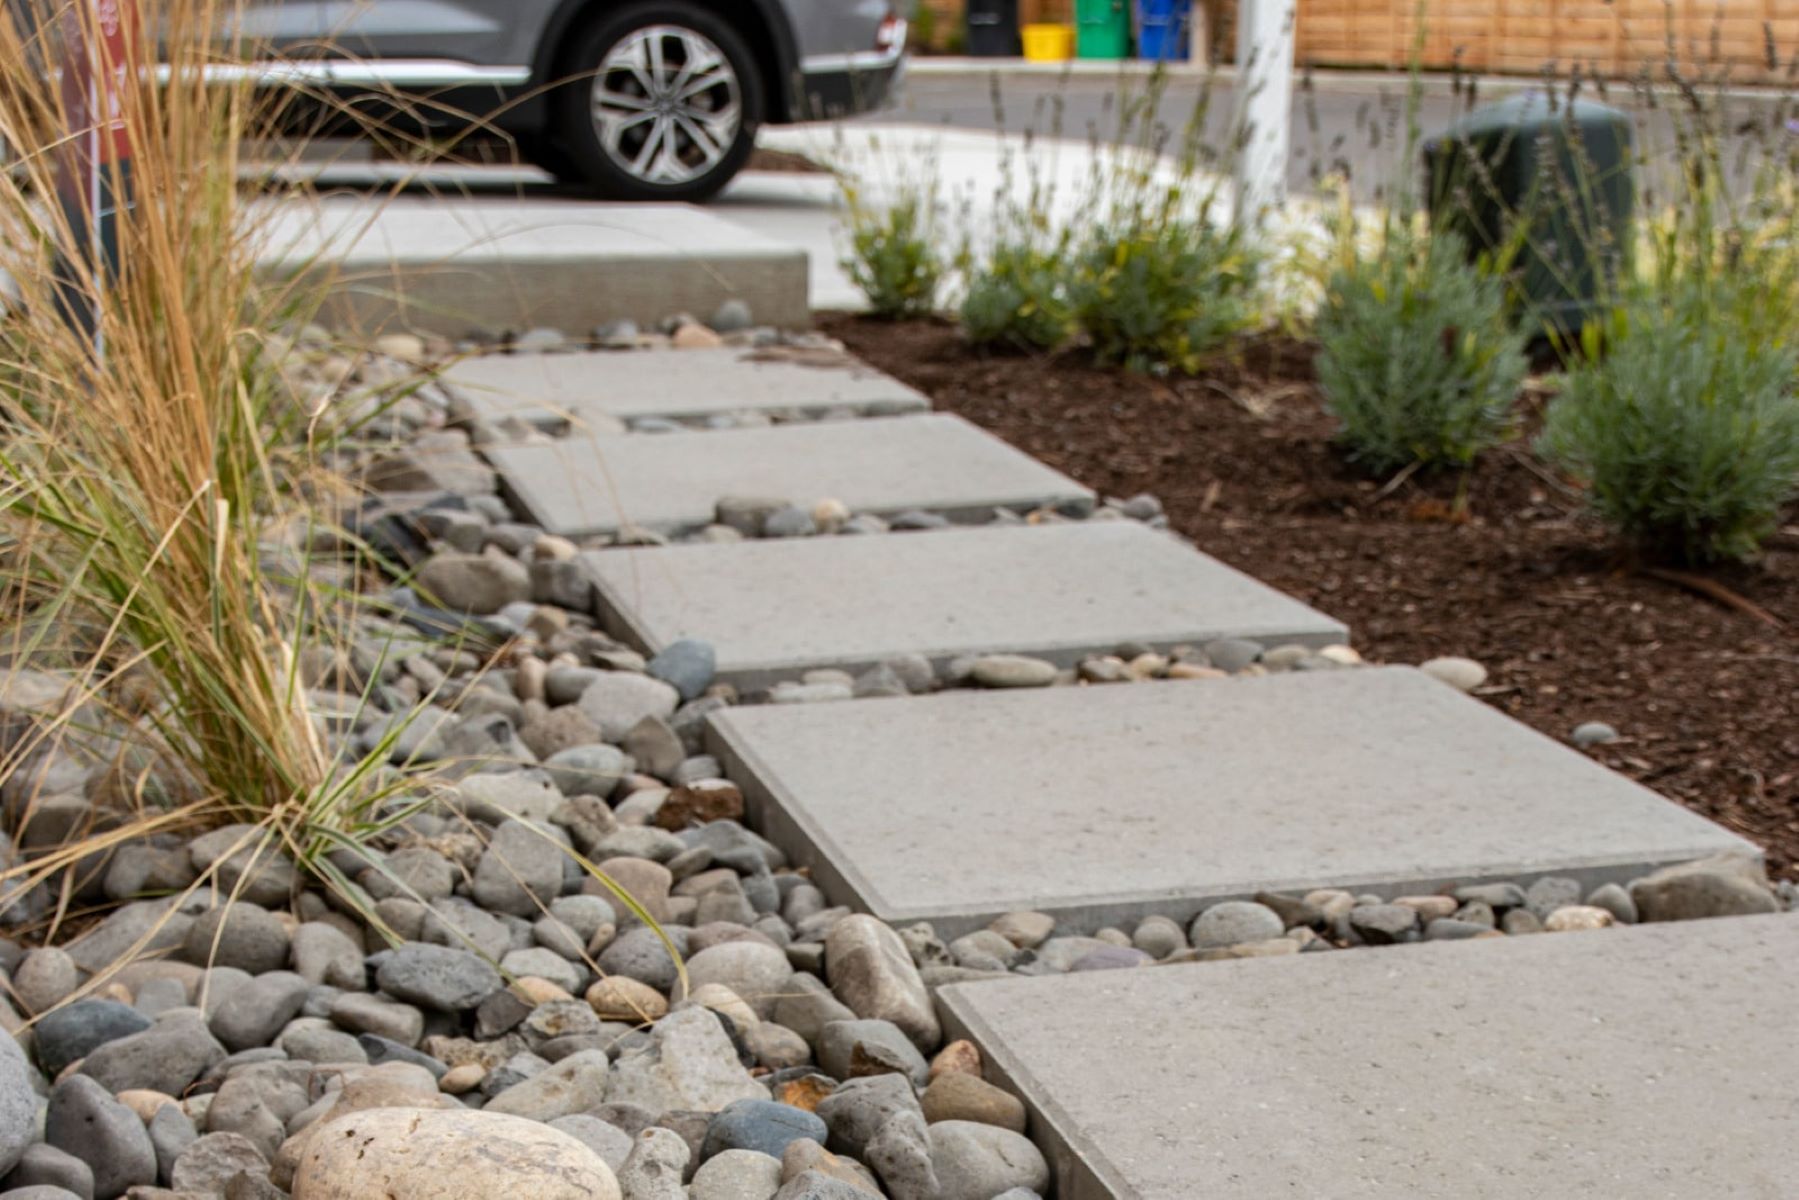
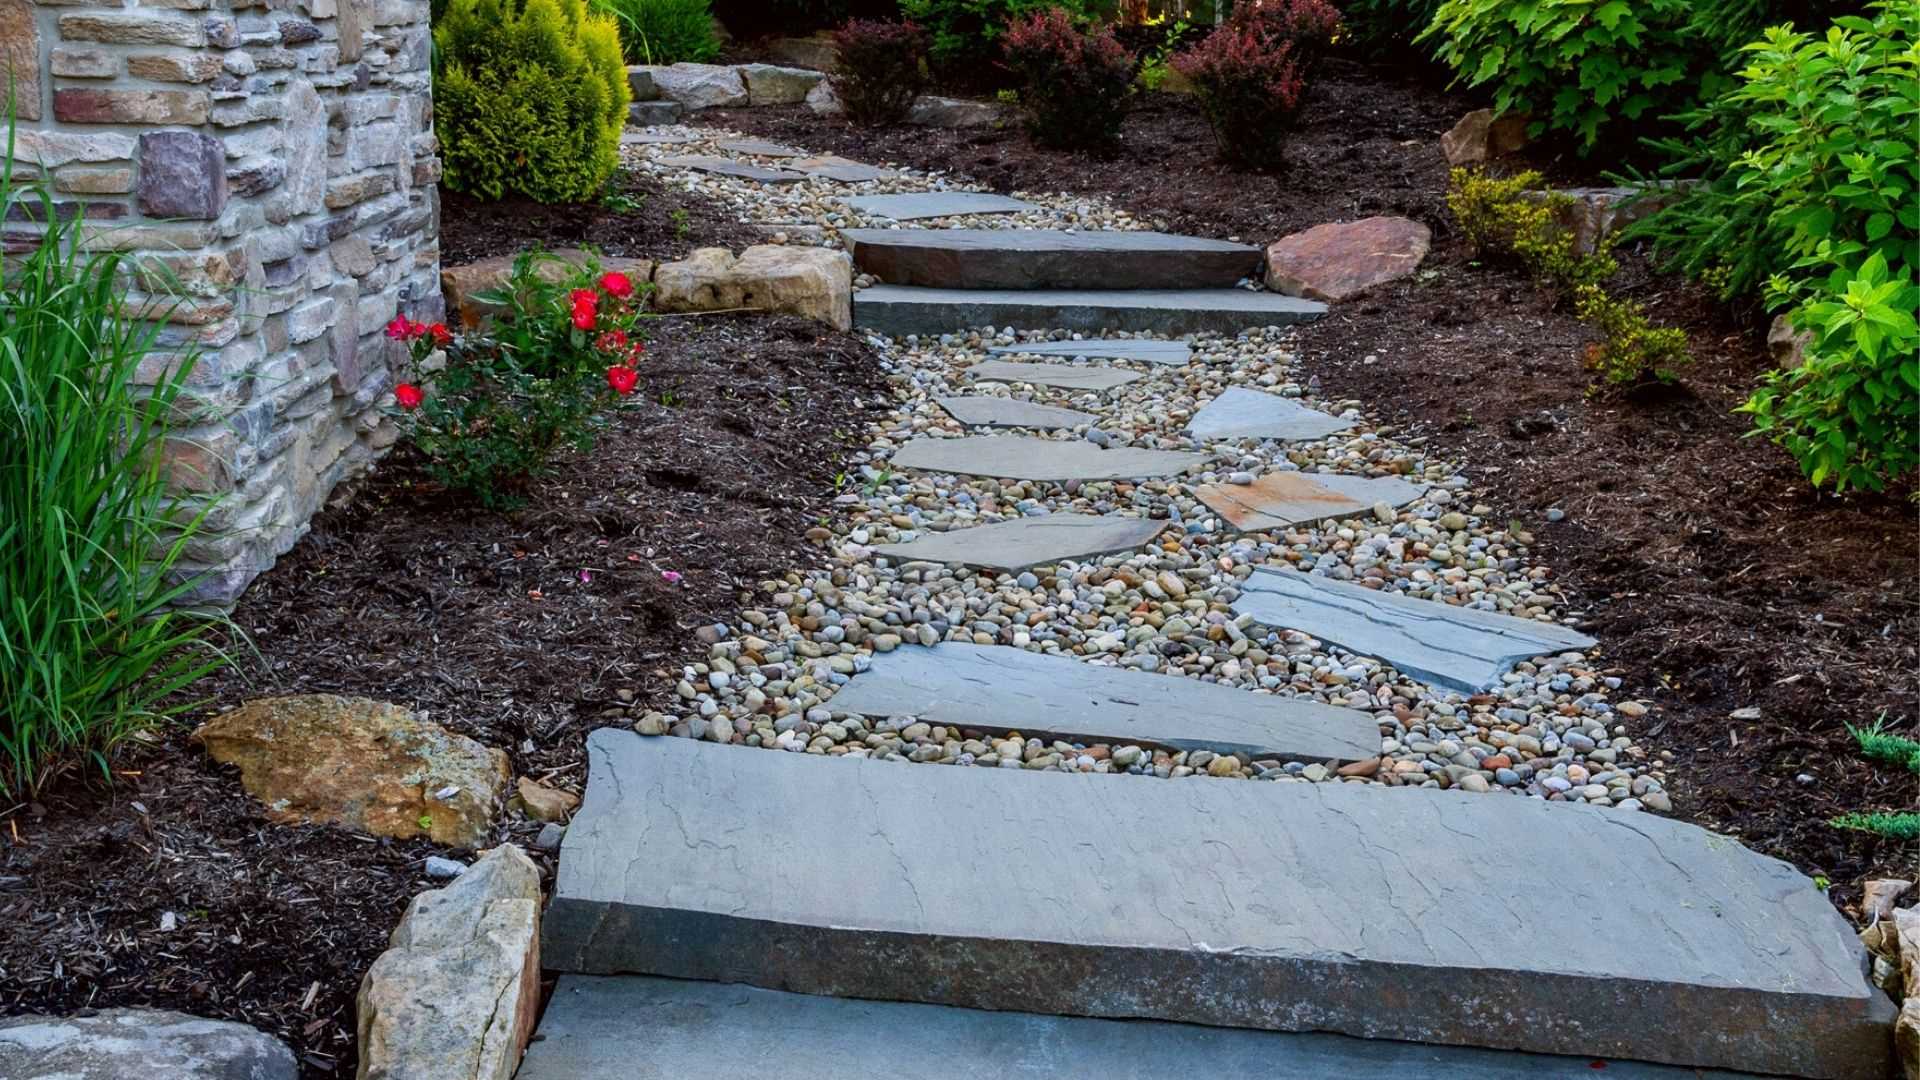
Once you’ve decided on the layout and materials, it’s time to determine the spacing between the stepping stones. A general rule of thumb is to leave at least 2 to 4 inches of space between each stone for stability and ease of walking. You can adjust the spacing based on your personal preference and the size of the stones.
Another important aspect of the planning phase is considering the slope and drainage of your walkway. Ensure that there is proper water drainage so that the walkway doesn’t become slippery or prone to puddling. If your yard has a significant slope, you may need to incorporate steps or ramps to make the walkway level and accessible.
Lastly, a design consideration to keep in mind is the surrounding landscaping elements. Take into account the plants, flowers, and other features that will complement your walkway. You can create a border using edging materials or incorporate landscape lighting to highlight the path.
By carefully planning and designing your stepping stone paver walkway, you’re setting yourself up for success. Take the time to visualize, measure, and consider all the necessary elements. With a well-planned design, your walkway will seamlessly blend into your outdoor space and provide years of enjoyment. Now it’s time to move on to gathering the materials and tools needed for the installation process.
Step 2: Gathering Materials and Tools
Now that you have a clear plan and design in place for your stepping stone paver walkway, it’s time to gather all the materials and tools you’ll need. Proper preparation in this step will save you time and ensure a smooth installation process.
Here’s a list of the essential materials and tools you’ll need:
- Stepping stones: Choose the type and style of stepping stones that align with your design and personal preference. Make sure you have enough to cover the desired length and width of your walkway.
- Gravel or crushed stone: This will be used as a base material to create a stable foundation for your stepping stones.
- Landscape fabric: To prevent weed growth and maintain the integrity of your walkway, landscape fabric is necessary. It will act as a barrier between the soil and the gravel.
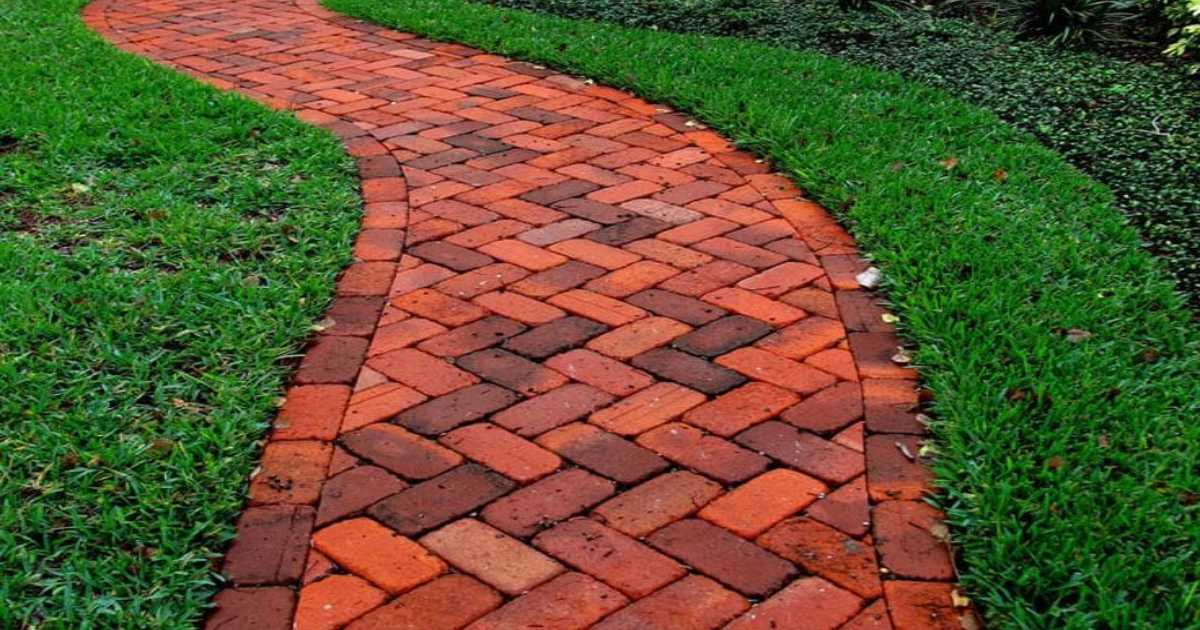
- Edging materials: Depending on your design, you may need edging materials to create a clean and defined border for your walkway. Options include plastic or metal edging, bricks, or natural stone.
- Masonry sand: This is used to level the foundation and fill the gaps between the stepping stones.
- Shovel: A sturdy shovel is essential for excavating the area and removing any existing grass or vegetation.
- Rake: Use a rake to level the ground and smooth out the surface.
- Tamper: A tamper or compactor will help you compact the gravel and create a solid base for the stepping stones.
- Wheelbarrow: Use a wheelbarrow to transport and move heavy materials, such as gravel or sand, throughout the installation process.
- Level: A level tool will ensure that your stepping stones are installed evenly and create a level surface.
- Tape measure: Accurate measurements are crucial for creating the desired layout and spacing of your stepping stones.
- Work gloves and safety goggles: Protect your hands and eyes by wearing appropriate safety gear during the installation process.
Before you begin your project, double-check the list above to ensure you have all the necessary materials and tools. It’s always a good idea to have everything ready to go before you start, as it will save you time and prevent any delays in the installation process.
Now that you’re equipped with all the essential materials and tools, it’s time to move on to the next step: preparing the site for your stepping stone paver walkway.
Step 3: Preparing the Site
With your materials and tools in hand, it’s time to prepare the site for your stepping stone paver walkway. Proper site preparation is crucial for a successful and long-lasting installation.
Follow these steps to prepare the site:
- Clear the area: Begin by removing any existing grass, weeds, or vegetation in the planned walkway area. Use a shovel to dig up the grass and roots, ensuring that you have a clean and level surface for the next steps.
- Excavate the soil: Use a shovel to dig a trench that is approximately 4-6 inches deep. This will accommodate the gravel base and the thickness of the stepping stones. Make sure the trench follows the planned layout and maintains a consistent width throughout the walkway.
- Level the ground: Use a rake to level the excavated area. Remove any large rocks, roots, or debris that may affect the stability of the walkway. Use a level tool to check that the ground is even and adjust as needed.
- Install landscape fabric: Lay down landscape fabric within the excavated area, extending it slightly beyond the walkway boundaries. This will help prevent weed growth and maintain the integrity of the walkway over time.
- Add the gravel base: Pour a layer of gravel or crushed stone into the trench, filling it about 2-3 inches deep. Rake the gravel to create an even and compact base. Use a tamper or compactor to firmly compact the gravel, ensuring a stable foundation.
- Check for proper slope: It’s crucial to ensure that your walkway has a slight slope to allow for proper water drainage. Aim for a slope of about 1/4 inch per foot. Use a level tool to check the slope and make adjustments if needed.
By following these steps, you will create a solid and stable foundation for your stepping stone paver walkway. The gravel base and level ground will provide a sturdy surface for the installation of the stepping stones. Take your time during this step to ensure that everything is properly leveled and compacted.
Now that the site is prepared, it’s time to move on to the next step: laying the foundation for your stepping stone paver walkway.
Step 4: Laying the Foundation
With the site prepared, it’s time to lay the foundation for your stepping stone paver walkway. This step involves creating a stable and level surface for the stepping stones to be placed upon.
Follow these steps to lay the foundation:
- Spread a layer of masonry sand: After ensuring that the trench is level and compacted, spread a layer of masonry sand evenly over the gravel base. Aim for a thickness of about 1 inch.
- Use a rake or trowel to level the sand: Work the sand back and forth with a rake or trowel to create a smooth and level surface. Make sure the sand is evenly distributed throughout the excavated area.
- Check for accuracy: Use a level tool to check the surface for accuracy. Adjust the sand as needed to ensure that it is level and even. Remember, a stable and level foundation is key to the longevity and stability of your stepping stone walkway.
- Begin laying the stepping stones: Start placing the stepping stones on the sand bed, following your predetermined layout and spacing. Press each stepping stone firmly into the sand to ensure it is stable and level. Use a level tool to check that each stone is even with its neighbors.
- Make adjustments as needed: If you notice any unevenness or gaps between the stepping stones, add or remove sand as necessary to achieve a uniform surface. Take your time during this step to ensure that the stones are properly aligned.
As you lay the foundation, remember to step back periodically and evaluate the overall appearance and alignment of the stepping stones. Pay attention to the spacing, aesthetics, and functionality of the walkway. Make any necessary adjustments before proceeding to the next step.
By following these steps, you will create a solid and reliable foundation for your stepping stone paver walkway. The level surface will ensure that the stepping stones are secure and provide a safe walking path through your garden or yard. Now that the foundation is in place, it’s time to move on to the next step: installing the stepping stones.
Before installing a stepping stone paver walkway, make sure to properly prepare the base by leveling the ground, adding a layer of sand, and compacting it to ensure stability and longevity of the walkway.
Read more: How To Install A Walkway With Pavers
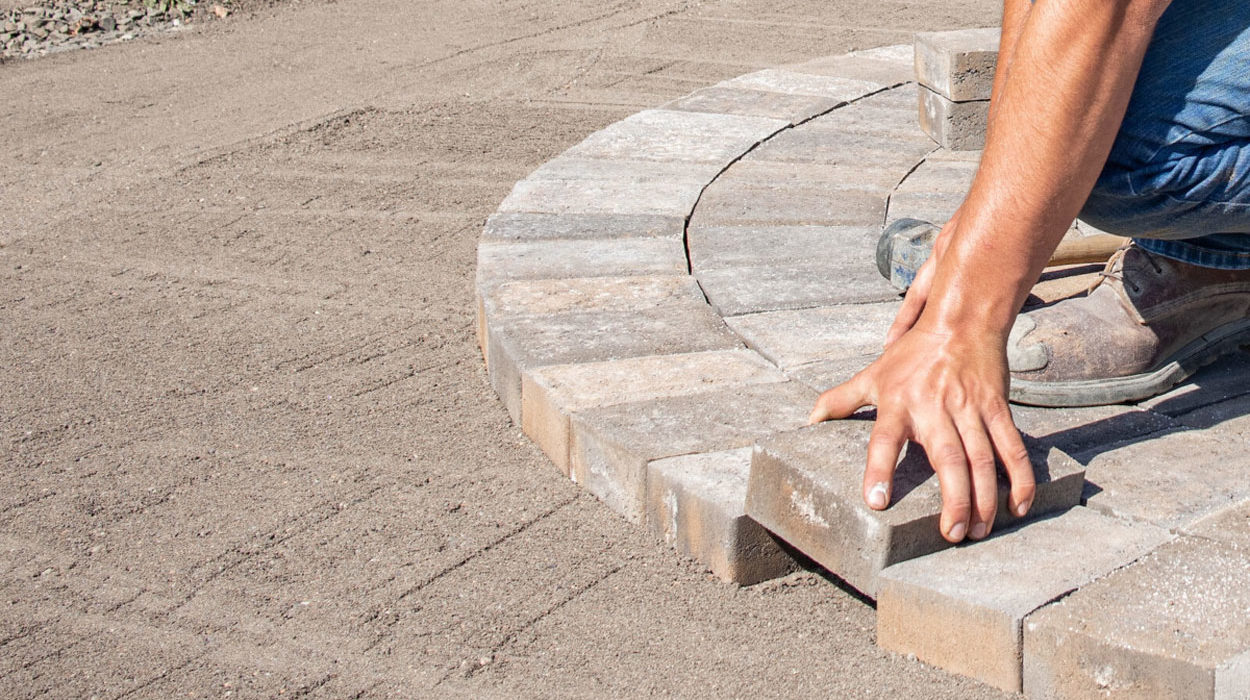
Step 5: Installing the Stepping Stones
With the foundation ready, it’s time to install the stepping stones onto the prepared surface. This step brings your walkway to life, adding visual appeal and functionality to your outdoor space.
Follow these steps to install the stepping stones:
- Start from one end: Begin by placing the first stepping stone at one end of the walkway. Press it firmly into the sand bed, making sure it is level and stable.
- Continue with the rest of the stones: Place the subsequent stepping stones one by one, following your pre-determined layout and spacing. Press each stone firmly into the sand bed and ensure they sit level with their neighbors.
- Check for uniformity: Step back and evaluate the alignment, arrangement, and overall appearance of the stepping stones. Ensure that they are evenly spaced and create a smooth and continuous path.
- Make adjustments as needed: If you notice any stones that are not level or properly aligned, remove them and readjust the sand bed beneath them. Add or remove sand to achieve a level surface, if necessary.
- Double-check the spacing: Ensure that the spacing between the stones is consistent and visually appealing. Adjust as needed to maintain the desired look and functionality of the walkway.
While installing the stepping stones, it is recommended to step on each stone to ensure that it is secure and stable. This will help identify any stones that may need further adjustment or additional sand beneath them.
Take your time during this step to ensure that the stepping stones are properly installed and provide a safe and enjoyable walking path. Double-check the alignment, stability, and overall appearance of the walkway before moving on to the next step.
After you have successfully installed the stepping stones, it’s time to move on to the next step: filling the gaps between the stones.
Step 6: Filling the Gaps
Once you have installed the stepping stones, it’s time to fill the gaps between them. This step not only enhances the overall appearance of your walkway but also helps to stabilize the stones and prevent weed growth.
Follow these steps to fill the gaps between the stepping stones:
- Choose the appropriate filling material: Select a filling material that complements the look and function of your walkway. Common options include masonry sand, polymeric sand, or pea gravel. Consider factors such as the intended usage, durability, and desired aesthetic appeal.
- Pour the filling material: Carefully pour the selected filling material into the gaps between the stepping stones. Use a small trowel or your fingers to distribute the material evenly and ensure it fills the gaps completely.
- Level and compact the filling material: Use a brush or trowel to level the filling material and ensure it is evenly distributed. Gently tap the material to compact it between the stones, creating a stable surface.
- Remove excess material: Use a broom or brush to sweep away any excess filling material from the surface of the stepping stones. This will help achieve a clean and polished look for your walkway.
- Water the filling material (if applicable): If you are using polymeric sand, follow the manufacturer’s instructions regarding watering. This will activate the sand and help it harden, creating a more rigid and weed-resistant surface.
While filling the gaps, take care to avoid overfilling or leaving large voids between the stones. Aim for a consistent and visually pleasing appearance, paying attention to maintaining the desired spacing and alignment of the stepping stones.
By properly filling the gaps, you not only enhance the overall look of your walkway but also create a stable and low-maintenance surface. The filling material helps to prevent weed growth and keeps the stones securely in place.
Now that you have successfully filled the gaps between the stepping stones, it’s time for the final step: adding finishing touches and learning some maintenance tips to keep your walkway looking beautiful and functional for years to come.
Step 7: Finishing Touches and Maintenance Tips
Congratulations on reaching the final step of installing your stepping stone paver walkway! Now it’s time to add those finishing touches and learn some maintenance tips to keep your walkway looking beautiful and well-maintained.
Follow these steps for adding finishing touches and maintaining your walkway:
- Add edging materials (optional): If you desire a more defined border for your walkway, consider installing edging materials such as plastic or metal strips, bricks, or natural stone. This will give your walkway a polished and finished look.
- Consider landscape lighting: Enhance the beauty and safety of your walkway by installing landscape lighting. This will not only illuminate the path but also create a cozy and inviting ambiance in your outdoor space.
- Regularly inspect and clean the walkway: Take the time to regularly inspect your walkway for any loose stones, unevenness, or signs of wear and tear. Clean the walkway by sweeping away debris and removing any weeds or moss that may appear between the stepping stones.
- Address any maintenance issues promptly: If you notice any damage or issues with the walkway, such as cracked or loose stones, address them promptly. Replace or repair any damaged stones to ensure the continued function and appearance of your walkway.
- Apply sealer (if applicable): Depending on the type of stepping stones you have chosen, you may consider applying a sealer to protect them from stains, fading, and water damage. Consult the manufacturer’s recommendations and follow the sealer application instructions for best results.
- Avoid using harsh chemicals or abrasive cleaners: When cleaning your walkway, avoid using harsh chemicals or abrasive cleaners that may damage the stepping stones or the surrounding landscape. Opt for mild detergents or soaps and gentle scrubbing techniques instead.
- Regularly sweep and reapply filling material: Over time, the filling material between the stepping stones may settle or erode. Regularly sweep the surface to remove debris and reapply filling material as needed to maintain a stable and aesthetically pleasing walkway.
By adding these finishing touches and following proper maintenance practices, you can ensure that your stepping stone paver walkway remains a beautiful and functional addition to your outdoor space for years to come.
With the completion of this final step, you have successfully installed a stepping stone paver walkway! Enjoy the beauty and functionality of your walkway as you traverse through your garden or yard. It’s time to sit back, relax, and admire your hard work!
Thank you for following this comprehensive guide. We hope it has been informative and helpful in guiding you through the installation process of your stepping stone paver walkway. Happy walking!
Conclusion
Congratulations on completing the installation of your stepping stone paver walkway! You’ve transformed your outdoor space into a beautiful and functional area that invites you and your guests to explore and enjoy nature.
Throughout this comprehensive guide, we covered each step of the installation process, from the initial planning and design to the finishing touches and maintenance tips. By following these steps and putting in the necessary time and effort, you have created a walkway that is not only visually appealing but also durable and practical.
Remember, proper planning and preparation are key to a successful installation. Take the time to carefully plan the layout, choose the right materials, gather the necessary tools, and prepare the site. This will ensure a smooth and efficient installation process.
As with any outdoor project, regular maintenance is essential to keep your walkway in top condition. Regularly inspecting and cleaning the walkway, addressing any issues promptly, and reapplying filling material when needed will help maintain its beauty and functionality for years to come.
Now that your stepping stone paver walkway is complete, take some time to enjoy the fruits of your labor. Take a leisurely stroll along the path, relishing in the beauty of your surroundings. Whether it’s a short walk to your flower garden or a meandering pathway through your backyard oasis, your walkway will serve as an inviting connection between different areas of your outdoor space.
Thank you for joining us on this journey to install a stepping stone paver walkway. We hope that this guide has provided you with the knowledge and confidence to tackle this project and create a stunning addition to your outdoor space. Sit back, relax, and enjoy the fruits of your hard work!
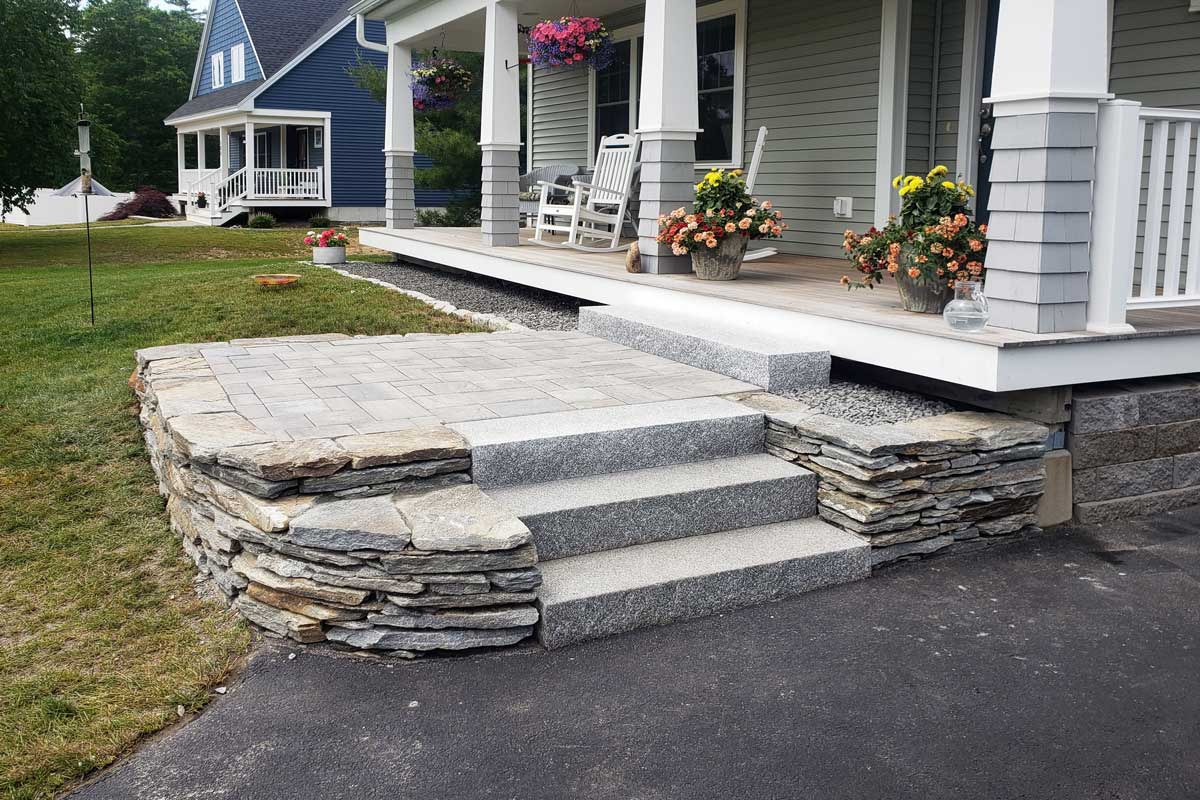
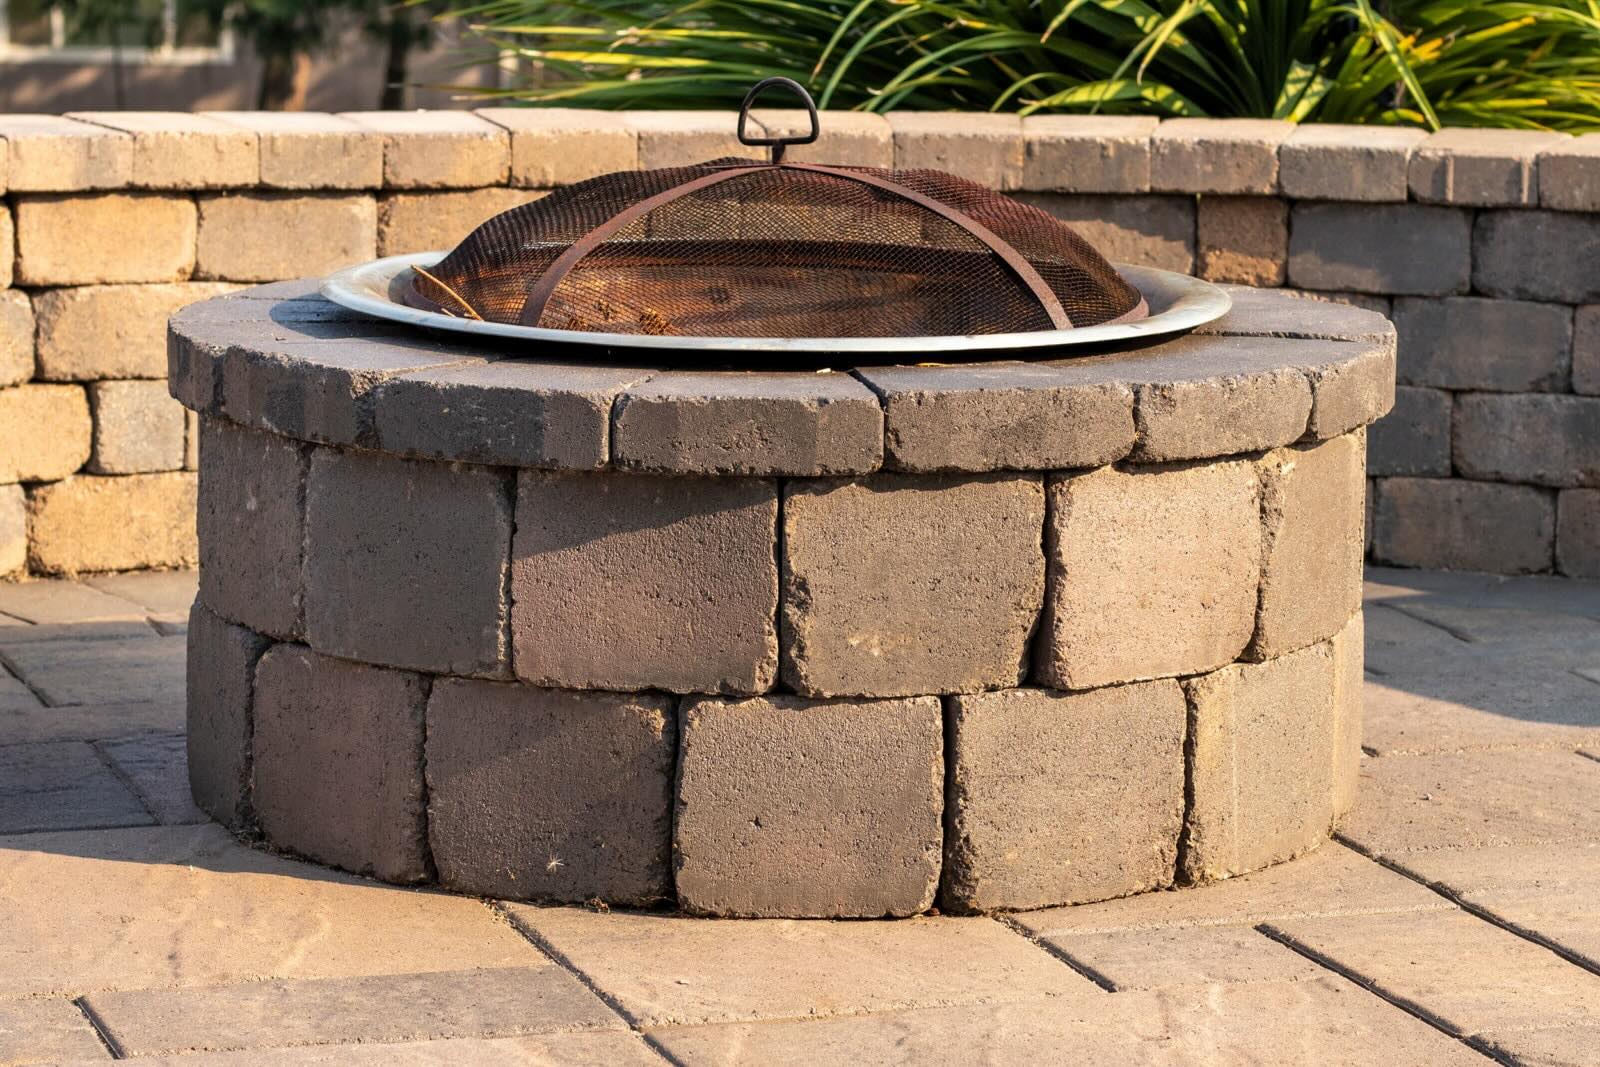
Once you've mastered installing a stepping stone paver walkway, why not tackle more DIY projects to beautify your outdoor space? Our guide on outdoor projects offers a variety of ideas that are perfect for any homeowner looking to enhance their garden or yard. Whether you're aiming to create a cozy fire pit area or add some rustic charm with handmade garden decorations, this guide has everything you need to get started. Dive into these exciting projects and transform your outdoor areas into enchanting retreats.
Frequently Asked Questions about How To Install A Stepping Stone Paver Walkway
Was this page helpful?
At Storables.com, we guarantee accurate and reliable information. Our content, validated by Expert Board Contributors, is crafted following stringent Editorial Policies. We're committed to providing you with well-researched, expert-backed insights for all your informational needs.
0 thoughts on “How To Install A Stepping Stone Paver Walkway”