Home>Articles>How To Install A Stone Walkway With Flagstone, Gravel, Or Pavers
Articles
How To Install A Stone Walkway With Flagstone, Gravel, Or Pavers
Modified: February 23, 2024
Learn how to install a stone walkway with flagstone, gravel, or pavers in our comprehensive articles. Get step-by-step instructions and expert tips to create a stunning pathway for your outdoor space.
(Many of the links in this article redirect to a specific reviewed product. Your purchase of these products through affiliate links helps to generate commission for Storables.com, at no extra cost. Learn more)
Introduction
Welcome to our comprehensive guide on how to install a stone walkway with flagstone, gravel, or pavers. A stone walkway can add beauty, functionality, and charm to any outdoor space, whether it’s a garden, patio, or pathway. Not only does it create a visually appealing focal point, but it also provides a comfortable and durable surface for walking.
In this article, we will take you through the step-by-step process of planning, preparing, and installing a stone walkway. Whether you prefer the natural elegance of flagstone, the rustic aesthetic of gravel, or the versatility of pavers, we have you covered. We will also provide tips on maintaining and enhancing the longevity of your walkway.
Before diving into the installation process, it’s important to consider the function and purpose of your walkway. Are you looking to create a meandering path through your garden, or do you need a practical walkway from your driveway to your front entrance? Understanding your specific needs will help determine the appropriate materials and design.
Now, let’s get started on creating your stunning stone walkway!
Key Takeaways:
- Proper planning, preparation, and attention to detail are essential for installing a stunning and durable stone walkway, whether using flagstone, gravel, or pavers. Careful consideration of design, materials, and maintenance is crucial for a successful project.
- From clearing and leveling the area to filling the joints and performing regular maintenance, creating a beautiful stone walkway requires patience, precision, and ongoing care. Each step contributes to the long-term beauty and functionality of the walkway.
Step 1: Planning and Preparation
The first step in installing a stone walkway is careful planning and preparation. This stage is crucial as it lays the foundation for a successful installation. Here are the key considerations:
- Design and Layout: Determine the layout and design of your walkway. Consider the shape, width, and overall style that will complement your outdoor space. Take measurements and mark the intended path using stakes and string.
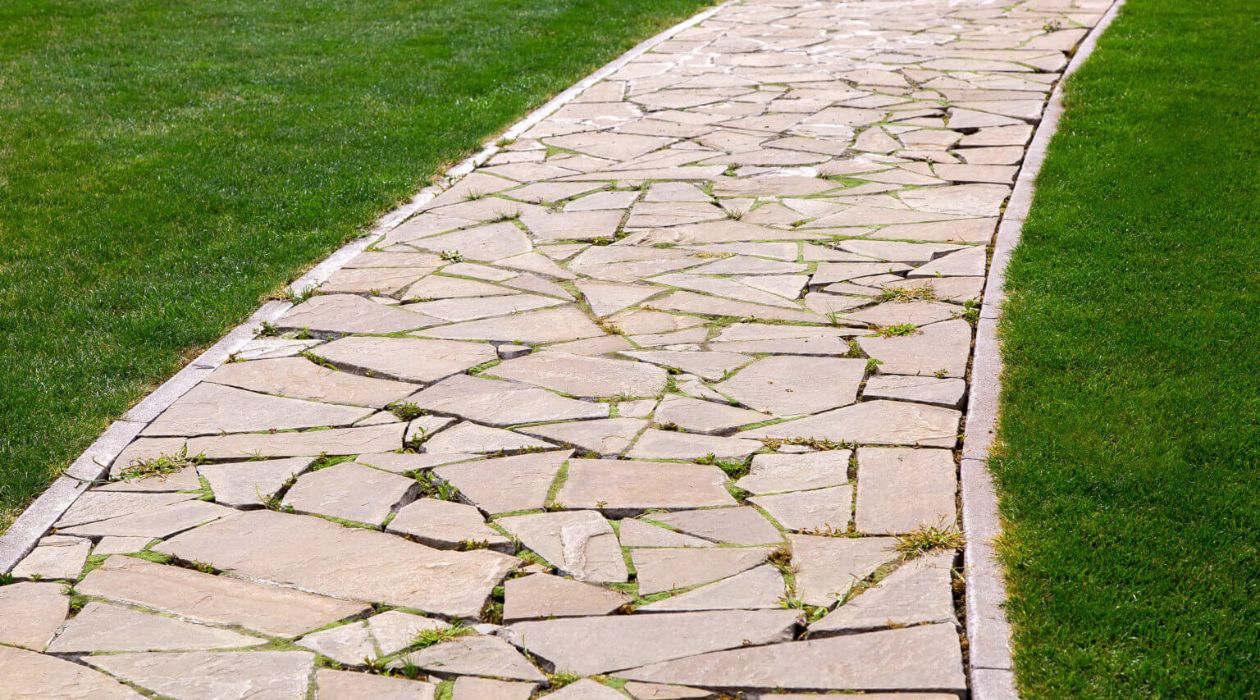
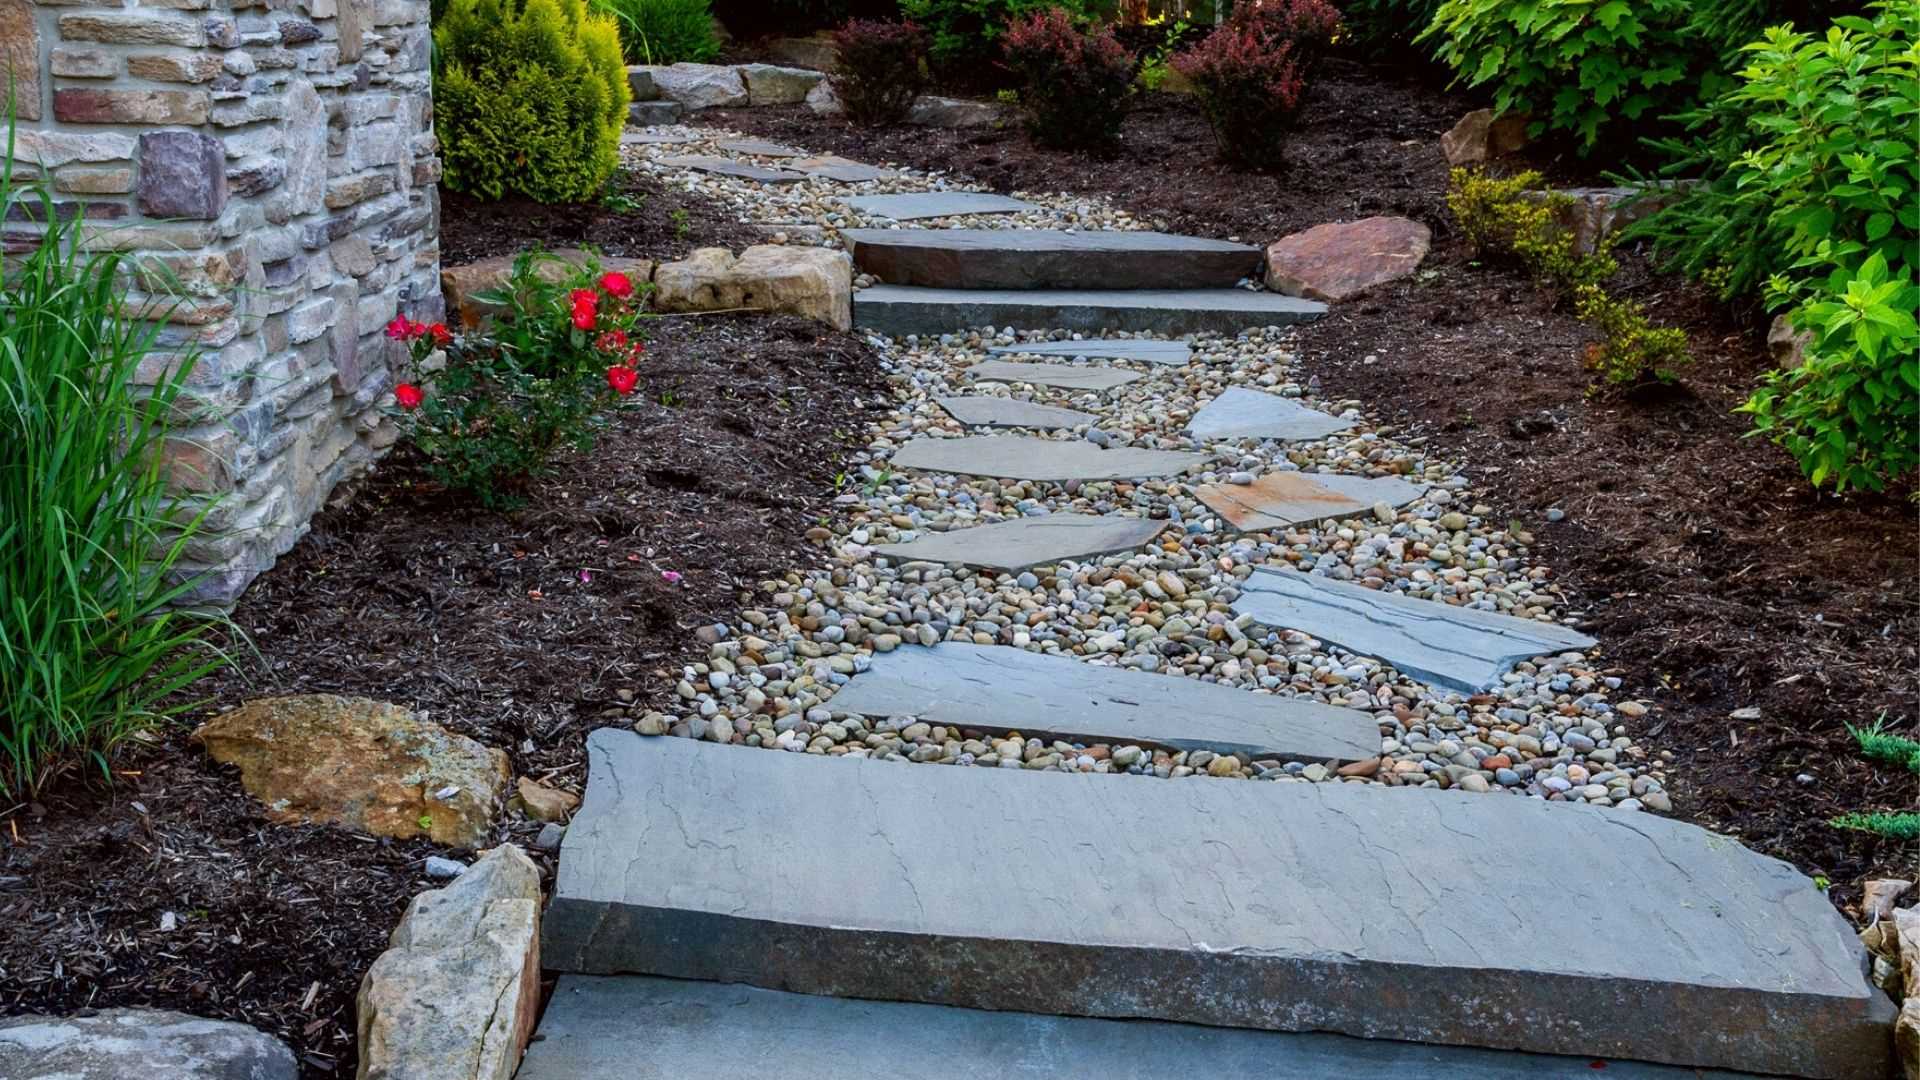
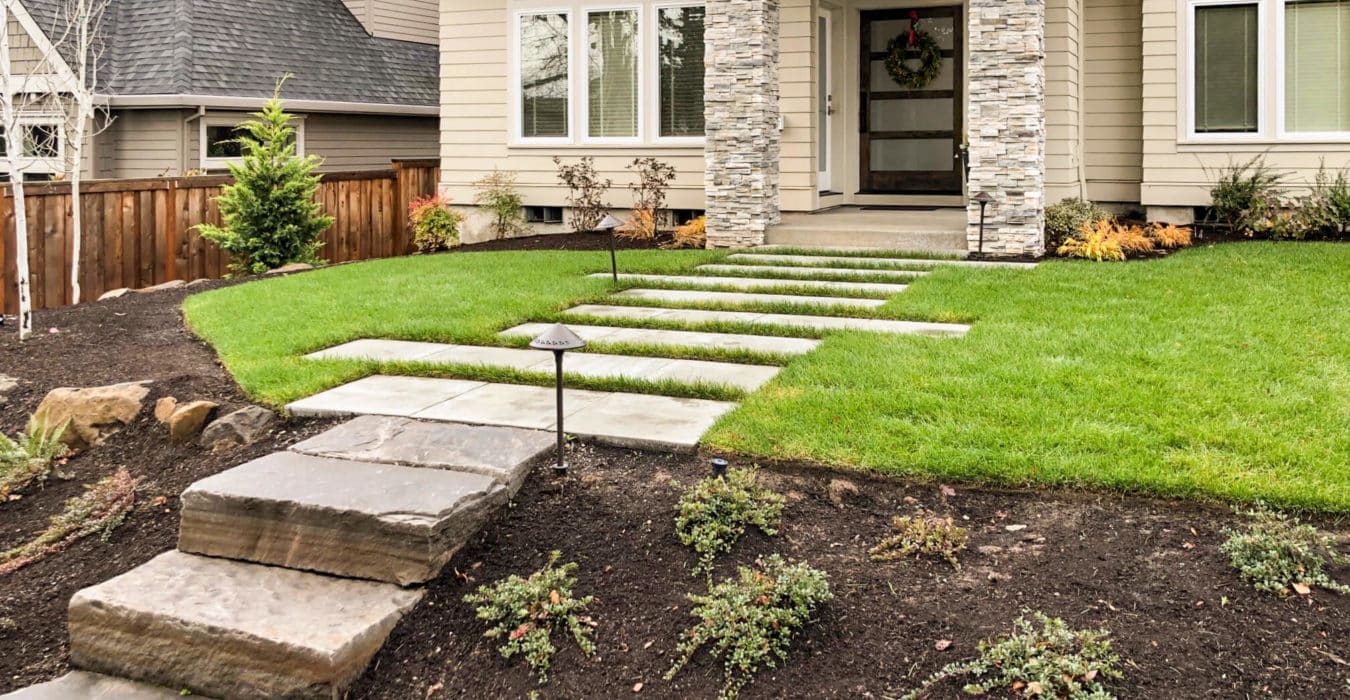
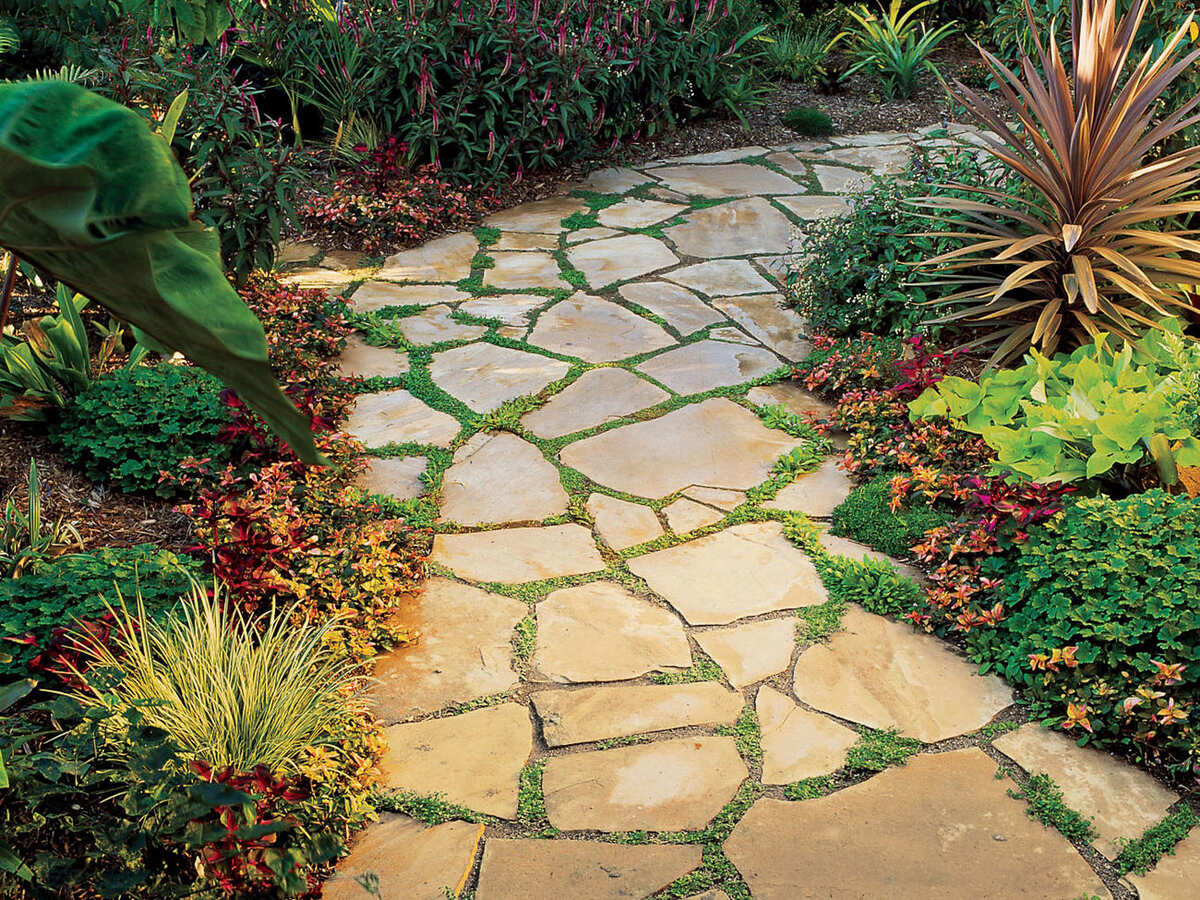
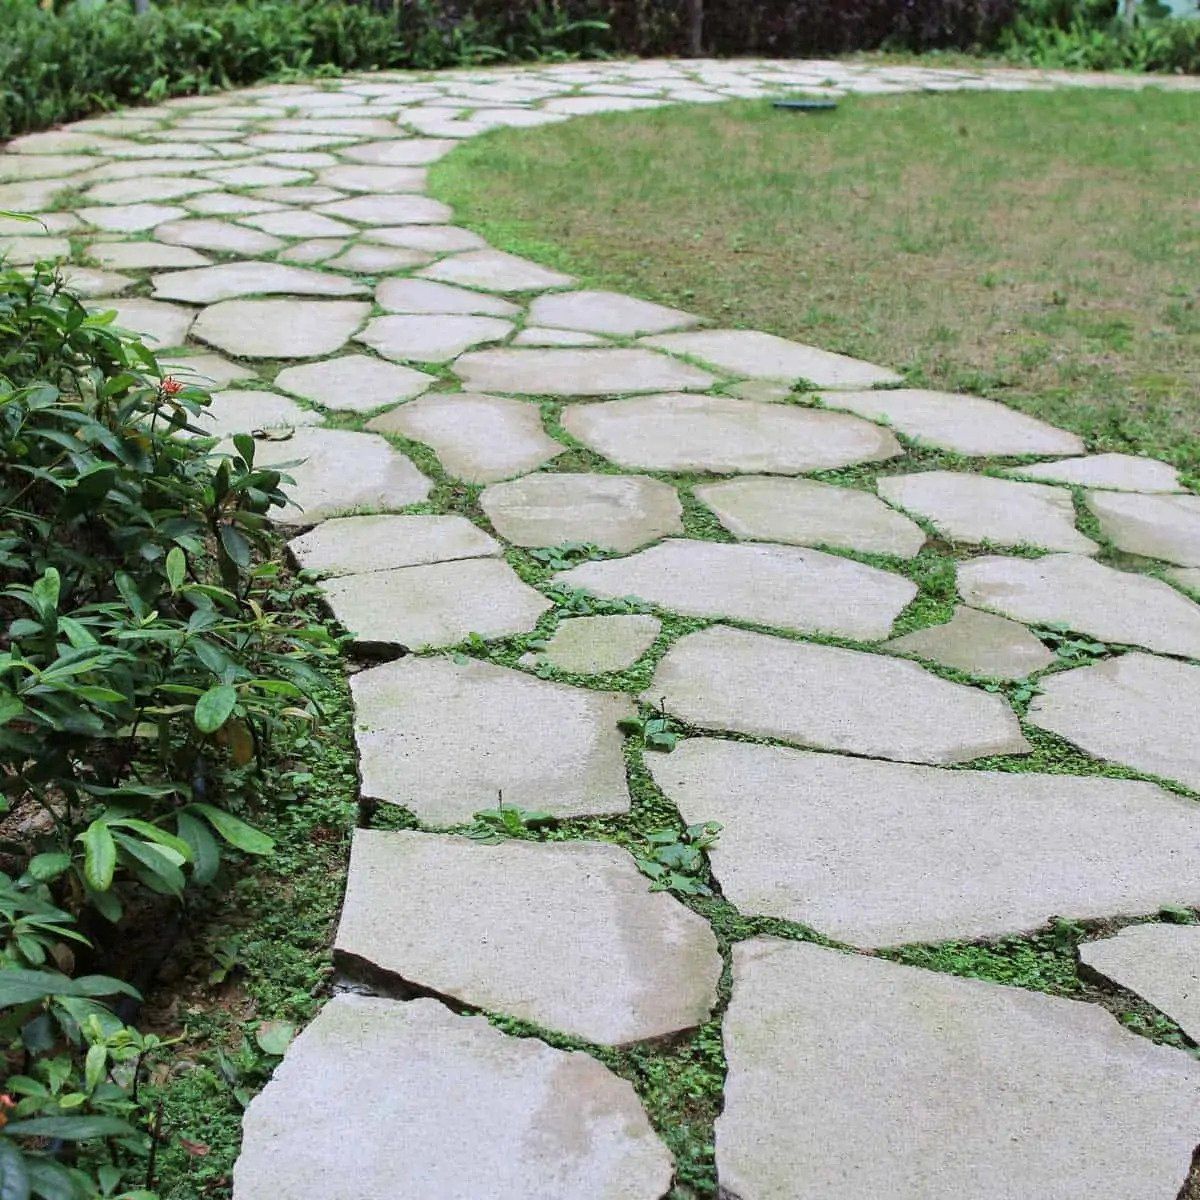
- Materials: Choose the type of stone you want to use for your walkway. Options include flagstone, gravel, or pavers. Each material has its unique characteristics, so choose one that aligns with your style preferences and maintenance expectations.
- Permits and Regulations: Check with your local municipality or homeowner’s association to ensure compliance with any zoning or building regulations. Obtain the necessary permits before proceeding with the installation.
- Budget: Determine your budget for the project. Consider not only the cost of materials but also any additional expenses such as equipment rentals or professional assistance if needed.
Once you have planned the design and gathered the necessary materials, it’s time to prepare the area for the walkway installation.
Please note that depending on the size and complexity of your project, it may be beneficial to consult with a professional landscaper or contractor for guidance and advice.
Step 2: Gathering Materials and Tools
Now that you have a clear plan in place, it’s time to gather the materials and tools needed for your stone walkway installation. This step ensures that you have everything you need on hand, saving you time and preventing interruptions during the installation process.
The specific materials and tools required will depend on the type of stone you have chosen for your walkway. Here’s a general outline of what you will need:
Materials:
- Flagstone, gravel, or pavers (depending on your chosen walkway style)
- Gravel or sand (for the base and leveling)
- Landscaping fabric (optional, to prevent weeds)
- Edging materials (such as plastic or metal) to create boundaries for the walkway
- Jointing sand or filler material for filling the gaps between the stones or pavers
- Landscape adhesive (for securing the stones or pavers in place if required)
Tools:
- Mallet or rubber mallet
- Spade or shovel
- Wheelbarrow or buckets for mixing and transporting materials
- Tape measure
- Level
- String and stakes (for marking the walkway layout)
- Gloves and safety glasses
- Optional: Power compactor or hand tamper (for compacting the base)
Before starting your project, verify that you have all the necessary materials and tools ready. Avoid delays by purchasing or renting any missing items in advance.
It’s important to note that the quantity of materials required will depend on the size and length of your walkway. Measure the area accurately and consult with your local supplier for specific quantities.
With your materials and tools gathered, you are now ready to move on to the next step: clearing and preparing the area for your stone walkway.
Read more: How To Install A Gravel Walkway
Step 3: Clearing and Preparing the Area
Clearing and preparing the area is a crucial step in the installation process of your stone walkway. This involves removing any existing grass, weeds, or debris and creating a solid base for your walkway. Here’s what you need to do:
1. Mark the Walkway
Use the stakes and string to mark the layout of your walkway. Ensure that it follows your planned design and aligns with the desired path.
2. Remove Vegetation and Debris
Clear the area of any vegetation, including grass, weeds, and plants. Use a spade or shovel to remove the top layer of soil, ensuring that you have a clean and level surface. Dispose of the vegetation and debris responsibly.
3. Level the Ground
Use a rake or shovel to level the ground along the marked path. Remove any rocks, roots, or other obstacles that may impede the installation of the walkway.
Read more: How To Install A Walkway With Pavers
4. Compact the Soil
If your walkway will be subject to heavy foot traffic or if you have soft soil, it’s recommended to compact the soil using a power compactor or hand tamper. This will create a stable and solid base for your walkway, reducing the risk of settling or sinking over time.
5. Install Landscaping Fabric (Optional)
To prevent weeds from growing through your walkway, you can lay down landscaping fabric over the prepared area. This helps to inhibit weed growth while still allowing for adequate drainage. Trim and secure the fabric at the edges using landscape staples or anchor pins.
With the area cleared and prepped, you are now ready to move on to the next step: creating a base for your stone walkway.
Step 4: Creating a Base for the Walkway
Creating a solid and stable base is essential for the longevity and durability of your stone walkway. The base provides support, prevents shifting, and helps with proper drainage. Here’s how you can create a strong foundation for your walkway:
1. Determine the Base Depth
The recommended base depth will depend on the type of stone you are using and the expected usage of the walkway. In general, a base depth of 4-6 inches is suitable for most applications. However, if your walkway will bear heavy loads or experience freezing temperatures, you may need a deeper base. Consult with your local supplier or follow the manufacturer’s recommendations for your chosen material.
Read more: How To Do A Flagstone Walkway
2. Add Gravel or Sand Base
Start by adding a layer of compactable gravel or coarse sand to the cleared and leveled area. Spread it evenly to achieve the desired base depth. Use a rake or shovel to level the surface, ensuring that it follows the slope of the walkway and allows for proper water drainage.
3. Compact the Base
To create a solid and stable base, compact the gravel or sand using a power compactor or hand tamper. Start from one end of the walkway and work your way to the other end, making multiple passes to ensure even compaction. Pay extra attention to the edges and corners, as these areas tend to be more prone to settling.
4. Check for Levelness
Use a level to check the evenness of the compacted base. Adjust as needed by adding or removing gravel/sand to achieve a level surface. It’s crucial to ensure that the base is level, as any inconsistencies can result in an uneven walkway.
5. Compact the Base Again
After making any necessary adjustments, compact the base once again to ensure maximum stability and uniformity. This will help prevent shifting or settling of the stones or pavers over time.
With the base created and properly compacted, you are now ready to move on to the next step: installing the flagstones, gravel, or pavers for your walkway.
Read more: How To Lay Stone Walkway
Step 5: Installing the Flagstones, Gravel, or Pavers
Now it’s time to bring your stone walkway to life by installing the flagstones, gravel, or pavers. This step requires careful placement and alignment to create a visually appealing and functional walkway. Here’s how you can proceed:
1. Start at One End
Begin the installation at one end of the walkway. Place the first stone or paver at the starting point, ensuring that it is positioned correctly and level with the surrounding area. Use a rubber mallet to gently tap it into place if necessary.
2. Continue with the Next Stones/Pavers
Place the subsequent stones or pavers, maintaining consistent spacing between each one. You can use a piece of wood or plastic spacer to ensure even spacing. Make sure each stone or paver is level and aligned with the others.
3. Cut Stones/Pavers if Needed
If you encounter areas where the stones or pavers need to be cut to fit, use a chisel, hammer, or wet saw to carefully trim them to the desired size and shape. Ensure that the cuts are clean and accurate for a seamless installation.
Read more: How To Clean Stone Walkway
4. Consider Patterns and Layout
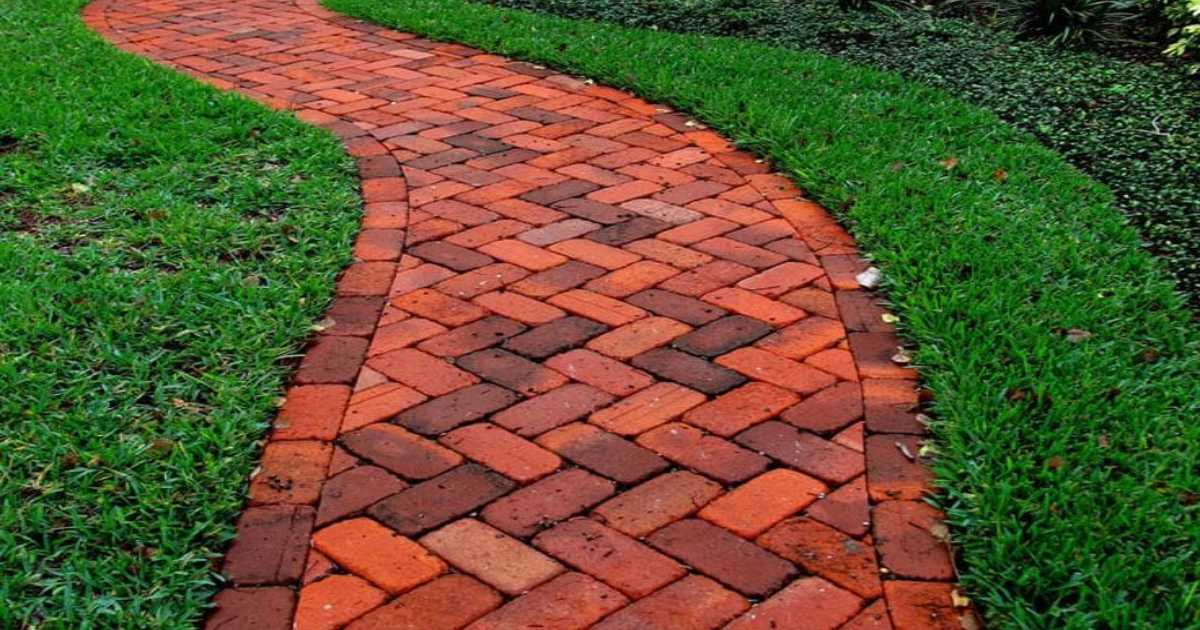
For a more visually appealing walkway, you can experiment with different patterns and layouts. This can include a straight design, a winding path, or a herringbone pattern for pavers. Take your time to determine the layout that best suits your style and preferences.
5. Check for Levelness and Alignment
Regularly check the levelness and alignment of the stones or pavers as you progress. Adjust as needed to ensure a uniform and balanced walkway. Take the time to step back and assess the overall appearance to ensure it meets your desired aesthetic.
6. Use Landscape Adhesive (If Necessary)
If using flagstone or pavers, you may choose to secure them in place by applying landscape adhesive to the bottom of each stone or paver. This helps to prevent them from shifting or becoming loose over time. Follow the manufacturer’s instructions for application and drying times.
With the stones, gravel, or pavers installed, you have almost completed your stone walkway. The next step is to fill the joints between the stones or pavers to create a cohesive and finished look.
Step 6: Filling the Joints
Once the flagstones, gravel, or pavers are in place, it’s time to fill the joints between them. This step not only enhances the visual appeal of your stone walkway but also helps to stabilize the stones and prevent weed growth. Here’s how you can fill the joints:
Read more: How To Repair Stone Walkway
1. Choose the Right Filling Material
Select a suitable material for filling the joints, such as jointing sand, polymeric sand, or gravel fines. Consider the size and depth of the joints when choosing the material, as well as the desired aesthetic and functionality.
2. Spread the Filling Material
Pour the filling material onto the surface of the walkway, ensuring it covers all the joints. Use a broom or brush to evenly distribute the material, allowing it to settle into the gaps between the stones or pavers.
3. Use a Vibratory Plate (Optional)
If you are using polymeric sand or a similar material that requires activation, you can use a vibratory plate compactor to settle the sand into the joints. This will create a tighter and more secure bond, minimizing the chances of shifting or weed growth.
4. Remove Excess Material
Once the filling material has settled into the joints, use a broom or brush to brush off any excess material from the surface of the stones or pavers. This will help achieve a clean and neat appearance.
Read more: What Size Gravel For Walkway
5. Mist with Water
If you are using polymeric sand, mist the surface of the walkway with water using a fine spray nozzle. This will activate the sand and initiate the hardening process. Follow the manufacturer’s instructions for the specific drying time.
6. Repeat the Process (if necessary)
In some cases, the filling material may settle or sink after the initial filling. If you notice any gaps or unevenness, repeat the process of spreading and settling the filling material until the joints are properly filled and level.
With the joints filled and the walkway looking complete, you are now ready to move on to the final step: adding the finishing touches and considering the maintenance of your stone walkway.
Step 7: Finishing Touches and Maintenance
As you near the completion of your stone walkway installation, taking care of the finishing touches and considering maintenance is crucial. This will help ensure that your walkway remains beautiful, safe, and functional for years to come. Here’s what you need to do:
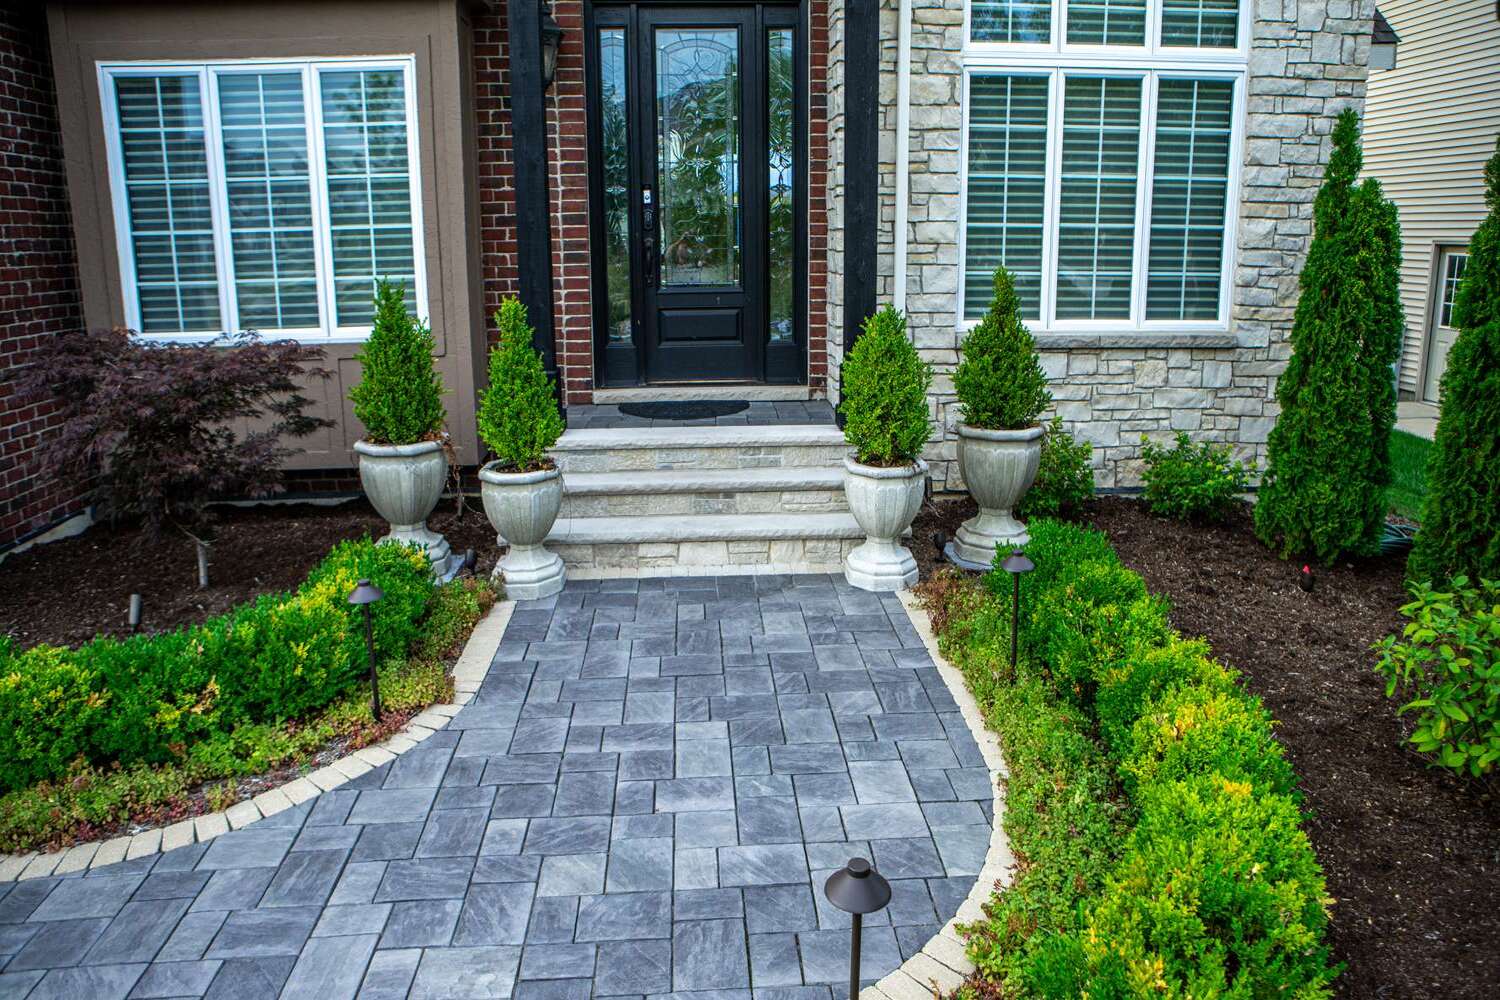
1. Add Edging
To give your walkway a polished and defined look, consider installing edging materials along the sides. These can be plastic or metal strips that create boundaries and help prevent the stones or pavers from shifting over time. Install the edging materials according to the manufacturer’s instructions.
Read more: How To Build A Flagstone Walkway With Mortar
2. Clear and Clean the Walkway
After the installation is complete, remove any excess debris, dirt, or filling material from the surface of the walkway. Use a broom, leaf blower, or hose to clean the walkway gently. Regularly clear away leaves, twigs, and other debris to maintain its appearance.
3. Perform Regular Inspections
Regularly inspect your stone walkway for any signs of damage, such as cracked or loose stones, sunken areas, or weed growth. Promptly address any issues to prevent further damage and ensure the walkway remains safe and functional.
4. Weed Control
To prevent weeds from growing between the stones or pavers, periodically apply weed control products or manually remove any unwanted vegetation. This will help maintain the appearance and integrity of your walkway over time.
5. Repair and Maintenance
If you notice any damaged or loose stones, repair them promptly to prevent further deterioration. Re-level any sunken areas and refill joints if needed. Additionally, consider applying a protective sealant to further enhance the longevity and appearance of your walkway.
Read more: How To Make A Walkway With Pavers
6. Regular Cleaning
Periodically clean your stone walkway to remove dirt, stains, and grime. Use a mild detergent or specialized stone cleaner and a soft bristle brush to gently scrub the surface. Rinse with water and allow it to air dry completely.
By following these finishing touches and maintenance practices, your stone walkway will continue to be a stunning and functional feature in your outdoor space.
Congratulations on successfully installing your stone walkway! Enjoy the beauty, durability, and functionality it adds to your outdoor area.
Disclaimer: Every stone walkway installation may vary based on specific materials, local conditions, and personal preferences. Please consult with professionals or follow manufacturer instructions for your specific project needs.
Conclusion
Creating a stone walkway with flagstone, gravel, or pavers is a rewarding project that can transform your outdoor space. Whether you’re looking to enhance the beauty of your garden, create a practical pathway, or add a charming feature to your patio, a stone walkway offers both aesthetic appeal and functionality.
Throughout this comprehensive guide, we have covered the essential steps involved in installing a stone walkway, from planning and preparation to finishing touches and maintenance. By following these steps and considering factors such as design, materials, and proper installation techniques, you can ensure a successful and long-lasting walkway installation.
Remember to carefully plan and prepare your walkway, gathering all the necessary materials and tools. Clear and level the area, creating a solid base for the walkway. Install the chosen stones or pavers, taking care to align and level them properly. Fill the joints for a finished look and perform regular maintenance to keep your walkway in excellent condition.
As you enjoy the beauty and functionality of your stone walkway, take pride in your achievement and the added value it brings to your outdoor space. Whether it’s a peaceful garden path, a stunning patio feature, or a practical walkway, your stone installation will create a lasting impression.
Remember, every stone walkway installation is unique, and it’s essential to adapt the steps and techniques to your specific project needs. Consult professionals or follow manufacturer instructions for the best results.
Thank you for joining us on this journey to learn how to install a stone walkway. We hope that this guide has provided you with the knowledge and inspiration to create a beautiful and functional walkway that enhances your outdoor living experience for years to come.
Frequently Asked Questions about How To Install A Stone Walkway With Flagstone, Gravel, Or Pavers
Was this page helpful?
At Storables.com, we guarantee accurate and reliable information. Our content, validated by Expert Board Contributors, is crafted following stringent Editorial Policies. We're committed to providing you with well-researched, expert-backed insights for all your informational needs.
0 thoughts on “How To Install A Stone Walkway With Flagstone, Gravel, Or Pavers”