Articles
What Is A 3-Way Dimmer Switch
Modified: October 29, 2024
Discover what a 3-way dimmer switch is and how it can enhance your lighting control. Read articles about installation, benefits, and usage of 3-way dimmer switches.
(Many of the links in this article redirect to a specific reviewed product. Your purchase of these products through affiliate links helps to generate commission for Storables.com, at no extra cost. Learn more)
Introduction
As technology continues to advance, so too does our ability to customize and control our living spaces. One area where this is particularly evident is in lighting control. Gone are the days of simple on and off switches. Today, we have a wide range of options available to us, including dimmer switches.
A dimmer switch is a device that allows you to adjust the brightness of a light fixture. This not only creates a more ambient and cozy atmosphere, but it also enables you to save energy and extend the lifespan of your bulbs. While dimmer switches are commonly used in homes and commercial settings, there is one type that stands out for its versatility and functionality – the 3-way dimmer switch.
In this article, we will explore what exactly a 3-way dimmer switch is, how it works, and why you might want to consider installing one in your space. From understanding the basics to exploring the benefits and potential drawbacks, we’ll cover everything you need to know about 3-way dimmer switches.
So, if you’re ready to take control of your lighting and transform the ambiance of your space, let’s dive into the world of 3-way dimmer switches.
Key Takeaways:
- 3-way dimmer switches offer the flexibility to adjust lighting levels from multiple switch locations, providing energy efficiency, extended bulb lifespan, and enhanced ambiance for any occasion.
- When choosing a 3-way dimmer switch, consider compatibility with light bulbs, wattage and load capacity, style, additional features, and customer reviews to ensure a smooth and enjoyable lighting control experience.
Read also: 11 Best 3-Way Dimmer Switch for 2025
Overview of Dimmer Switches
Before we delve into the specifics of 3-way dimmer switches, let’s start with a brief overview of dimmer switches in general.
A dimmer switch is a device that allows you to adjust the brightness of a light fixture. By using a dimmer, you can easily create the perfect lighting ambiance for any occasion, whether it’s a romantic dinner, a cozy movie night, or a bright and energizing workspace. Instead of being limited to a binary on or off setting, you have the flexibility to set the light to any level between off and full brightness.
Dimmer switches work by altering the amount of electrical voltage that flows to the light fixture. Traditional switches control the flow of current by either allowing it to pass through in full or blocking it completely. In contrast, dimmer switches regulate the current so that only a portion of it reaches the light, resulting in a dimmed effect.
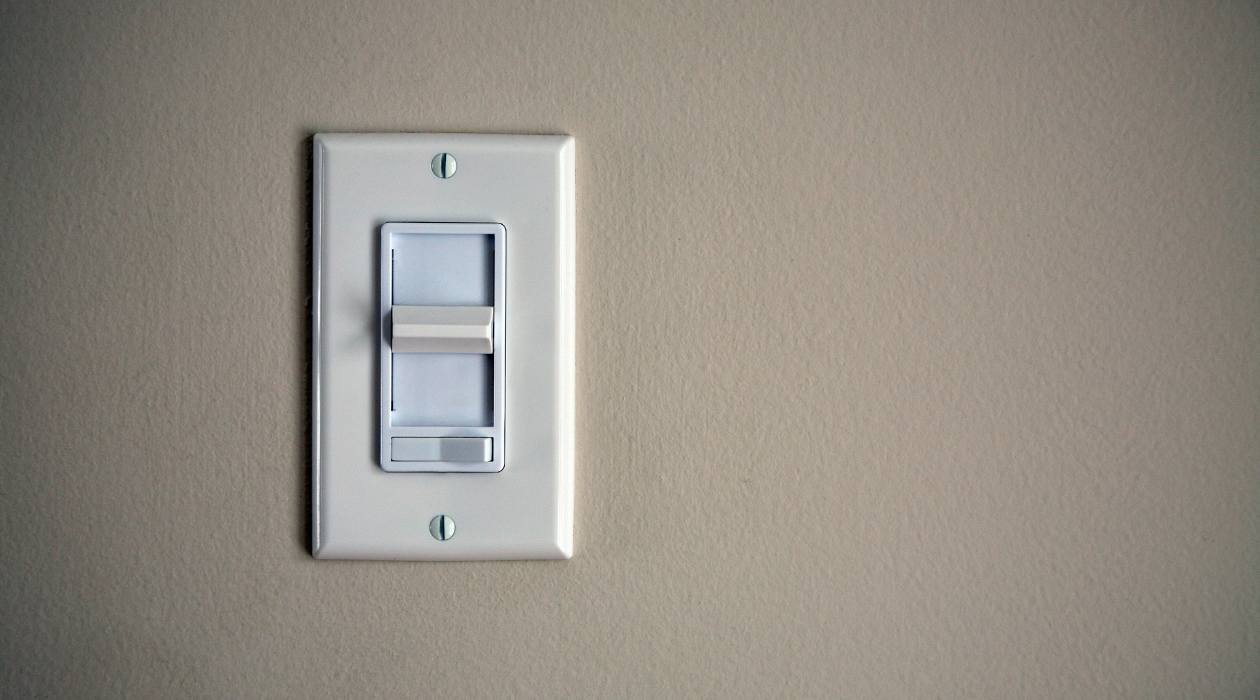
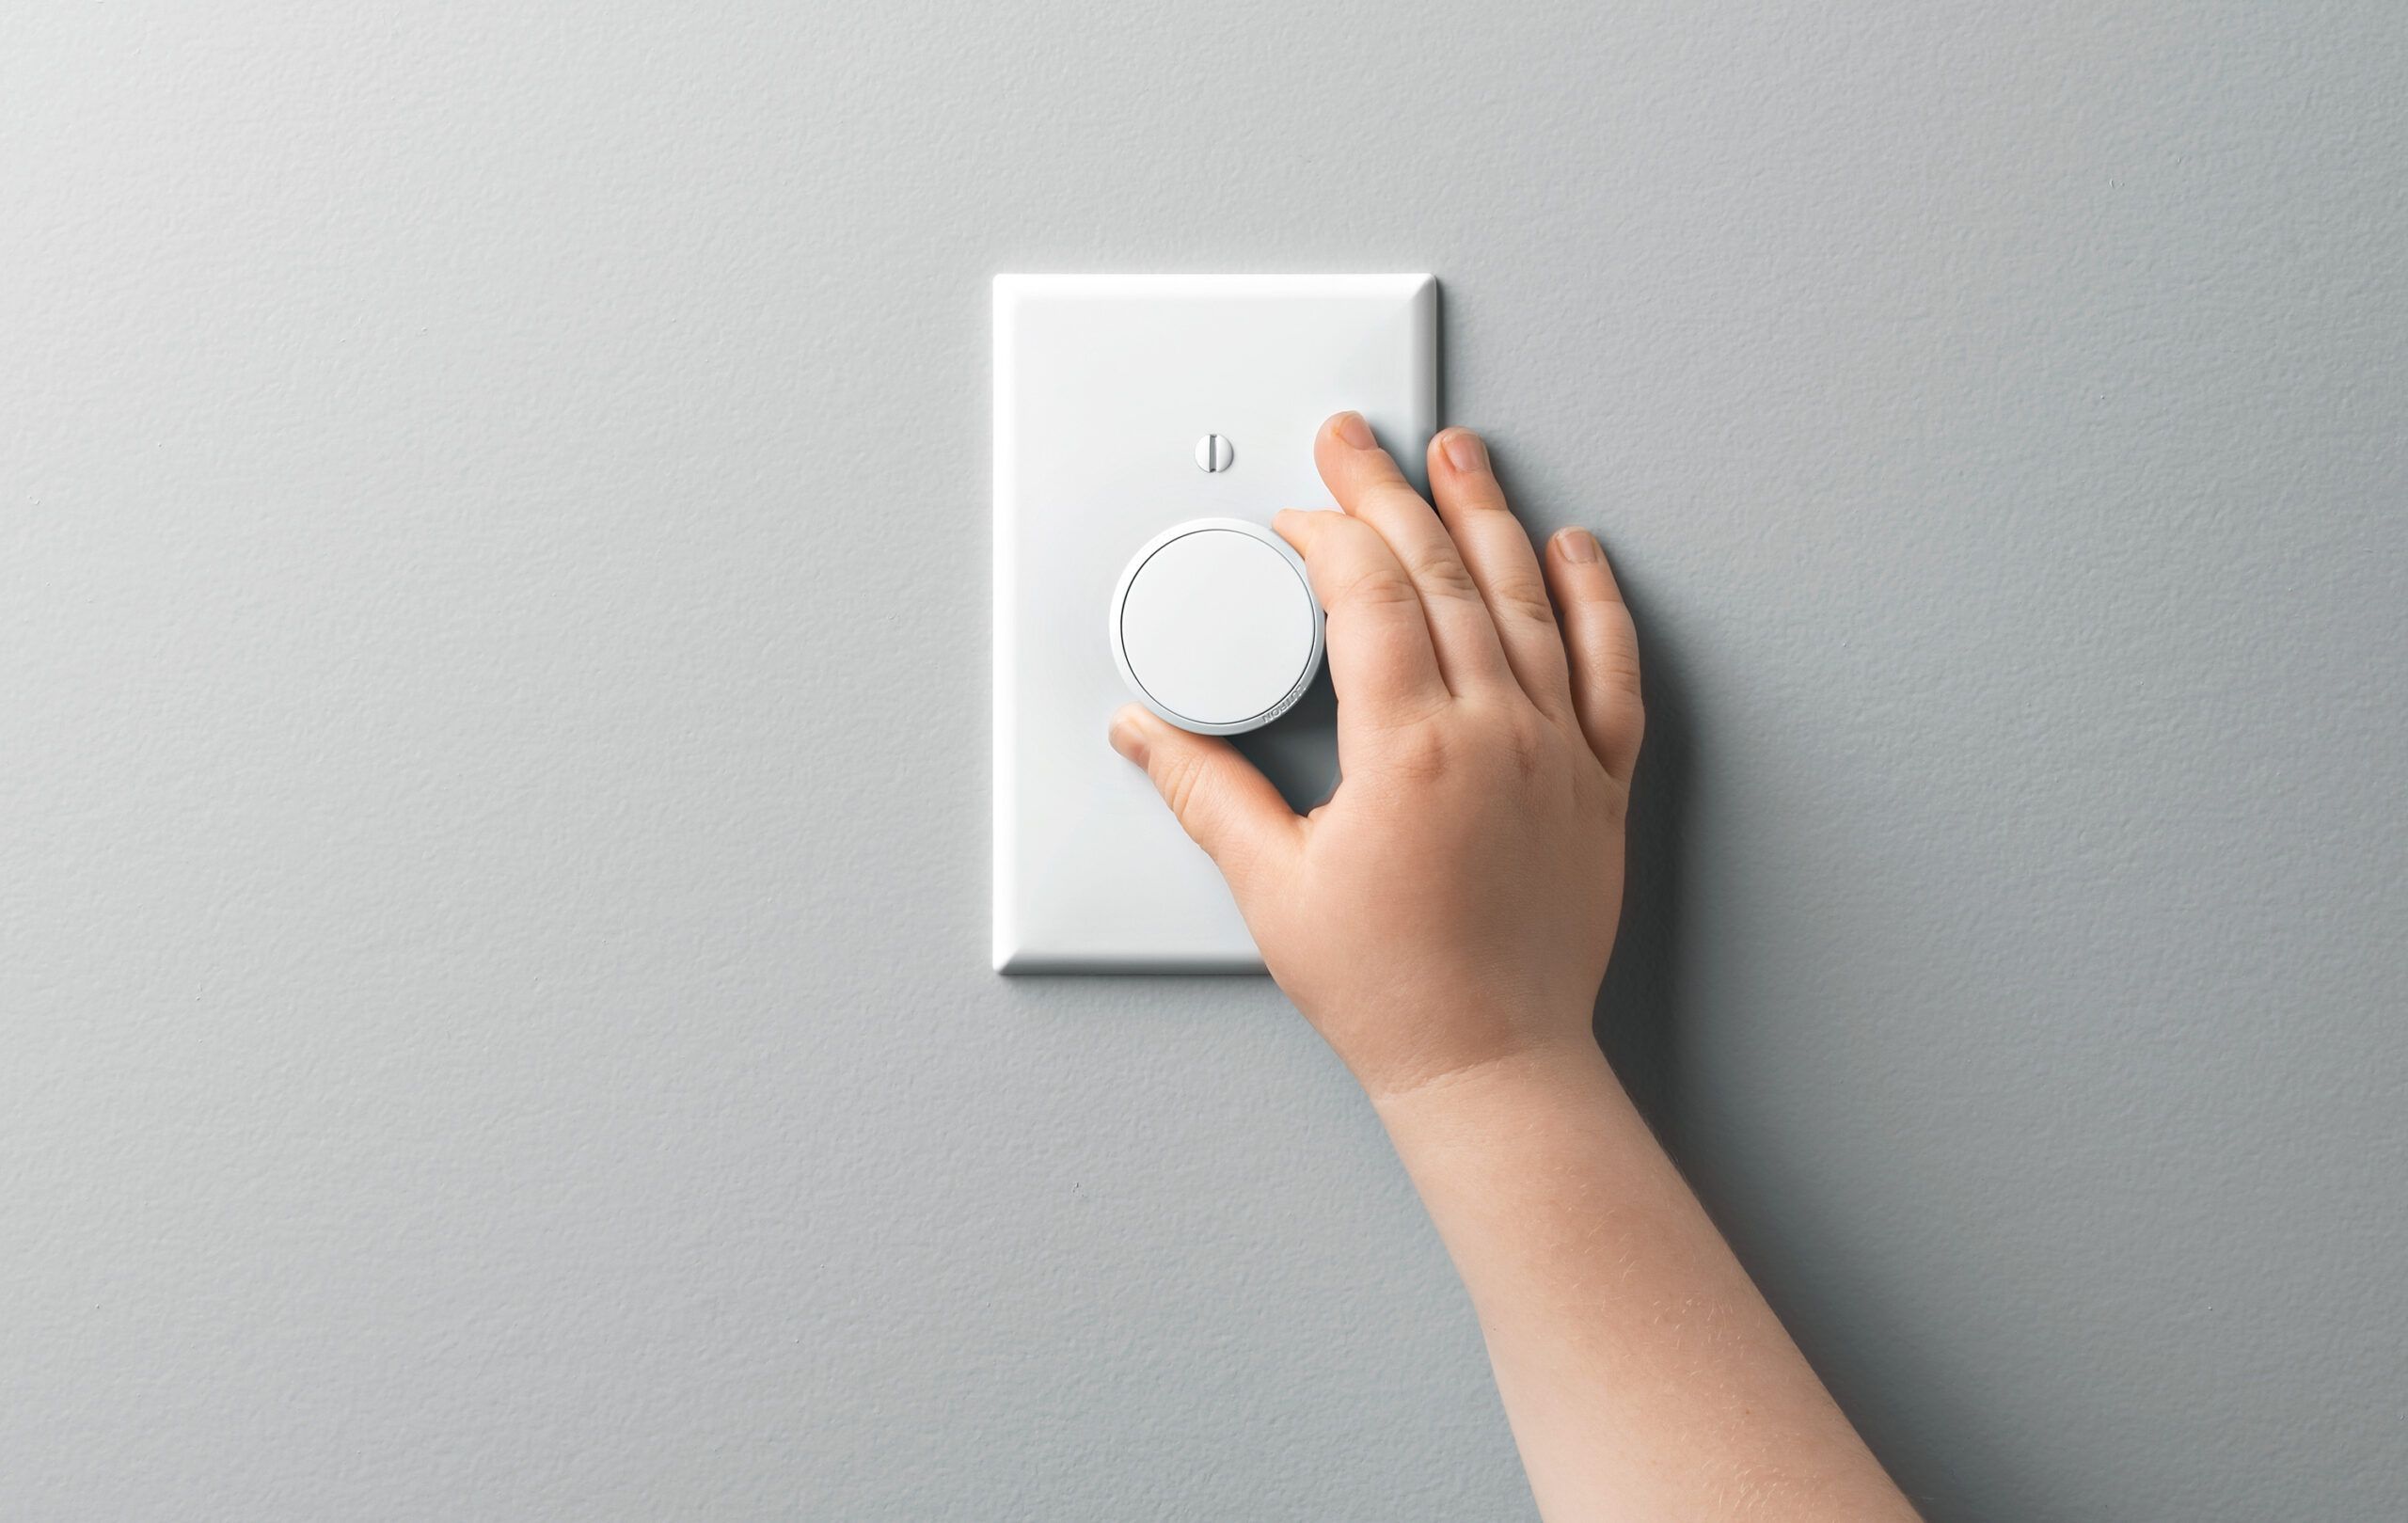
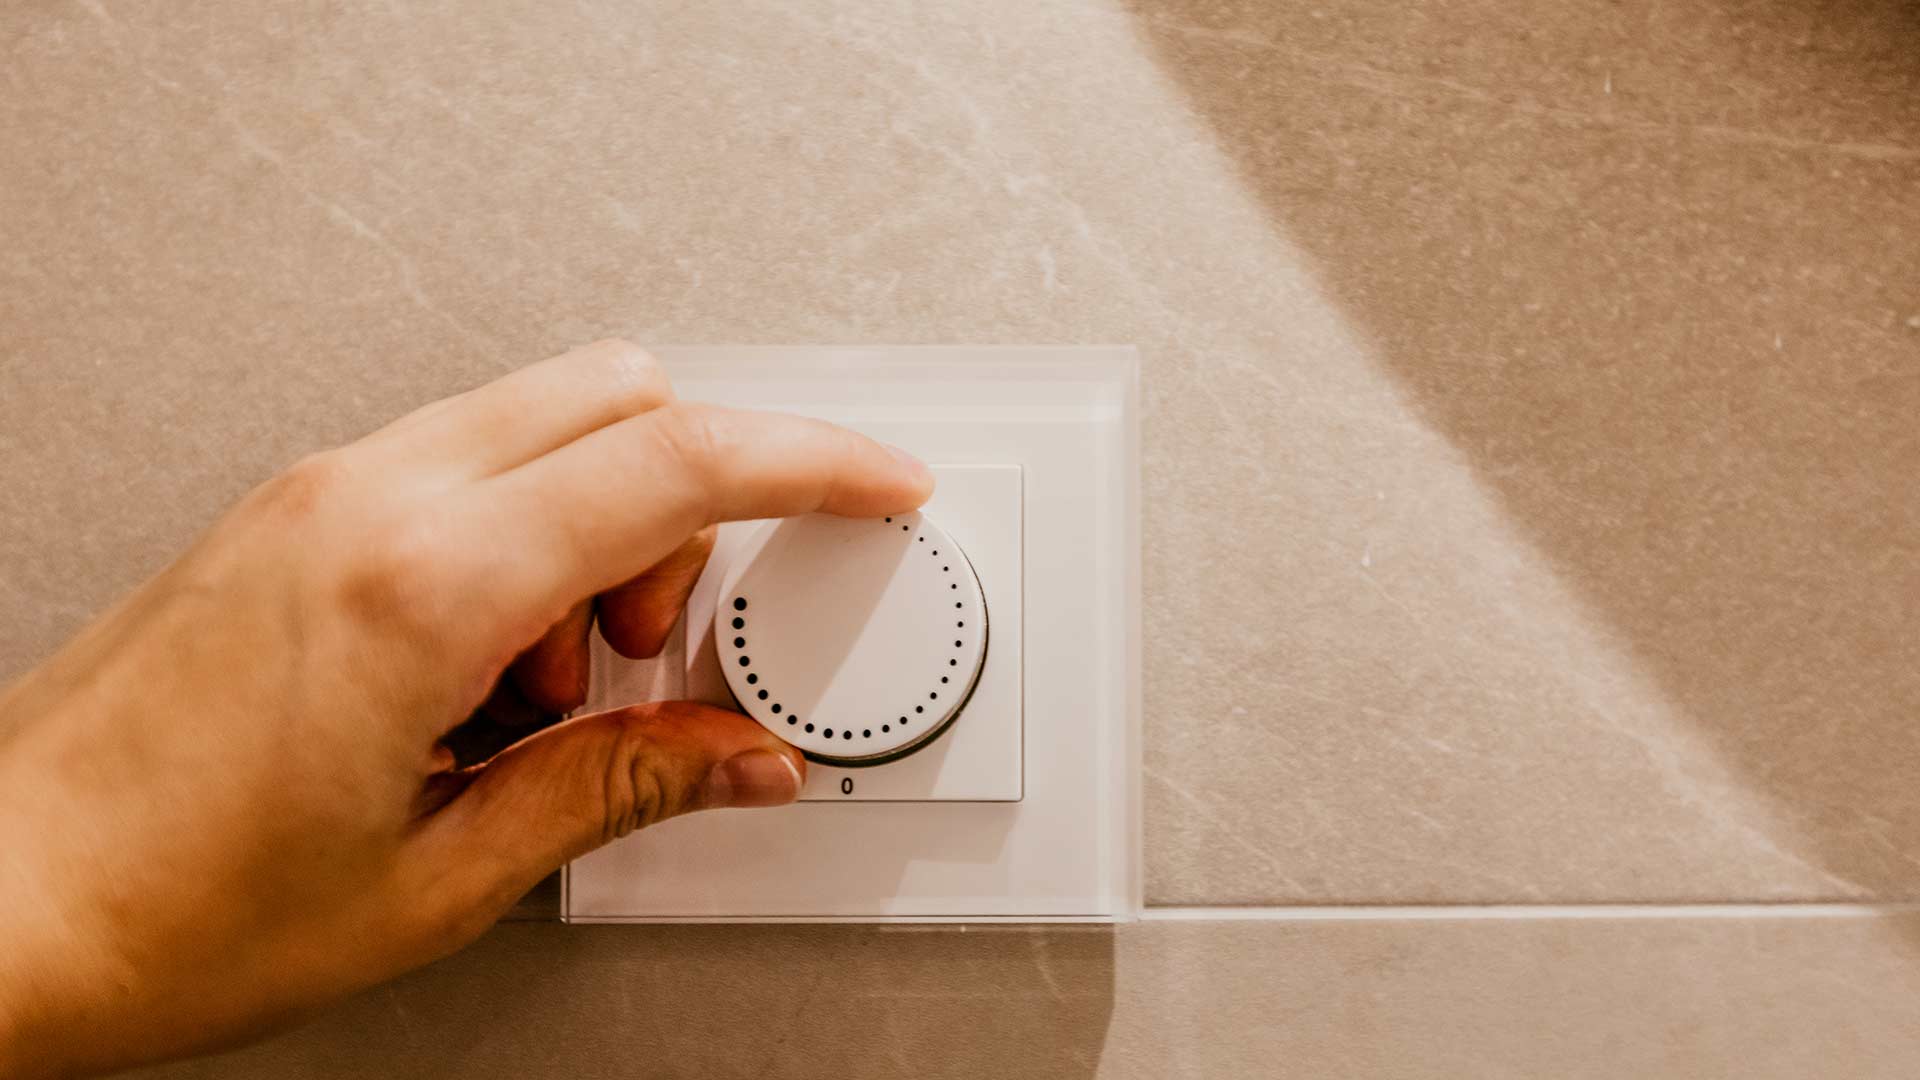
There are various types of dimmer switches available on the market, including rotary dimmers, slide dimmers, touch-sensitive dimmers, and smart dimmers. Each type has its own unique features and controls, but they all serve the same purpose of adjusting the brightness of a light fixture.
Dimmer switches come in a range of designs and styles to suit different aesthetic preferences and functional requirements. They can be installed in both residential and commercial settings, such as homes, offices, restaurants, and hotels. Whether you want to create a warm and inviting atmosphere or enhance productivity in a workspace, dimmer switches provide a convenient and effective lighting control solution.
Now that we have an understanding of the basics of dimmer switches, let’s explore the specific features and benefits of 3-way dimmer switches.
Understanding 3-Way Switches
In order to grasp the concept of a 3-way dimmer switch, it’s important to first understand the functionality of a 3-way switch.
A 3-way switch is a type of electrical switch that allows you to control a light fixture from two different locations. This means that you can turn the light on or off from either switch, regardless of its previous state.
Typically, 3-way switches are installed in areas where multiple entry points exist, such as stairways, hallways, or large rooms. This setup eliminates the need to walk all the way to one location to control the light, providing convenience and flexibility.
The key feature of a 3-way switch is that it has three connection terminals — a common terminal and two traveler terminals. The common terminal is connected to the power source, while the traveler terminals are connected to the light fixture. Depending on the position of the switch, the connection between the traveler terminals and the common terminal changes, determining whether the light is on or off.
When both switches are in the same position, the circuit is complete, and the light will turn on or off accordingly. However, when one switch is flipped while the other remains in a different position, the circuit is interrupted, and the light will not change its state.
This brings us to the 3-way dimmer switch, which combines the functionality of a 3-way switch with the ability to adjust the brightness of a light fixture.
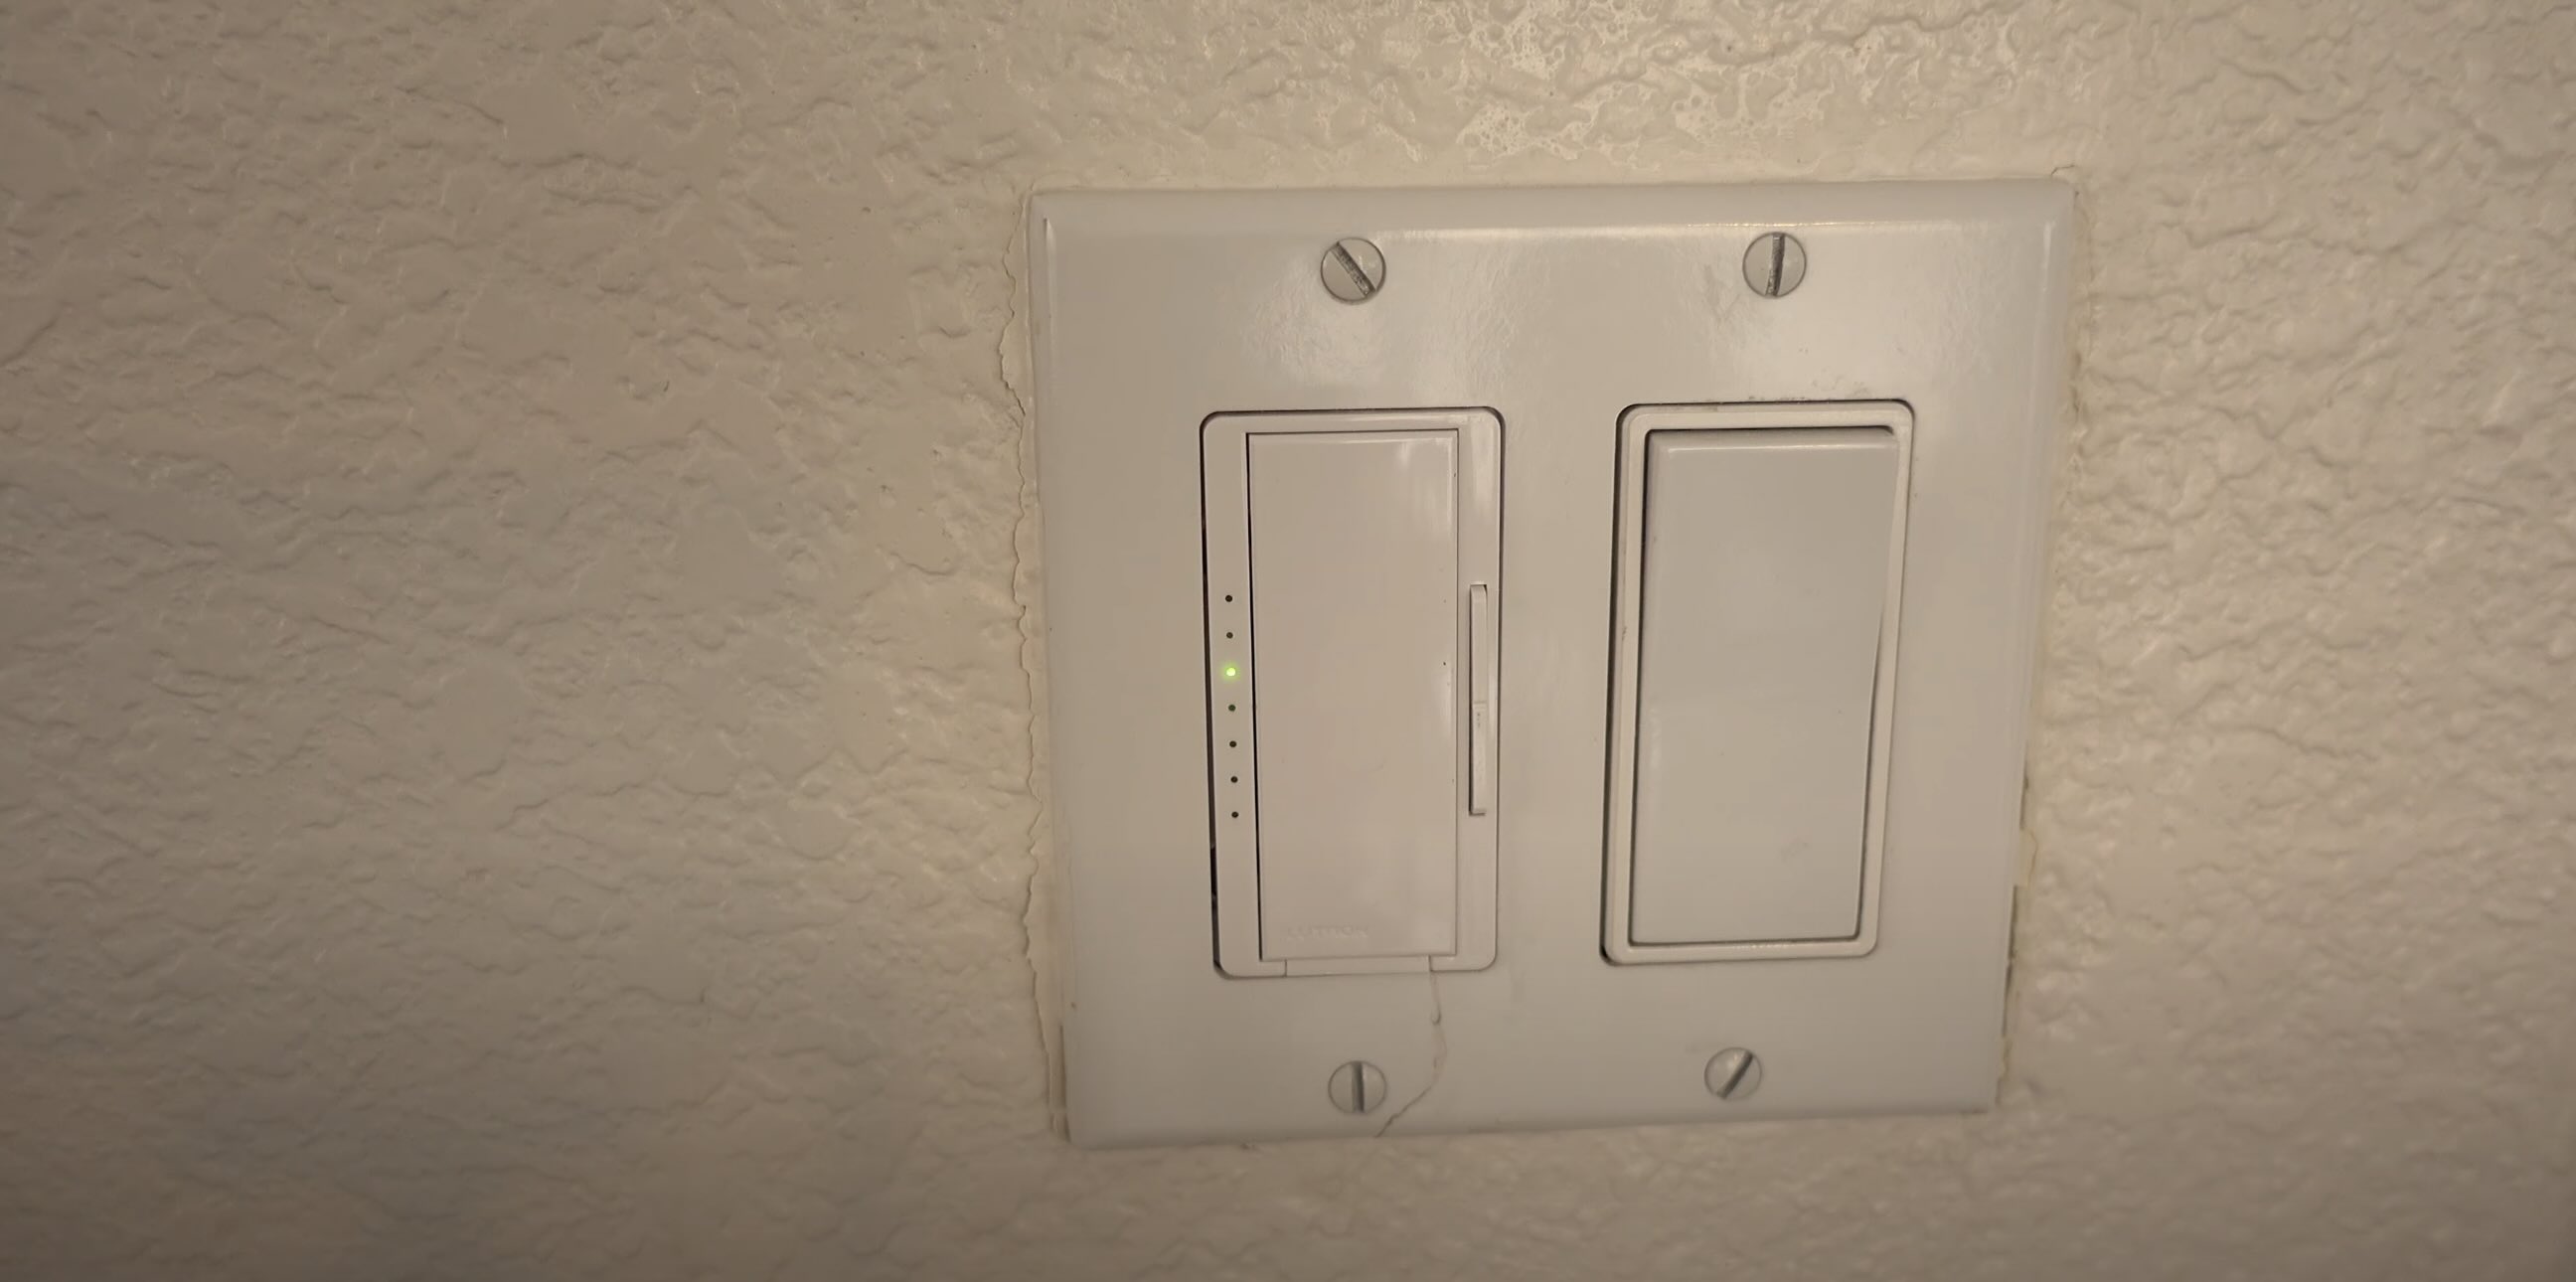
A 3-way dimmer switch allows you to not only control the on/off function of a light from multiple switches but also dim or brighten the light as desired. By replacing one of the standard 3-way switches in a circuit with a 3-way dimmer switch, you can enjoy the flexibility of adjustable lighting in addition to the convenience of multiple switch locations.
Now that we have a firm grasp on what a 3-way switch is and how it works, let’s explore the inner workings of a 3-way dimmer switch and how it enhances the lighting experience.
How a 3-Way Dimmer Switch Works
Understanding how a 3-way dimmer switch works is key to unlocking its full potential in controlling your lighting environment.
A 3-way dimmer switch functions similarly to a regular dimmer switch but with the added complexity of working in tandem with another switch to control the same light fixture. The primary difference lies in the wiring configuration and the ability to adjust the brightness from multiple locations.
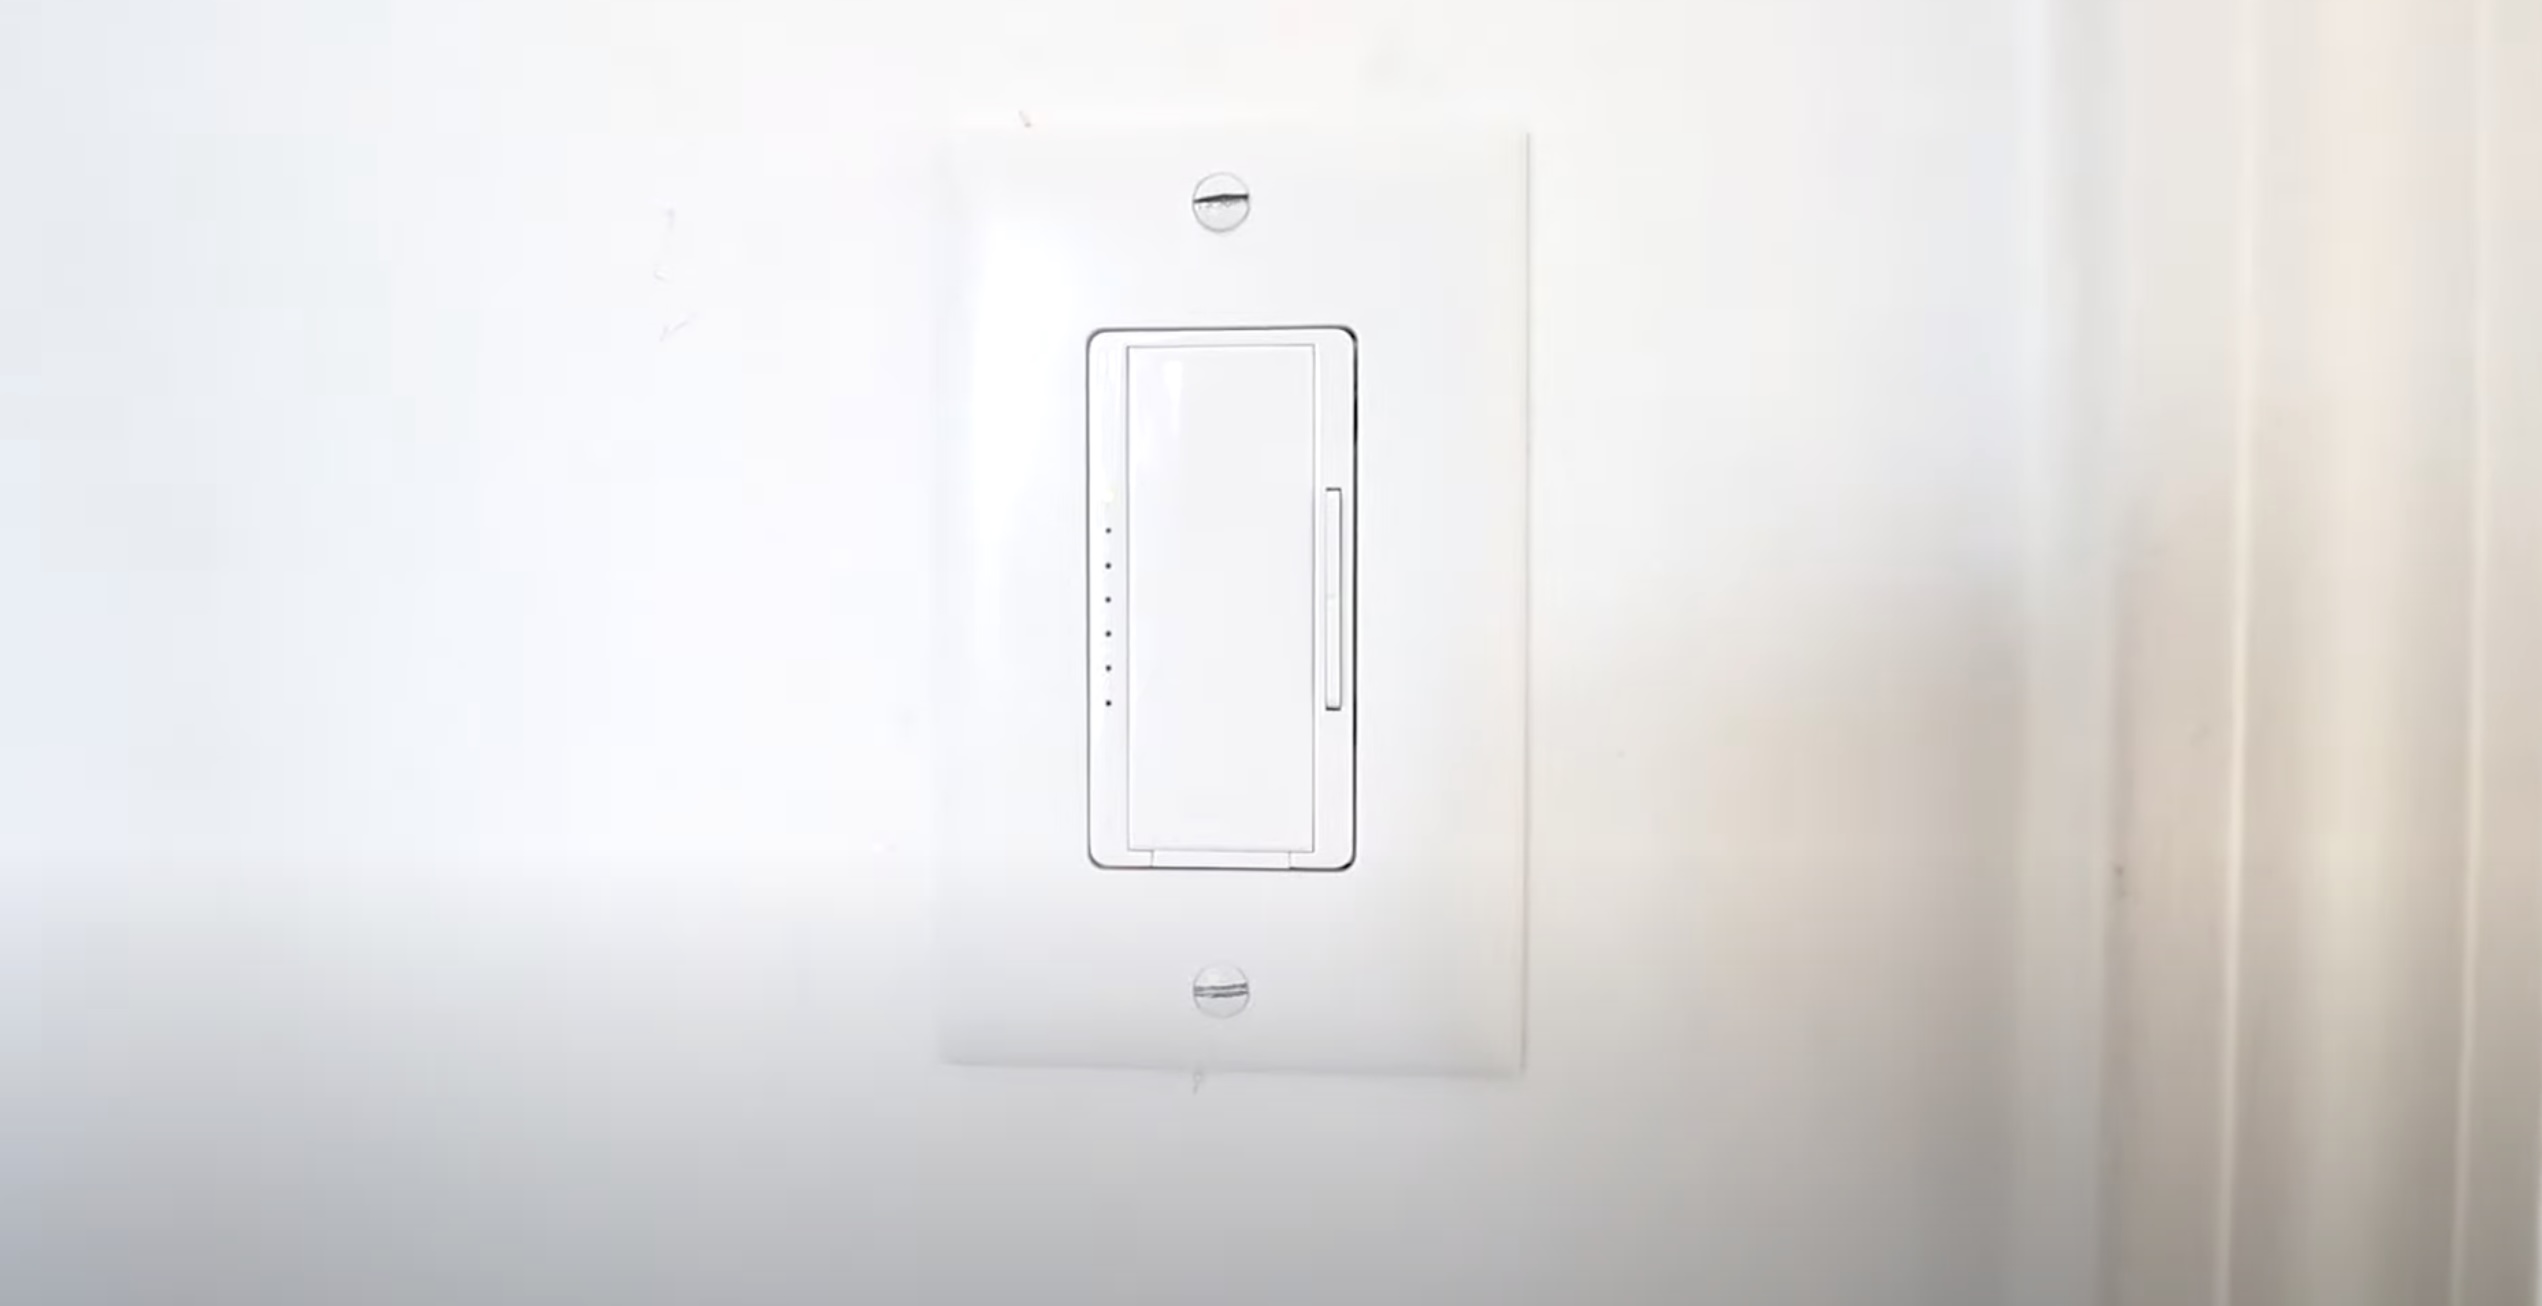
When you use a 3-way dimmer switch, you have one main switch and one or more secondary switches. The main switch is where the dimmer component is located, and it directly controls the power supply to the light fixture. The secondary switches, also known as companion switches, communicate with the main switch to control the brightness level of the light.
When you adjust the dimmer on the main switch, it sends a signal to the companion switches, indicating the desired brightness level. The companion switches then adjust their positions accordingly, aligning with the main switch’s setting. This allows you to control the brightness from any of the switches in the circuit, giving you flexibility and convenience.
It’s important to note that the wiring configuration for a 3-way dimmer switch is slightly more complex compared to a regular switch or dimmer switch installation. The wiring may involve additional traveler wires and require specific connections to ensure proper communication between the main switch and the companion switches.
In addition, the type of light bulb used in conjunction with a 3-way dimmer switch can affect its performance. It’s essential to choose dimmable LED or incandescent bulbs that are compatible with the dimmer switch to avoid flickering, buzzing, or decreased lifespan.
Overall, a 3-way dimmer switch provides a seamless and versatile lighting control solution. By allowing you to adjust the brightness from multiple locations, it gives you the flexibility to create the perfect ambiance for any occasion.
Now that we understand how a 3-way dimmer switch works, let’s dive into the installation process to bring this functionality to your space.
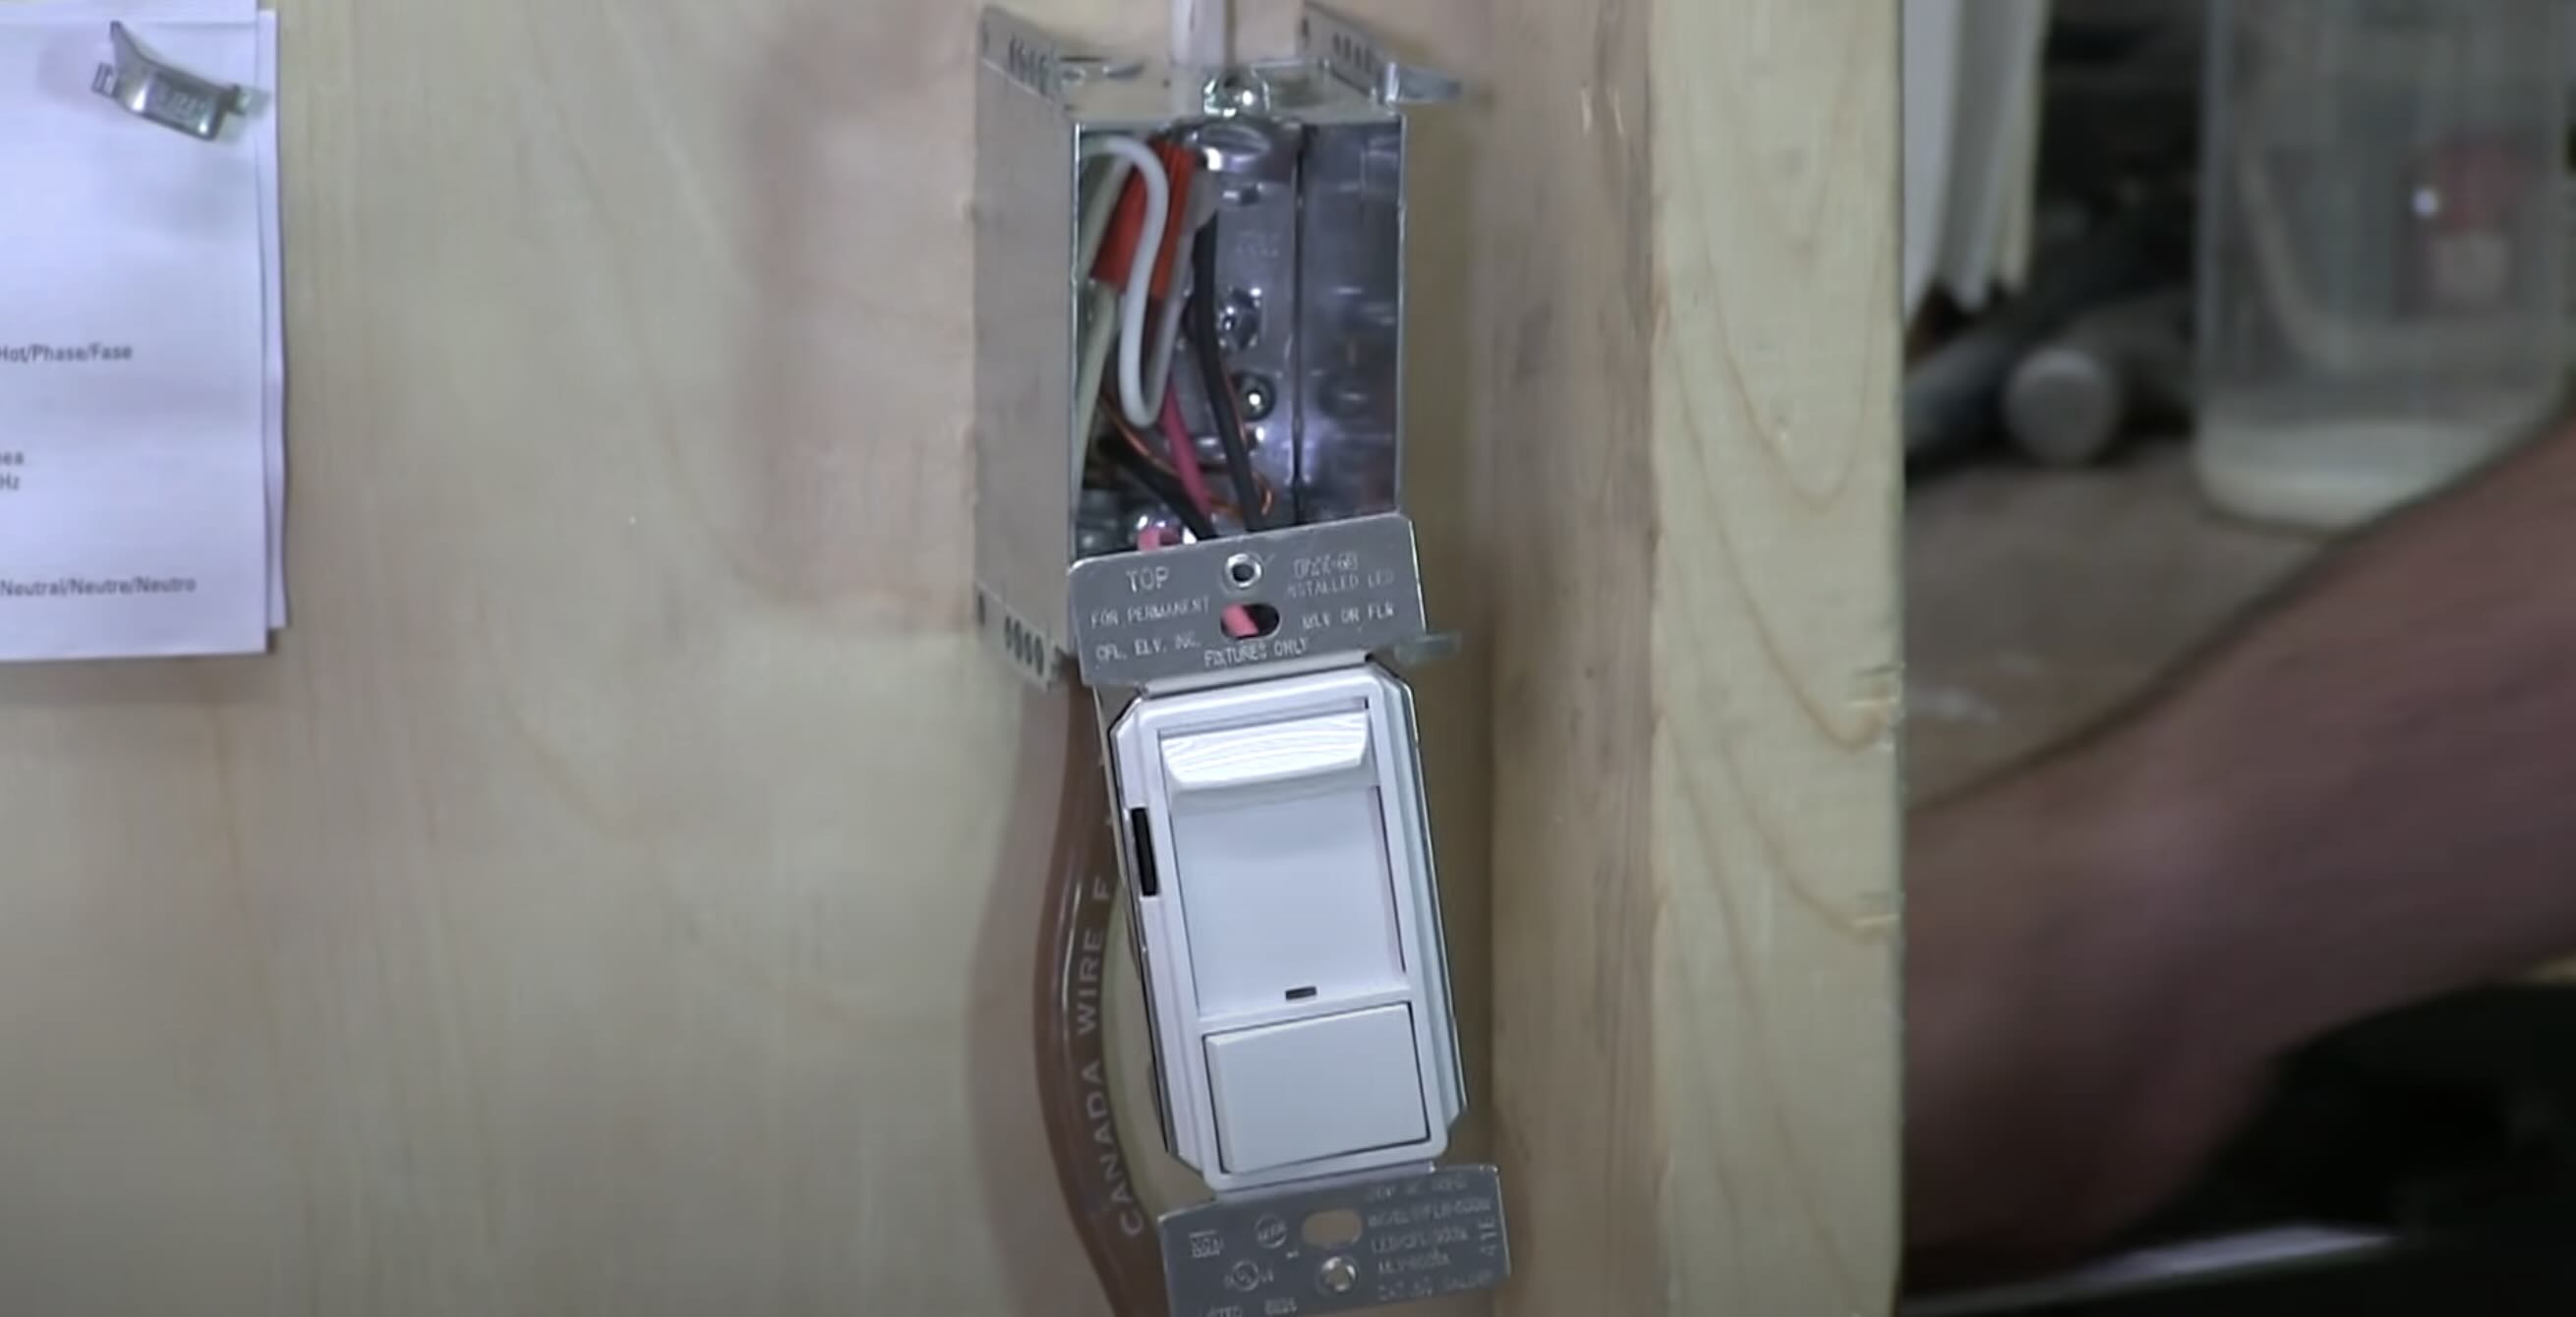
Installation of a 3-Way Dimmer Switch
Installing a 3-way dimmer switch requires some electrical knowledge and basic tools. It’s important to ensure your safety by following proper procedures and turning off the power supply before beginning any electrical work.
Here is a general step-by-step guide to help you install a 3-way dimmer switch:
- Start by turning off the power supply to the circuit you’ll be working on. Locate the circuit breaker in your electrical panel and flip the switch to the “off” position.
- Using a voltage tester, double-check that the power is indeed off before proceeding.
- Remove the cover plate and unscrew the existing 3-way switch from the electrical box.
- Take note of the existing wiring configuration and identify the common wire, the two traveler wires, and the ground wire.
- Disconnect the wiring from the old switch, making sure to label each wire for easy reference.
- Connect the wires to the corresponding terminals on the 3-way dimmer switch. Follow the manufacturer’s instructions for proper wiring and ensure a secure connection.
- Attach the dimmer switch to the electrical box using the provided screws.
- Install the companion switches in the other locations, following the same wiring procedure. Make sure to connect the traveler wires correctly.
- Double-check all the connections and ensure that the wires are properly secured and insulated.
- Screw the new switches into place and attach the cover plates.
- Turn on the power supply and test the functionality of the 3-way dimmer switch from all switch locations. Adjust the brightness level to your desired setting.
It’s worth mentioning that the specific installation steps may vary depending on the brand and model of the 3-way dimmer switch. Be sure to consult the installation manual provided by the manufacturer for precise instructions.
If you’re uncertain about any aspect of the installation process or feel uncomfortable handling electrical work, it’s recommended to hire a licensed electrician to ensure a safe and proper installation of your 3-way dimmer switch.
Now that you have installed your 3-way dimmer switch, it’s important to know how to choose the right one for your needs. Let’s explore some tips for selecting the perfect 3-way dimmer switch.
When installing a 3-way dimmer switch, make sure to turn off the power at the circuit breaker before beginning. Follow the manufacturer’s instructions carefully to ensure proper installation.
Tips for Choosing the Right 3-Way Dimmer Switch
When it comes to selecting the right 3-way dimmer switch for your lighting needs, there are a few key factors to consider. These tips will help you make an informed decision and ensure that the dimmer switch you choose is compatible with your wiring, light fixtures, and desired functionality.
- Check compatibility: Before purchasing a 3-way dimmer switch, make sure it is compatible with the type of light bulbs you have. Some dimmer switches may only work with incandescent bulbs, while others are designed for dimmable LED or CFL bulbs. Check the product specifications or consult with a lighting professional to ensure compatibility.
- Consider wattage and load capacity: 3-way dimmer switches have specific wattage and load capacity ratings. Ensure that the dimmer switch you choose can handle the combined wattage of the light fixtures connected to it. Exceeding the load capacity can cause the dimmer switch to malfunction or even become a safety hazard.
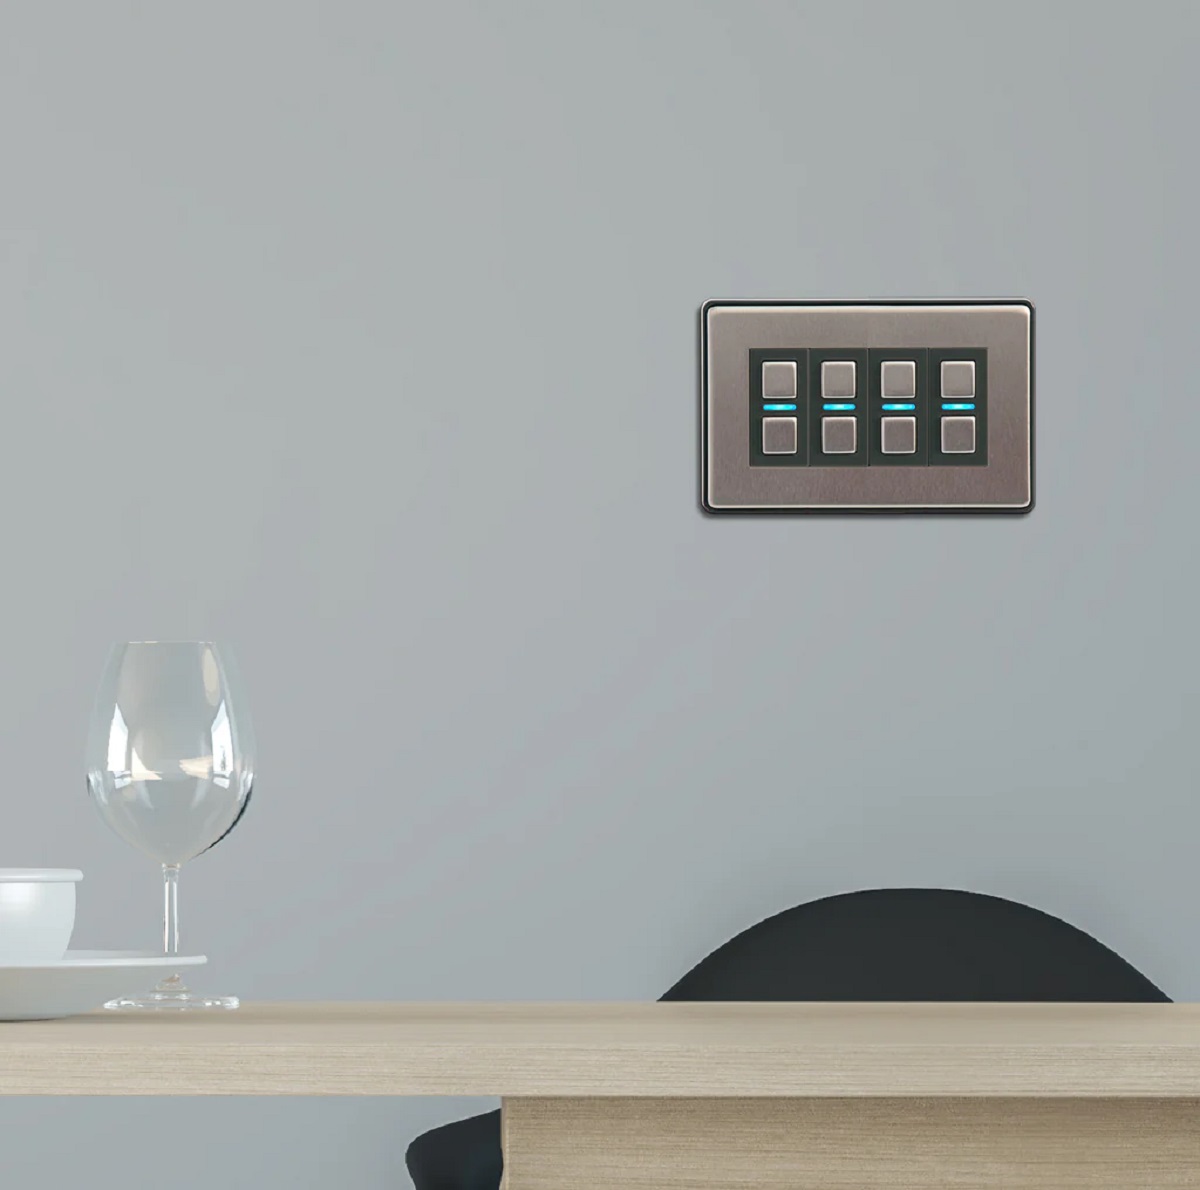
- Choose the right style: 3-way dimmer switches come in a variety of styles and designs. Consider the aesthetics of your space and choose a dimmer switch that complements your decor. From sleek and modern to classic and traditional, there are options to suit any style preference.
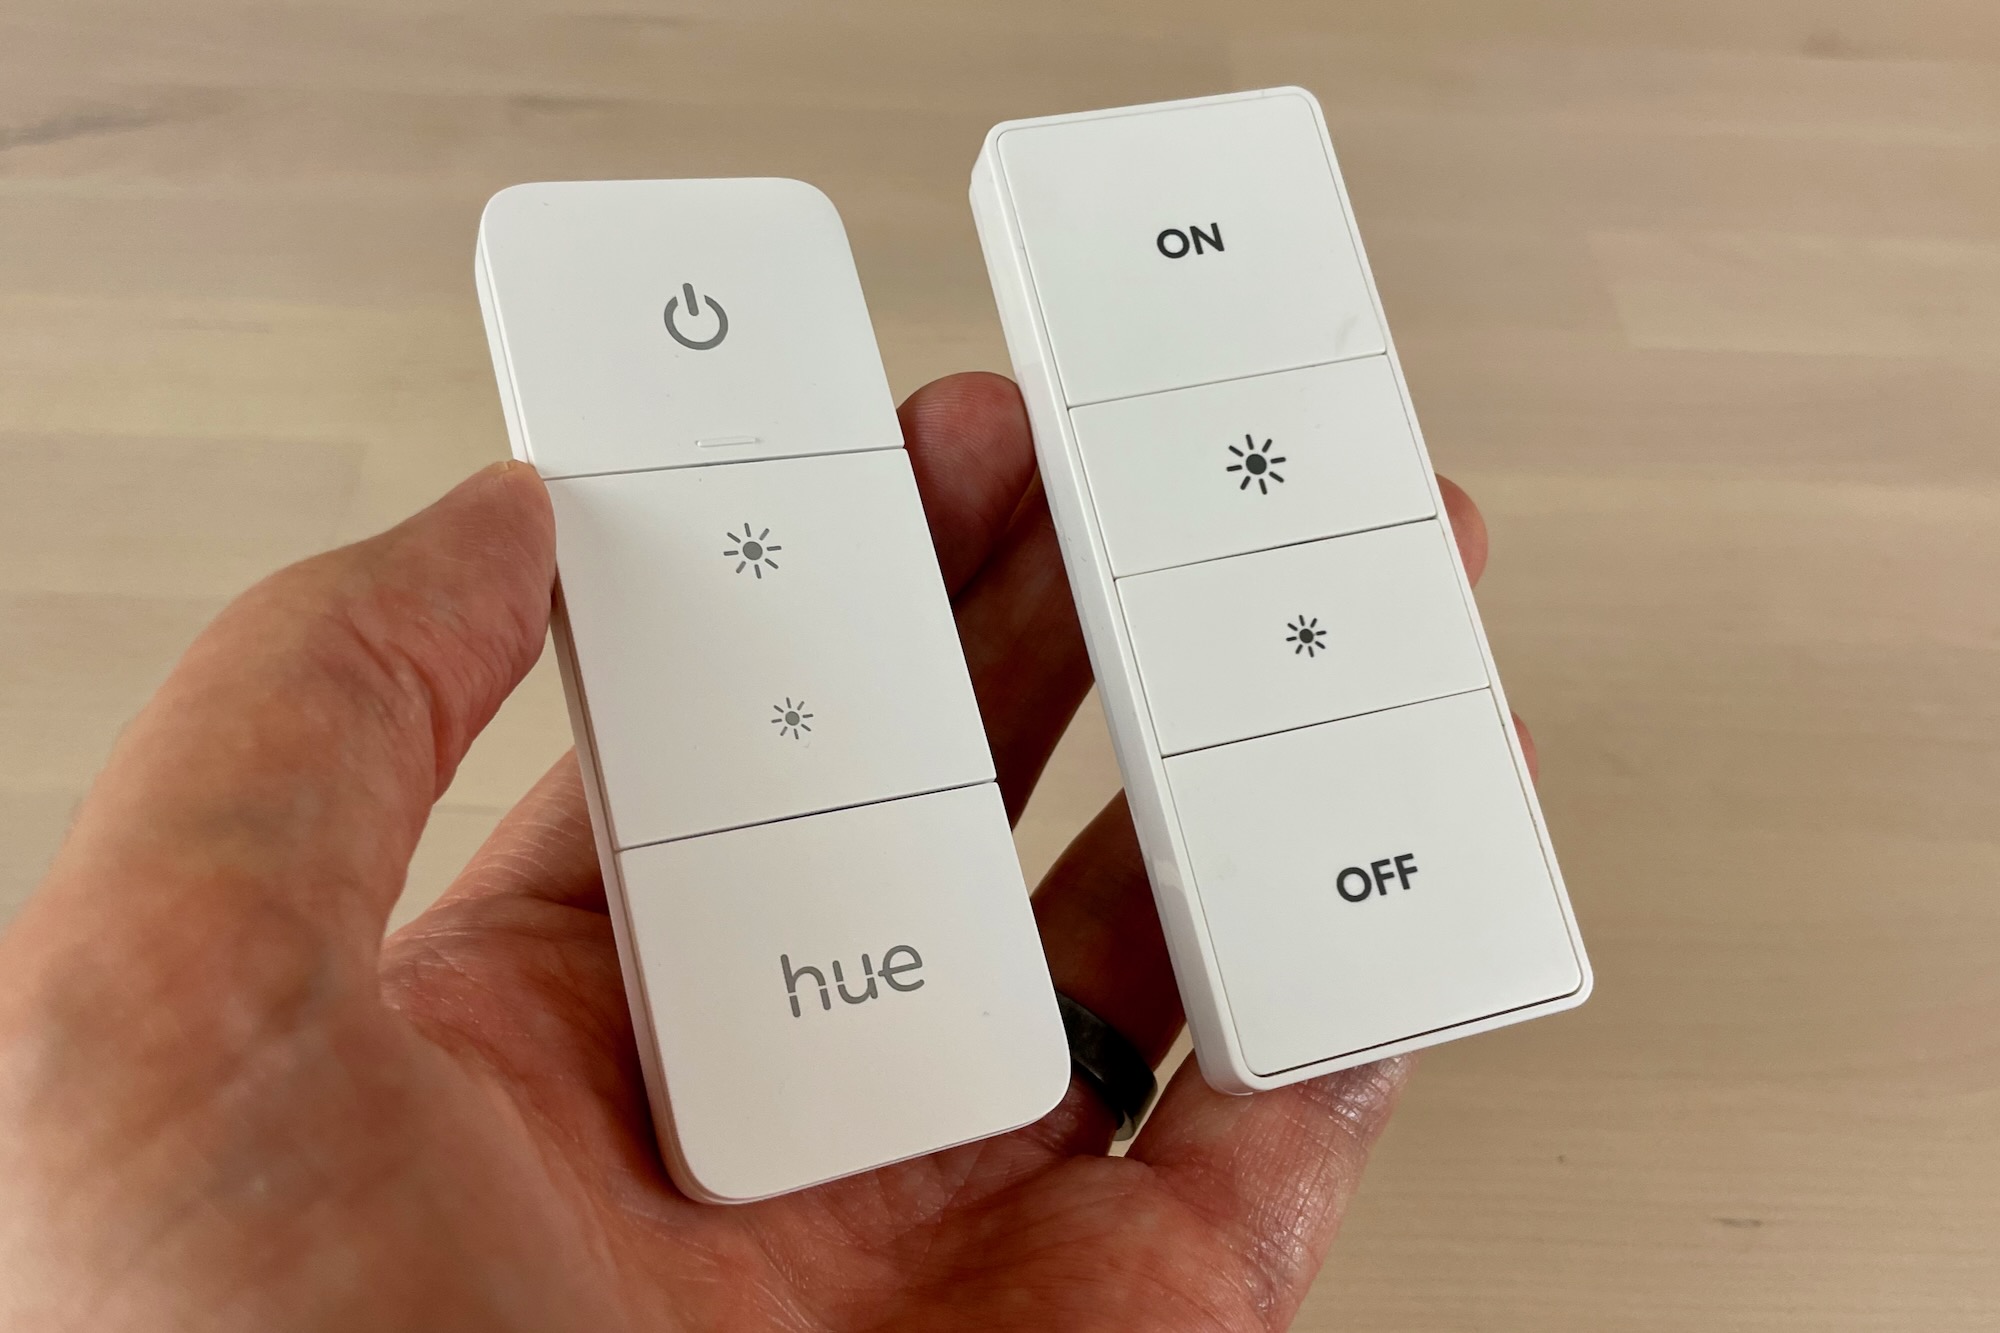
- Look for additional features: Some 3-way dimmer switches offer extra features, such as preset lighting levels, fade-on and fade-off capabilities, or remote control functionality. Determine if any of these features are important to you and choose a dimmer switch that includes them.
- Read customer reviews: Before making your final decision, take the time to read customer reviews and feedback on the dimmer switch you are considering. This can give you valuable insights into its performance, reliability, and ease of installation.
- Consider the warranty: Look for dimmer switches that come with a warranty. This provides you with peace of mind knowing that you are protected in case of any defects or issues with the switch.
By considering these tips, you can select a 3-way dimmer switch that meets your specific requirements and ensures a smooth and enjoyable lighting control experience.
Now that we have explored the tips for choosing the right 3-way dimmer switch, let’s move on to discussing the benefits of using one.
Benefits of Using a 3-Way Dimmer Switch
Integrating a 3-way dimmer switch into your lighting setup offers an array of benefits that can enhance your overall lighting experience. Let’s explore some of the key advantages:
- Flexible Lighting Levels: One of the primary benefits of a 3-way dimmer switch is the ability to adjust the brightness levels of your lights. You can easily tailor the lighting to your specific needs and create the desired ambiance for any occasion. Whether you want a bright and energetic atmosphere or a soft and intimate setting, a 3-way dimmer switch gives you the flexibility to achieve it.
- Energy Efficiency: By utilizing a dimmer switch, you have the power to reduce the energy consumption of your light fixtures. Dimming the lights even by a small percentage can result in significant energy savings over time. This not only helps lower your electricity bill but also contributes to a more sustainable and eco-friendly lifestyle.
- Extended Bulb Lifespan: Dimming the lights can extend the lifespan of your light bulbs. When bulbs operate at lower brightness levels, they generate less heat and, therefore, experience less wear and tear. This means you’ll need to replace your bulbs less frequently, saving money and reducing waste.
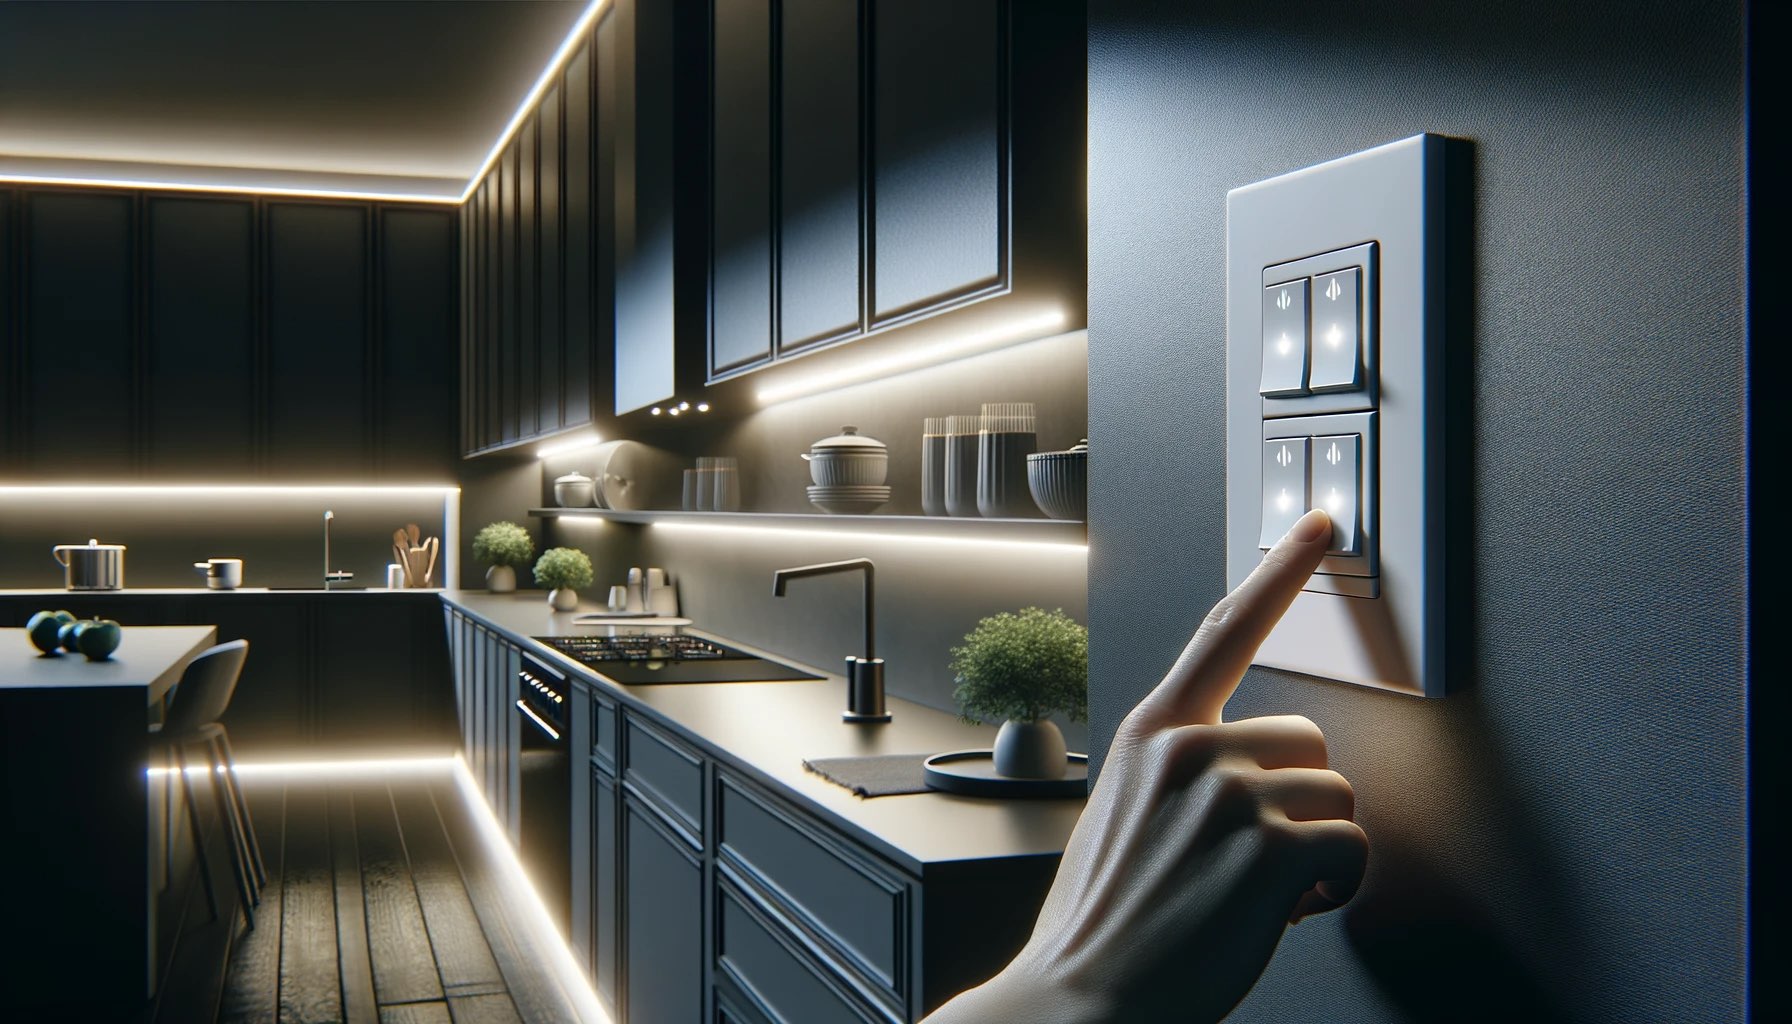
- Improved Ambiance: With a 3-way dimmer switch, you can easily set the mood and create a comfortable atmosphere in any room. Whether it’s a cozy and relaxing evening in the living room or a bright and energizing workspace, you have complete control over the lighting to enhance the ambiance to suit your preferences.
- Enhanced Focus and Productivity: When it comes to a workspace or home office, adequate lighting is crucial for increased focus and productivity. A 3-way dimmer switch allows you to customize the light levels to suit your specific needs, whether it’s bright and stimulating light for tasks or a softer, more focused glow for concentration.
- Convenience and Accessibility: Installing a 3-way dimmer switch in areas with multiple access points, such as hallways or staircases, provides convenience and accessibility. You no longer have to trek to a specific switch to control the lights; instead, you can easily turn them on or off and adjust the brightness from any switch in the circuit.
These benefits combined make a 3-way dimmer switch a valuable addition to any space. From customizable lighting to energy savings and improved ambiance, a 3-way dimmer switch offers enhanced control and functionality to enhance your overall lighting experience.
While there are numerous advantages to using a 3-way dimmer switch, it’s important to consider some potential drawbacks as well. Let’s explore them in the next section.
Potential Drawbacks of 3-Way Dimmer Switches
While 3-way dimmer switches offer many advantages, it’s important to be aware of some potential drawbacks that may arise when using them. Here are a few considerations to keep in mind:
- Compatibility: Not all light fixtures are compatible with dimmer switches, especially older or non-dimmable LED bulbs. It’s crucial to ensure that your bulbs are dimmable and compatible with the specific 3-way dimmer switch you plan to install. Using incompatible bulbs can result in flickering, buzzing, or even damage to the bulbs or switch.
- Higher Cost: 3-way dimmer switches generally cost more than standard switches due to their advanced functionality. Additionally, if you plan to install companion switches in multiple locations, it can add to the overall cost. However, the long-term energy savings and increased bulb lifespan may offset the initial investment.
- Installation Complexity: Compared to a standard switch replacement, installing a 3-way dimmer switch can be more complex. It may require additional wiring or modifications to accommodate the dimming functionality. If you are not comfortable with electrical work, it’s recommended to hire a licensed electrician to ensure proper installation.
- Noisiness: Some 3-way dimmer switches, especially older models, can produce audible humming or buzzing sounds when the lights are dimmed. This noise can be distracting or annoying in quiet environments. Opting for newer models or dimmer switches with noise reduction features can help minimize this issue.
- Learning Curve: Using a 3-way dimmer switch may require a small learning curve, especially for those unfamiliar with dimmer functionality. Adjusting the lights to the desired brightness level may take some trial and error initially. However, once you become accustomed to it, controlling your lighting will become second nature.
It’s important to weigh these potential drawbacks against the benefits and assess how they may impact your specific lighting needs and environment. Proper research, selecting compatible components, and consulting with professionals can help address these concerns and ensure a positive experience with a 3-way dimmer switch.
Now that we have covered the potential drawbacks, let’s move on to addressing some frequently asked questions about 3-way dimmer switches.
Frequently Asked Questions about 3-Way Dimmer Switches
Here are some common questions that people often ask about 3-way dimmer switches:
- Can I install a 3-way dimmer switch myself?
- Can I use a regular dimmer switch instead of a 3-way dimmer switch?
- Can I use LED bulbs with a 3-way dimmer switch?
- Can I use a 3-way dimmer switch with any type of lighting fixture?
- Can I mix and match different brands of 3-way dimmer switches?
- Can I use a 3-way dimmer switch without installing companion switches?
Yes, you can install a 3-way dimmer switch yourself if you have basic electrical knowledge and experience. However, if you’re unsure or uncomfortable, it’s always recommended to hire a licensed electrician to ensure a safe and proper installation.
No, a regular dimmer switch is not compatible with a 3-way switch configuration. 3-way dimmer switches have unique wiring and functionality designed to work with multiple switch locations. Using a regular dimmer switch in a 3-way setup will not provide the desired control and may cause wiring issues.
Yes, you can use LED bulbs with a 3-way dimmer switch, but it’s crucial to ensure that both the bulbs and the dimmer switch are compatible. Look for dimmable LED bulbs that are specifically designed to work with dimmer switches. Using non-compatible bulbs can result in flickering, buzzing, or reduced lifespan of the bulbs.
Most types of lighting fixtures, including recessed lights, pendant lights, and track lights, can be used with a 3-way dimmer switch. However, it’s important to consider the compatibility of the bulbs within those fixtures. Ensure that the bulbs are dimmable and compatible with the specific dimmer switch you plan to use.
While it’s generally recommended to use dimmer switches from the same brand and model, it is possible to mix and match different brands of 3-way dimmer switches. However, it’s essential to ensure that the switches are compatible and properly wired to avoid any compatibility or functionality issues.
Yes, you can use a 3-way dimmer switch without installing companion switches. In this case, you would simply use the dimmer switch as a regular dimmer, controlling the light at one specific location. The ability to control the light from multiple switch locations would be lost in this configuration.
These are just a few of the common questions regarding 3-way dimmer switches. As always, if you have any specific concerns or questions, it’s best to consult with a licensed electrician or refer to the manufacturer’s instructions for your specific dimmer switch model.
Now, let’s conclude our exploration of 3-way dimmer switches.
Read more: What Is A Dimmer Switch
Conclusion
In conclusion, a 3-way dimmer switch offers a versatile and convenient solution for controlling the lighting in your space. By allowing you to adjust the brightness levels from multiple switch locations, 3-way dimmer switches provide flexibility, energy efficiency, and enhanced ambiance.
Installing a 3-way dimmer switch may require a bit more effort and electrical knowledge compared to a standard switch replacement, but the benefits outweigh the potential drawbacks. With the ability to customize your lighting levels, you can create the perfect atmosphere for any occasion, whether it’s a cozy evening at home or a productive workspace.
When selecting a 3-way dimmer switch, ensure compatibility with your light bulbs, consider the wattage and load capacity, and choose a style that complements your decor. Reading customer reviews and considering additional features can also help you make an informed decision.
While there may be some challenges, such as installation complexity or the need for dimmable bulbs, proper research and consultation with professionals can help overcome these obstacles and ensure a successful installation.
Whether you’re looking to create an inviting ambiance in your home, increase productivity in your office, or enhance the functionality of a shared space, a 3-way dimmer switch provides the ultimate control over your lighting environment.
Remember to always follow safety guidelines and consult with a licensed electrician if you have any concerns or uncertainties during the installation process.
Now that you’re armed with the knowledge of 3-way dimmer switches, it’s time to take control of your lighting and elevate your environment to a whole new level of comfort and versatility.
Frequently Asked Questions about What Is A 3-Way Dimmer Switch
Was this page helpful?
At Storables.com, we guarantee accurate and reliable information. Our content, validated by Expert Board Contributors, is crafted following stringent Editorial Policies. We're committed to providing you with well-researched, expert-backed insights for all your informational needs.


0 thoughts on “What Is A 3-Way Dimmer Switch”