Articles
How To Fix A Dimmer Switch
Modified: August 16, 2024
Looking for articles on how to fix a dimmer switch? Learn step-by-step instructions and troubleshooting tips in our comprehensive guide. Upgrade your lighting knowledge today!
(Many of the links in this article redirect to a specific reviewed product. Your purchase of these products through affiliate links helps to generate commission for Storables.com, at no extra cost. Learn more)
Introduction
Welcome to our comprehensive guide on how to fix a dimmer switch. Dimmer switches are a popular choice for controlling the intensity of lighting in various rooms of a home or office. They offer the convenience of adjusting the brightness of lights to create the desired ambiance. However, just like any other electrical device, dimmer switches can encounter issues over time. Whether it’s a flickering light, unresponsive switch, or any other problem, it’s important to know how to troubleshoot and fix these issues.
In this guide, we will provide you with step-by-step instructions to fix common issues with dimmer switches. We’ll also discuss the tools and materials you’ll need for the job. So, if you’re tired of dealing with a malfunctioning dimmer switch and want to regain control over your lighting, keep reading!
Key Takeaways:
- Takeaway 1: Understanding the common issues and necessary tools for fixing a dimmer switch is crucial for regaining control over your lighting and creating the desired ambiance in your home or office.
- Takeaway 2: Prioritizing safety and considering alternative solutions, such as checking light bulbs and consulting a professional, are essential for successfully troubleshooting and fixing persistent dimmer switch issues.
Read more: What Is A Dimmer Switch
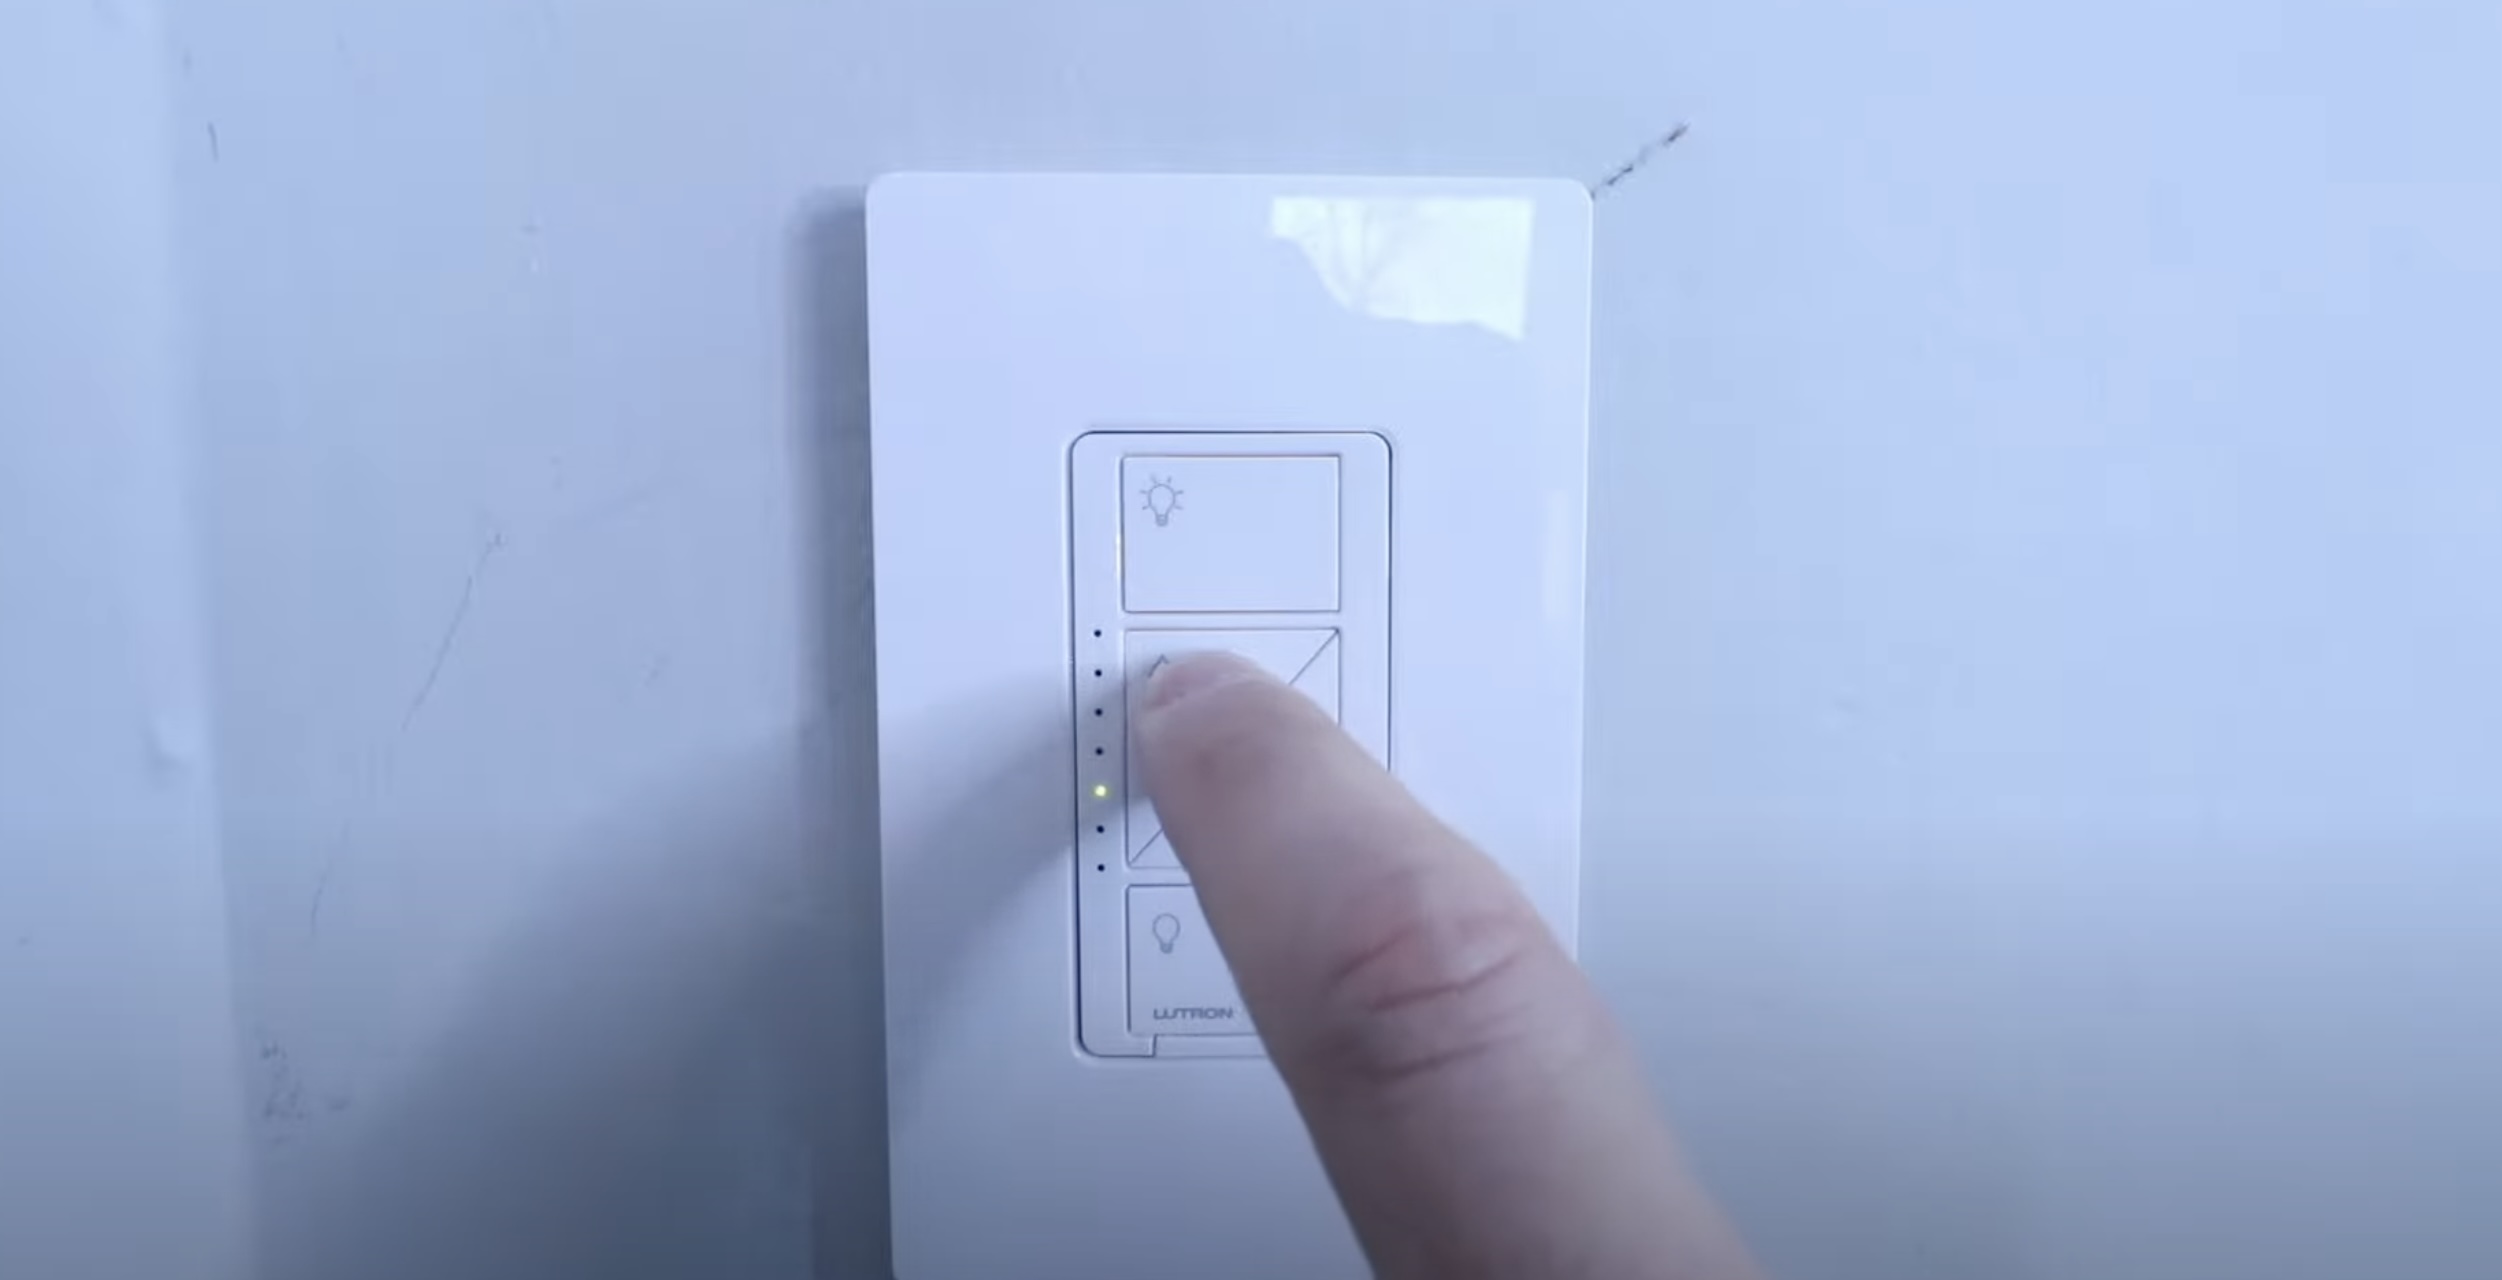
Understanding Dimmer Switches
Before diving into the process of fixing dimmer switches, it’s essential to have a basic understanding of how they work. Dimmer switches are designed to control the amount of electrical power flowing through a lighting circuit. By adjusting the power flow, the brightness of the lights can be increased or decreased.
Dimmer switches contain electronic components that regulate the voltage supplied to the lights. The most common type of dimmer switches is the leading-edge dimmers. These switches work by cutting off a portion of the AC waveform, reducing the amount of power delivered to the lights. This process is known as phase control.
It’s important to note that not all types of light bulbs are compatible with dimmer switches. Incandescent, halogen, and certain types of LEDs are typically dimmable, while other types, such as fluorescent lights, may not be compatible. Always check the packaging of the light bulbs or consult the manufacturer’s instructions to ensure compatibility with dimmer switches.
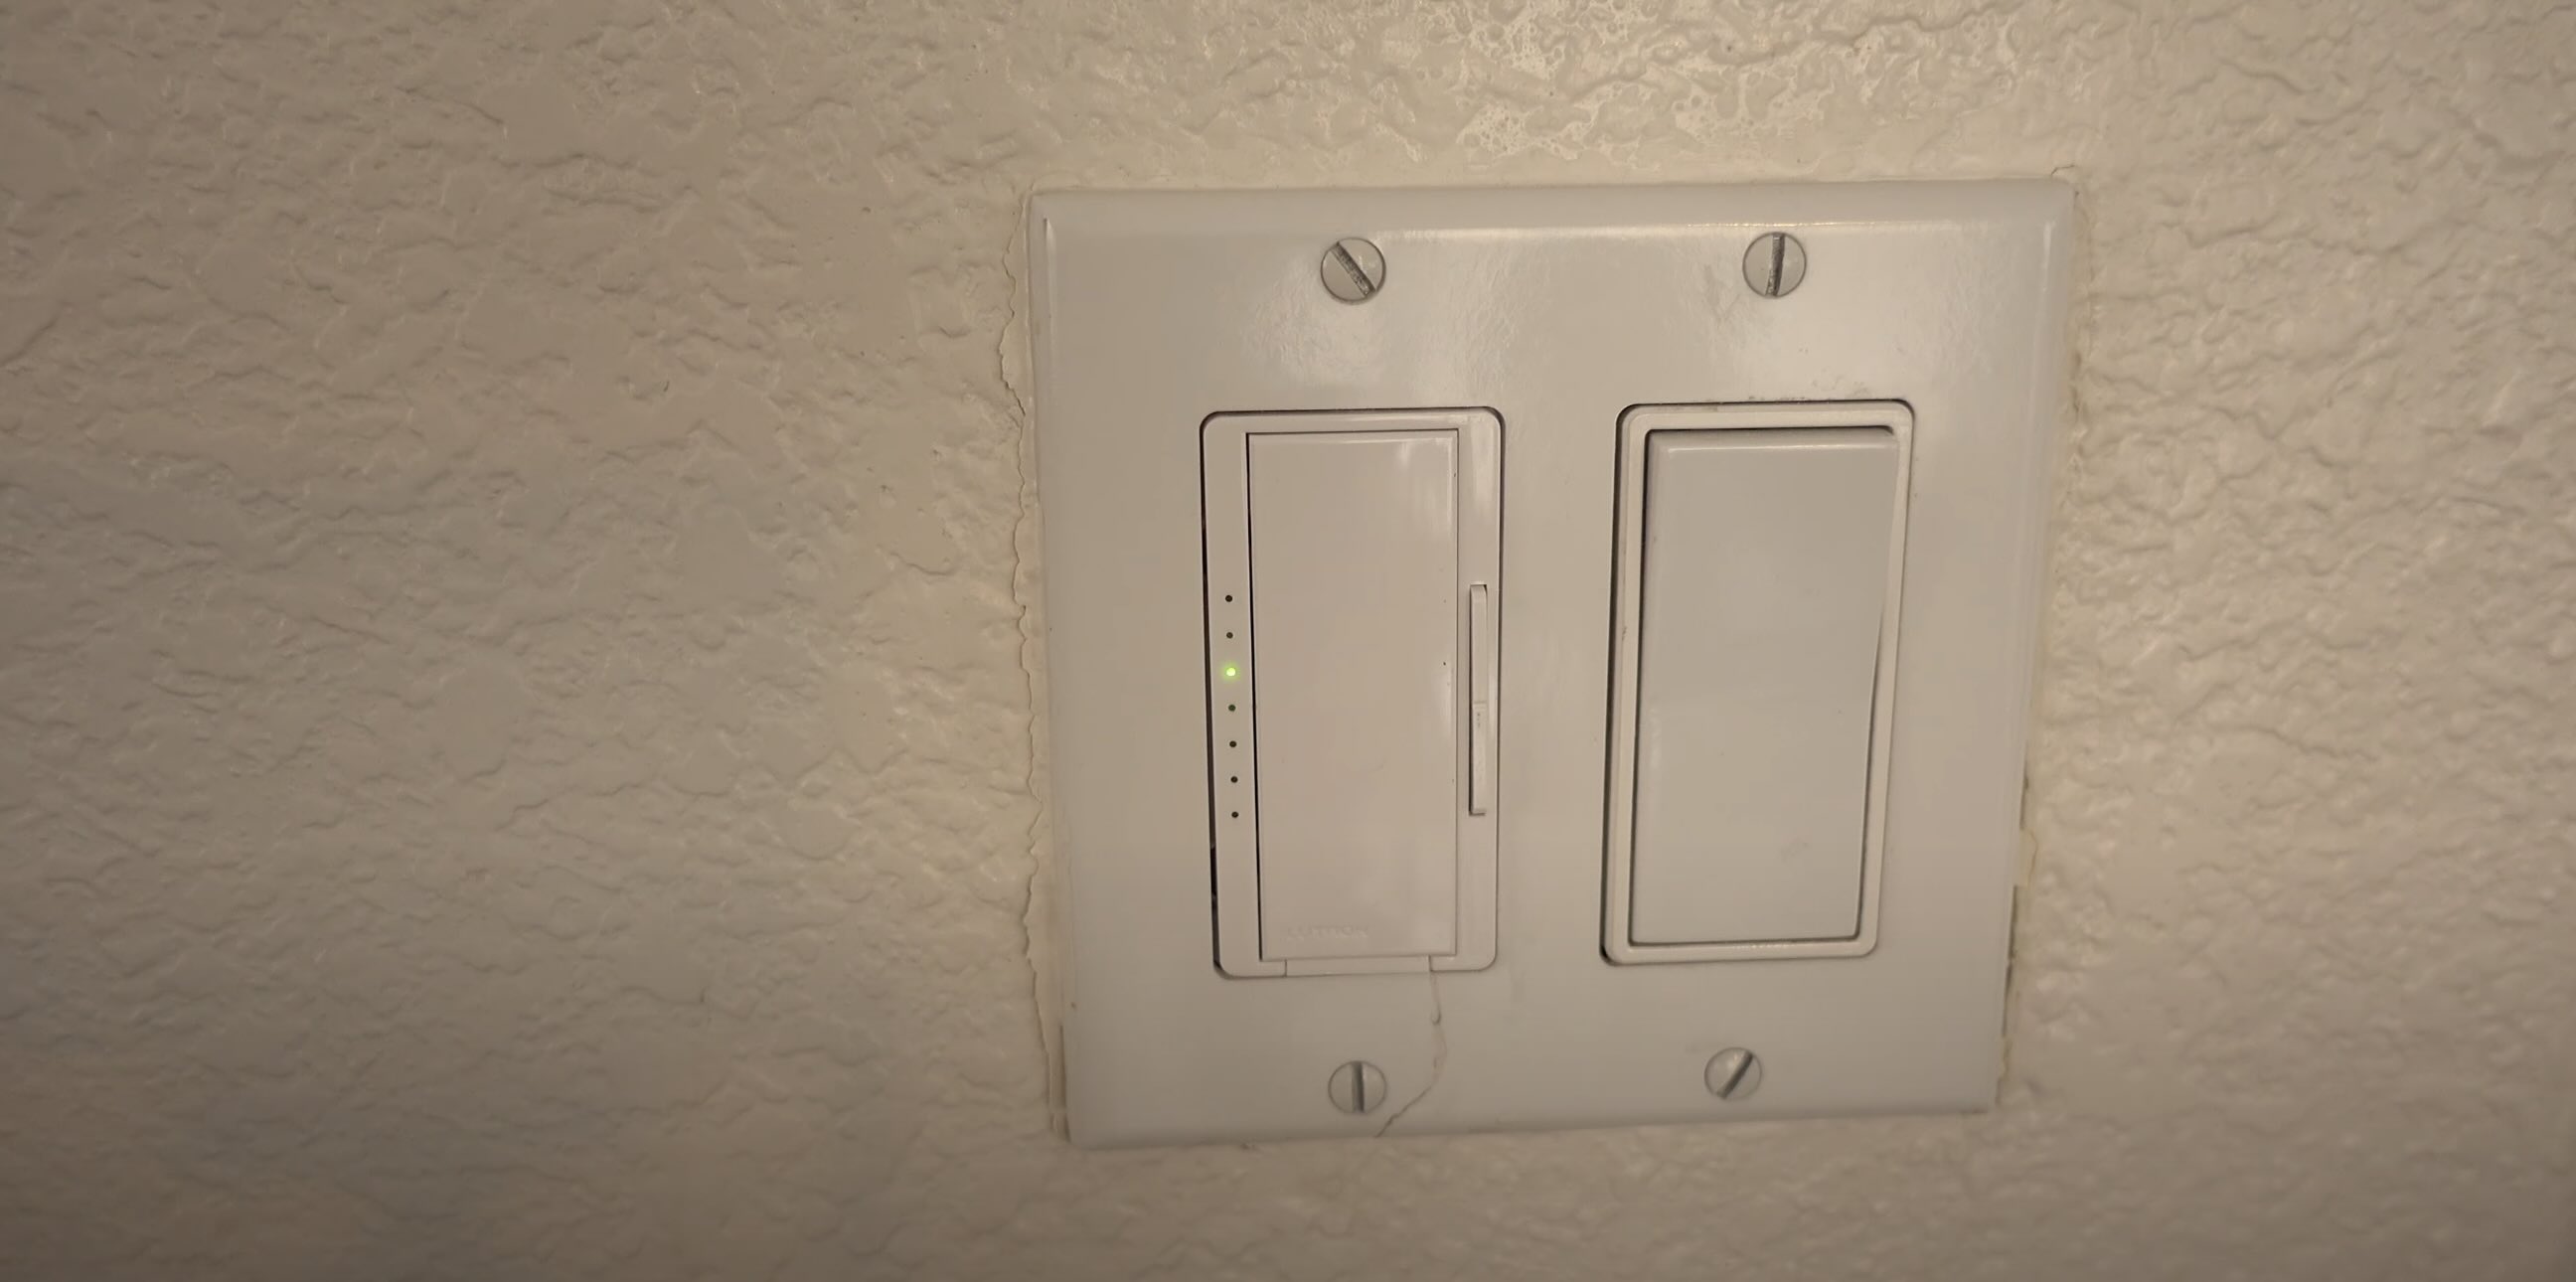
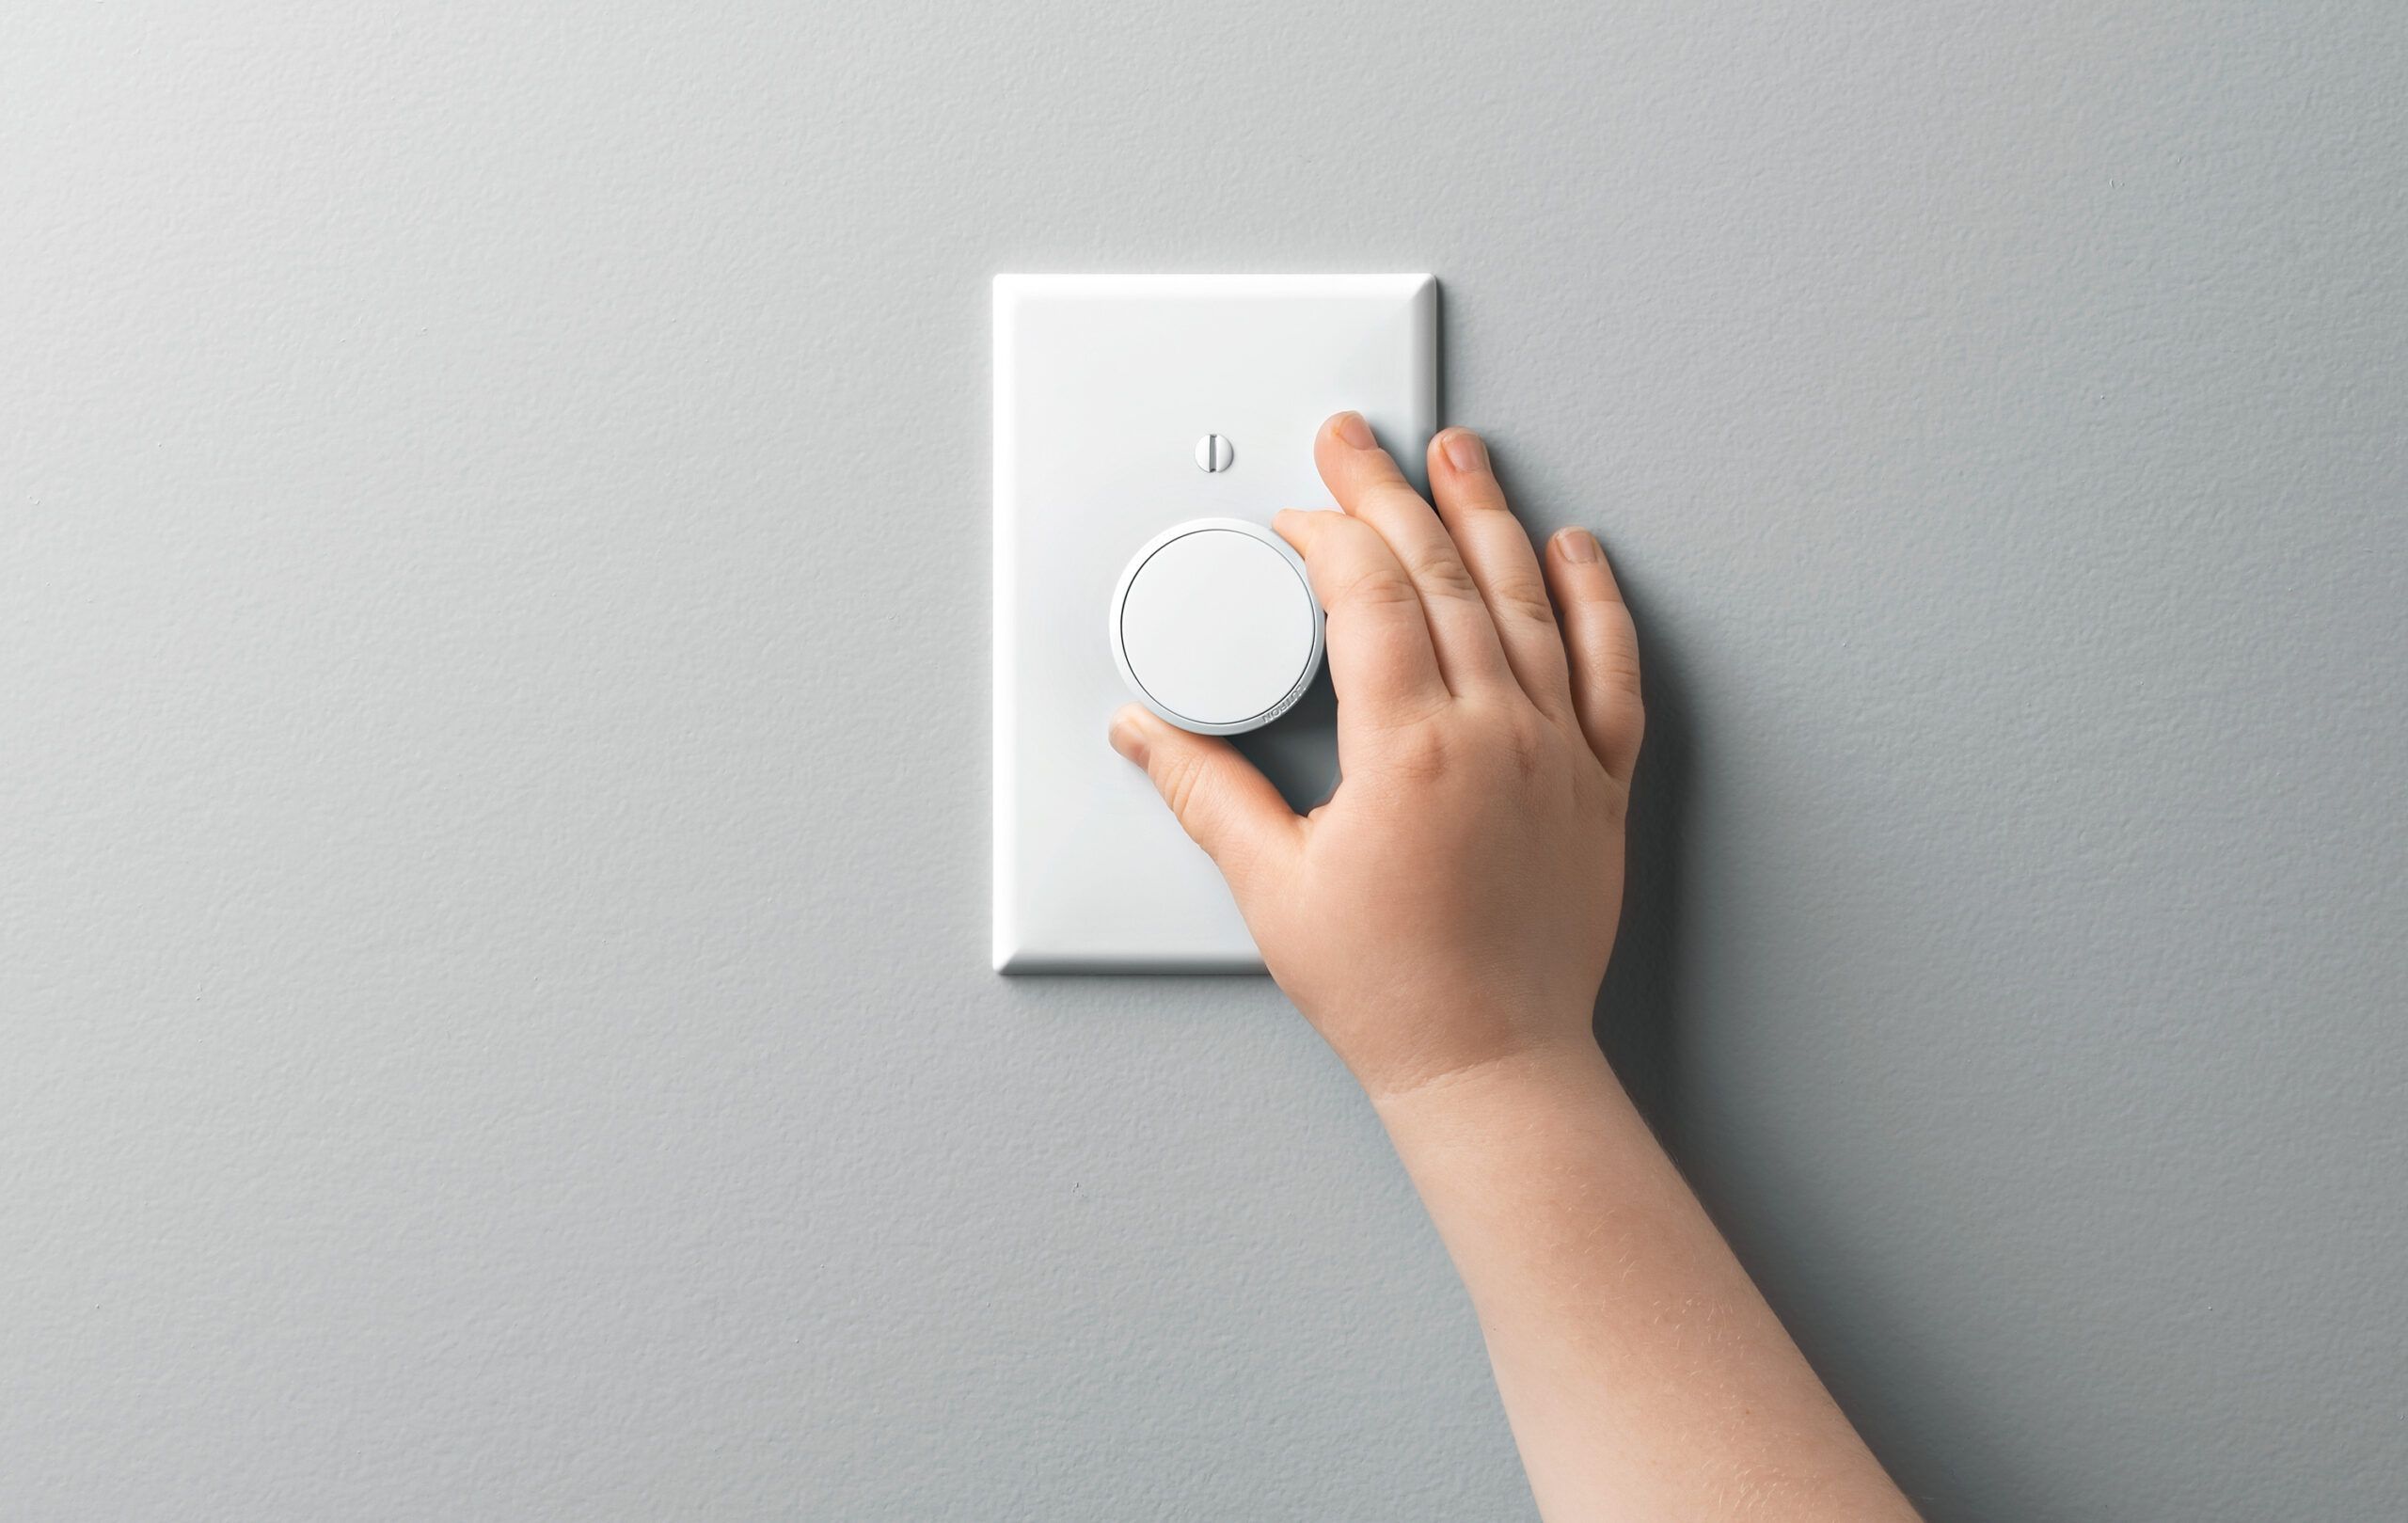
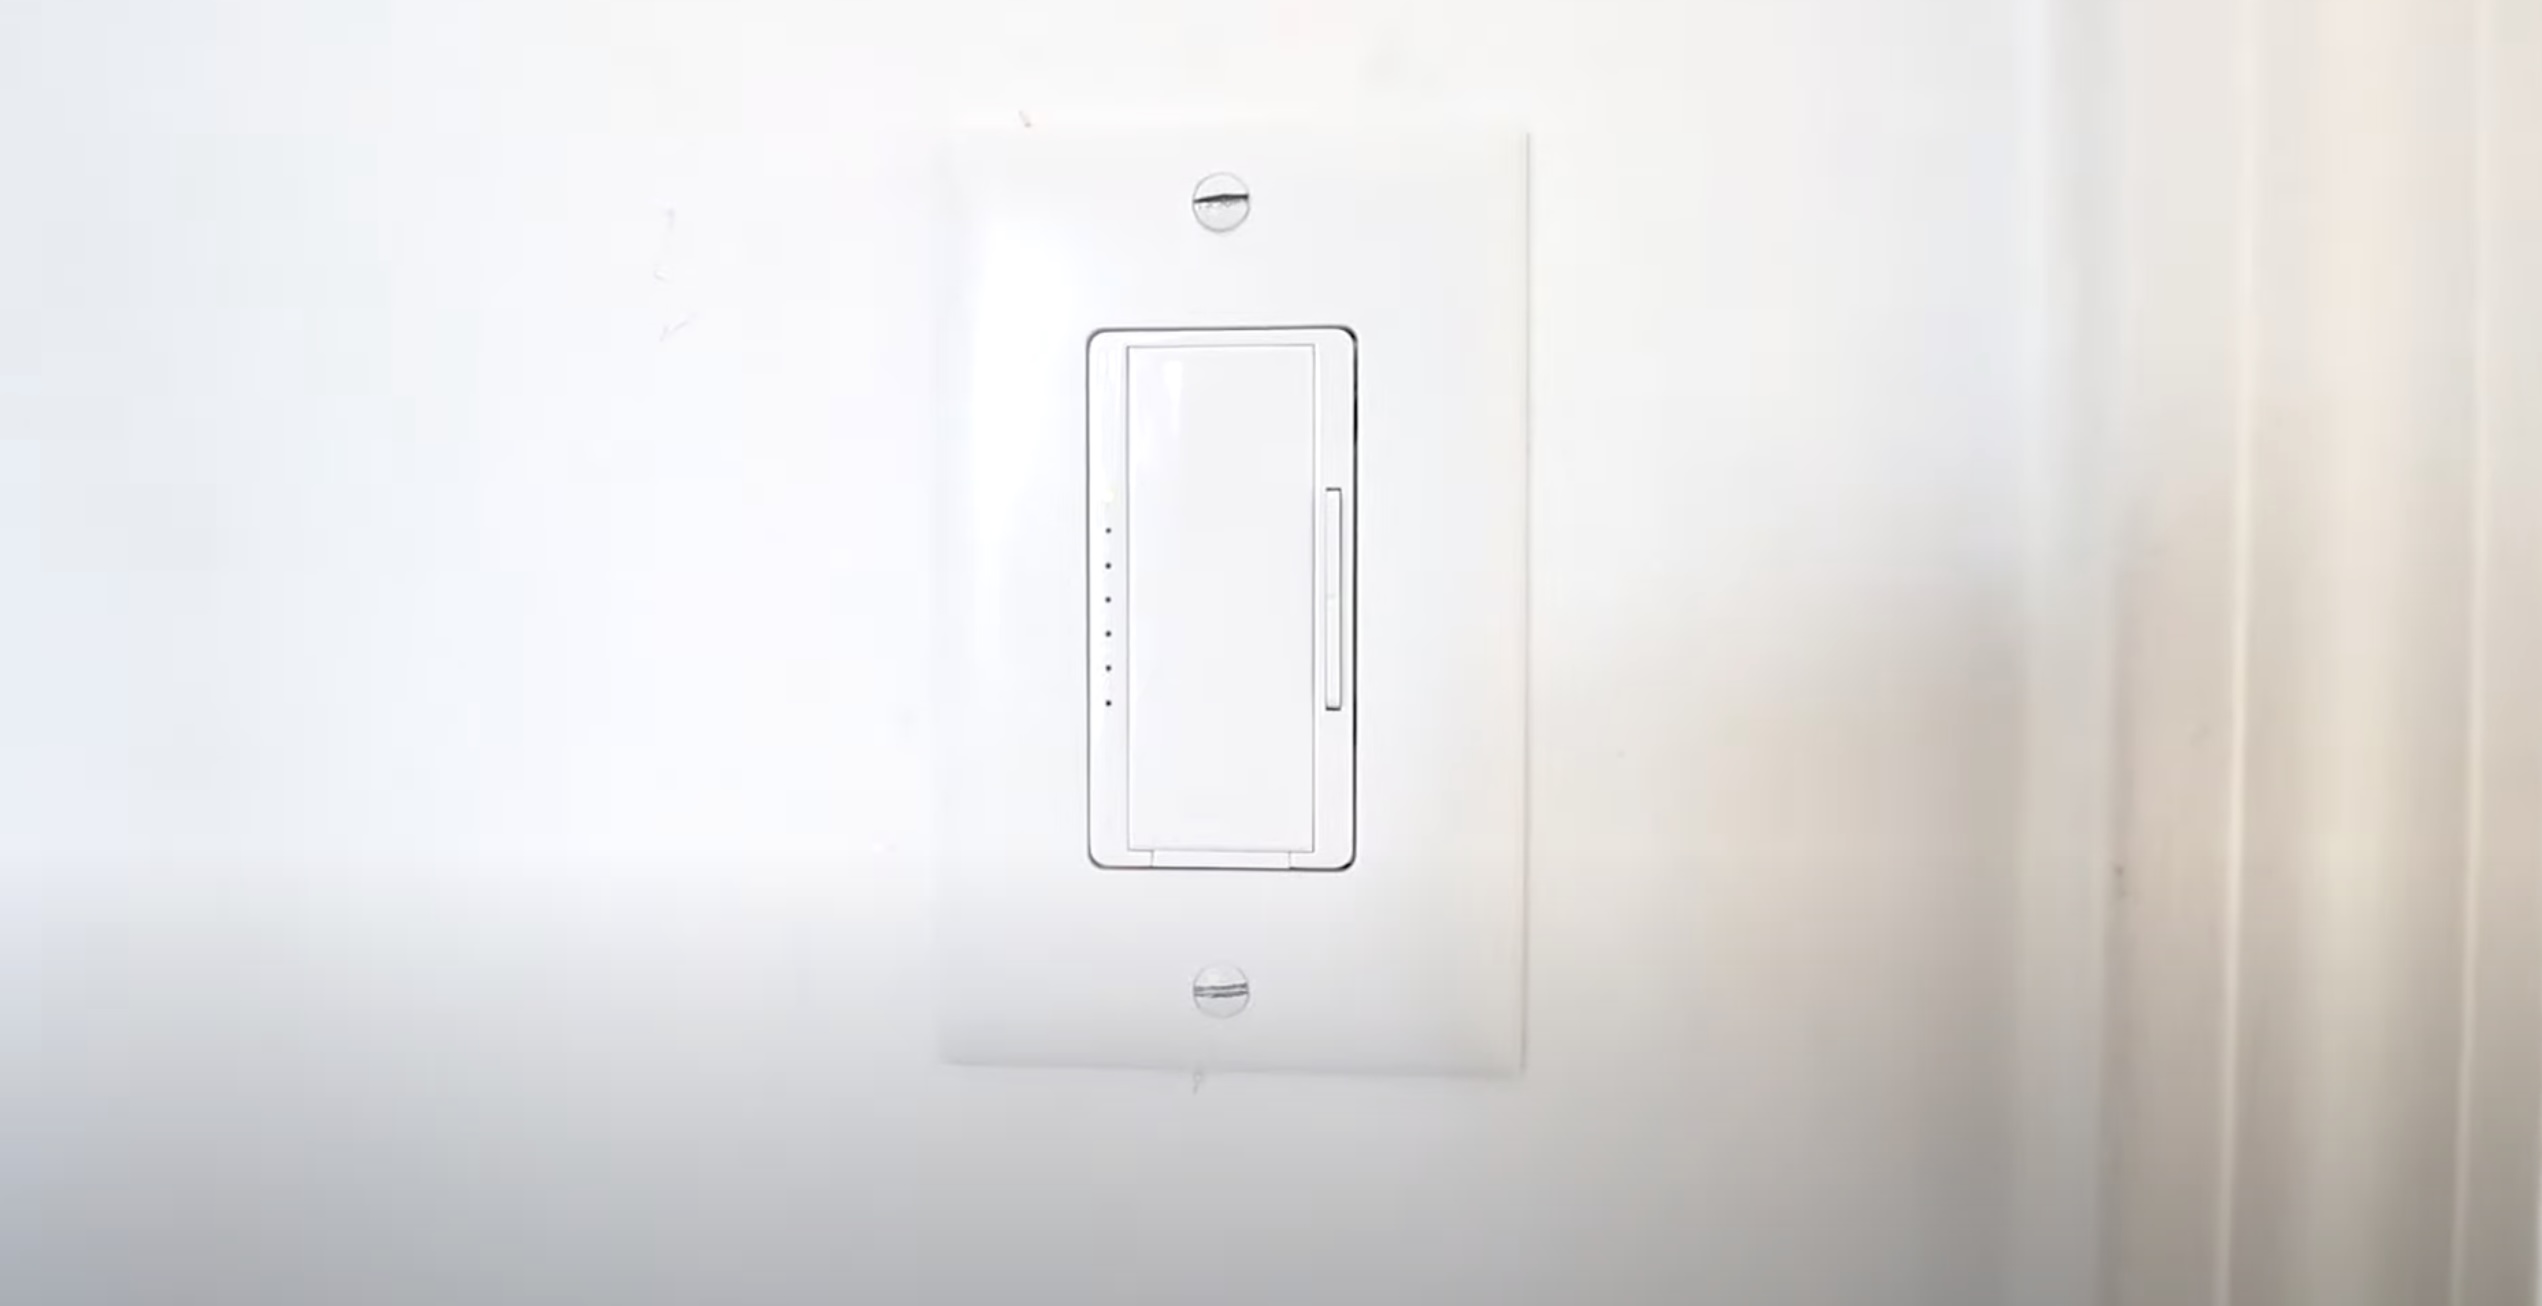
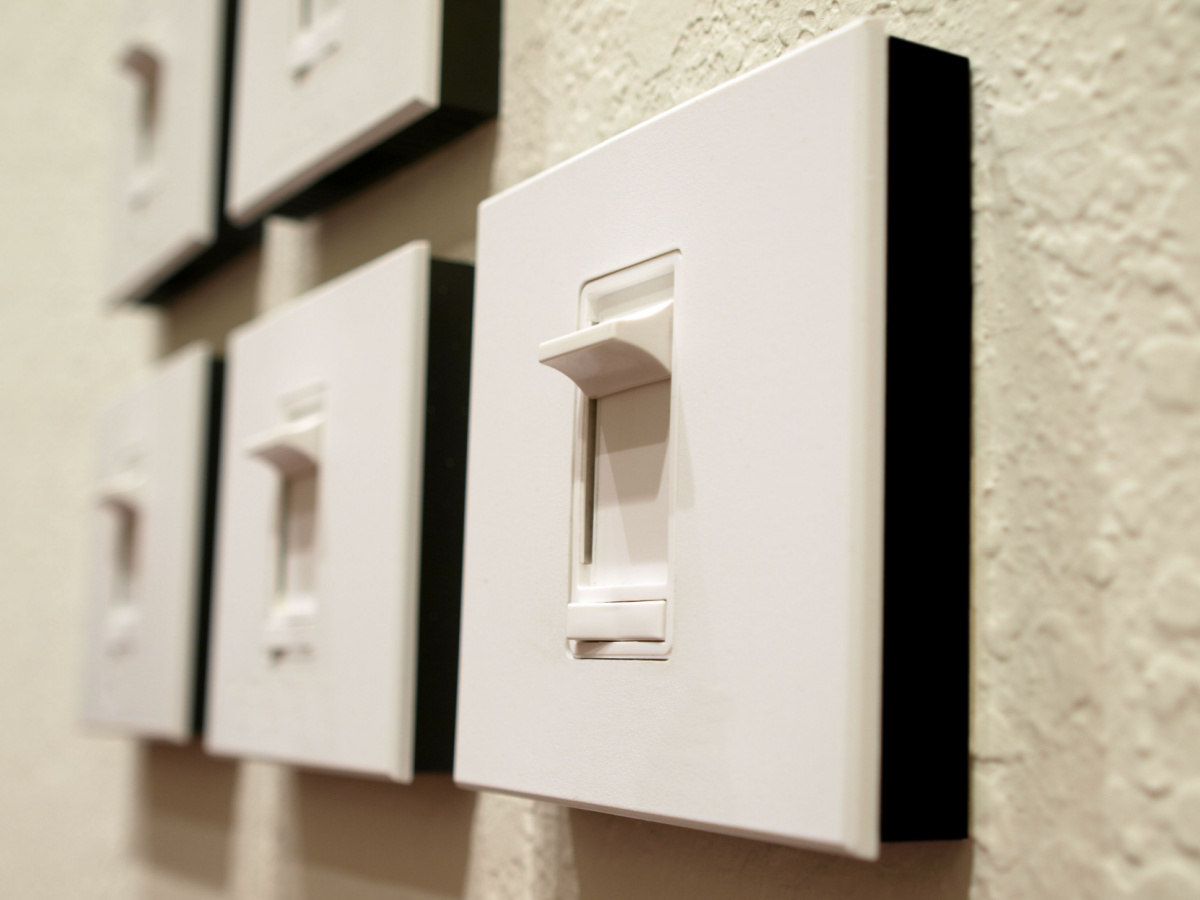
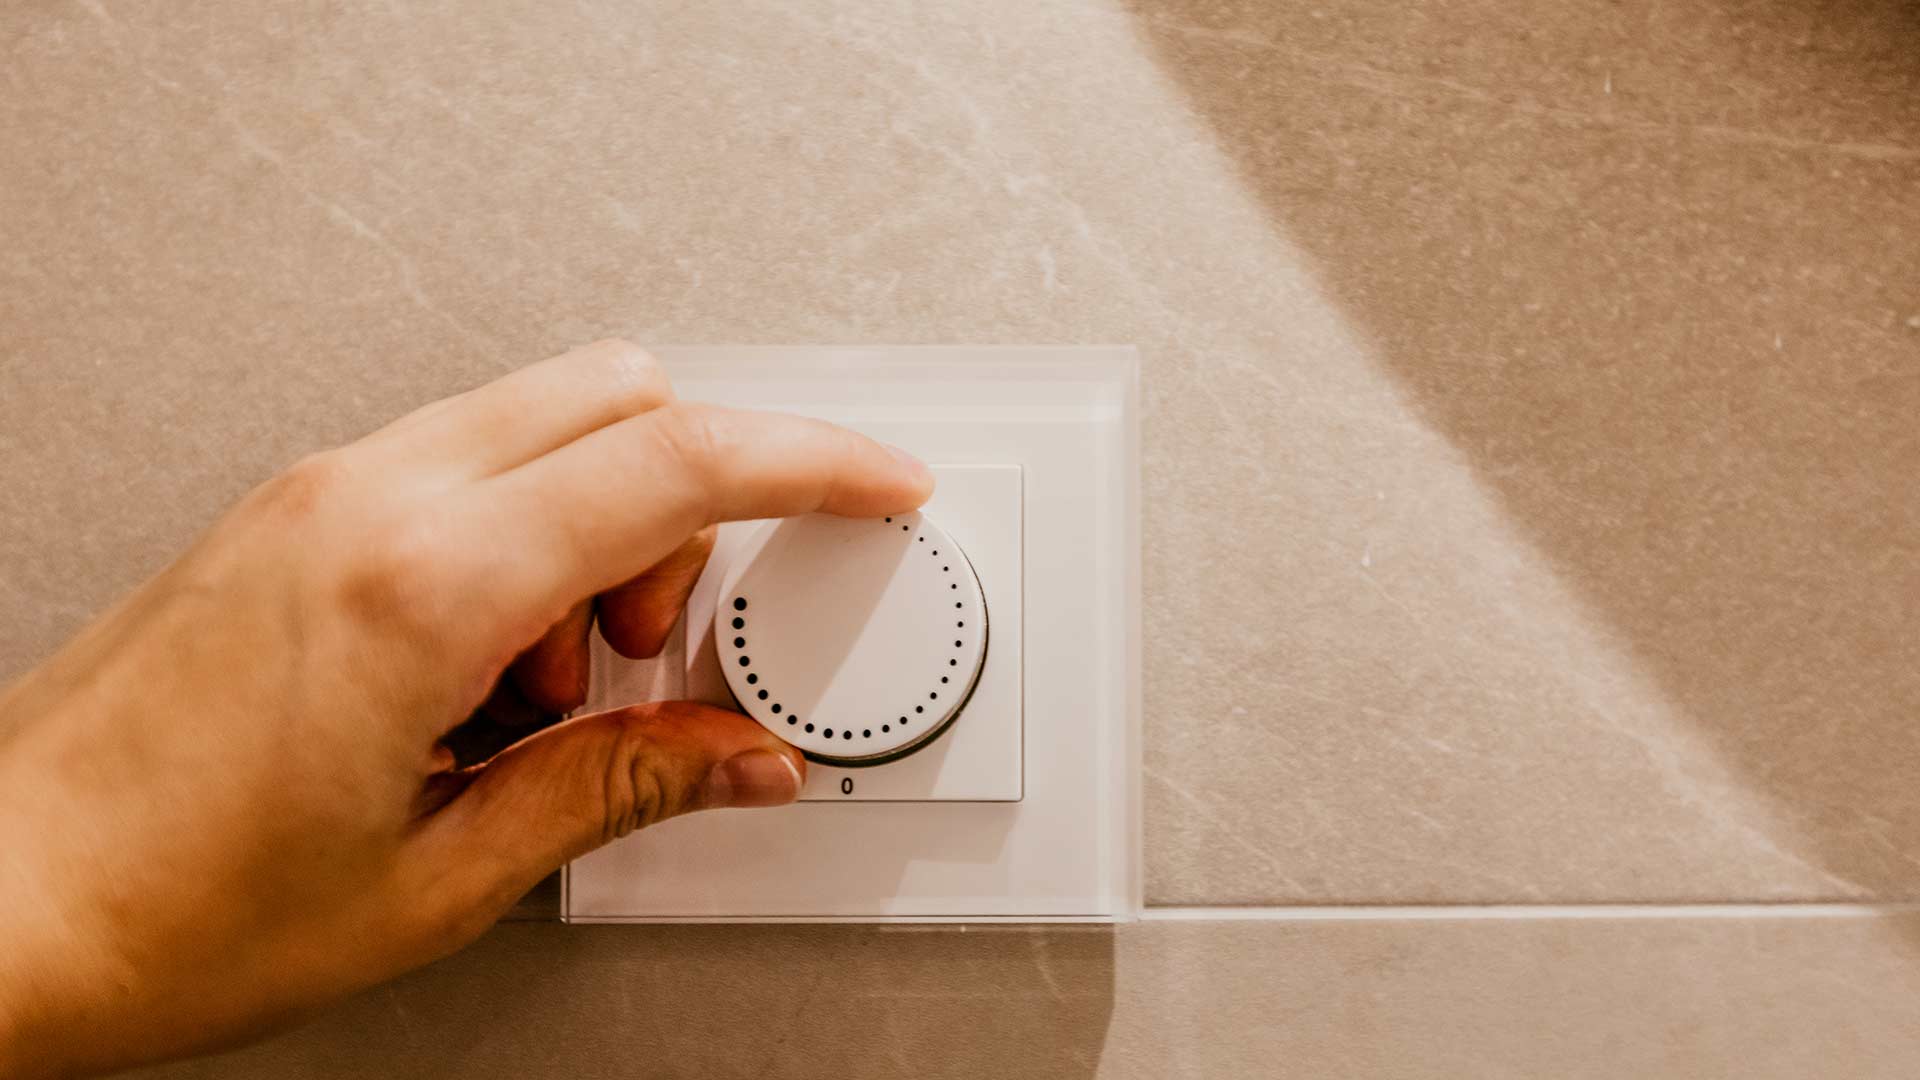
Dimmer switches are available in various styles and designs to suit different preferences and interior aesthetics. Some dimmer switches come with a slider or knob for adjusting the brightness, while others use touch-sensitive technology or even voice control. Regardless of the design, the underlying principle remains the same – adjusting the power flow to control the lights.
Now that we have a basic understanding of dimmer switches, let’s move on to explore some common issues that you may encounter and how to fix them.
Common Issues with Dimmer Switches
Dimmer switches, like any electrical device, can experience a range of issues. Understanding these common problems will help you troubleshoot and fix them effectively. Here are some of the most common issues you may encounter with dimmer switches:
- Flickering lights: One of the most frustrating problems is when the lights connected to the dimmer switch flicker. This can happen due to various reasons, such as incompatible light bulbs, loose wiring connections, or a faulty dimmer switch.
- Unresponsive switch: Sometimes, you may find that the dimmer switch doesn’t respond when you try to adjust the brightness. This can be caused by a loose connection or a malfunctioning switch.
- Buzzing or humming sounds: If you hear buzzing or humming sounds coming from the dimmer switch, it could be due to a loose wire, improper grounding, or a problem with the dimmer switch itself.
- Inconsistent dimming: Another common issue is when the dimmer switch doesn’t provide smooth and consistent dimming. The lights may flicker or jump between different brightness levels instead of smoothly transitioning.
- Overheating: Dimmer switches can sometimes get hot to the touch, which could indicate an underlying electrical issue or an overload on the circuit.
These are just a few of the many issues you may encounter with dimmer switches. It’s important to address these problems promptly to ensure proper functioning and avoid any potential safety hazards. In the next section, we’ll discuss the tools and materials you’ll need to fix these issues.
Tools and Materials Needed
Before you start fixing the common issues with your dimmer switch, it’s important to gather the necessary tools and materials. Here’s a list of the items you’ll need:
- Screwdriver: A screwdriver is essential for removing the faceplate and accessing the dimmer switch.
- Voltage tester: A voltage tester is used to ensure that the power supply to the dimmer switch is switched off to prevent any electrical shock.
- Wire strippers: Wire strippers are necessary for safely stripping the insulation from the wires.
- Wire nuts: Wire nuts are used to secure the connections between the wires in the circuit.
- Electrical tape: Electrical tape is used to insulate the wire connections and provide protection against electrical shocks.
- Replacement dimmer switch (if needed): Depending on the issue with your current dimmer switch, you may need to replace it. Make sure to purchase a compatible dimmer switch as per the specifications of your lighting system.
These are the basic tools and materials required for fixing common issues with dimmer switches. It’s important to ensure your safety by switching off the power supply at the circuit breaker and using proper safety precautions while working with electrical components.
Now that you have the necessary tools and materials, let’s proceed to the next section, where we’ll provide you with a step-by-step guide to fixing your dimmer switch.
When troubleshooting a dimmer switch, first check the circuit breaker to ensure it hasn’t tripped. If the breaker is fine, then the issue may be with the dimmer switch itself and it may need to be replaced.
Step-by-Step Guide to Fixing a Dimmer Switch
Now that you have gathered the necessary tools and materials, let’s go through the step-by-step process of fixing common issues with a dimmer switch:
- Turn off the power: Before you begin any work, turn off the power supply to the dimmer switch by switching off the circuit breaker that controls the lighting circuit.
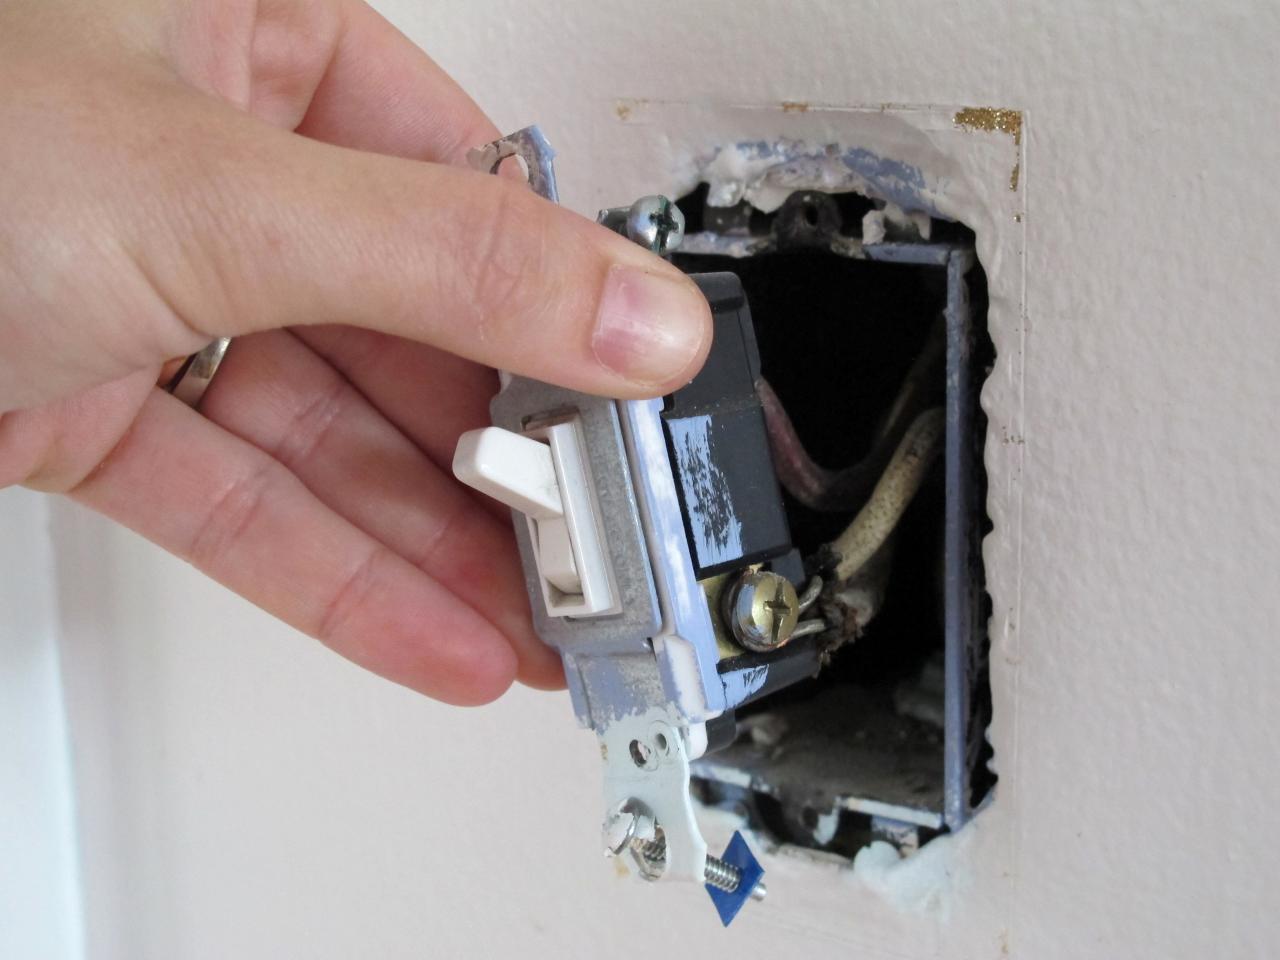
- Remove the faceplate: Use a screwdriver to remove the faceplate covering the dimmer switch. This will expose the switch and the wiring behind it.
- Test the wires: Using a voltage tester, double-check that there is no power supply to the switch. This is a crucial safety step to avoid electrical shocks.
- Inspect the connections: Check the wiring connections on the dimmer switch to ensure they are secure. If you notice any loose wires, tighten them using a screwdriver or wire nuts.
- Replace the dimmer switch (if necessary): If you have determined that the dimmer switch itself is faulty, carefully disconnect the wires from the old switch and connect them to the new switch. Follow the manufacturer’s instructions for proper wiring and installation.
- Reassemble and test: Once the connections are secure, carefully reattach the faceplate and switch on the power supply at the circuit breaker. Test the dimmer switch to see if the problem has been resolved. Adjust the brightness settings and observe the lights for any flickering or other issues.
- Check for overheating: After the switch has been fixed, monitor it for any signs of overheating. If it becomes excessively hot to the touch, there may be a deeper electrical issue that requires professional assistance.
Remember, safety should always be a top priority when working with electrical components. If you feel uncomfortable or uncertain about any step in the process, it’s best to consult a licensed electrician for assistance.
In the next section, we’ll discuss some alternative solutions you can try if the issue with your dimmer switch persists.
Alternative Solutions
If you have followed the step-by-step guide and the issue with your dimmer switch persists, there are a few alternative solutions you can try:
- Check the light bulbs: Ensure that the light bulbs you are using are compatible with dimmer switches. Some types of LEDs or fluorescent bulbs may not work properly with dimmers. Consider changing to dimmable light bulbs if necessary.
- Reduce the load: If you have multiple light fixtures connected to a single dimmer switch, the overall load on the switch may be too high. Try reducing the number of lights or using lower wattage bulbs to alleviate the load on the switch.
- Upgrade the dimmer switch: If your dimmer switch is old or low-quality, it may not be able to handle the load or may not provide smooth dimming performance. Consider upgrading to a higher-quality dimmer switch that is suitable for your lighting needs.
- Consult a professional: If you have exhausted all the troubleshooting steps and alternative solutions, it may be time to seek professional help. An experienced electrician can assess the issue with your dimmer switch and provide appropriate solutions or replacements.
Remember, electrical issues can be complex and potentially dangerous if not addressed correctly. When in doubt, it’s always best to consult a professional to ensure the safety and proper functioning of your electrical system.
Now that you have a good understanding of how to fix common issues with a dimmer switch, let’s conclude our guide.
Conclusion
Fixing common issues with a dimmer switch can be a straightforward process if you follow the right steps and precautions. By understanding how dimmer switches work, identifying common issues, and having the necessary tools and materials, you can successfully troubleshoot and fix problems such as flickering lights, unresponsive switches, buzzing sounds, inconsistent dimming, and overheating.
Remember to always prioritize safety when working with electrical components. Turn off the power supply, use appropriate tools, and follow safety guidelines to avoid any accidents or injuries.
If you encounter persistent issues or are unsure about any step, it is advisable to consult a licensed electrician. They have the expertise to identify underlying electrical issues and provide the most suitable solutions.
By fixing issues with your dimmer switch, you can regain control over your lighting and create the desired ambiance in your home or office. Whether you’re planning a cozy movie night or hosting a lively dinner party, a properly functioning dimmer switch can enhance the atmosphere and improve the overall experience.
We hope this comprehensive guide has been helpful in enabling you to fix common issues with your dimmer switch. Remember to follow the step-by-step guide, consider alternative solutions if needed, and prioritize safety throughout the process. With a little DIY know-how and the right tools, you can enjoy the benefits of a well-functioning dimmer switch for years to come.
Frequently Asked Questions about How To Fix A Dimmer Switch
Was this page helpful?
At Storables.com, we guarantee accurate and reliable information. Our content, validated by Expert Board Contributors, is crafted following stringent Editorial Policies. We're committed to providing you with well-researched, expert-backed insights for all your informational needs.


0 thoughts on “How To Fix A Dimmer Switch”