Articles
How To Test A Dimmer Switch
Modified: August 22, 2024
Learn how to test a dimmer switch in this informative article. Discover the step-by-step process and ensure your dimmer switch is functioning properly.
(Many of the links in this article redirect to a specific reviewed product. Your purchase of these products through affiliate links helps to generate commission for Storables.com, at no extra cost. Learn more)
Introduction
Welcome to this comprehensive guide on how to test a dimmer switch. As technology continues to advance, dimmer switches have become increasingly popular in both residential and commercial settings. They offer the flexibility to adjust the brightness levels of lighting fixtures, creating the perfect ambiance for any occasion.
However, like any electrical component, dimmer switches can sometimes experience issues or fail altogether. This is where testing becomes crucial. By learning how to test a dimmer switch, you can identify any problems and take the necessary steps to troubleshoot and repair it.
In this article, we will provide you with step-by-step instructions on how to test a dimmer switch effectively. We’ll also cover important safety precautions and provide troubleshooting tips for common issues. So, whether you are a homeowner dealing with a flickering lights problem or an electrician looking to ensure the functionality of a newly installed dimmer switch, this guide has got you covered.
Before we dive into the testing process, let’s gain a better understanding of how dimmer switches work and their different types available in the market.
Key Takeaways:
- Prioritize safety when testing a dimmer switch by turning off the power, using proper tools, and wearing protective gear. Follow the step-by-step testing process to identify and address any issues with the switch.
- Interpret the test results carefully to determine the functionality of the dimmer switch. Troubleshoot common issues such as flickering lights, buzzing sounds, and inconsistent dimming to ensure a well-functioning lighting system.
Read more: What Is A Dimmer Switch
Understanding Dimmer Switches
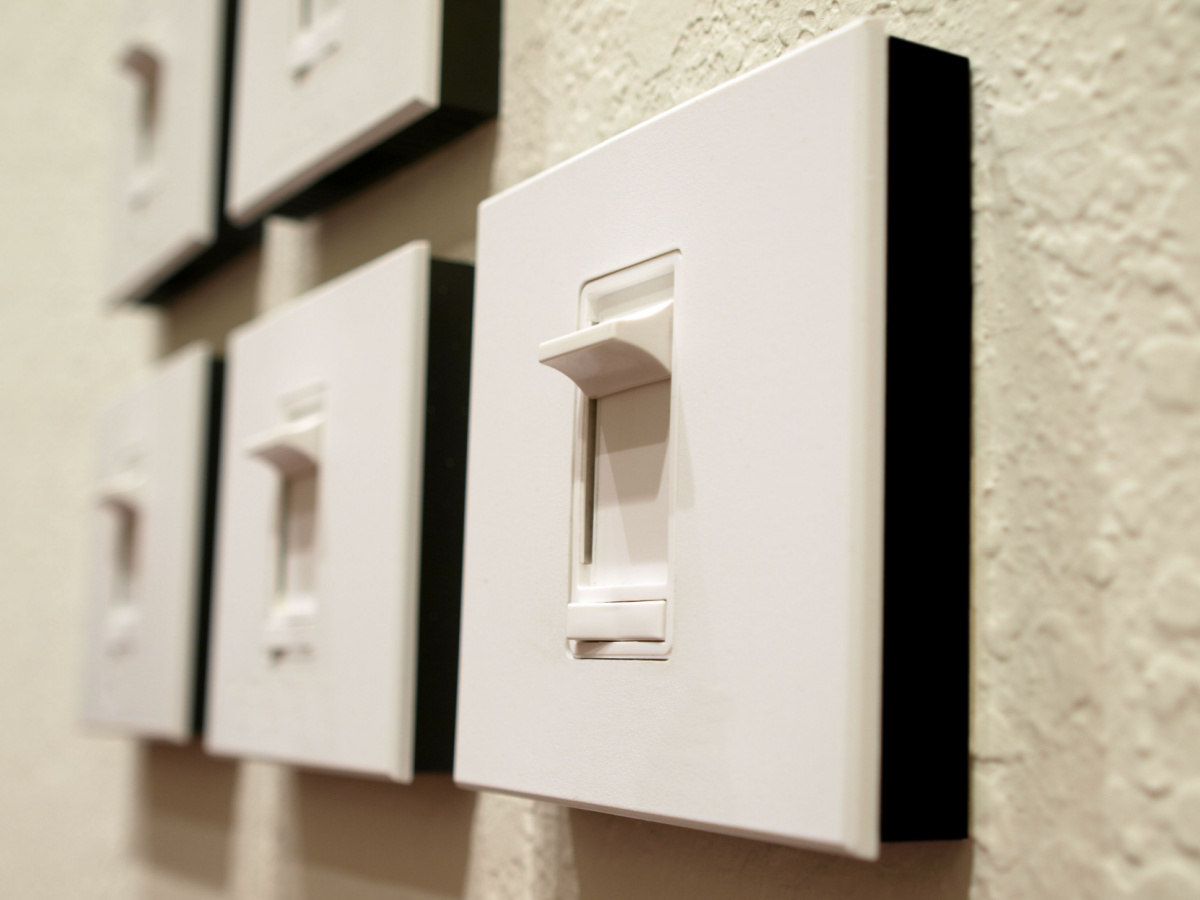
Dimmer switches are devices that allow you to control the brightness of a light fixture by adjusting the amount of electrical voltage supplied to it. Unlike traditional on-off switches, which simply turn lights on or off, dimmer switches provide a smooth and gradual transition between different light levels.
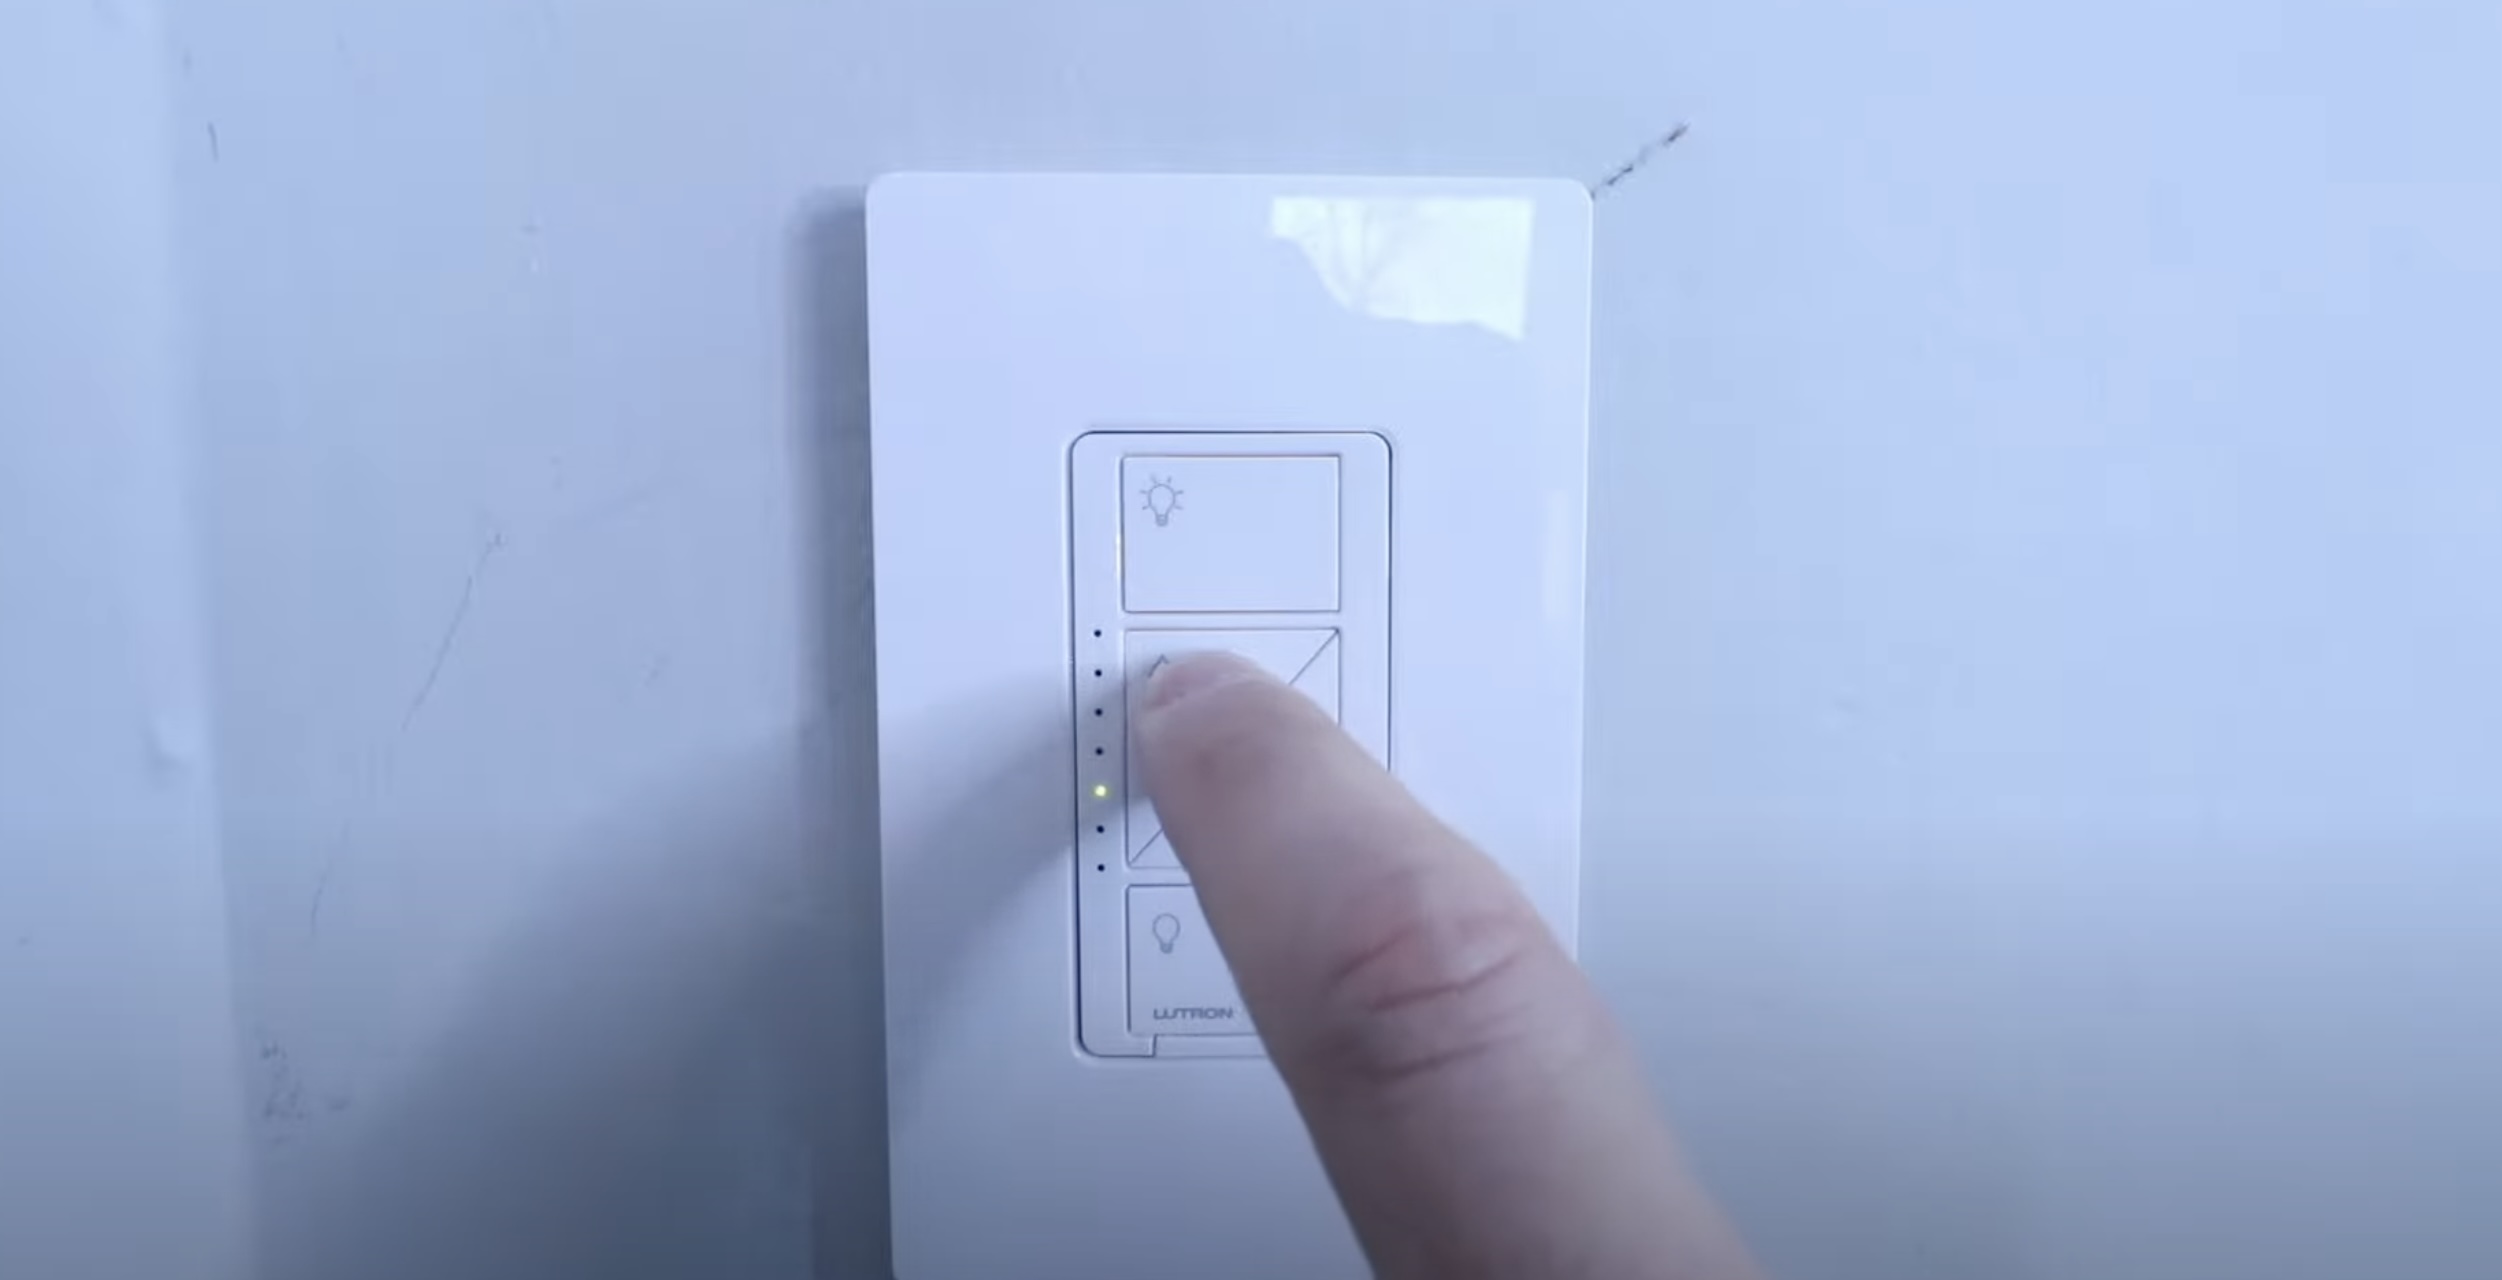
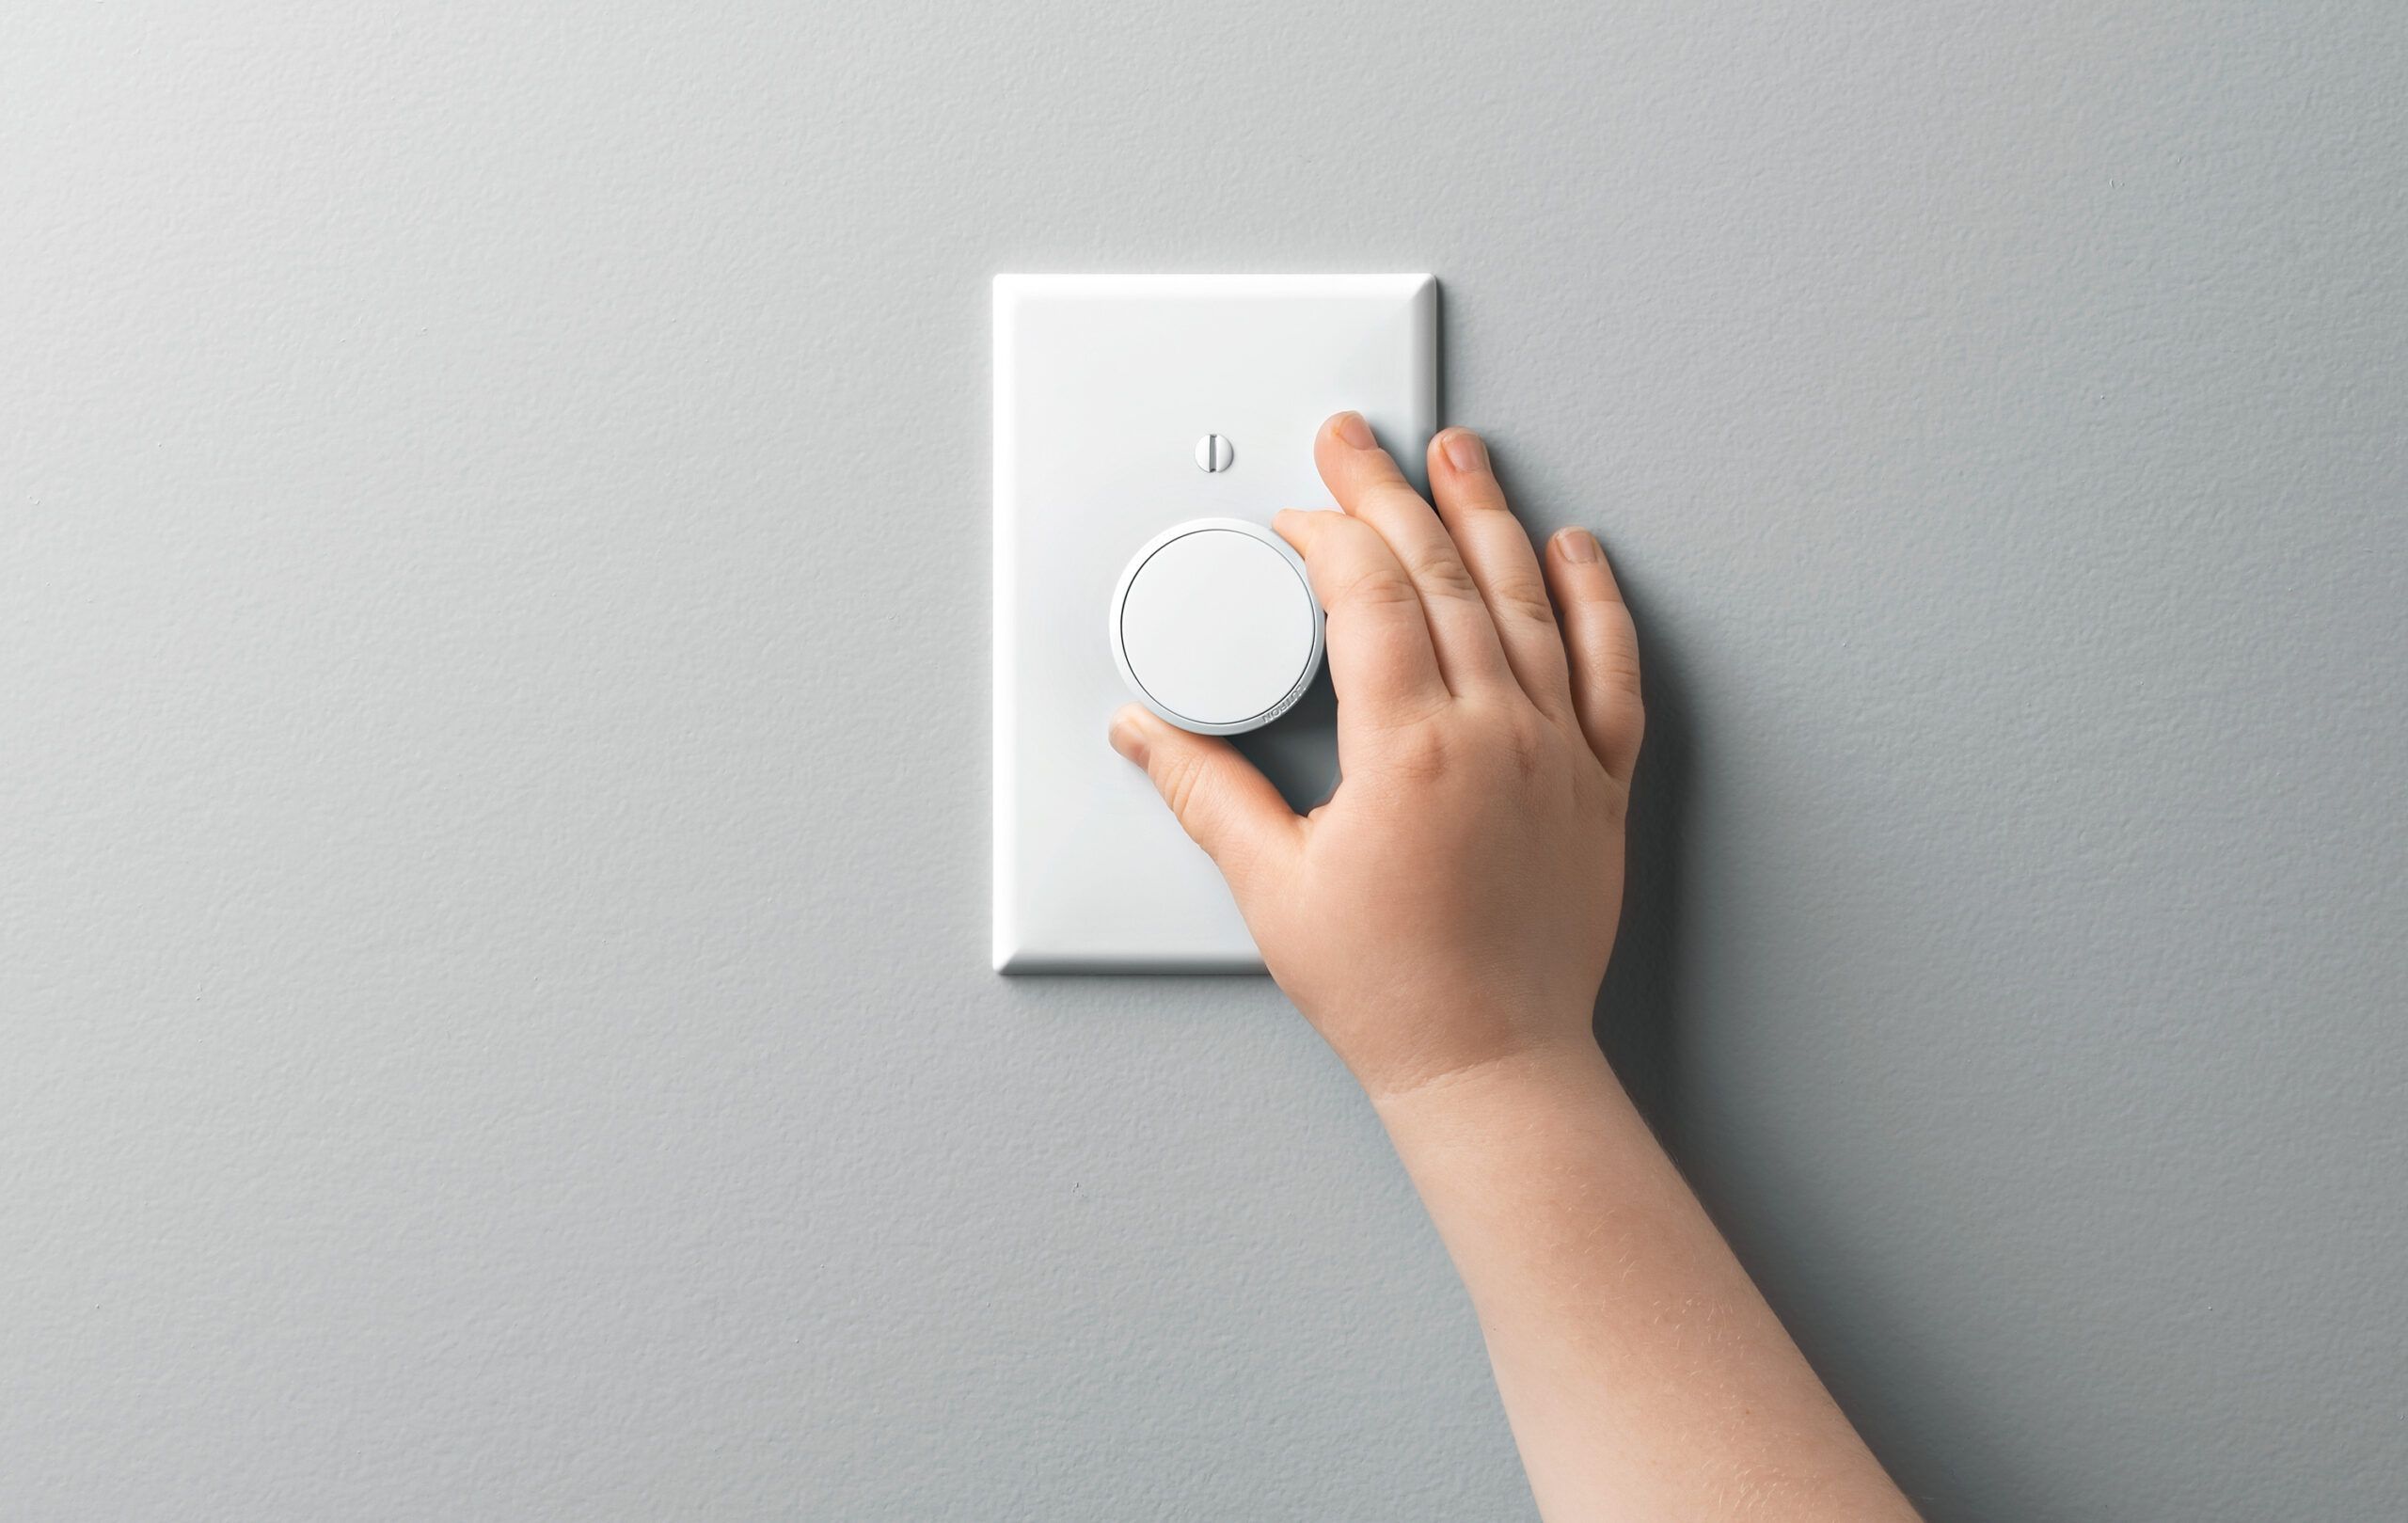
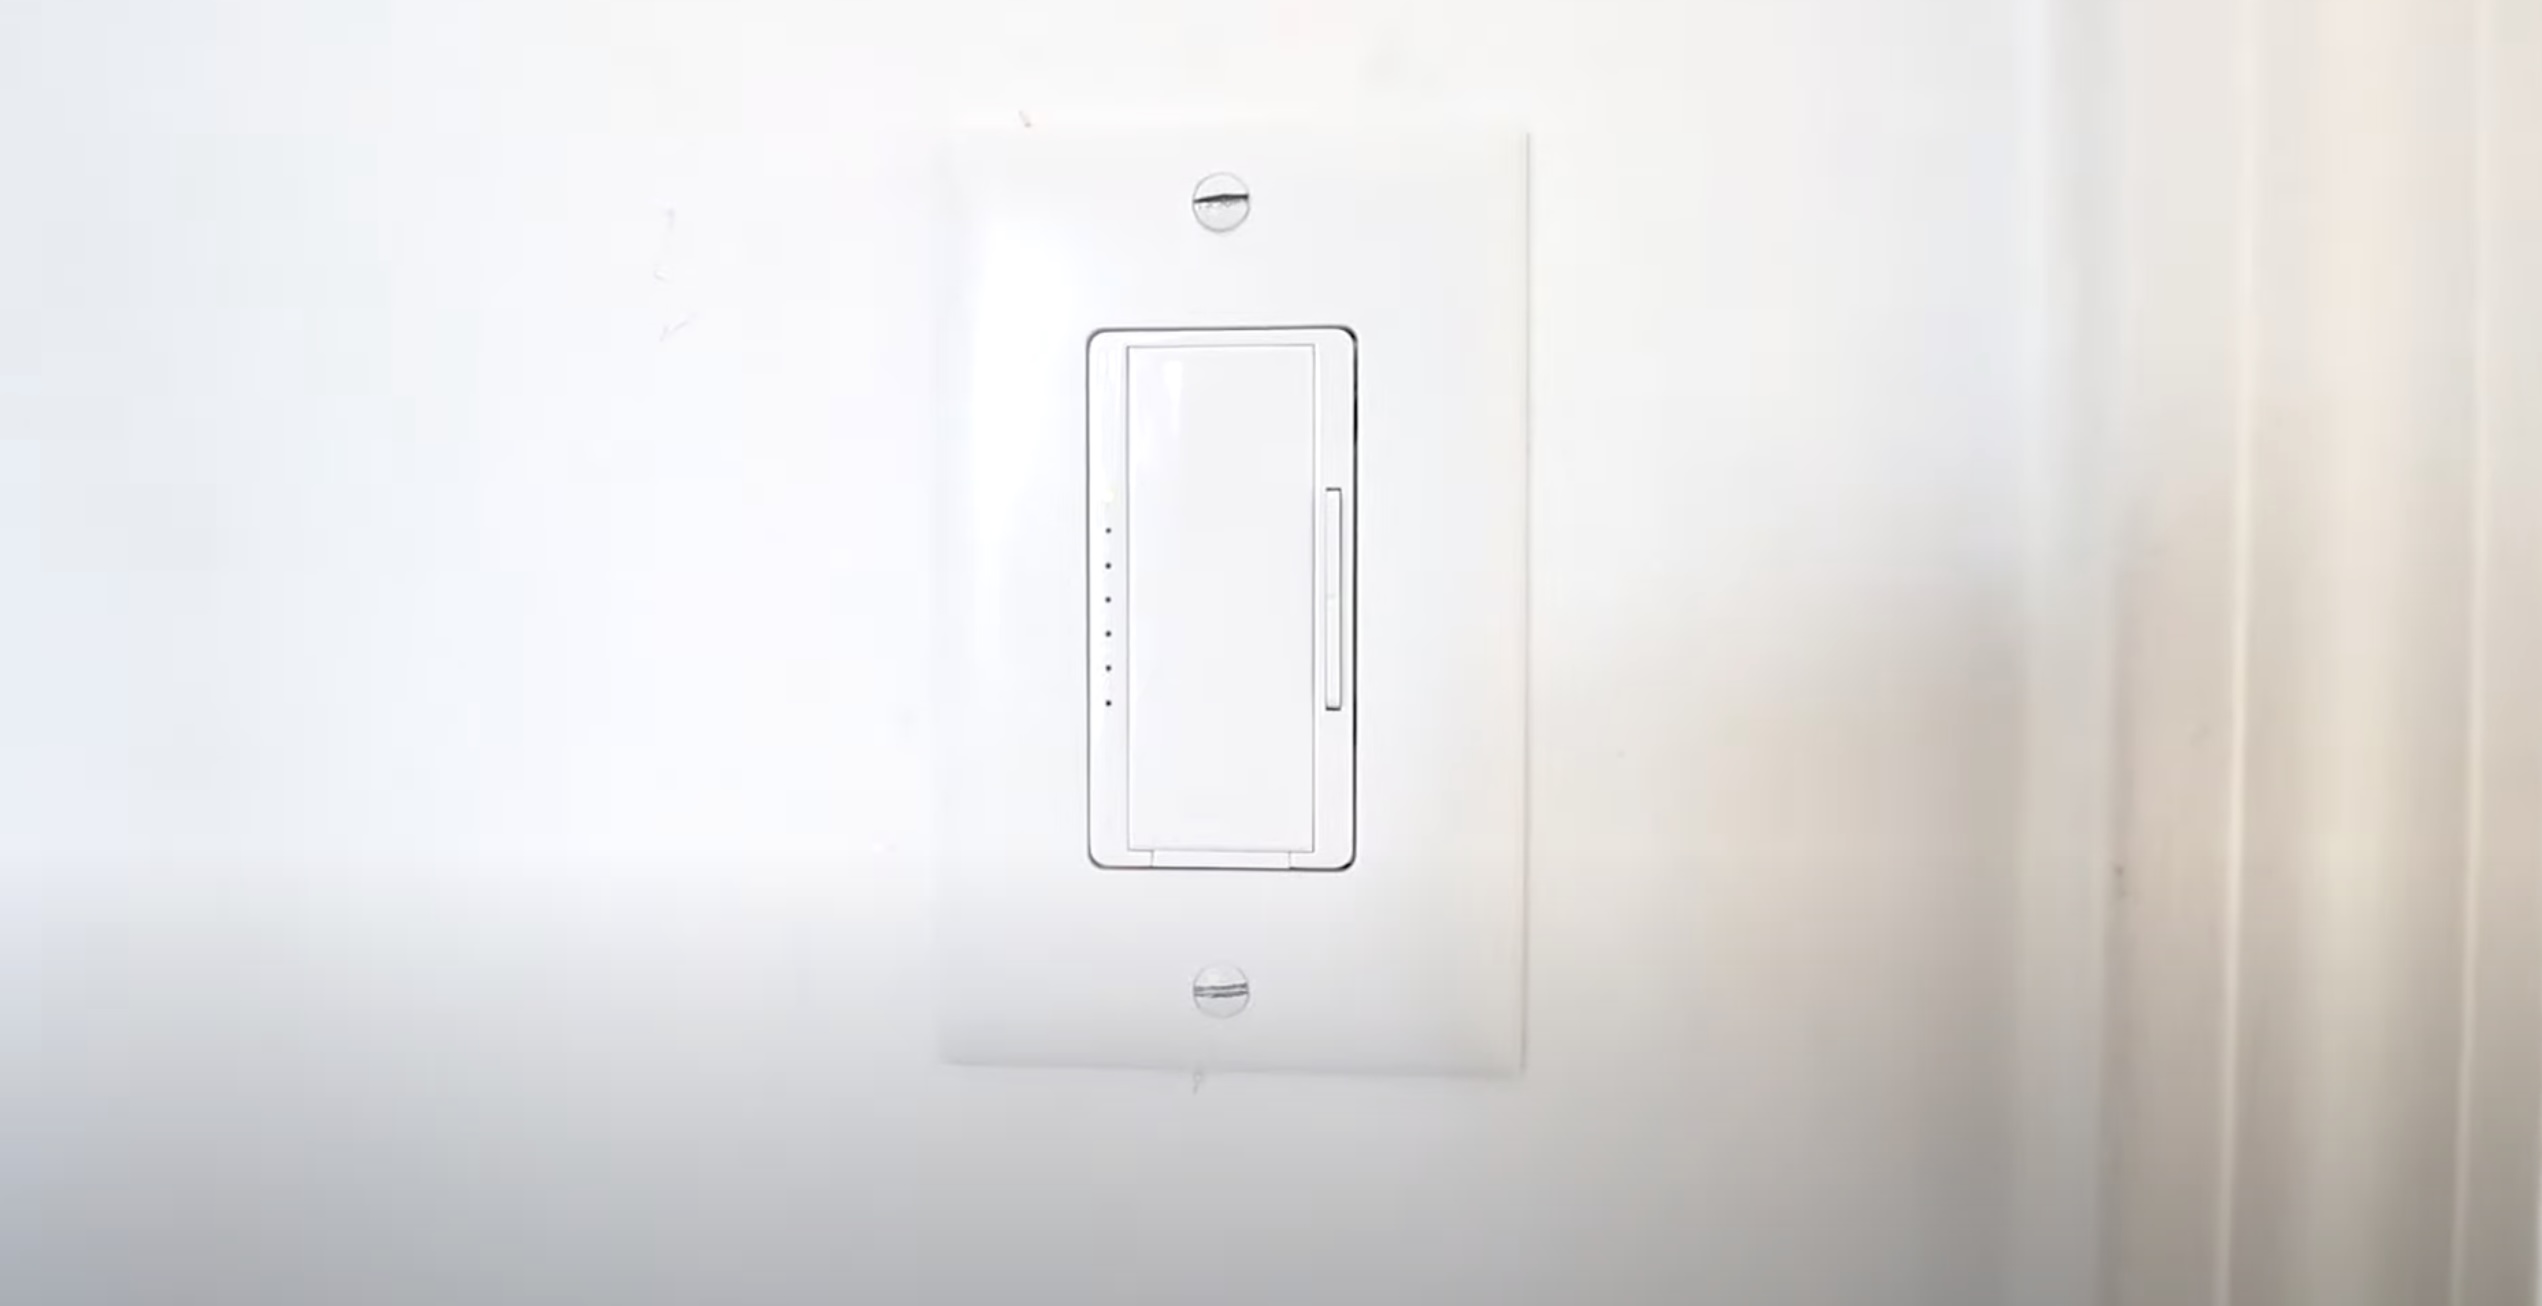
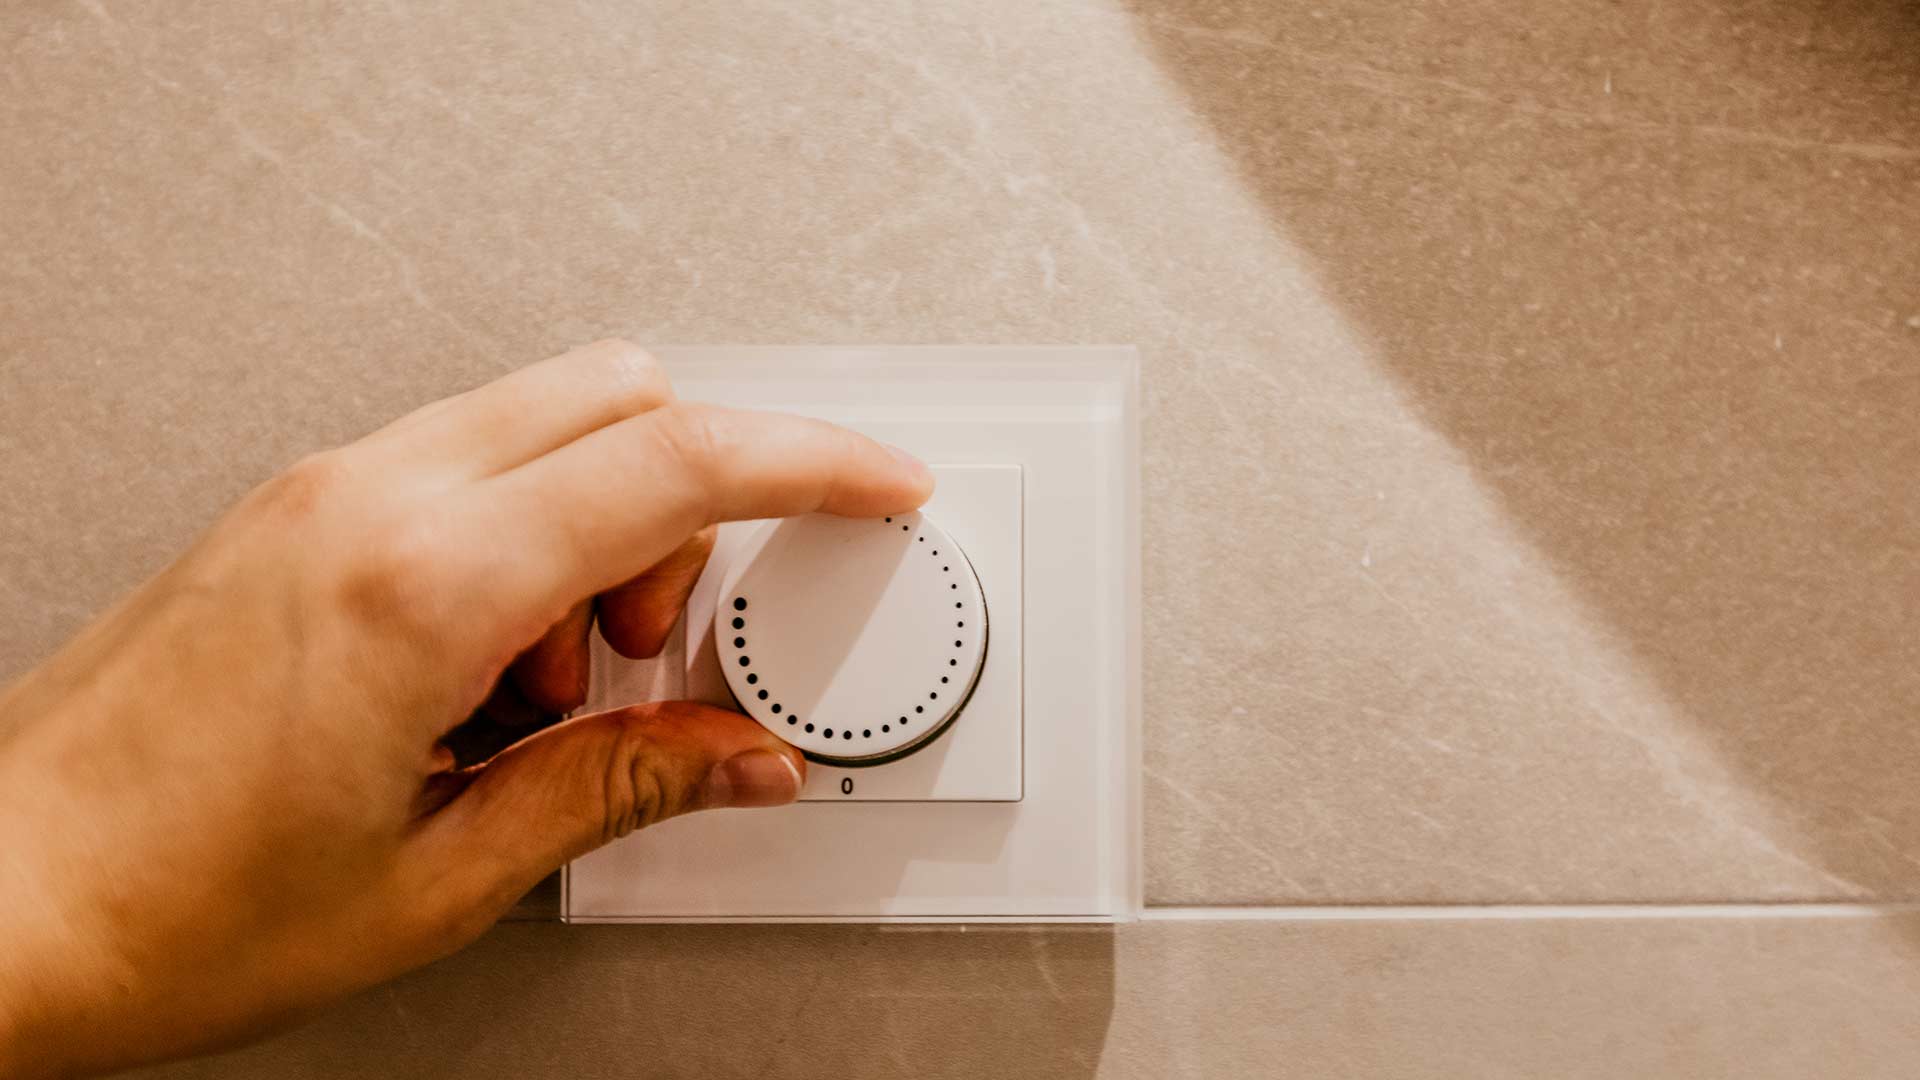
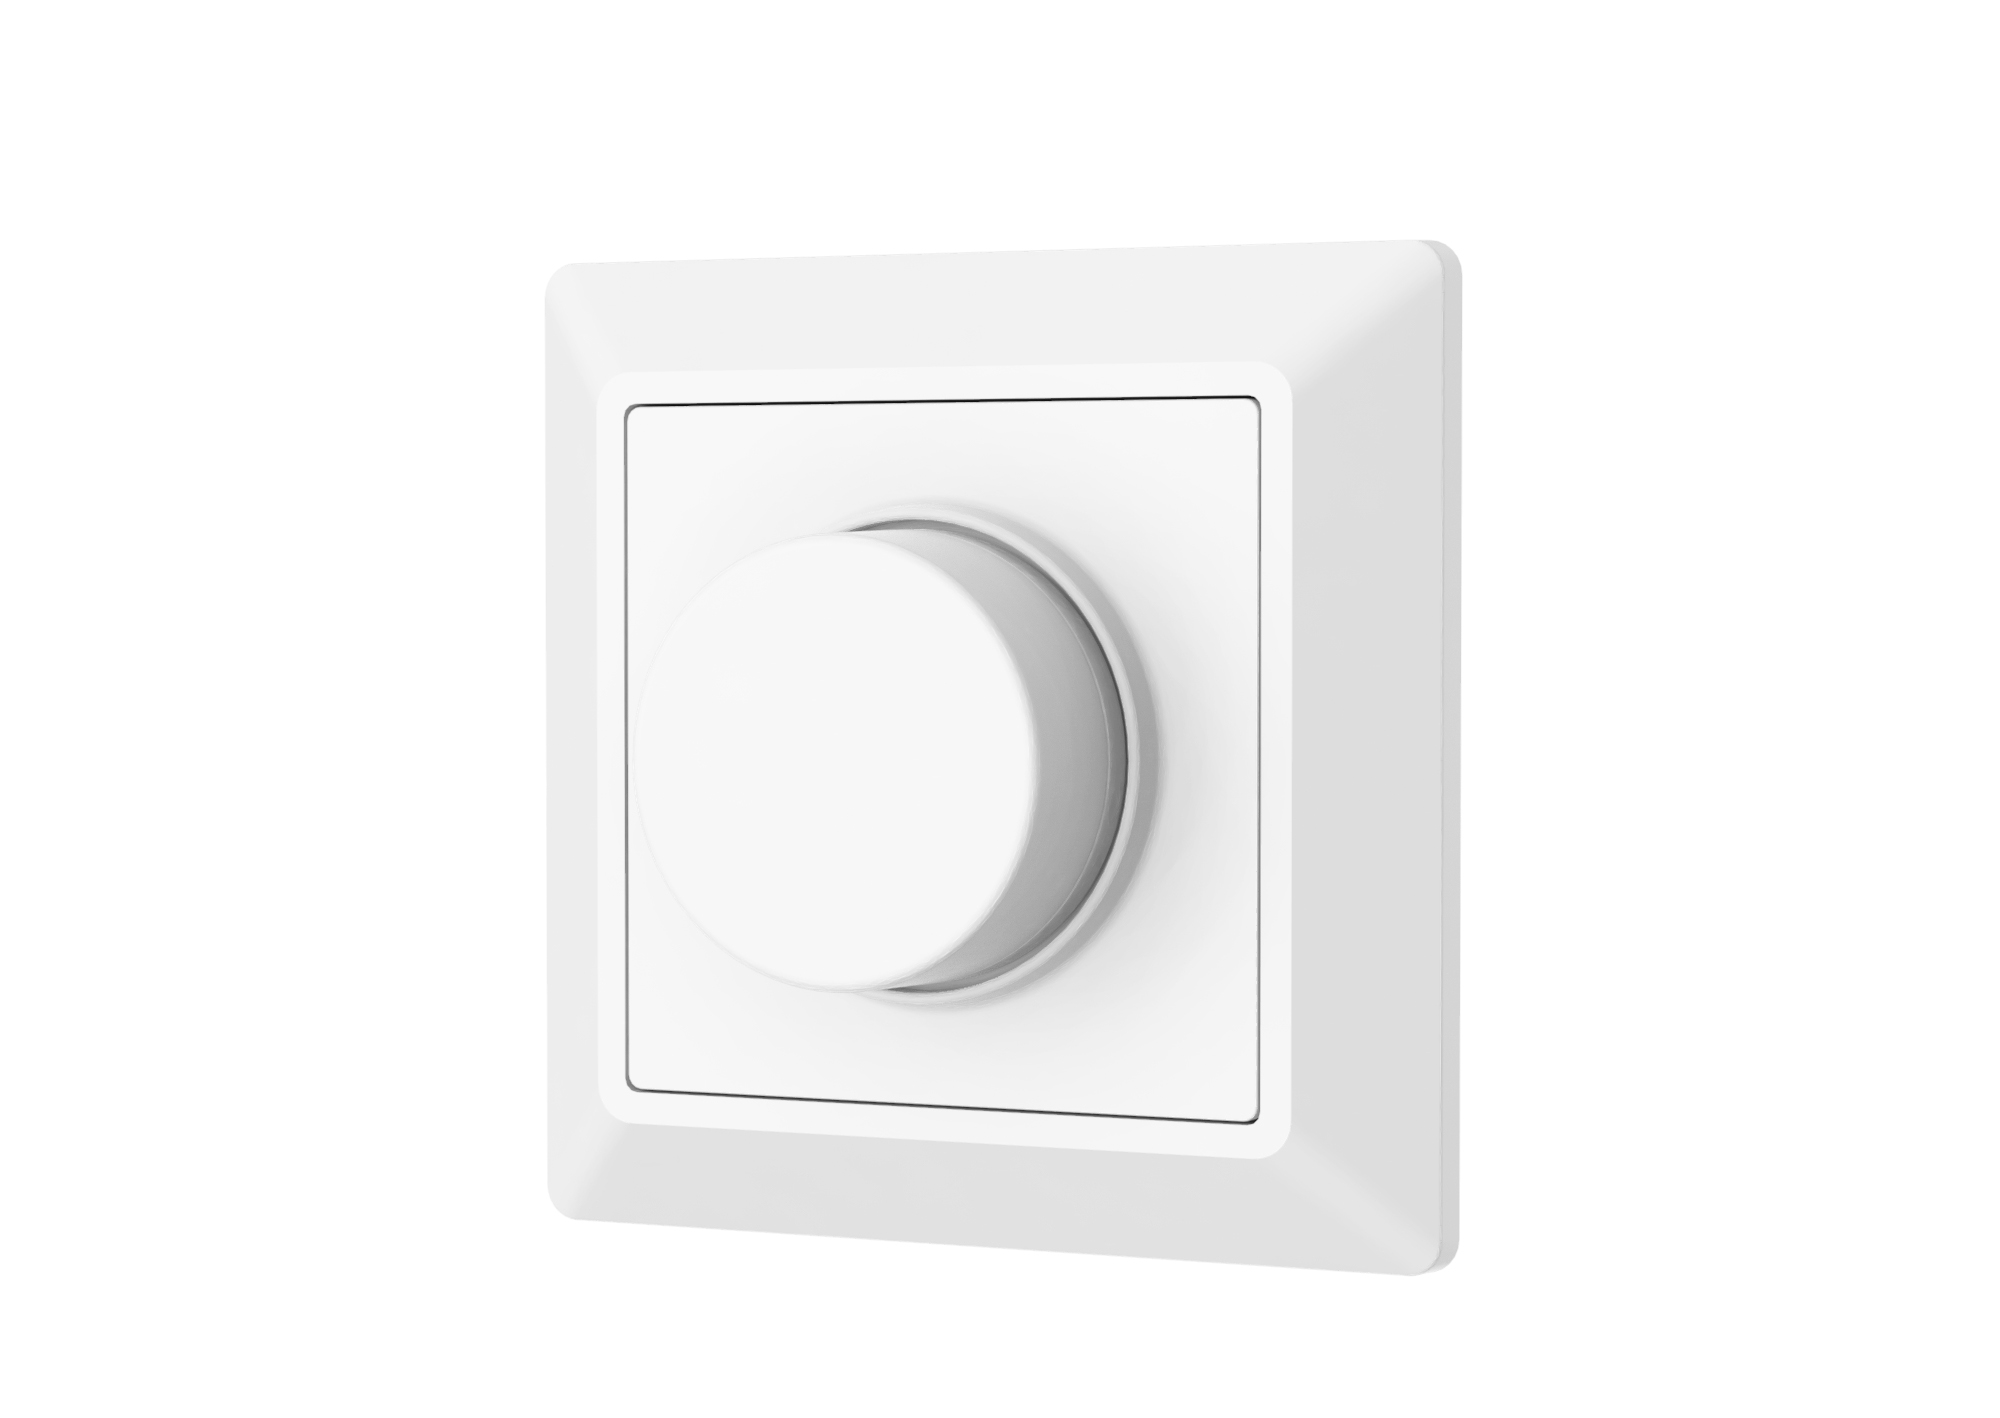
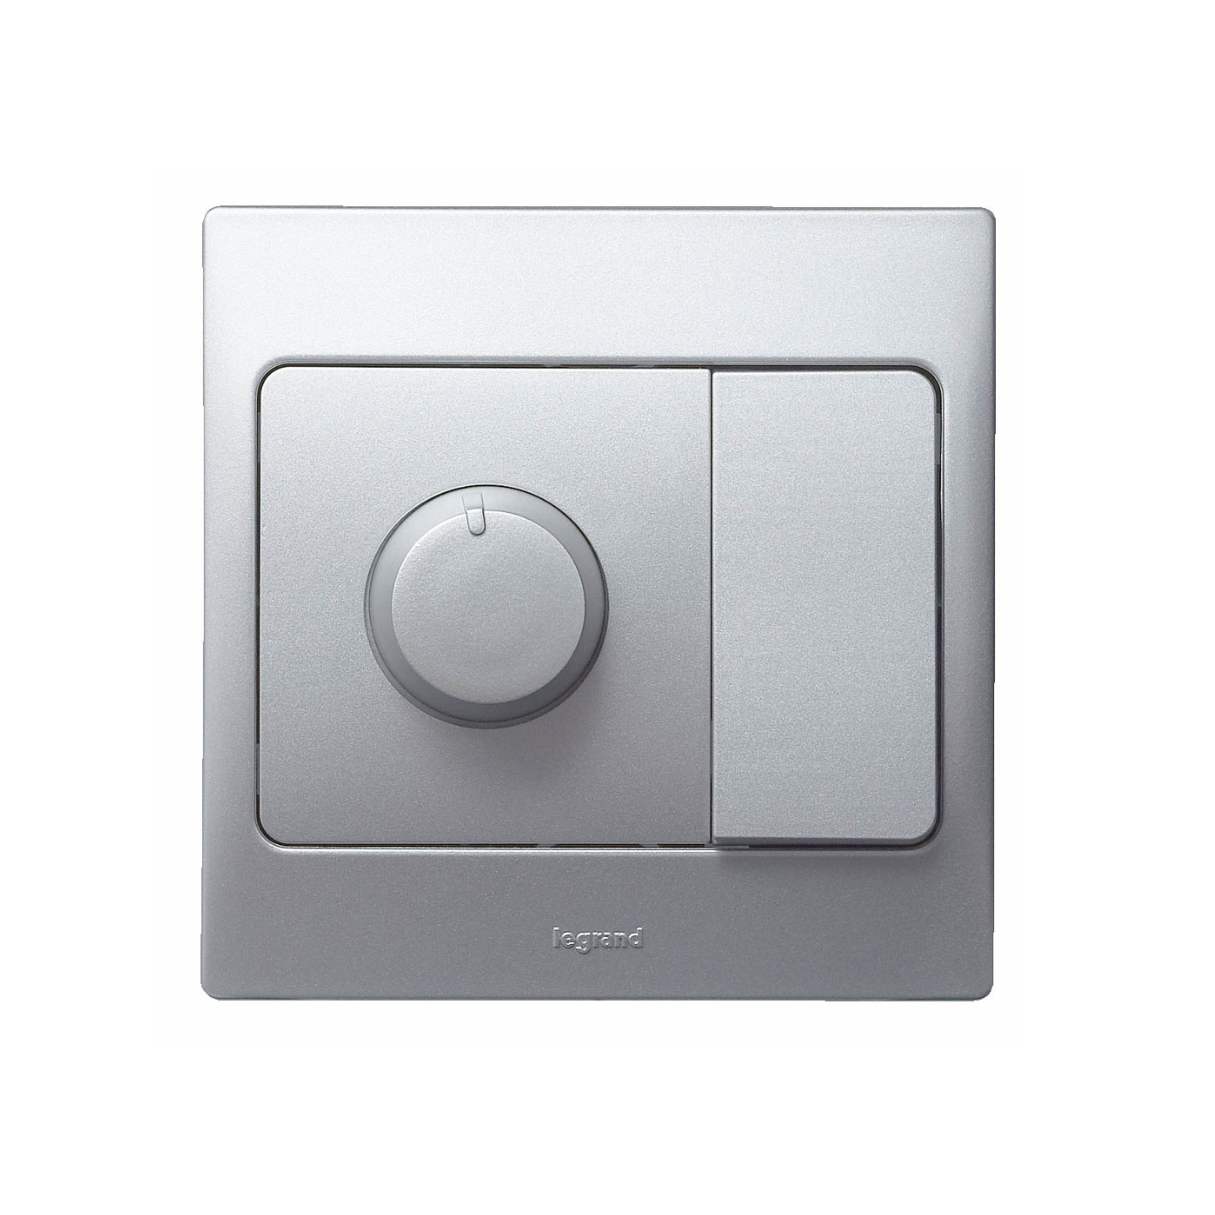
There are several types of dimmer switches available, including rotary dimmers, slide dimmers, and digital dimmers. Rotary dimmers feature a rotating knob that you turn to adjust the lighting levels. Slide dimmers, on the other hand, have a sliding mechanism that allows you to move a lever up or down to control brightness. Digital dimmers are more advanced and often come with touch screens or remote control capabilities.
Dimmer switches are commonly used in various areas of a home or commercial space, such as living rooms, bedrooms, dining areas, and even outdoor patios. They provide a versatile lighting solution that can help create a cozy and inviting atmosphere.
It’s important to note that not all light fixtures are compatible with dimmer switches. Incandescent and halogen bulbs are typically the most suitable for dimming. However, with the emergence of LED and CFL bulbs, it is crucial to check the packaging or consult the manufacturer to ensure compatibility with a dimmer switch.
Now that you have a basic understanding of what dimmer switches are and how they work, let’s move on to the safety precautions you should take before testing a dimmer switch.
Safety Precautions
Before you begin testing a dimmer switch, it is important to prioritize safety. Working with electricity can be hazardous if proper precautions are not taken. Here are some key safety measures to keep in mind:
- Turn Off Power: Before starting any work on the dimmer switch, turn off the power supply to the circuit at the main electrical panel. This will prevent the risk of electrical shock.
- Use Proper Tools: Ensure that you have the necessary tools for the job, including a voltage tester, insulated screwdriver, wire cutter/stripper, and protective gloves.
- Wear Protective Gear: It is essential to wear insulated gloves when working with electrical components. This will provide an extra layer of protection against accidental shocks.
- Inspect the Wiring: Before testing the dimmer switch, inspect the wiring and connections for any signs of damage, such as frayed wires or loose connections. If you notice any issues, address them before proceeding.
- Follow Manufacturer Guidelines: Read and follow the manufacturer’s instructions and guidelines for the specific dimmer switch model you are testing. This will ensure that you perform the test correctly and safely.
By adhering to these safety precautions, you can minimize the risk of accidents and injuries while testing a dimmer switch. Remember, if you are unsure or uncomfortable performing any electrical work, it is always best to consult a qualified electrician.
Tools and Materials Needed
Now that you are familiar with the safety precautions, let’s discuss the tools and materials you will need to effectively test a dimmer switch. Having the right equipment on hand will ensure that you can carry out the test accurately and efficiently. Here are the essential tools and materials:
- Voltage Tester: A voltage tester is a must-have tool to determine if electrical current is present in the circuit. It will help you identify if the dimmer switch is receiving power.
- Insulated Screwdriver: An insulated screwdriver is necessary for removing the cover plate and accessing the wiring inside the electrical box. It will provide insulation against electrical shocks.
- Wire Cutter/Stripper: You may need a wire cutter/stripper to trim or strip the wires for proper connection during the testing process.
- Masking Tape and Pen: You can use masking tape and a pen to label the wires and keep track of their connections. This will make it easier to reconnect them correctly after testing.
- Protective Gloves: Wear protective gloves to protect your hands from potential electrical hazards. Ensure that the gloves are insulated and provide a good grip.
- Flashlight: A flashlight will come in handy if the lighting conditions in the area are dim. It will help you see and work with the wiring more clearly.
- Optional: Digital Multimeter – A digital multimeter can be used in conjunction with a voltage tester to measure the voltage and resistance levels accurately. While it is not essential, it can provide more precise readings during the testing process.
Additionally, it is a good practice to have spare wire nuts and electrical tape available in case you need to secure or connect any wires during the testing process.
By having these tools and materials ready, you will be well-equipped to perform a thorough and efficient test on your dimmer switch.
Step-by-Step Testing Process
Now that you have the necessary tools and materials, let’s dive into the step-by-step testing process for a dimmer switch. Following these instructions will help you effectively determine if the dimmer switch is functioning properly:
- Turn Off Power: Before you begin, turn off the power supply to the circuit at the main electrical panel. This is crucial for your safety during the testing process.
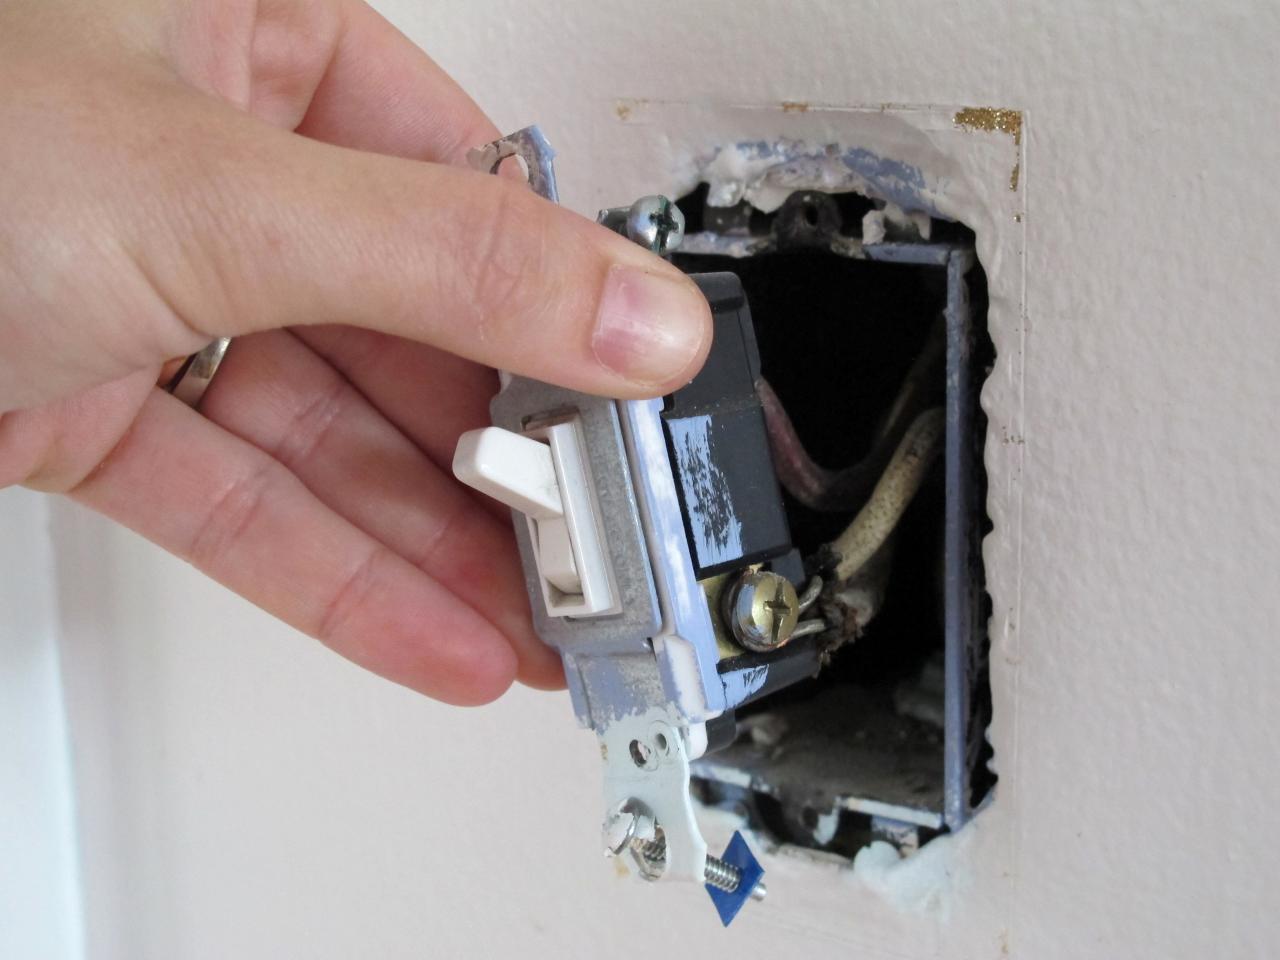
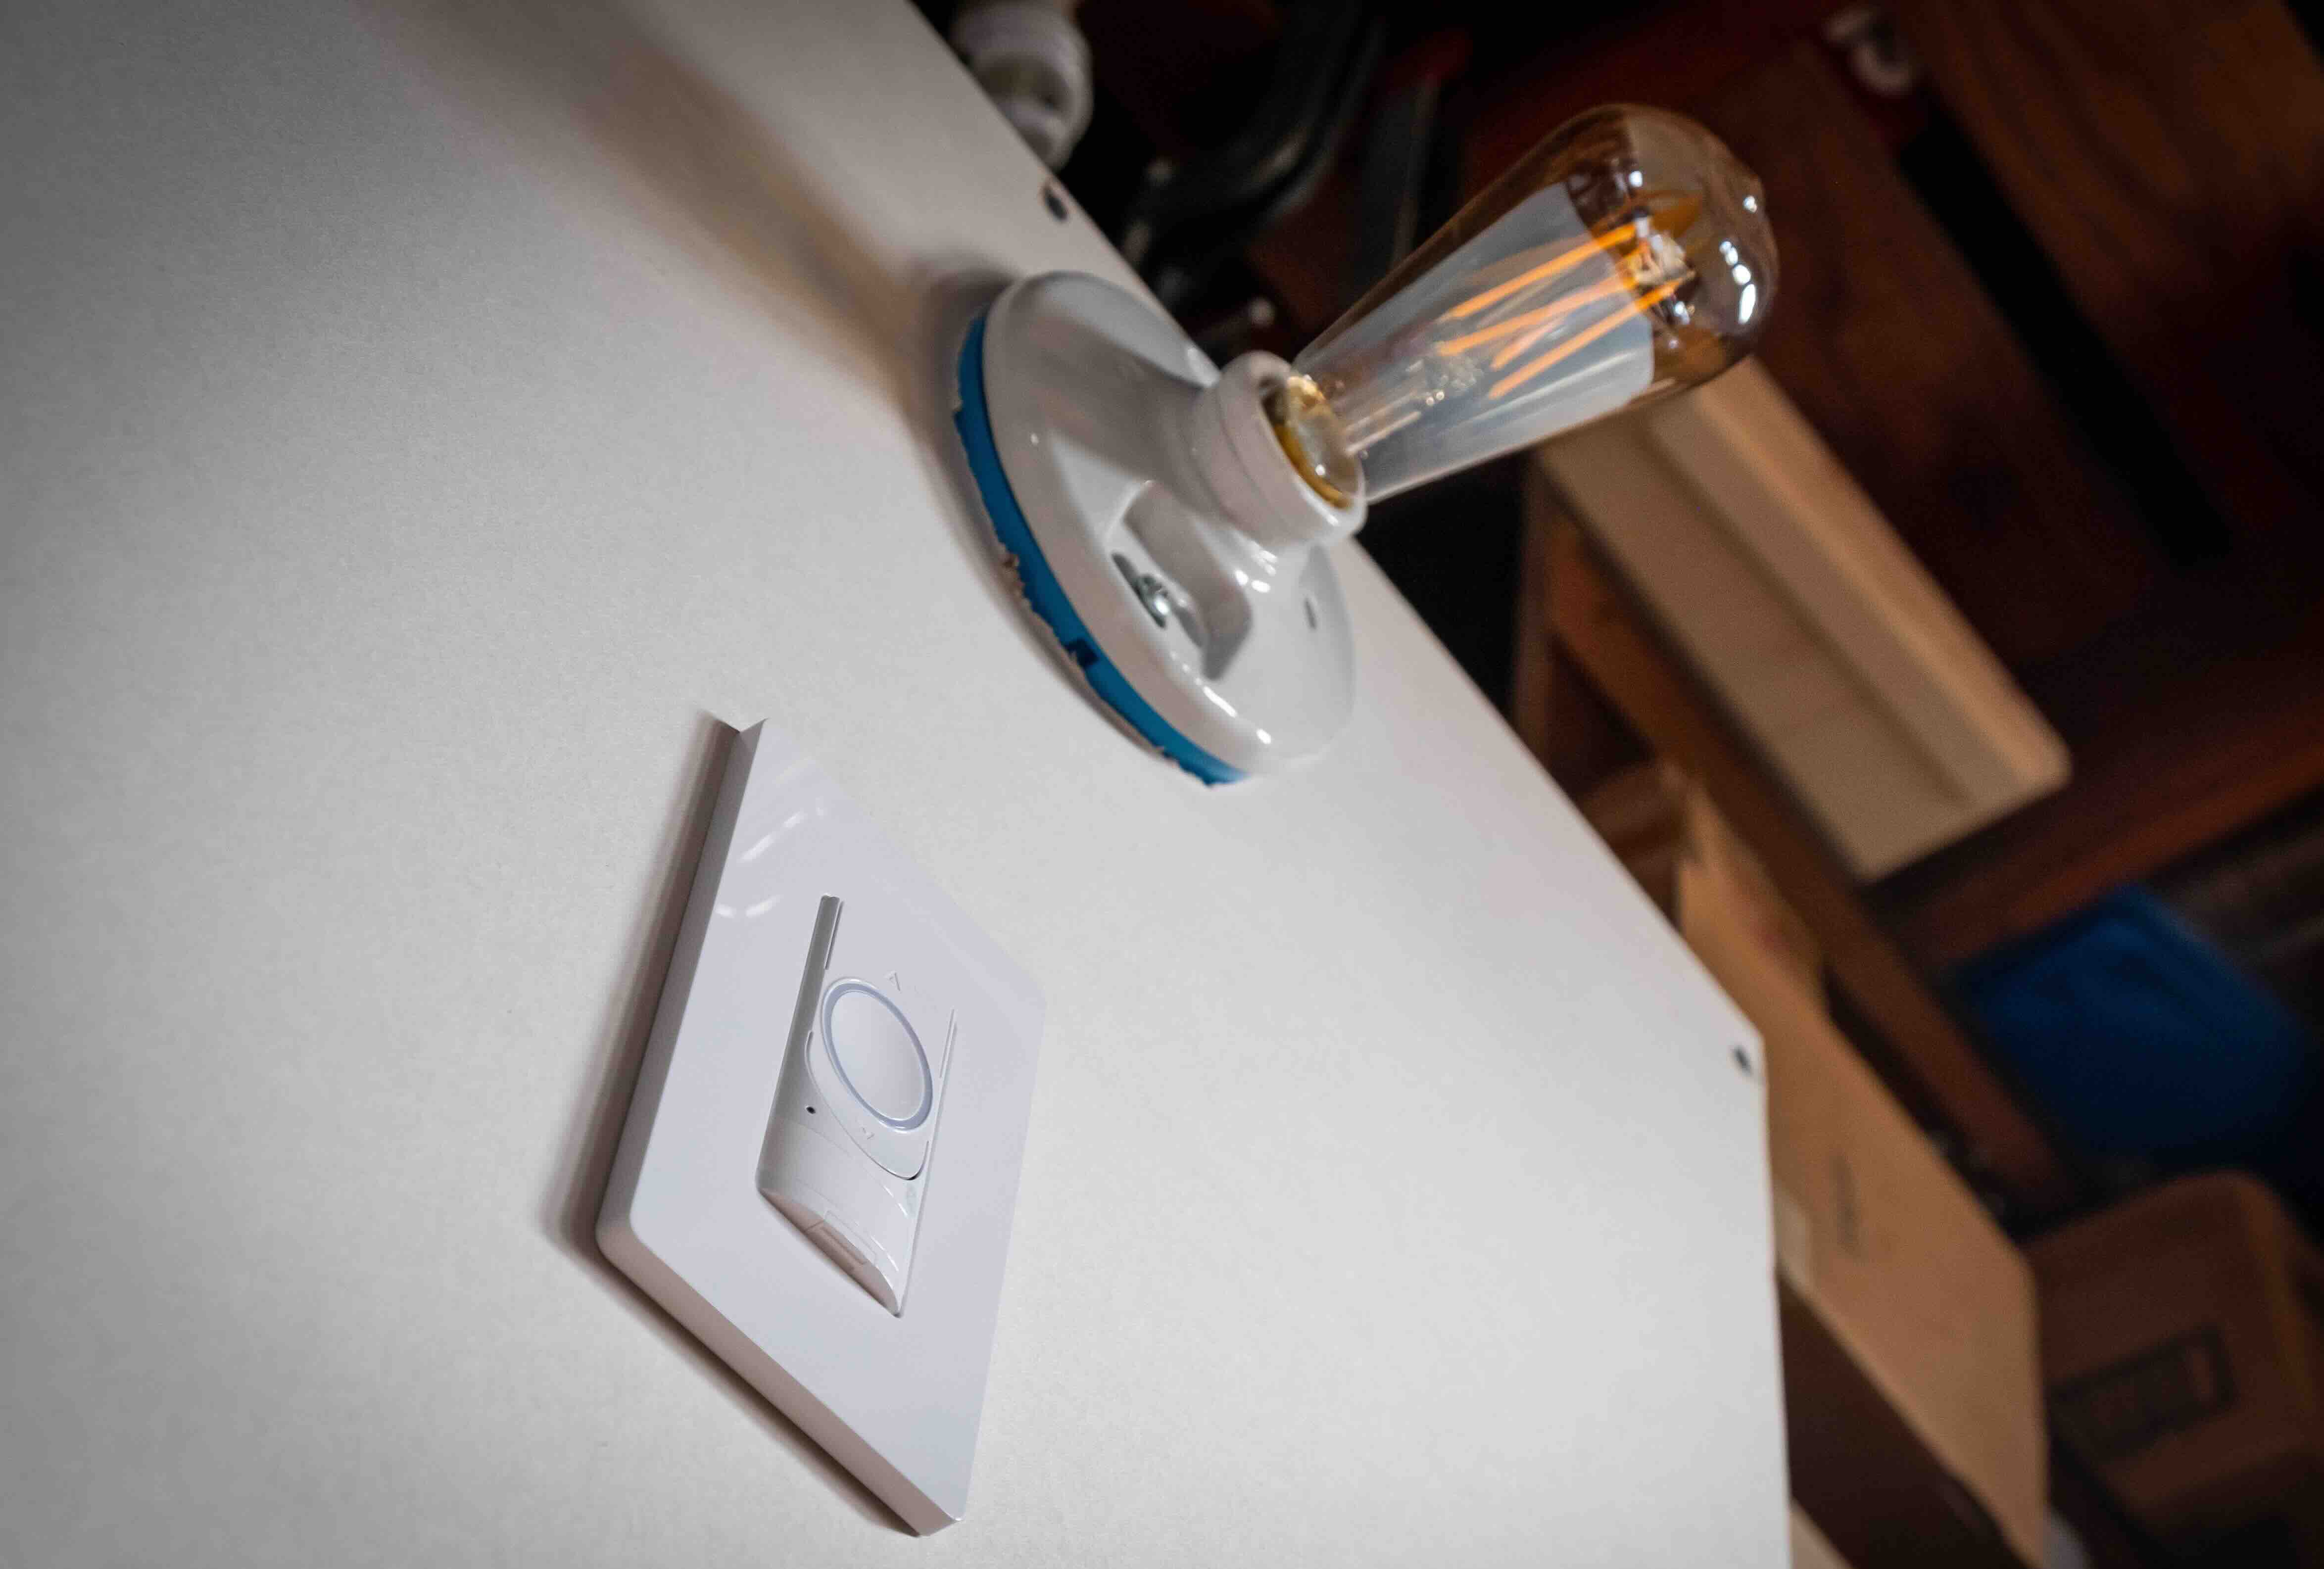
- Remove Cover Plate: Use an insulated screwdriver to remove the cover plate of the dimmer switch, exposing the wiring inside the electrical box.
- Identify Electrical Wires: Take note of the different electrical wires coming into the dimmer switch. Typically, there will be a hot wire (usually black), a neutral wire (usually white), and a ground wire (usually green or bare copper).
- Disconnect Wires: Carefully disconnect the wires from the dimmer switch, ensuring they do not make contact with each other or any other metal surfaces.
- Test for Voltage: Use a voltage tester or digital multimeter to test the wires for voltage. Start by touching one probe of the tester to the hot wire and the other probe to the ground wire. If voltage is present, it indicates that the circuit is live. If there is no voltage, double-check that the power supply to the circuit is still turned off.
- Reconnect Wires: If the voltage test is negative, reconnect the wires to their respective terminals on the dimmer switch. Make sure to follow the manufacturer’s instructions or refer to the notes you made during the disconnection, as incorrect wiring can cause the dimmer switch to malfunction.
- Turn On Power: Once you have reconnected the wires securely, turn on the power supply to the circuit at the main electrical panel.
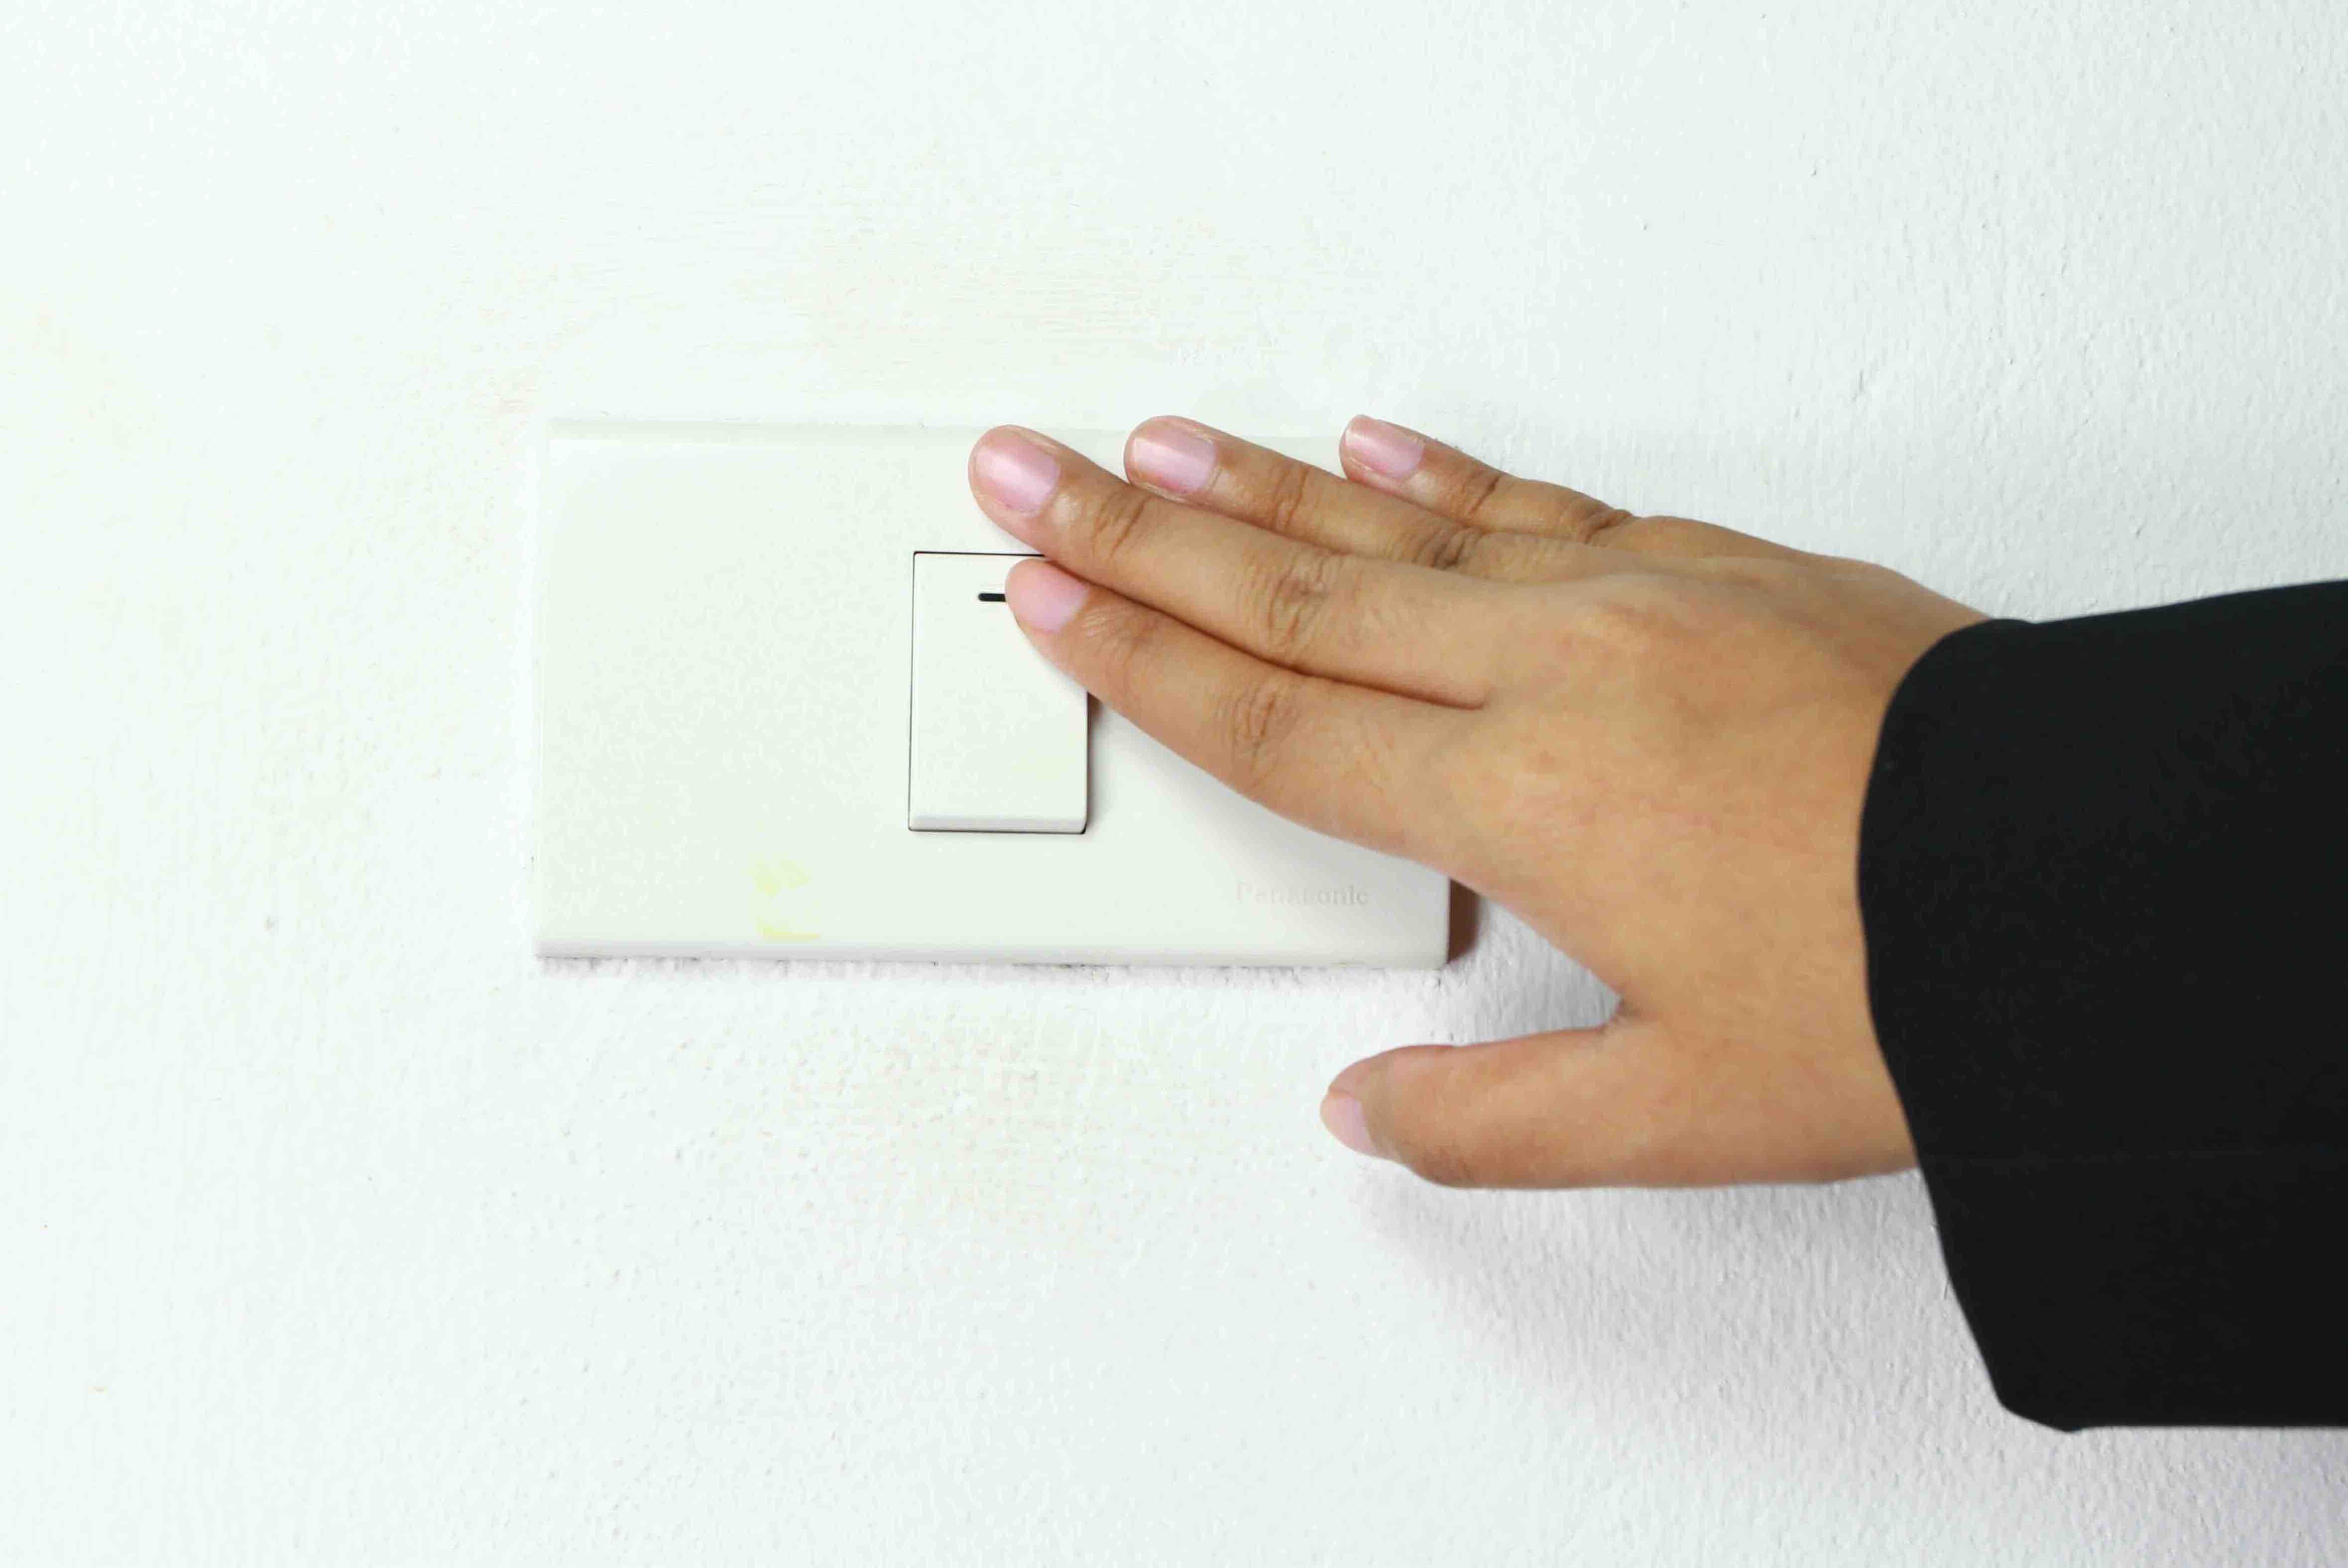
- Test Dimming Function: With the power back on, test the dimming function by adjusting the dimmer switch knob or slider. The connected light fixture should smoothly transition between different brightness levels. If the light flickers, has dimming issues, or does not respond to the switch, there may be a problem with the dimmer switch.
- Document and Repair: Make note of the test results and any issues encountered during the testing process. If you discovered any problems, such as flickering lights or inconsistent dimming, refer to our troubleshooting section for possible solutions.
Following these steps will allow you to confidently test your dimmer switch and assess its functionality. Remember to exercise caution, follow safety precautions, and refer to the manufacturer’s instructions specific to your dimmer switch model.
When testing a dimmer switch, use a voltage tester to ensure there is no power flowing to the switch before beginning any work. This will help prevent electrical accidents.
Testing the Dimmer Switch
Now that you are familiar with the step-by-step testing process, let’s focus on the actual testing of the dimmer switch. This is the stage where you will assess its performance and determine if any issues are present. Here are some key points to keep in mind while testing the dimmer switch:
- Power Off: Ensure that the power supply to the circuit is turned off at the main electrical panel before you begin testing. This step is crucial for your safety during the process.
- Remove Cover Plate: Use an insulated screwdriver to carefully remove the cover plate of the dimmer switch, exposing the wiring and the switch itself.
- Inspect the Wiring: Take a close look at the wiring inside the electrical box. Check for any loose connections, damaged wires, or signs of overheating. Address any issues before proceeding with the testing.
- Voltage Test: Use a voltage tester or a digital multimeter to check if there is voltage present in the wires. Touch one probe of the tester to the hot wire (usually black) and the other probe to the neutral wire (usually white). If there is voltage, it indicates that the circuit is live and supplying power to the dimmer switch.
- Dimming Functionality: Reconnect the wires securely to their respective terminals on the dimmer switch. Once the wiring is complete, turn on the power supply to the circuit at the main electrical panel.
- Test the dimmer switch by adjusting the knob or sliding the lever, depending on the type of dimmer switch you have. Observe if the connected light fixture smoothly transitions between different brightness levels. Take note of any issues, such as flickering lights, buzzing sounds, or inconsistent dimming.
During the testing process, it is important to pay close attention to the dimming functionality. A properly functioning dimmer switch should provide smooth and seamless dimming without any issues. Any abnormalities or inconsistencies may indicate a problem with the switch or the compatibility between the switch and the light fixture.
If you encounter any issues while testing the dimmer switch, refer to the troubleshooting section in this article for possible solutions. Additionally, consulting a qualified electrician may be necessary for more complex problems or if you are not comfortable performing electrical repairs yourself.
By following these steps and conducting a thorough testing process, you will gain valuable insights into the performance of your dimmer switch and be better equipped to address any issues that may arise.
Interpreting the Test Results
After testing the dimmer switch, it’s time to interpret the test results to determine the overall functionality and potential issues. Here are some key points to consider when interpreting the test results:
- Smooth Dimming: If the dimmer switch allows for smooth and seamless dimming without any flickering lights or buzzing sounds, it indicates that the switch is functioning correctly, and there are no major issues to address.
- Inconsistent Dimming: If you notice inconsistent dimming, where the light fixture does not smoothly transition between different brightness levels or the dimming is abrupt, it may suggest a compatibility issue between the dimmer switch and the light fixture. In this case, refer to the manufacturer’s guidelines to ensure that the dimmer switch is compatible with the specific type of bulbs being used.
- Flickering Lights: If the connected light fixture flickers during dimming or when the switch is adjusted, it can indicate a loose connection, improper wiring, or an issue with the dimmer switch itself. Double-check the wiring connections and make sure they are secure. If the problem persists, it may be necessary to replace the dimmer switch.
- No Response: If the light fixture does not respond to the dimmer switch at all and remains at a constant brightness level, it may indicate a faulty switch or incorrect wiring. Check the wiring connections and ensure they are connected properly. If the issue persists, the dimmer switch may need to be replaced.
It’s important to carefully analyze the test results and make note of any abnormal behavior or issues encountered during testing. Having a clear understanding of the test results will help you determine the necessary steps for troubleshooting and resolving any problems with the dimmer switch.
If you are unsure about the test results or need further assistance, it is recommended to consult a qualified electrician. They will have the expertise and knowledge to diagnose and address any electrical issues effectively and safely.
Now, let’s move on to the next section, where we will discuss common issues that you may encounter while testing a dimmer switch and provide troubleshooting tips to resolve them.
Troubleshooting Common Issues
While testing a dimmer switch, you may come across common issues that can affect its functionality. Fortunately, many of these issues can be resolved with some troubleshooting. Here are some common problems and their potential solutions:
- Flickering Lights: If the connected light fixture flickers when using the dimmer switch, it may be due to a few reasons. First, check the compatibility between the dimmer switch and the type of bulbs being used. Not all bulb types are dimmable, so make sure you are using dimmable bulbs. Additionally, ensure that the wattage rating of the bulbs is compatible with the dimmer switch. If the flickering persists, it may indicate a loose connection or a faulty dimmer switch that needs to be replaced.
- Buzzing Sounds: A buzzing sound coming from the dimmer switch can be attributed to several factors. It may indicate a loose connection or excessive load on the switch. Check the wiring connections and make sure they are securely fastened. If the buzzing continues, it may signal an issue with the dimmer switch or the quality of the wiring. Consider replacing the switch if necessary.
- Inconsistent Dimming: If you experience inconsistent dimming, where the light does not smoothly transition between brightness levels, it may indicate an incompatibility between the dimmer switch and the light fixture. Make sure to use dimmable bulbs and check their compatibility with the switch. If the problem persists, it may be necessary to consult the manufacturer or an electrician to find a compatible dimmer switch.
- No Response: If the light fixture does not respond to the dimmer switch at all, first ensure that the wiring connections are correct and secure. If the wiring is correct and the problem persists, check if the dimmer switch is compatible with the type of bulbs being used. If they are not compatible, choose dimmable bulbs or consider using a different dimmer switch model.
If you have tried troubleshooting these common issues and are still experiencing problems with your dimmer switch, it is recommended to seek professional assistance from a qualified electrician. They can diagnose the problem accurately and provide a safe and effective solution.
Remember, electrical repairs should be handled with caution, and if you are not experienced in handling electrical work, it is best to leave it to the professionals.
Now that we have covered troubleshooting common issues, let’s summarize the key points and conclude our comprehensive guide on testing a dimmer switch.
Conclusion
Testing a dimmer switch is an essential step in ensuring its proper functionality and addressing any issues that may arise. By following the step-by-step testing process outlined in this guide, you can effectively assess the performance of your dimmer switch and identify any compatibility issues, loose connections, or faulty components.
Remember to prioritize safety by following necessary precautions, such as turning off the power supply and wearing protective gear. Additionally, having the right tools and materials on hand is crucial for conducting a thorough and accurate test.
Interpret the test results carefully, noting any flickering lights, inconsistent dimming, or other abnormal behaviors. These results will guide you in troubleshooting and resolving common issues that may affect the dimmer switch’s functionality.
However, if you are unsure or uncomfortable performing electrical work, it is always recommended to consult a qualified electrician. They have the expertise to handle complex issues and ensure the safety of your electrical system.
We hope this comprehensive guide has provided you with valuable insights into the process of testing a dimmer switch. By understanding how dimmer switches work, prioritizing safety, and troubleshooting common issues, you can maintain a well-functioning and reliable lighting system in your home or commercial space.
Remember, a properly functioning dimmer switch offers the flexibility to create the perfect ambiance for any occasion, allowing you to enjoy your space with just the right amount of light.
Additional Resources:
- Device Testing and Inspection Guide – Electrical Safety Foundation International (Link)
- Dimmer Switch Installation Guide – The Spruce (Link)
- How to Replace a Dimmer Switch – wikiHow (Link)
Read more: How To Disable A Dimmer Switch
Additional Resources
Here are some additional resources that can provide you with further information and guidance on testing a dimmer switch:
- LED Dimmer Compatibility Guide – This guide provides information on compatibility between dimmer switches and LED bulbs. It helps ensure that you choose the right dimmer switch for your LED lighting setup, avoiding any compatibility issues. (Link)
- Electrical Safety Foundation International (ESFI) – The ESFI website offers a wide range of resources and educational materials on electrical safety, including guidelines for testing and inspecting electrical devices. It is a valuable source for learning more about general electrical safety practices. (Link)
- The Spruce – The Spruce provides comprehensive home improvement and DIY guides, including step-by-step instructions on how to install and troubleshoot dimmer switches. Their website offers a wealth of information for homeowners looking to learn more about various home improvement projects. (Link)
- wikiHow – wikiHow is a popular online resource that offers user-generated how-to articles on a wide range of topics. Their guide on replacing a dimmer switch provides detailed instructions and visuals to help you through the process of replacing a faulty dimmer switch. (Link)
These resources can serve as valuable references as you navigate the process of testing, installing, and troubleshooting dimmer switches. Remember, when dealing with electrical work, it’s important to prioritize safety and consult a professional if you have any doubts or concerns.
By utilizing these additional resources and taking the necessary precautions, you can ensure the successful testing and functionality of your dimmer switch, enhancing the lighting experience in your space.
Once you've mastered testing dimmer switches, consider the ambiance lighting creates in any space. For those intrigued by stylish yet functional design elements, our guide on selecting the best LED mirrors will certainly catch your eye. These mirrors not only illuminate your reflections but also transform any room into a chic, well-lit space. Ready to light up your home with elegance? Check out our recommendations for the best options available.
Frequently Asked Questions about How To Test A Dimmer Switch
Was this page helpful?
At Storables.com, we guarantee accurate and reliable information. Our content, validated by Expert Board Contributors, is crafted following stringent Editorial Policies. We're committed to providing you with well-researched, expert-backed insights for all your informational needs.


0 thoughts on “How To Test A Dimmer Switch”