Articles
How To Wire In A Dimmer Switch
Modified: March 1, 2024
Learn how to wire in a dimmer switch with our detailed articles. Install and control your home's lighting with ease and create the perfect ambiance.
(Many of the links in this article redirect to a specific reviewed product. Your purchase of these products through affiliate links helps to generate commission for Storables.com, at no extra cost. Learn more)
Introduction
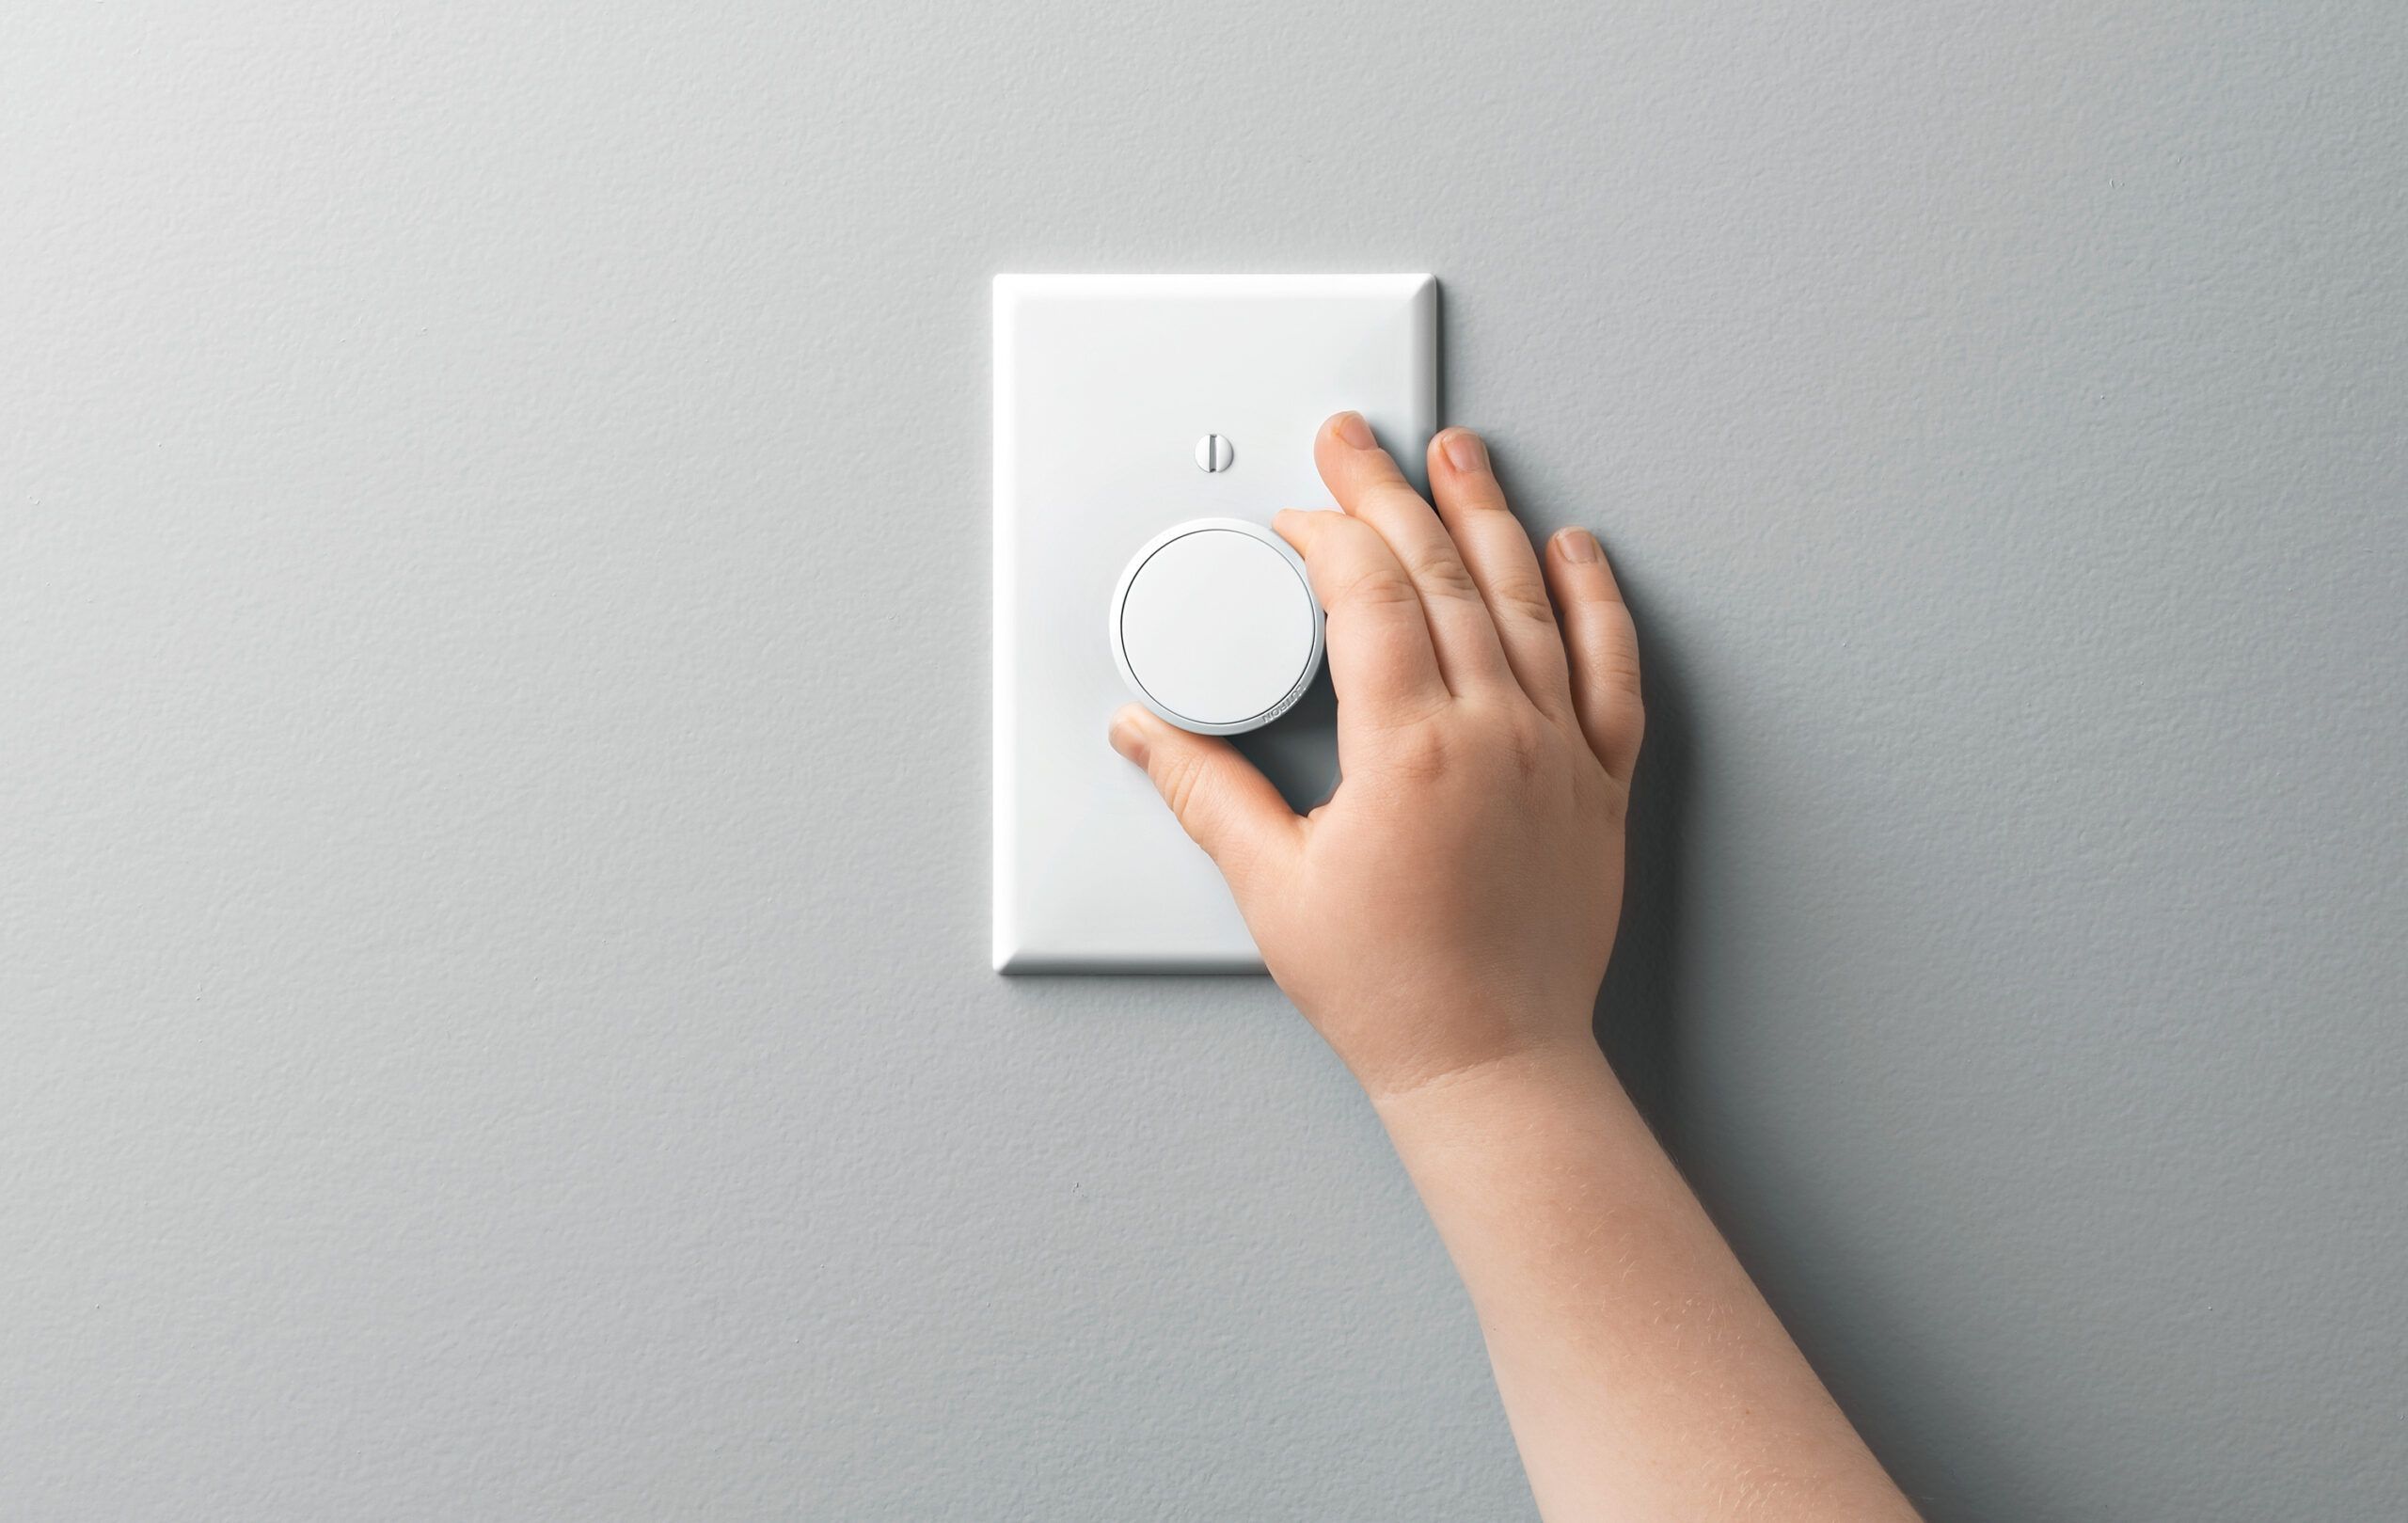
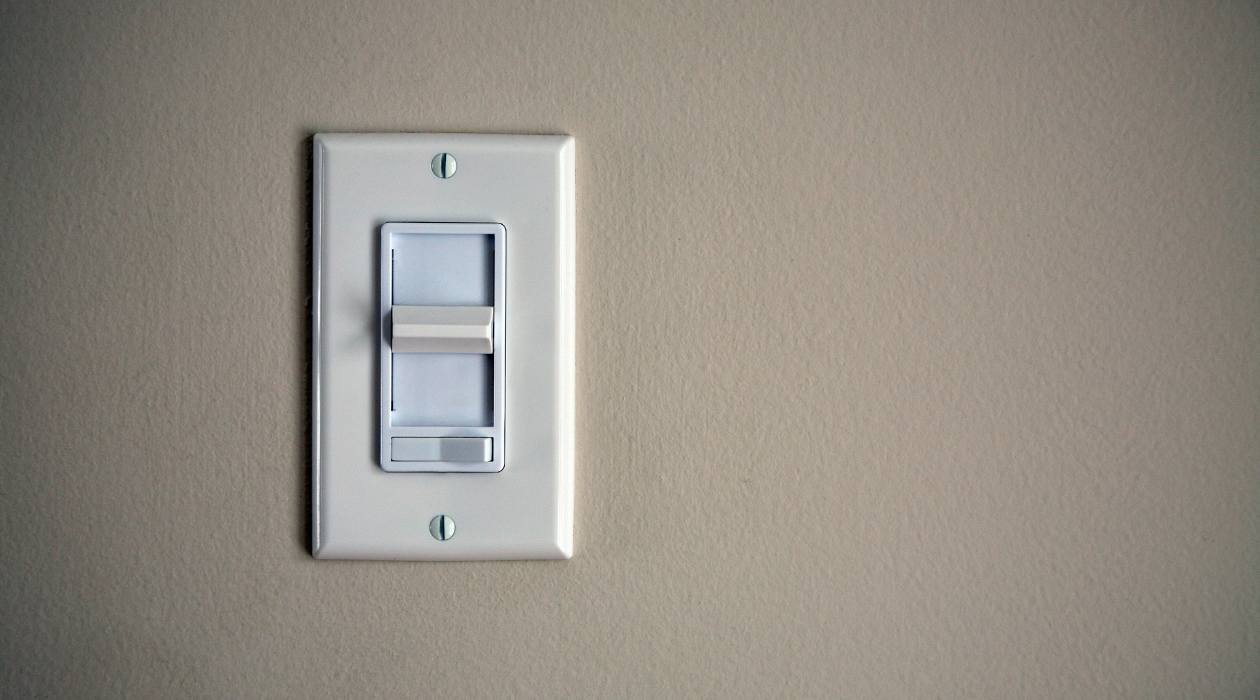
Welcome to the world of dimmer switches! Dimmer switches are a fantastic addition to any room, as they allow you to easily adjust the brightness of your lights and create the perfect atmosphere for any occasion. Whether you want to set a relaxing mood in your living room or create a cozy ambiance in your bedroom, a dimmer switch provides you with the flexibility to customize your lighting experience.
In this article, we will guide you through the process of wiring in a dimmer switch. Don’t worry if you’re not an electrician – with a few simple steps and the right tools, you’ll have your dimmer switch up and running in no time. Make sure to follow all safety precautions and consult a professional if you have any doubts or concerns.
Before we dive into the installation process, let’s take a quick look at the tools and materials you’ll need:
- Dimmer switch
- Screwdriver (flathead or Philips, depending on the screw type)
- Wire strippers
- Electrical tape
Once you have these items ready, we can proceed to the first step – turning off the power supply.
Key Takeaways:
- Easily wire in a dimmer switch with the right tools and safety precautions. Gain control over your lighting and create the perfect ambiance for any occasion.
- Prioritize safety, follow step-by-step instructions, and enjoy the flexibility of adjustable lighting with a successfully installed dimmer switch.
Read more: How To Wire A Dimmer Switch With 4 Wires
Step 1: Gather the necessary tools and materials
Before you begin installing a dimmer switch, it’s essential to gather all the required tools and materials to ensure a smooth and hassle-free process. Here’s a list of what you’ll need:
- Dimmer switch: Choose a dimmer switch that is compatible with the type of lighting you have in your room. There are dimmer switches designed for different types of bulbs, such as incandescent, LED, CFL, or halogen. Make sure to select the right one for your needs.
- Screwdriver: You’ll need a screwdriver to remove the existing switch and attach the dimmer switch to the electrical box. Depending on the type of screws used, you may require either a flathead or Philips screwdriver.
- Wire strippers: Wire strippers are essential for properly preparing the wires and ensuring secure connections. They allow you to remove the insulation from the ends of the wires without damaging the conductors.
- Electrical tape: Electrical tape is used to insulate wire connections and provide added safety. It helps prevent accidental contact between wires and reduces the risk of electrical shocks.
Having these tools and materials at the ready will streamline the installation process and make it easier to complete each step. Now that you have everything you need, let’s move on to the next step – turning off the power supply.
Step 2: Turn off the power supply
Safety is paramount when working with electrical wiring, so before you begin installing a dimmer switch, it’s crucial to turn off the power supply to the switch and the surrounding area. This step helps prevent accidental electrical shocks and ensures your safety throughout the installation process. Follow these steps to turn off the power:
- Locate the electrical panel: The electrical panel, also known as the breaker box, can usually be found in the basement, garage, utility room, or exterior of your home. Open the panel’s door to expose the breakers.
- Identify the correct circuit breaker: Look for the circuit breaker that controls the power to the switch you’re working on. Most circuit breakers are labeled, making it easy to identify the one you need. If the breaker isn’t labeled, you can use trial and error by turning off one breaker at a time until the power to the switch is cut off.
- Turn off the circuit breaker: Once you’ve identified the correct breaker, flip it to the “Off” position. You can usually tell if the breaker is off by the switch being in a position opposite to the “On” position.
- Confirm the power is off: To ensure the power is completely disconnected, test the switch to verify it no longer works. You can turn the switch on and off or use a voltage tester to check if there is any electrical current.
Remember, it’s essential to take precautions while working with electricity. Avoid touching any wires or terminals, and never assume that the power is turned off without testing it.
With the power supply turned off, you can proceed to the next step – removing the existing switch.
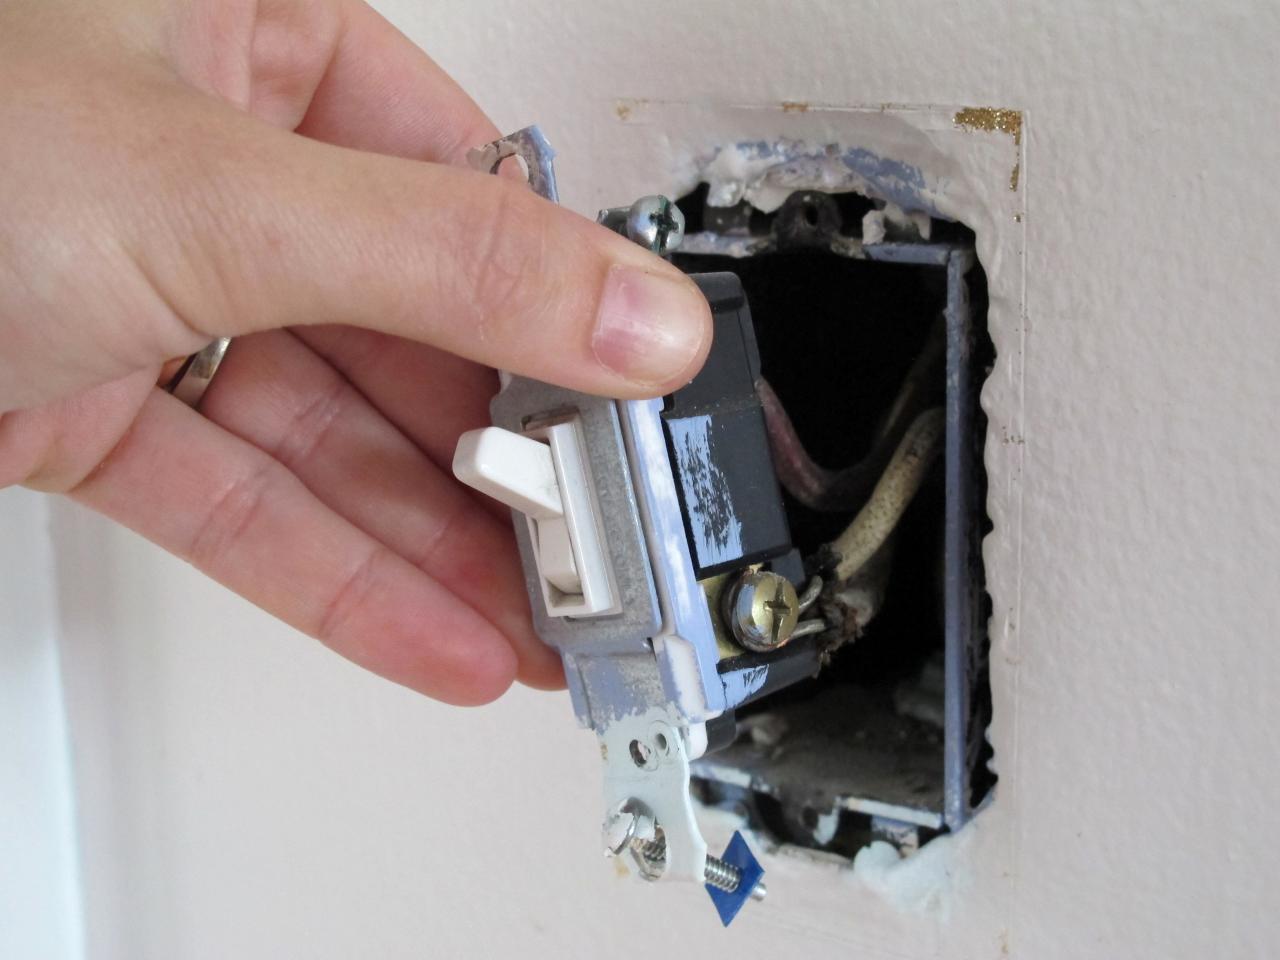
Step 3: Remove the existing switch
Now that you’ve safely turned off the power supply, it’s time to remove the existing switch from the electrical box. Follow these steps to remove the switch:
- Remove the switch cover plate: Use a screwdriver to unscrew and remove the cover plate from the existing switch. Set the cover plate aside for later use.
- Loosen the switch screws: The switch is held in place by screws on the top and bottom. Use your screwdriver to loosen and remove these screws. Be careful not to lose them.
- Pull out the switch: Gently pull the switch out from the electrical box to expose the wiring behind it. Take note of how the wires are connected to the switch.
- Disconnect the wires: Use your screwdriver to loosen the terminal screws or release the wires from the back of the switch. Take care not to damage the wires during this process.
- Label the wires: To make the installation easier, label each wire with the corresponding screw terminal it was connected to. You can use small pieces of electrical tape or write directly on the wires with a marker.
By following these steps, you can safely remove the existing switch and prepare the electrical box for the installation of the dimmer switch. Remember to be cautious and gentle when handling the wires, and avoid touching any exposed metal parts to prevent electrical shocks.
Once you have successfully removed the old switch and labeled the wires, you’re ready to move on to the next step – preparing the dimmer switch.
Step 4: Prepare the dimmer switch
With the old switch removed, it’s time to prepare the dimmer switch for installation. Before you start connecting wires, take a few moments to familiarize yourself with the dimmer switch and ensure it is ready to be installed. Follow these steps to prepare the dimmer switch:
- Read the manufacturer’s instructions: Different dimmer switches may have specific instructions or requirements for installation. Take a moment to carefully read the instructions provided by the manufacturer.
- Inspect the dimmer switch: Check the dimmer switch for any visible defects or damage. Ensure that all the parts are intact and functioning properly. If you notice any issues, it’s best to obtain a replacement before continuing.
- Verify compatibility: Ensure that the dimmer switch you have chosen is compatible with your specific electrical setup. Confirm that it supports the type of bulbs you are using (e.g., incandescent, LED, CFL) and that it is rated for the correct voltage.
- Configure any adjustable settings: Some dimmer switches may have adjustable settings that allow you to customize the dimming range or control the fade-in or fade-out times. If your dimmer switch has these features, follow the manufacturer’s instructions to configure them as desired.
By following these steps, you can ensure that the dimmer switch is prepared and ready for installation. It’s important to handle the dimmer switch with care and make sure you have selected the appropriate switch for your lighting setup. Taking the time to properly prepare the dimmer switch will help ensure a successful and effective installation.
Now that the dimmer switch is ready, it’s time to connect the wires in the next step.
When wiring in a dimmer switch, always turn off the power at the circuit breaker before starting. Use a voltage tester to ensure the power is off before touching any wires.
Step 5: Connect the wires
Now that you have prepared the dimmer switch, it’s time to connect the wires and complete the installation. Follow these steps to connect the wires:
- Identify the wires: Examine the wires inside the electrical box and identify the hot wire (usually black), the neutral wire (usually white), and the ground wire (usually green or bare copper).
- Strip the wire ends: Using wire strippers, carefully strip about 1/2 inch of insulation from the ends of each wire. This will expose the bare copper conductors for easier connection.
- Make the connections:
- Hot wire: Connect the hot wire (usually black) to the screw terminal on the dimmer switch labeled “Line” or “Hot.” Tighten the screw securely to ensure a proper connection.
- Neutral wire: If the dimmer switch requires a neutral wire, which is common for some newer models or specific types of bulbs, connect the neutral wire (usually white) to the screw terminal on the dimmer switch labeled “Neutral.” Again, tighten the screw securely.
- Ground wire: Connect the ground wire (usually green or bare copper) to the screw terminal on the dimmer switch labeled “Ground” or “GND.” This wire provides a path for electrical safety and should always be properly connected.
- Secure the wire connections: Double-check that each wire is securely connected to the appropriate screw terminal. Tug on each wire gently to ensure they are firmly in place.
- Insulate the wire connections: To ensure safety, wrap electrical tape around each wire connection to insulate them. This helps to prevent accidental contact with other wires or metal surfaces.
- Organize the wires: Neatly fold the wires into the electrical box, making sure they do not interfere with the dimmer switch or get pinched by the cover plate.
By following these steps, you can confidently and safely connect the wires to the dimmer switch. Take your time to ensure that each wire connection is secure and properly insulated. When finished, you’re ready to move on to the next step – securing the dimmer switch.
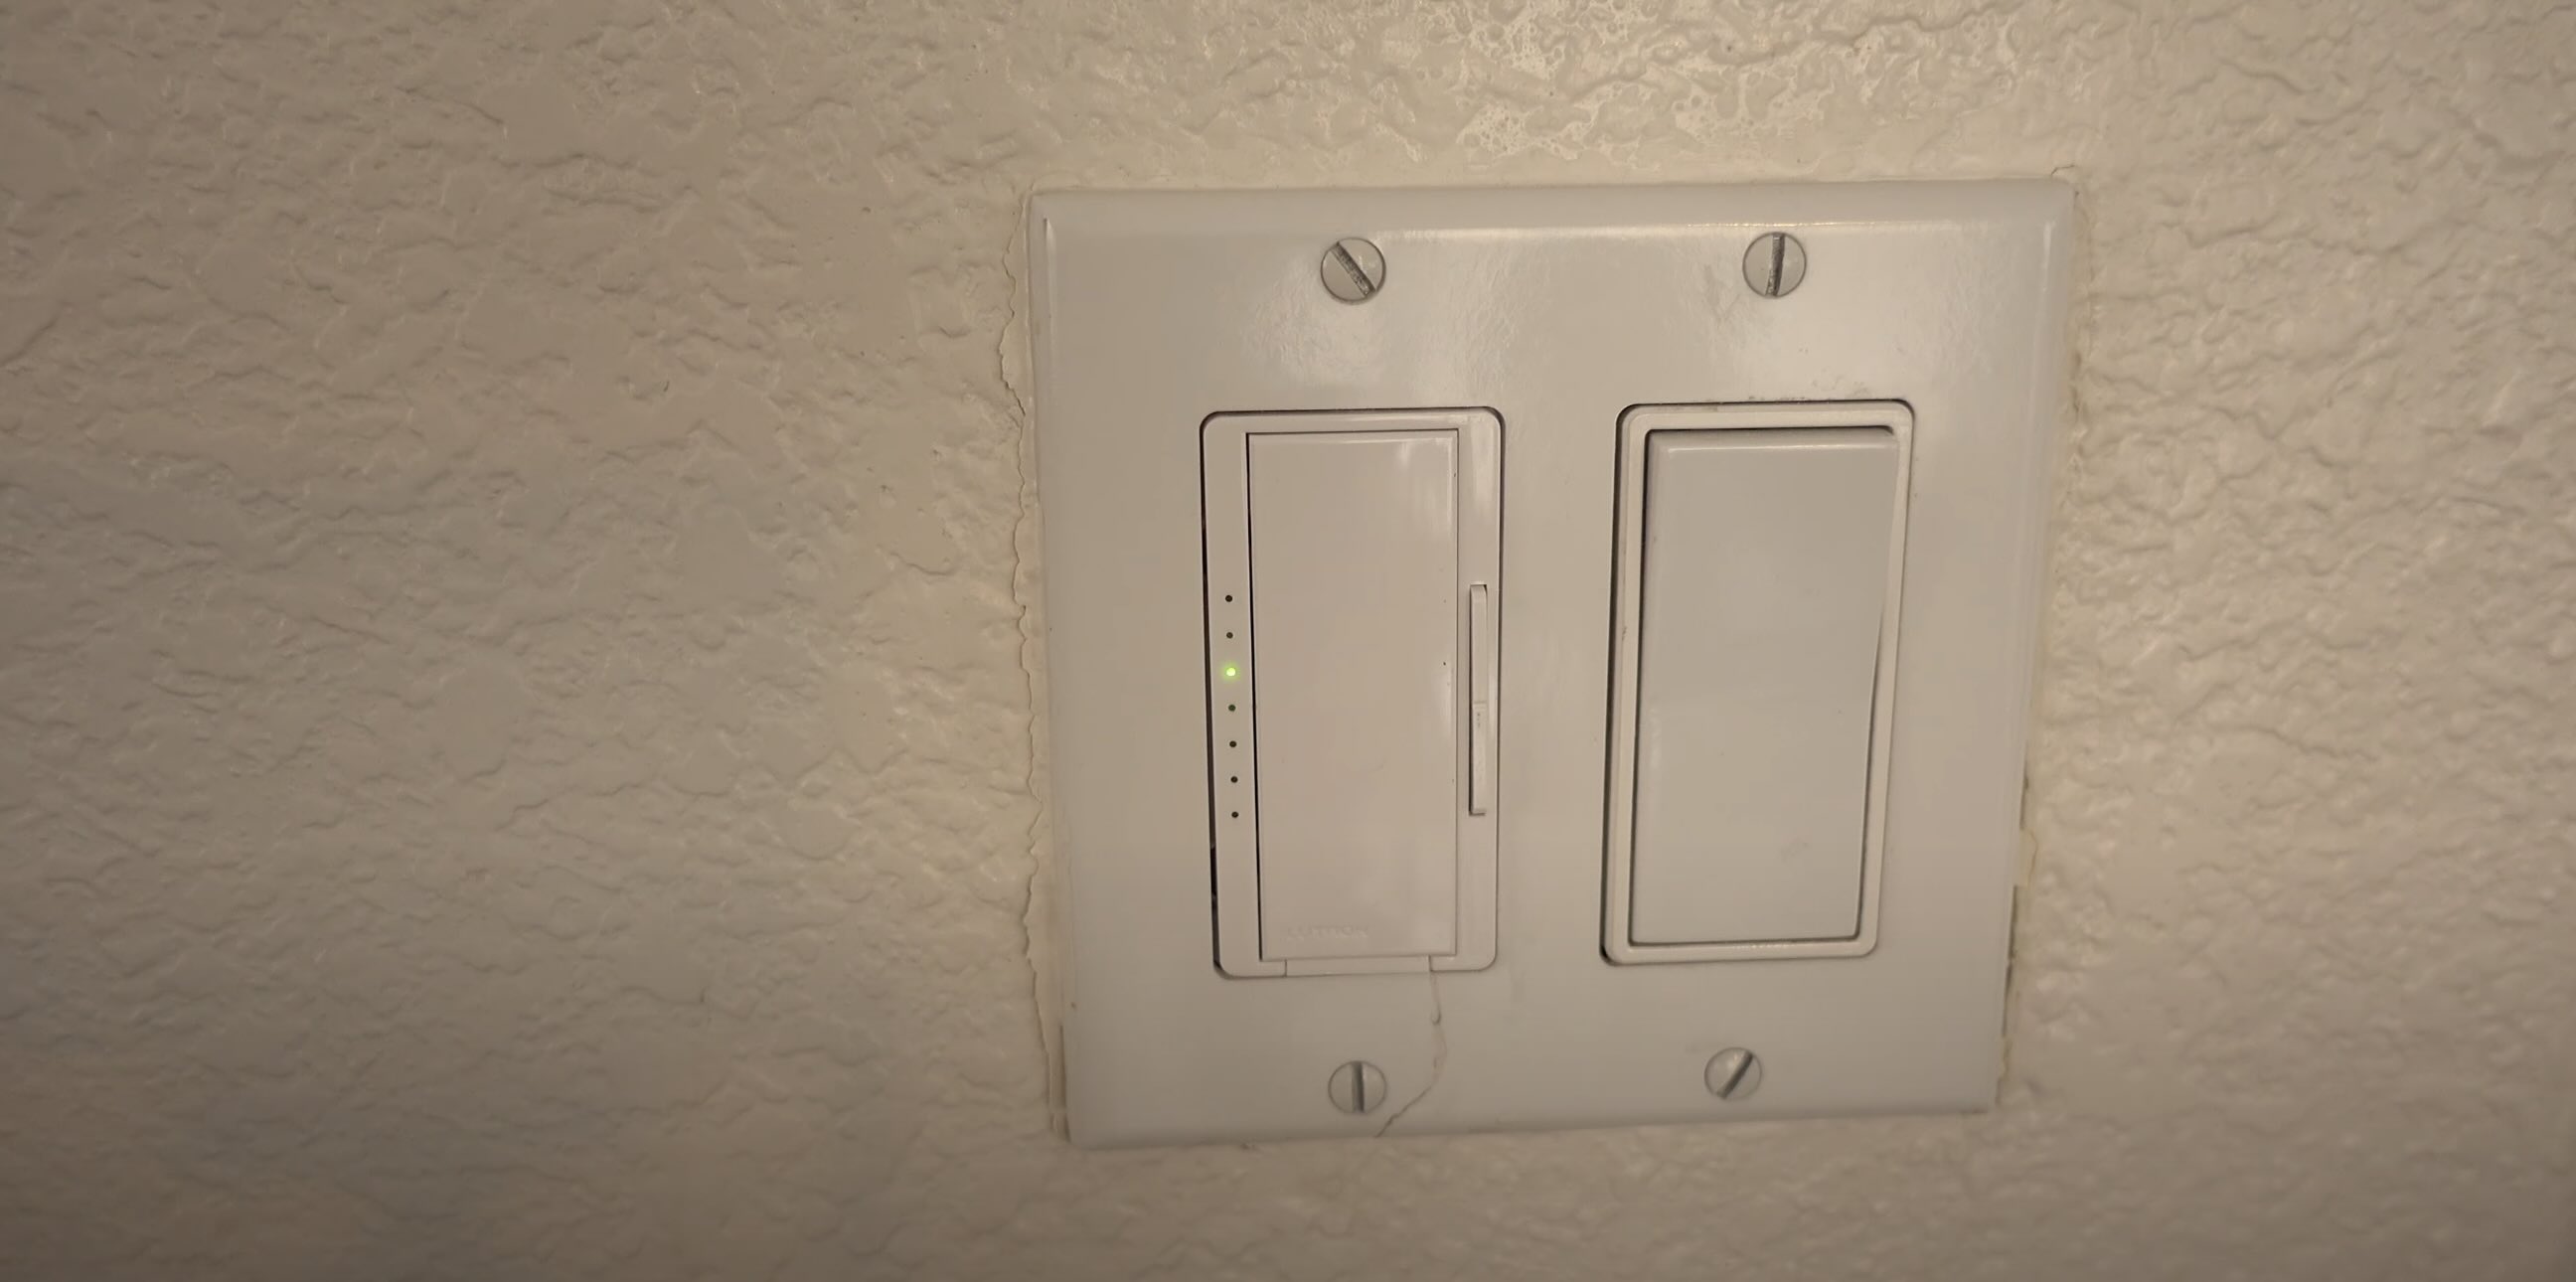
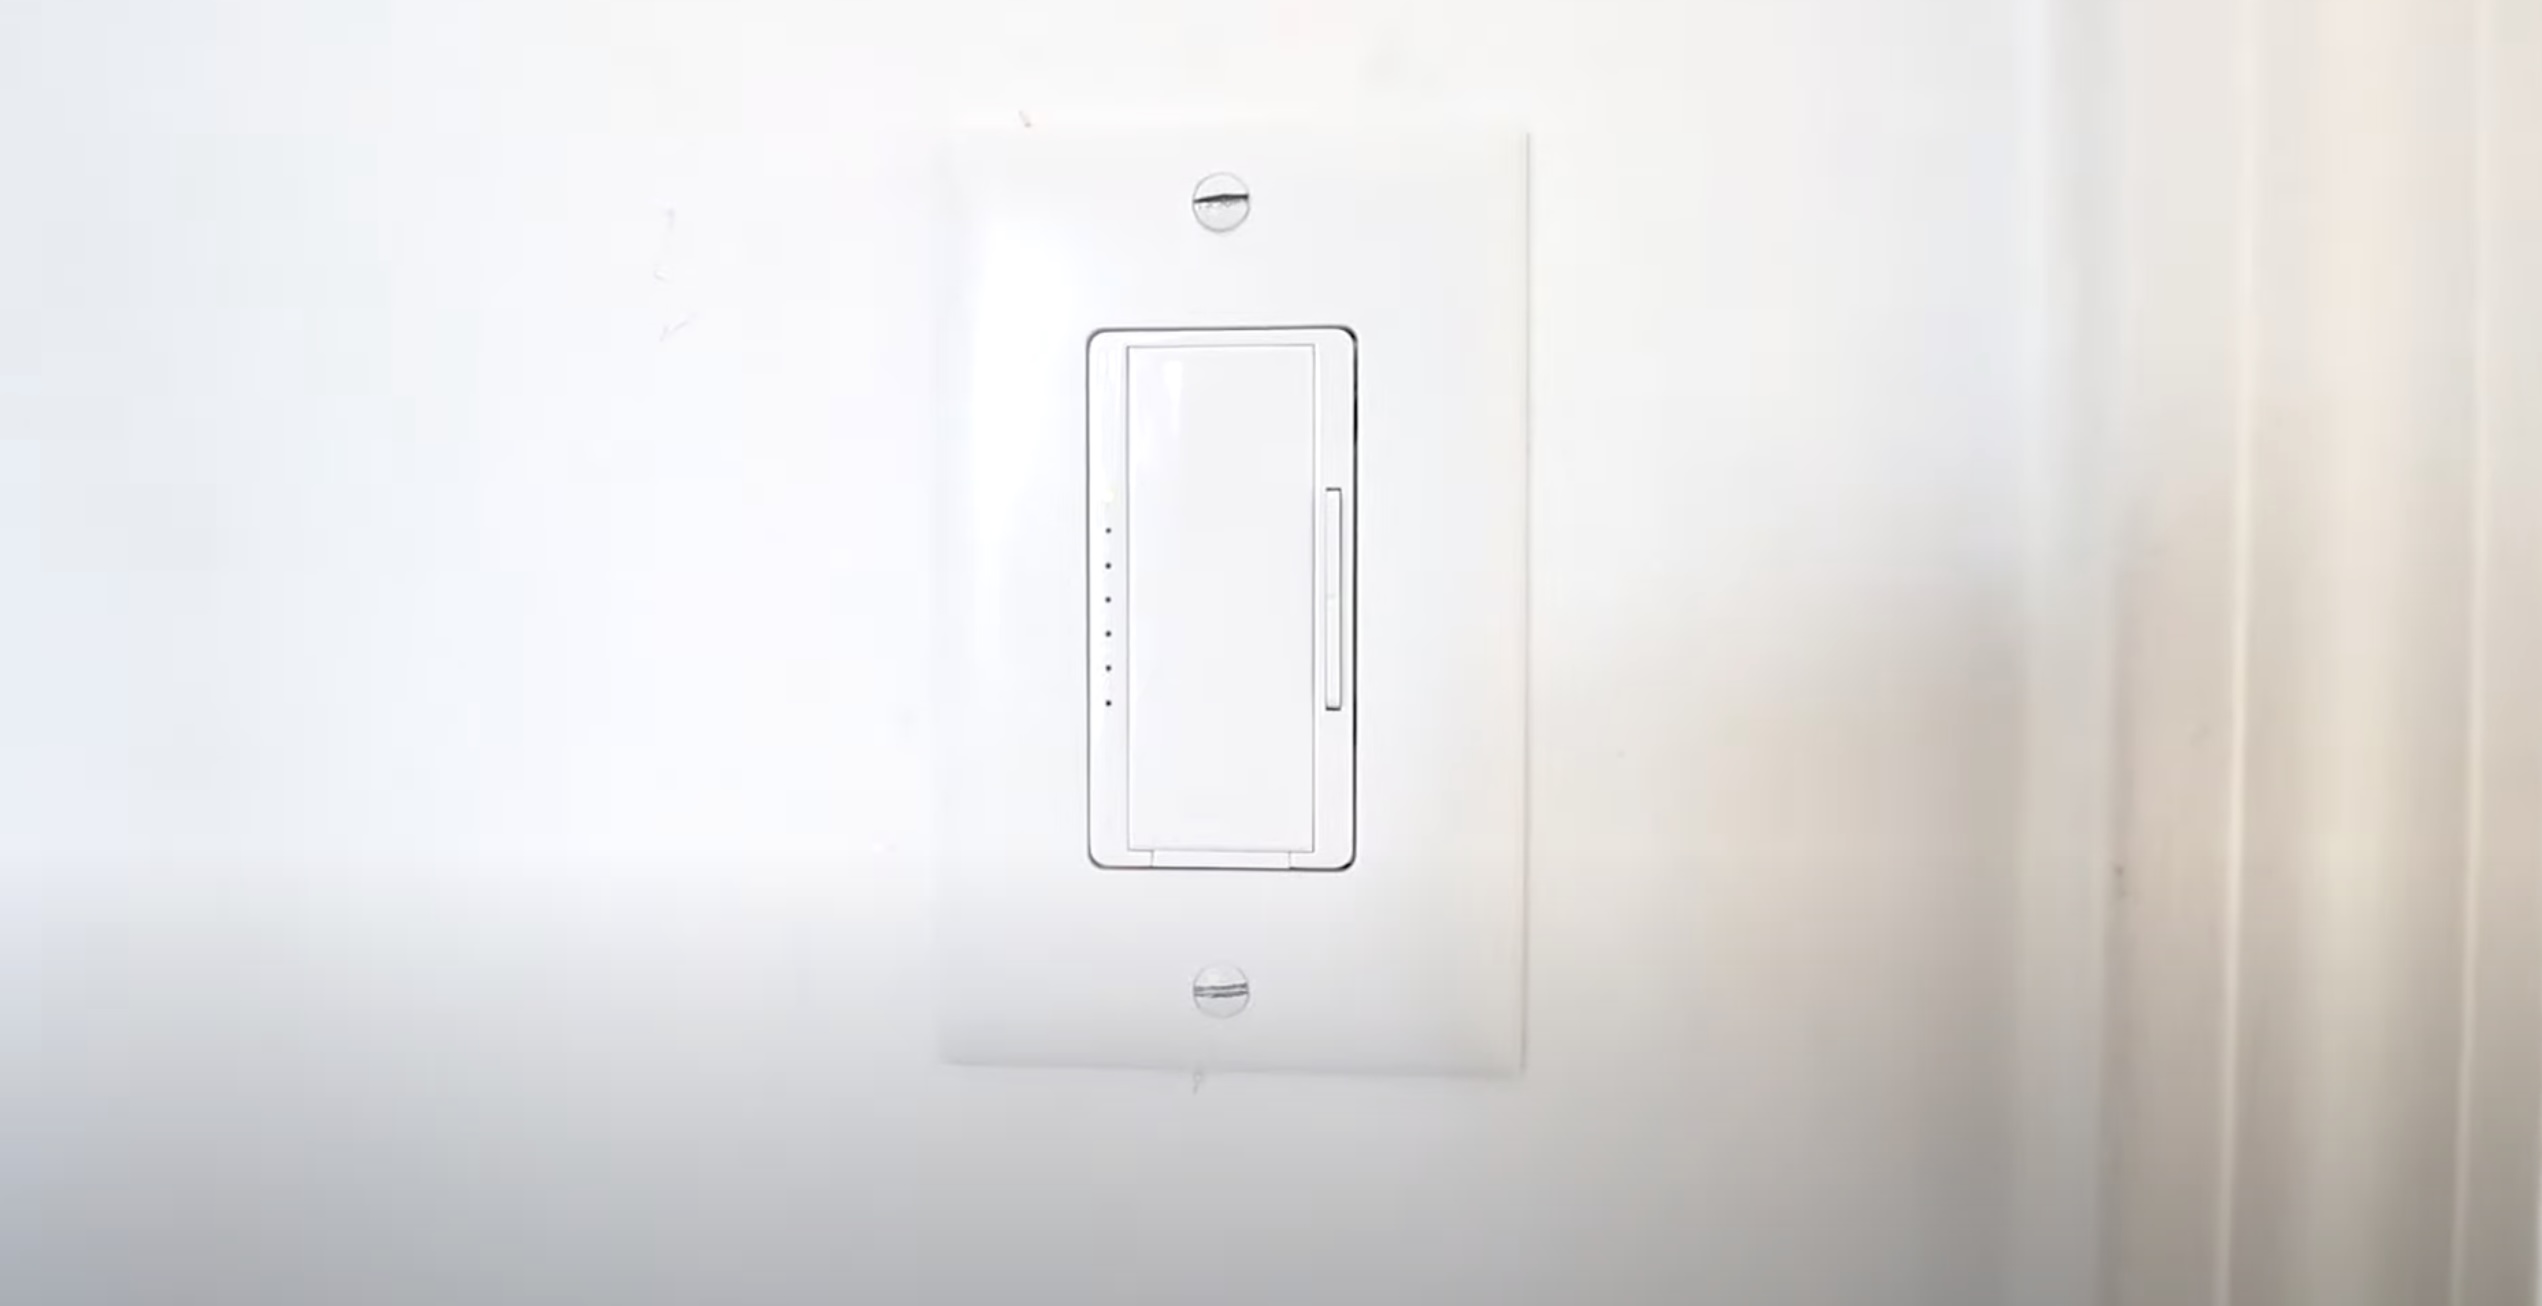
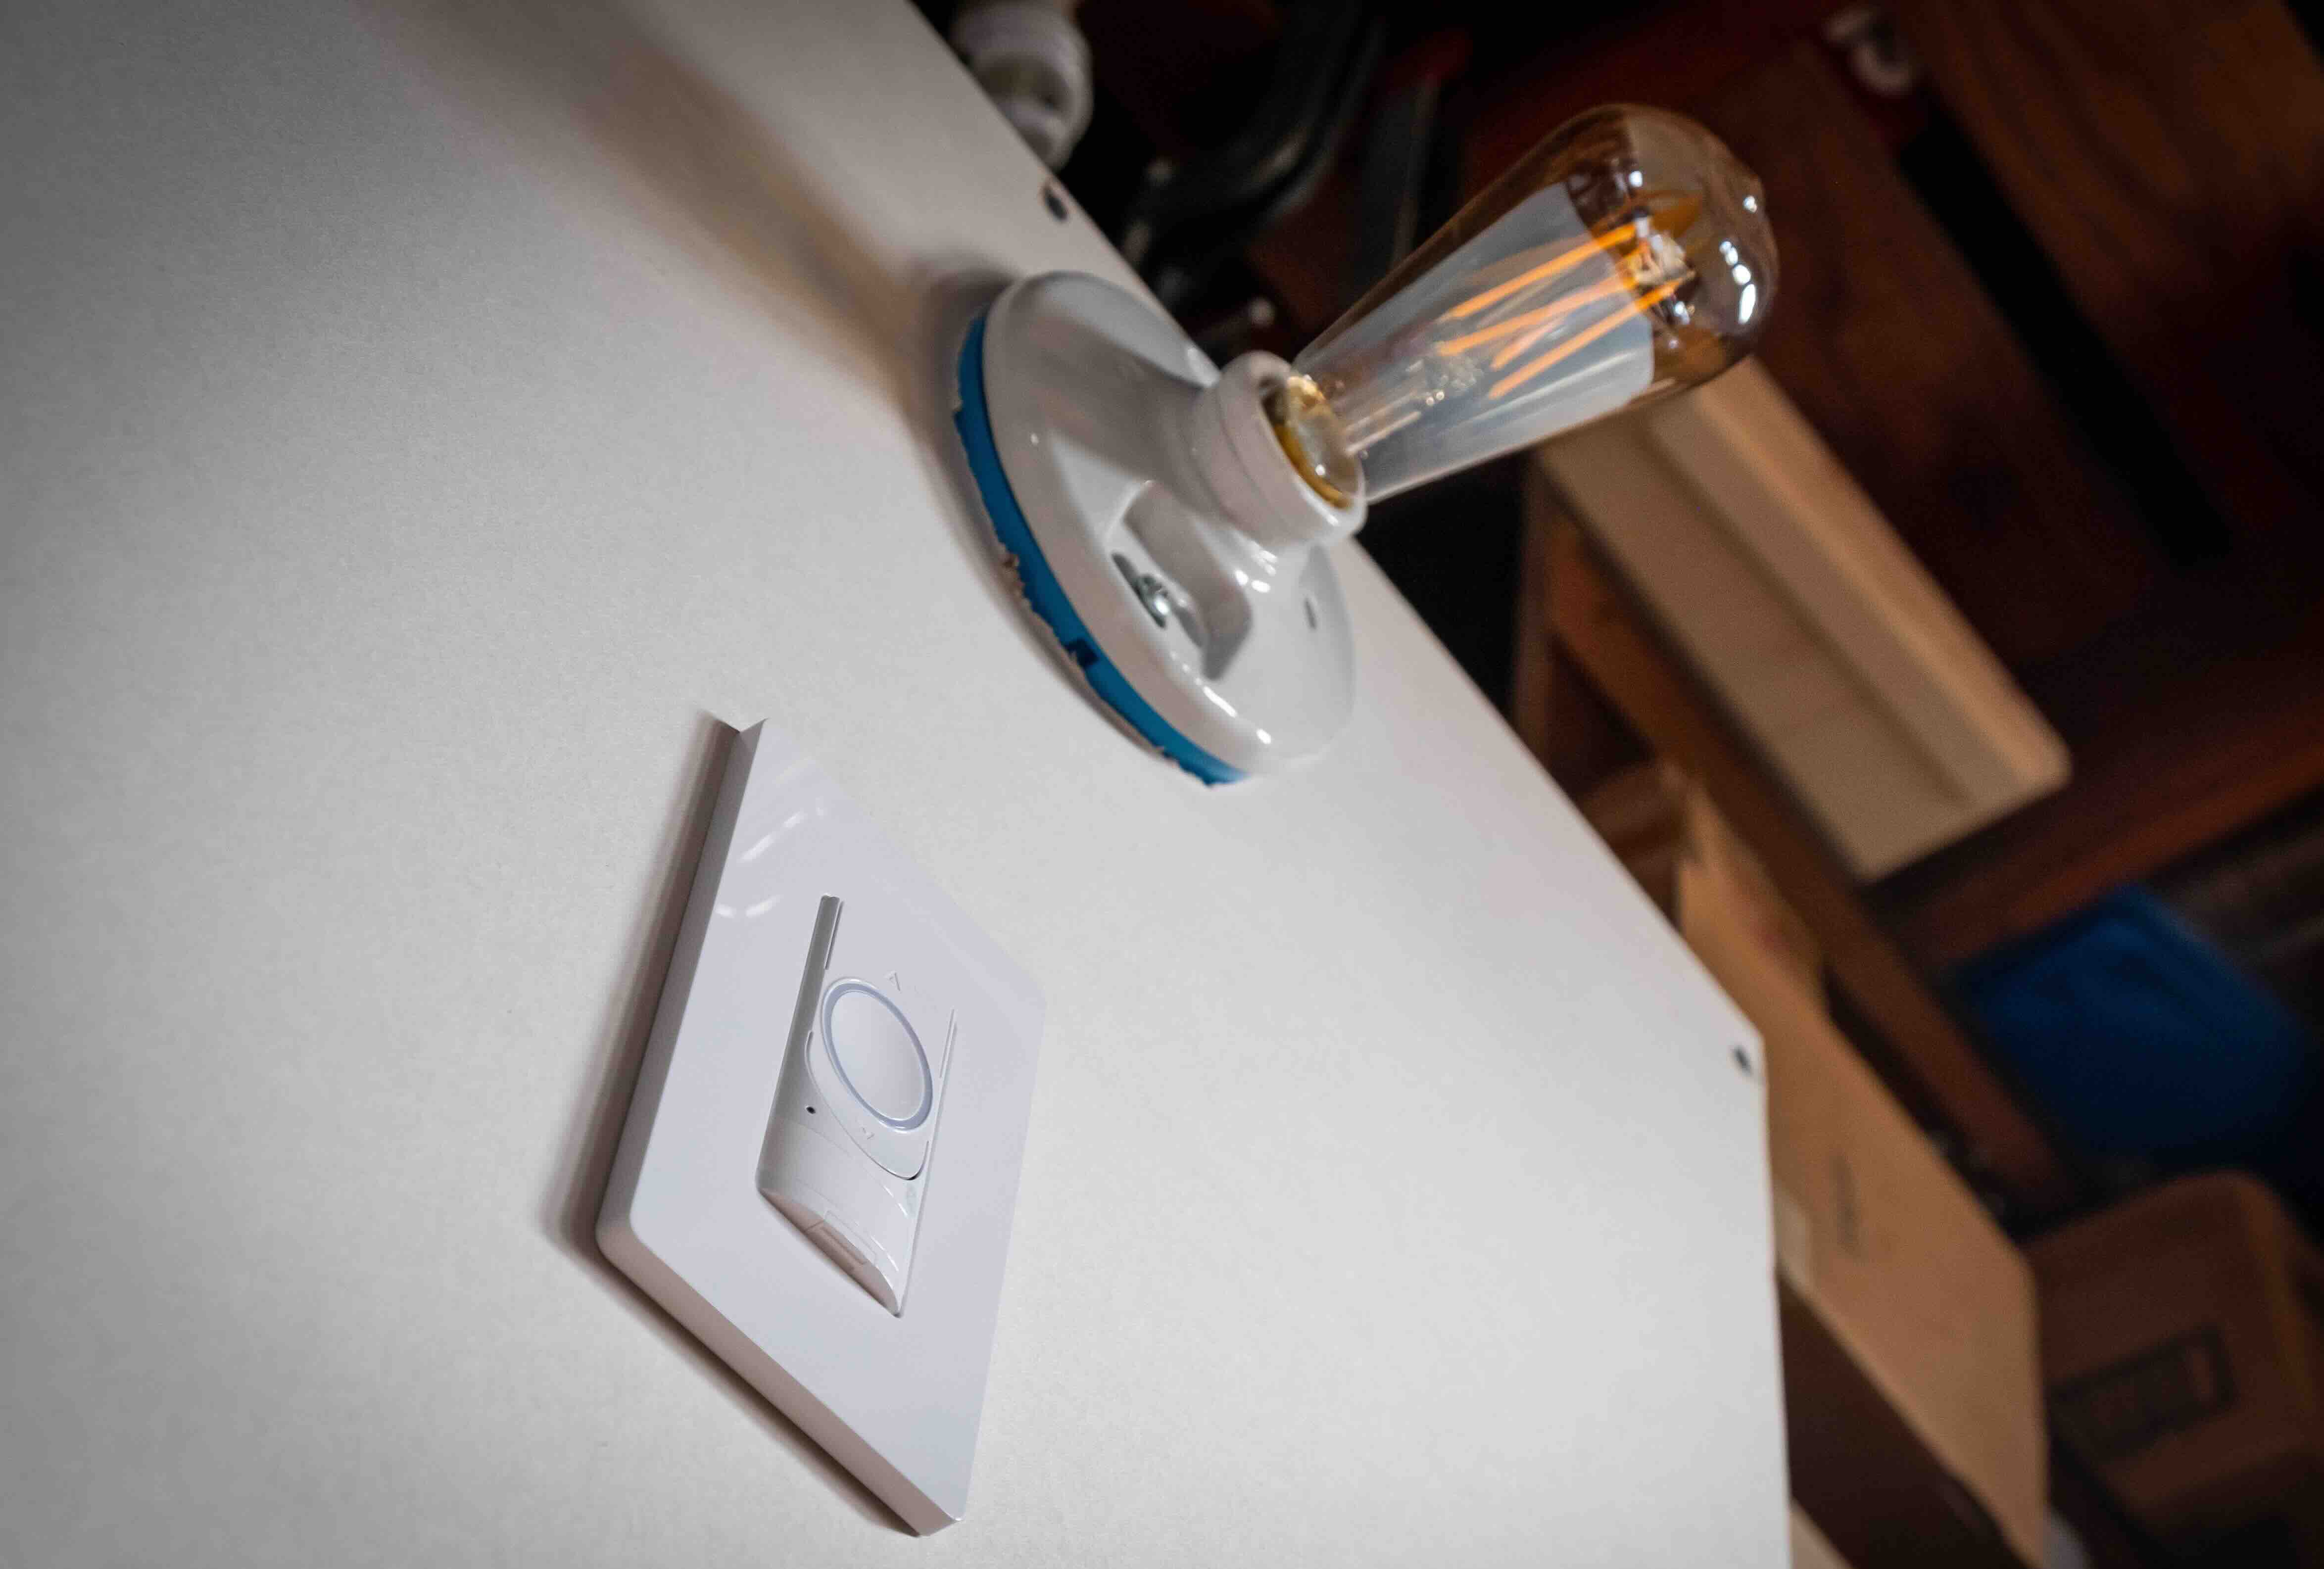
Step 6: Secure the dimmer switch
With the wires properly connected to the dimmer switch, it’s time to secure the switch in place. Follow these steps to ensure that the dimmer switch is securely installed:
- Push the dimmer switch into the electrical box: Carefully push the dimmer switch back into the electrical box. Ensure that the wires are not being pinched or strained as you do this.
- Align the screw holes: Once the dimmer switch is positioned correctly, align the screw holes on the switch with the screw holes in the electrical box.
- Insert and tighten the screws: Take the screws that were provided with the dimmer switch and insert them through the screw holes. Using a screwdriver, tighten the screws until the dimmer switch is securely fastened to the electrical box. Be careful not to over-tighten and damage the switch or electrical box.
- Attach the cover plate: Take the cover plate that you removed earlier and align it with the screw holes on the dimmer switch. Insert the screws provided with the cover plate and tighten them with a screwdriver until the plate is flush against the wall.
By following these steps, you can ensure that the dimmer switch is securely installed and will not move or come loose over time. Take your time to align the screws properly and tighten them adequately without exerting excessive force.
Now that the dimmer switch is securely in place, it’s time to move on to the next step – restoring the power supply.
Step 7: Restore the power supply
After successfully installing the dimmer switch and securing it in place, it’s time to restore the power supply. Follow these steps to safely restore the power:
- Return to the electrical panel: Head back to the electrical panel where you turned off the power earlier.
- Locate the circuit breaker for the dimmer switch: Identify the circuit breaker that controls the power to the dimmer switch. If you labeled it during the power-off process, it should be easy to find. Otherwise, refer to the circuit breaker that you turned off.
- Flip the circuit breaker to the “On” position: Carefully flip the circuit breaker to the “On” position. You should hear or feel a click as it engages. This restores power to the dimmer switch.
- Verify the power has been restored: Test the dimmer switch to ensure it is receiving power. Turn the switch on and off to verify that the lights are functioning correctly and that the dimming feature is working as expected.
It’s important to note that if the dimmer switch does not turn on or the lights do not work properly, you should turn off the power supply again and recheck your connections. Make sure that all wires are securely connected and that the dimmer switch is properly installed.
With the power supply restored and the dimmer switch tested, you can now move on to the final step – testing the dimmer switch.
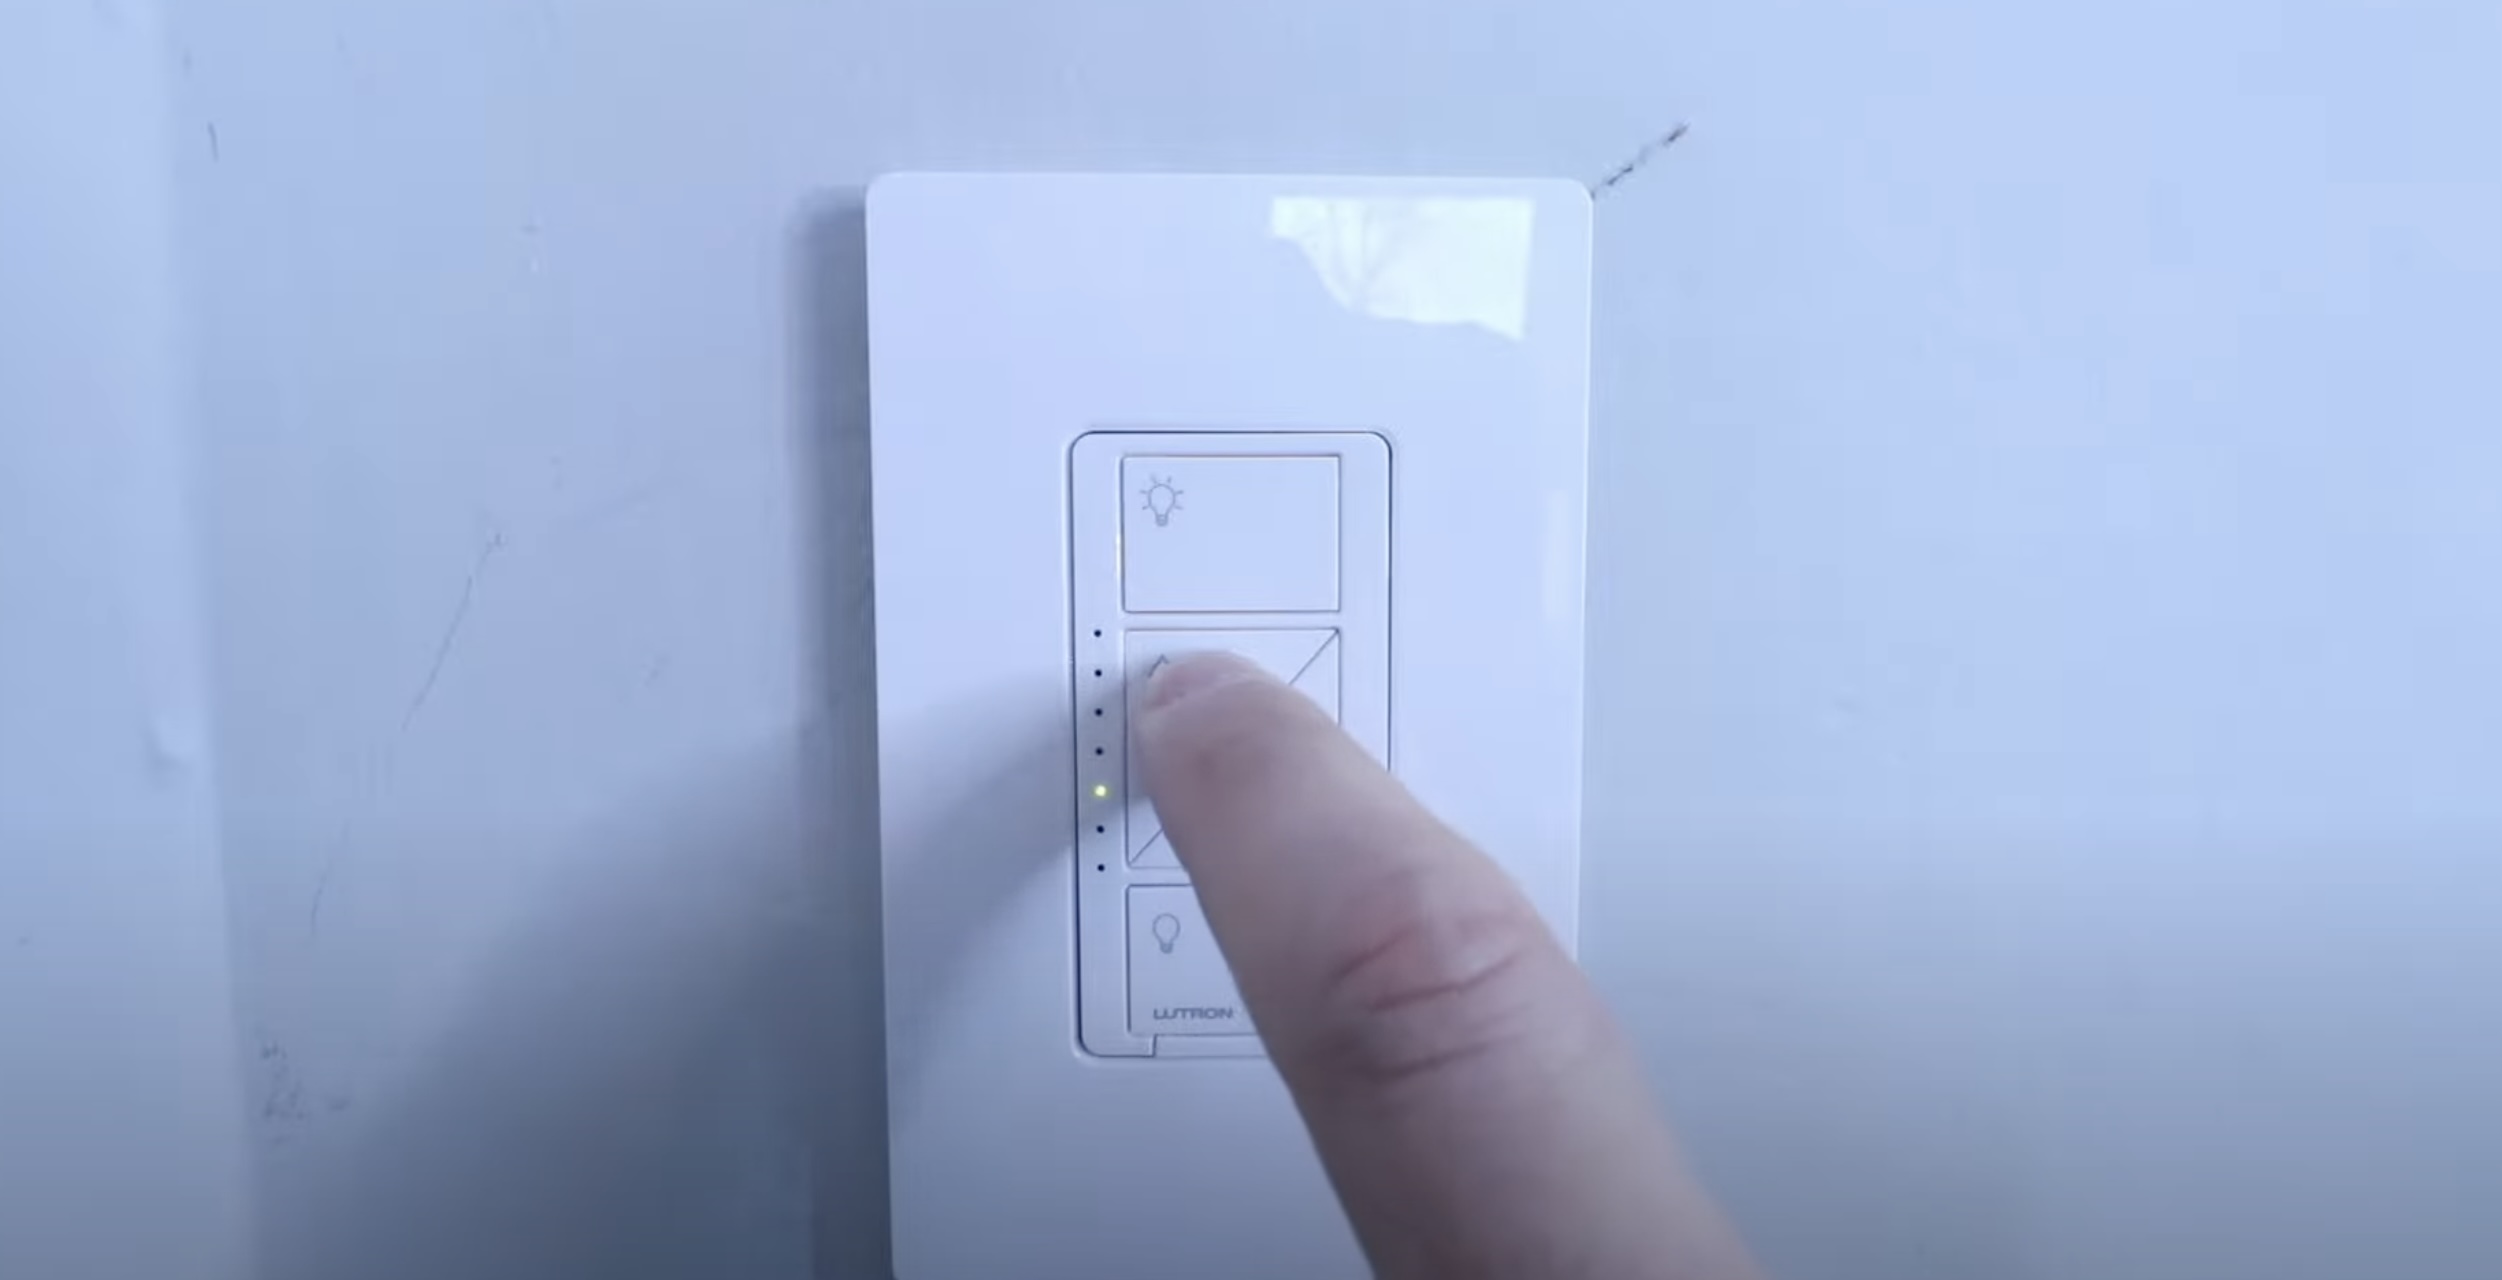
Step 8: Test the dimmer switch
Now that the dimmer switch is installed and the power supply has been restored, it’s time to test the functionality of the switch. Follow these steps to ensure that the dimmer switch is working as intended:
- Turn on the lights: Use the dimmer switch to turn on the lights in the room. The lights should power on immediately, and you should notice a gradual increase in brightness as you raise the dimmer switch.
- Adjust the dimming level: Slowly adjust the dimmer switch to vary the brightness of the lights. The lights should smoothly transition from bright to dim or vice versa, depending on your preference. Take note of any flickering, buzzing, or other irregularities that may indicate a problem.
- Test the on/off function: Turn the dimmer switch all the way down to the minimum brightness setting to turn off the lights completely. Then, gradually increase the switch’s position to turn the lights back on. Repeat this process a few times to ensure smooth operation.
- Observe the load compatibility: Pay attention to how the dimmer switch performs with different types of lighting, especially if you have a mix of incandescent, LED, or CFL bulbs. Ensure that the dimmer switch is compatible with the load it is controlling and that there are no issues with flickering, buzzing, or excessive heat.
- Make any necessary adjustments: If you notice any issues during your testing, such as flickering lights or inconsistent dimming, you may need to make adjustments. Consult the dimmer switch’s instructions and, if necessary, contact the manufacturer or seek professional assistance for troubleshooting.
By following these steps and thoroughly testing the dimmer switch’s functionality, you can ensure that the installation was successful and that you can enjoy the benefits of adjustable lighting in your space.
Now that you’ve tested the dimmer switch and confirmed its proper operation, congratulations! You have successfully installed and tested a dimmer switch in your room. Enjoy the ability to adjust the lighting to suit your mood and create the perfect ambiance.
Conclusion
Installing a dimmer switch can greatly enhance the functionality and atmosphere of any room. With just a few simple steps and the right tools, you can successfully wire in a dimmer switch and gain control over the brightness of your lights. Throughout this article, we have provided a comprehensive guide to help you through the process.
Remember to prioritize safety by turning off the power supply and taking necessary precautions when working with electricity. Gather all the required tools and materials, including the dimmer switch, screwdriver, wire strippers, and electrical tape.
Follow the step-by-step instructions to remove the existing switch, prepare the dimmer switch, connect the wires, securely install the dimmer switch, restore the power supply, and test the dimmer switch to ensure its proper functionality.
By installing a dimmer switch, you gain the ability to customize the lighting in your space and create the perfect ambiance for various occasions. Whether you want a bright and energetic environment or a cozy and relaxed atmosphere, the dimmer switch gives you the flexibility to adjust the lighting accordingly.
Always refer to the manufacturer’s instructions for specific details and consult a professional if you have any doubts or concerns. Safety should be your top priority when working with electrical wiring.
So go ahead, enhance your lighting experience and enjoy the benefits of a dimmer switch in your home. Take control of your lighting and create the perfect ambiance for every moment.
Frequently Asked Questions about How To Wire In A Dimmer Switch
Was this page helpful?
At Storables.com, we guarantee accurate and reliable information. Our content, validated by Expert Board Contributors, is crafted following stringent Editorial Policies. We're committed to providing you with well-researched, expert-backed insights for all your informational needs.


0 thoughts on “How To Wire In A Dimmer Switch”