Articles
How To Disable A Dimmer Switch
Modified: October 19, 2024
Learn how to disable a dimmer switch with our informative articles. Find step-by-step instructions and tips to safely remove and replace dimmer switches.
(Many of the links in this article redirect to a specific reviewed product. Your purchase of these products through affiliate links helps to generate commission for Storables.com, at no extra cost. Learn more)
Introduction
Welcome to this comprehensive guide on how to disable a dimmer switch. Dimmer switches are commonly used to control the brightness of lighting fixtures, allowing you to create the desired ambiance in a room. However, there may be situations where you no longer require the dimming functionality or want to replace the dimmer switch with a standard on/off switch. In such cases, disabling the dimmer switch is necessary.
In this article, we will walk you through the step-by-step process of disabling a dimmer switch and replacing it with a standard switch. We will cover everything from gathering the necessary tools and materials to restoring the power and testing the new switch.
Before we proceed, it’s important to note that working with electrical components can be dangerous if not done correctly. We highly recommend following all safety precautions, including turning off the power before starting any electrical work and consulting a professional if you’re unsure about any step.
Now, let’s get started!
Key Takeaways:
- Safely disable a dimmer switch by gathering tools, turning off power, disconnecting wires, and replacing with a standard switch. Prioritize safety and enjoy restored lighting control.
- Follow step-by-step instructions to replace a dimmer switch with a standard switch, ensuring proper wire connections and secure installation. Enjoy improved lighting functionality and convenience.
Read more: What Is A Dimmer Switch
Step 1: Gather the necessary tools and materials
Before you begin disabling the dimmer switch, it’s essential to gather all the required tools and materials. Having everything on hand will save you time and ensure a smooth process. Here’s a list of items you’ll need:
- Flathead screwdriver
- Phillips head screwdriver
- Wire stripper
- Wire connectors
- Electrical tape
- New standard on/off switch
The flathead screwdriver is typically used for prying open the switch cover plate, while the Phillips head screwdriver is needed to remove the screws holding the switch in place. The wire stripper is essential for correctly preparing the wires for connection, and the wire connectors help secure the wires together. Electrical tape is used to insulate and protect the exposed wires.
Lastly, you’ll need a new standard on/off switch to replace the dimmer switch. Make sure to choose a switch that matches the electrical requirements of your specific installation.
Once you have gathered all the necessary tools and materials, you’re ready to move on to the next step.
Step 2: Turn off the power
Safety should always be the top priority when working with electrical components. Before you proceed with disabling the dimmer switch, it is crucial to turn off the power to the switch and the surrounding area.
To turn off the power, follow these steps:
- Locate your electrical panel or circuit breaker box. This is usually found in a utility room, basement, or garage.
- Open the panel door, and you will see a series of switches or circuit breakers.
- Look for the switch or breaker labeled for the room or area where the dimmer switch is installed. If you’re unsure, it’s best to turn off the main power switch to ensure safety.
- Switch off the breaker corresponding to the dimmer switch. If it is a switch, turn it to the “off” position.
- Once the power is turned off, you can double-check by attempting to turn on the light controlled by the dimmer switch. If the light does not turn on, then you have successfully turned off the power.
Remember to always use caution and avoid touching any exposed wires or electrical terminals. If you are uncertain about which breaker or switch controls the power to the dimmer switch, consult a qualified electrician.
Now that the power is turned off, you can proceed to the next step of accessing the dimmer switch.
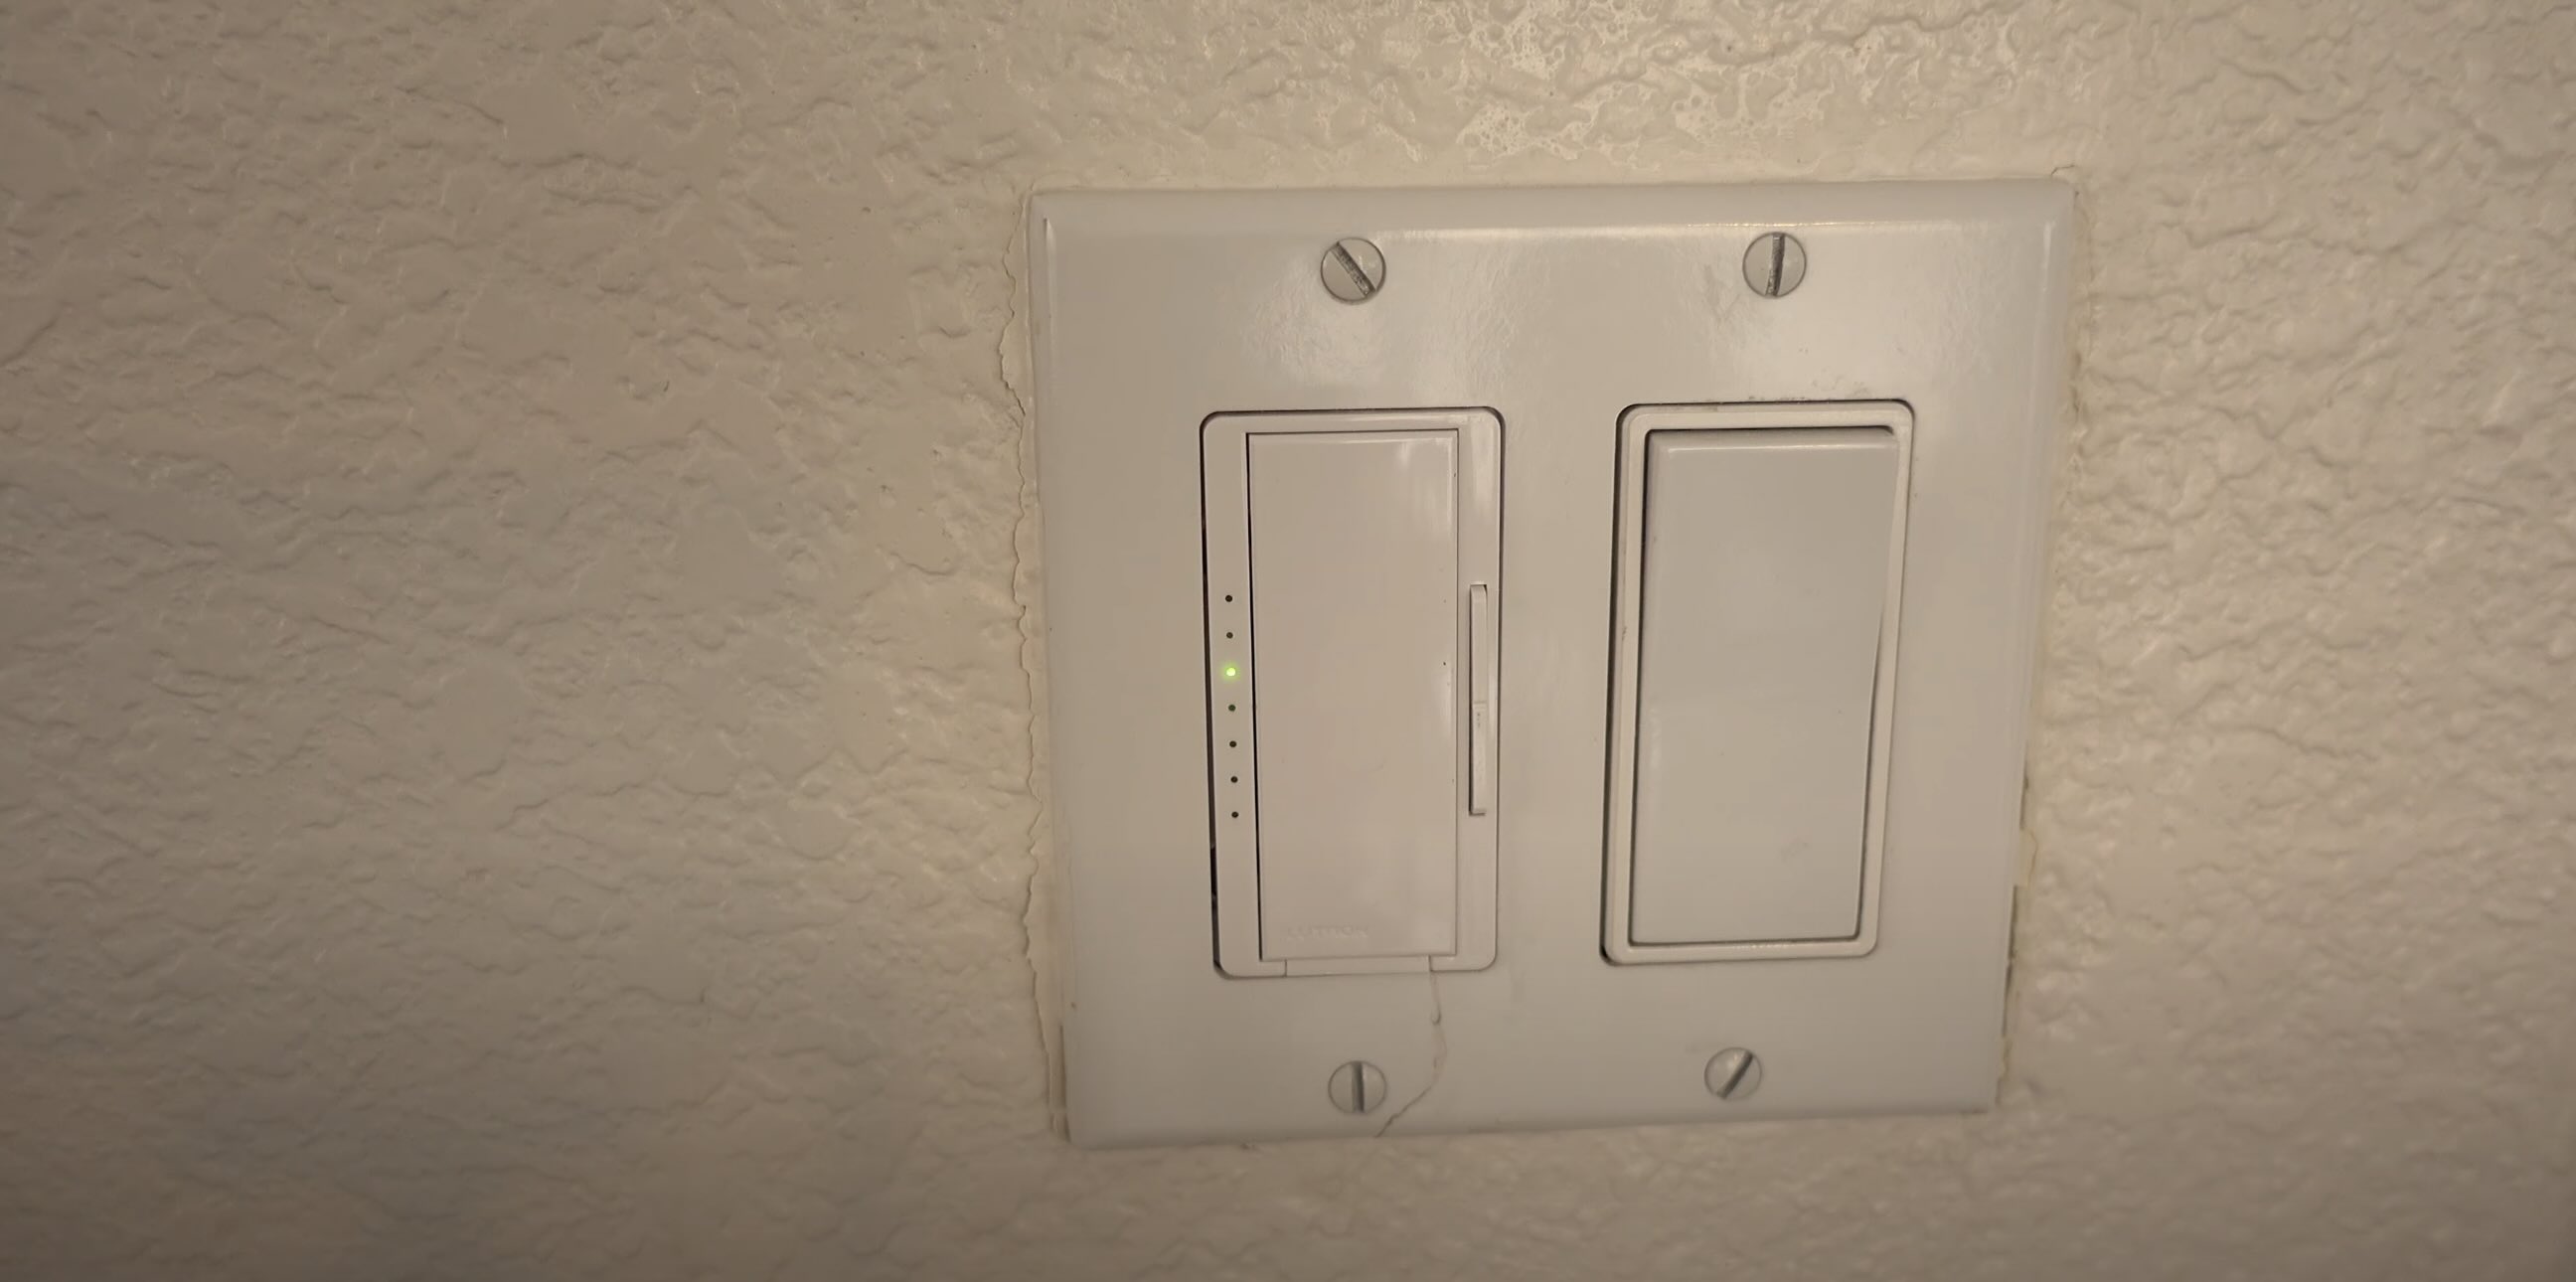
Step 3: Access the dimmer switch
With the power turned off, you can now safely access the dimmer switch. Follow these steps to gain access to the switch:
- Using a flathead screwdriver, gently pry off the switch cover plate. Insert the screwdriver into the small slot located at the top or bottom edge of the plate. Apply gentle pressure and carefully lift the plate away from the wall.
- Once the cover plate is removed, you will see two or more screws holding the dimmer switch in place. Use a Phillips head screwdriver to unscrew these screws and loosen the switch.
- Once the screws are removed, carefully pull the dimmer switch away from the wall, exposing the wiring behind it. Take note of the wire connections and their colors for reference when installing the new switch.
It’s important to handle the dimmer switch with care and avoid touching any exposed wires. Take your time to ensure a smooth transition from removing the cover plate to accessing the switch itself.
Now that you have successfully accessed the dimmer switch, it’s time to move on to the next step of disconnecting the wires.
Step 4: Disconnect the wires from the dimmer switch
Now that you have accessed the dimmer switch, it’s time to disconnect the wires. Follow these steps to safely disconnect the wires:
- Before touching any wires, it’s essential to double-check that the power is turned off. Use a non-contact voltage tester to confirm that there is no electrical current running through the wires.
- Once you have confirmed that the power is off, examine the wires connected to the dimmer switch. Typically, you will find three wires: a black wire, a white wire, and a ground wire (usually green or bare copper).
- Using a screwdriver, loosen the screws holding the wires in place. Carefully remove the wires from the dimmer switch, making sure to note which wire corresponds to each connection point.
- If the wires are connected using wire connectors, twist the connector counterclockwise to release the wires.
- After disconnecting the wires, separate them and tuck them safely into the electrical box to prevent them from touching each other or the metal components.
It’s crucial to handle the wires with care, ensuring that they don’t come into contact with any live wires or terminals. Take your time and be cautious while disconnecting the wires.
Now that the wires are safely disconnected, you’re ready to move on to the next step of removing the dimmer switch from the wall.
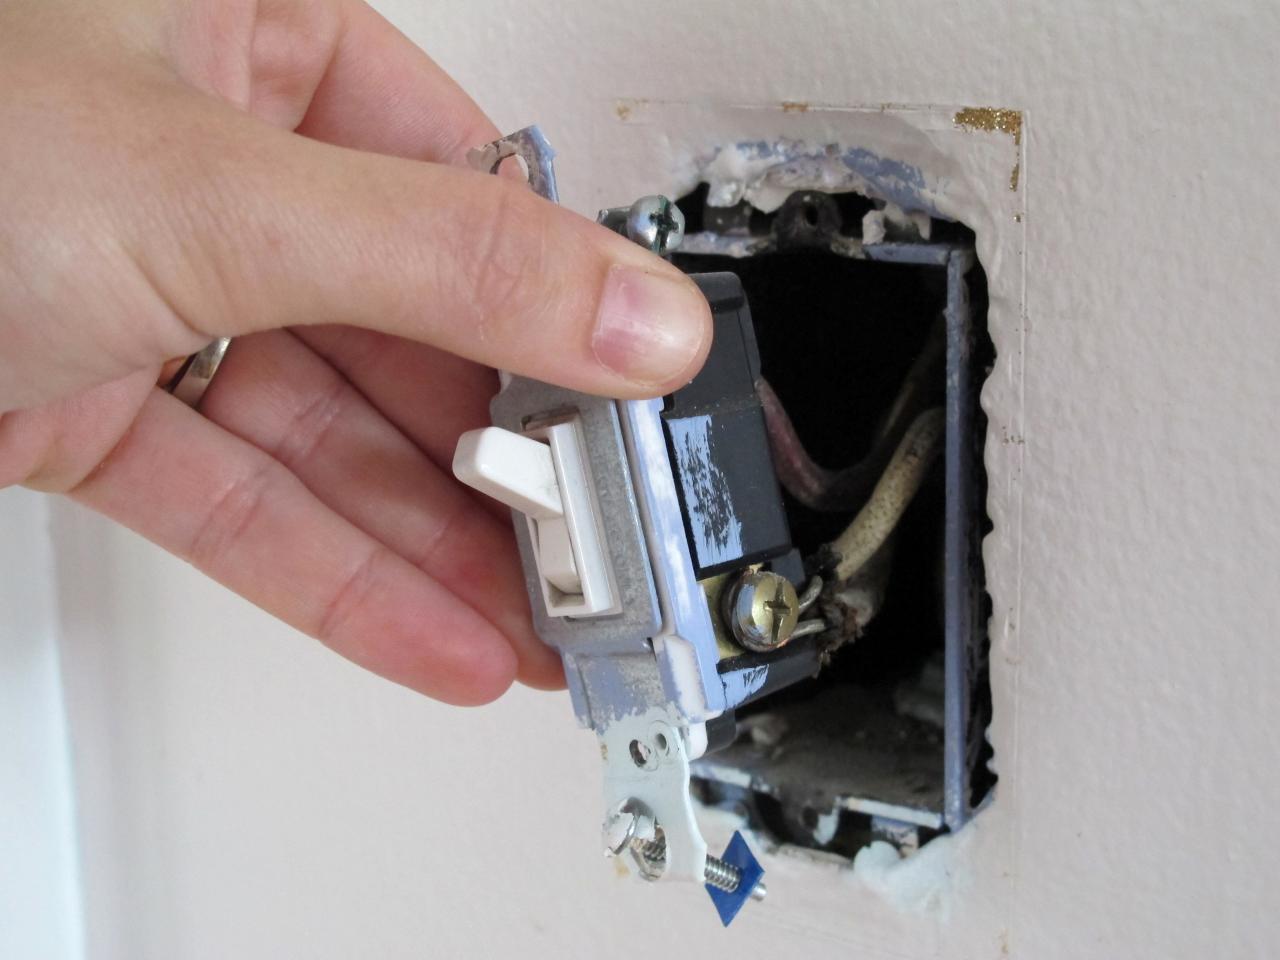
Step 5: Remove the dimmer switch from the wall
Now that the wires are safely disconnected, you can proceed to remove the dimmer switch from the wall. Follow these steps to remove the dimmer switch:
- Hold the dimmer switch firmly and gently pull it away from the electrical box in the wall.
- Inspect the electrical box to ensure there are no obstructions or wires impeding the removal process. If there are any obstacles, carefully maneuver the dimmer switch to free it from the box.
- Once the dimmer switch is free from the box, take a moment to clean and clear the area inside the box of any debris or dust.
It’s important to handle the dimmer switch with care, avoiding any excessive force that could damage the switch or the electrical box. Take your time to remove the switch gently and inspect the area inside the box before proceeding.
Now that the dimmer switch is removed, you can move on to the next step of replacing it with a standard switch.
Before attempting to disable a dimmer switch, always turn off the power at the circuit breaker to avoid the risk of electrical shock or fire. Then, remove the cover plate and disconnect the wires from the dimmer switch. Finally, replace the dimmer switch with a standard on/off switch.
Step 6: Replace with a standard switch
With the dimmer switch removed, it’s time to replace it with a standard on/off switch. Follow these steps to replace the dimmer switch:
- Take the new standard switch and align it with the electrical box in the wall. Ensure that the screw holes on the switch line up with the holes in the box.
- Insert the screws provided with the new switch into the screw holes and tighten them securely with a Phillips head screwdriver. Make sure the switch sits flush against the wall.
It’s important to ensure that the new switch is aligned correctly and securely fastened to the electrical box. A loose switch can cause wiring issues and a potential safety hazard.
Now that the new standard switch is in place, you’re ready to move on to the next step of connecting the wires to the new switch.
Step 7: Connect the wires to the new switch
Now that you have installed the new standard switch, it’s time to connect the wires. Follow these steps to safely connect the wires to the new switch:
- Start by identifying the black wire, white wire, and ground wire. The black wire is the “hot” wire that carries the electricity, the white wire is the neutral wire, and the ground wire provides safety by grounding the electrical system.
- Strip off a small portion of insulation from the end of each wire to expose the bare copper.
- Connect the black wire from the electrical box to the brass screw terminal on the new switch. Secure it by tightening the screw.
- Connect the white wire from the electrical box to the silver screw terminal on the new switch. Again, tighten the screw to ensure a secure connection.
- If there is a ground wire present, connect it to the green screw terminal on the new switch. Tighten the screw to secure the ground wire.
It’s crucial to ensure that the wires are securely connected to the new switch. Loose or improperly connected wires can lead to electrical issues or a risk of fire.
After connecting the wires, double-check your connections to ensure they are tight and secure. Inspect for any loose strands or exposed wires. If necessary, use wire connectors to join wires together and electrical tape to insulate any exposed connections.
Now that the wires are properly connected, you’re ready to move on to the next step of securing the new switch in place.
Step 8: Secure the new switch in place
Now that the wires are connected to the new switch, it’s time to secure it in place. Follow these steps to ensure the switch is properly secured:
- Gently push the connected wires back into the electrical box.
- Align the switch with the screw holes on the electrical box.
- Insert the screws provided with the switch into the screw holes.
- Tighten the screws with a Phillips head screwdriver until the switch is securely fastened to the electrical box.
It’s important to ensure that the switch is firmly attached to the electrical box. A loose switch can cause electrical issues or pose a safety hazard.
After securing the switch, give it a gentle tug to verify that it is firmly in place. If there is any movement or looseness, tighten the screws further until the switch is secure.
Now that the new switch is securely fastened, you’re ready to move on to the next step of restoring power and testing the new switch.
Read more: How To Wire In A Dimmer Switch
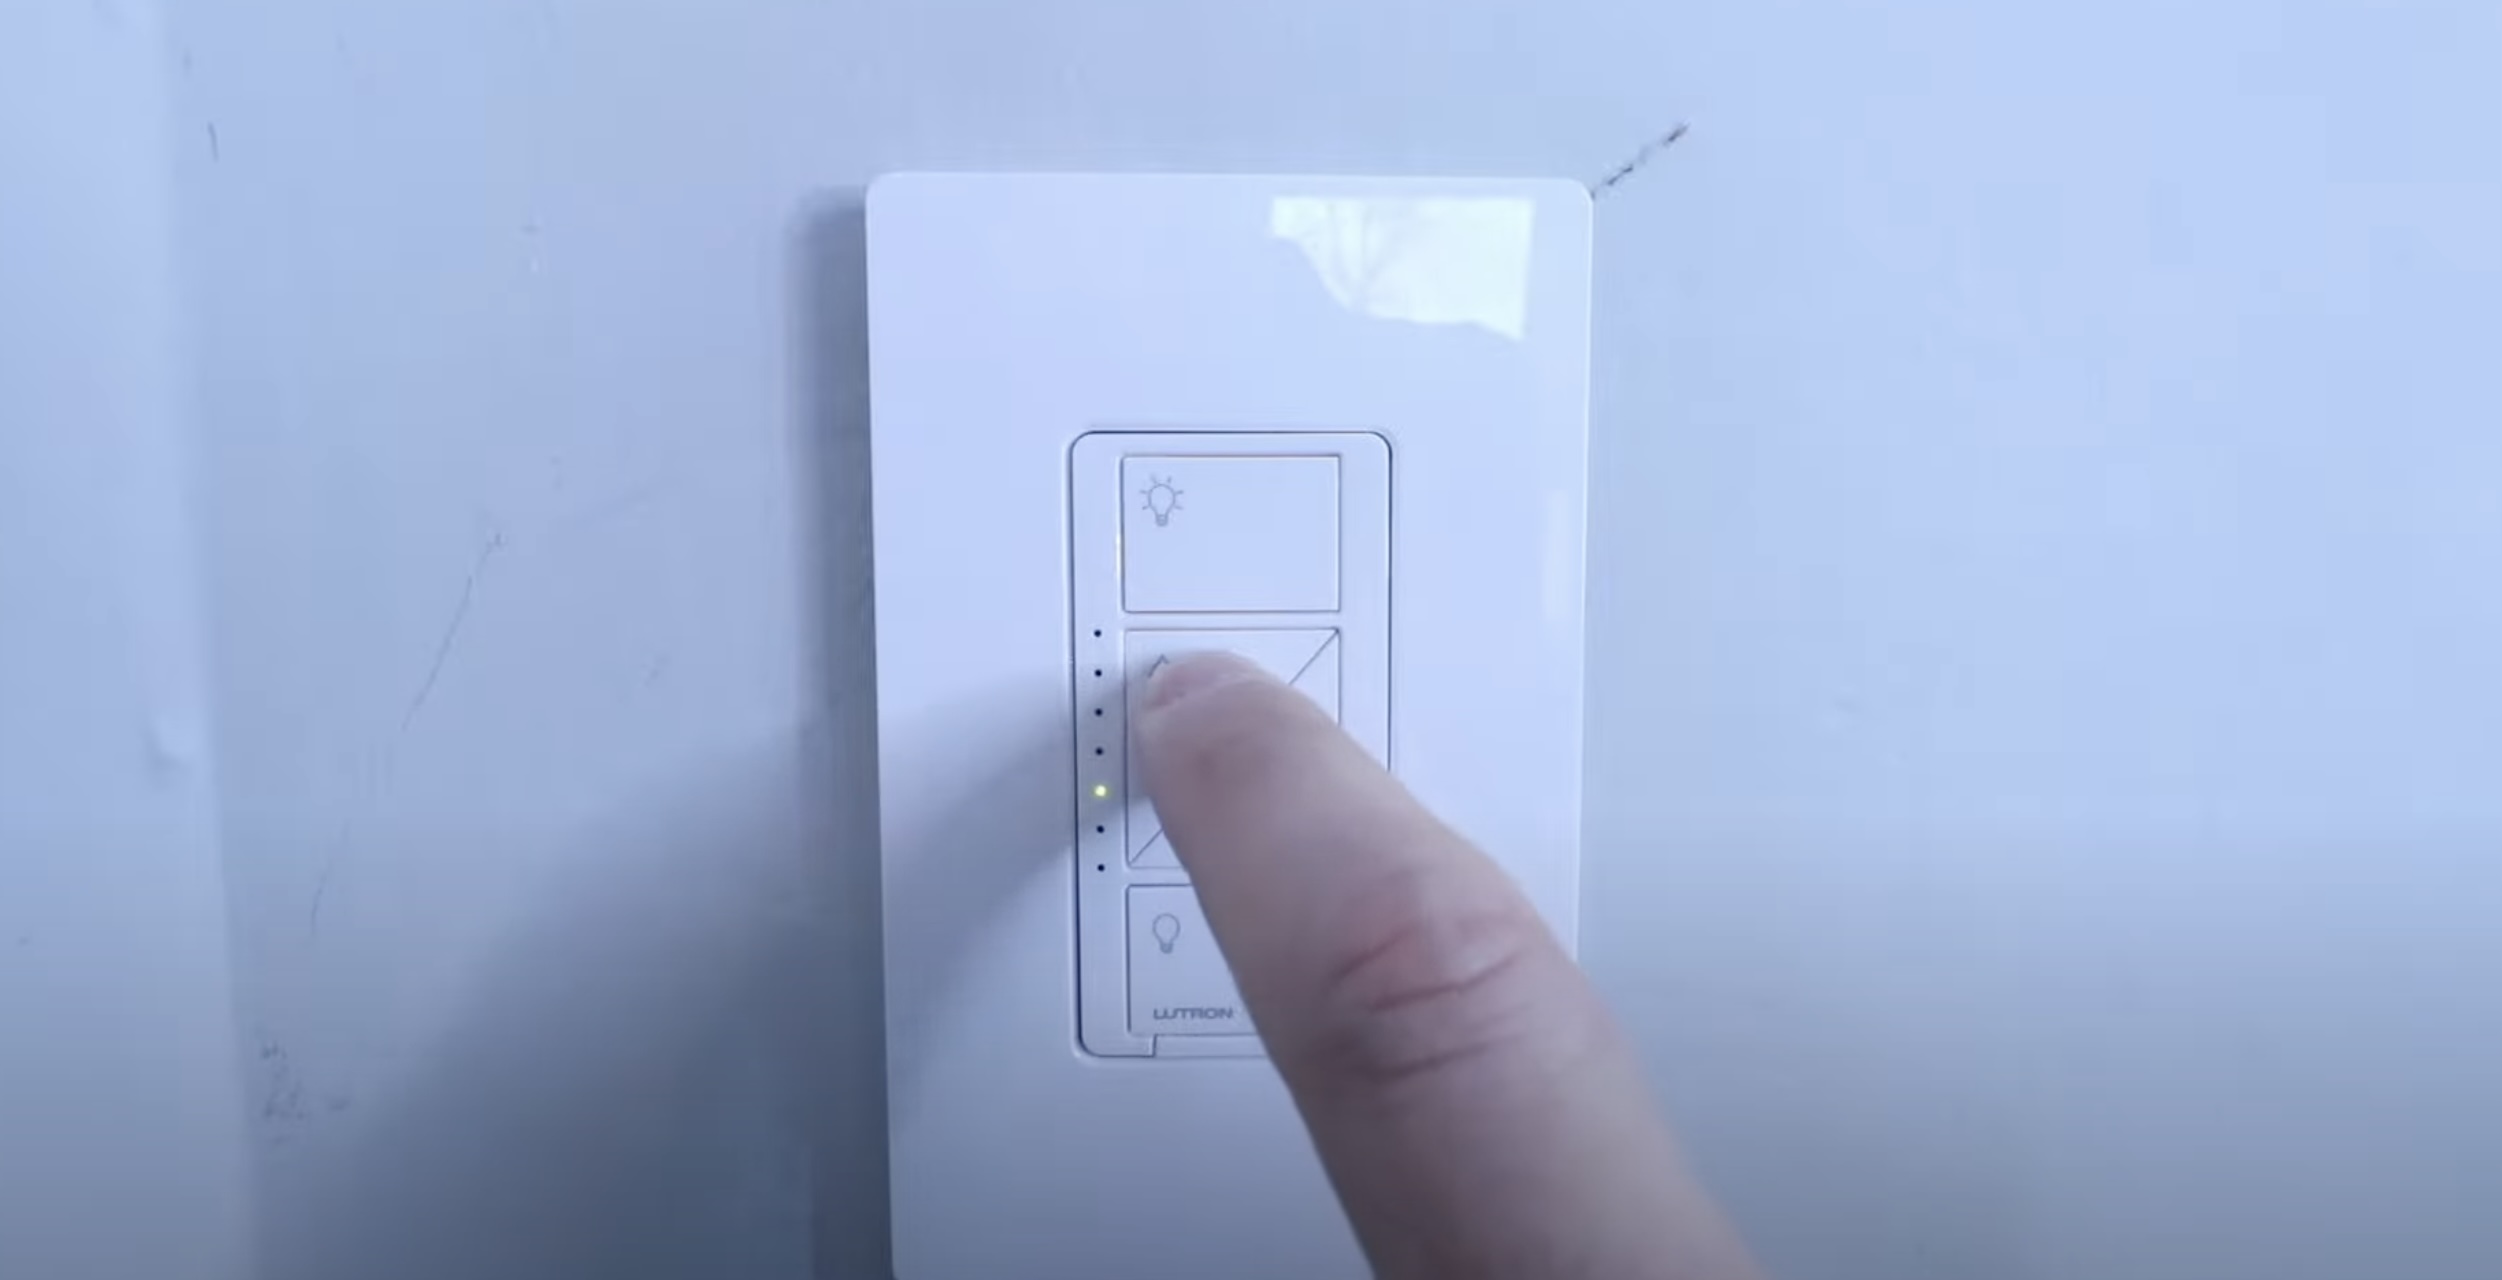
Step 9: Restore power and test the new switch
Now that the new switch is properly secured, it’s time to restore power and test its functionality. Follow these steps to complete the process:
- Return to the electrical panel or circuit breaker box.
- Locate the breaker or switch that corresponds to the room or area where the new switch was installed.
- Switch the breaker or switch back to the “on” position to restore power to the area.
- Once the power is restored, go back to the room and test the new switch by toggling it on and off.
- Observe the connected light or appliance to ensure it turns on and off properly with the new switch.
If the new switch functions correctly and the connected light or appliance operates as expected, congratulations! You have successfully disabled the dimmer switch and replaced it with a standard switch.
However, if there are any issues, such as the light not turning on or flickering, double-check the connections and ensure they are secure. It’s also worth checking the electrical panel to ensure the breaker or switch is properly reset or turned on.
If you encounter persistent issues or are unsure about any step of the process, it’s recommended to seek assistance from a qualified electrician to ensure safe and proper installation.
Congratulations on completing the process of disabling a dimmer switch and replacing it with a standard switch. Enjoy the newly restored functionality and convenience in your space!
Conclusion
Disabling a dimmer switch and replacing it with a standard switch can be a straightforward process with the right tools and knowledge. By following the step-by-step guide provided in this article, you should be able to successfully complete the task.
Remember to prioritize safety throughout the process by turning off the power before starting any electrical work and using caution when handling wires and electrical components.
Gathering the necessary tools and materials is essential for a smooth and efficient process. Make sure you have a flathead screwdriver, Phillips head screwdriver, wire stripper, wire connectors, electrical tape, and a new standard switch on hand.
Take your time to disconnect the wires from the dimmer switch, being careful to note the wire connections and their colors. Remove the dimmer switch from the wall, and then replace it with the new switch, ensuring a secure fit.
Connect the wires to the new switch, making sure to correctly match the black wire to the brass screw terminal, the white wire to the silver screw terminal, and the ground wire to the green screw terminal (if applicable).
Once everything is connected, securely fasten the new switch to the electrical box, ensuring it is snug and flush against the wall.
Finally, restore power to the area by turning on the breaker or switch in the electrical panel. Test the new switch by toggling it on and off and observing the connected light or appliance for proper functionality.
If you encounter any issues or have concerns about the process, it’s always wise to consult a qualified electrician for assistance.
By following these steps, you can successfully disable a dimmer switch and replace it with a standard switch, bringing a new level of control and simplicity to your lighting fixtures. Enjoy the improved functionality and convenience in your space!
Frequently Asked Questions about How To Disable A Dimmer Switch
Was this page helpful?
At Storables.com, we guarantee accurate and reliable information. Our content, validated by Expert Board Contributors, is crafted following stringent Editorial Policies. We're committed to providing you with well-researched, expert-backed insights for all your informational needs.


0 thoughts on “How To Disable A Dimmer Switch”